

This will be a funny post and a lot of people won’t be interested,but that is ok. Growing up I was always most self conscious of my nails. I never liked the short squat shape, that I had horrible cuticles, and nail beds that ended really low so there is a lot of white on the top of my nails when they grew out. When I was younger we never painted our nails mainly because I didn’t know how and when I did they looked terrible and I’m sure we always made a mess.
At the age of 24, I decided it was time I learned to paint my nails. After months of watching tutorials I was finally getting really good at it, and I noticed that when I painted my nails, they were stronger so they didn’t chip and break, and I could actually grown them longer than without polish. I also noticed that when I had polish on I wouldn’t pick at them and this was a huge plus. The only problem was painting them and how long it took to dry, and how in 1-2 days they looked like crap. I am very tough on my nails and hands and try to take better care of them,but I clean my house and I guess that means I am rough on them. So, for a while I had given up on painting my nails because of it just not worth my time anymore.
I have been hearing about gel manicures for a while and always wanted to try them,but they are way too pricy. I don’t like the idea of paying someone to do my nails, I am not looking down on anyone who does pay that as it is a nice luxury,but I would rather spend my money on something else. I just didn’t think it was possible to do gel nails at home… Then I read this blog post from a blogger I follow, and was very impressed to find you could do it at home. http://www.thenovicechefblog.com/2012/11/diy-easy-gel-nails/ She suggests the Gelish polish and to get everything from amazon, and I agree,but I didn’t want to make a $100 investment and then realize I didn’t like it or it didn’t work. so I kept my eyes open and then heard about the Sally Hansen gel polish kit.

I decided to buy one from my local Target because I knew if I didn’t like it or it didn’t work as advertised, I could always return it. This kit comes in either this color which as you can see my nail isn’t that dark unless you do more than 2 coats like I did or a white/pearl color. They sell other colors of course,but these are the ones that come separately.
Sally Hansen Salon Pro Gel Starter Kit, Wine Not
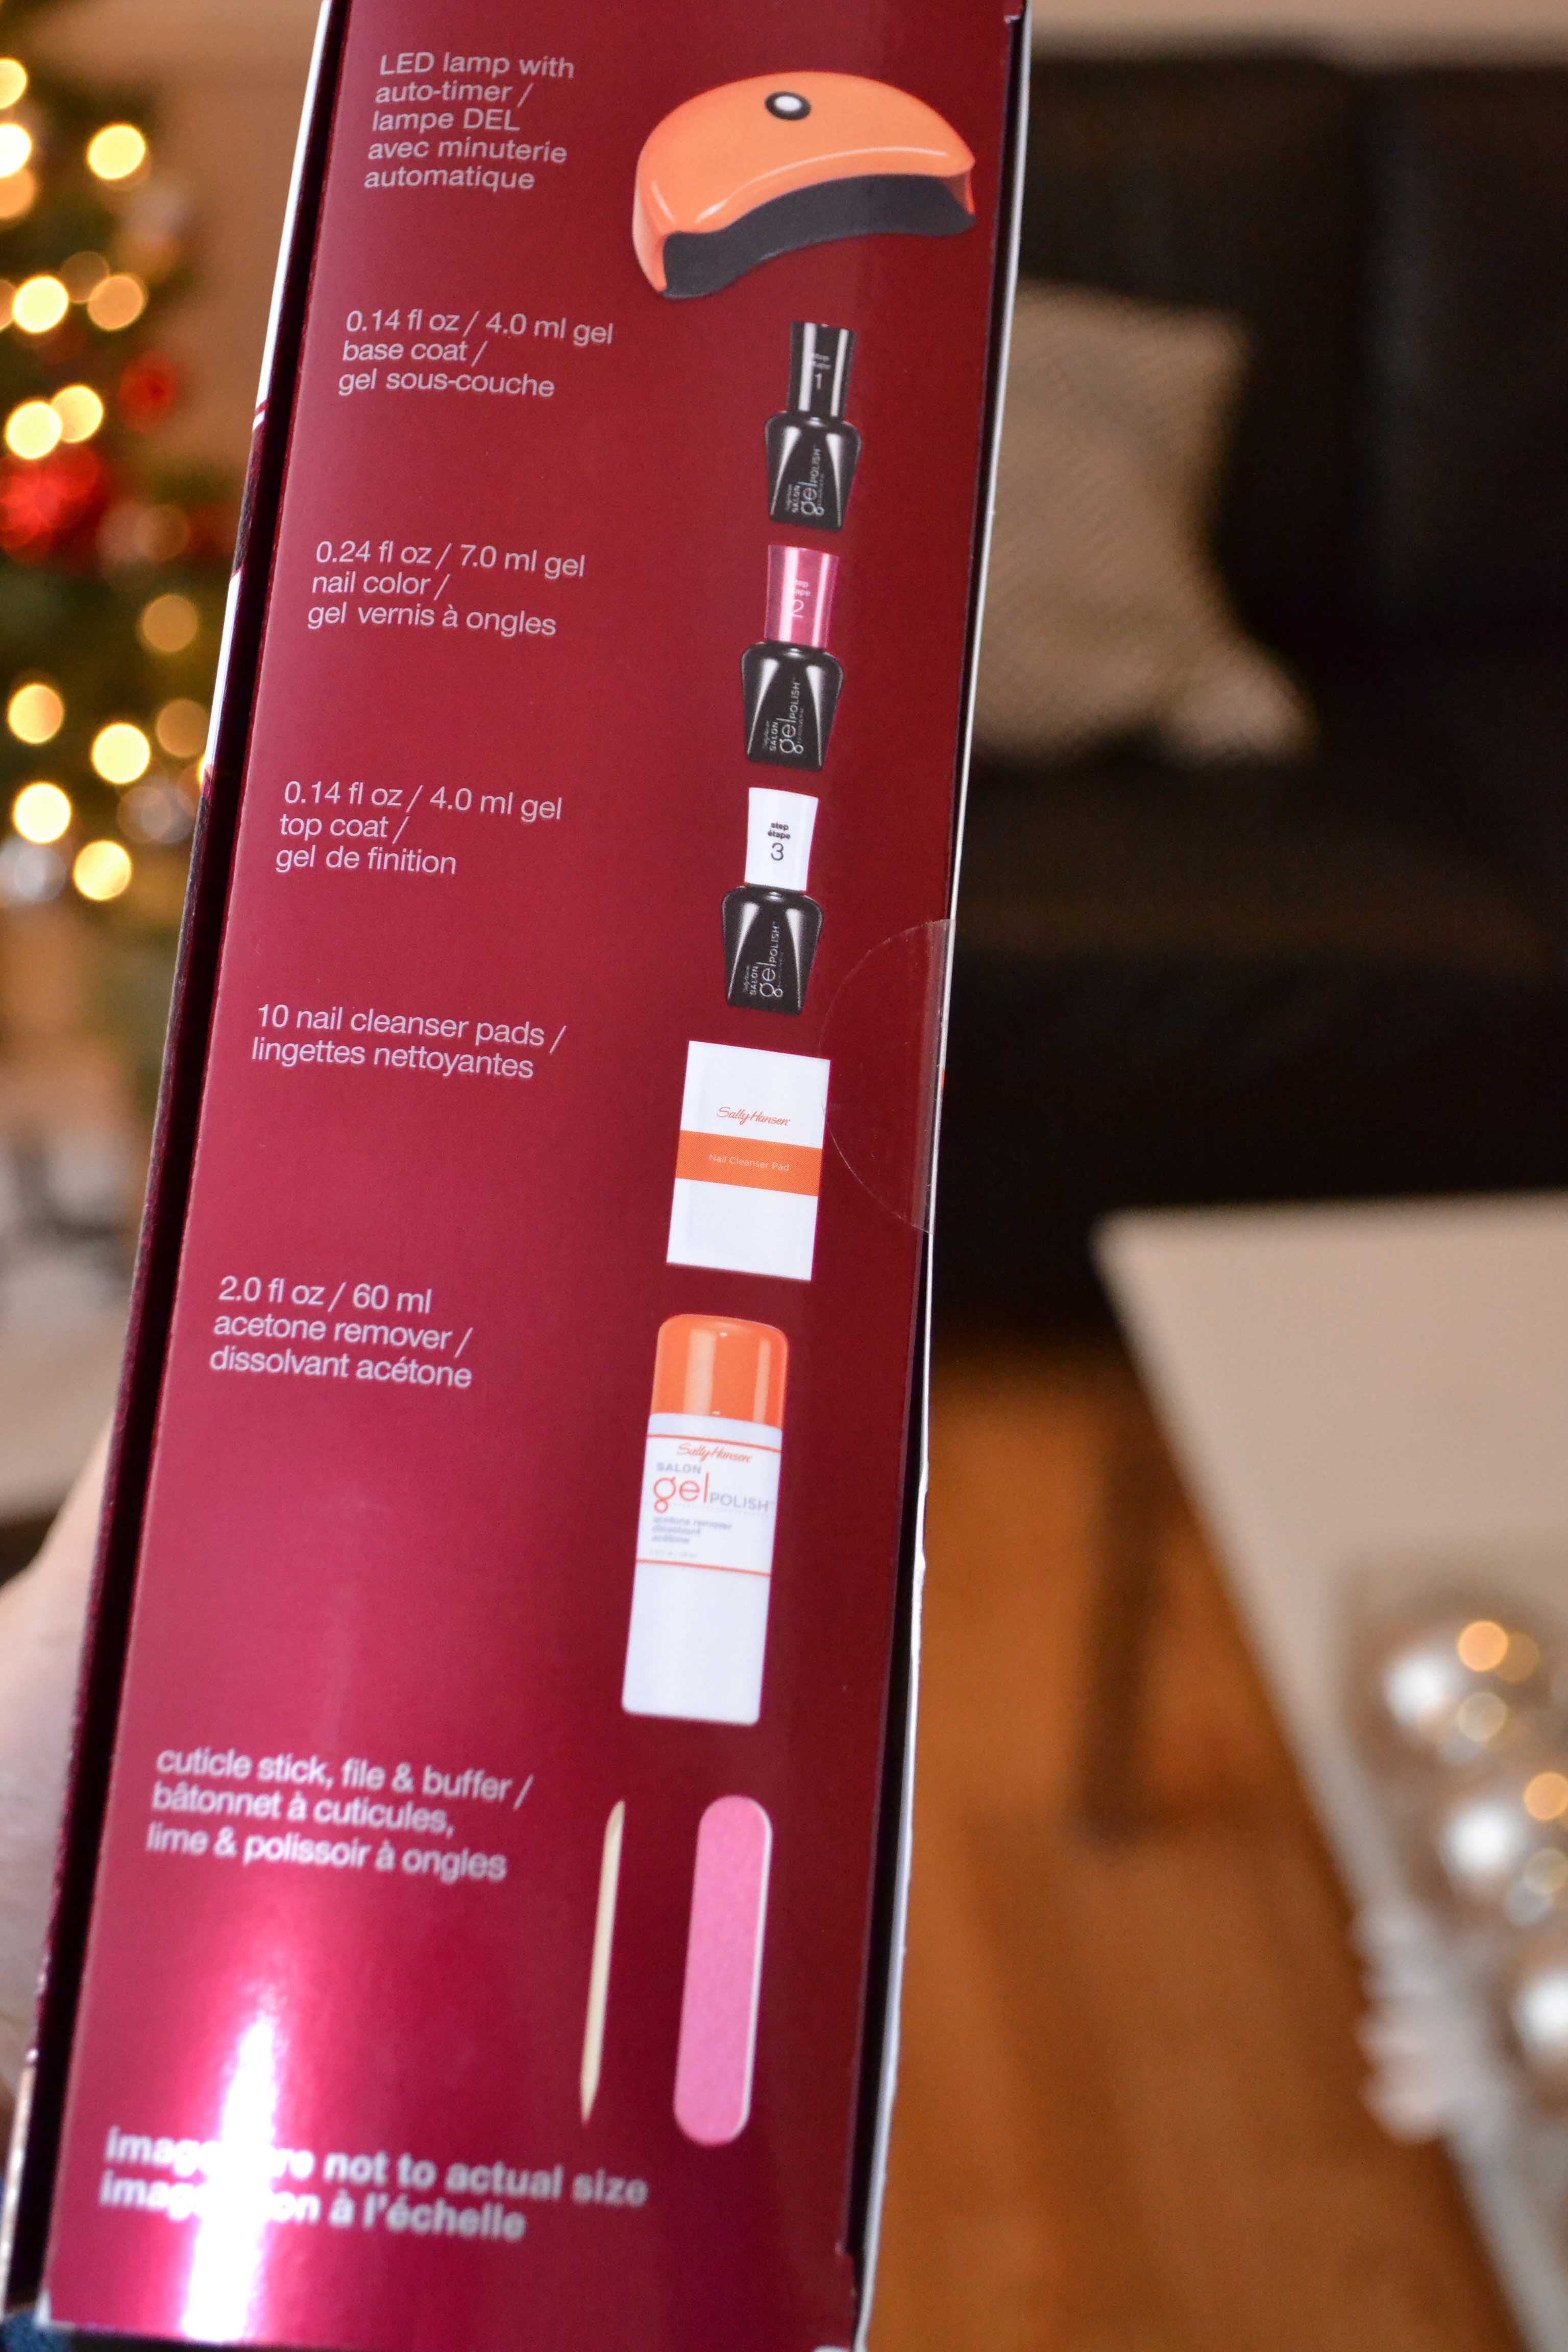
In this kit you get the light which you can buy on Amazon if you prefer(See Link Above), the base or foundation, the color, the top coat, alcohol wipes(which you can buy at Target/Walmart/Sally beauty for cheaper), acetone(buy at the hardware store for really cheap) a file, and cuticle stick.
Here is how I DIY my gel nails.

Plug in the light.

Get your supplies ready, Sally’s kit has them numbered, and the other colors if you prefer a different one also has the number 2 on it. Gelish doesn’t use the numbers just labels more. The above bottles are smaller than typical nail polish and the kit advertises to get at least 10 manicures from them. I think you get a lot more,but they only include 10 wipes which as I said you get them for about 100 at Target for $2.00 or get a bottle of rubbing alcohol and LINT FREE cotton pads instead.
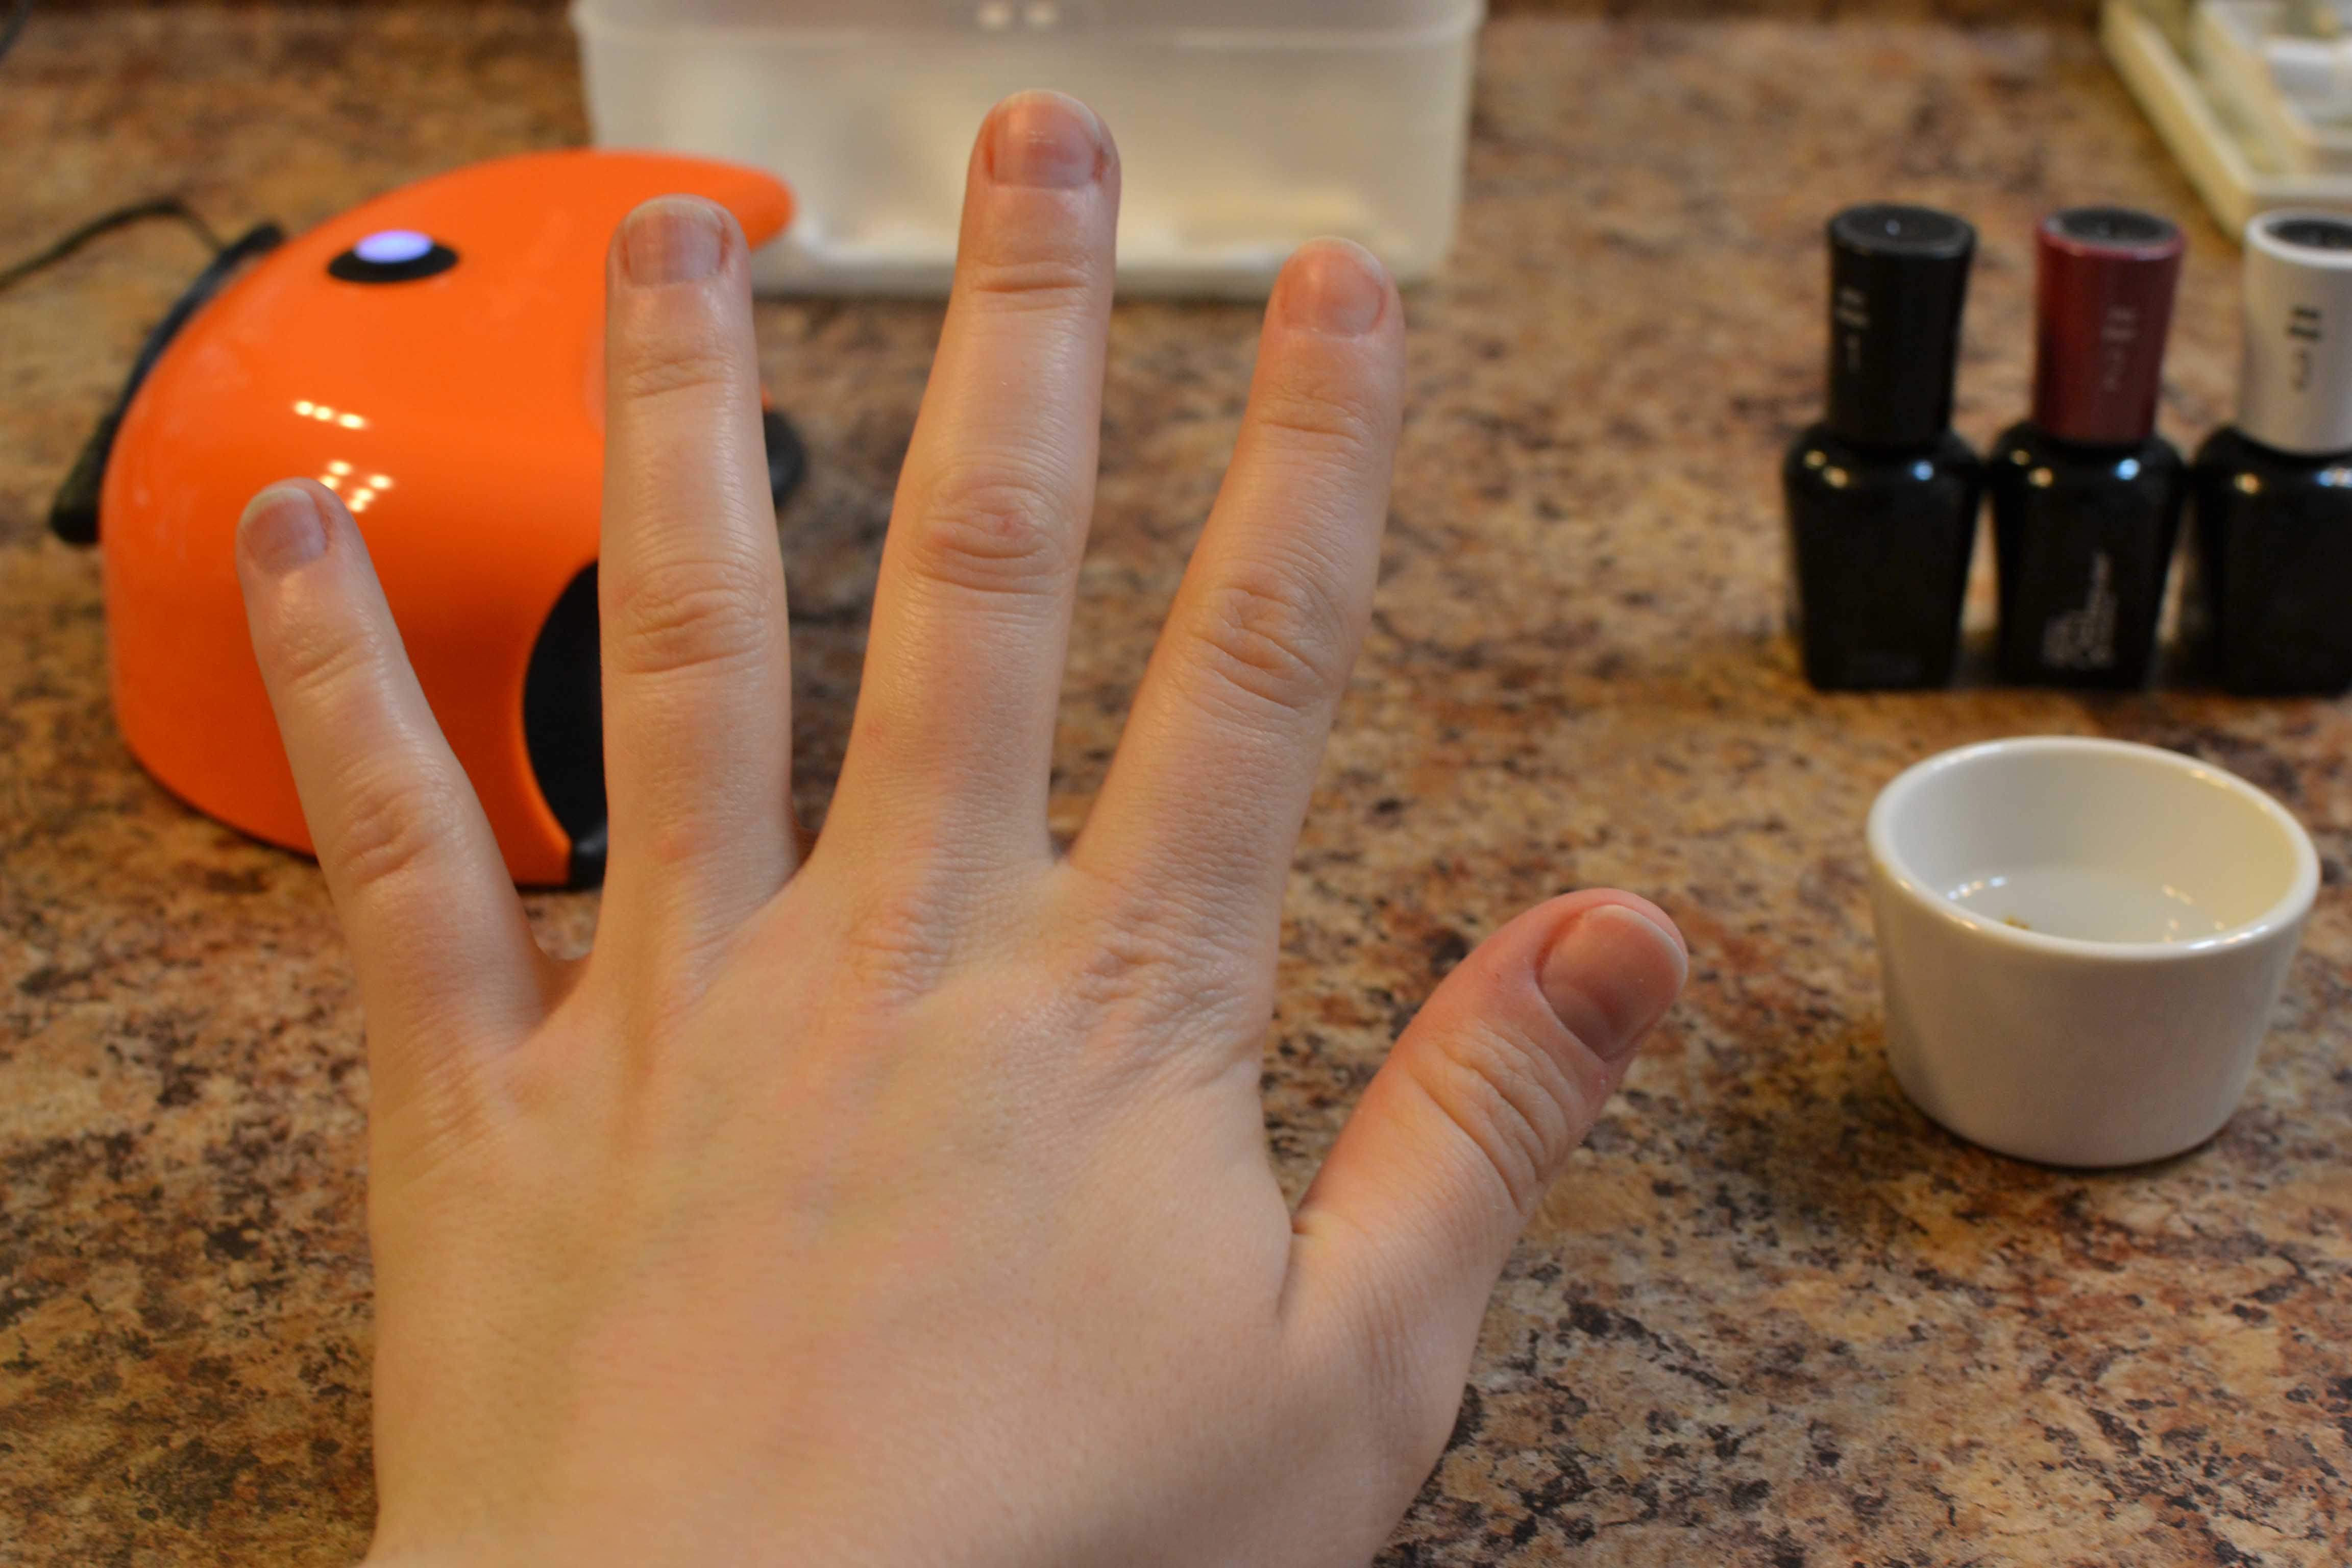
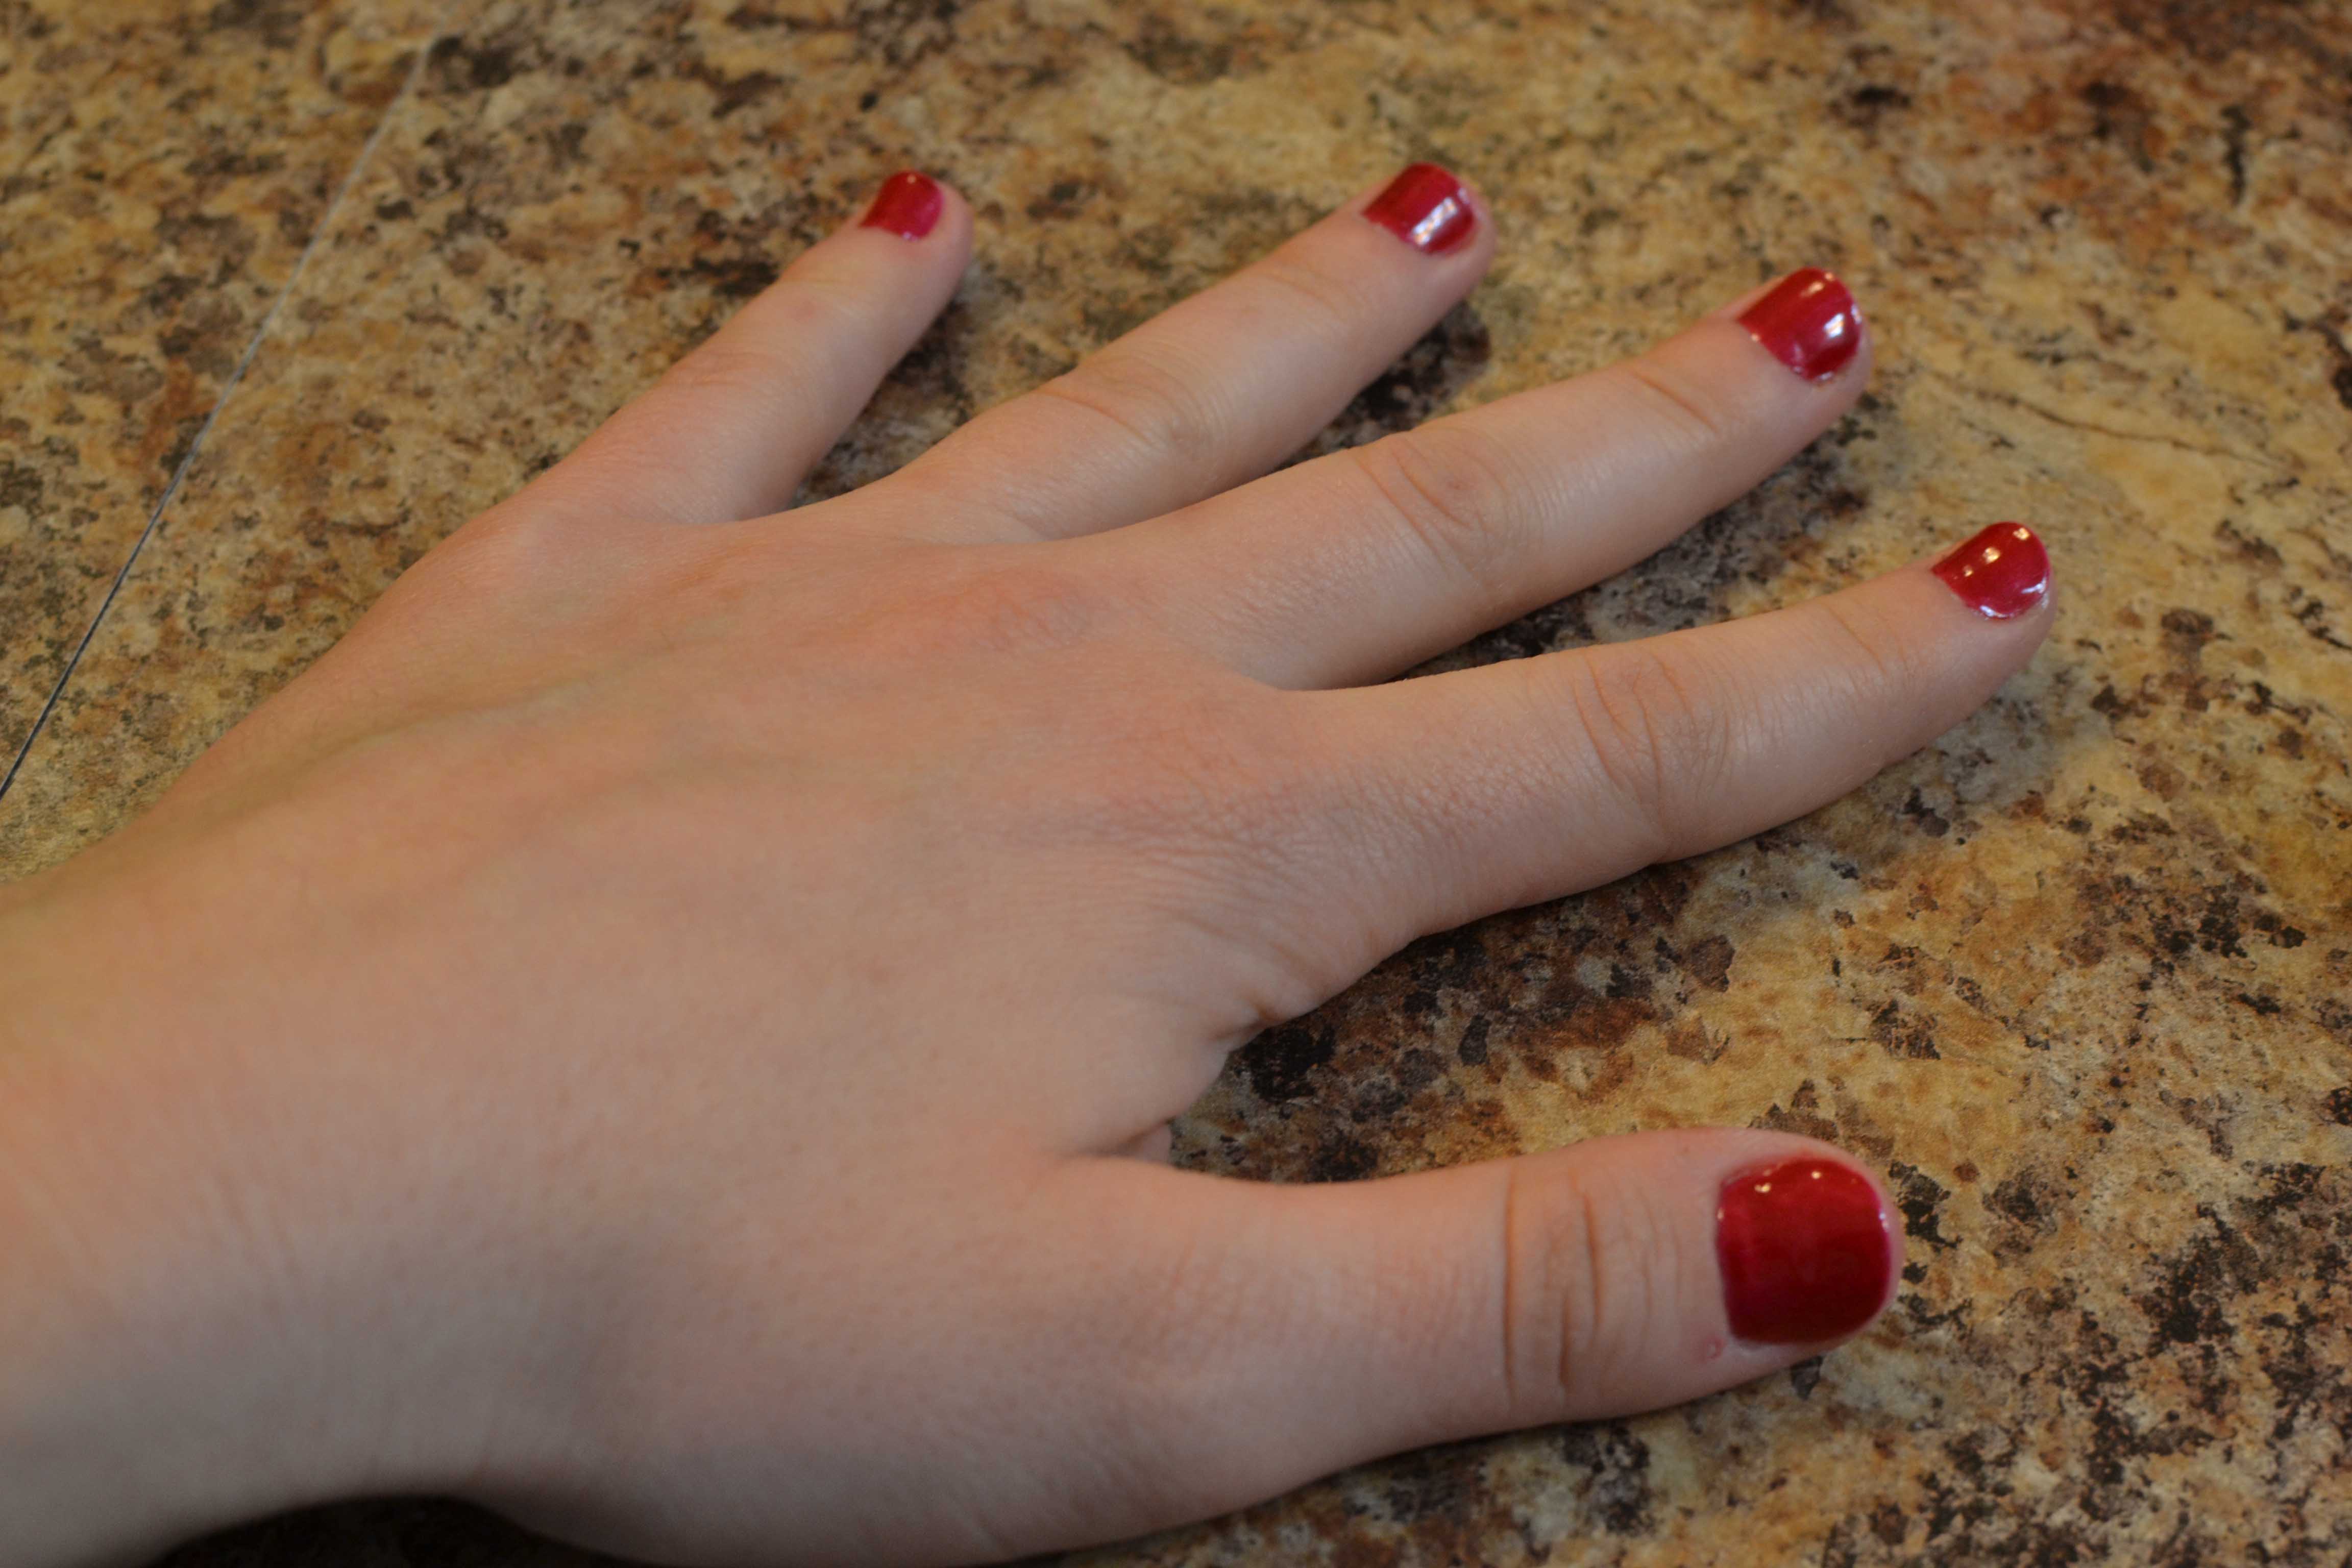
File, trim your nails, and fix any cuticle issues.
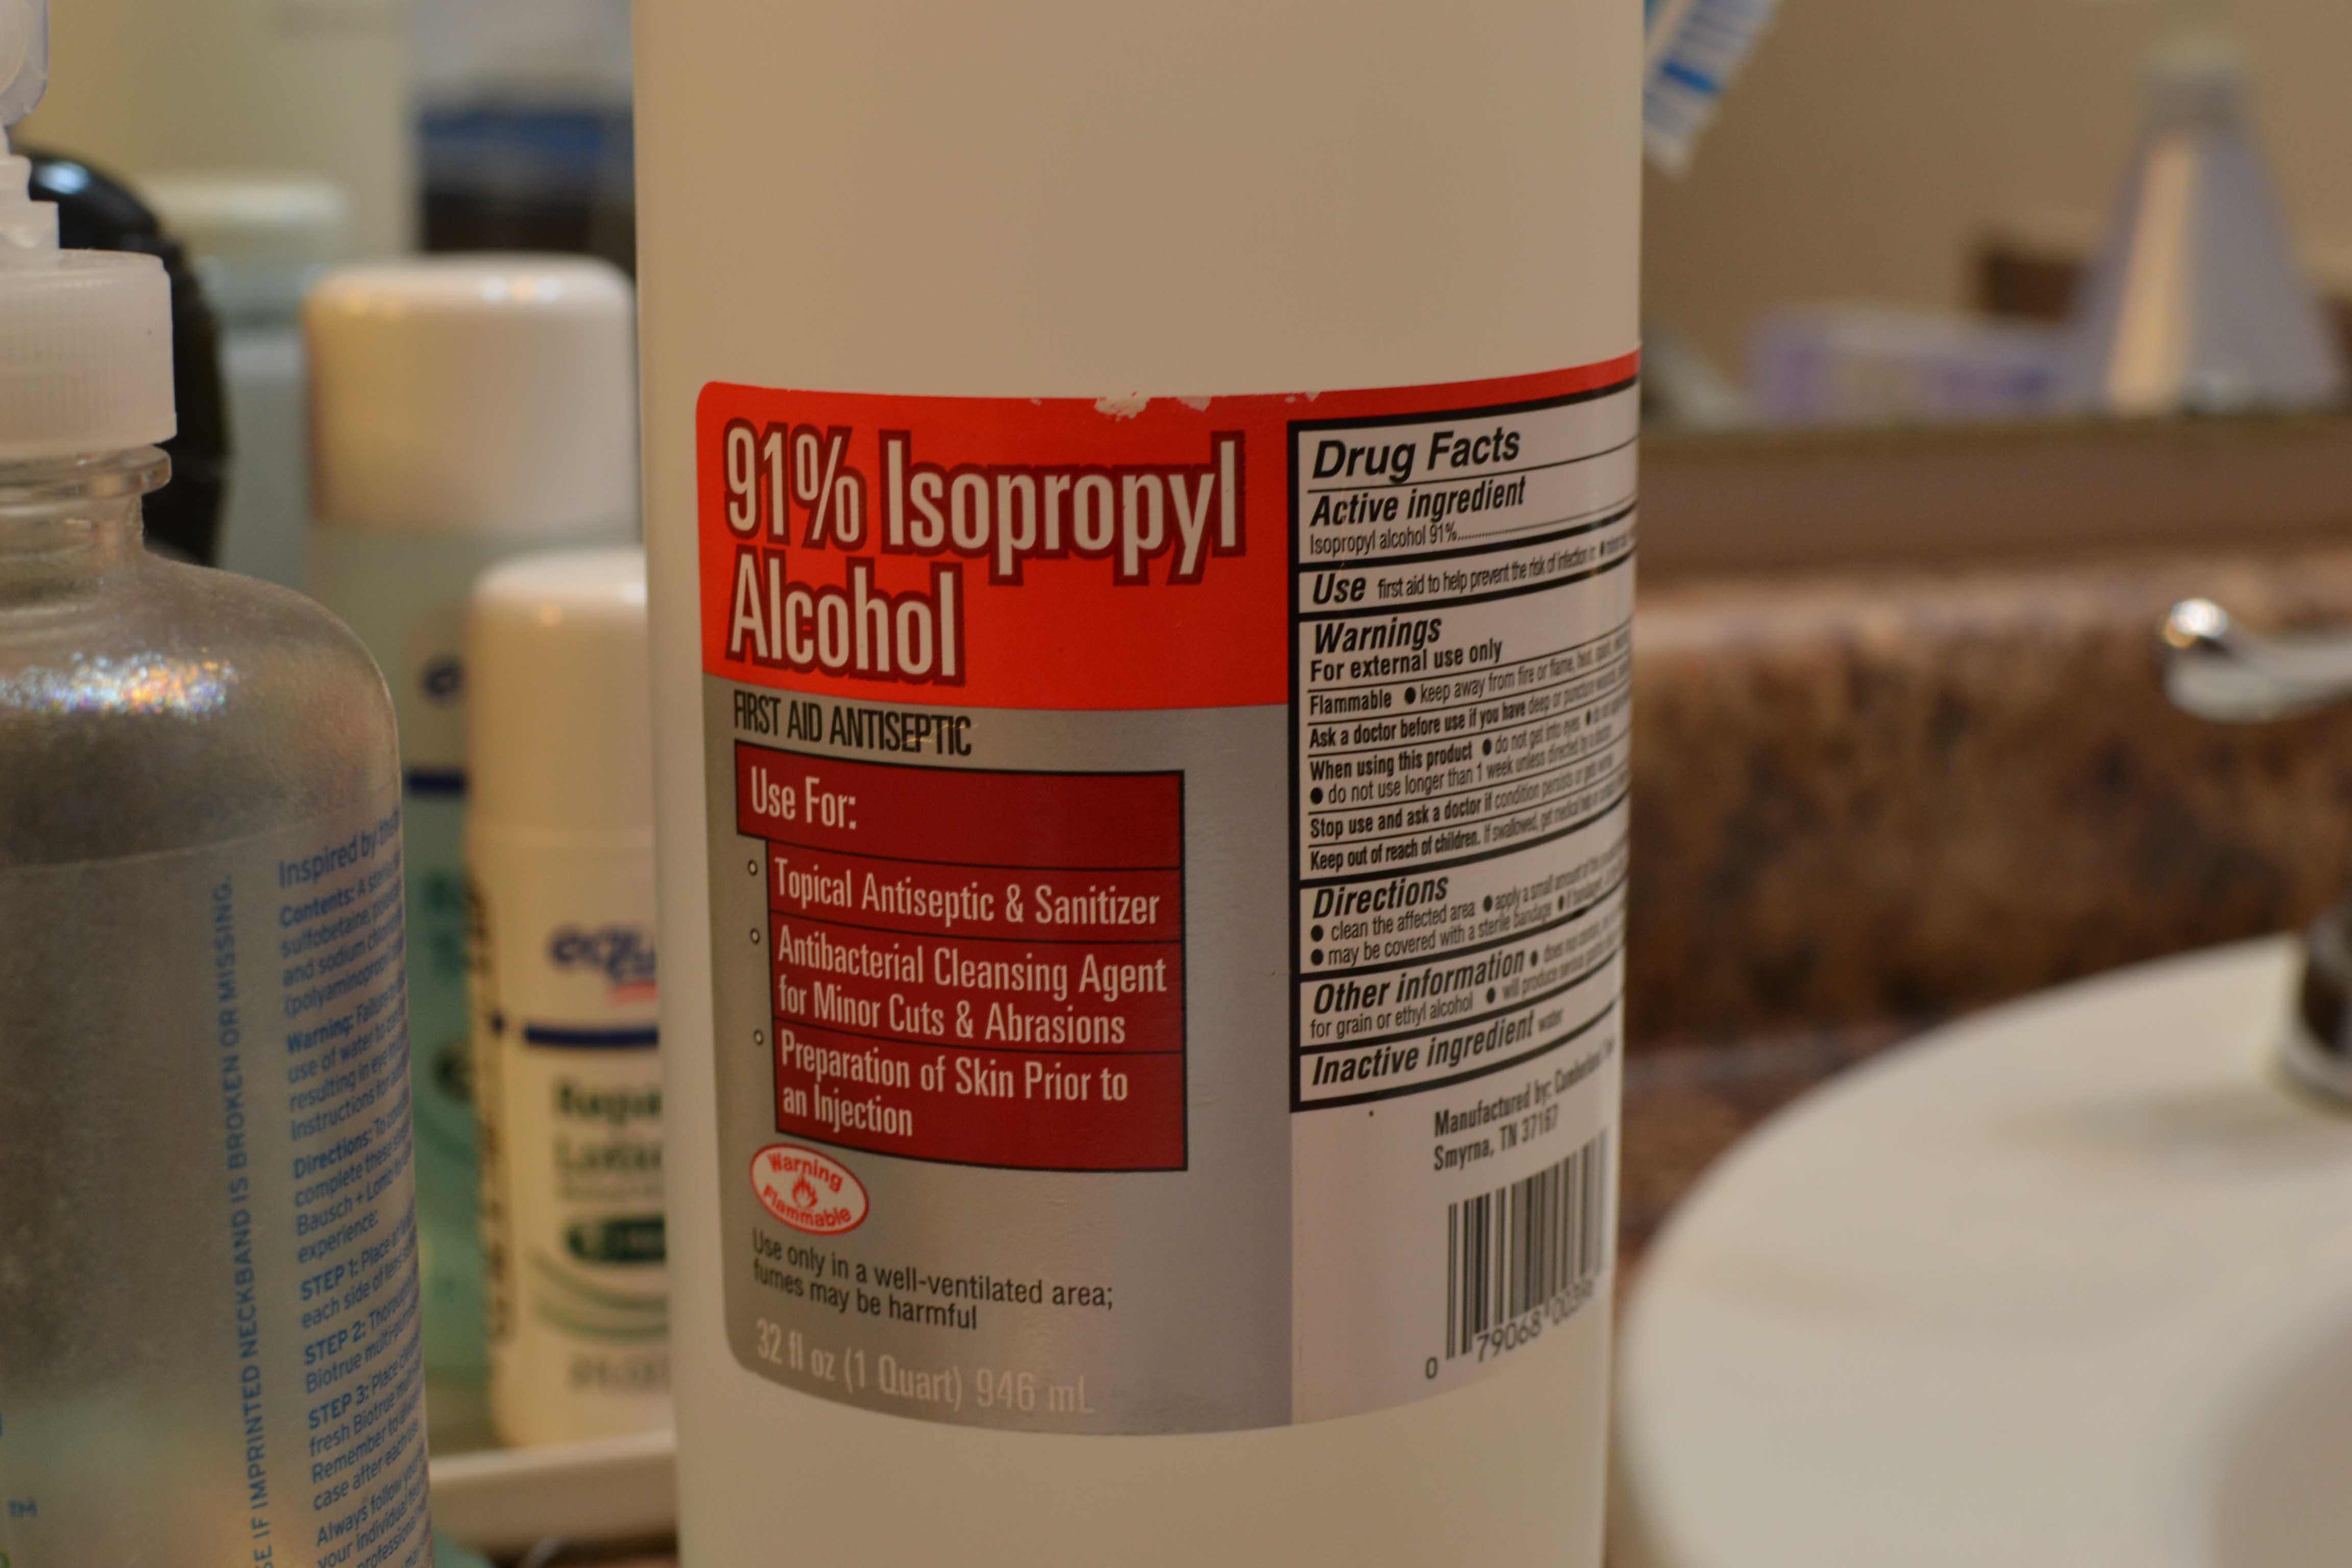
I have rubbing alcohol, and it is good to clean your nails with some on a cotton ball and the tip of your nails to make sure there isn’t anything on them that keeps the gel from sticking.

Paint a very thin layer of the base coat or foundation on the nails including the tip of the nail called capping it off, make sure to not get any on your cuticles or skin as this will be a weak point and can cause the gel nail polish to pull up. IF you do get some on your skin or cuticles just be sure to wipe it off before curing the polish.
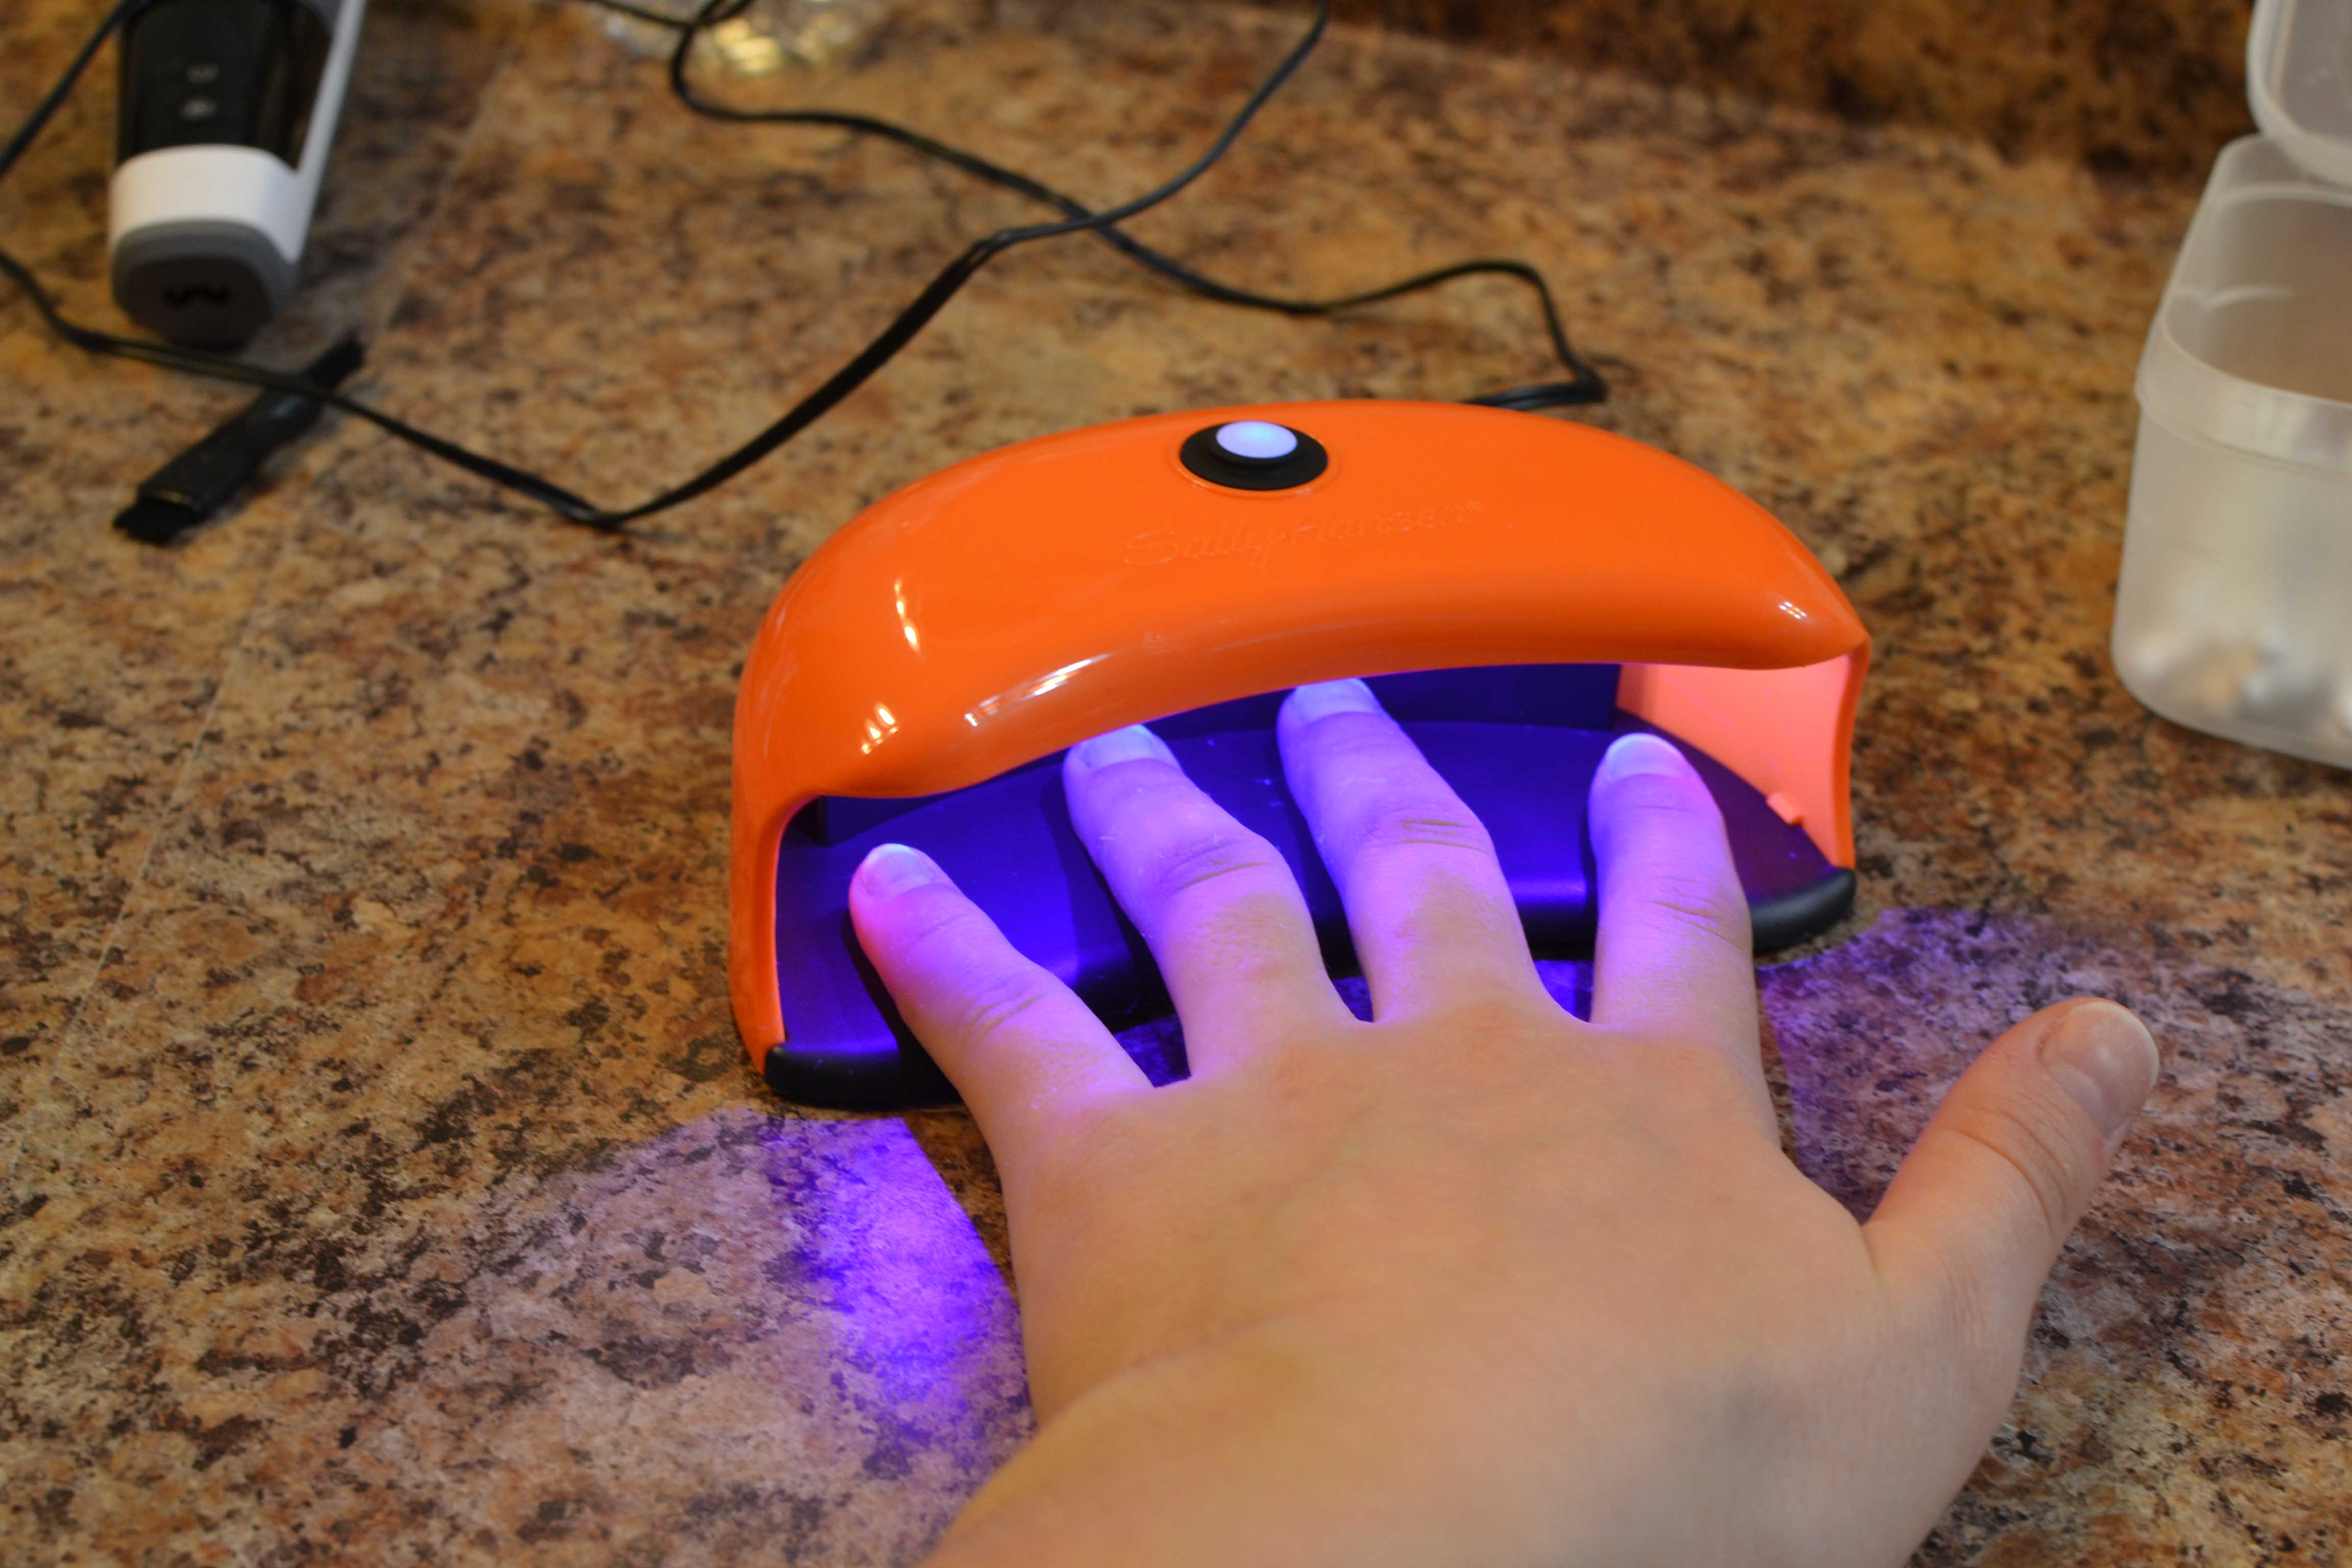
Cure under the LED light for 30 seconds( I know my mom is cringing SORRY!)
Then paint a very thin coat of the gel color making sure to cap the nails and cure for 30 seconds.

Paint the next coat of color or glitter or whatever you want to get the color that you want and cure for 30 seconds. Then paint the top coat and cap nails and cure for 30 seconds as well. *You want to cap the nails so that the gel nail polish doesn’t peel up from the edges or your nails*
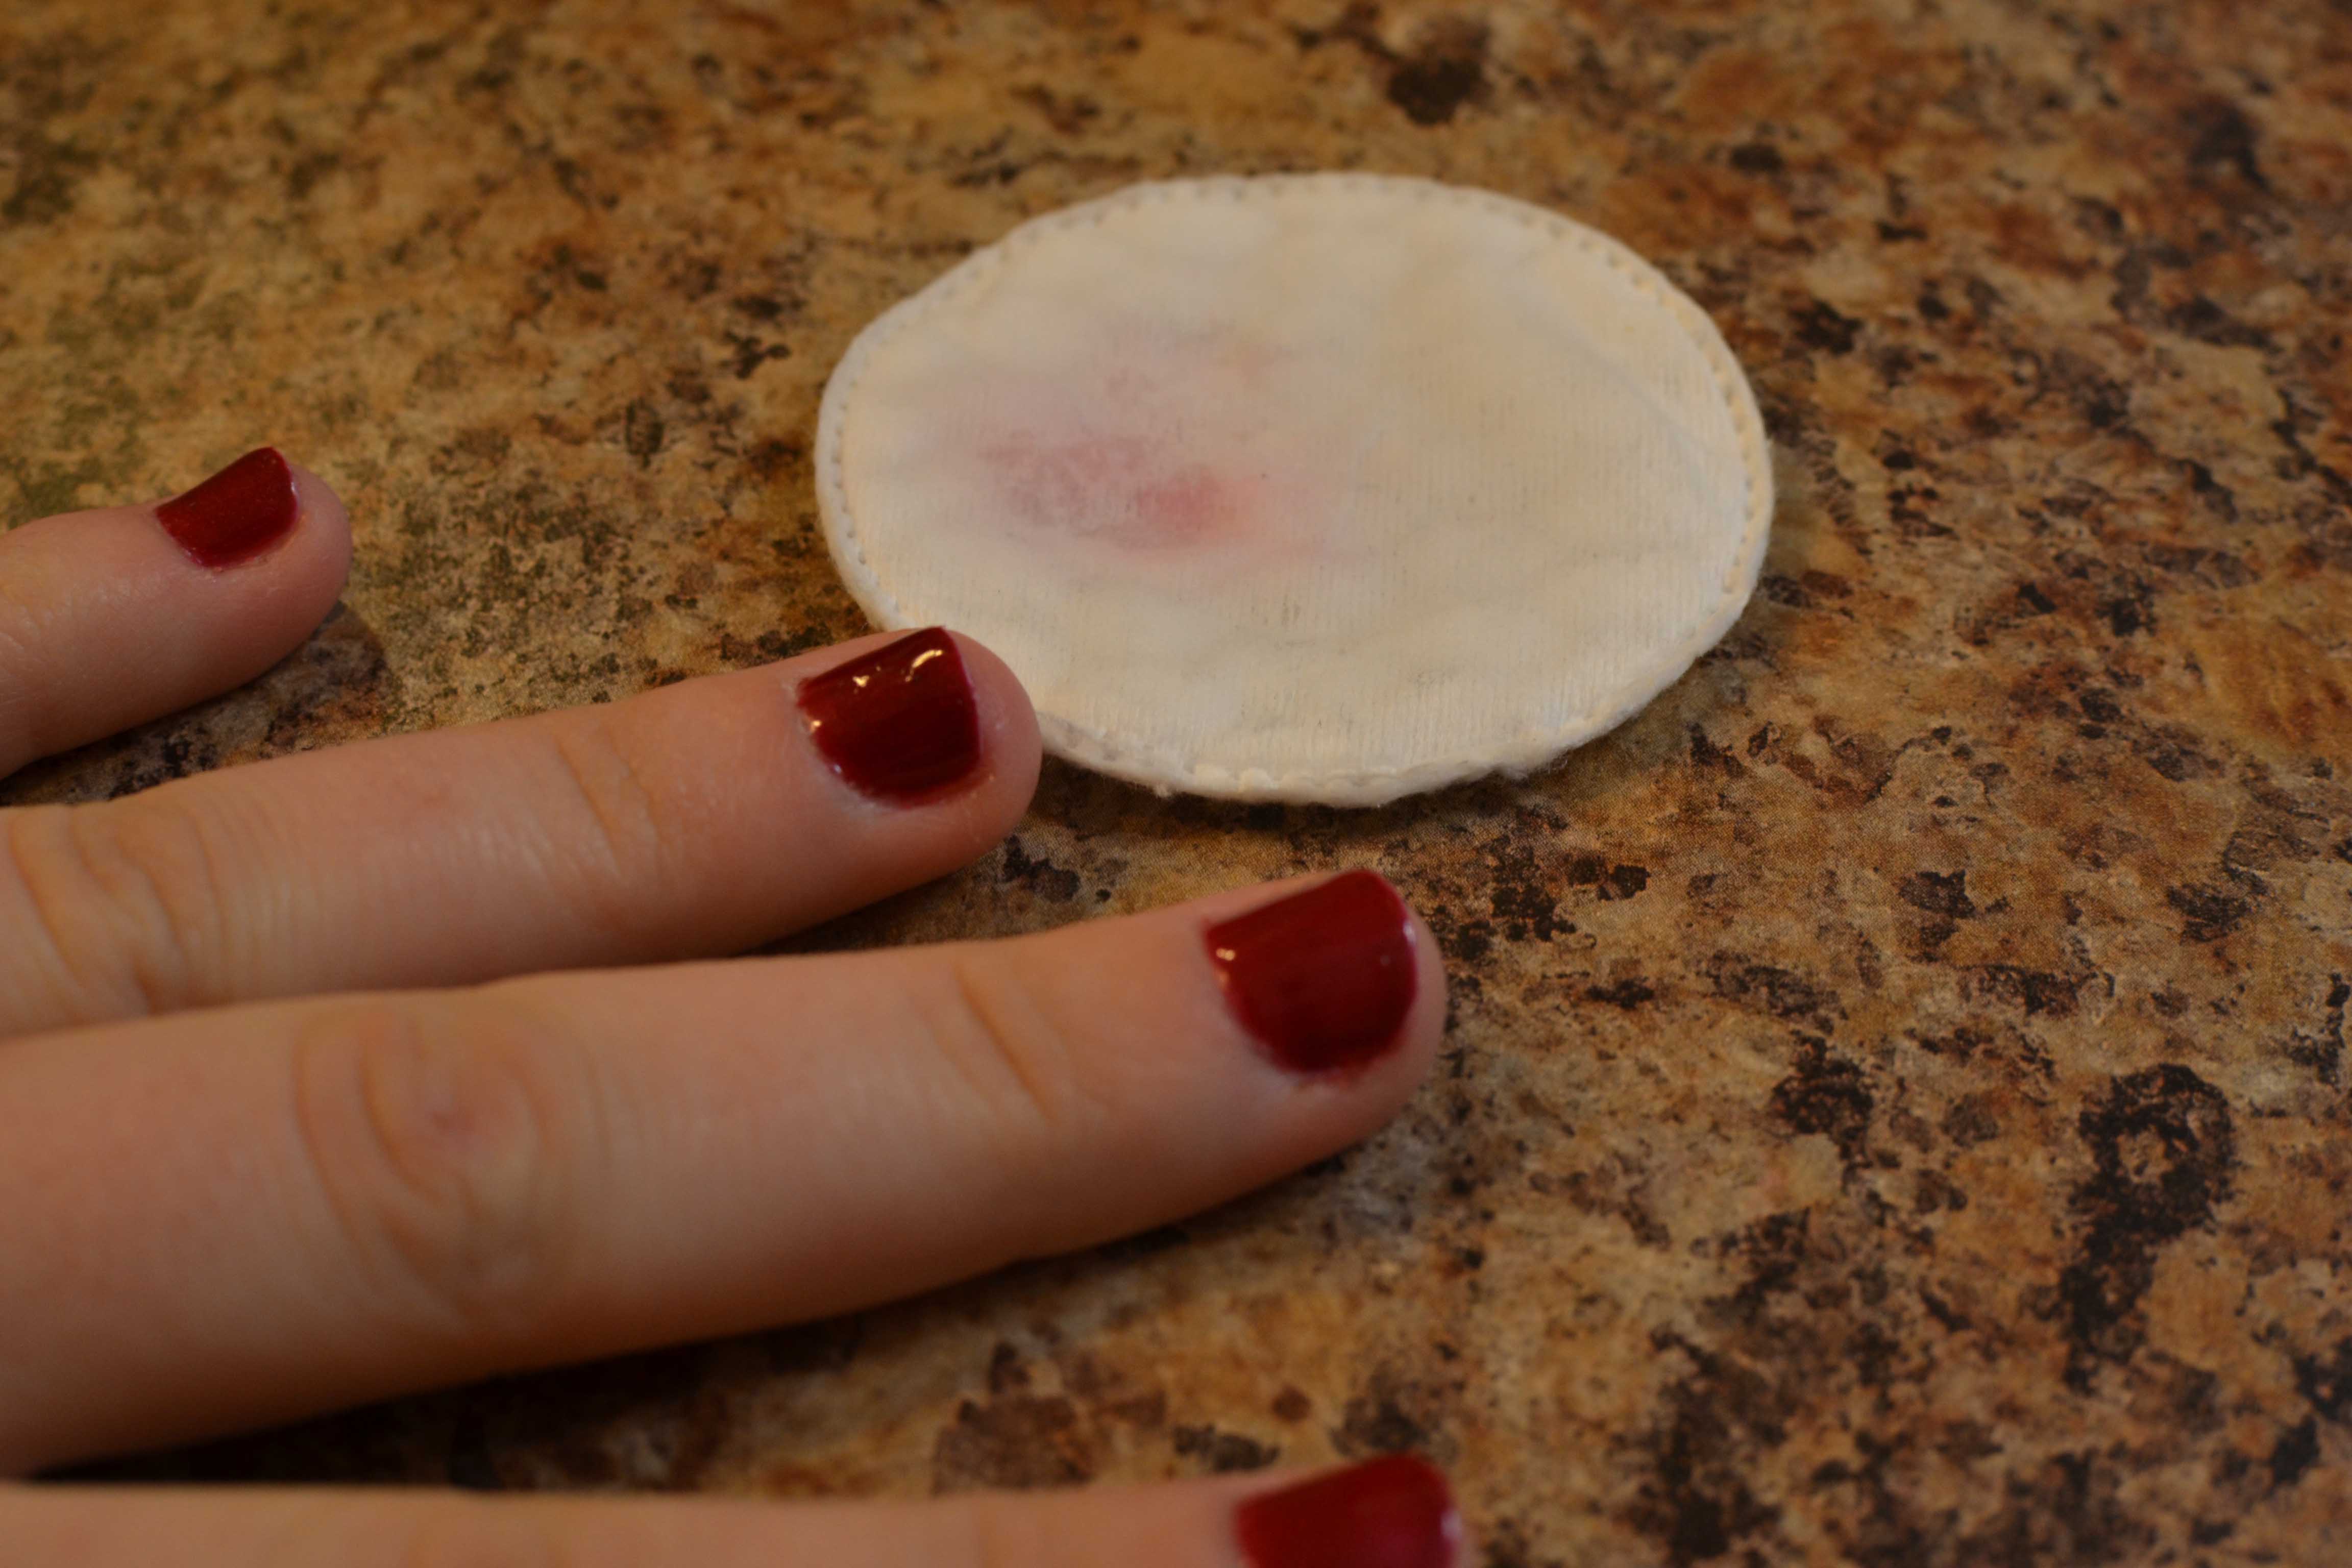
After this your nails will still be tacky to the touch so you take the rubbing alcohol on a lint free cotton pad above or alcohol wipes and wipe all the nails and tips. Then you will see that the polish is really nice and hard, and has a nice mirror like shine to it! I then add some oil around my cuticles or lotion to keep everything looking nice.
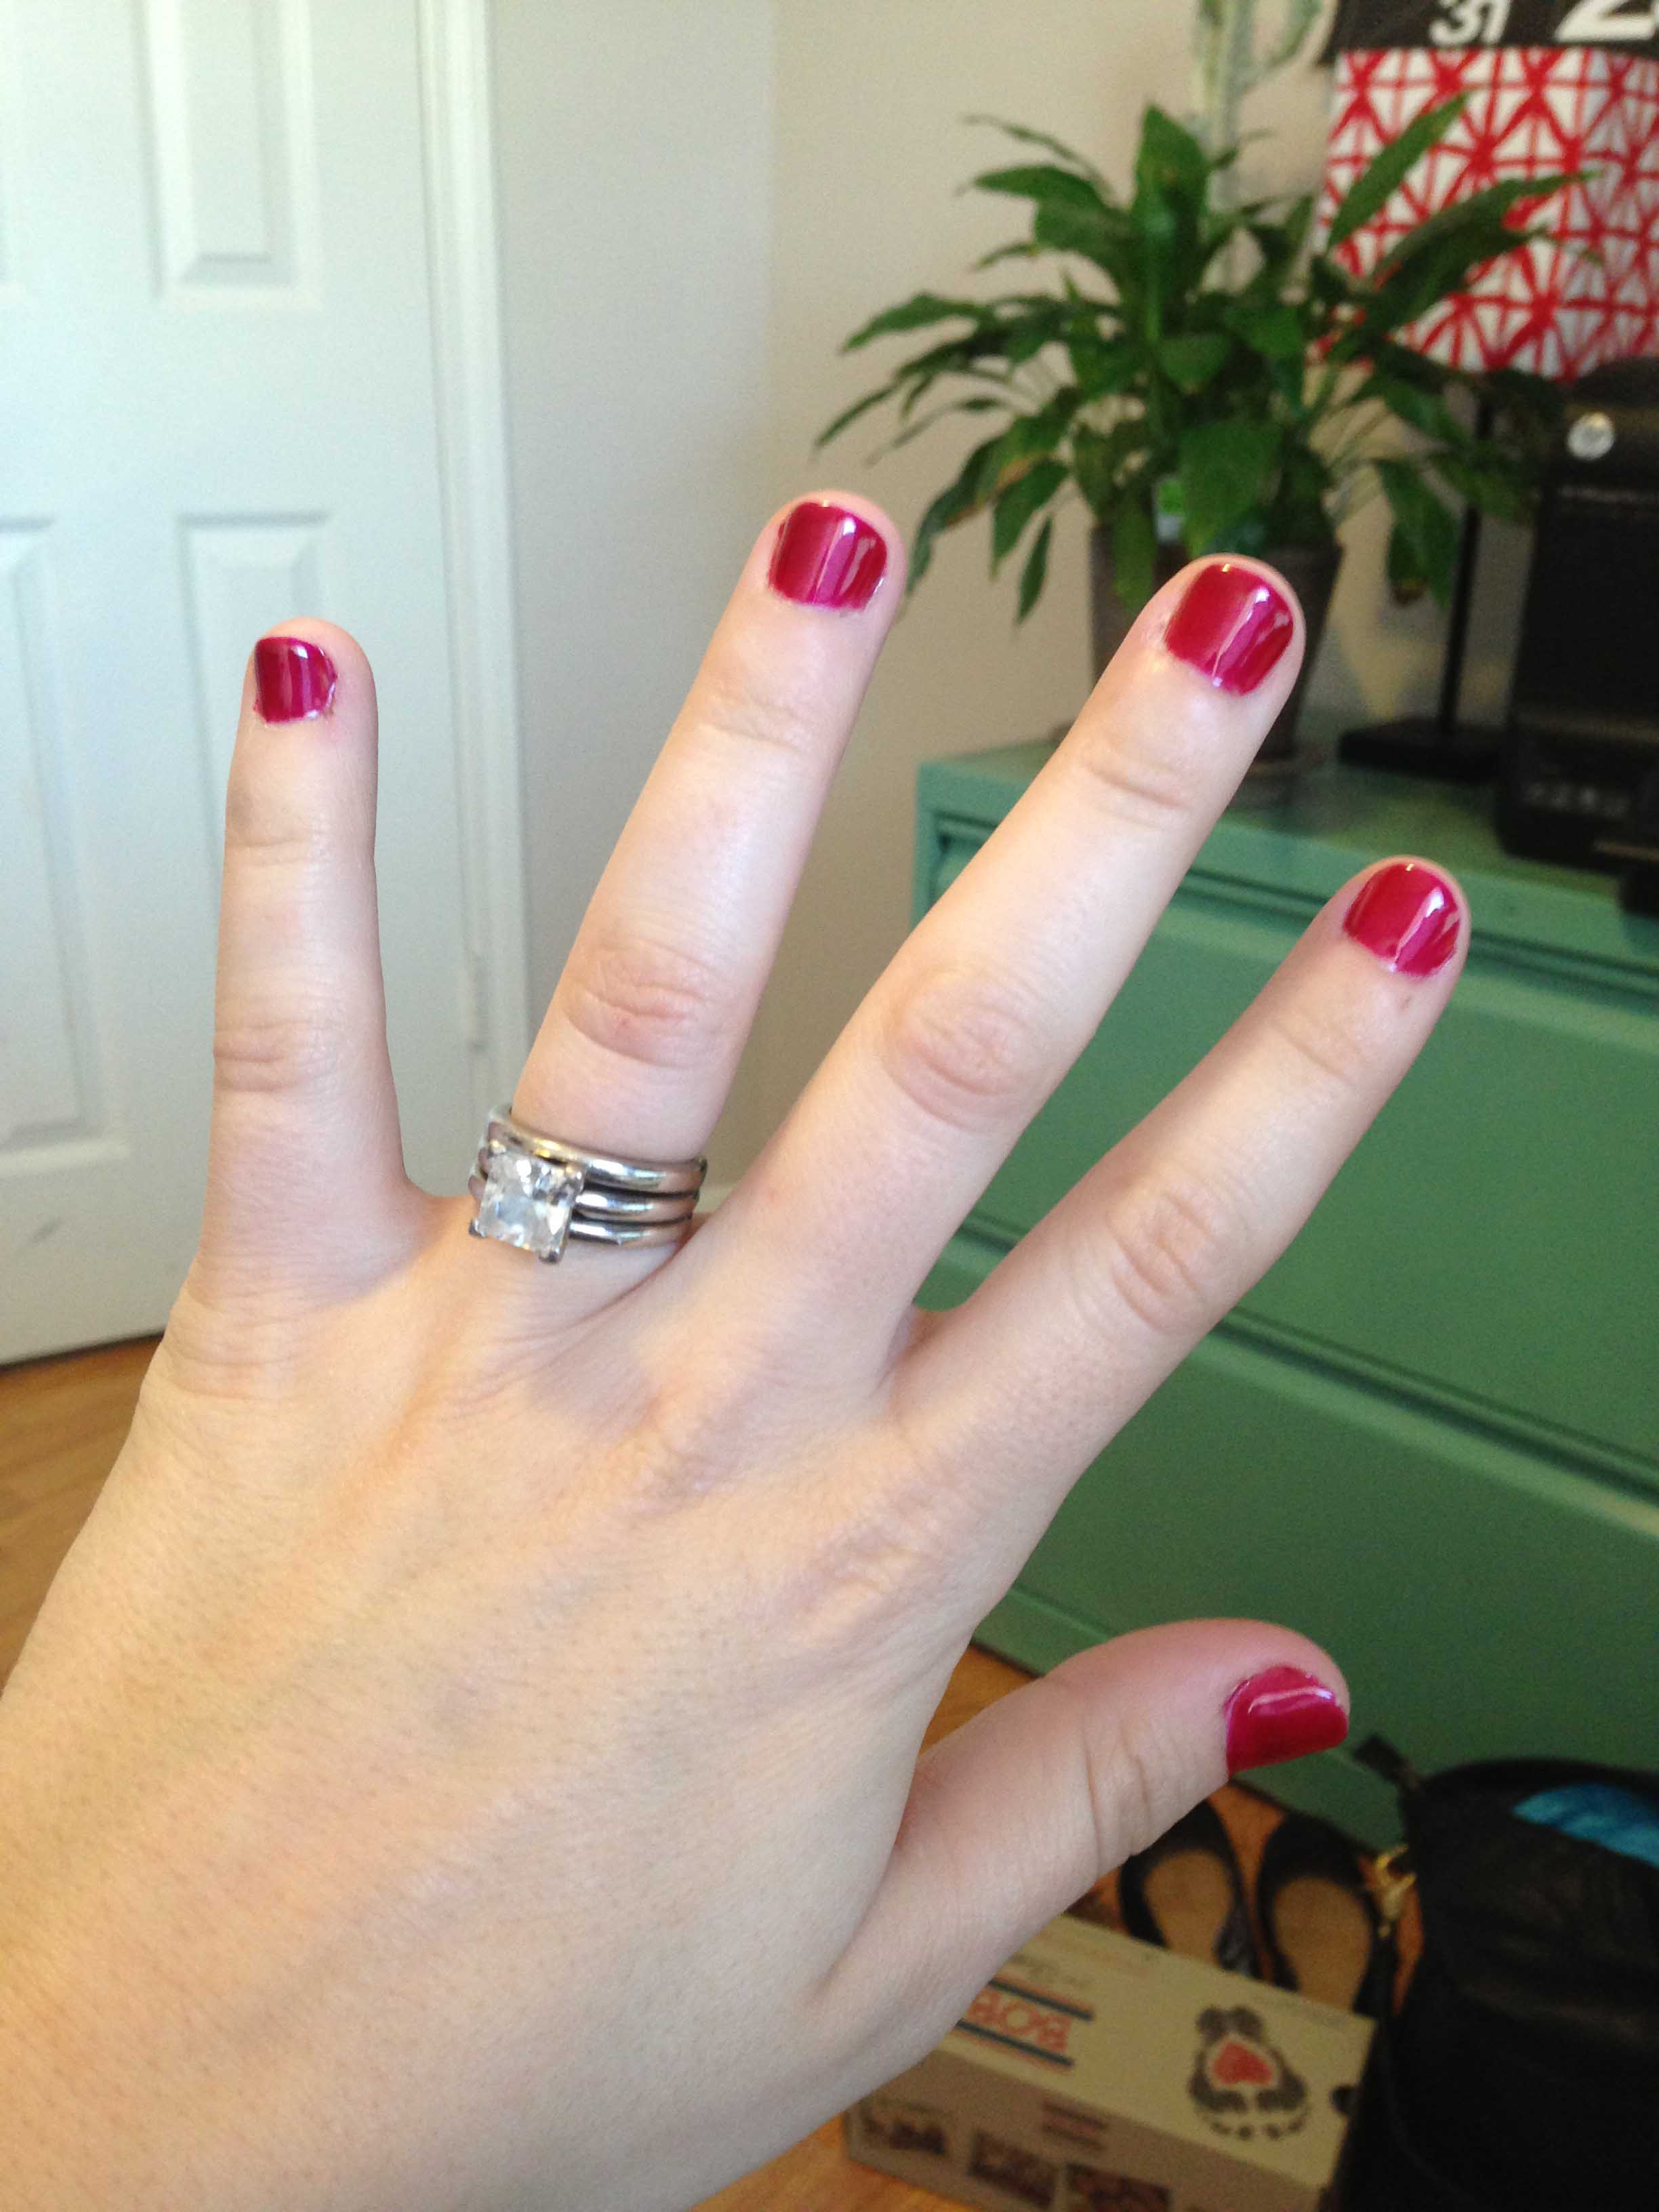
Here is the final product in better lighting, this was my first time doing it, and I was very impressed. I did a poor job and let some of the nail polish get into the crease of the skin and nail and this because a weak spot over time,but I learned quickly over time.

They say these manicures last up to 2-3 weeks, if you don’t mess up on the sides like I did; I don’t see why they wouldn’t. I am SUPER tough on my nails, and they definitely lasted a week and a half, and probably could have lasted longer,but I was sick of the color and wanted a new one.
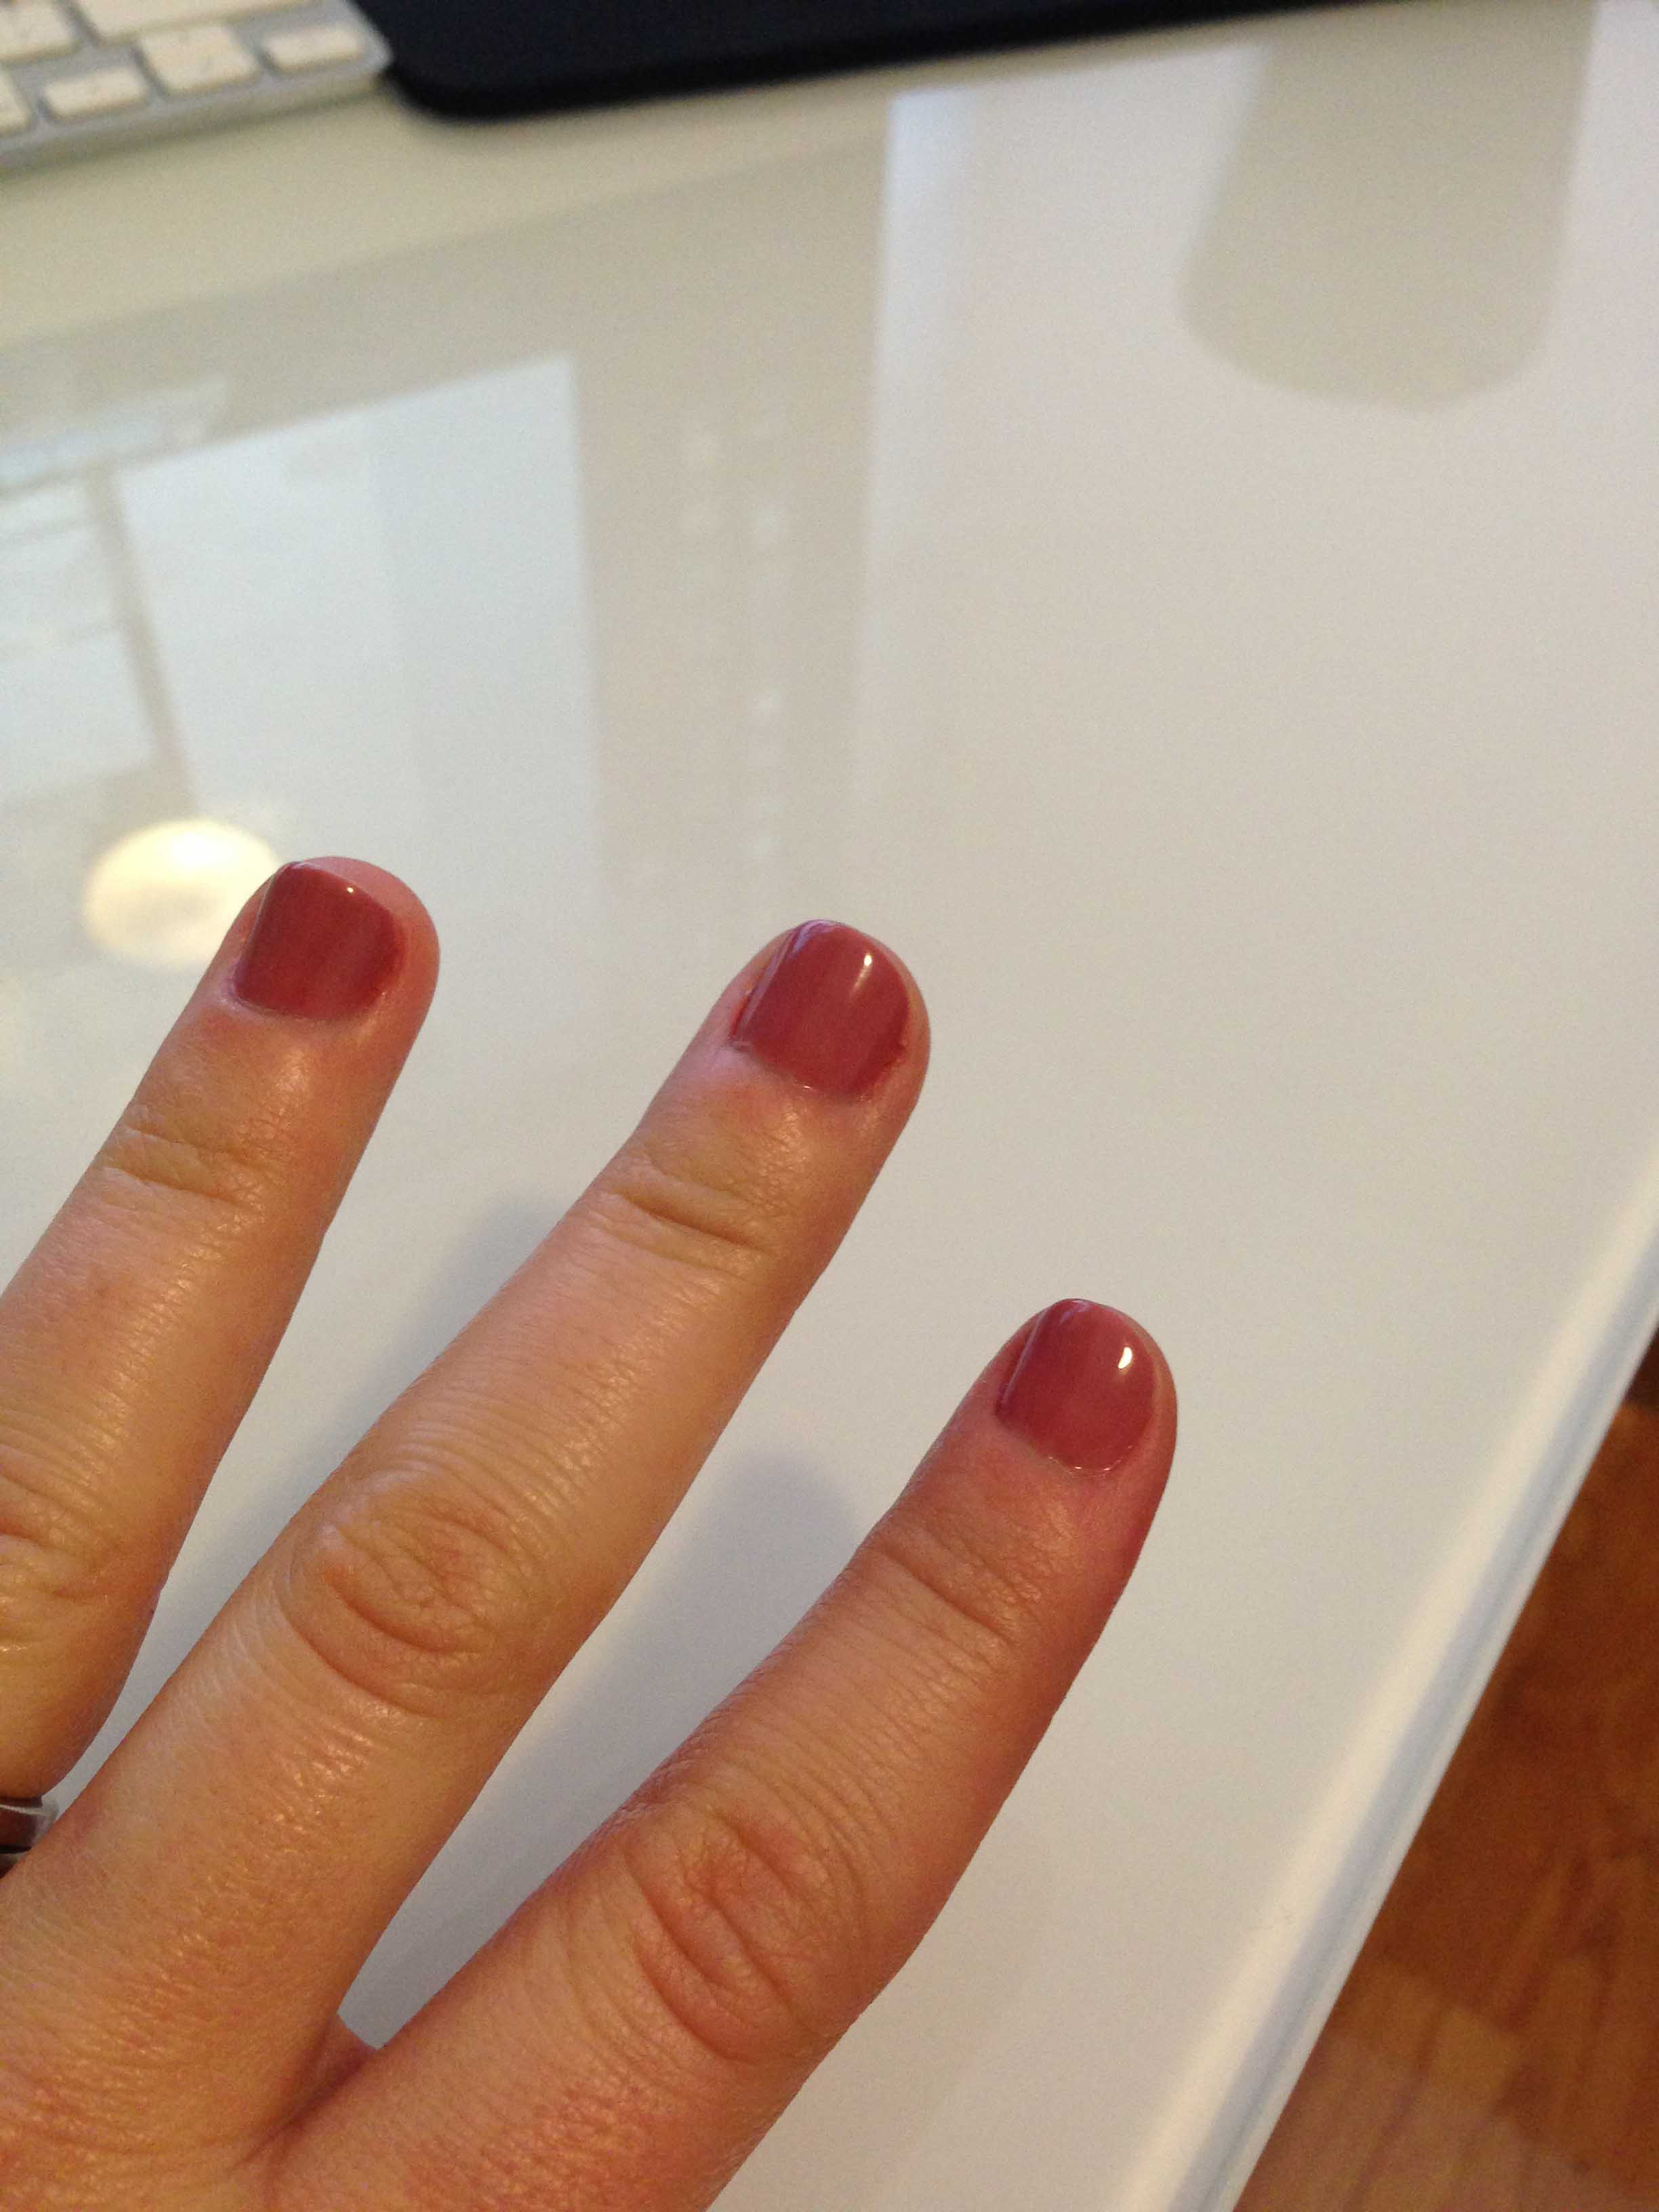
The nail colors are more expensive than typical nail polish at about $12 a bottle but seeing as they last so long, I think they are worth it to me, and you don’t have to buy 10 thousand colors either. Here is a different Sally Hansen color that I like that isn’t quiet as bright.
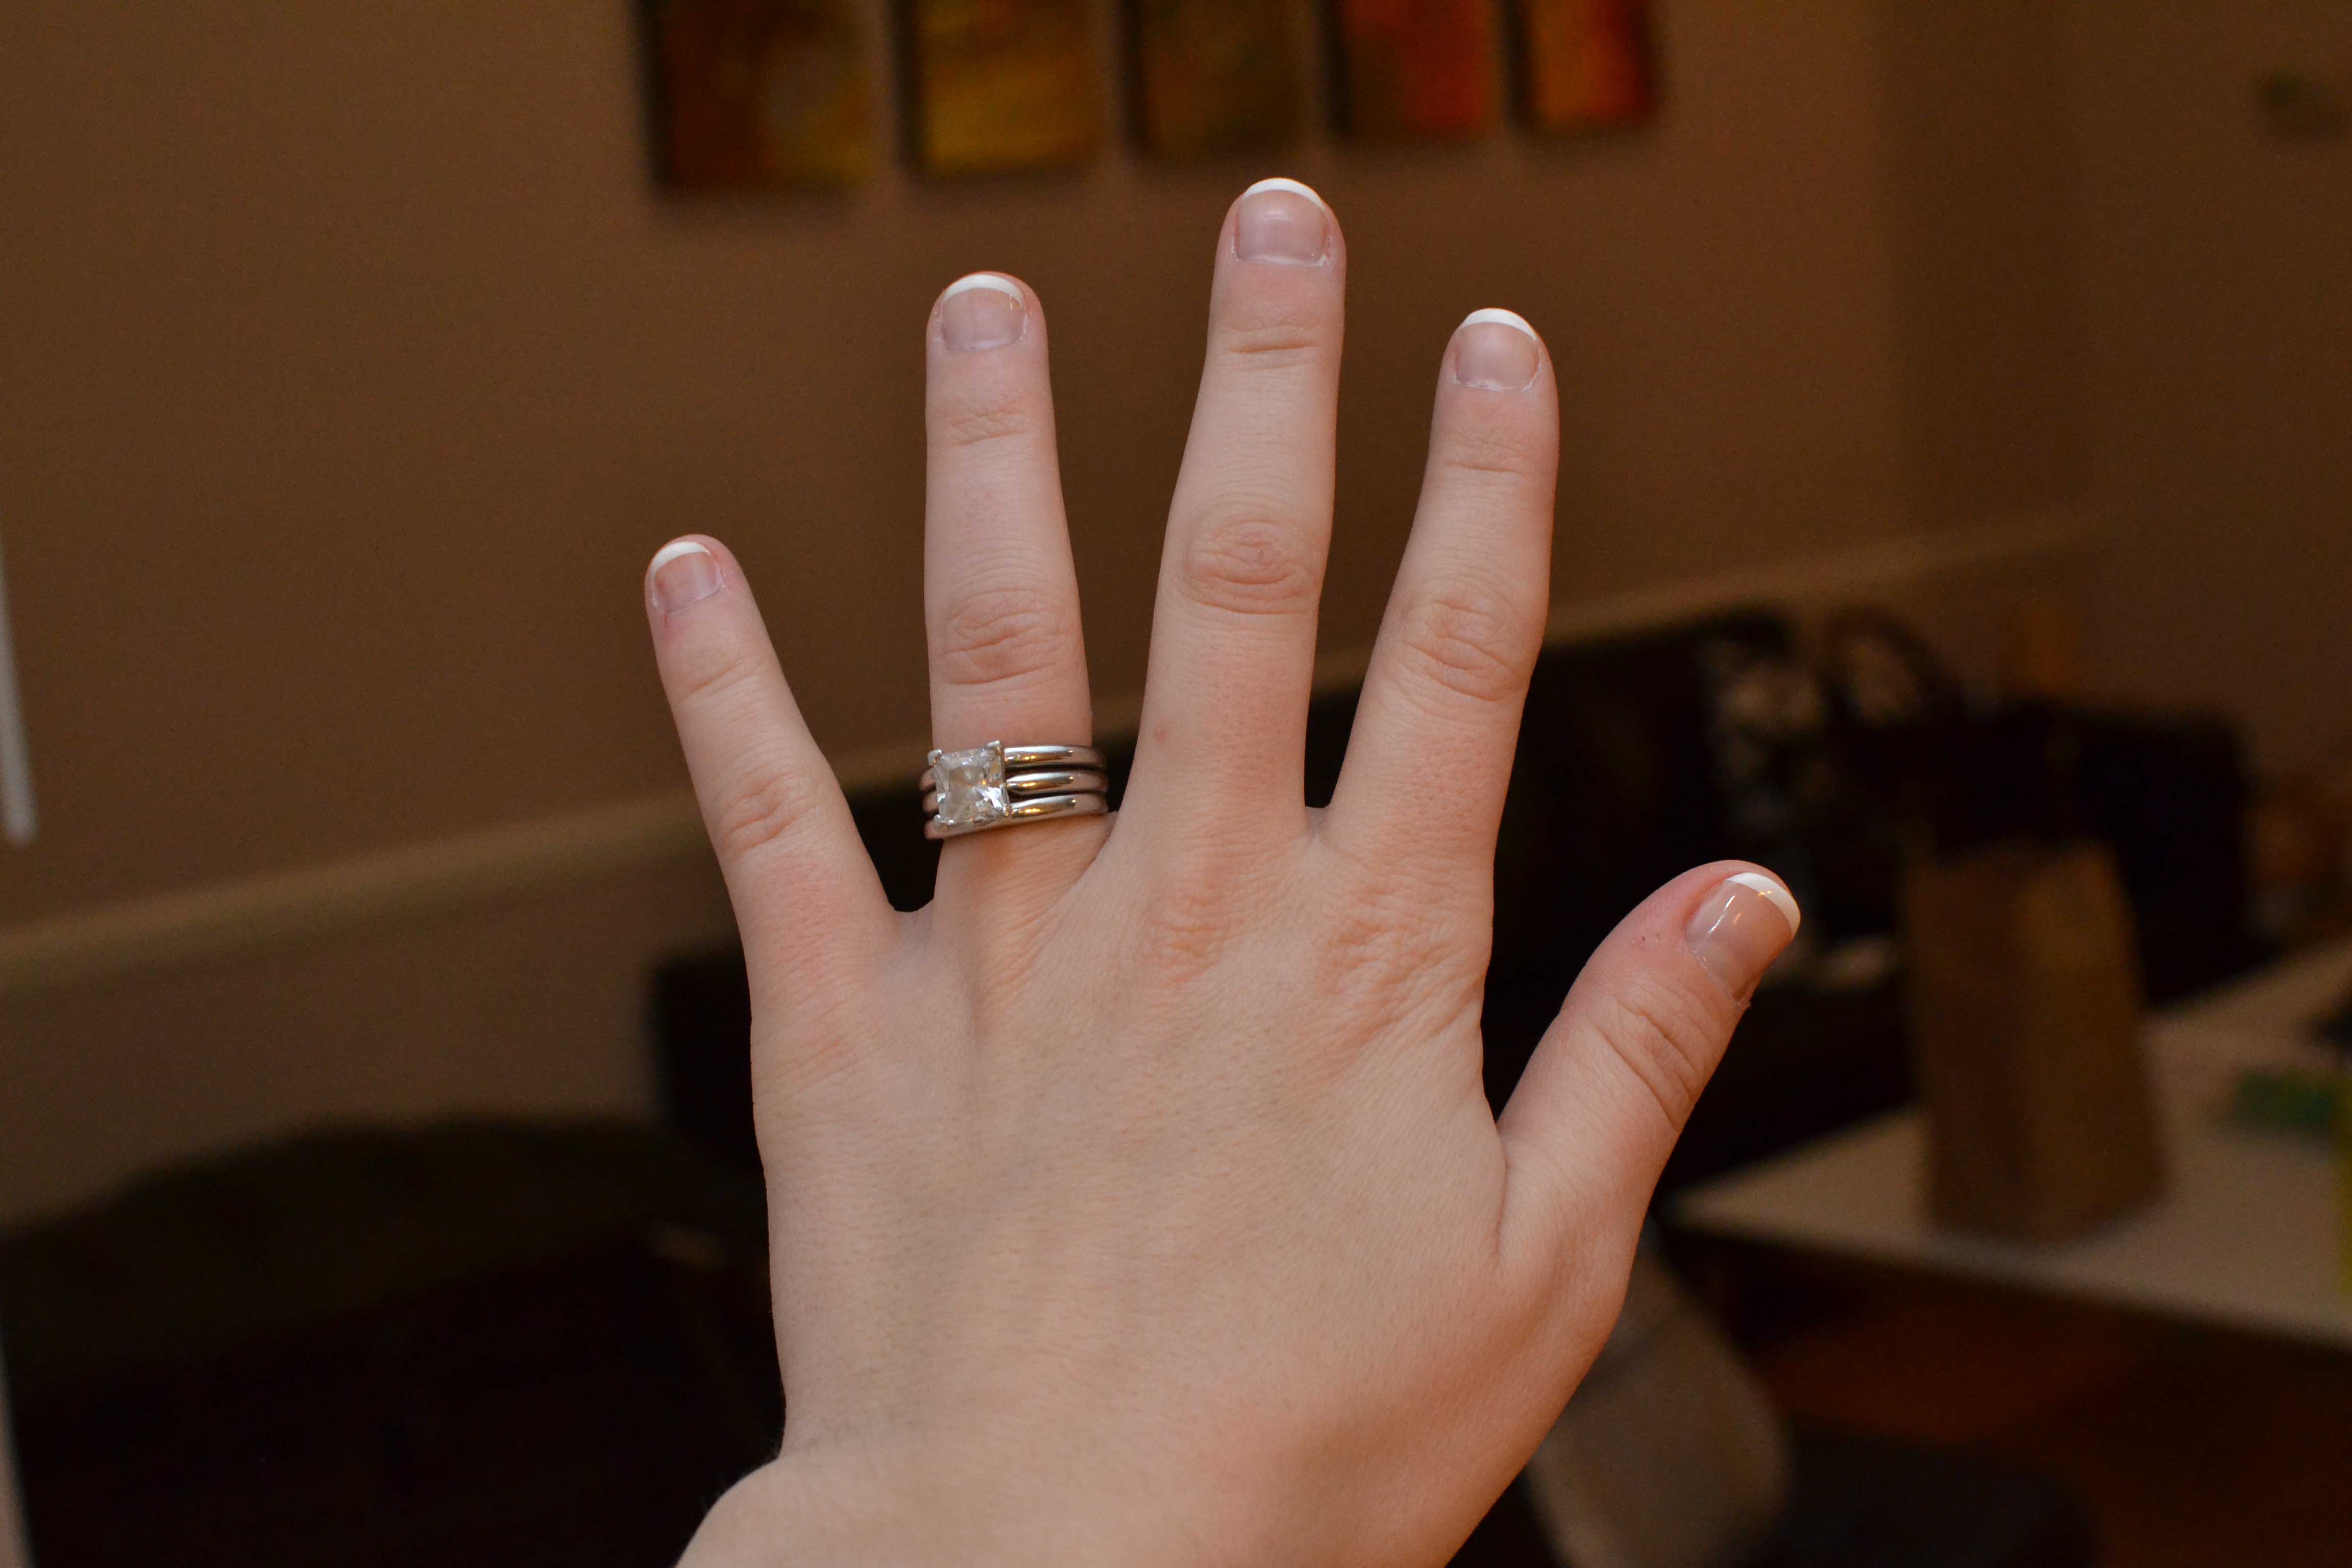
I like the Sally Hansen kit,but I think I will be buying the brand that the blogger linked above mentioned because I think it lasts longer than the Sally Hansen brand does. Here are some french tip nails that I did which took longer,but are my favorite look. I figured out how to do this with nail guides which took some thinking, and I’ll give a tutorial on that soon.
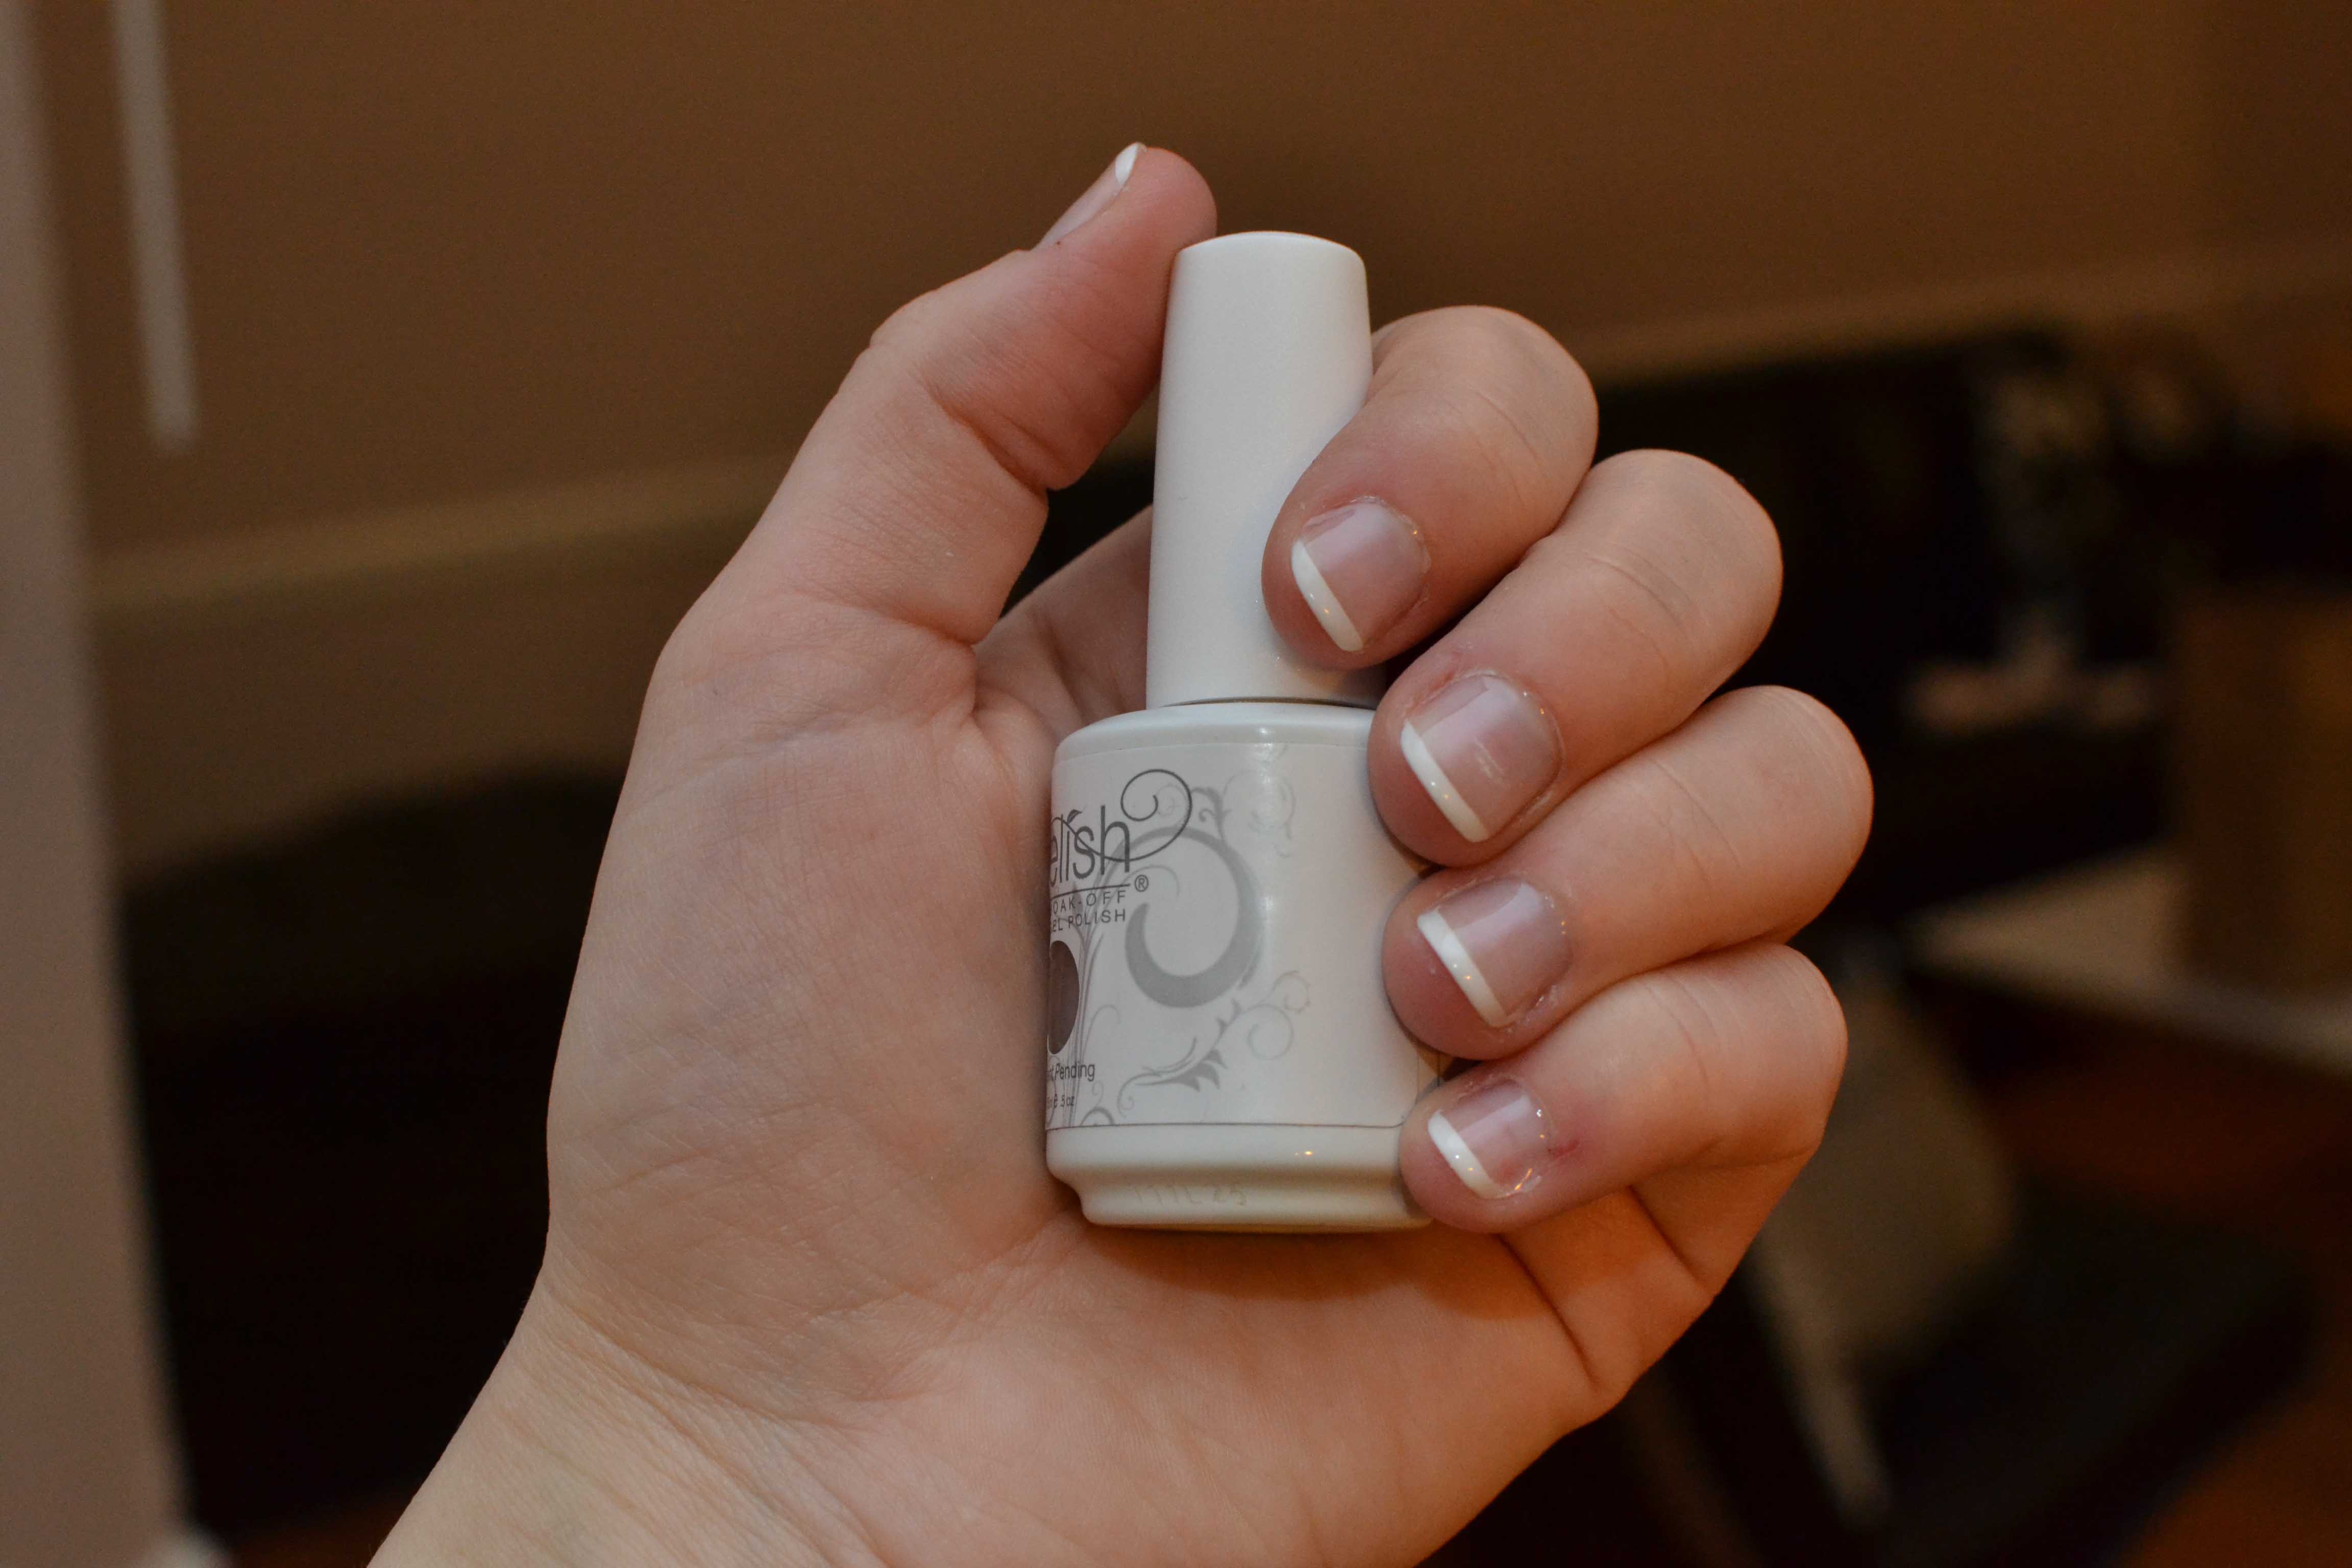
The brand is called Gelish, and they are sold at Sally’s Beauty but are the mini bottles for around $15, but on Amazon you can get the full sized bottles for $12, and a full sized bottle is shown above.

I know this isn’t for everyone, and it isn’t necessary at all,but I love being able to make my nails look nice not pay a ton of money(I guess up front this is still a ton of money,but I have done at least 7 manicures for myself since getting the kit, and having 7 manicures at the salons would have cost me at least $210 dollars without tip and most salons charge extra if they have to remove gel nails as well my LED light only has to cure for 30 seconds where at most salons their lights have to cure for 2-3 minutes so less exposure at home with my light) . The blogger in the link above said that her Gelish colors have lasted her over a year already so I am hoping that for me as well!
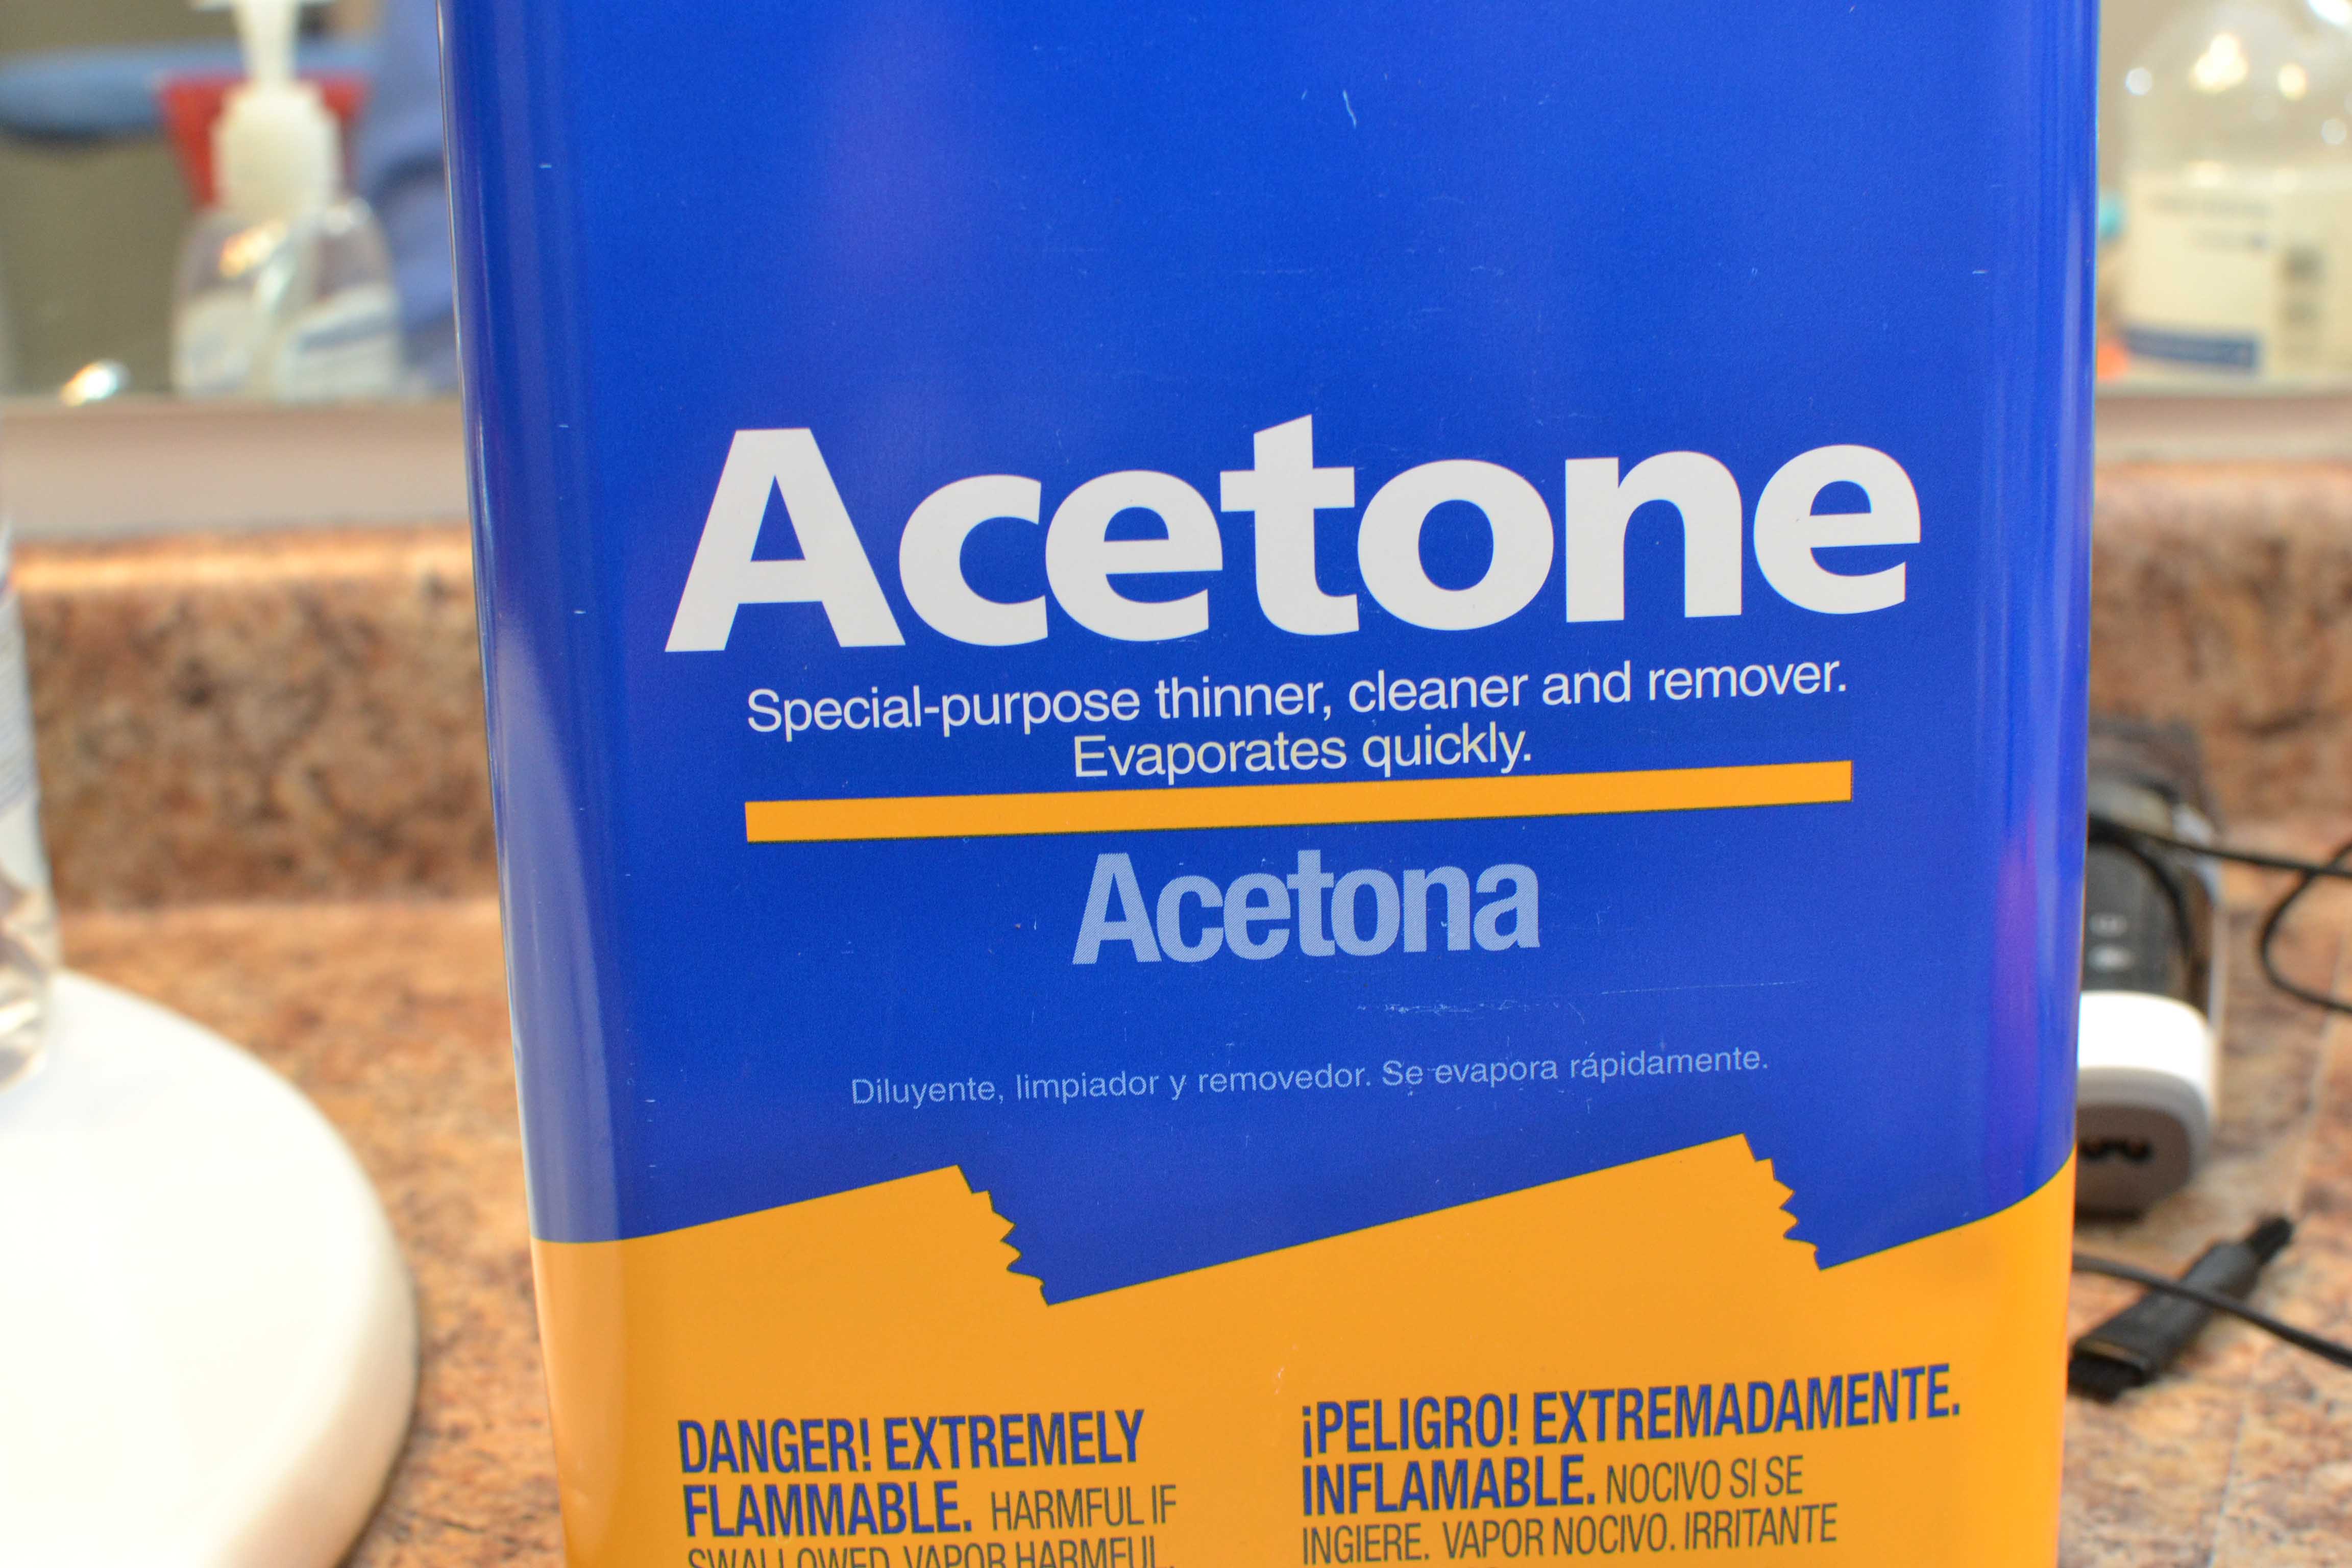
To remove these nails, you take a cotton ball and separate it into 5 pieces and one at a time put one of the pieces in acetone(bought really cheap at any hardware store) then on one nail and cover the tip with foil and do that to all your fingers and let them sit for a while. Remove foil and to see if gel has started shriveling up,etc. just push off with the cuticle stick and swipe clean nails with a q-tip soaked in acetone to make sure there isn’t any residue left on the nails. If it isn’t looking wet or easily coming off let it soak longer in acetone. I haven’t had any damage to my nails,but if you were to pull the gel polish off without doing this method you might.
Here is a good tutorial on how to remove the nails! http://mysoulisthesky.blogspot.com/2013/02/how-to-remove-shellac-or-gel-nails.html
Oh, I also did my toes, and since it is winter and my feet stay in socks most of the time, my pedicures were lasting around 3+ weeks!
I wasn’t paid for any of the items above and am just giving my honest opinion. I am no nail expert,but was just really excited about being able to do this myself since I felt it was worth more of my time.
Update, I have been getting much better at shaping and painting, so here is an updated picture!!

For other Nail tutorials see below!
https://thesimplehaus.com/2013/05/diy-french-tip-gelshellac-nails/
https://thesimplehaus.com/2015/01/how-to-keep-gel-nails-from-breaking-or-peeling/
21 comments
[…] I am finally getting better at shaping and painting my nails with the gel polish. (Color is Sea Foam by Gelish.) Gel Nail Tutorial. […]
I just purchased this same Sally Hansen gel kit from ULTA last week and can’t wait to use it!!
So cool! I use one of those glass files to keep my nails from breaking
Why does everyone refer to the curing light as a “UV” when it’s a harmless LED light and says so right on the box?!
Hope’s Charity – I don’t think you understand. LED refers to the bulb type used, not the type of light the bulb produces. This lamp uses Light Emitting Diodes to produce a light that has a wavelength in the Ultra Violet range.
[…] See my DIY Tutorial HERE! […]
Good news! First, thanks for the review. I bought the Sally Hansen kit as well and have been reading reviews and appreciated yours. I have stage 4 Melanoma (the bad skin cancer) and am very very protective about my UV exposure. So, I did a little research after reading your review to confirm and you ARE being good to your skin using the LED tight vs. a UV light. The best source for this information is this article in case you are interested. http://www.npr.org/blogs/health/2012/08/08/158426970/energy-efficient-lightbulbs-have-a-dark-side-when-it-comes-to-health So, enjoy your gel manicures without fear of skin damage or your Mom’s concern! 🙂 And thanks again for the review! I am still working on how to properly “cap” my nails with the polish. It’s tricky! (Just reread this and it sounds like I work for Sally Hansen. I don’t!)
Martha,
Thanks for the information and the article, I will definitely read it. “Capping” the nails and not letting anything touch your cuticles or skin was the hardest for me,but I am getting a lot better over time. I also sometimes feel like I should be getting paid by Sally Hansen or Sensationail,but alas, just my opinons and nothing else.
In love with the mint and red colours!
I just posted a tutorial on how to do galaxy print nails if you’d be interested in taking a look.
Hannah
pookybanana.blogspot.ie
Thanks for sharing Hannah!
hi how did you do your toes?
Mayra,
Honestly, you do it the same way you do your fingers except I place the light on the floor to make it easier to cure. Let me know if you have any other questions.
[…] DIY Gel or Shellac Nails. […]
Hi, Nice review! I have jsut purchased the SH kit. Would the lamp work with gelish polish? Did you try this? Lookijng foward 4 your response, Thanks a lot!
Natalia,
I only have the Sally Hansen light, and it works great with the Gelish Polishes.
Thanks! Does it work ok with the foundation and top it off from gelish? Did you try this as well? Thanks again 🙂 very helpful post!!
Yup, it works great with both of these, see this post https://thesimplehaus.com/2013/05/diy-french-tip-gelshellac-nails/ and this post https://thesimplehaus.com/2015/01/how-to-keep-gel-nails-from-breaking-or-peeling/ they show me using gelish brand, sally hansen, CND, and sensationail colors all with the Sally Hansen light. Let me know if you have any other questions.
AMAZING!! i´m looking at the post on french tips: FA N T A S T I C!!! Just what I needed 🙂 Thanks soo much! One last minute question: It´s ok to cure gelish (color & top coat) only 30 seconds (the time preset on sally´s lamp). I´m asking cause I read on gelish boxes and it says 45 seconds (I don´t want to waste my light lamp twice if it´s not necessary). What do you say? Thanks again, you are really helping this newby!!!! 🙂
OMG! So sorry for the triplicate reply! I don’t know what happened 🙁
Hahah, no worries! 🙂
I always just do the 30 seconds that the light has. The only time I use the light twice is when I use the Gelish thickening gel, but with regular colors, top, and base coat I only do it once.