

I like making truffles, especially for gifts at the holidays. They are really tasty, and you don’t have to give a ton for a satisfying gift. I started seeing all of these amazing fall post on pinterest, and it was time to make these. I was in Dime Box, TX at my parent’s place when I took these pictures; it was fun having a bigger kitchen with better lighting. I found this recipe and the instructions on how to make these truffles with molds here. I have one recipe that is the normal dark chocolate truffles with hazelnut liquor, that has a nice firm ganache in it. This recipe like my mint truffles, has a more liquid filling so requires a mold rather than hand rolling like other truffles.
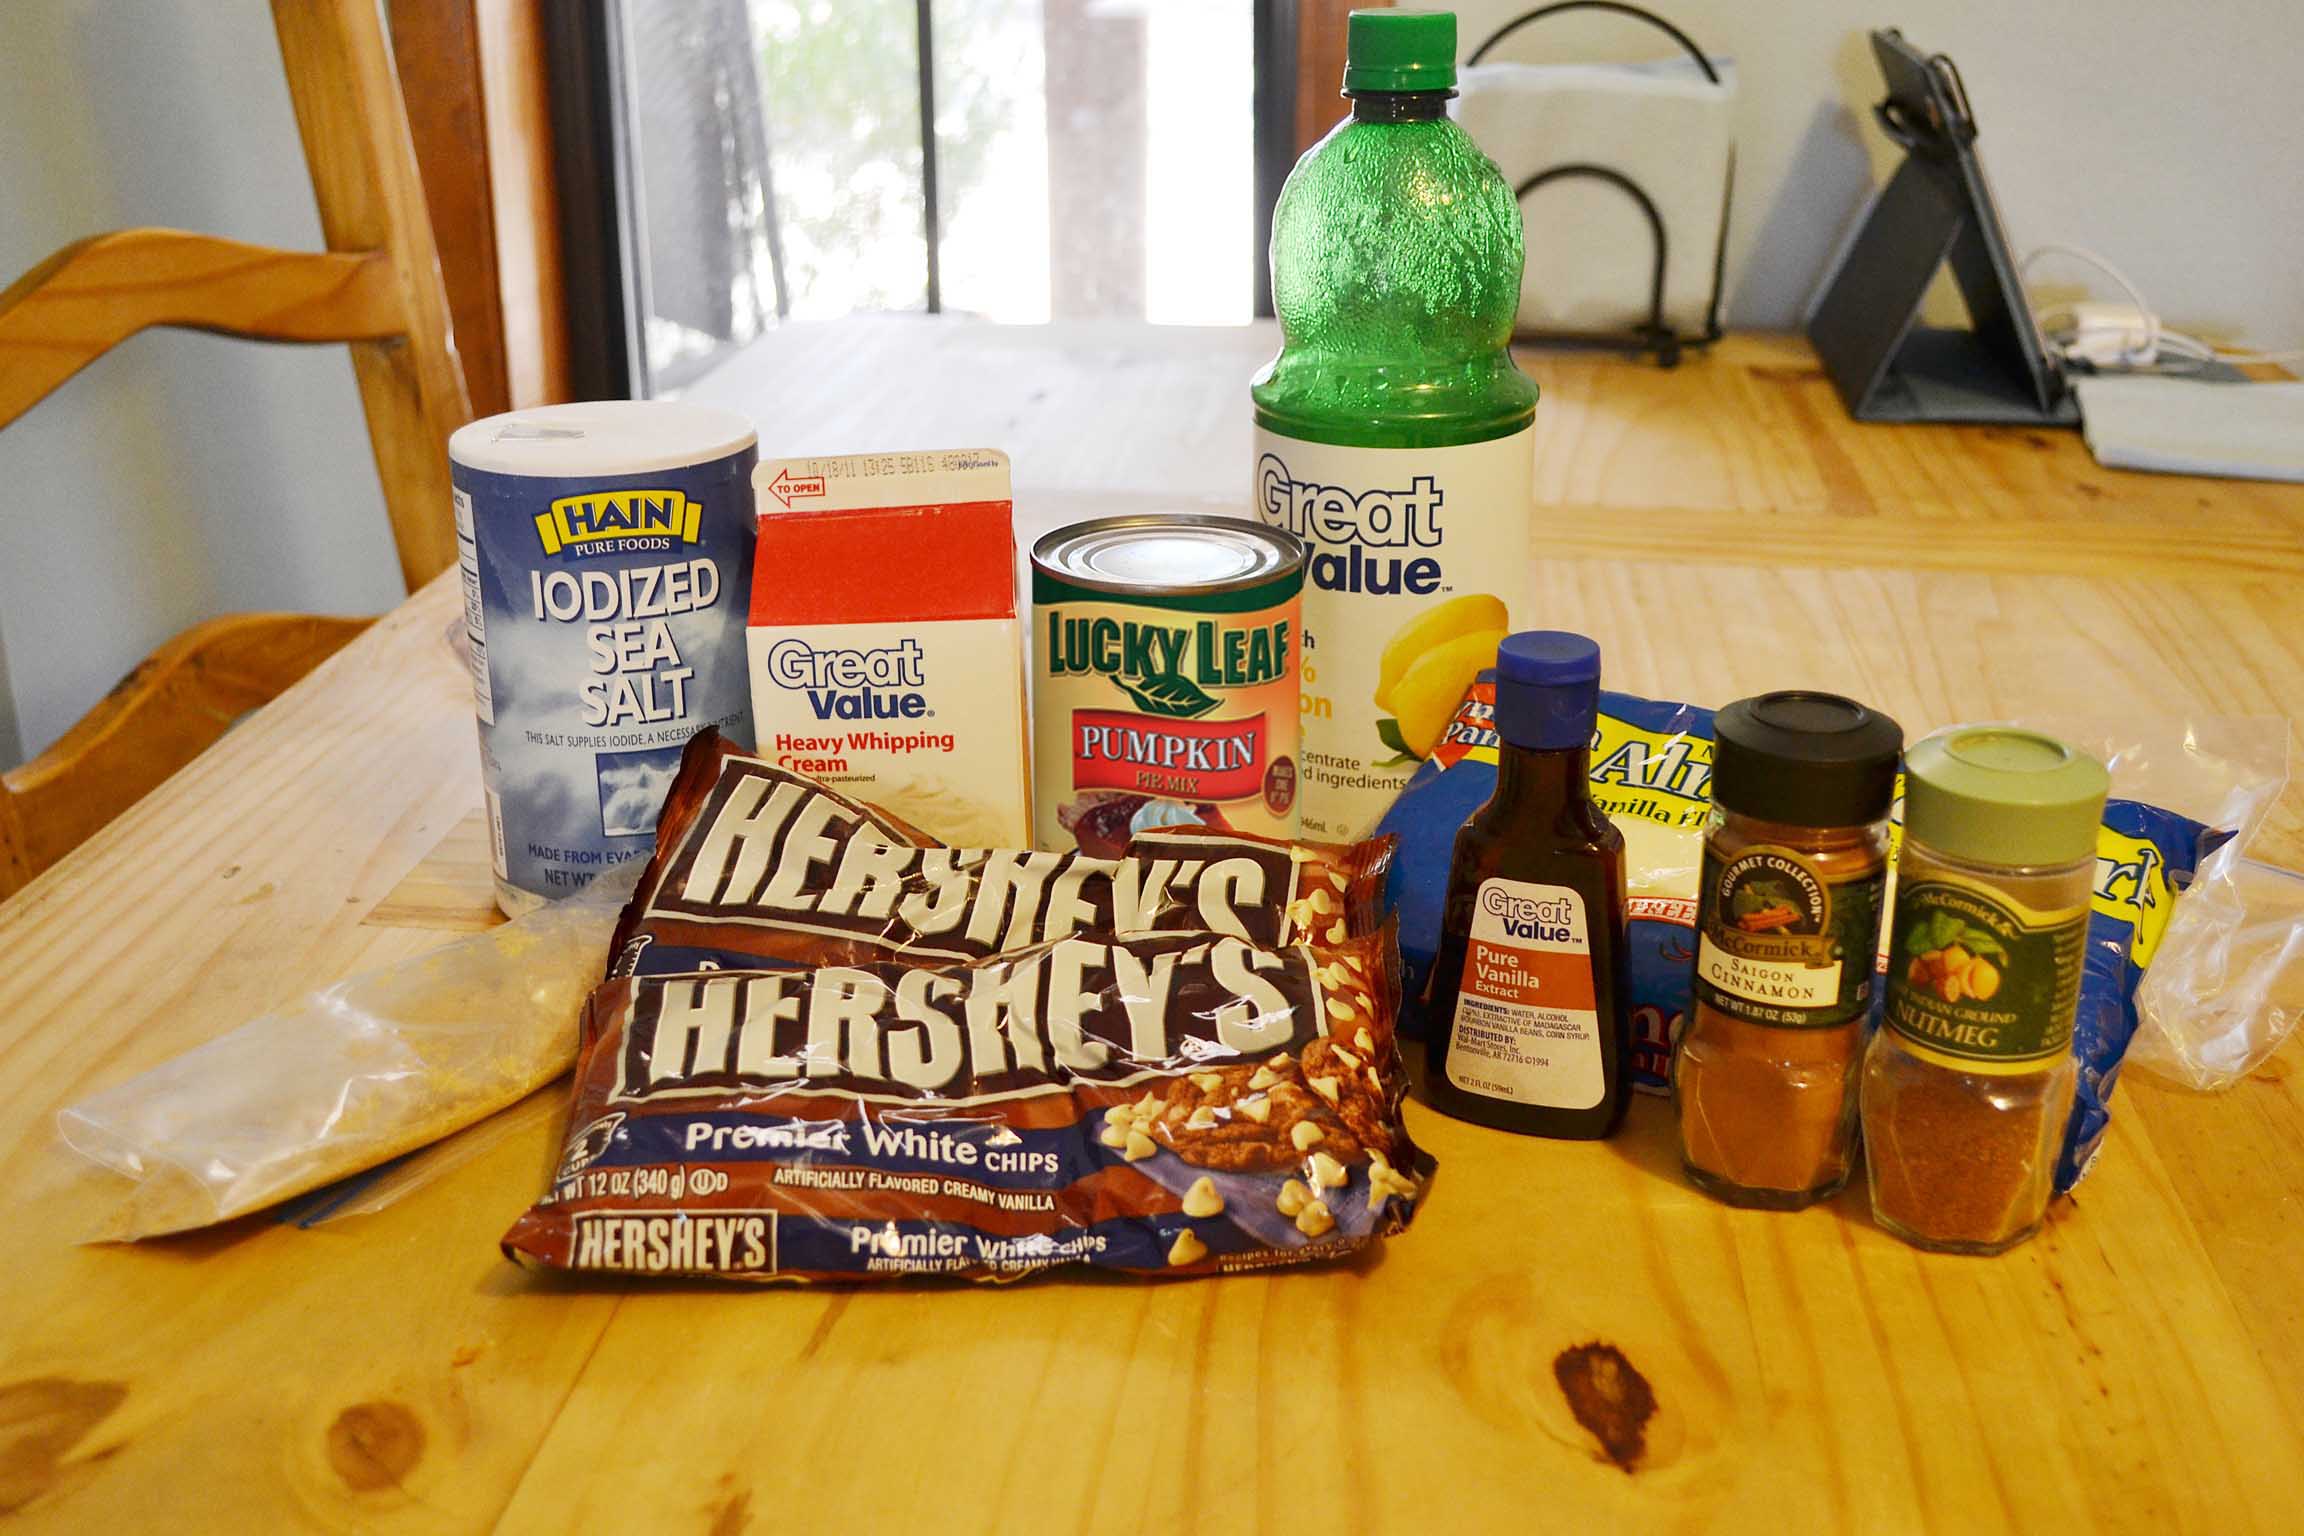
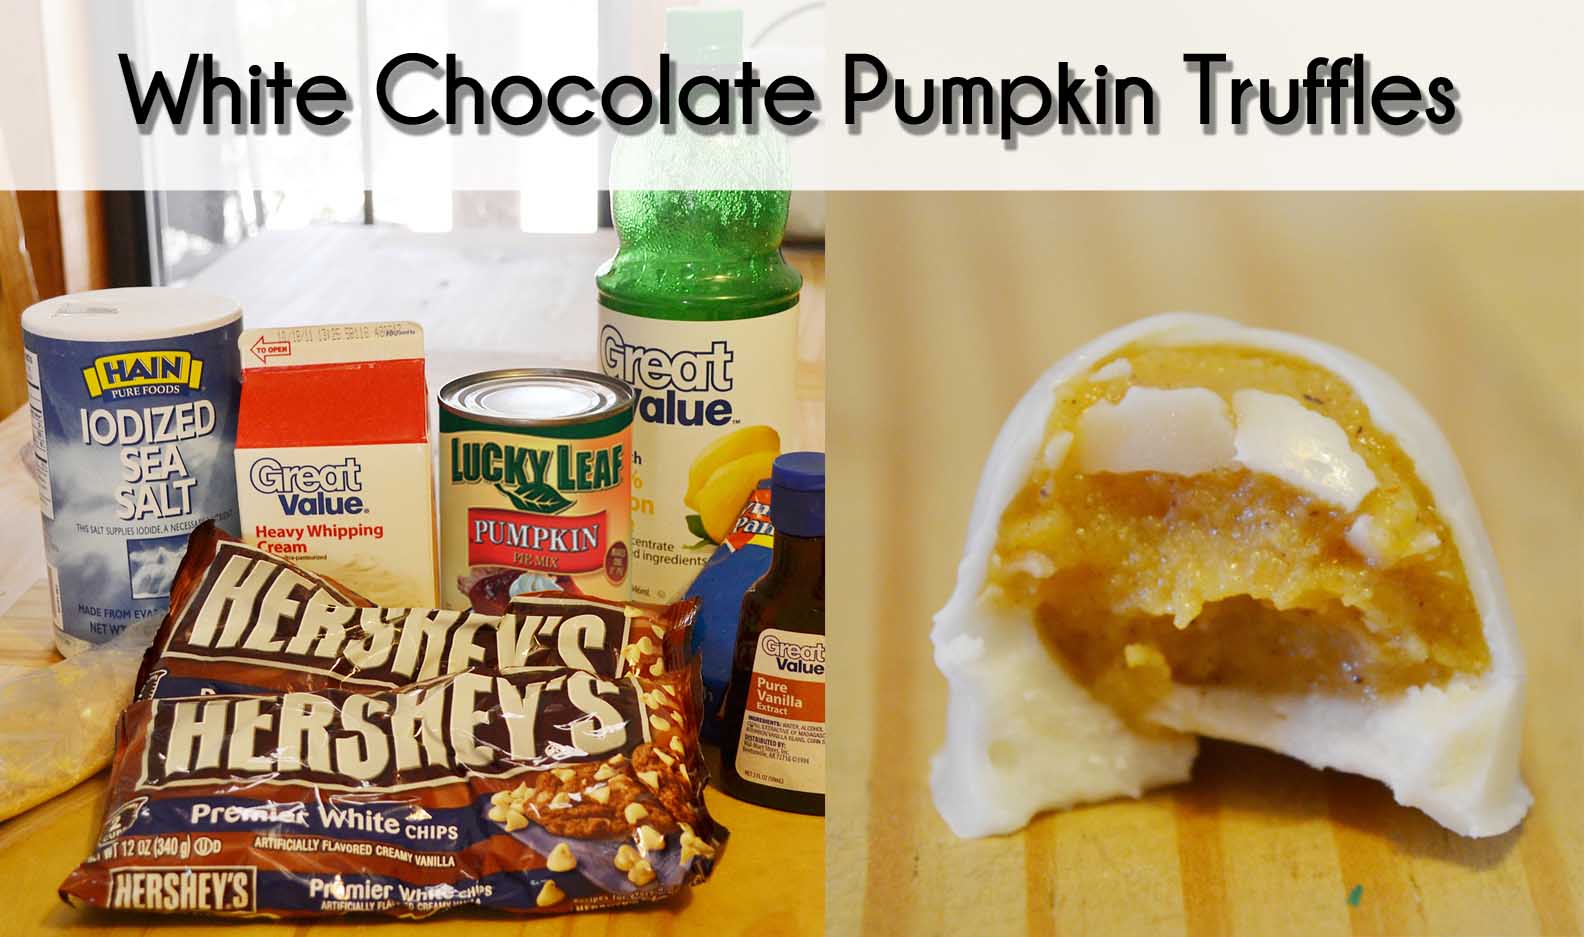
The ingredients, the only thing I was missing in this picture was the ginger and the cinnamon chips that Hersey’s makes. I finally found them at HEB, but I heard Kroger also sells them.
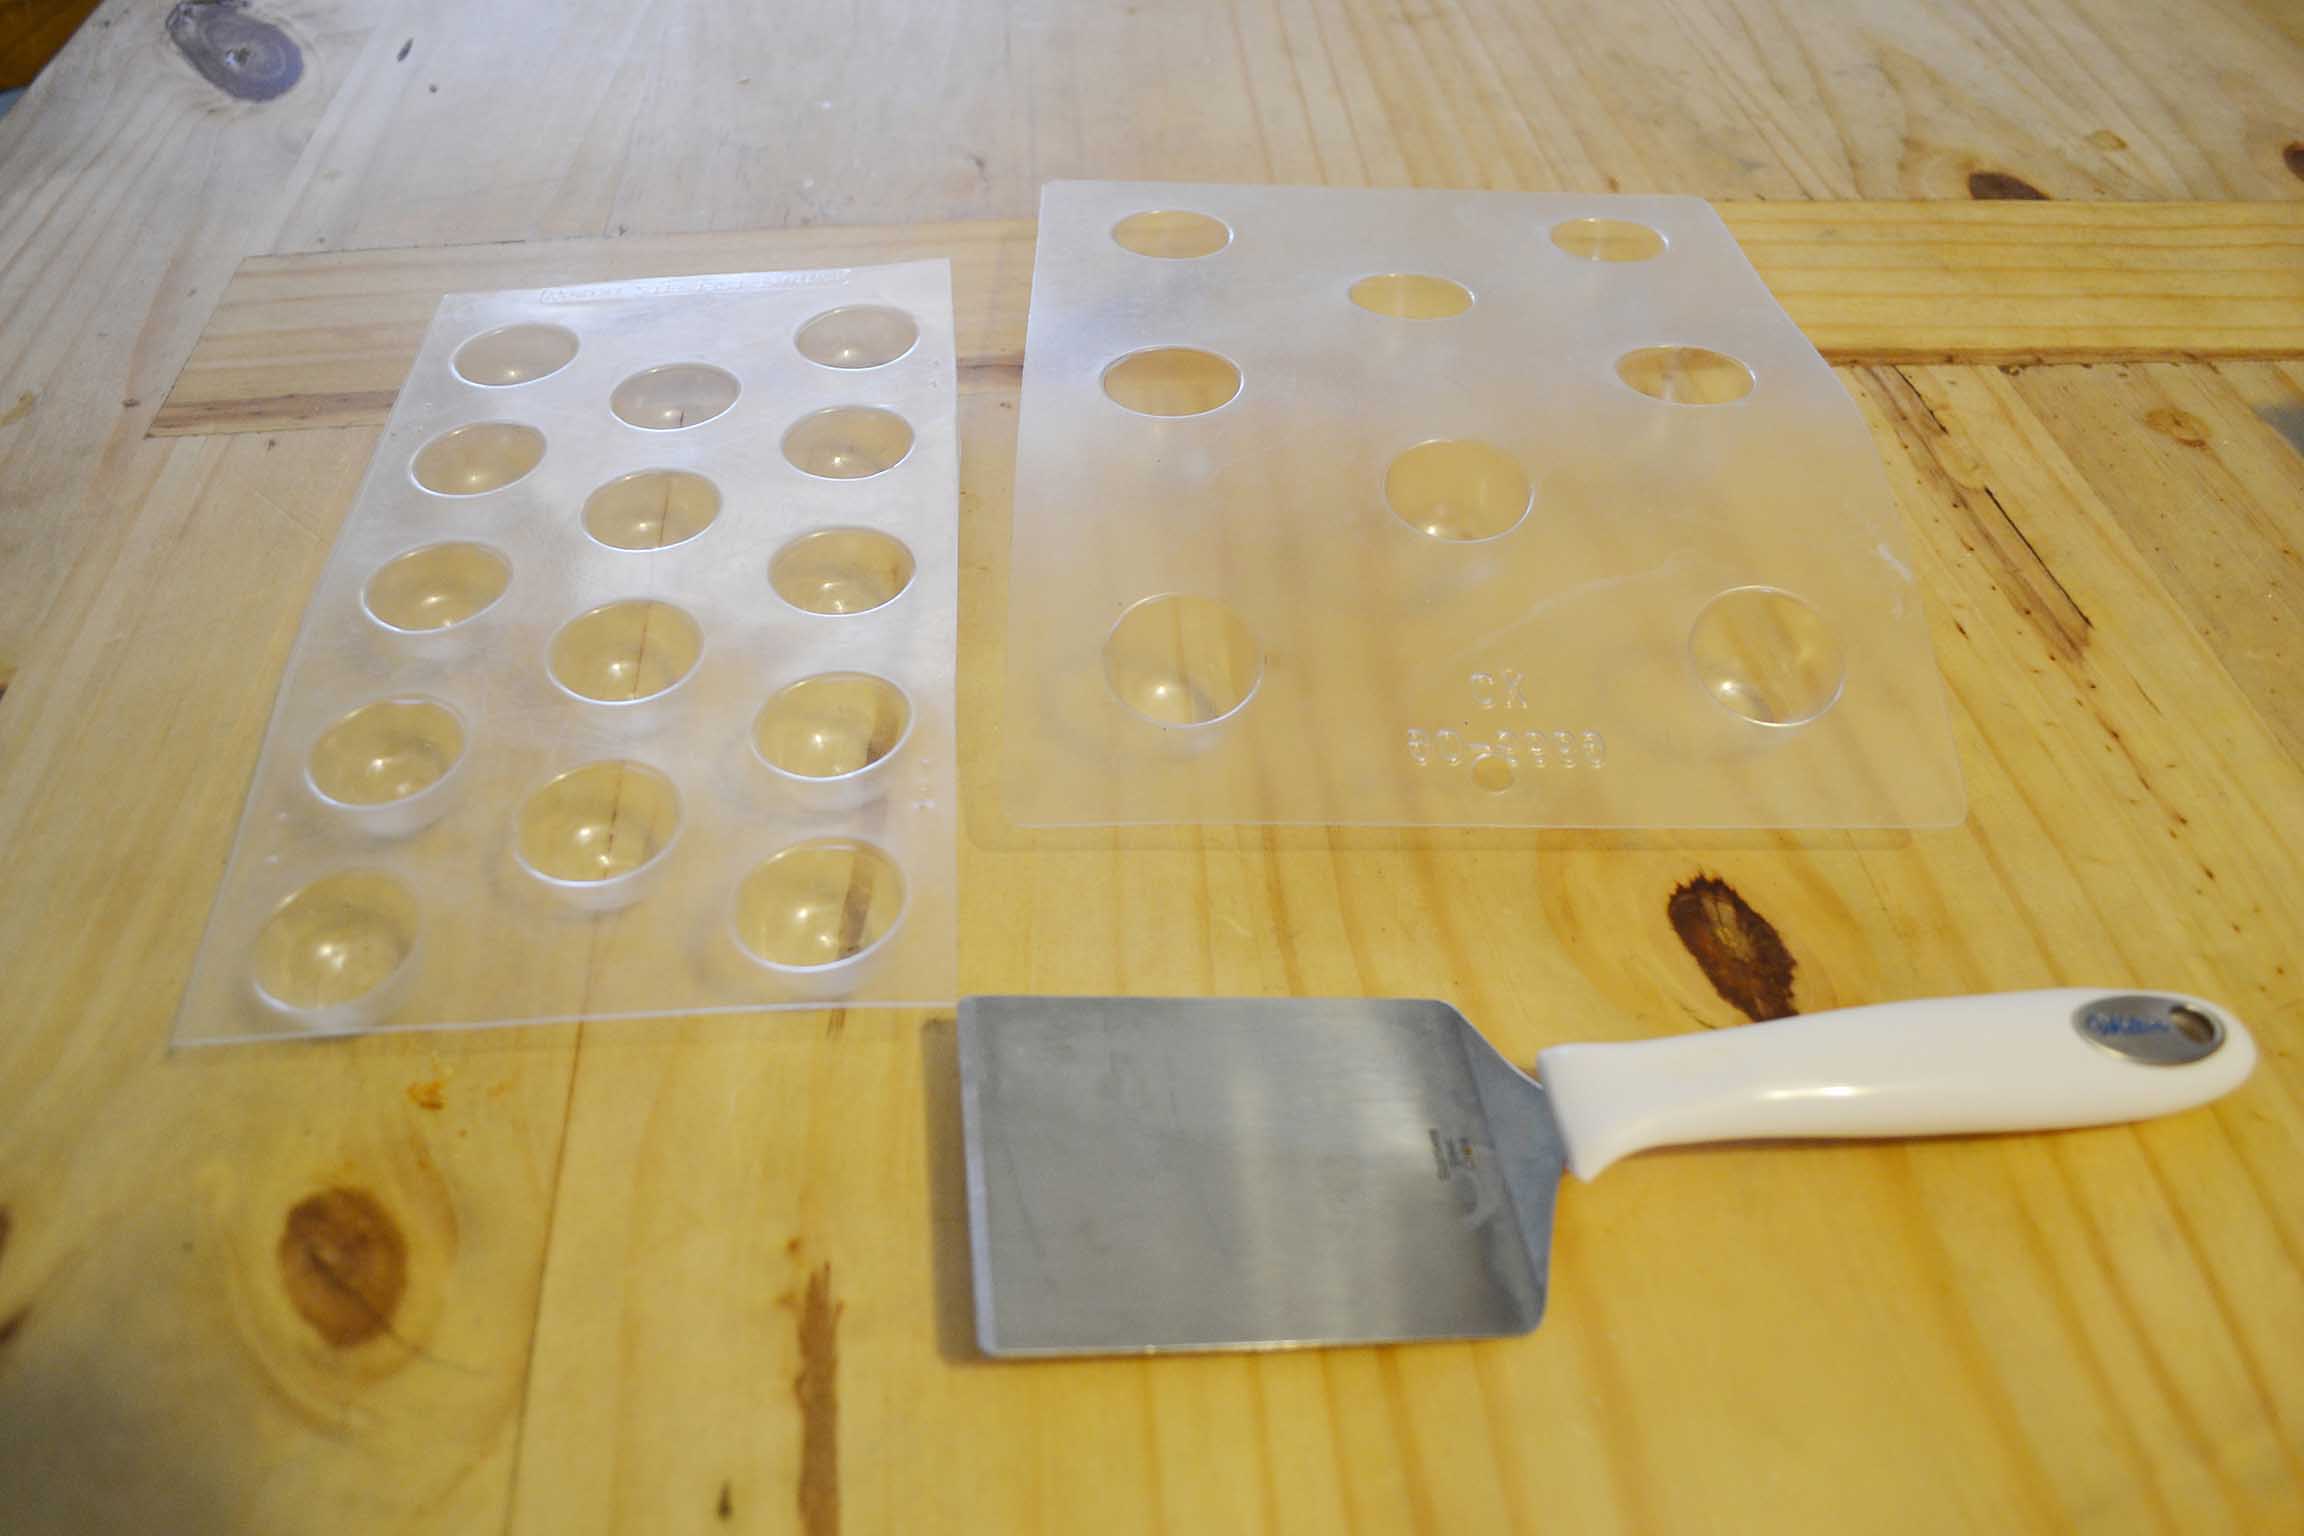
I got these molds at All in One Bake Shop in Austin,but they sell them at most baking stores including amazon. These molds are resueable and cost me about 2 dollars a mold. I got two different size because I didn’t know which one was better. I still use both and like them both.
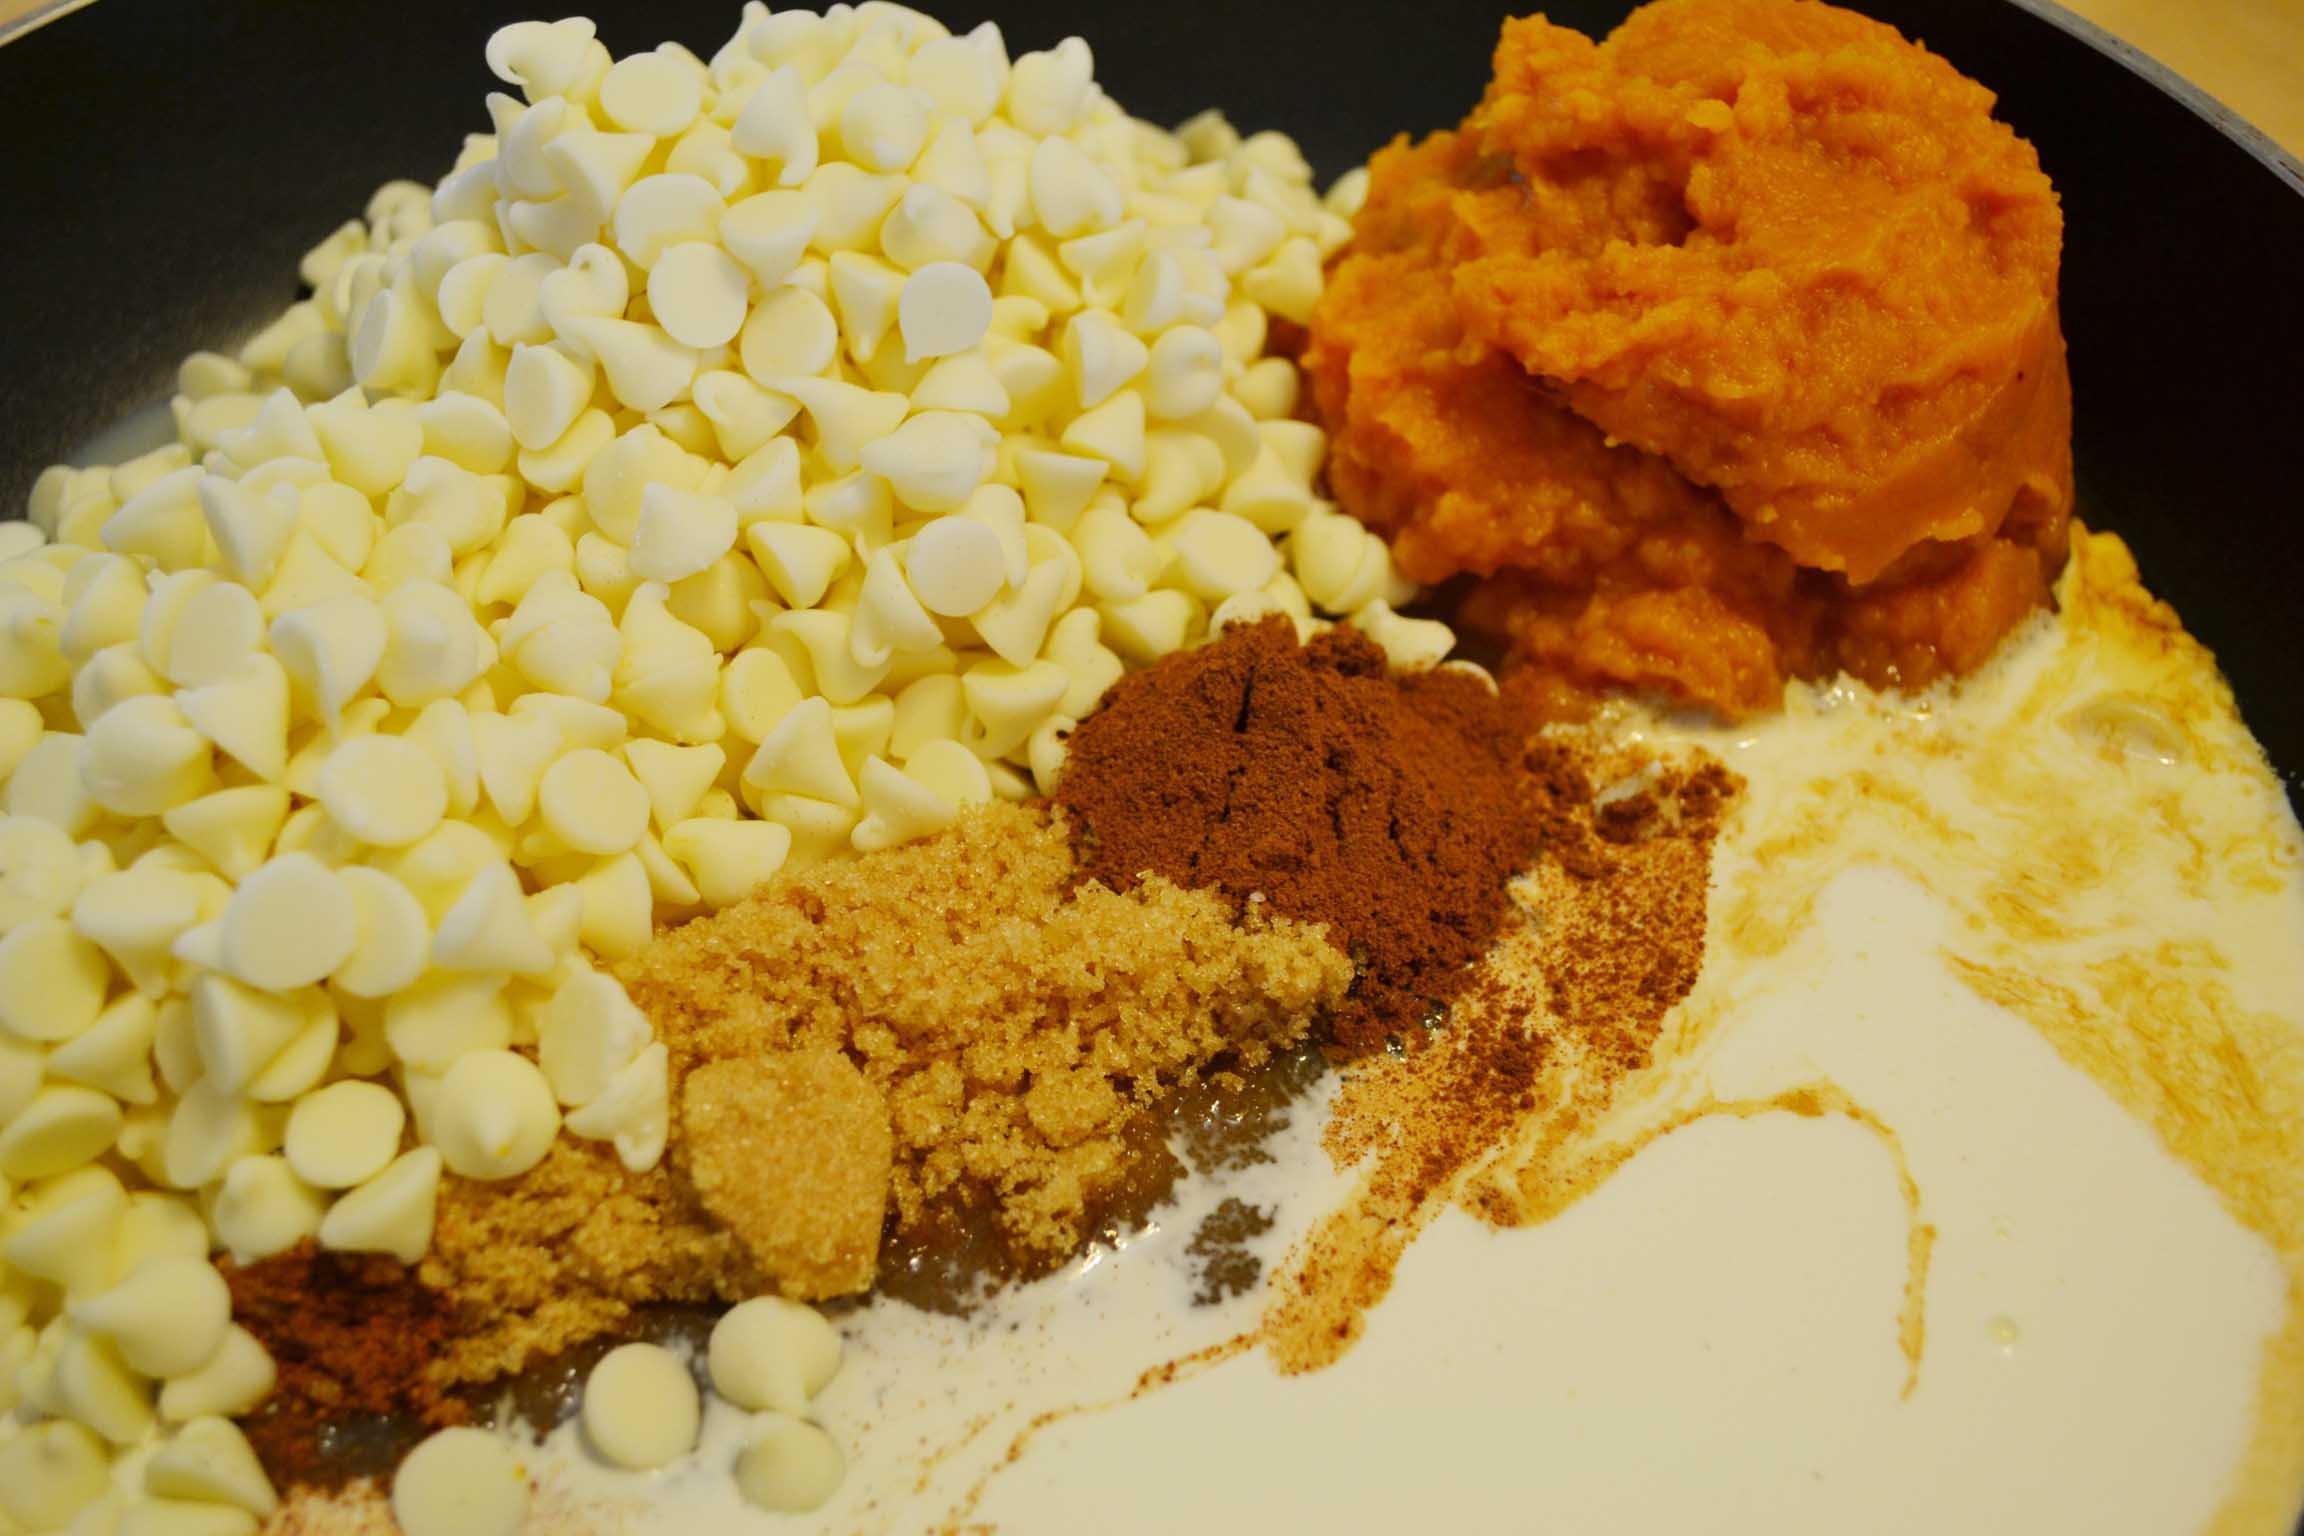
In a nut shell, you put everything into a sauce pan on medium heat until everything is melted and combined.
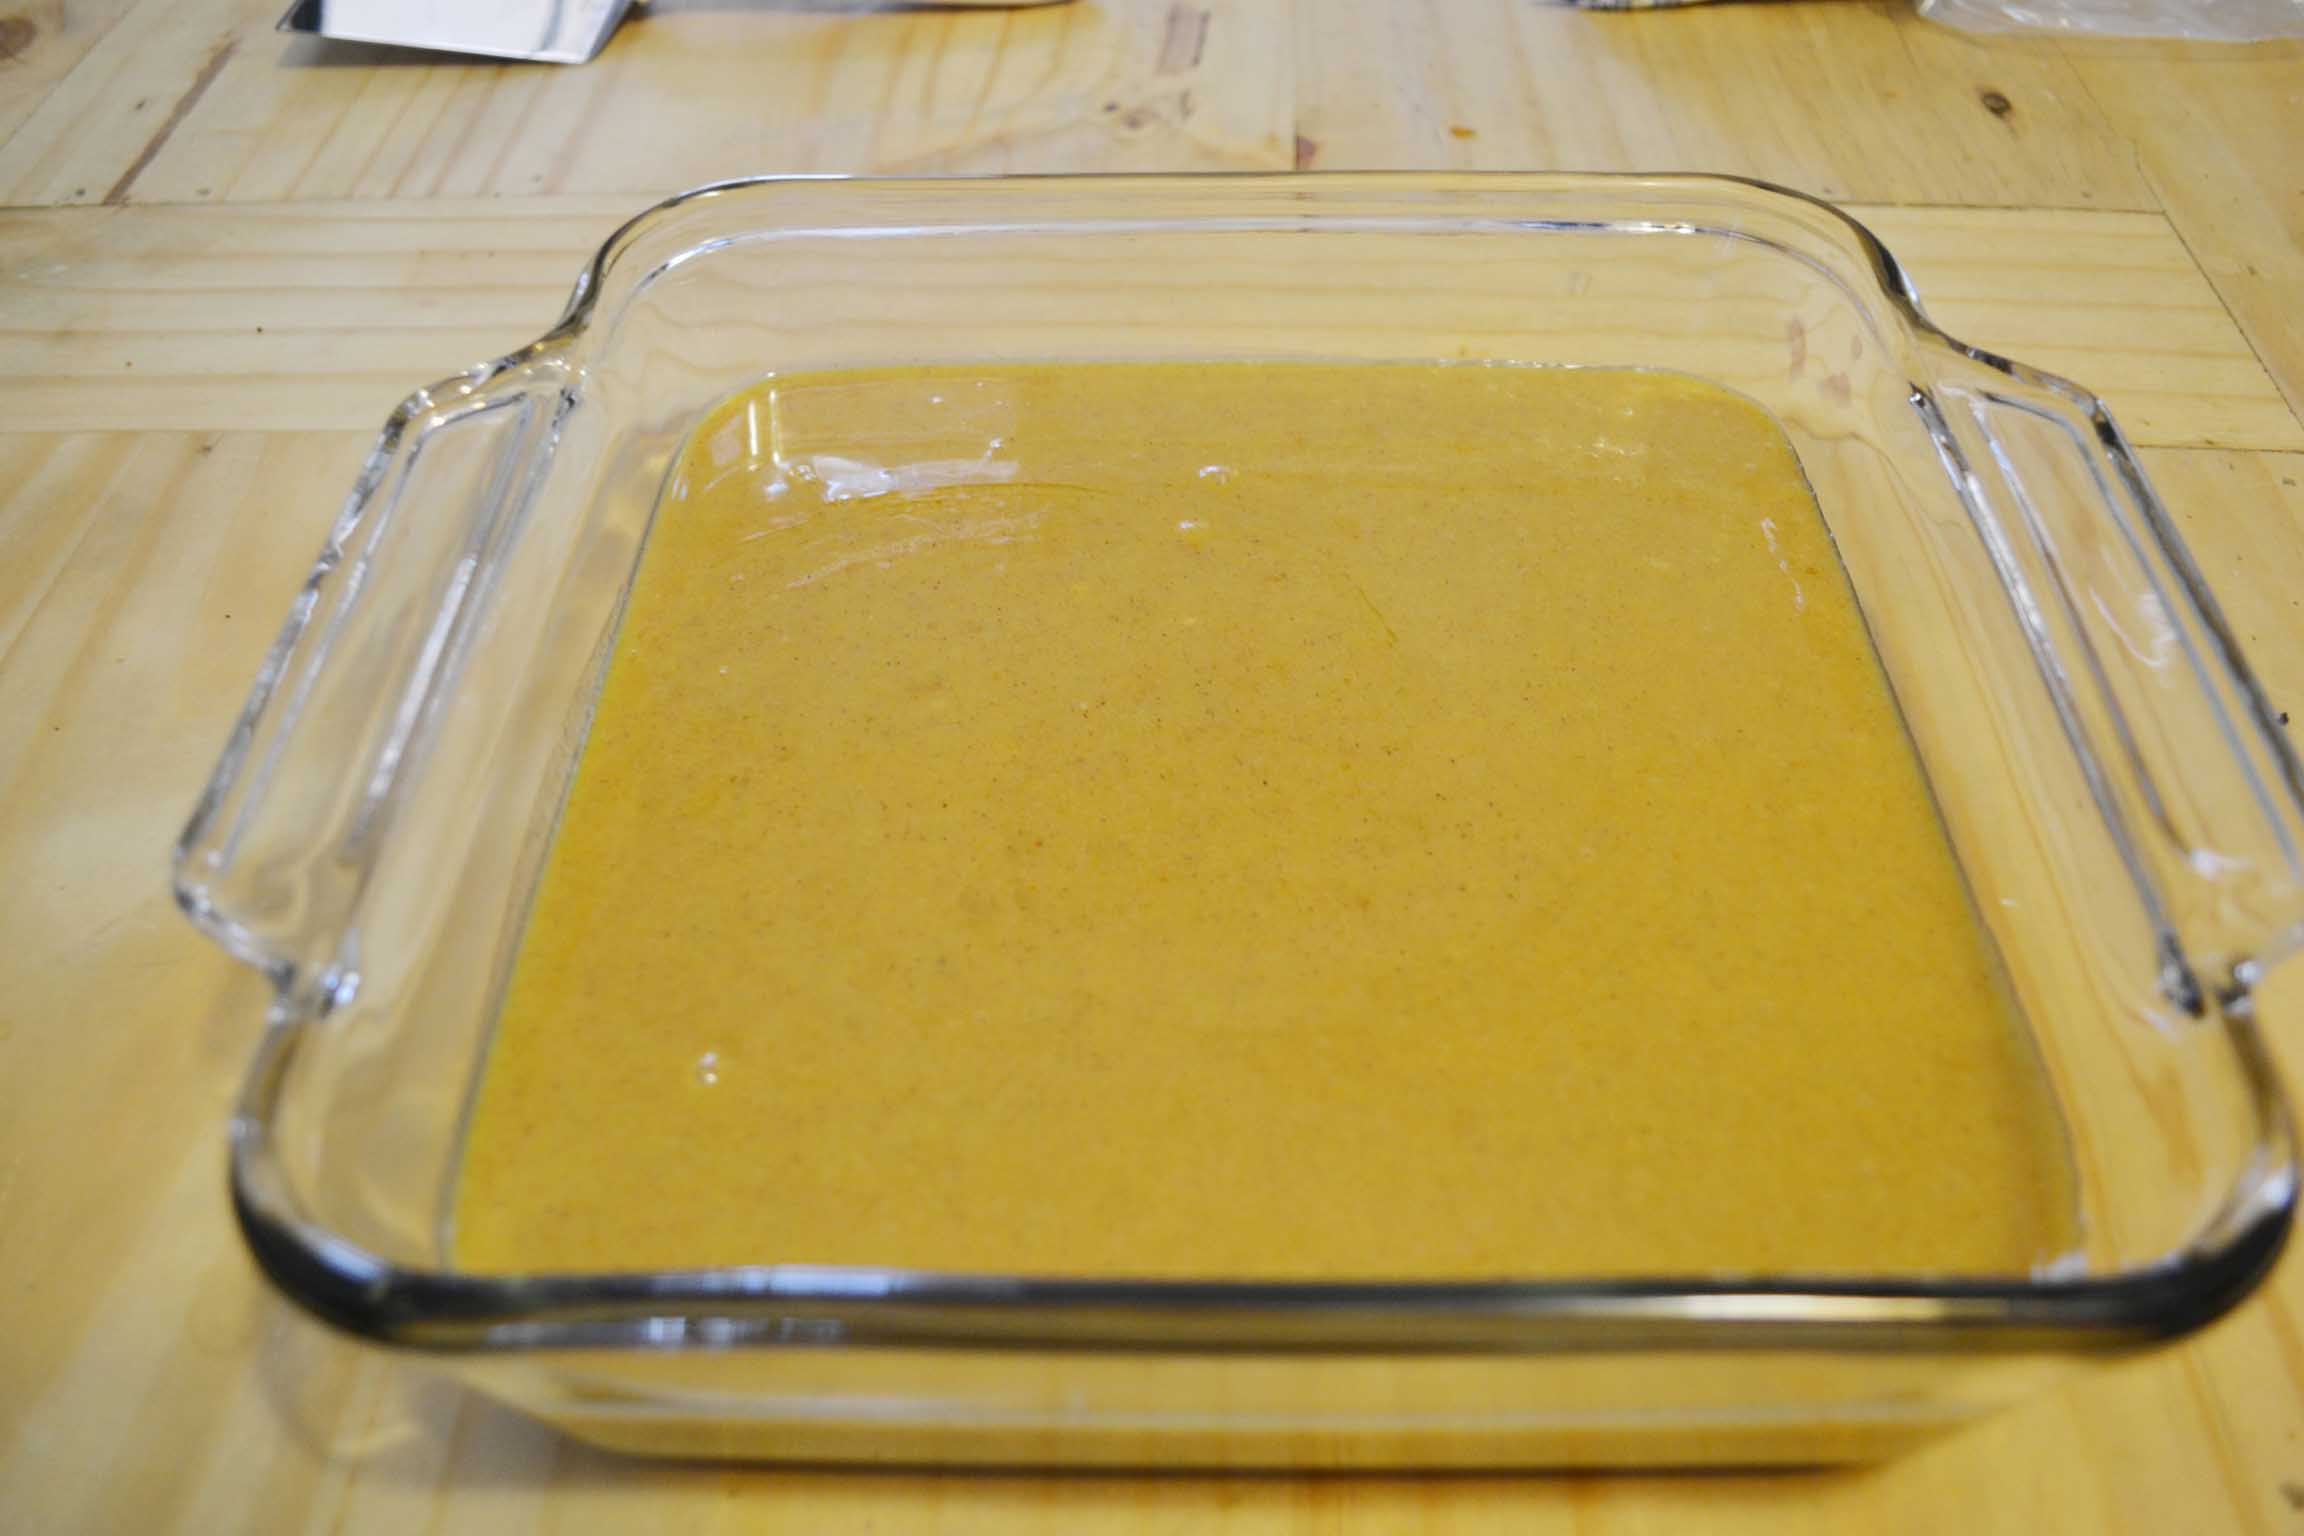
Put in a glass dish that will fit in your fridge. The bigger and more shallow the dish the faster this mixture will cool.
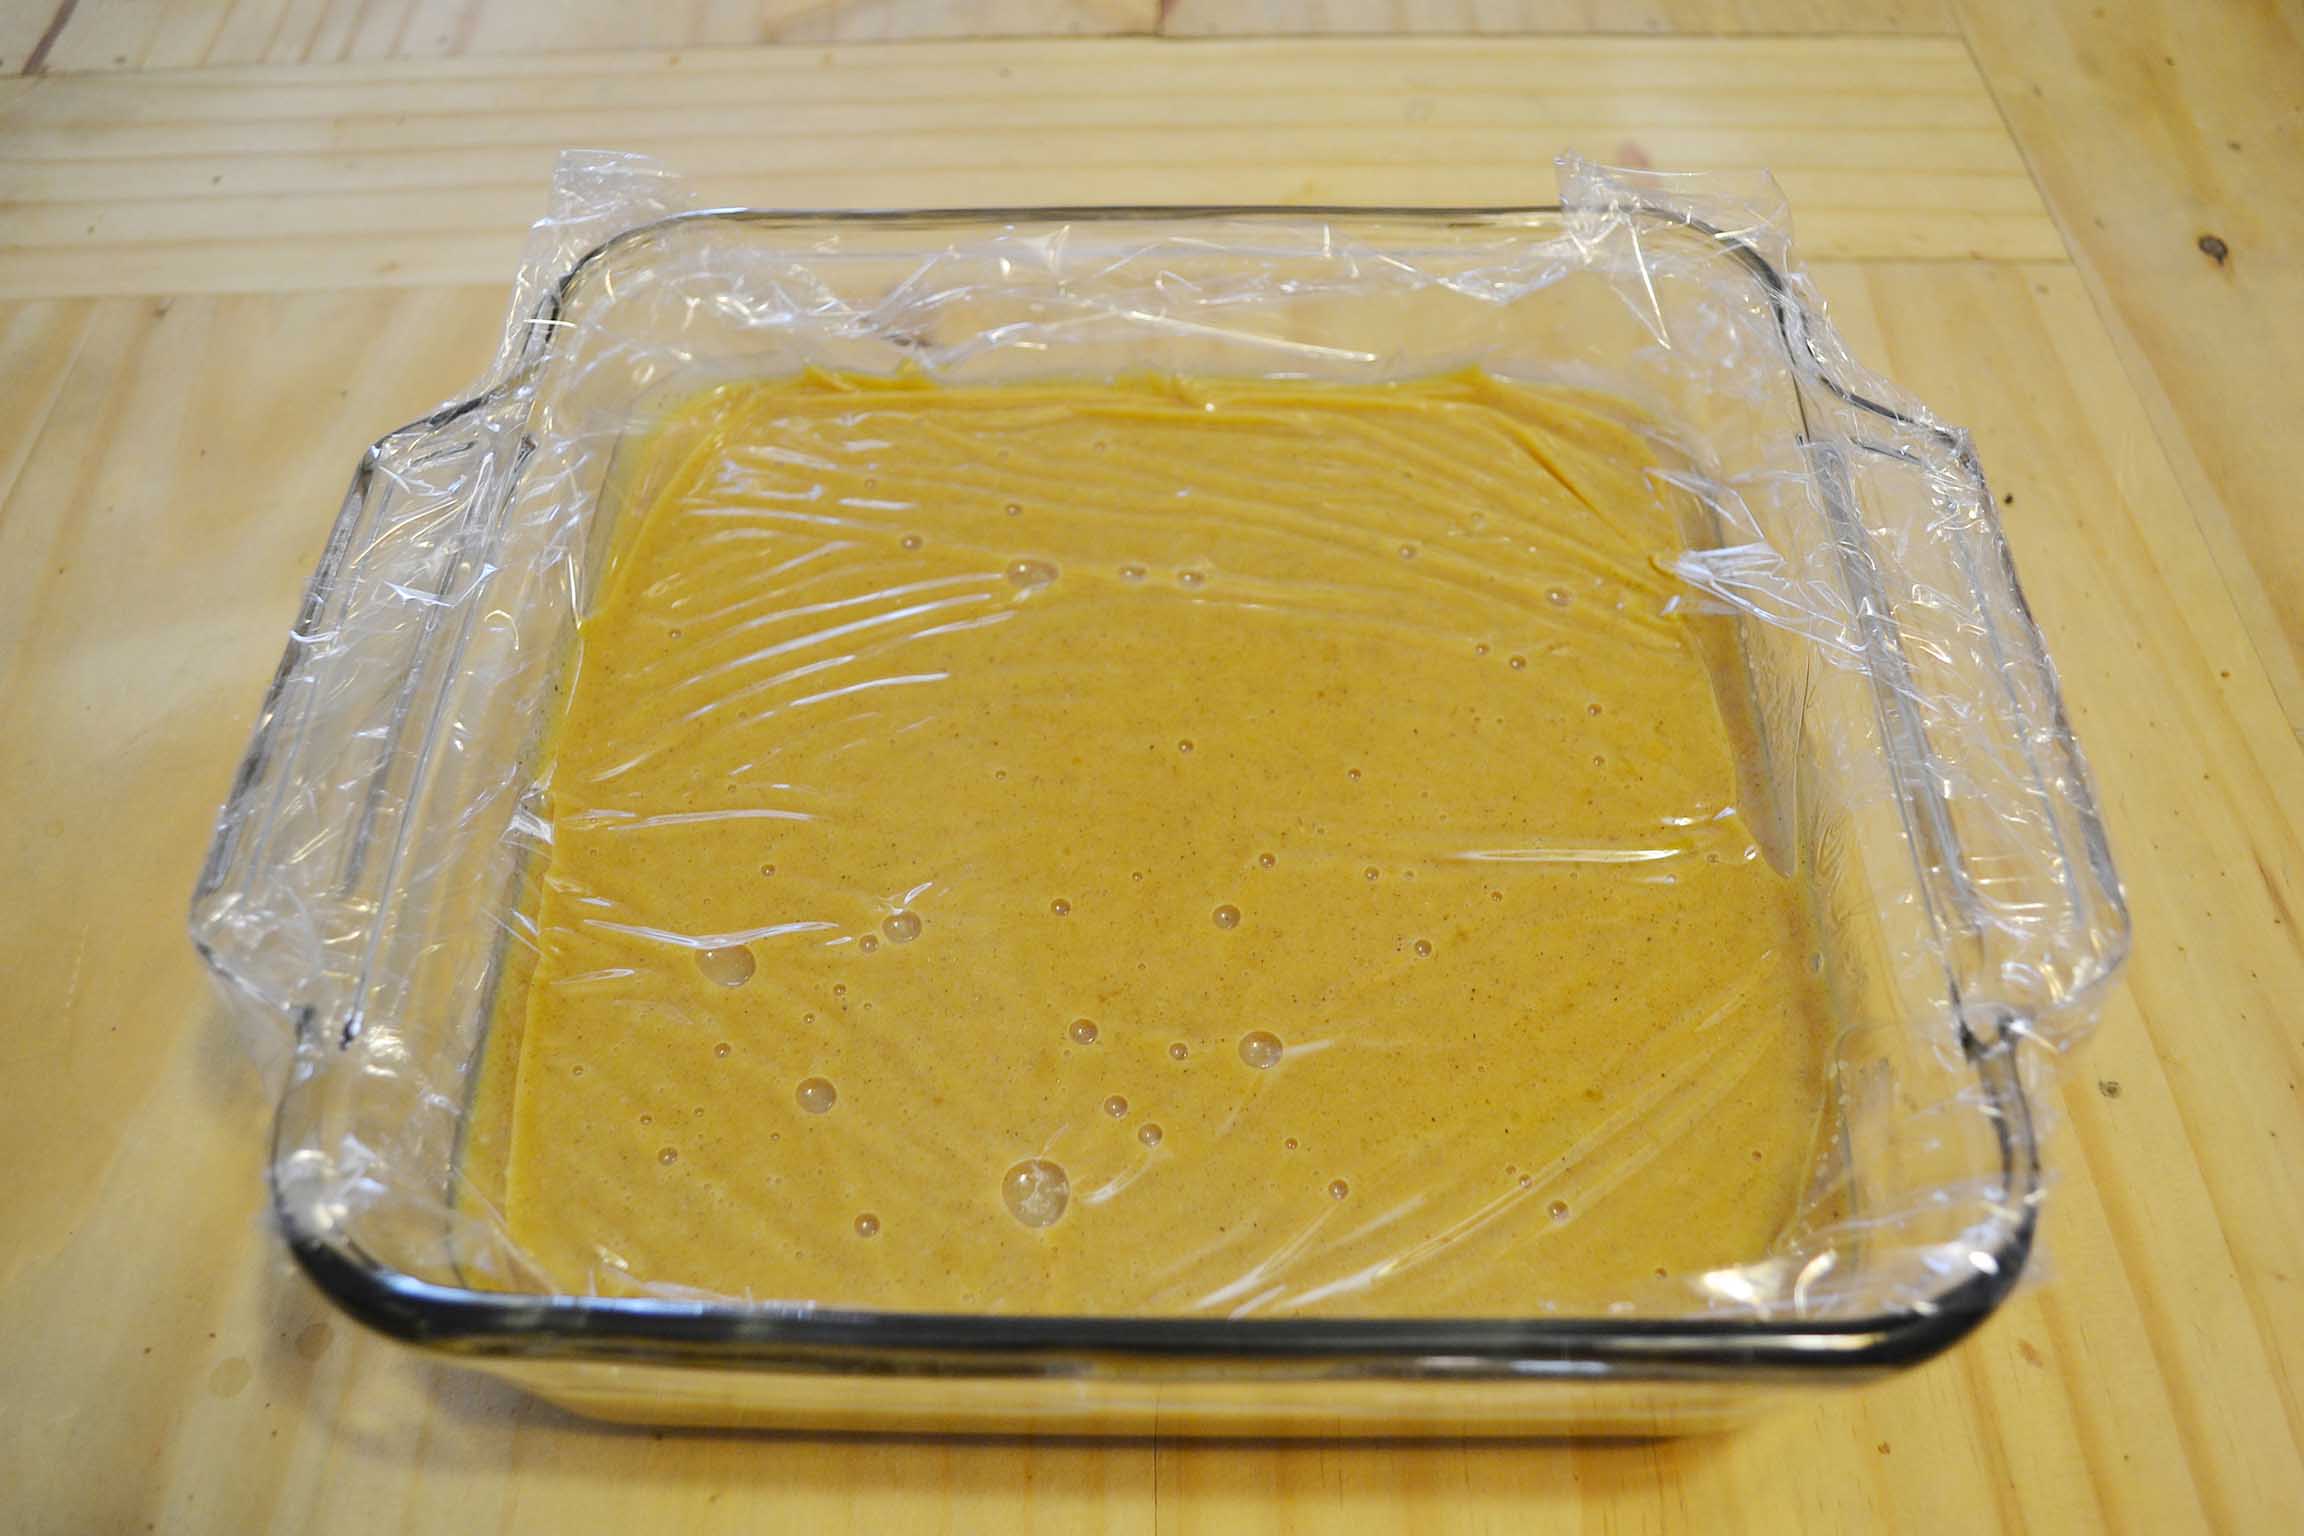
You put saran wrap over it to keep the ganache from forming a “skin.” While this is cooling, heat your chocolate coating for the outside of the truffles.
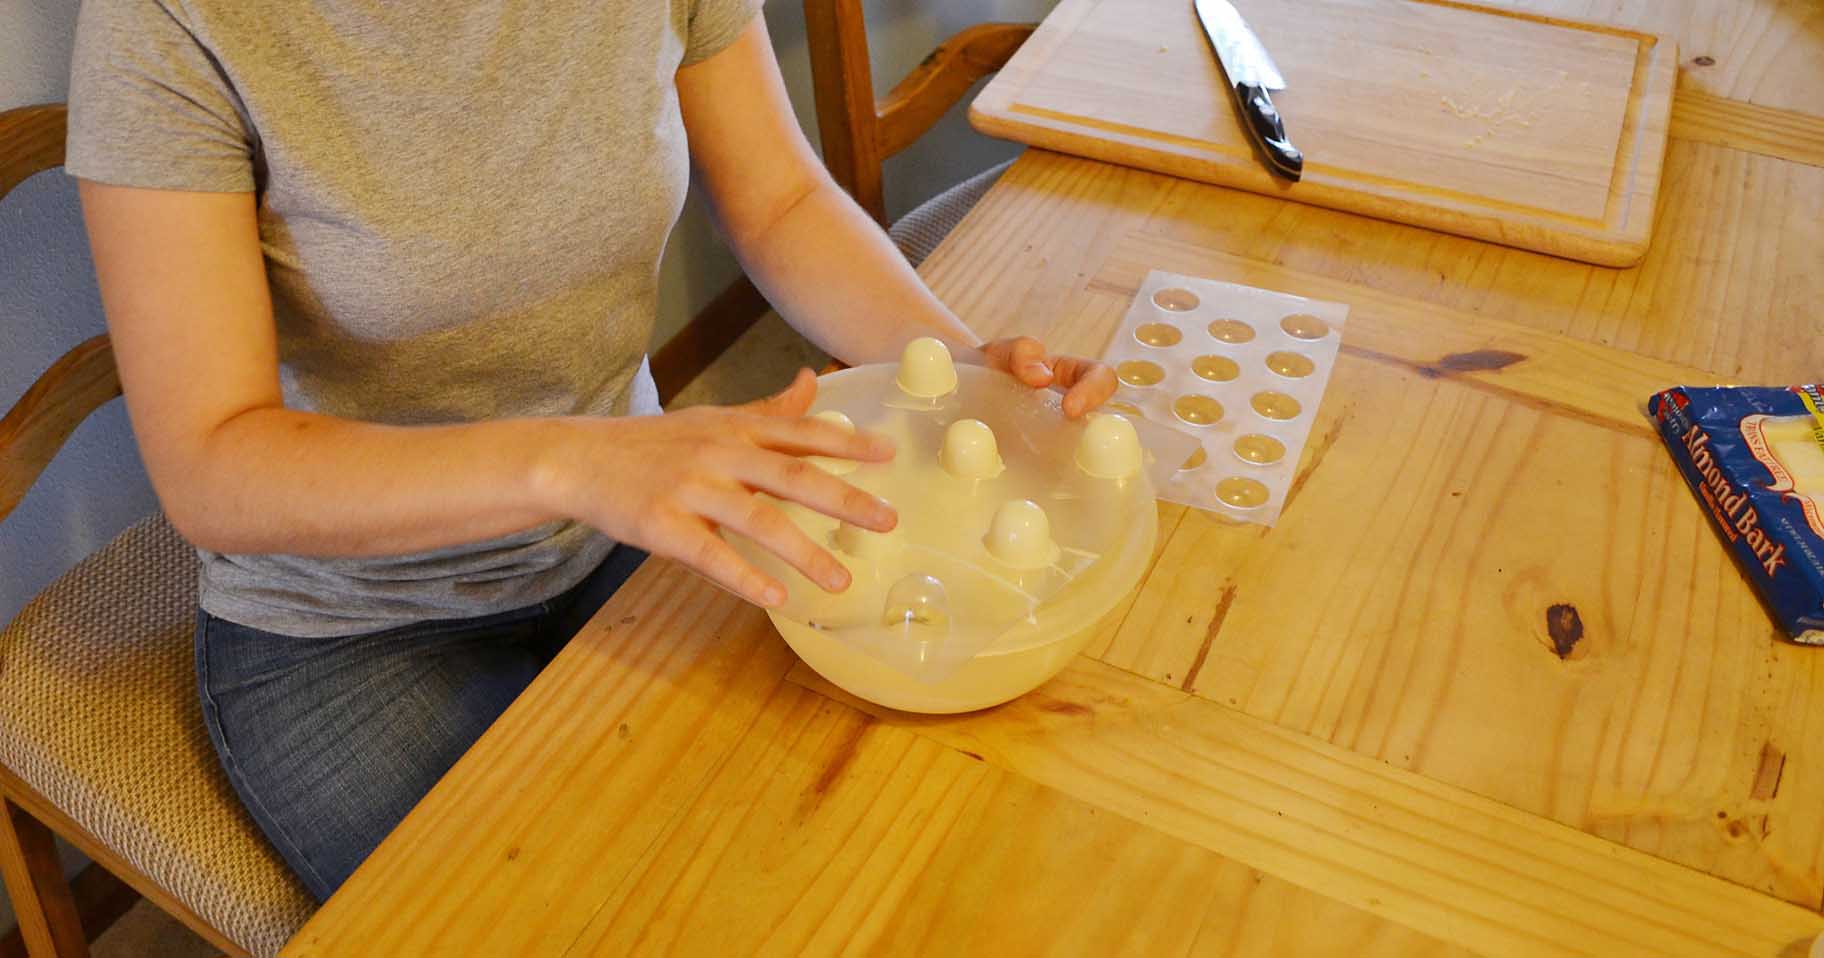
You can “paint” the chocolate in the molds with a new paint brush, or I use a spoon to fill them up, and then I turn it upside down and lightly tap the back of the mold. The excess coating will drop back into the bowl leaving you with a nice thin layer. I like to use a flat, metal spatula to scrap any excess off the top to keep from having ridges.
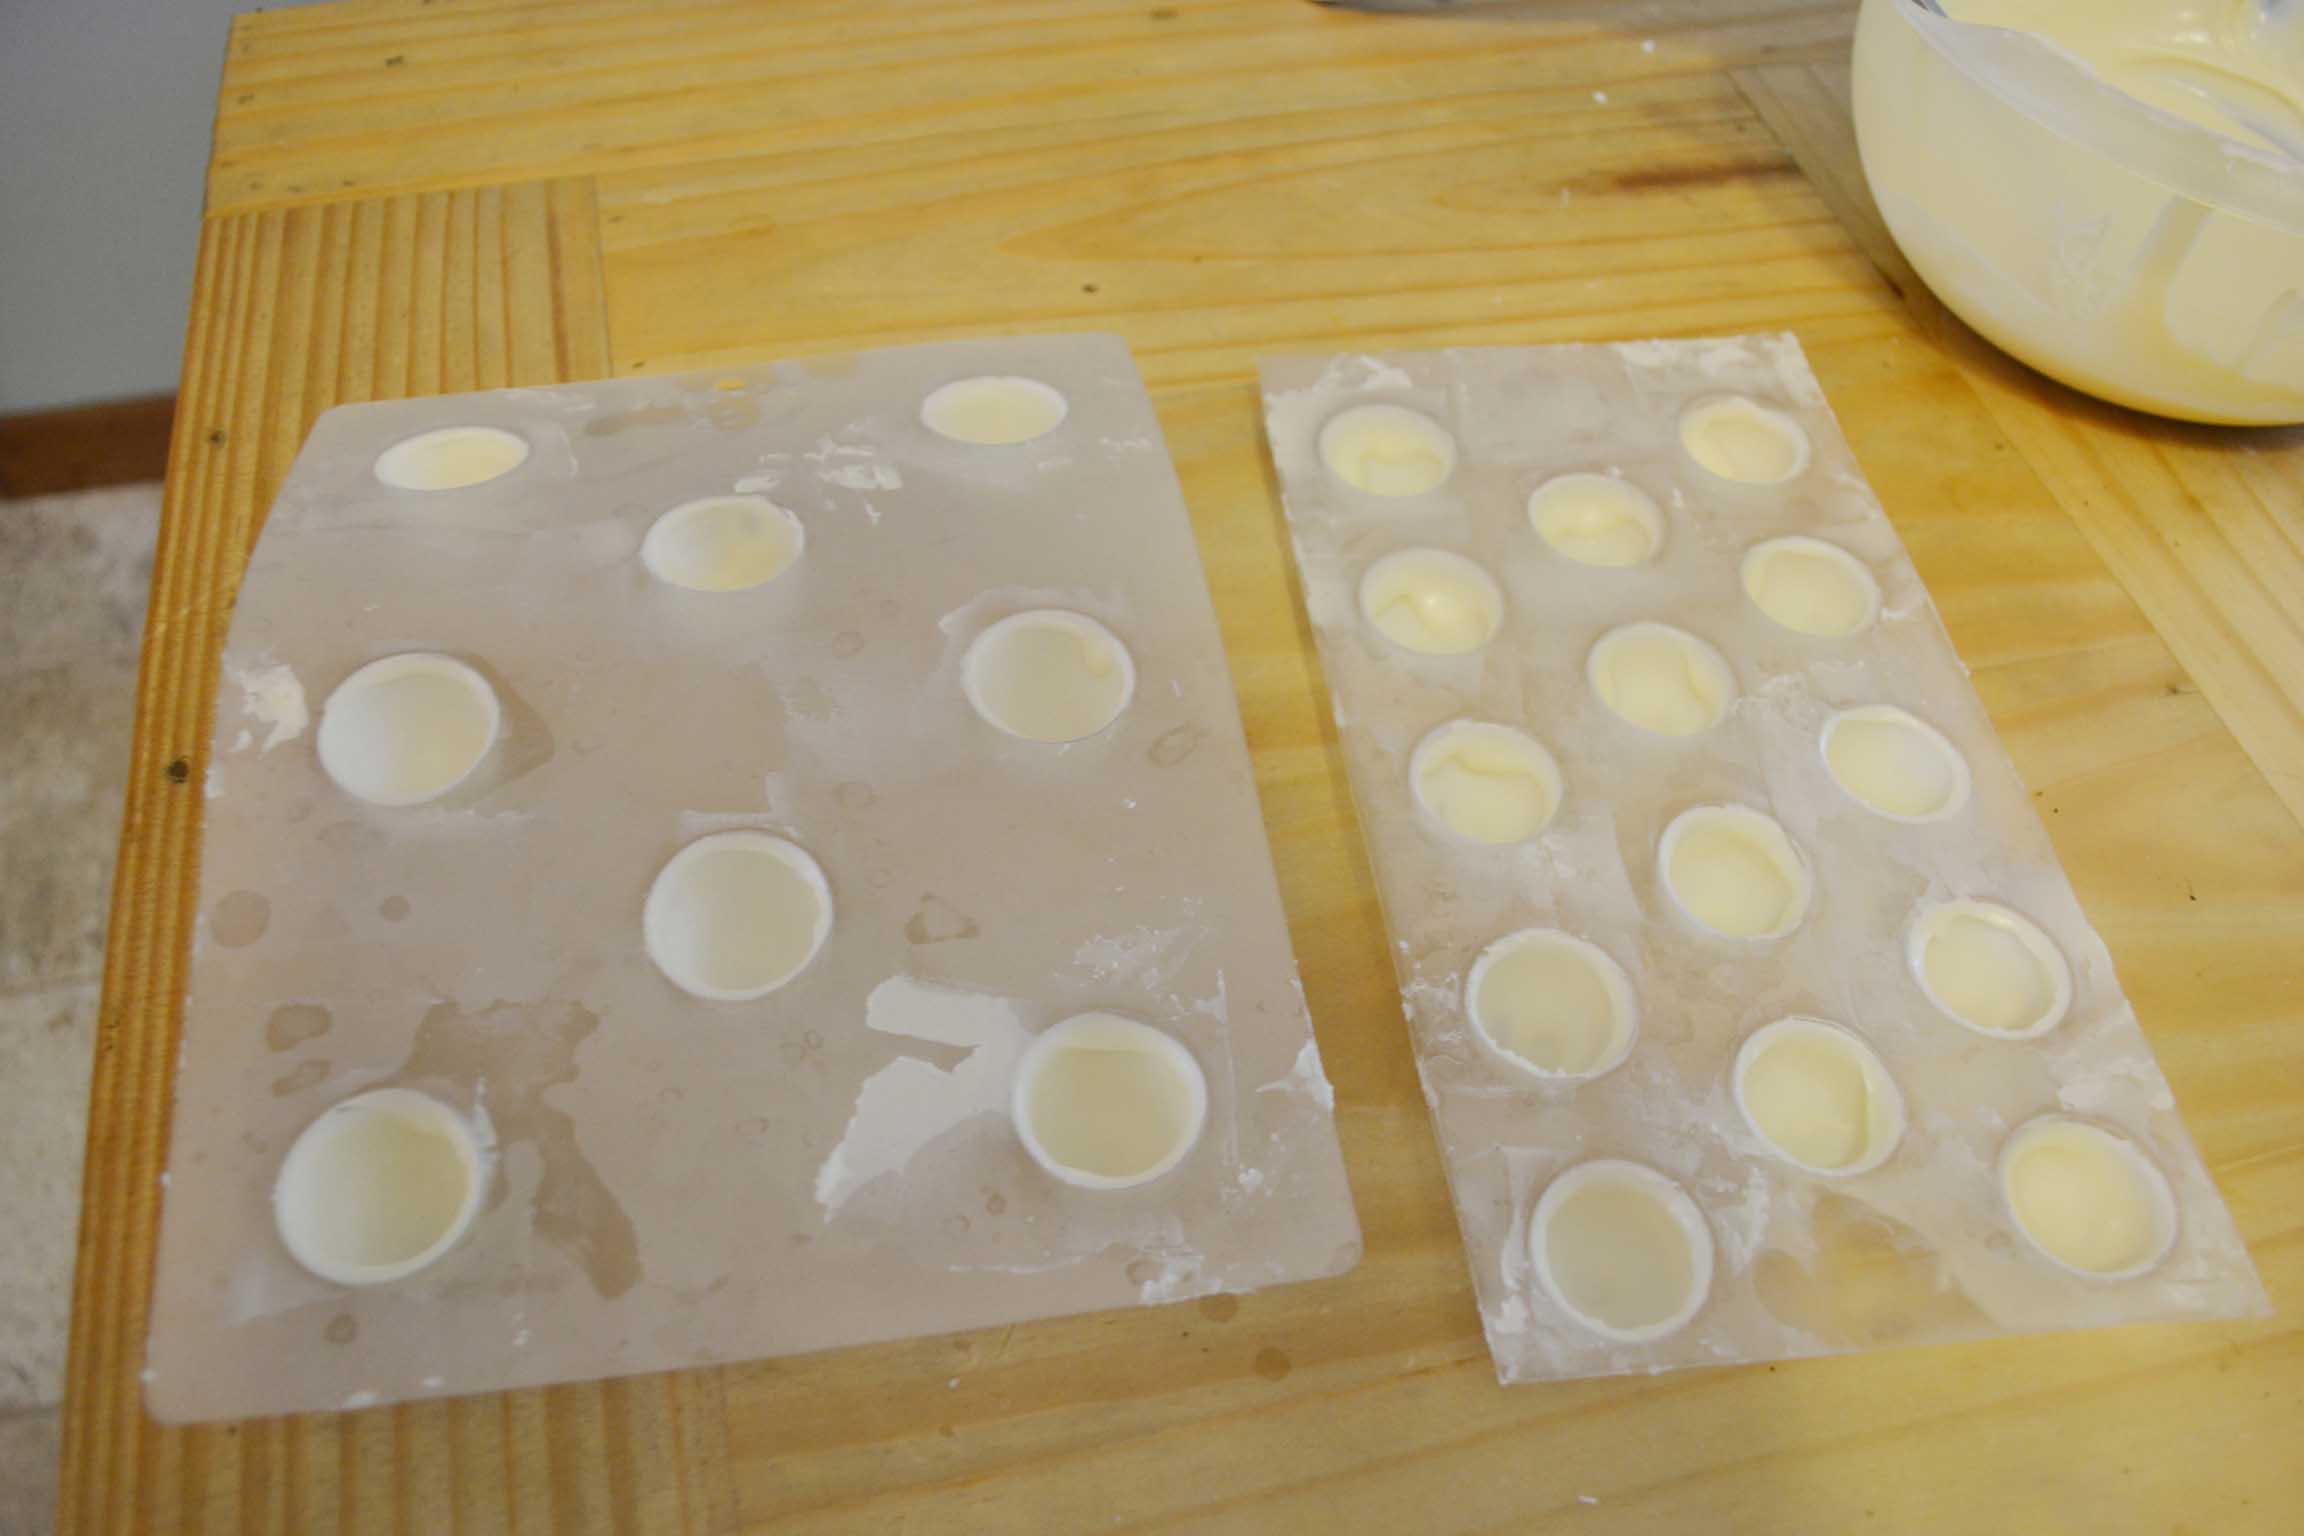
I like to then put the molds in the freezer for a minute or two to make sure they are nice and cold.
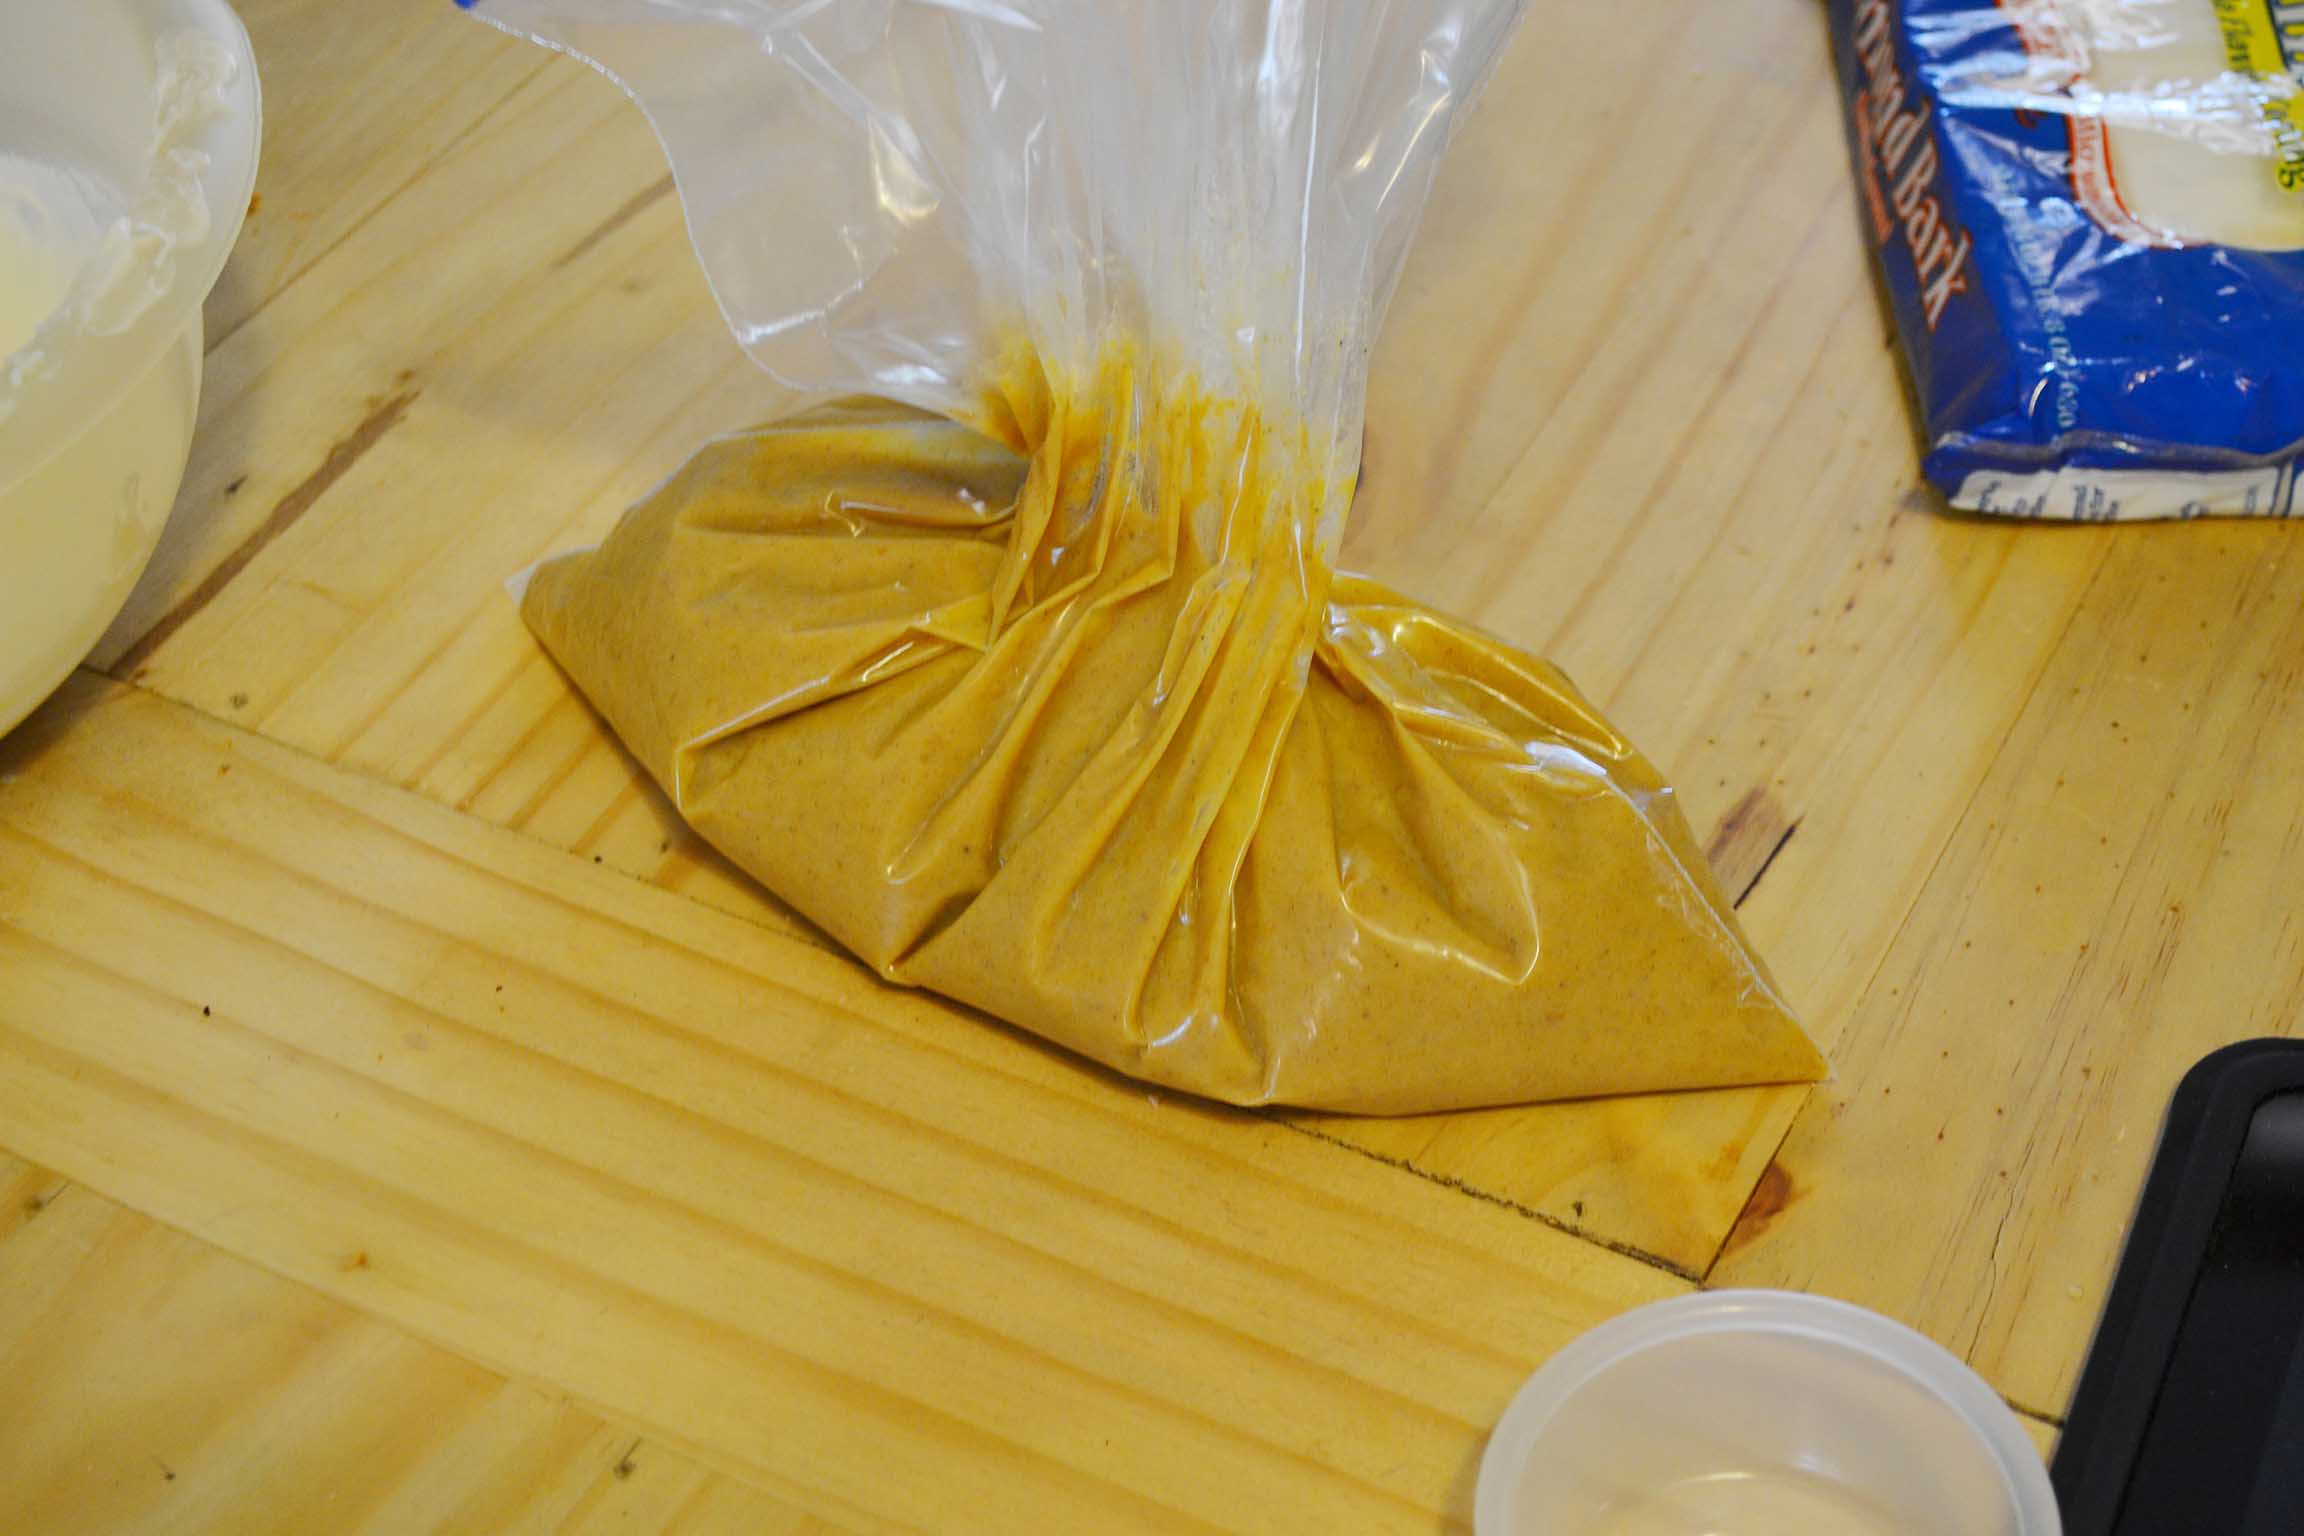
Once cooled, I put the ganache in a plastic bag, and clip the end. This filling is pretty viscous and not runny, so it is pretty easy to work with.

I then fill in the mold about 3/4 of the way leaving room for the chocolate on top. I then take a spoon and spoon chocolate on top of each and the scrap it flat with the metal spatula. I stick them in the freezer for another minute. Then you take the mold out of the fridge, turn it upside down and a lot of the chocolates will start to fall out. You might need to bend the mold a little,but they always come out nicely.
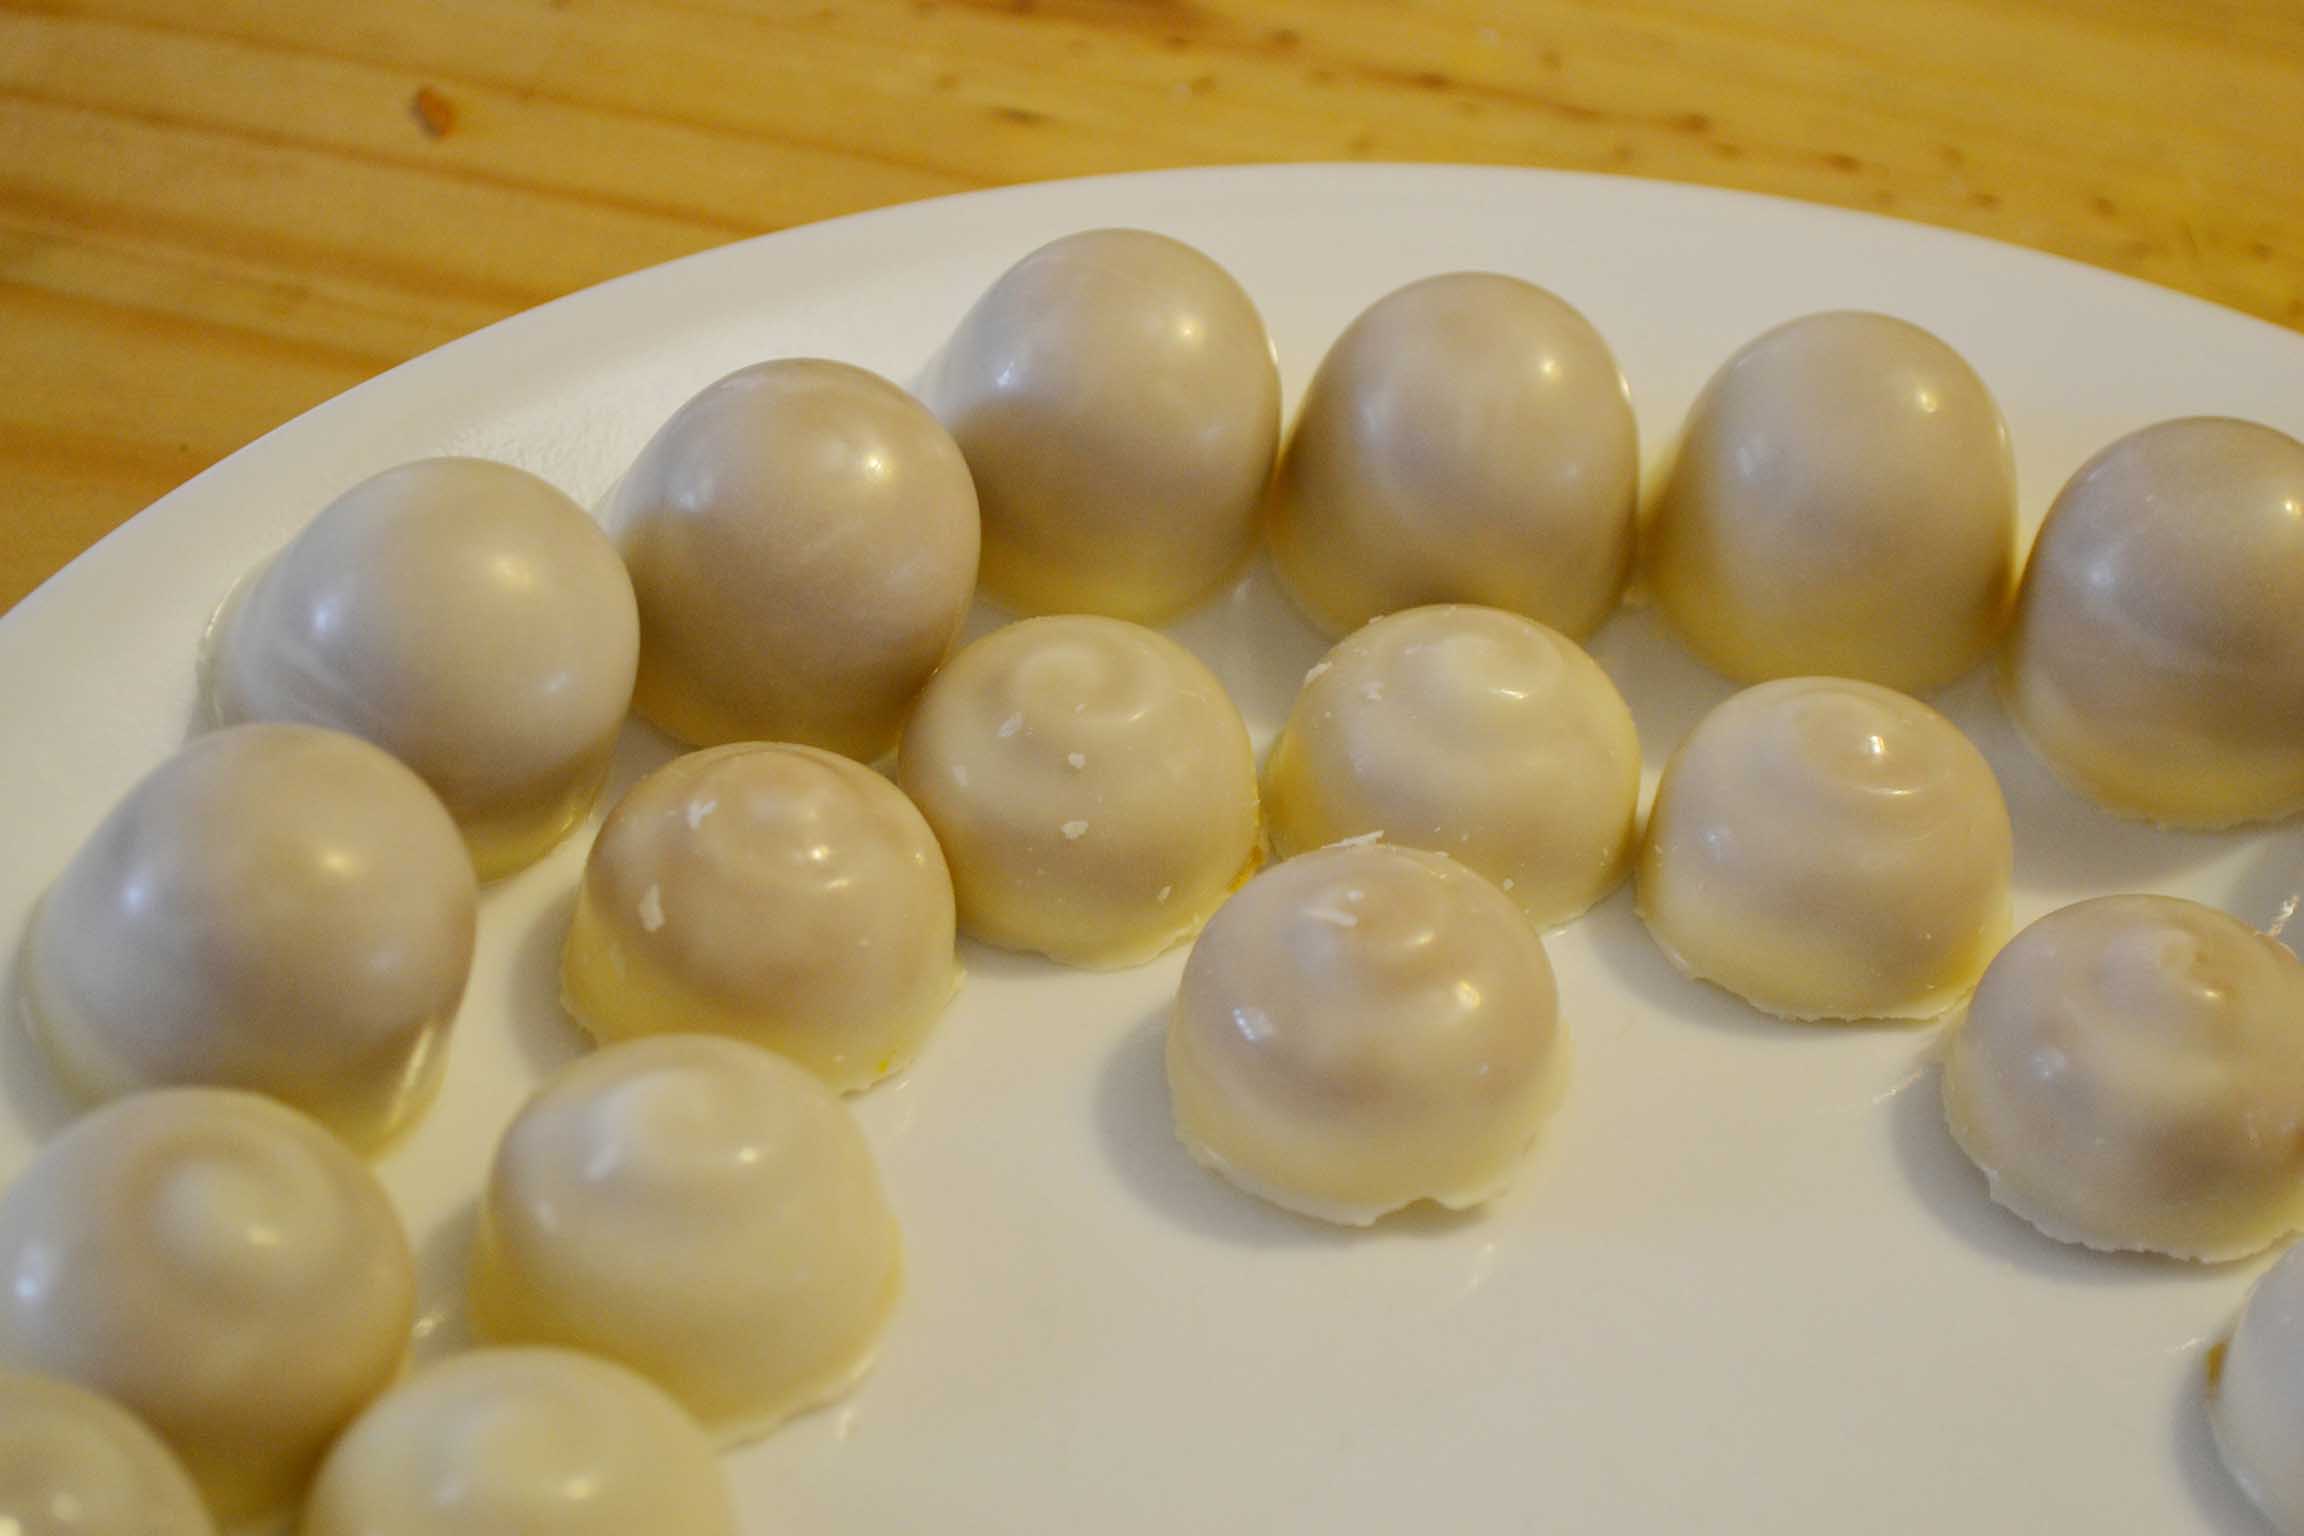
Here you can see the finished truffles. if there isn’t a flat bottom on them, you can always add a little bit more ganache on the bottom and place on a flat surface to even it out more. But still taste just as good even with a wonky bottom. Here you can see both of my mold shapes.
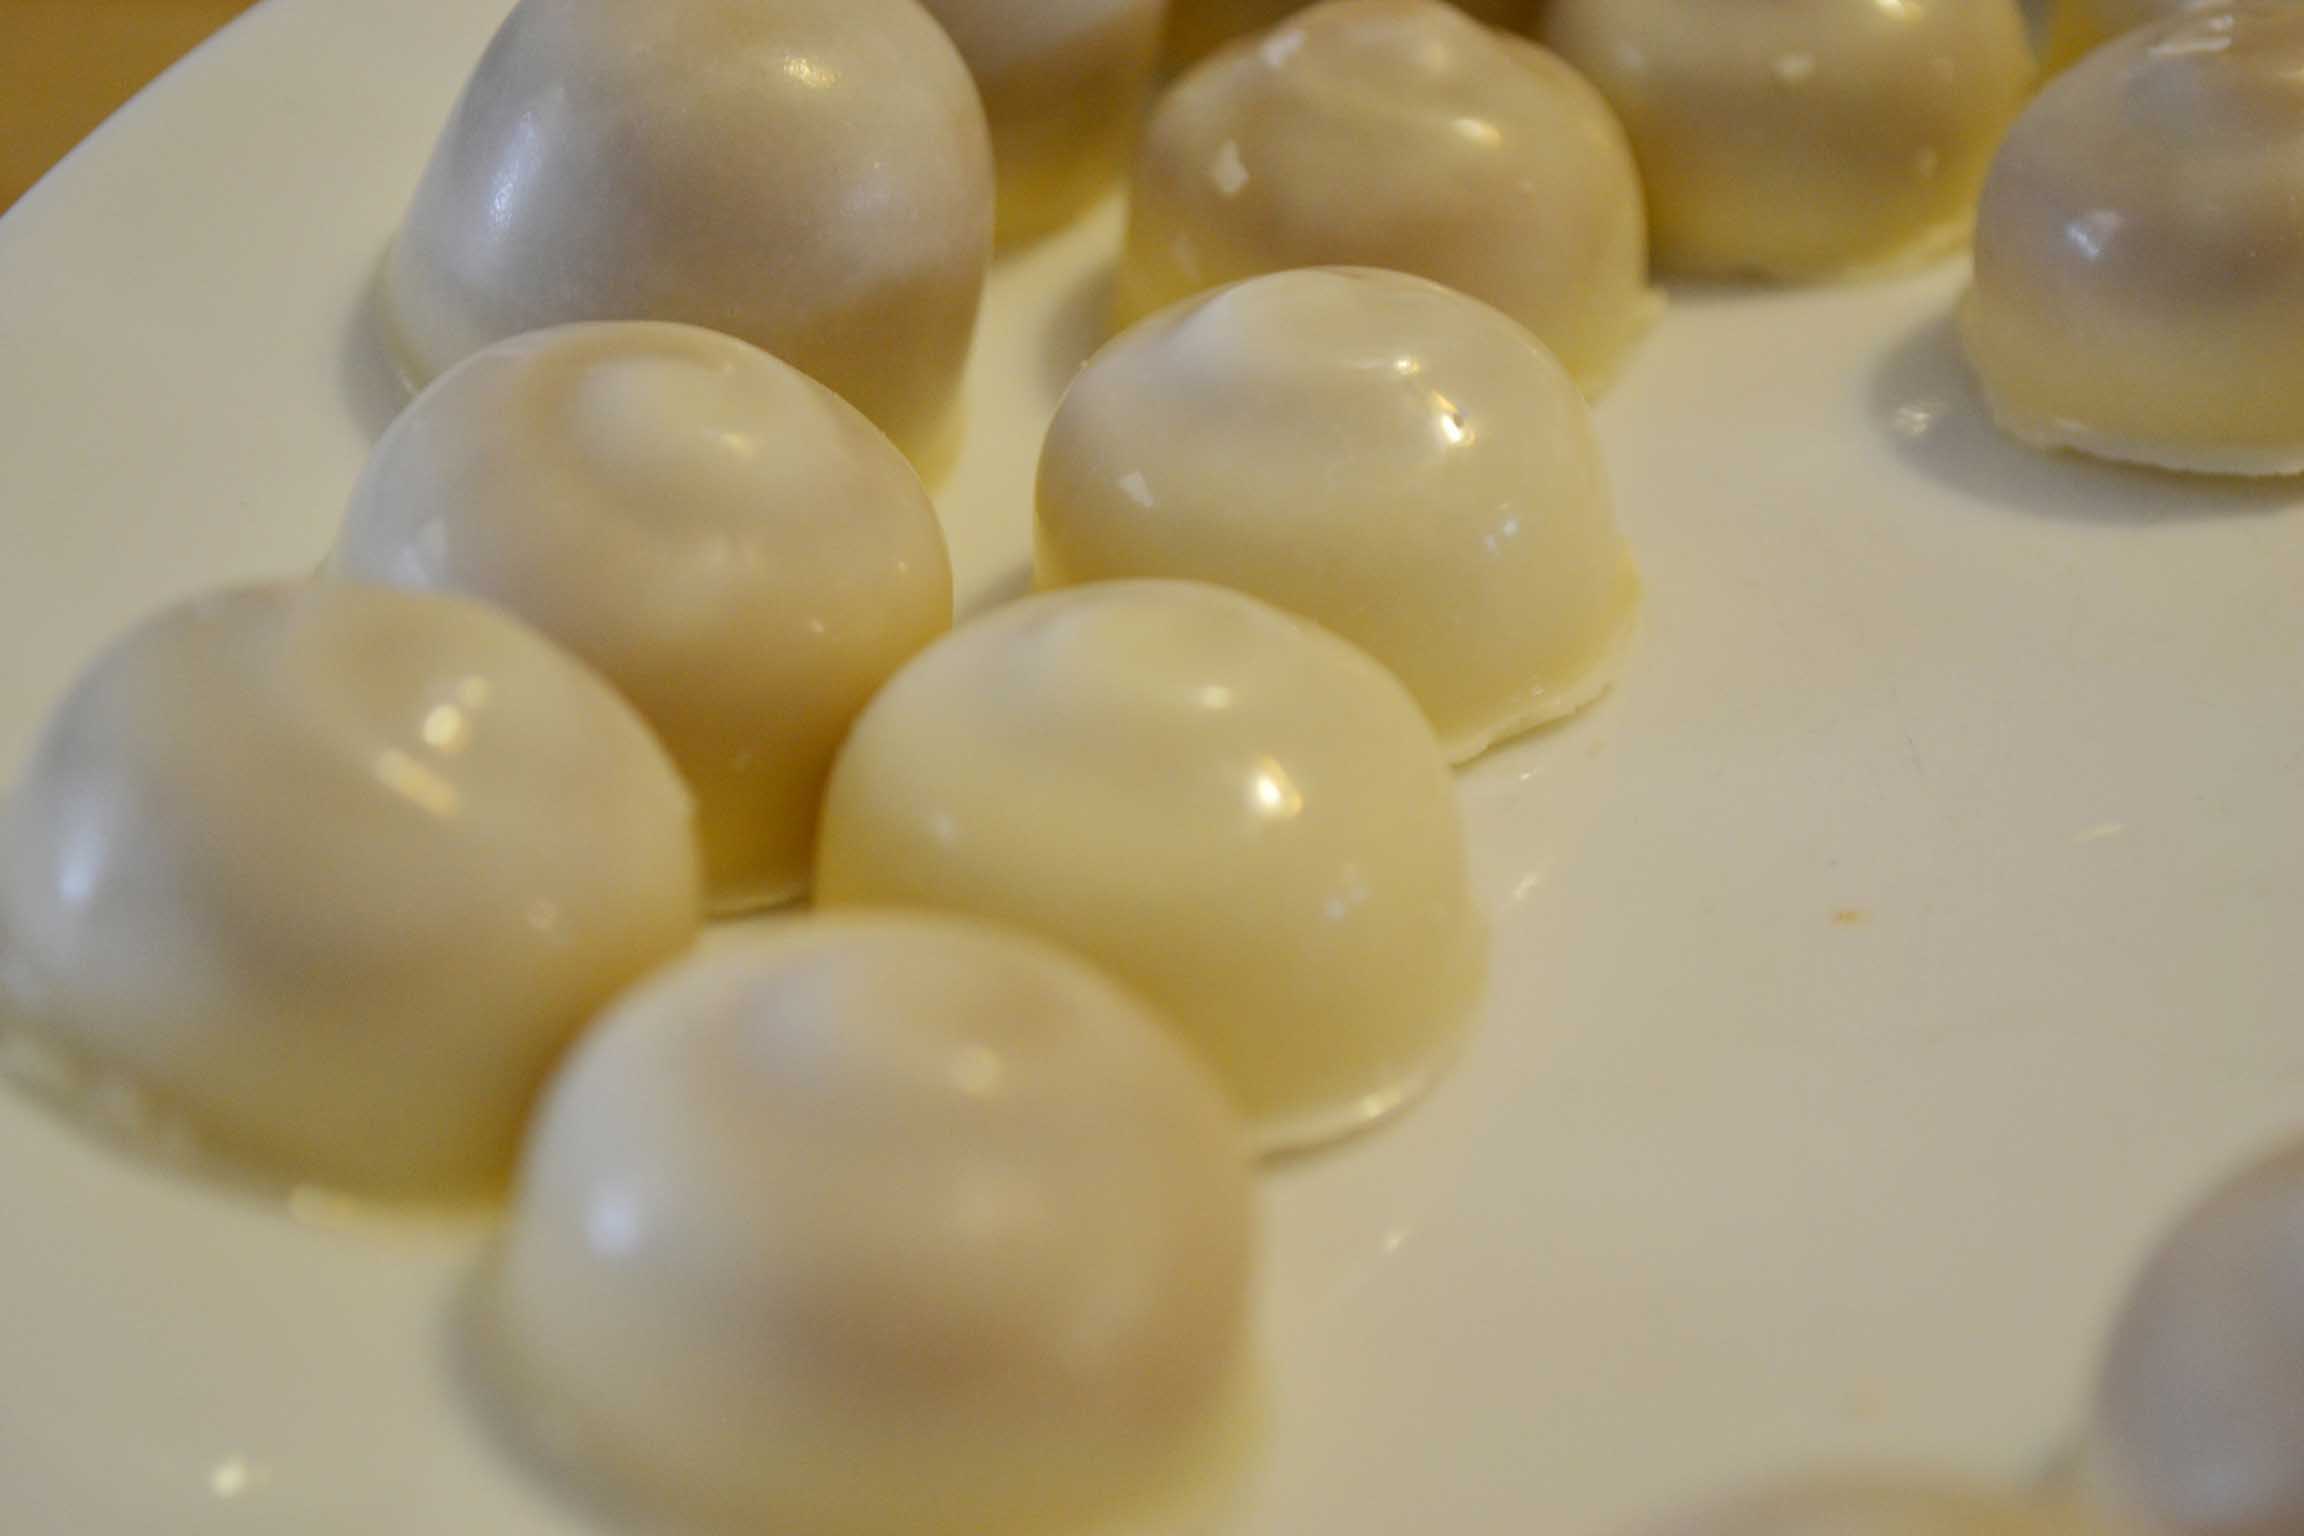
A close up; you can always add icing on top or re-dip to add nuts or something else to it.
 I don’t know why it looks like a face,but these were delish!
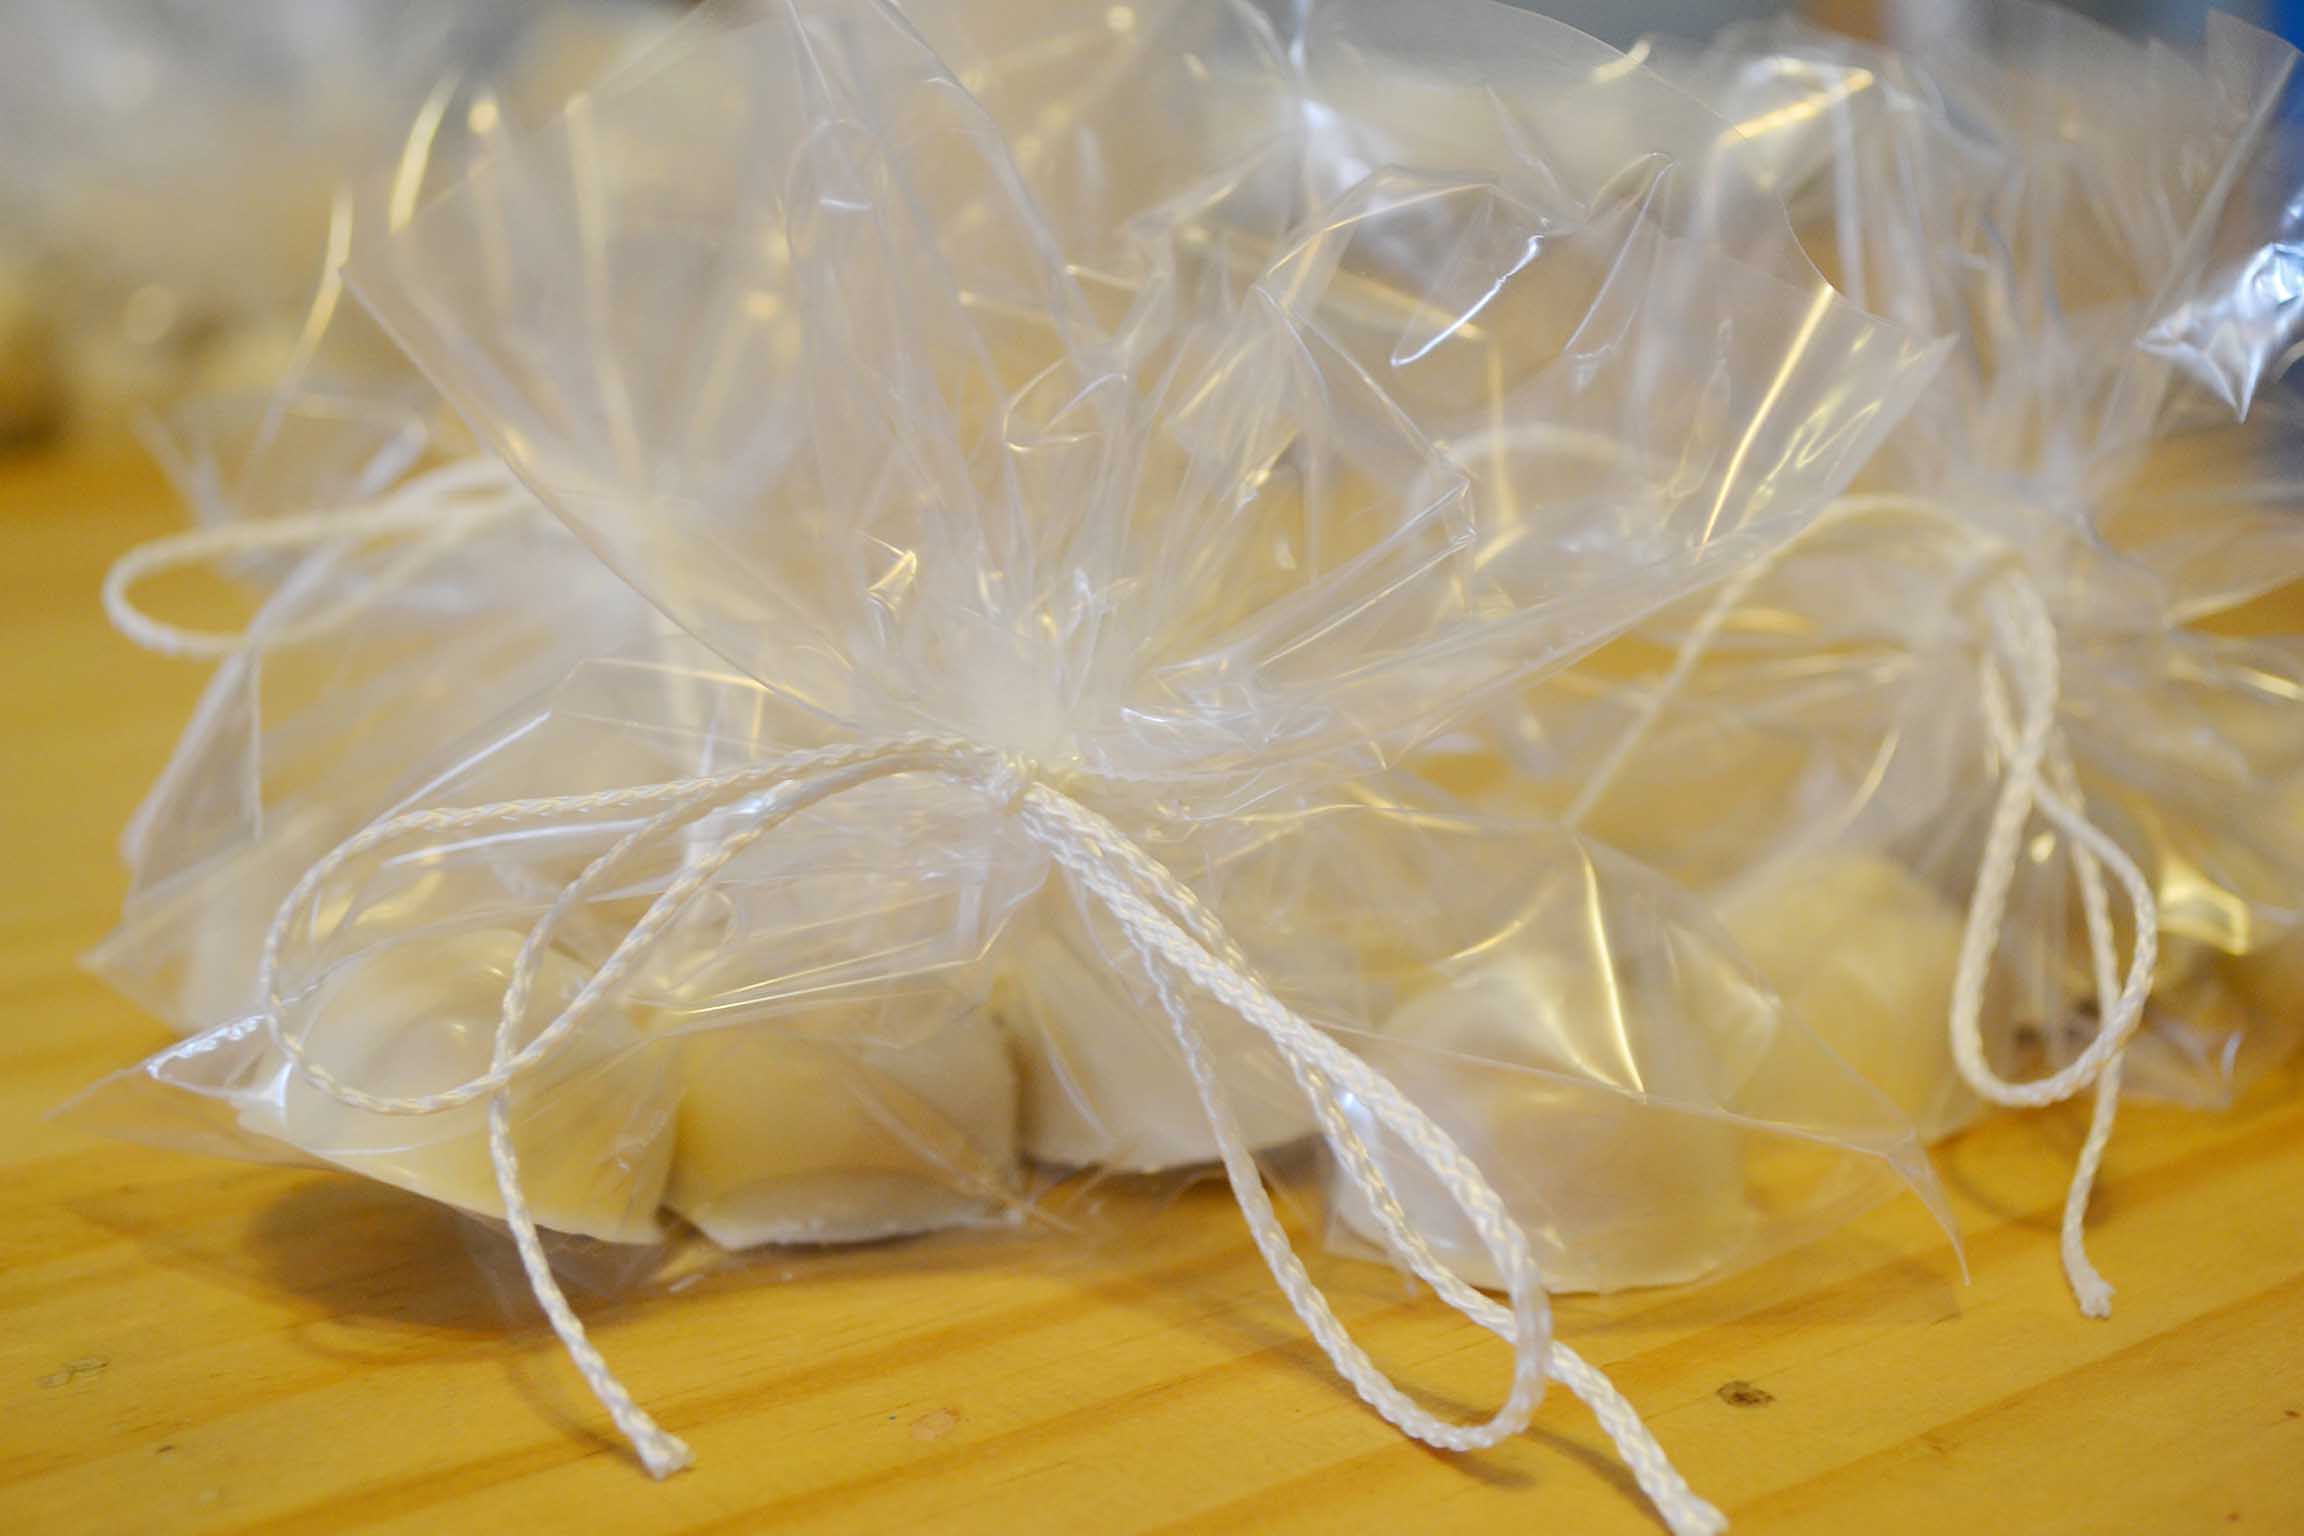
I wrapped them up simply, and then gave them to my coworkers.
Pumpkin White Truffles
Ingredients:
Pumpkin Ganache:
1 cup of Lucky Leaf pumpkin pie mix
1/4 cup packed brown sugar
1 teaspoon cinnamon
3/4 teaspoon ground ginger
1/8 teaspoon freshly grated nutmeg
1 teaspoon pure vanilla extract
1 teaspoon freshly squeezed lemon juice
pinch of salt
1/2 cup heavy whipping cream
18 ounces good quality white chocolate
1/4 cinnamon chips (Hershey’s)
Chocolate Coating:
Almond Bark or Chocolate coating
Instructions:
Mix the Lucky Leaf Pumpkin Pie Mix with the brown sugar, cinnamon, ginger, nutmeg, vanilla extract, lemon juice, salt, cinnamon chips, white chocolate chips, and heavy whipping cream in a saucepan. Stir on medium heat until everything is melted and combined. Place in a shallow baking dish and cover with saran wrap which needs to be pressed onto the filling so no skin forms while cooling. Place in the fridge until completely cold.
Melt the semi-sweet chocolate or confectionery coating. Spoon chocolate into the cavities of a candy mold. Fill to the top. Turn upside down and let excess run off, you can tap it a little to encourage it to fall out faster. Once turned right side up, use the flat side of a metal spatula so scrap off excess chocolate on top. I then like to place in the freezer to make sure that the chocolate in the mold is nice and firm.
Once the filling has cooled, place filling in a large plastic bag or a piping bag. If using a plastic bag, cut off the tip and pipe into the mold.
Then top off with more chocolate, scrap the top of the mold again with metal spatula for a nice flat bottom. Then freeze the mold for a minute or two to harden. Shake or slightly twist the mold upside down to release finished truffles. I normally try and let them drop on one of those padded drying cloths so they don’t crack on impact. These can be made up to 6 months in advanced, so these are great gifts at the holidays. I make around this time for Christmas along with other flavors,and place them in an airtight tupperware in the freezer. One week before gifting them, transition them to the fridge. Then after a few days, you can take them out and let them get used to room temperature. This way, you don’t have them sweating or melting by slowly warming them up. Then package and gift or enjoy!


2 comments
Wow,I’ve never made truffles before. You make it look so easy. Maybe, I;ll give them a try for Christmas favors!
[…] and dipping them in chocolate which works pretty well,but then I realized I could use a candy mold which I describe the process here. That worked wonderfully too,but then I found out about these truffly molds that make my life SO […]