

Our whole house has popcorn ceilings except the closest because who would waste such a high quality texture in a closet?! ;p Our den has painted paneling which was then sprayed with a popcorn texture so that will be fun whenever we try to tackle it. Grant and I are not fans of popcorn ceilings, but they take a long time to get rid of at least in our house. So, I see this being a LONG journey as we slowly depopcorn our house. However, getting rid of the popcorn is very time and labor intensive,but not that costly compared to other home improvement projects so that at least is a plus.
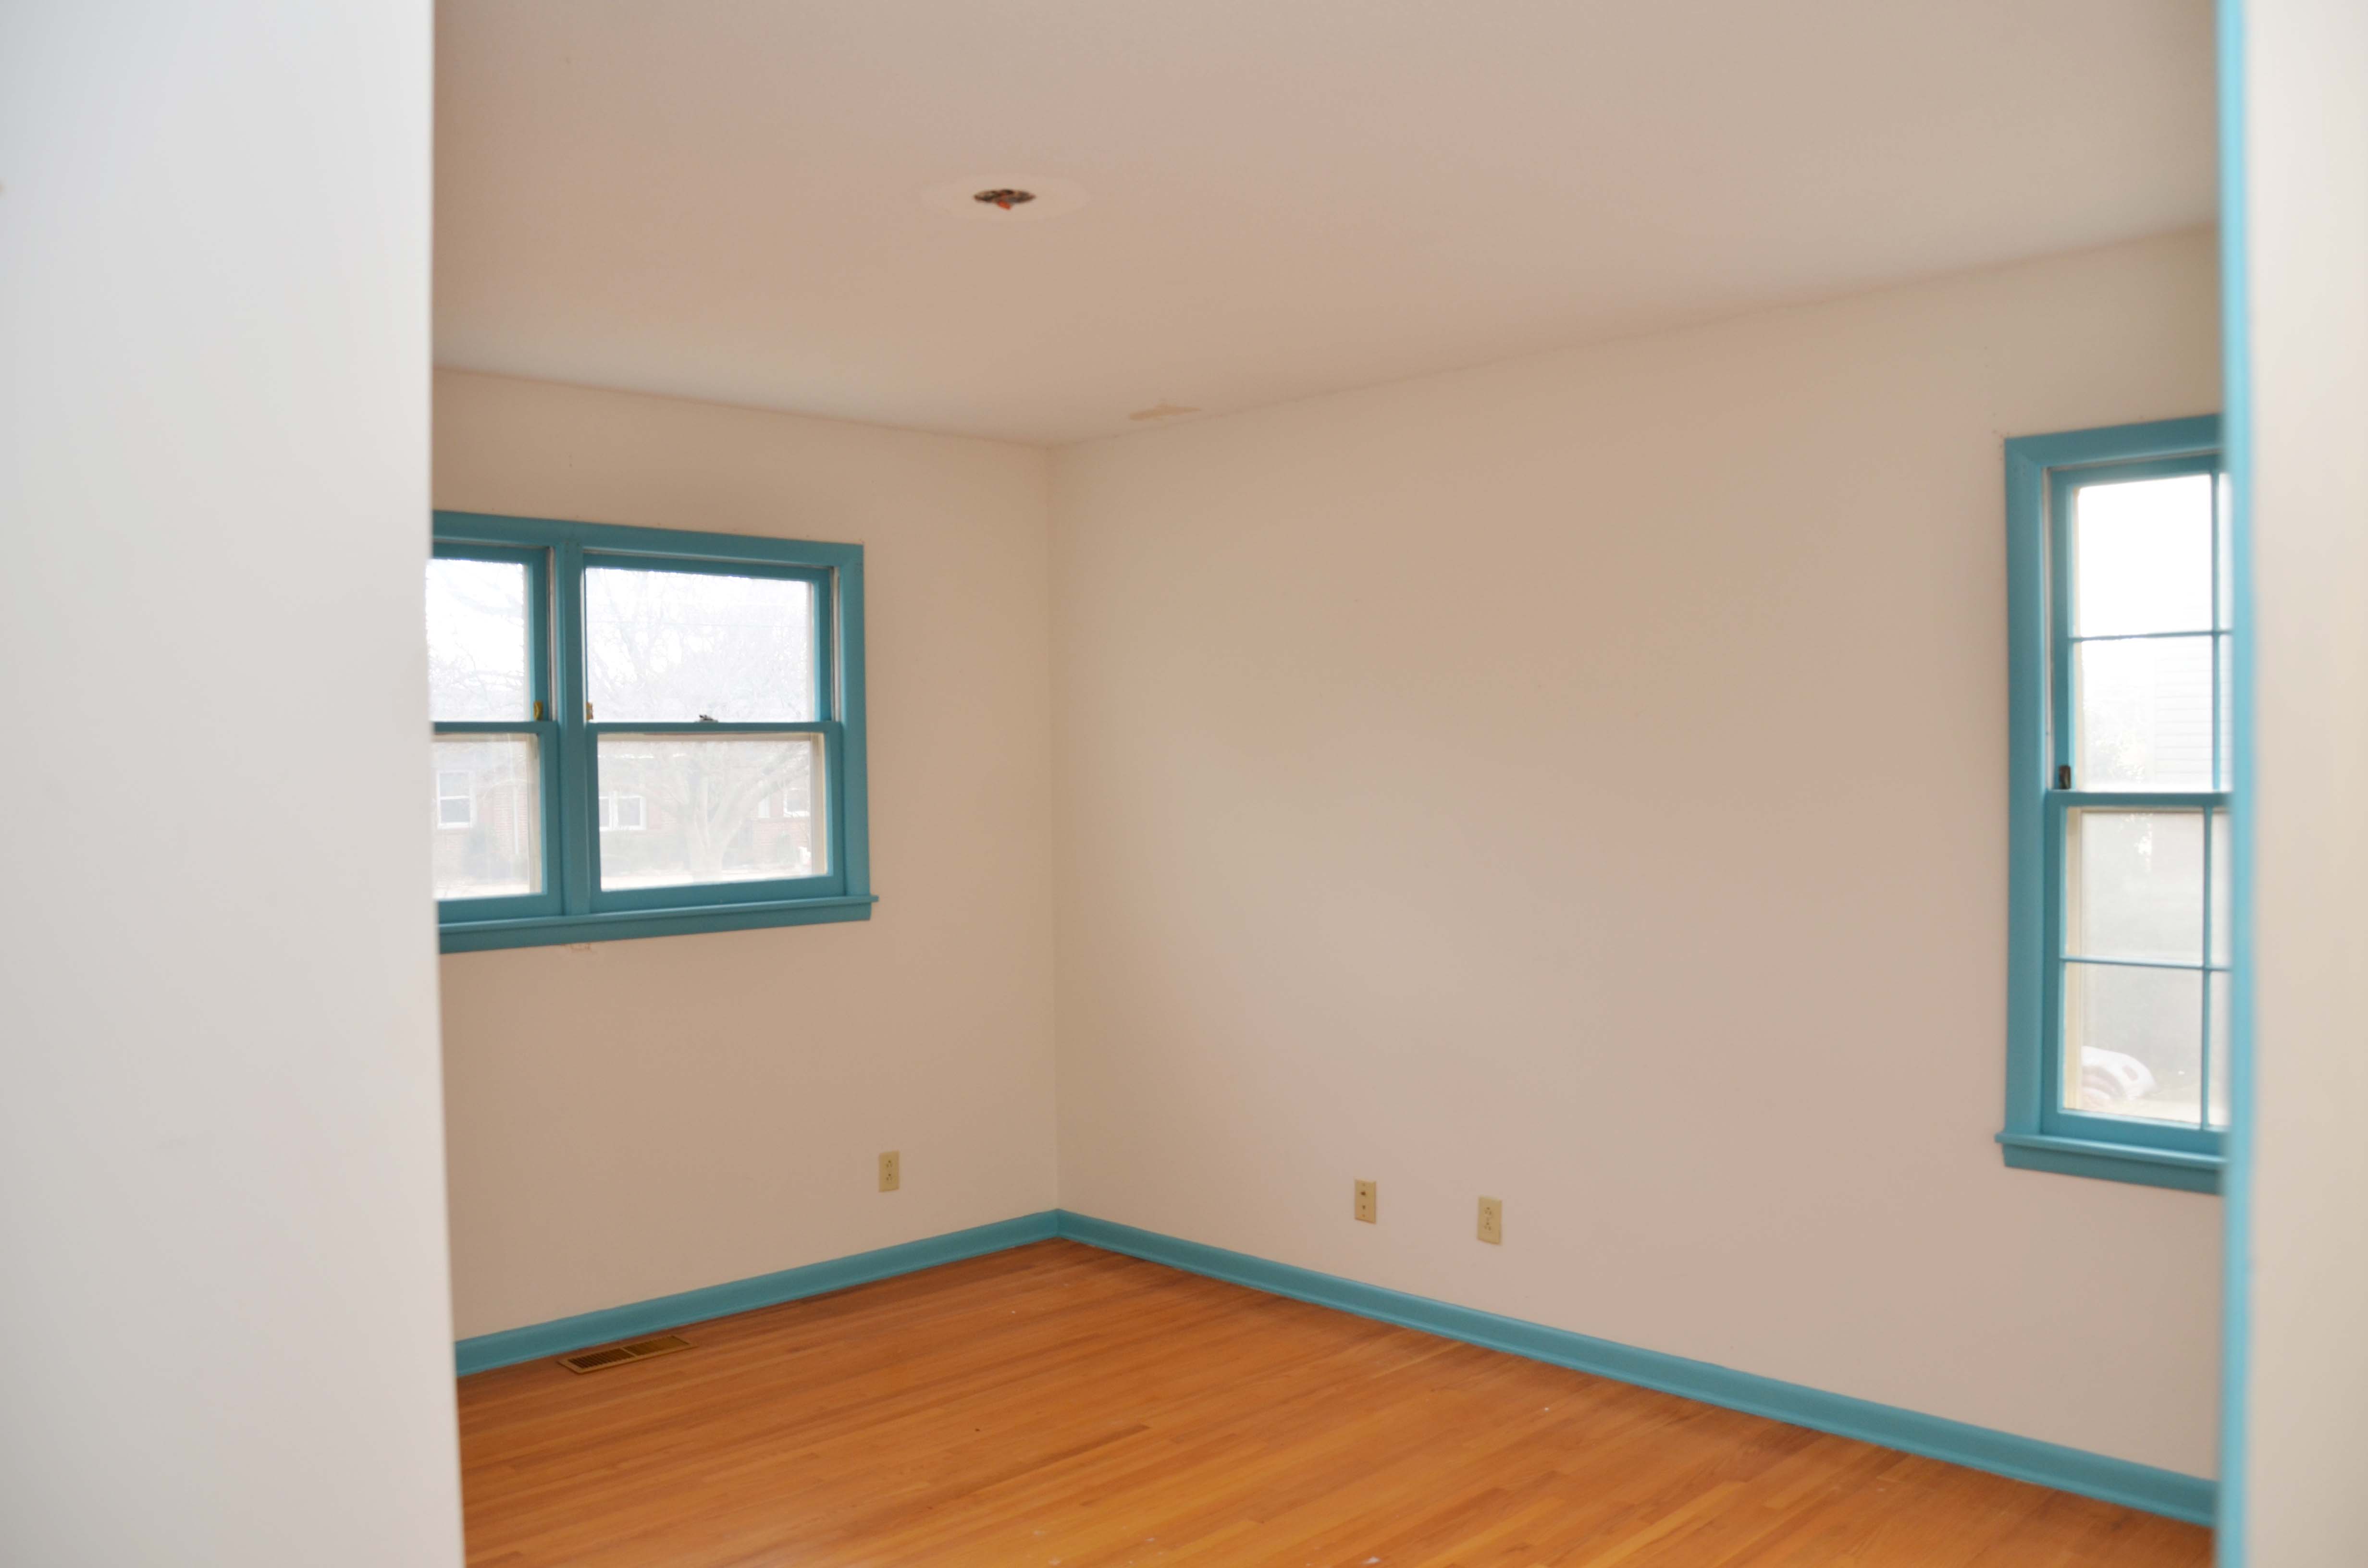
Here you can see the baby room which has the boldest trim color in the whole house as well as the popcorn ceilings. We have two rooms where the ceilings were not painted, and you can touch or crush it with your fingers, and it easily crumbles off.
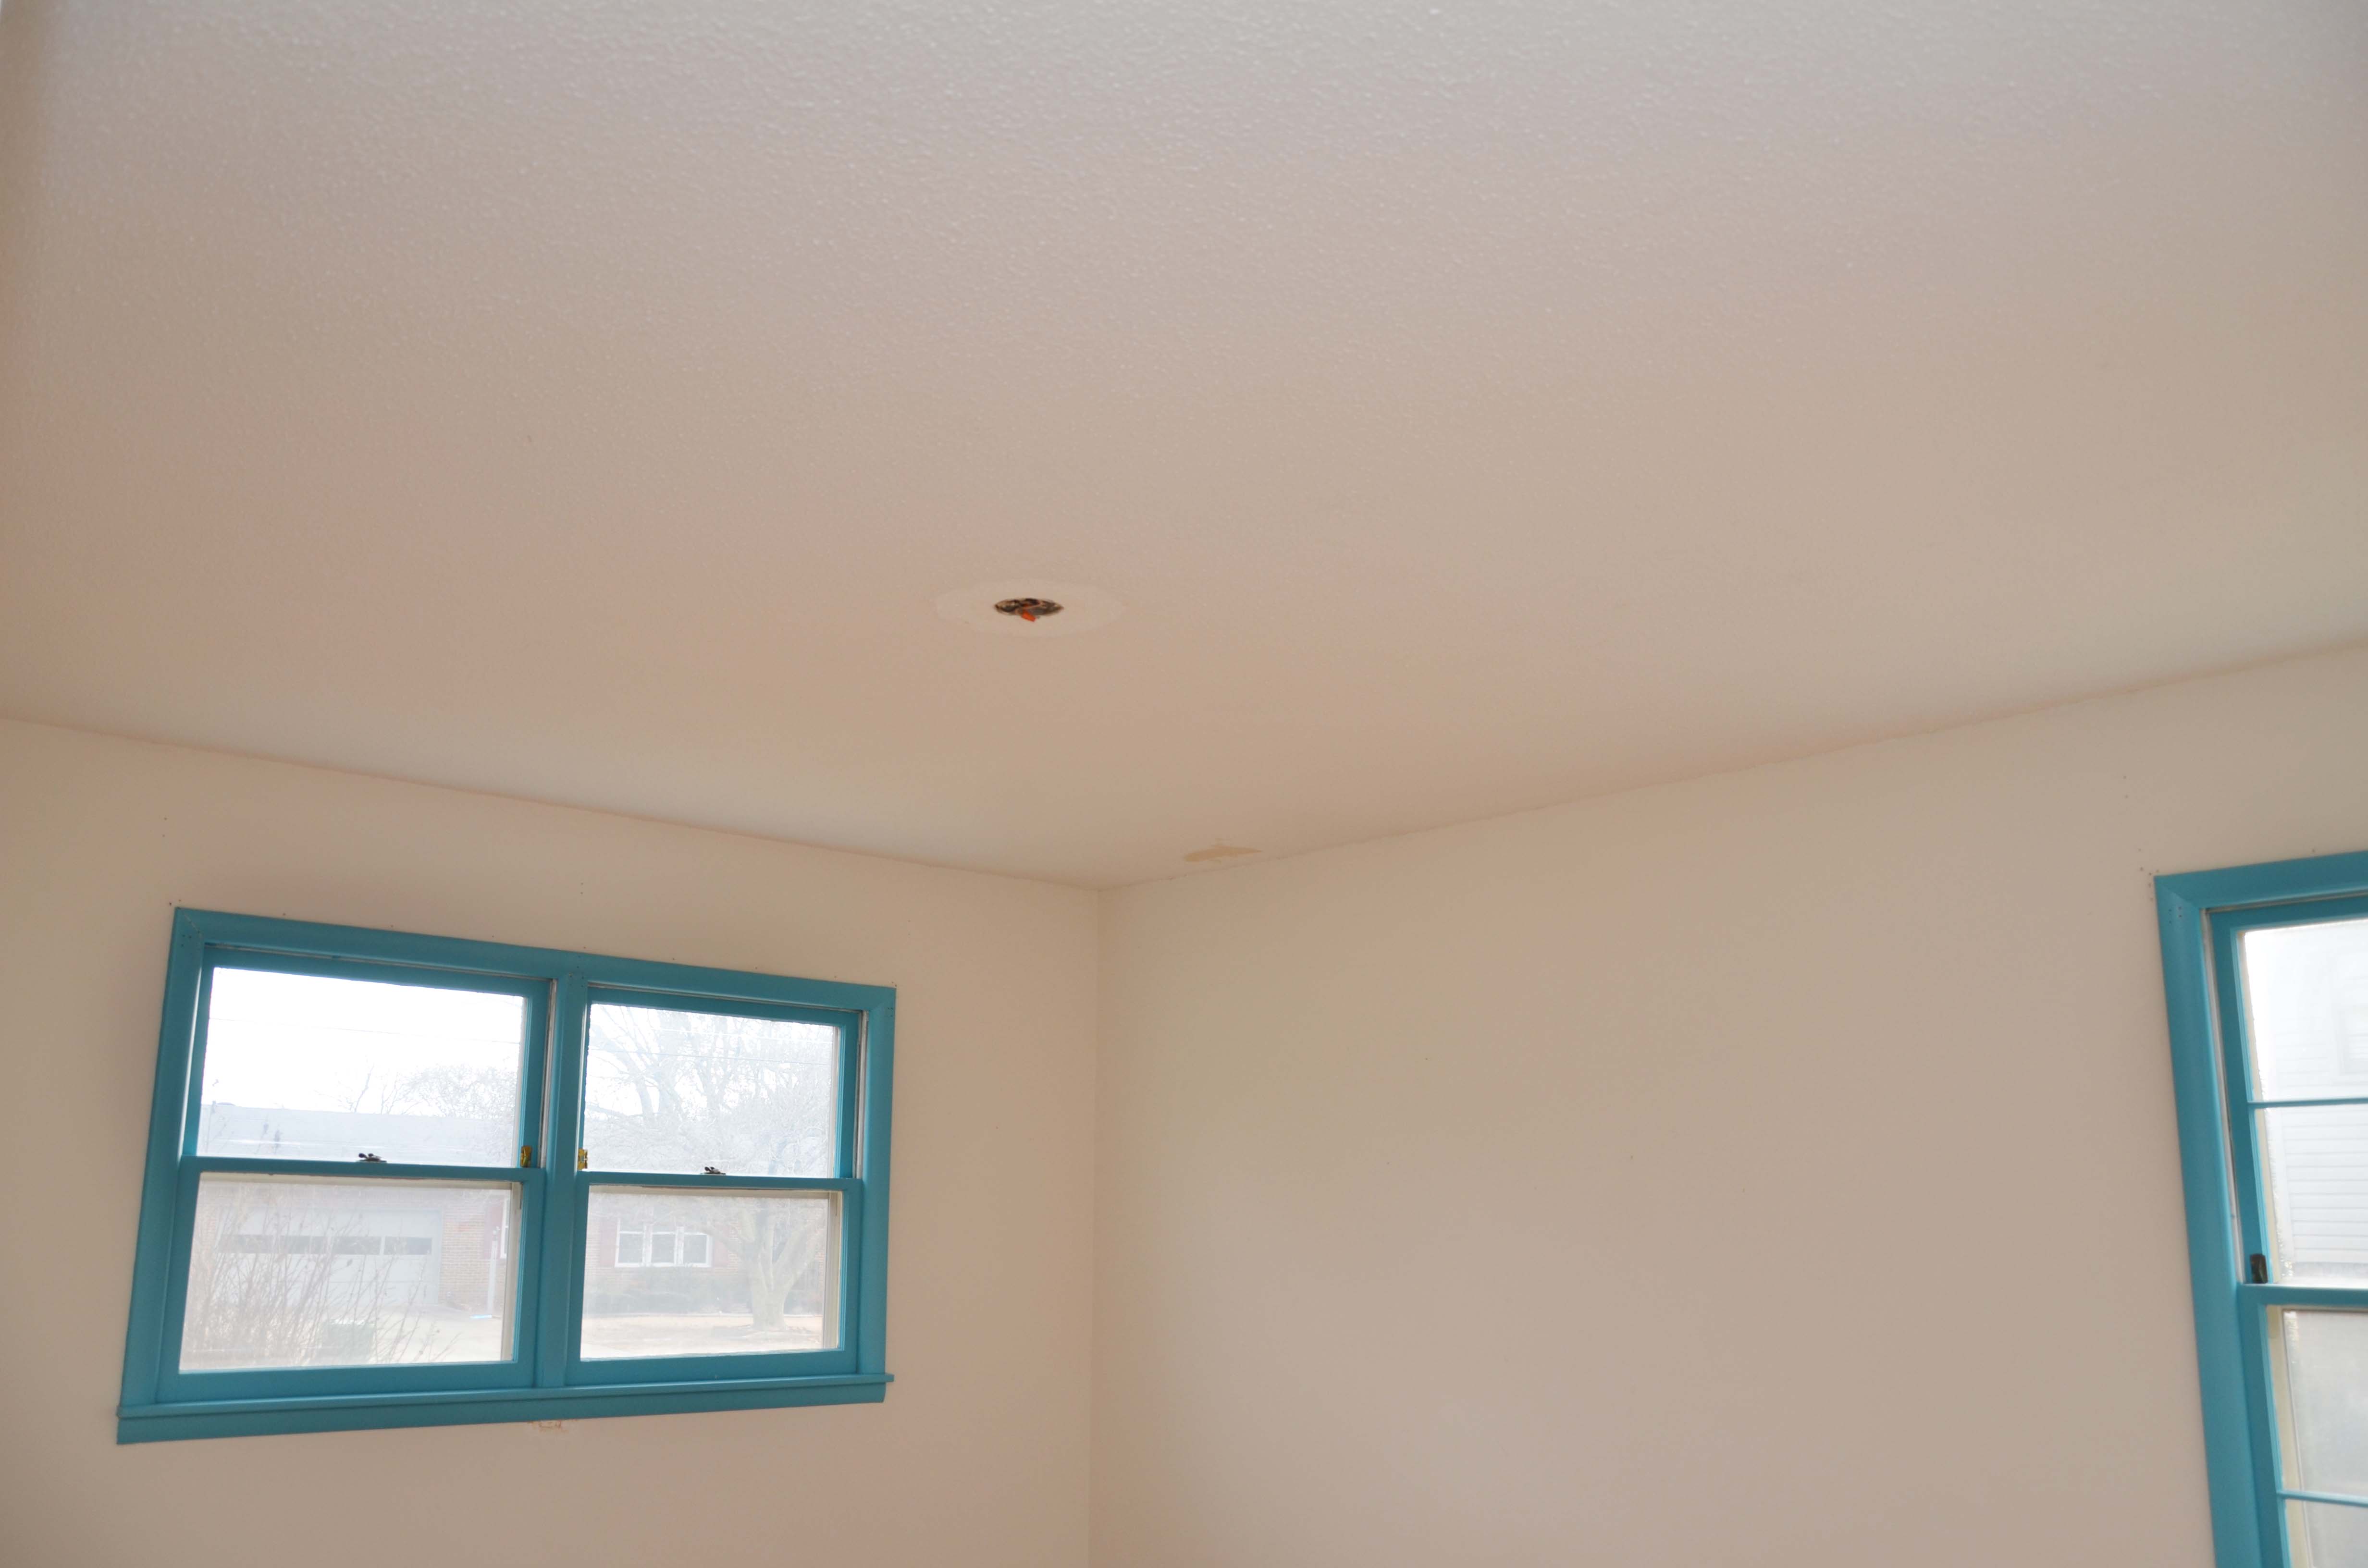
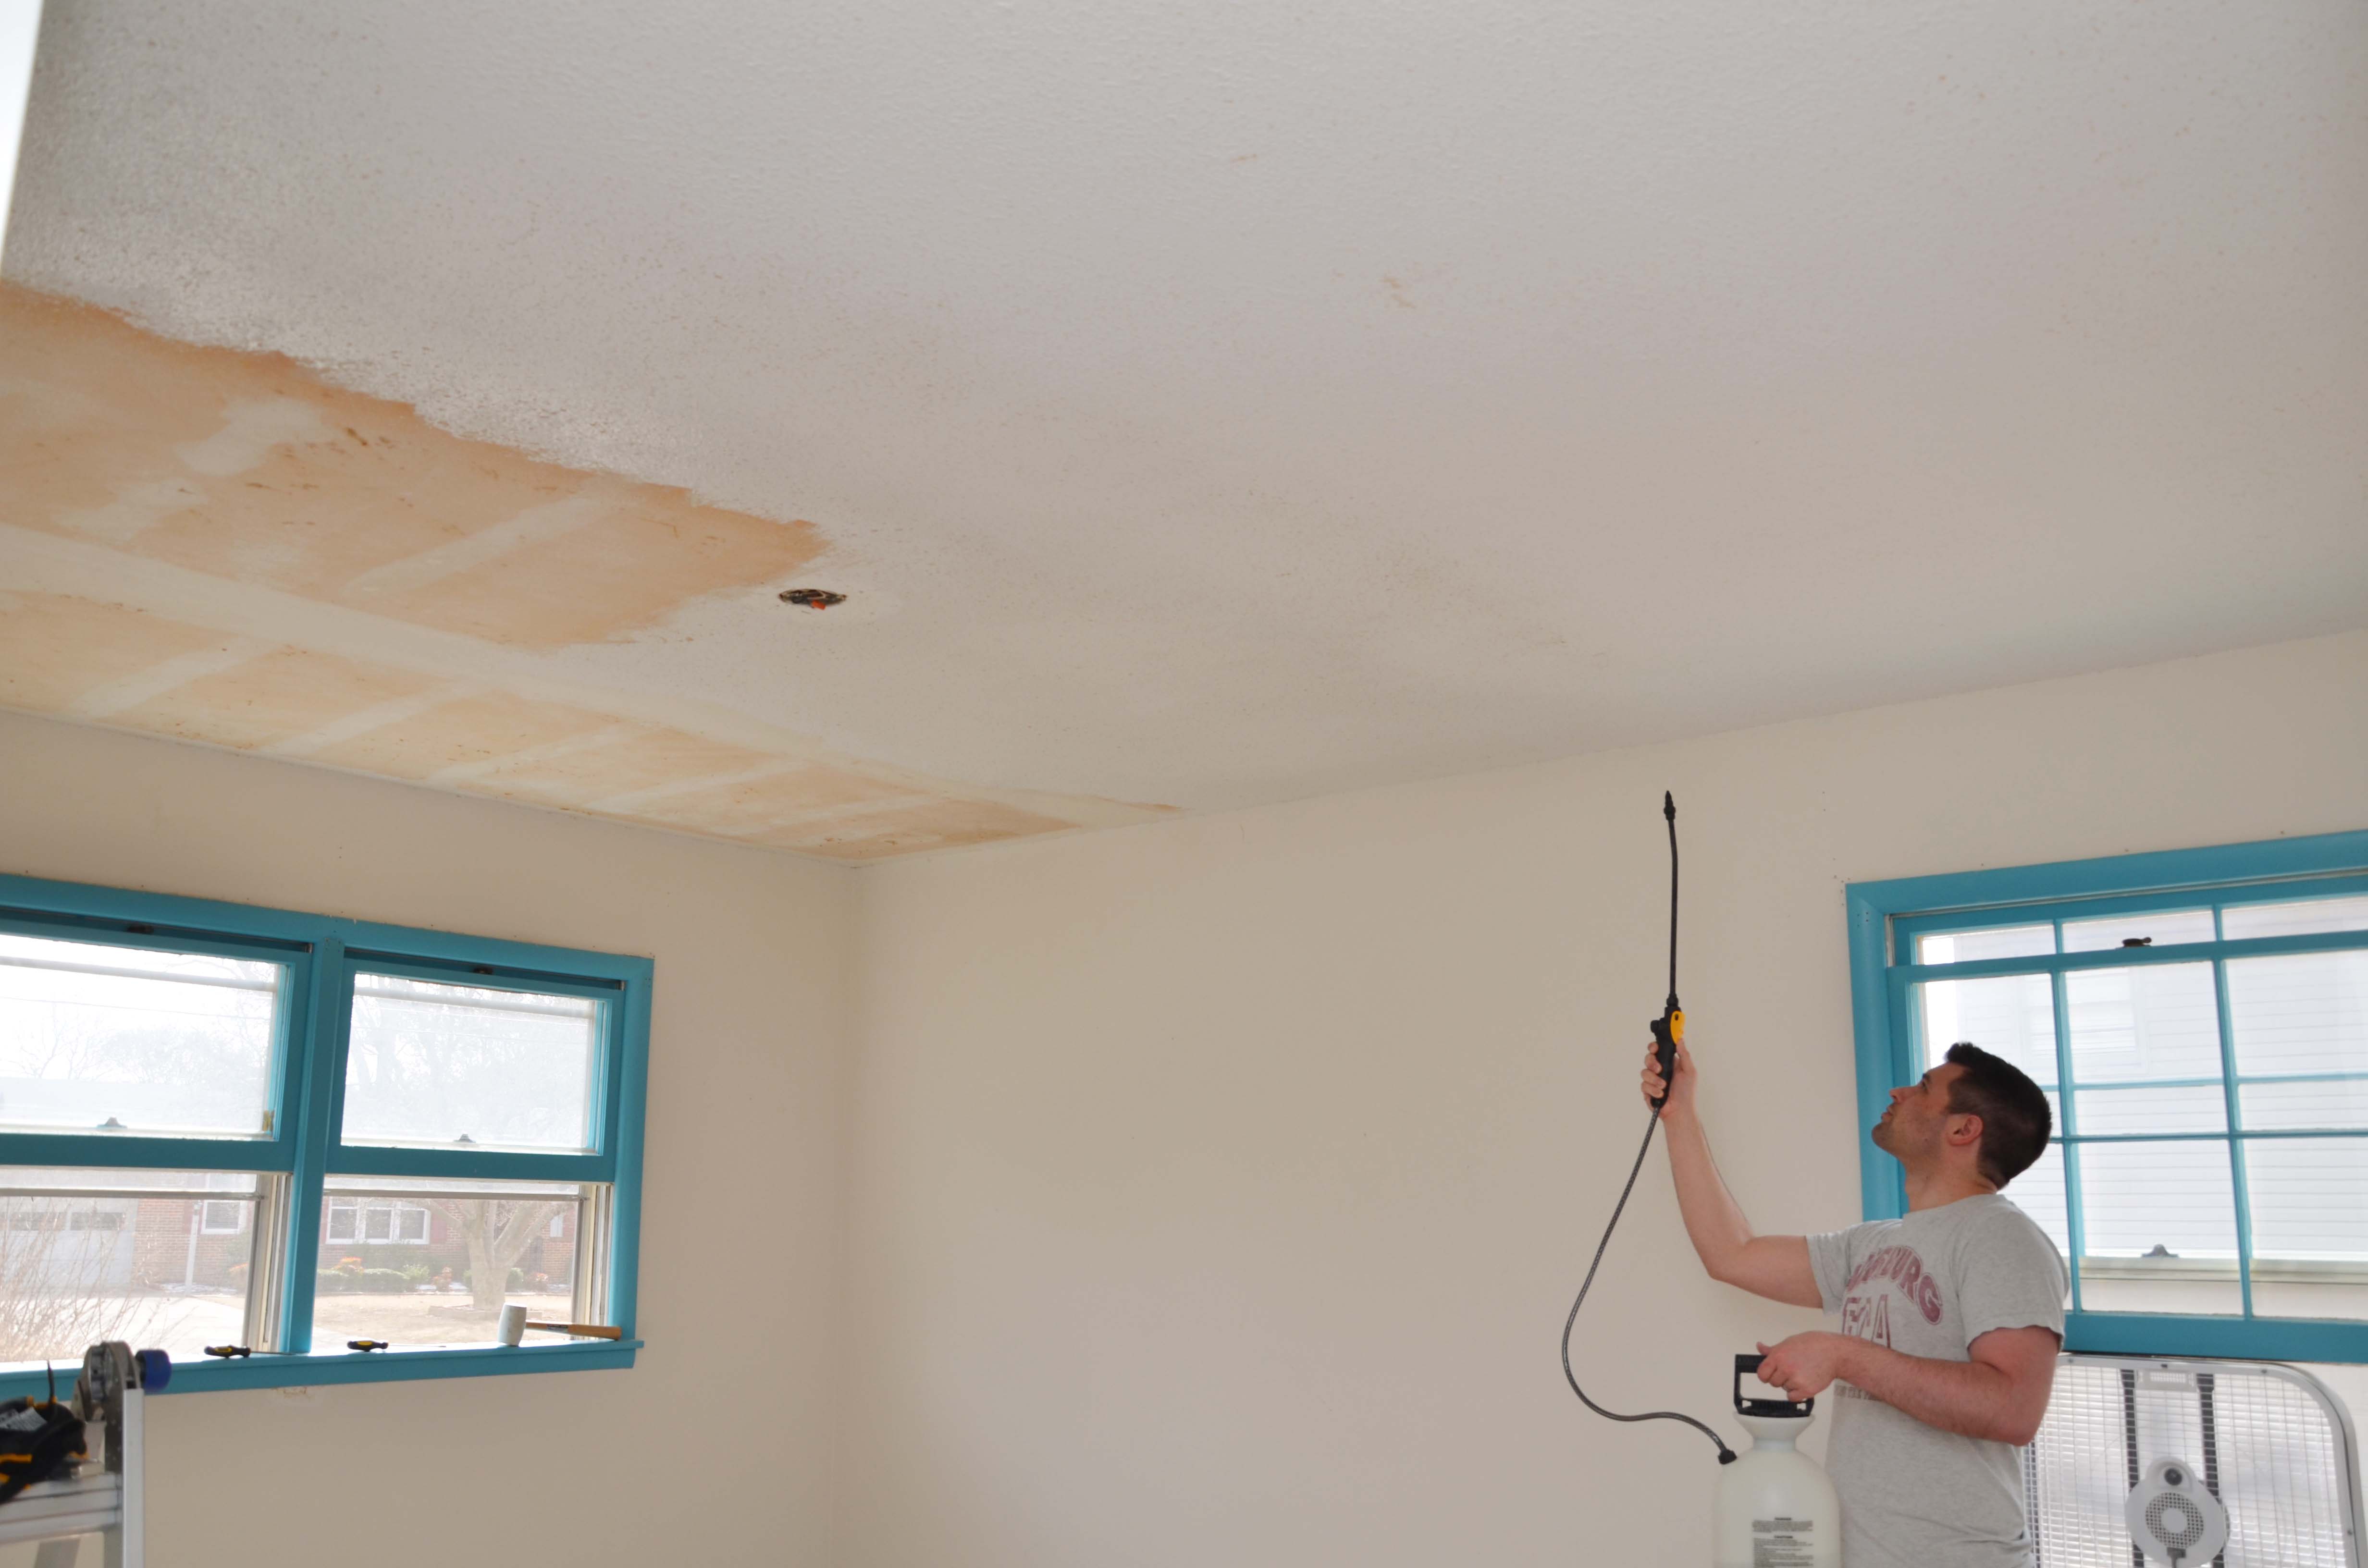
But in the majority of our house, we can tell that they are not easy to remove which we suspect is because they were painted maybe even primed as well. You can also see a water damage spot from when the roof was leaking on this ceiling.

So we knew that this ceiling would not be fun to remove,but we were determined to get at least one room done. Make sure that you get your popcorn ceilings checked for asbestos. We used this company after my cousin and his wife recommended them.
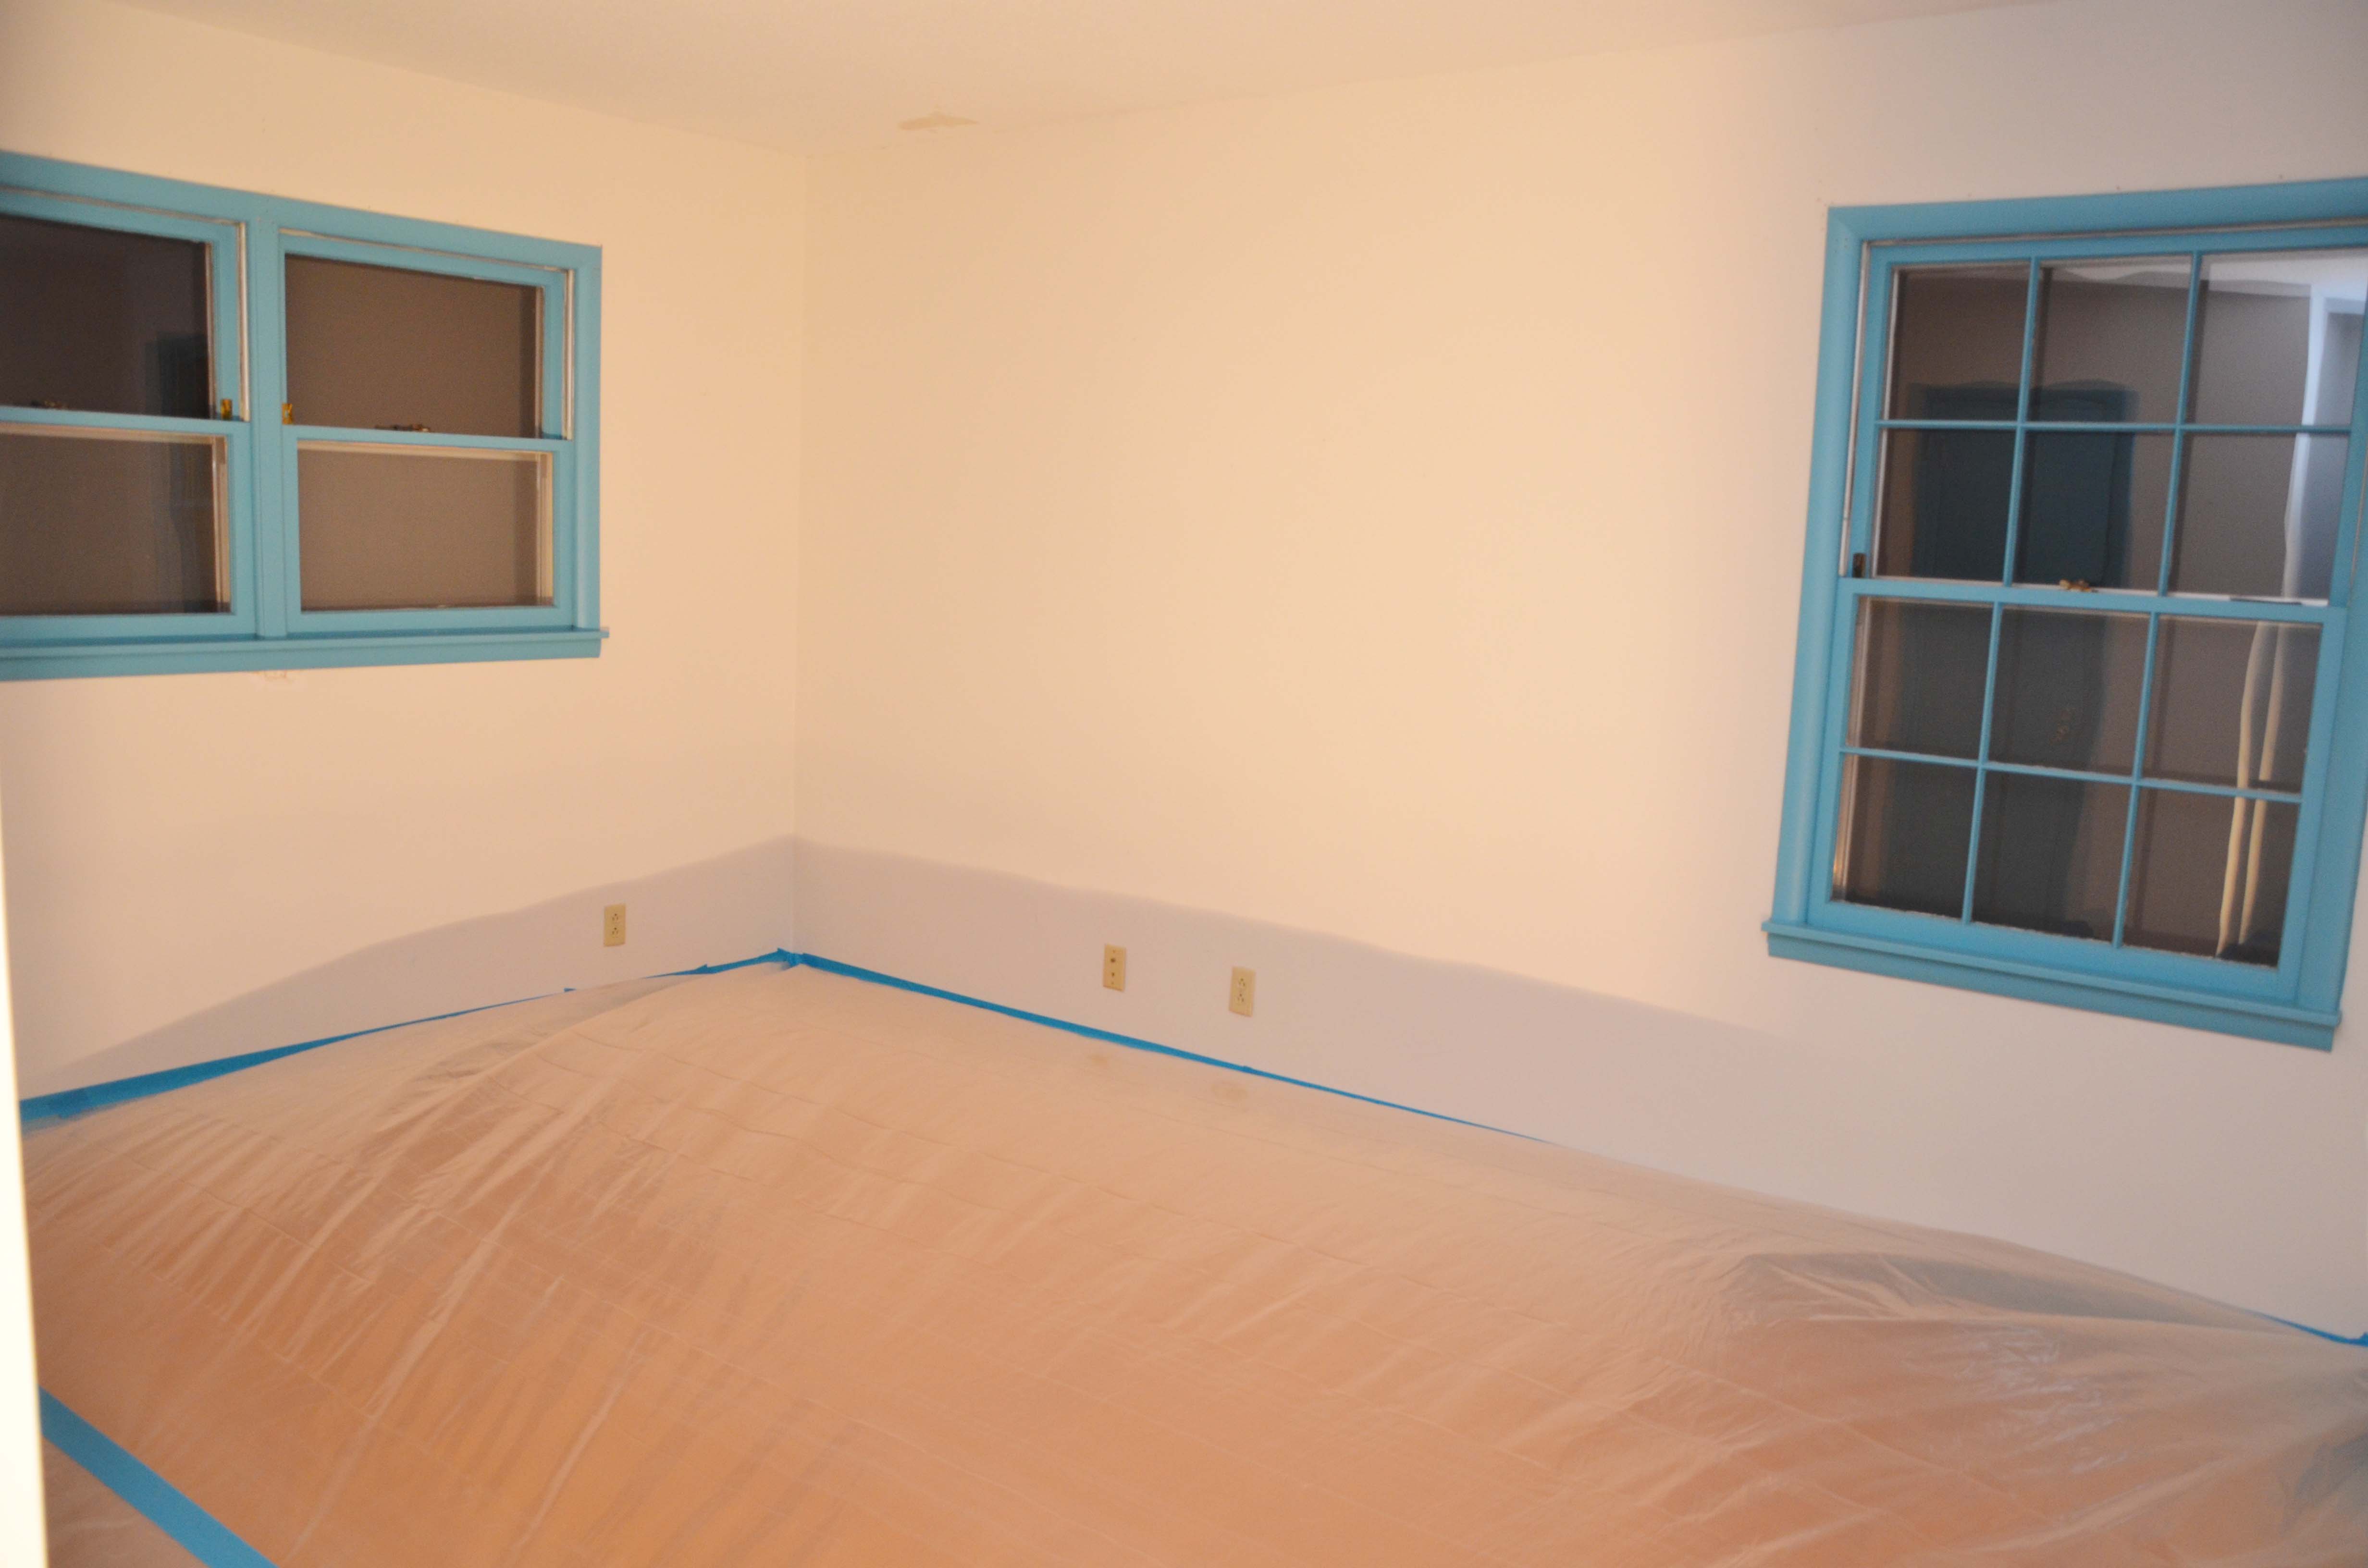
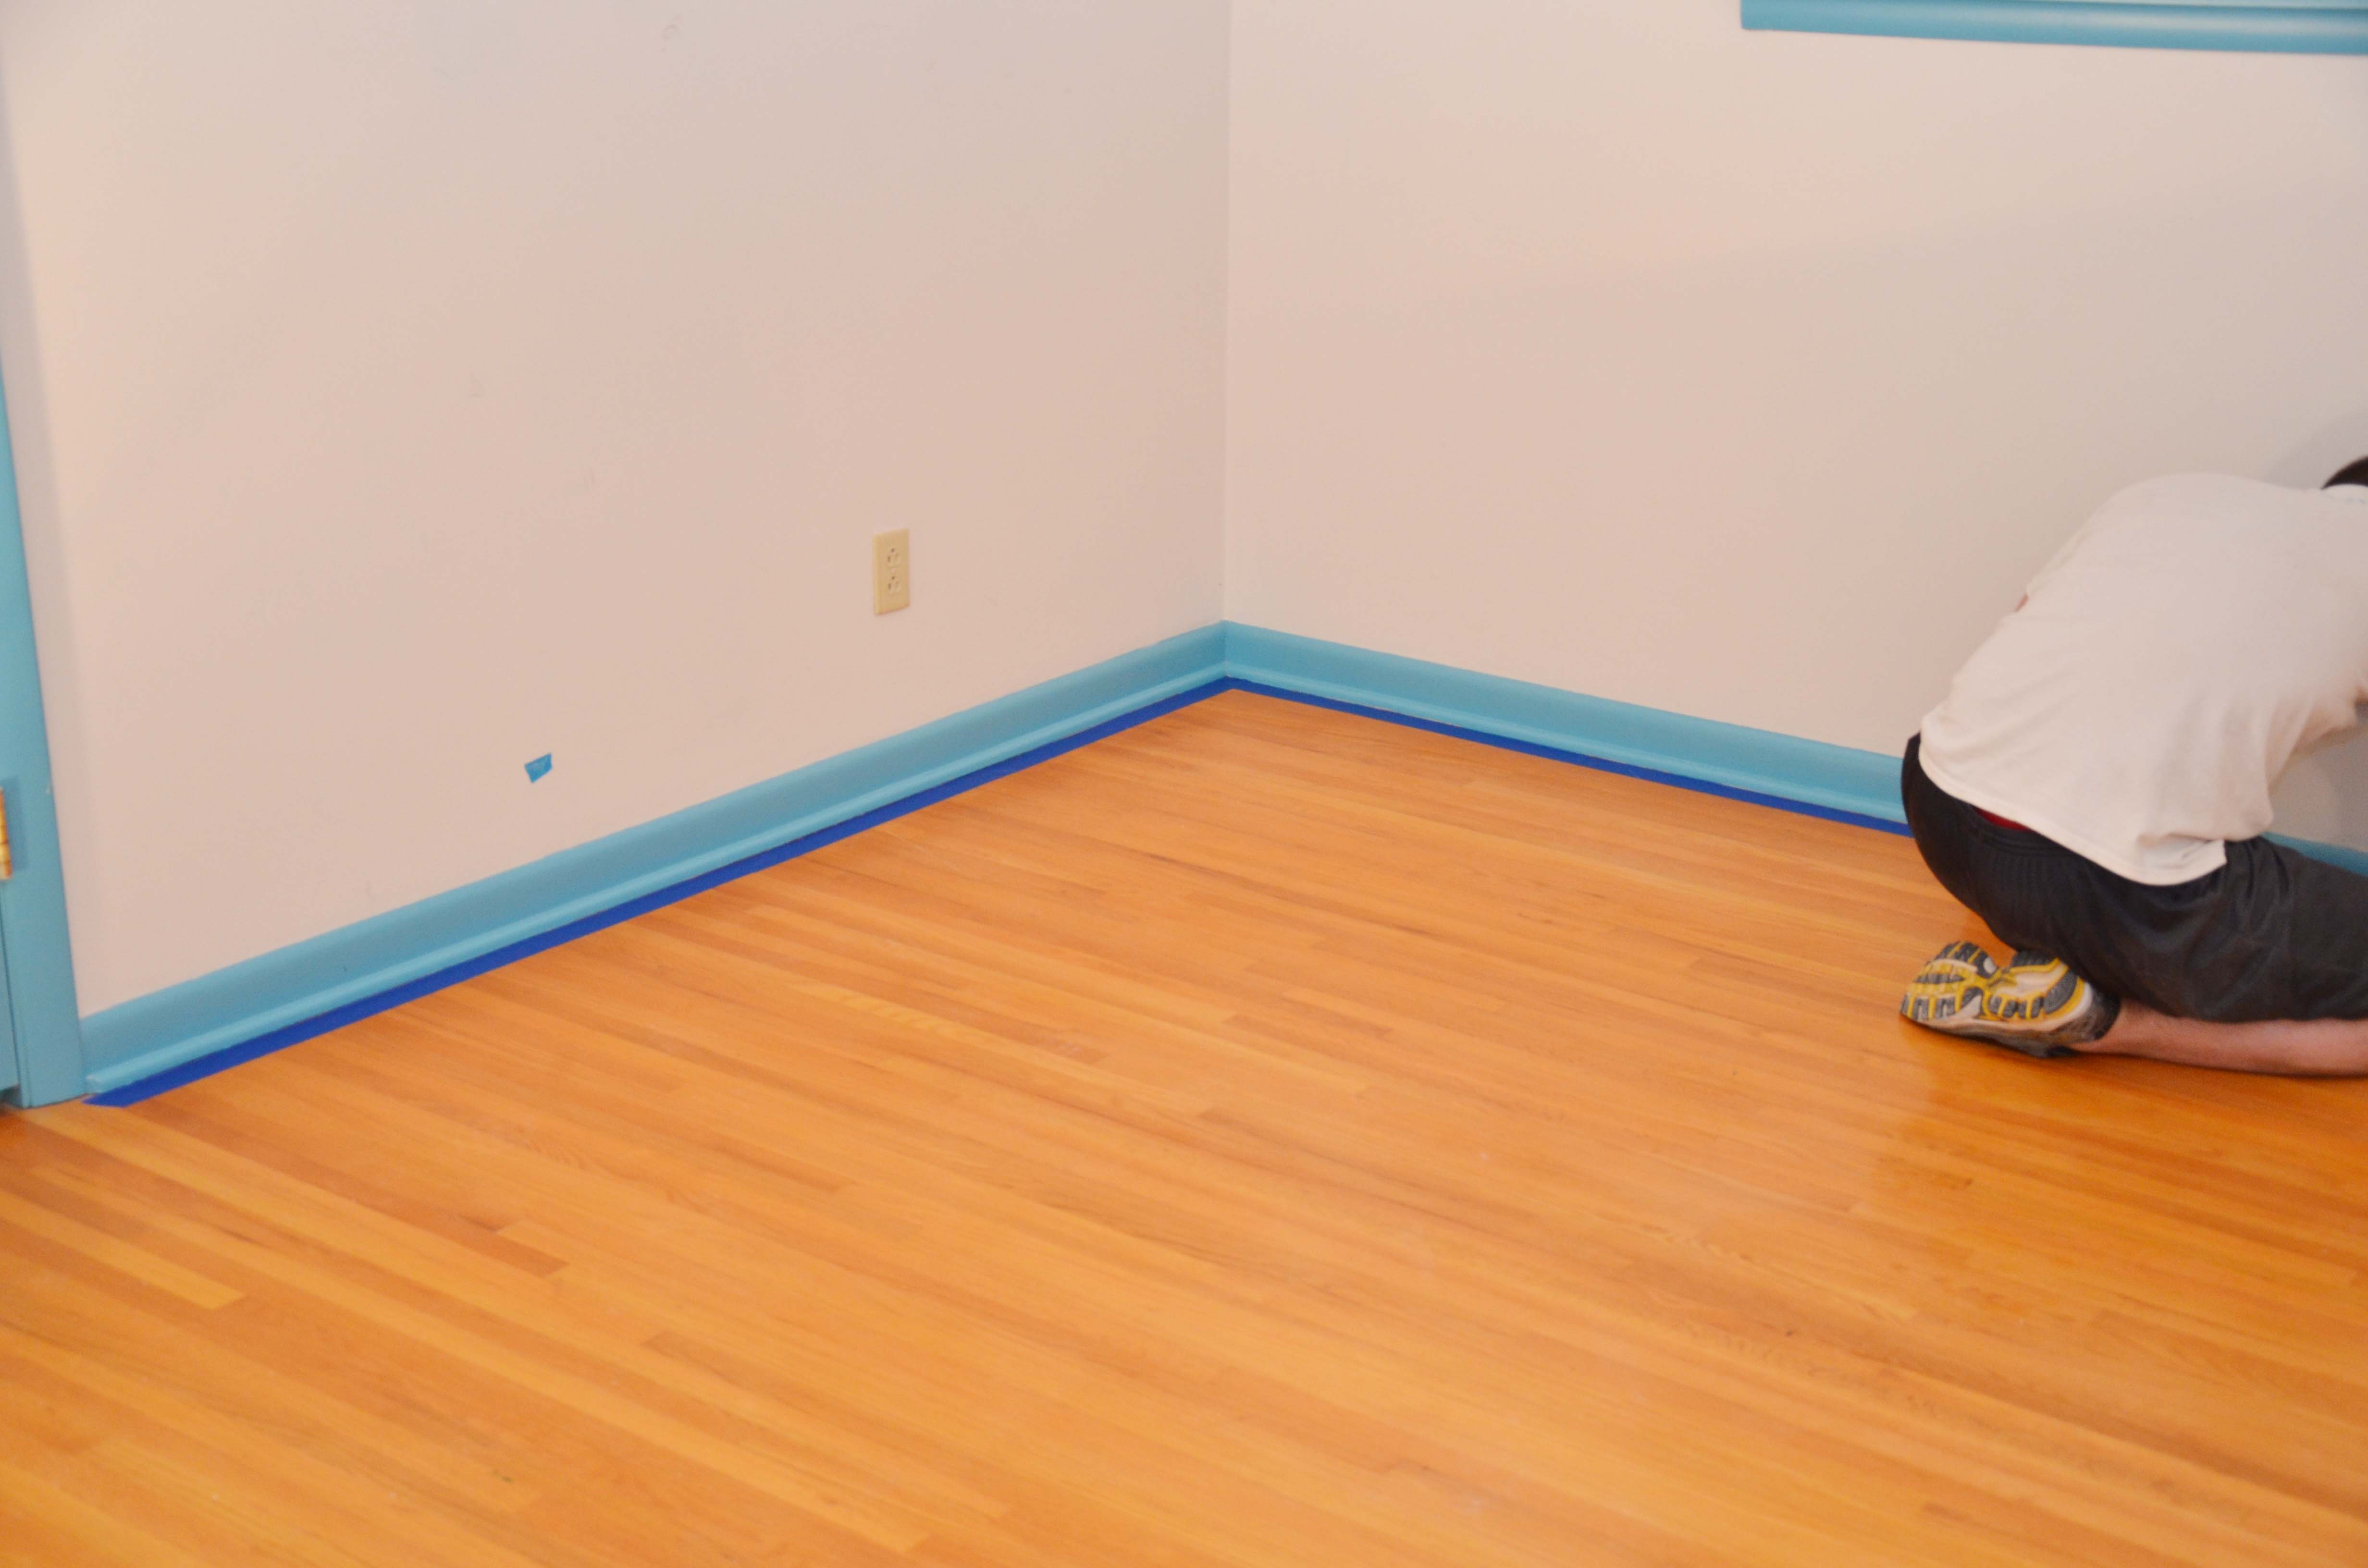
We then taped down our plastic to protect the floors, but didn’t do a good job at first of taping off the floor vents, so we had to fix that before starting in this room.
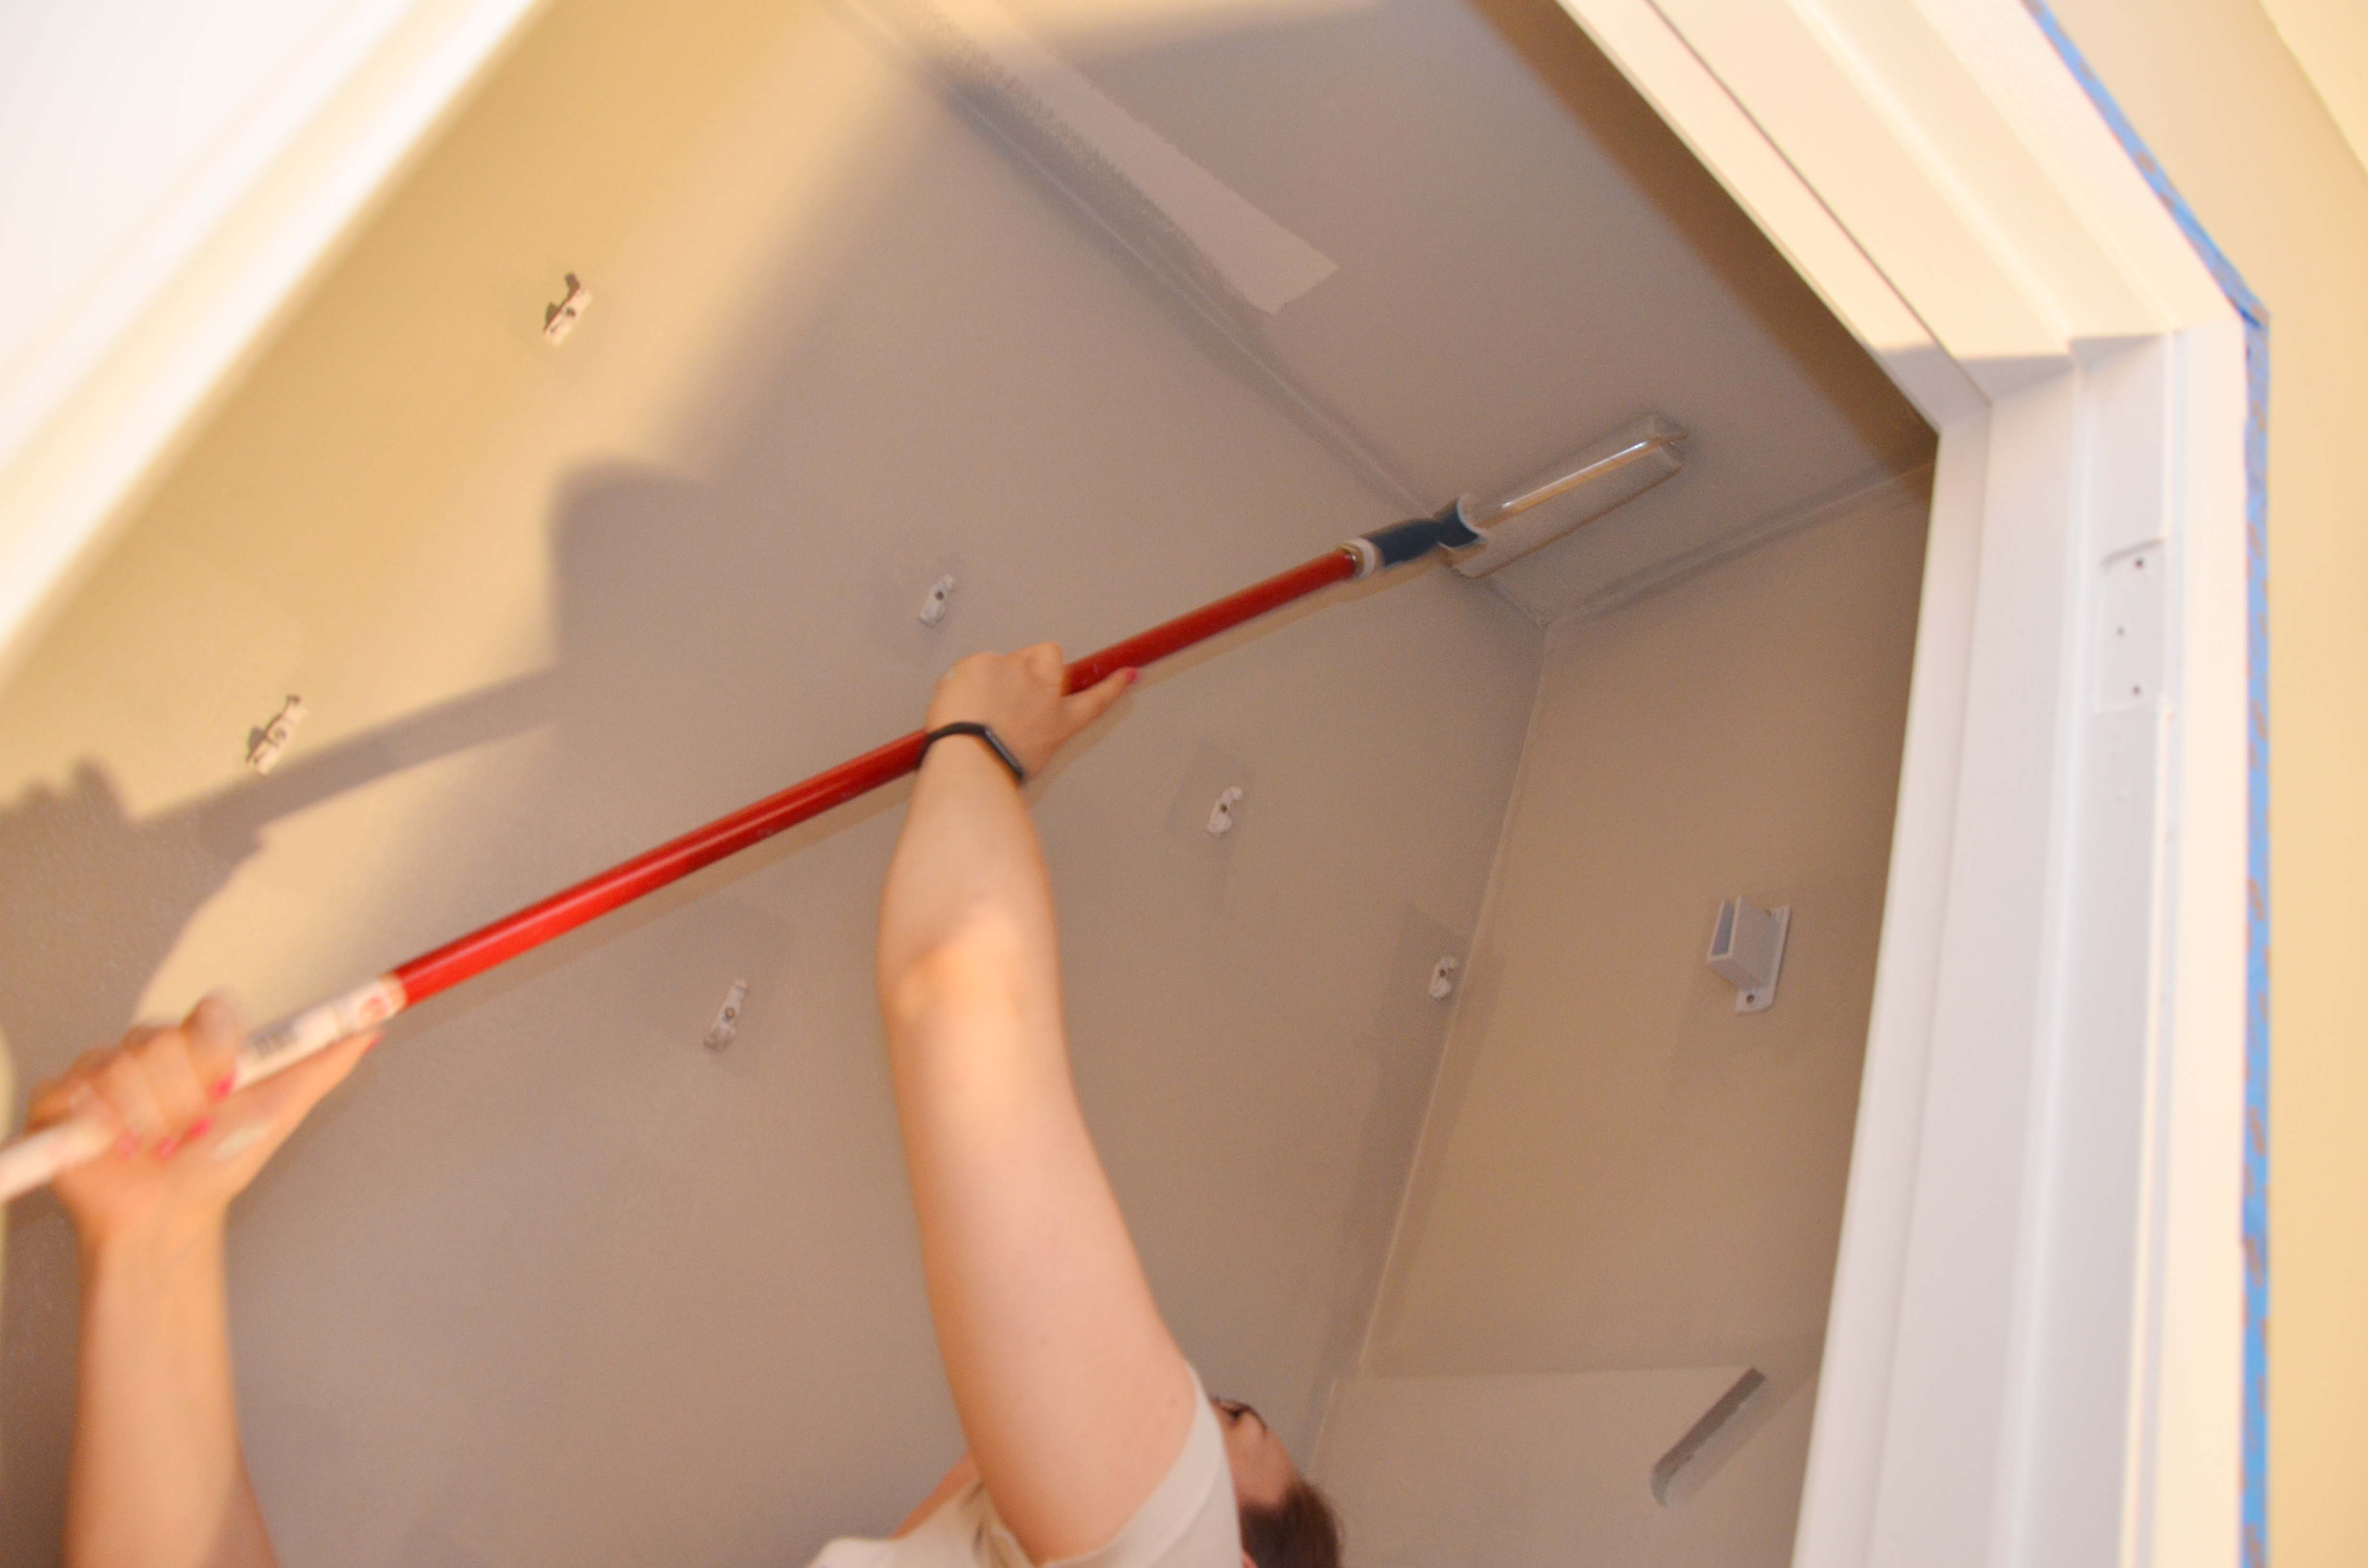
Half of working on these ceilings was trial and error since we couldn’t find many tutorials for removing popcorn ceilings that had been painted. So, the first thing Grant had to do was dry scrape all of the ceilings to knock off as many of the popcorn stiples/paint that was covering the popcorn.
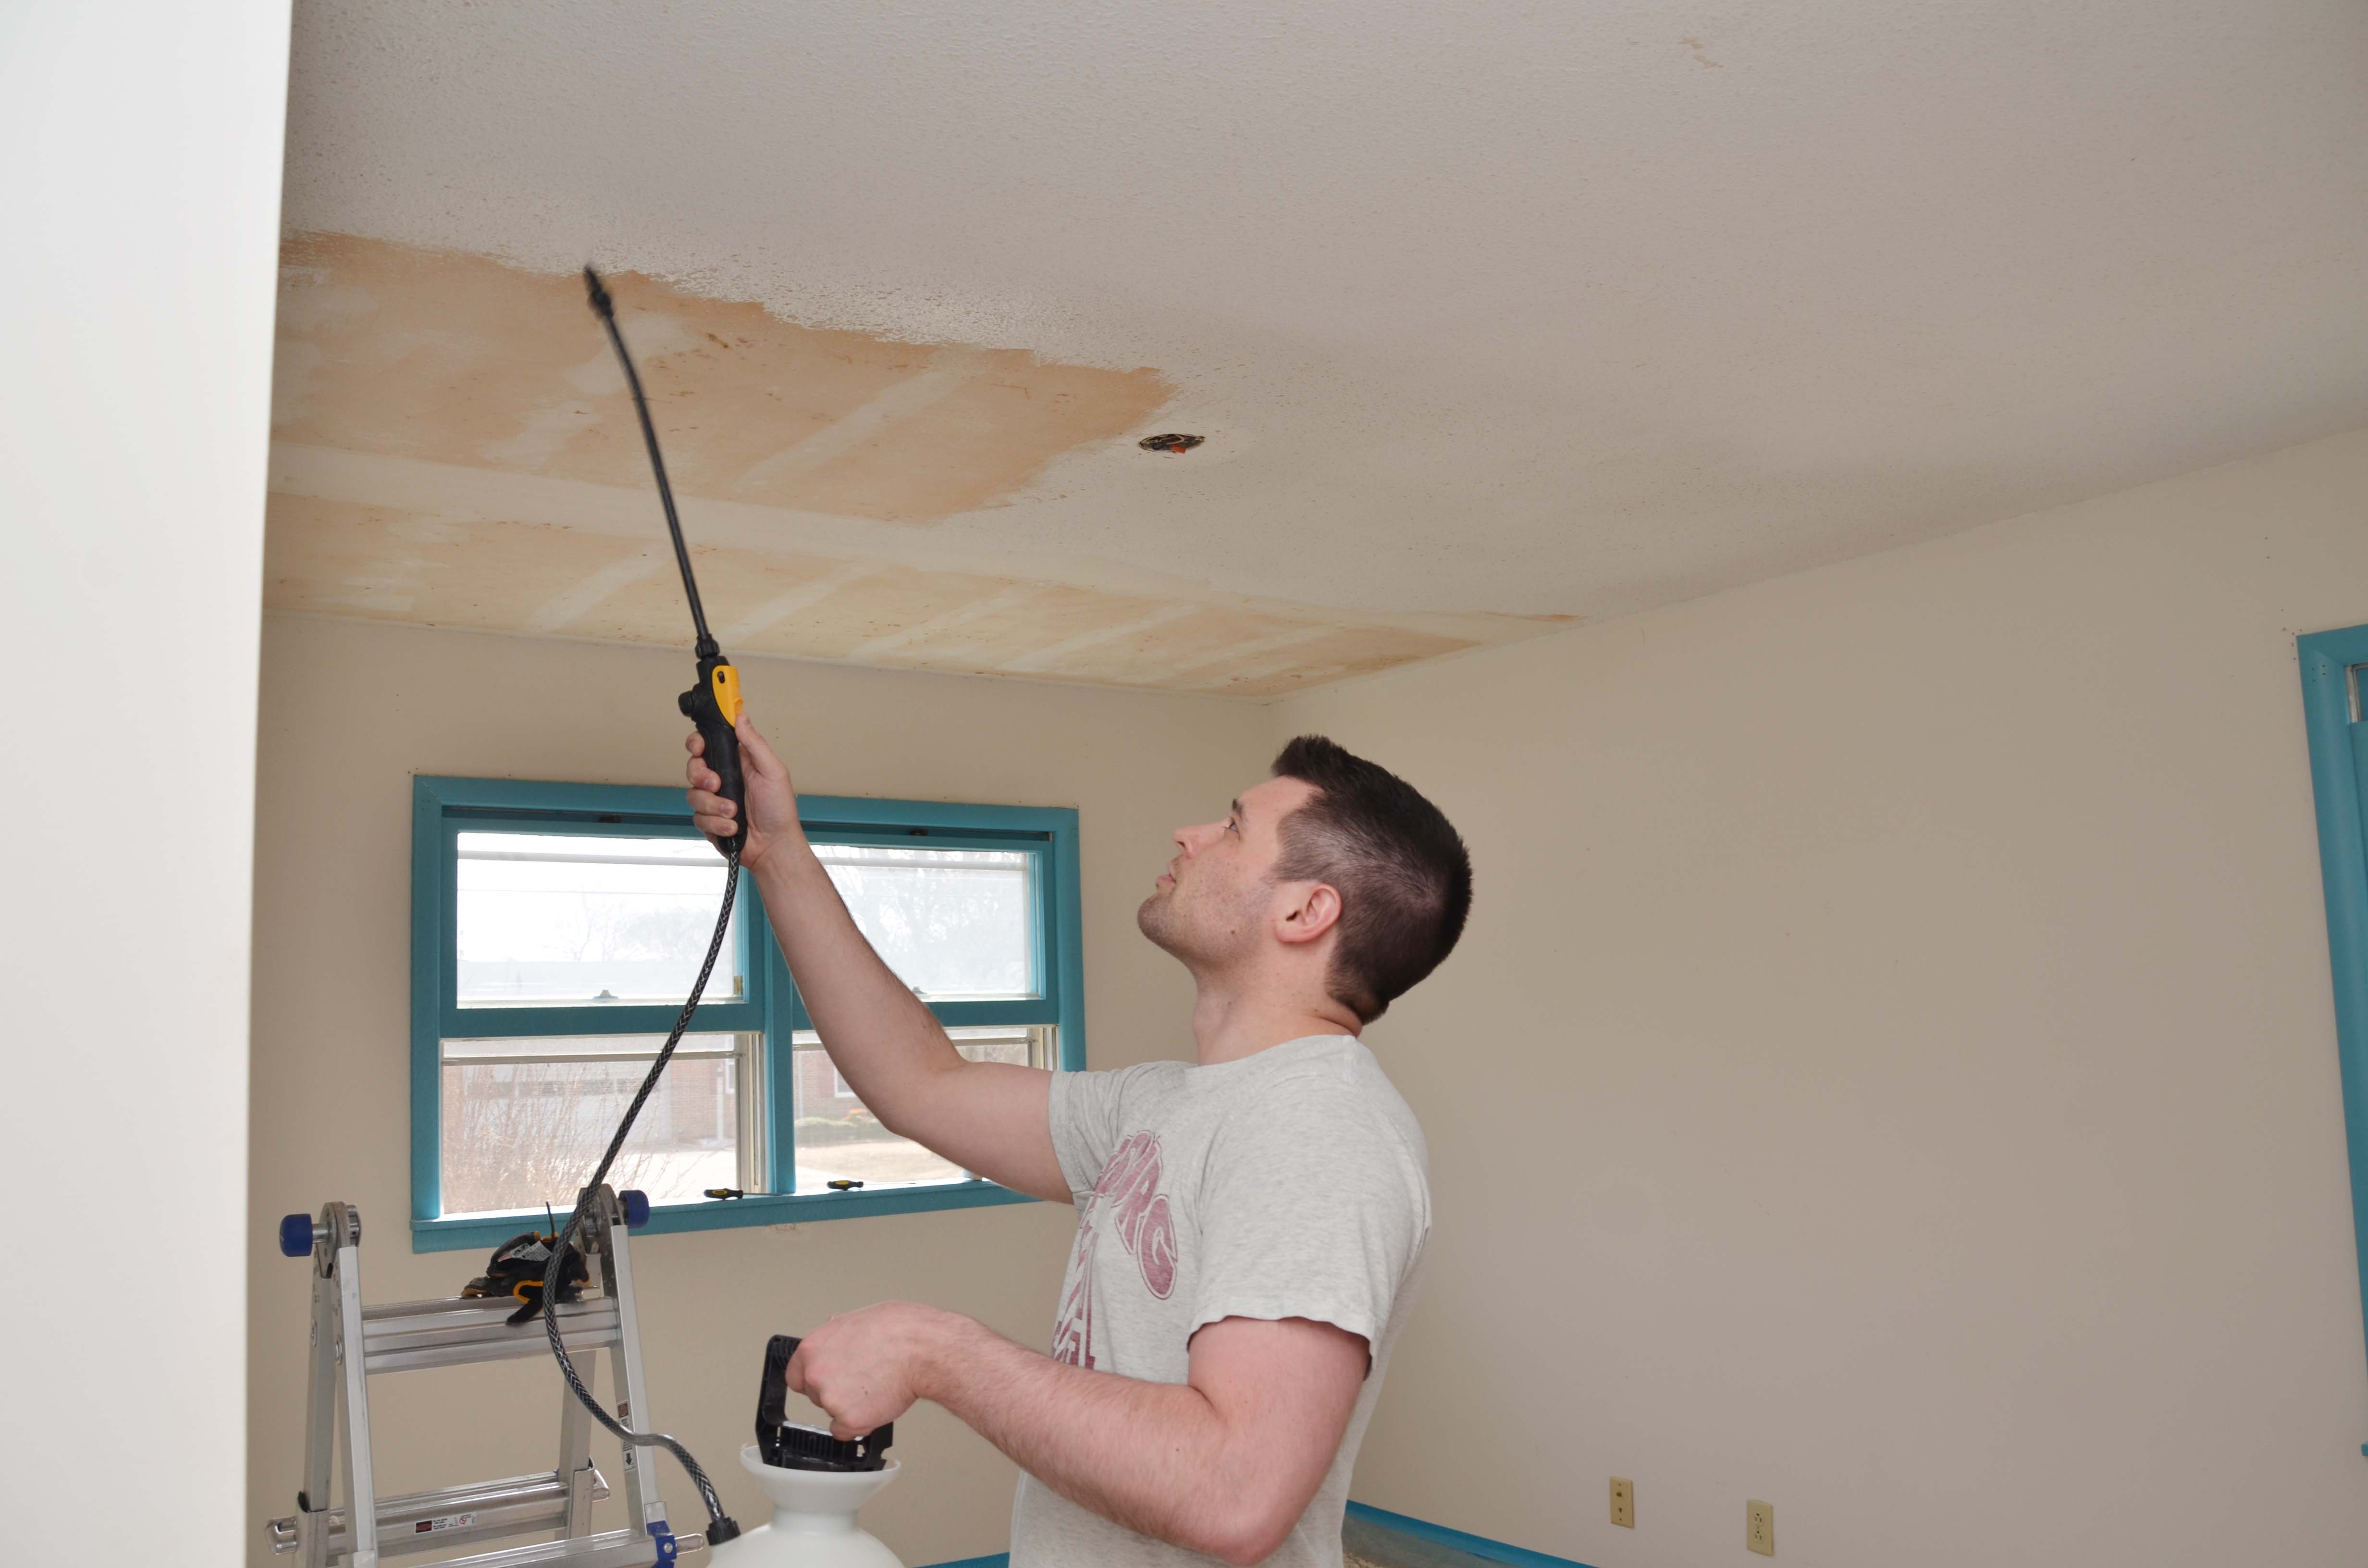
Then he had to spray and soak the ceiling with a sprayer.
He realized that it was much better to over soak and then to under soak. If it was too wet, he would wait a few minutes, and then start scraping. IF not enough was soaking into the popcorn underneath the paint, then it would be almost impossible to scrape off without ruining the drywall paper.
It took a TON of hard work and elbow grease to get this ceiling scraped without messing up the drywall paper underneath the popcorn.

I would say it took Grant about a week of working on this ceiling. It took that long because we were mainly working after work in the evenings, and so we didn’t have much time. Once he got the hang of how much to prescrape, soak, and scrape it went a lot faster. So I would think the next room we tackle will go much faster. We plan to save the two unpainted popcorn rooms for the very end because otherwise we won’t want to tackle a painted room again.
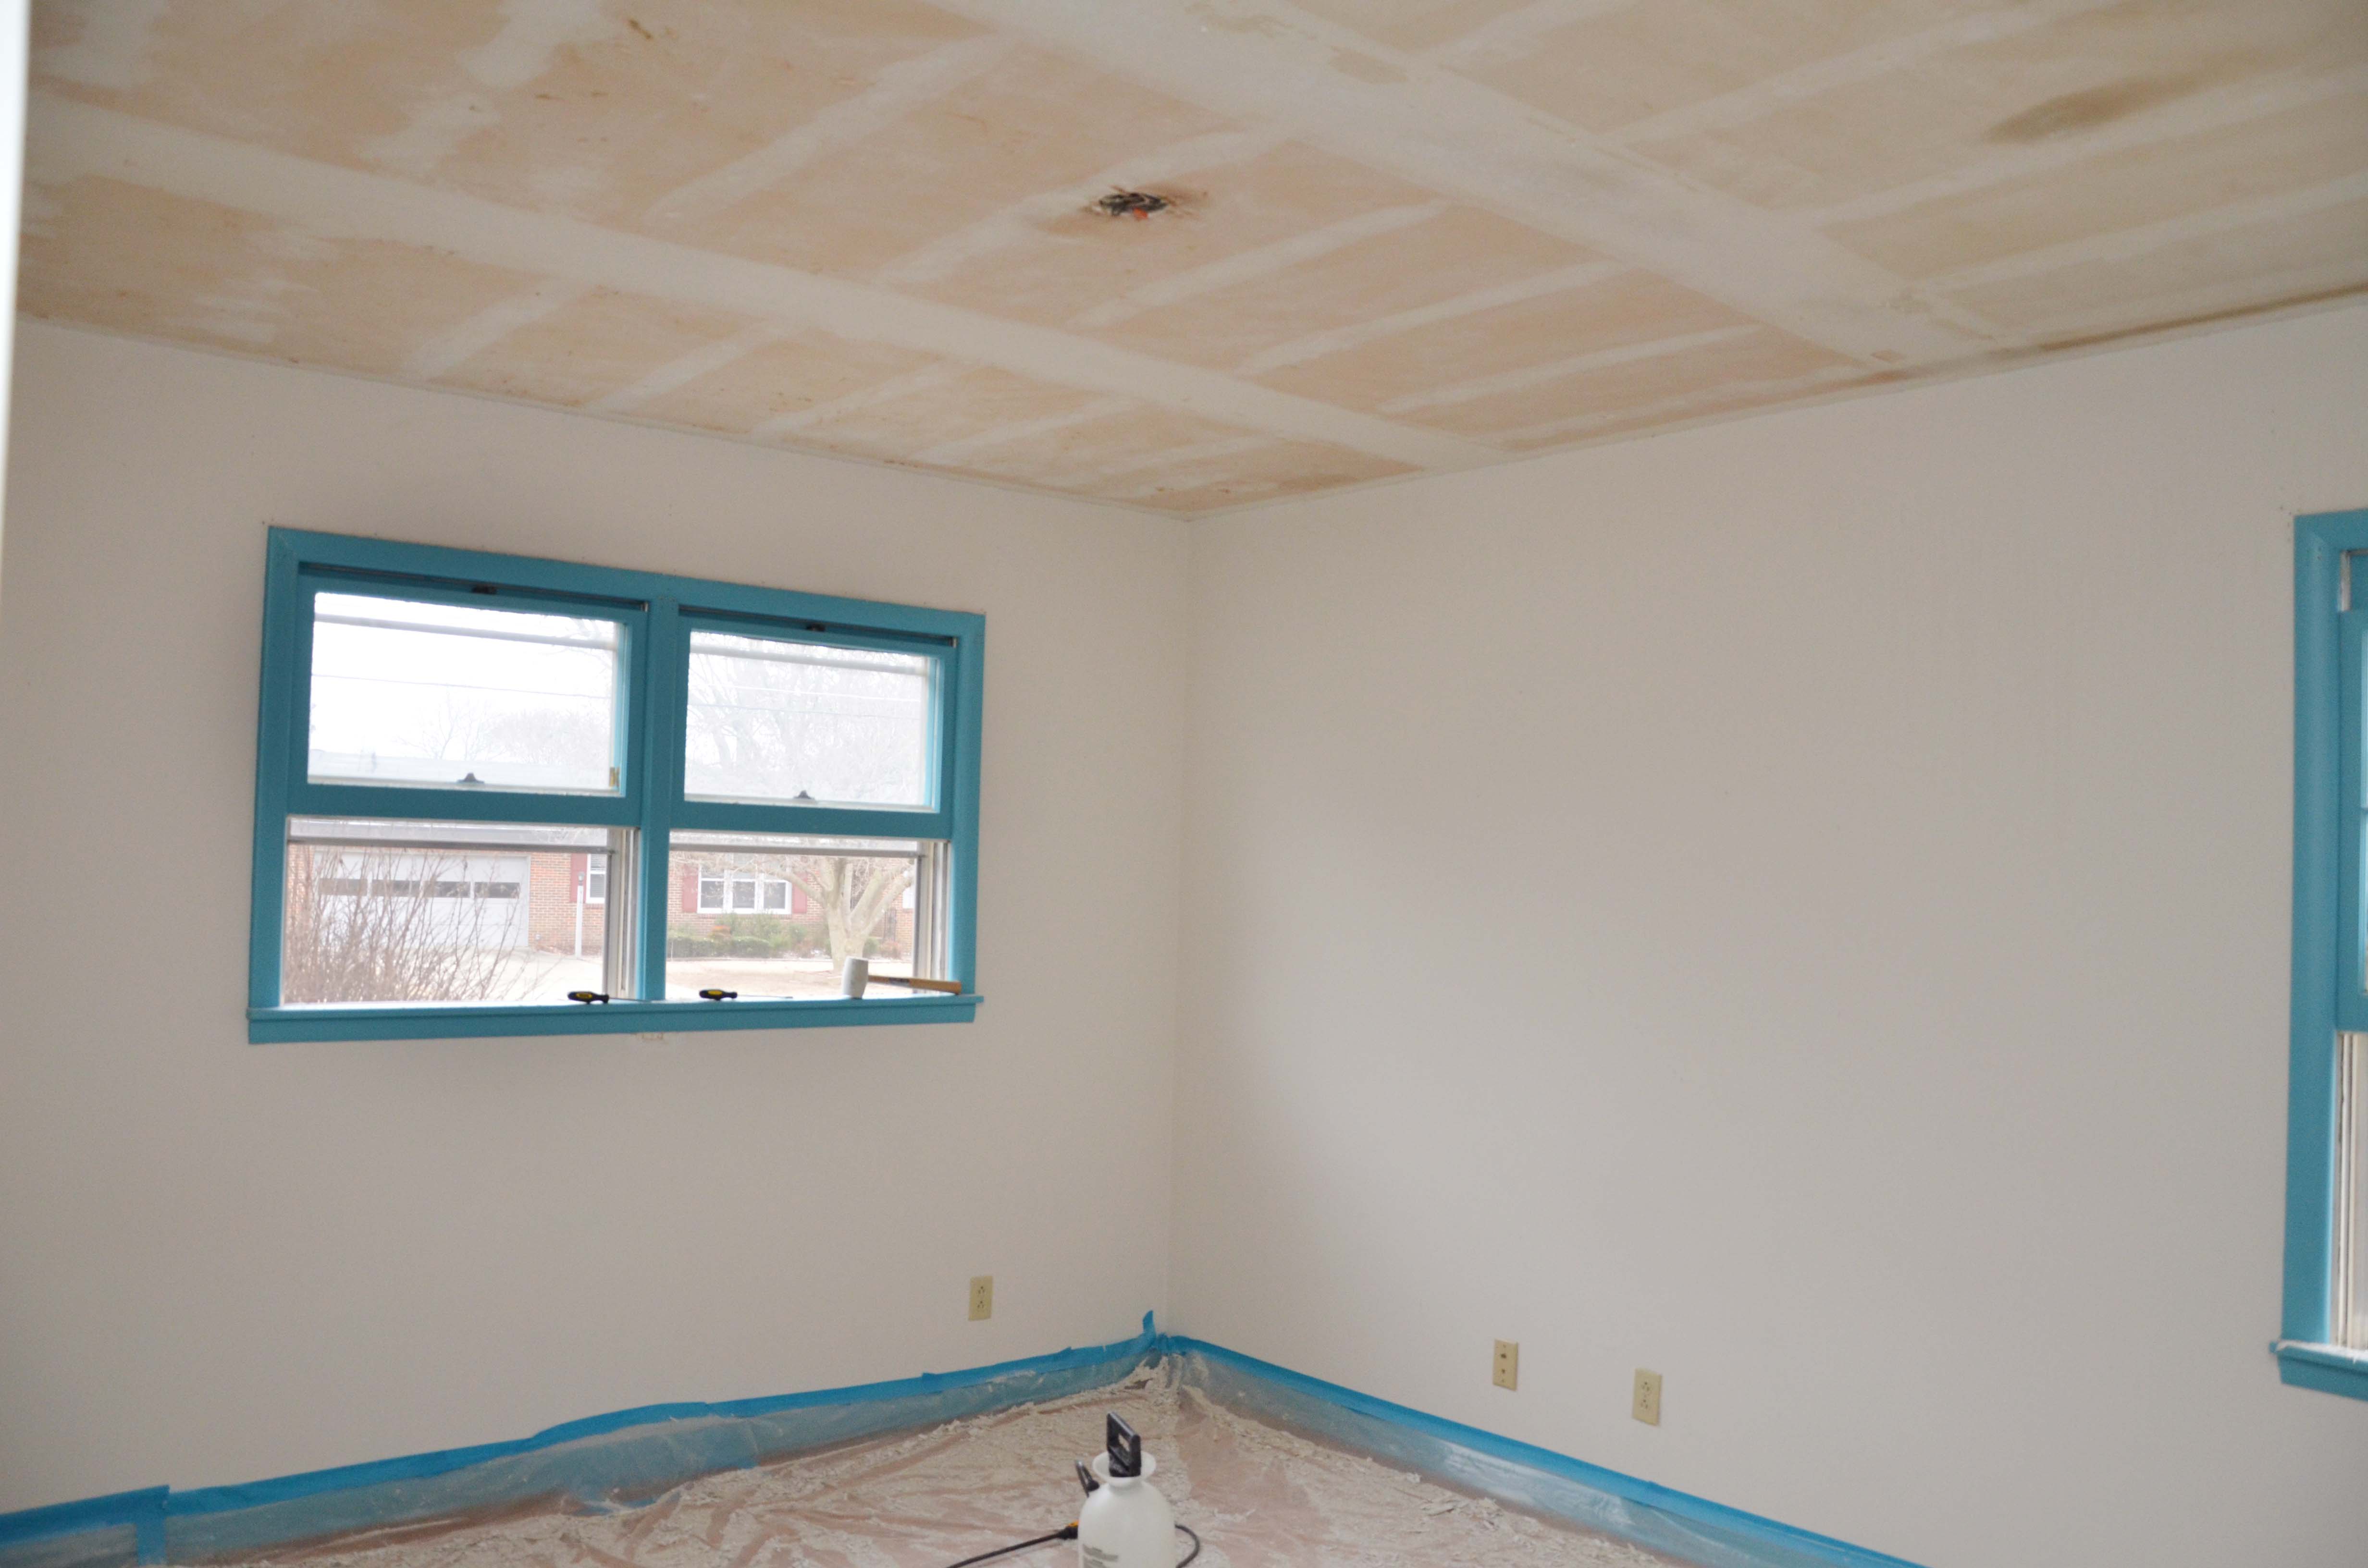
Here is the ceiling finished and scraped, if you can see it made a huge mess which is why we used the plastic drop cloths.

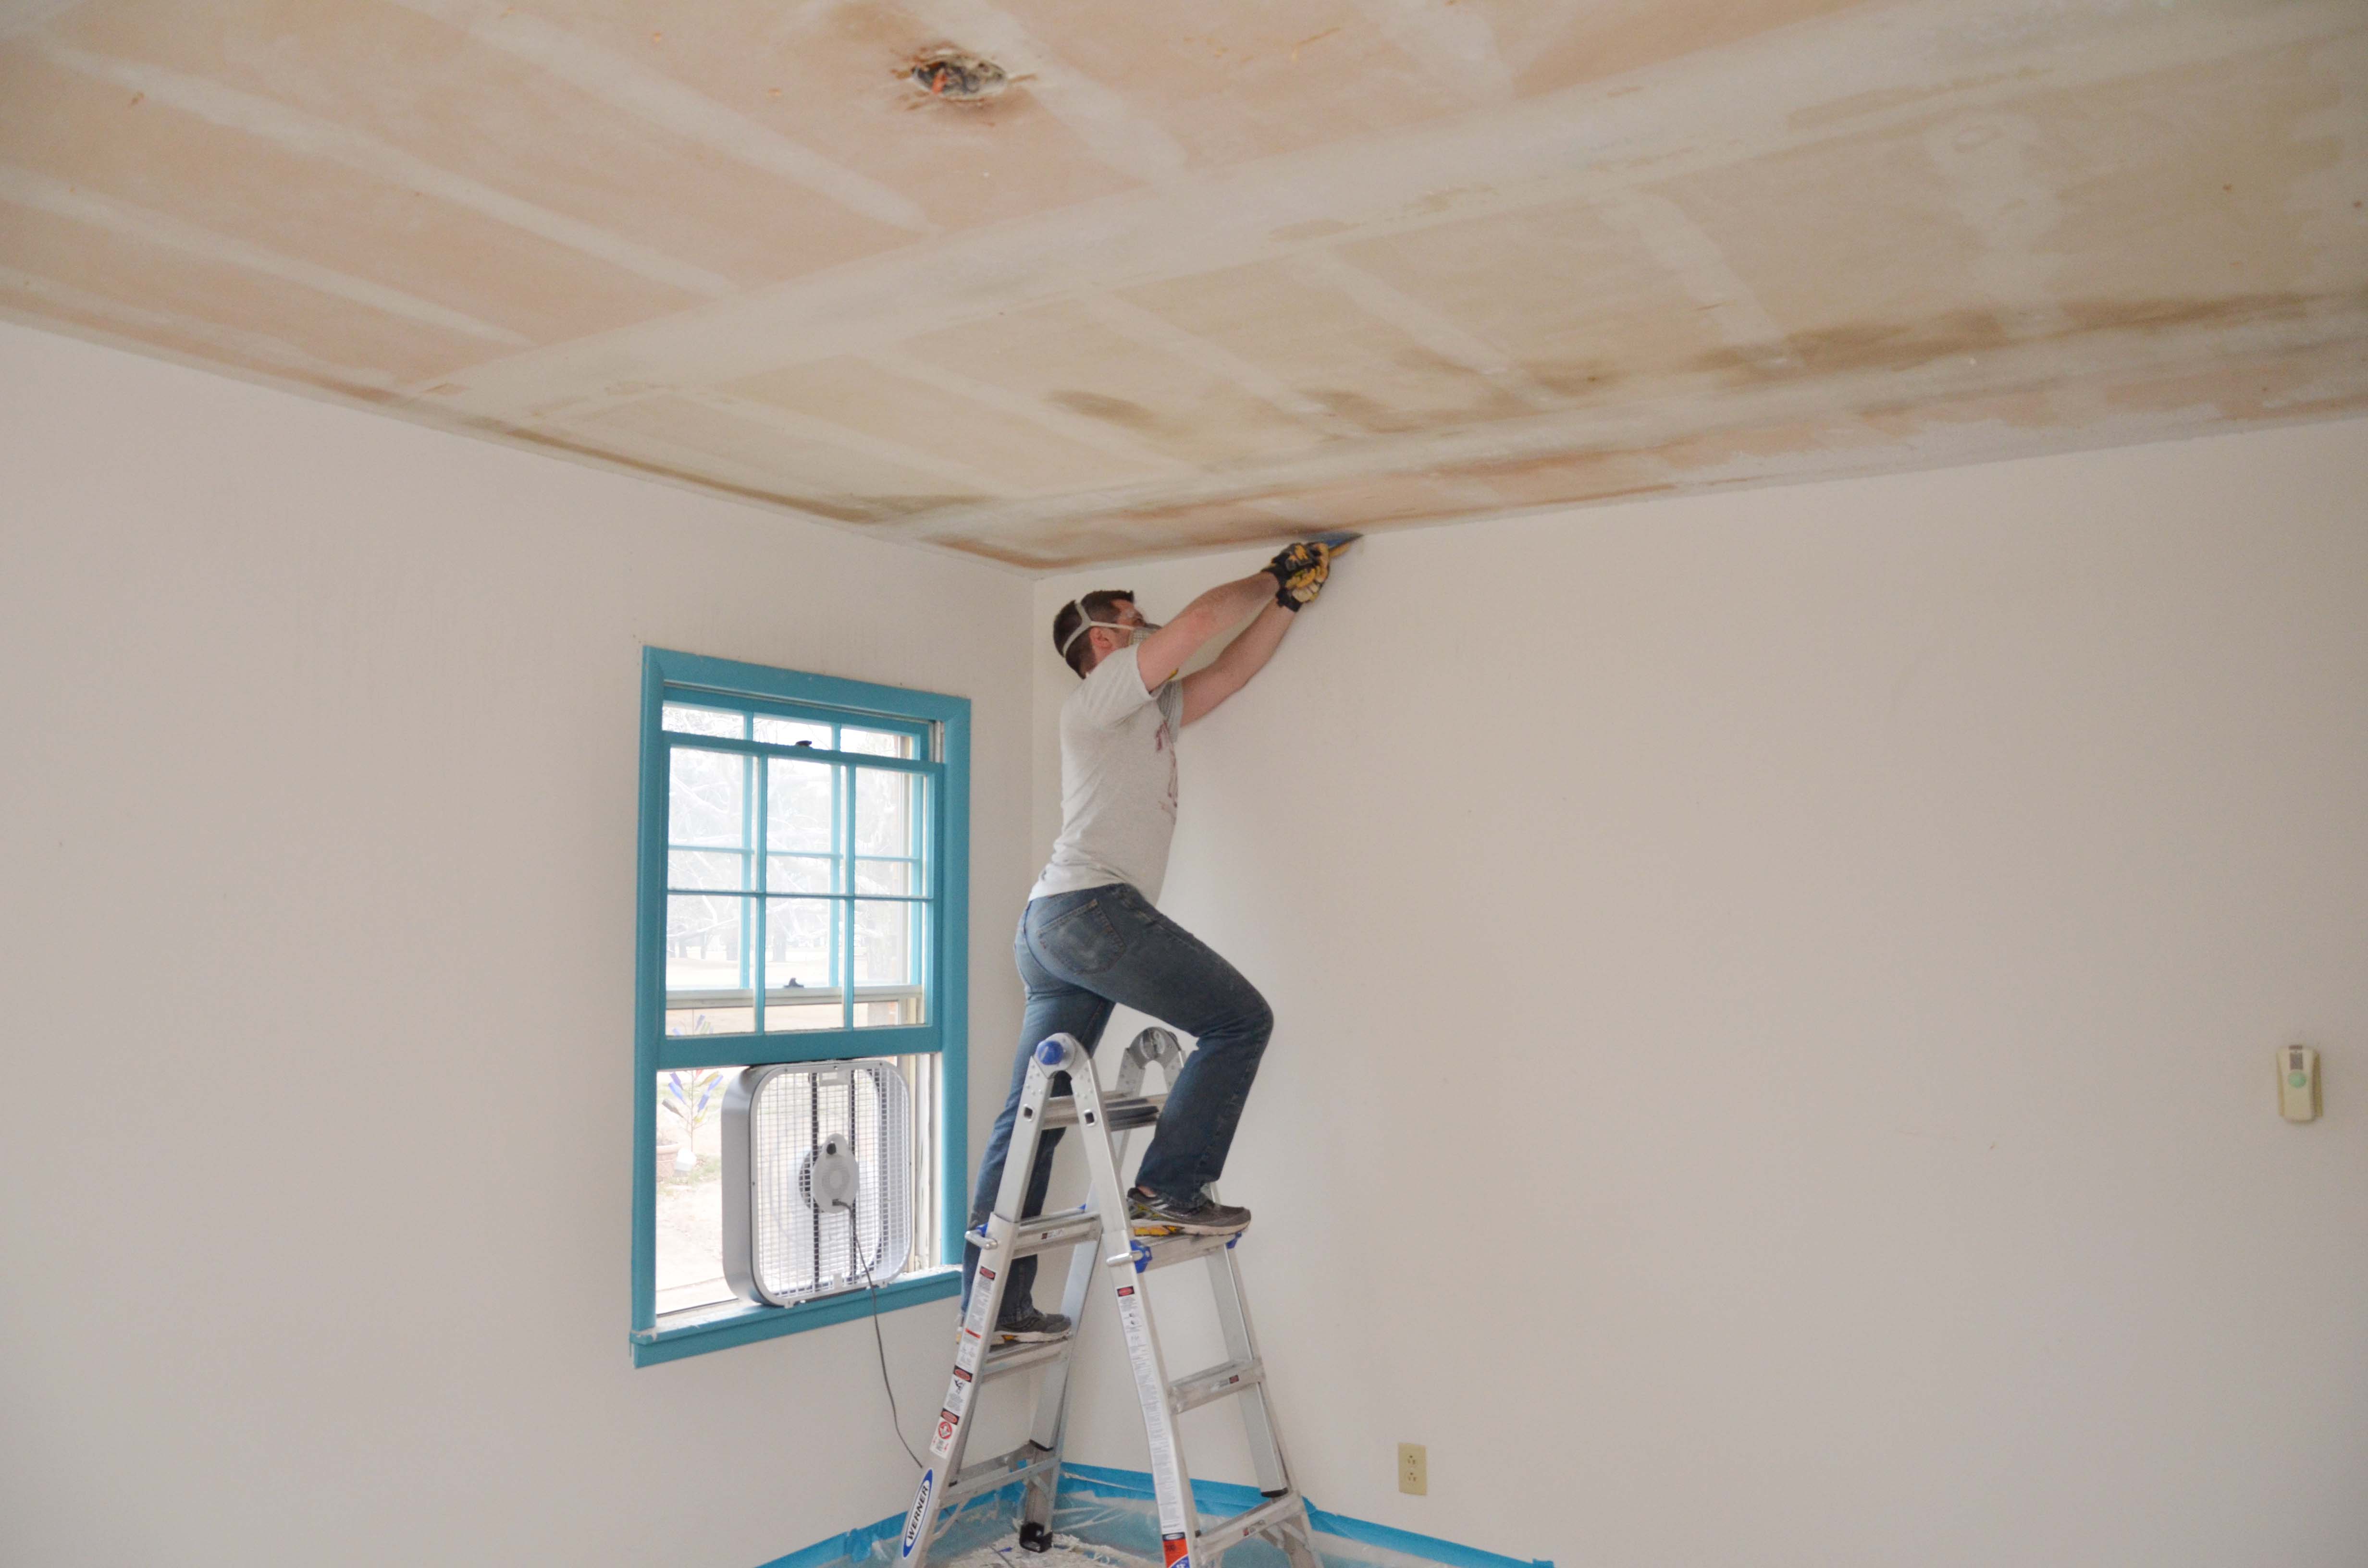
I then went and puttied any areas that looks like they might show a divet or look uneven once painted. Then we sanded the ceilings to make sure the putty and dry wall paper didn’t have any uneven areas. Then we wiped down all of the ceilings to make sure there wasn’t popcorn/putty dust on there to make sure that the paint would really adhere well.
Then it was time to tape for painting.

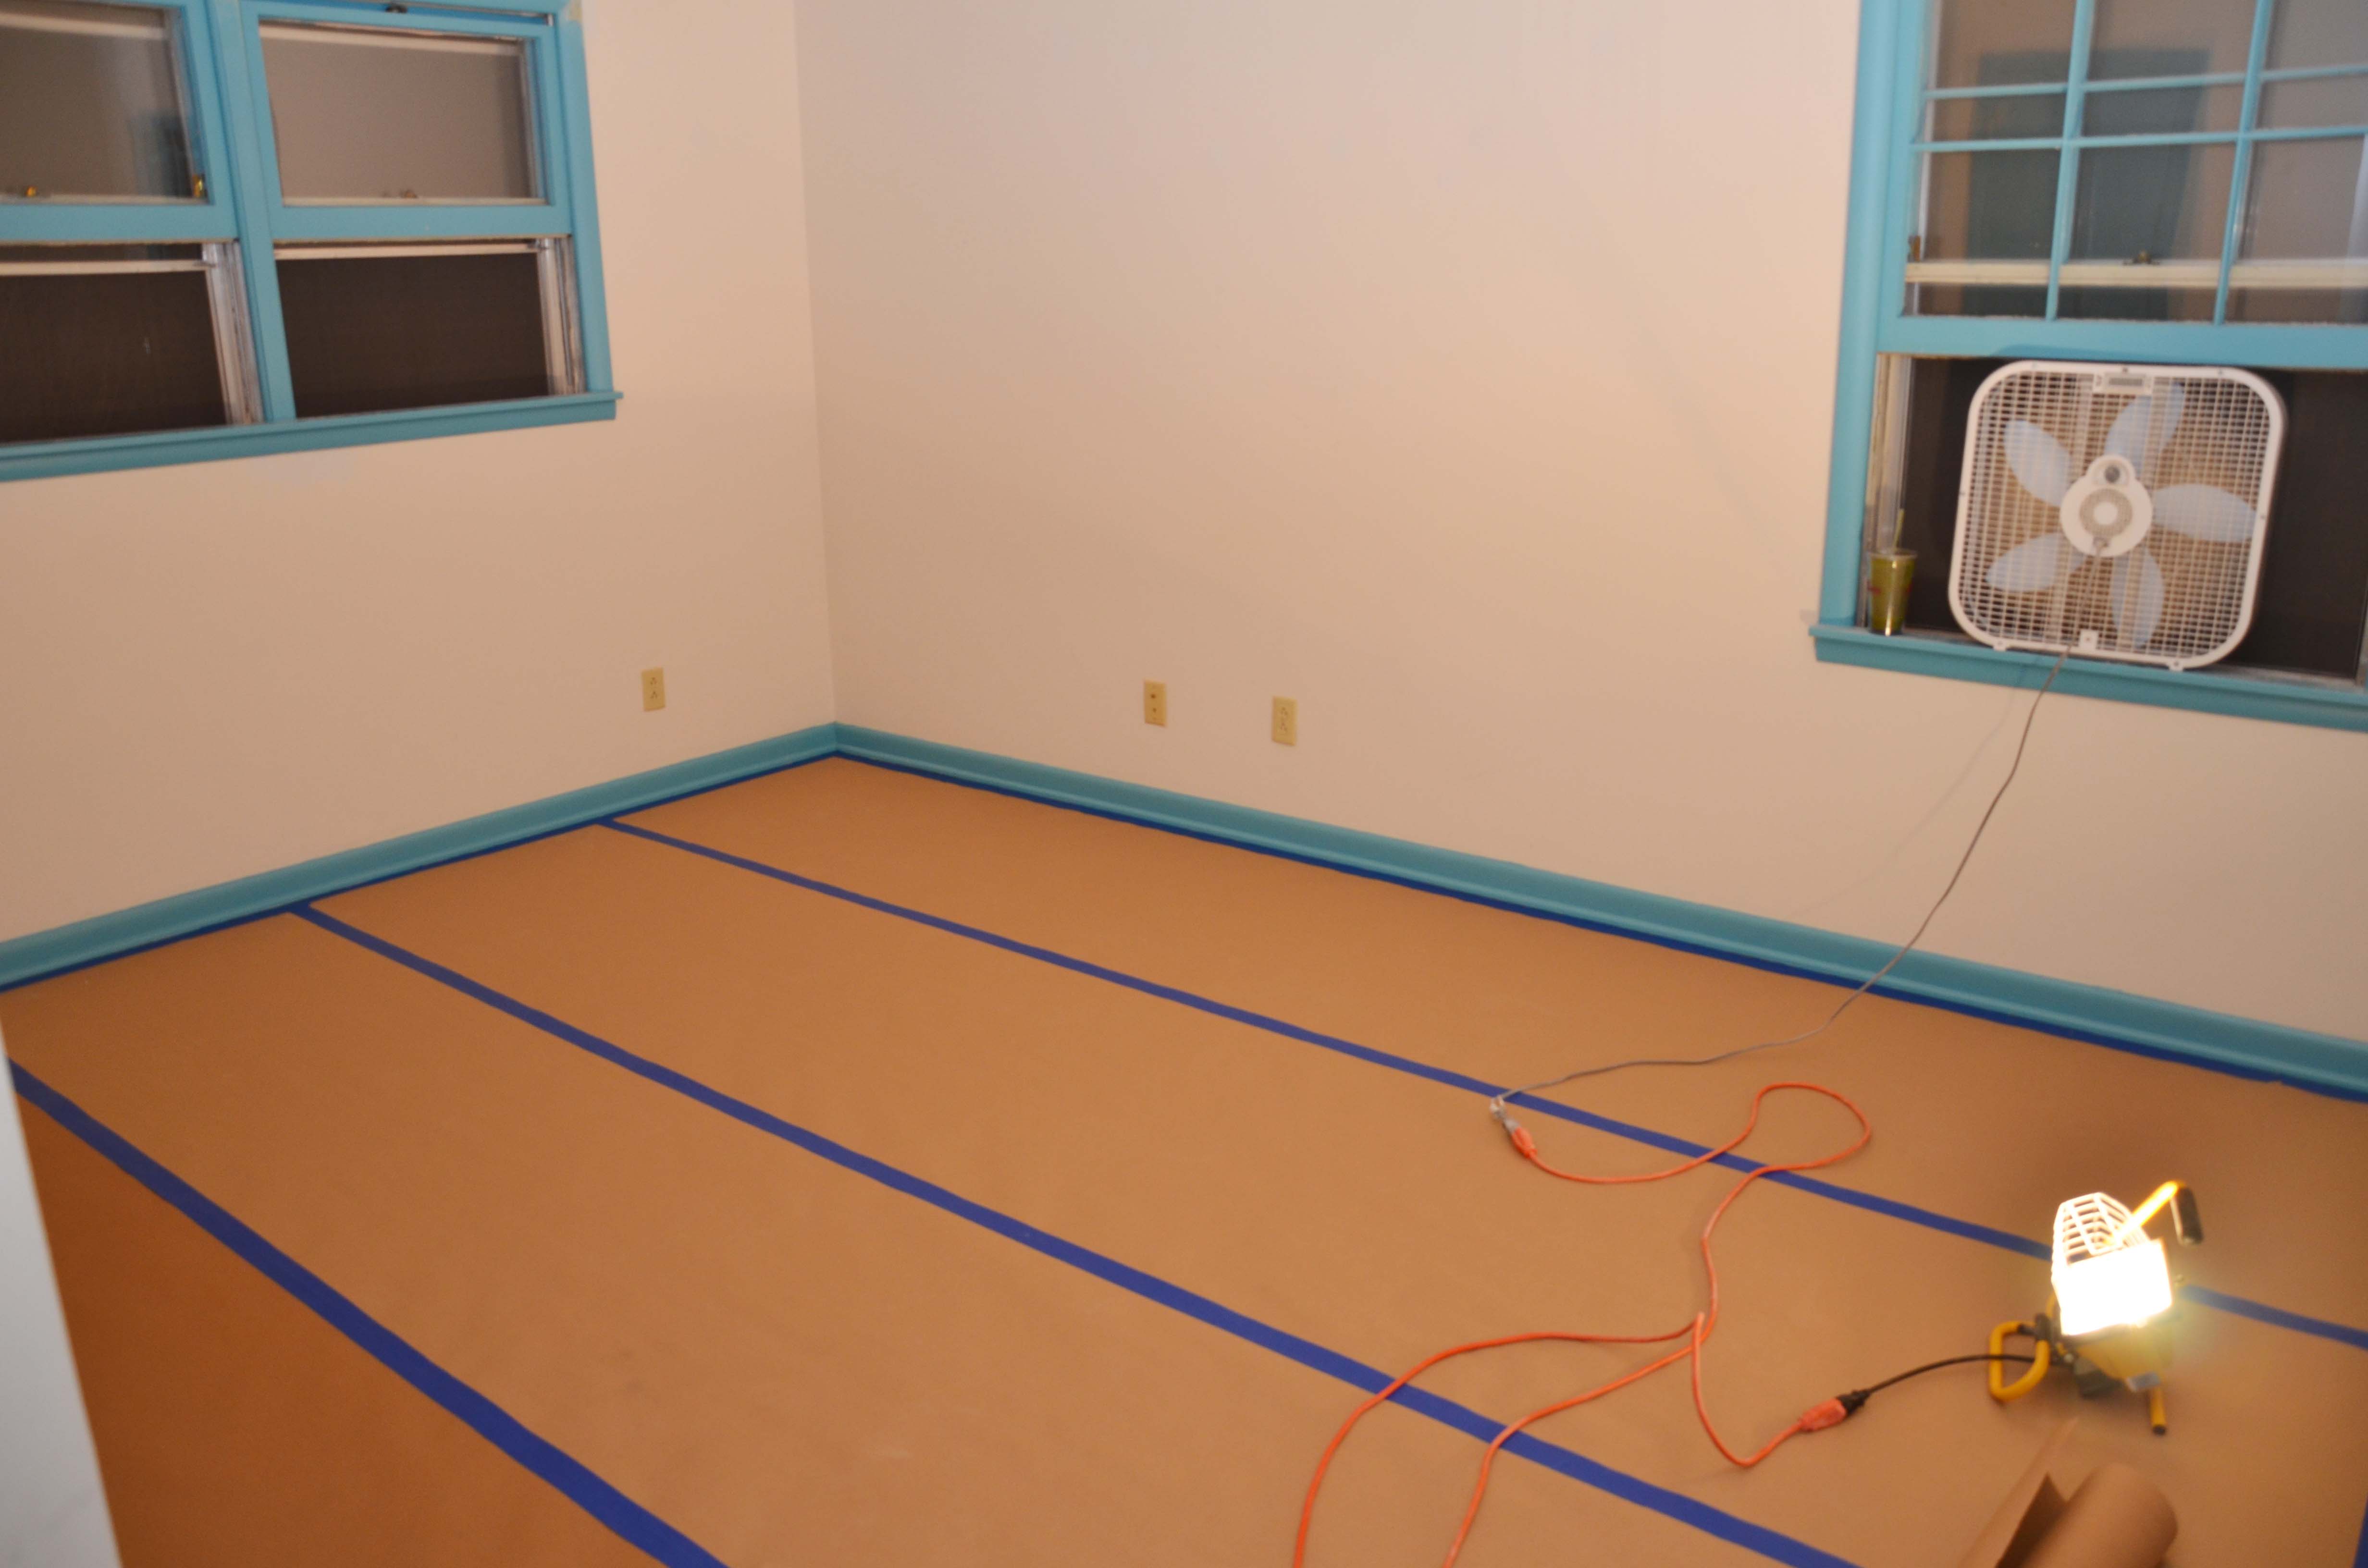
We read a lot of reviews, and were told rose paper or this brown paper was very good in protecting our wood floors(It worked great we didn’t have any paint leak through.) One day we would love to sand down and stain all of our floors, but I would take more yellowy wood floors than no wood floors any day!
All ready for ceiling paint.

Here was the first coat of paint and primer. My mom did the cutting in while she was visiting,and I did the main surface on the ceiling. You can still kind of see the water spot in the corner so after the first coat, I went and used Kilz just on that water spot to make sure it wouldn’t show through the second coat.

While my mom took her nap, and I took my lunch break, I went back and spackled any spots on the ceiling that I could find that look uneven. It was much easier to see once the first coat of paint was on. The first time I spackled I used THIS putty,but I much prefer THIS kind even if it is more expensive.
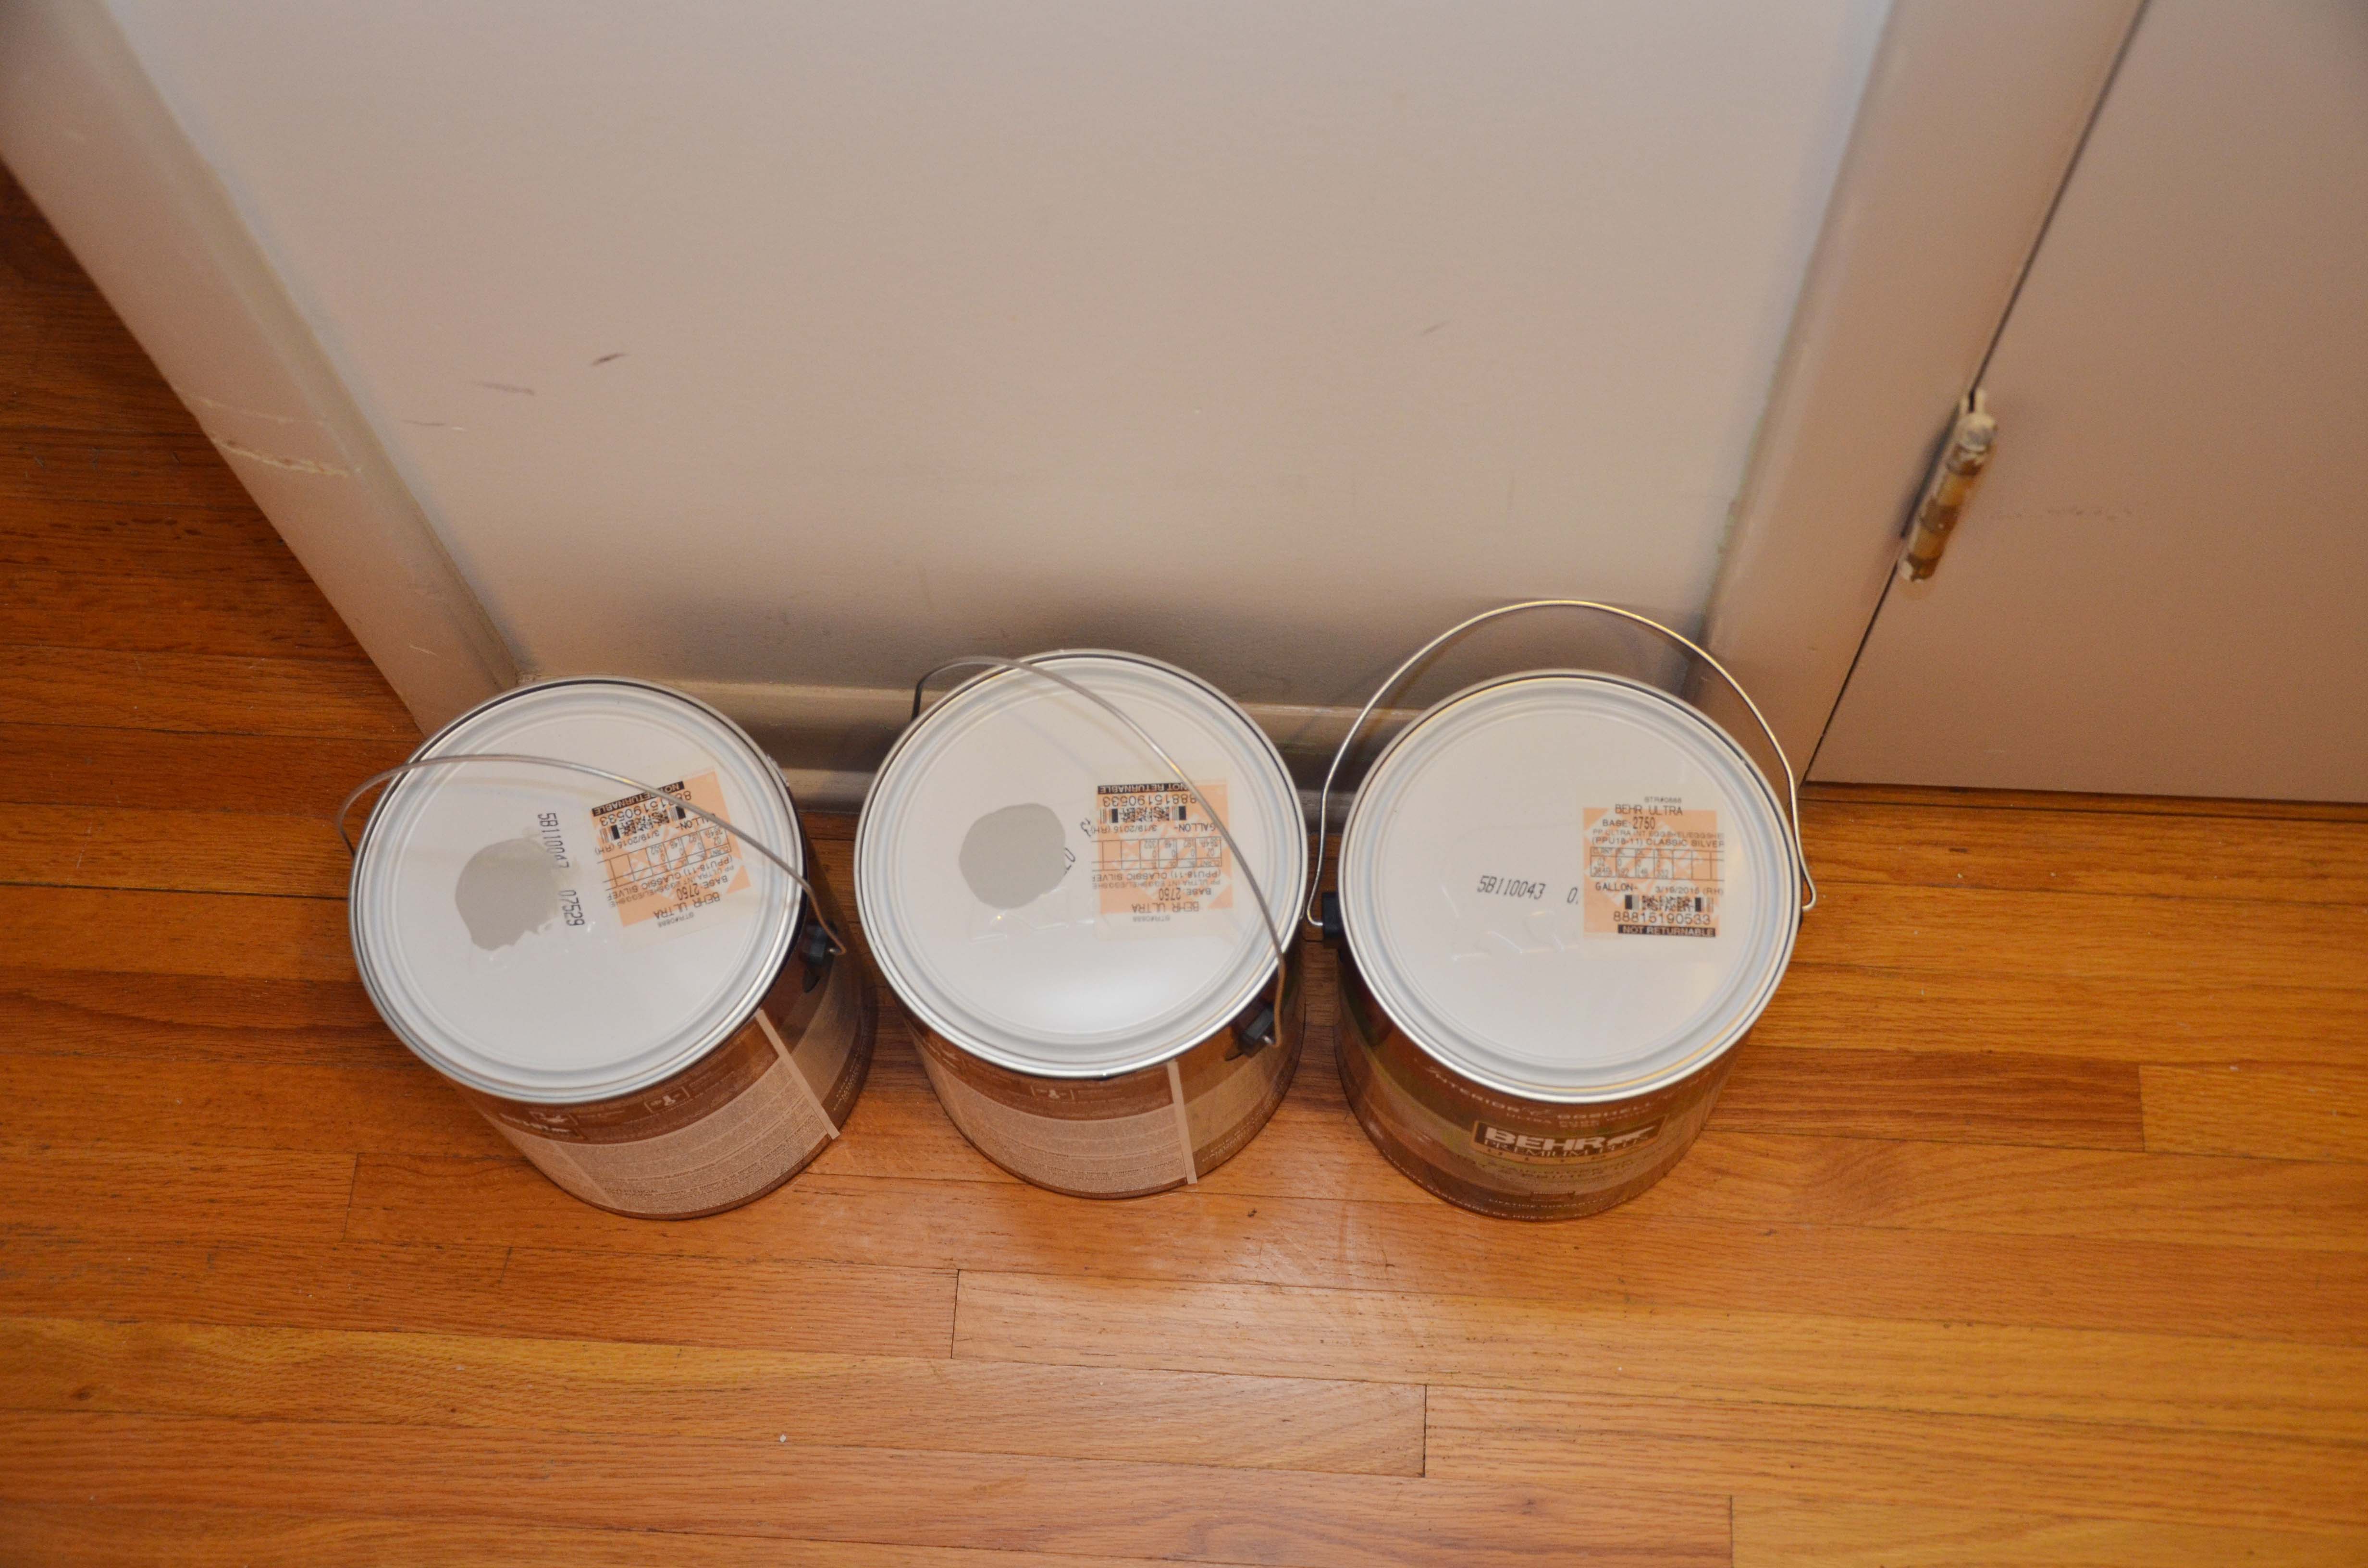
We then bought our paint for the walls. We bought two different colors, the colors shown here are the Behr Premium Plus Paint in eggshell enamel in Natural Gray by Behr. Then the color we ended up using in the nursery was Behr Premium Plus Paint in eggshell enamel in the 5 gallon size of the Benjamin Moore Harbor Grey color.
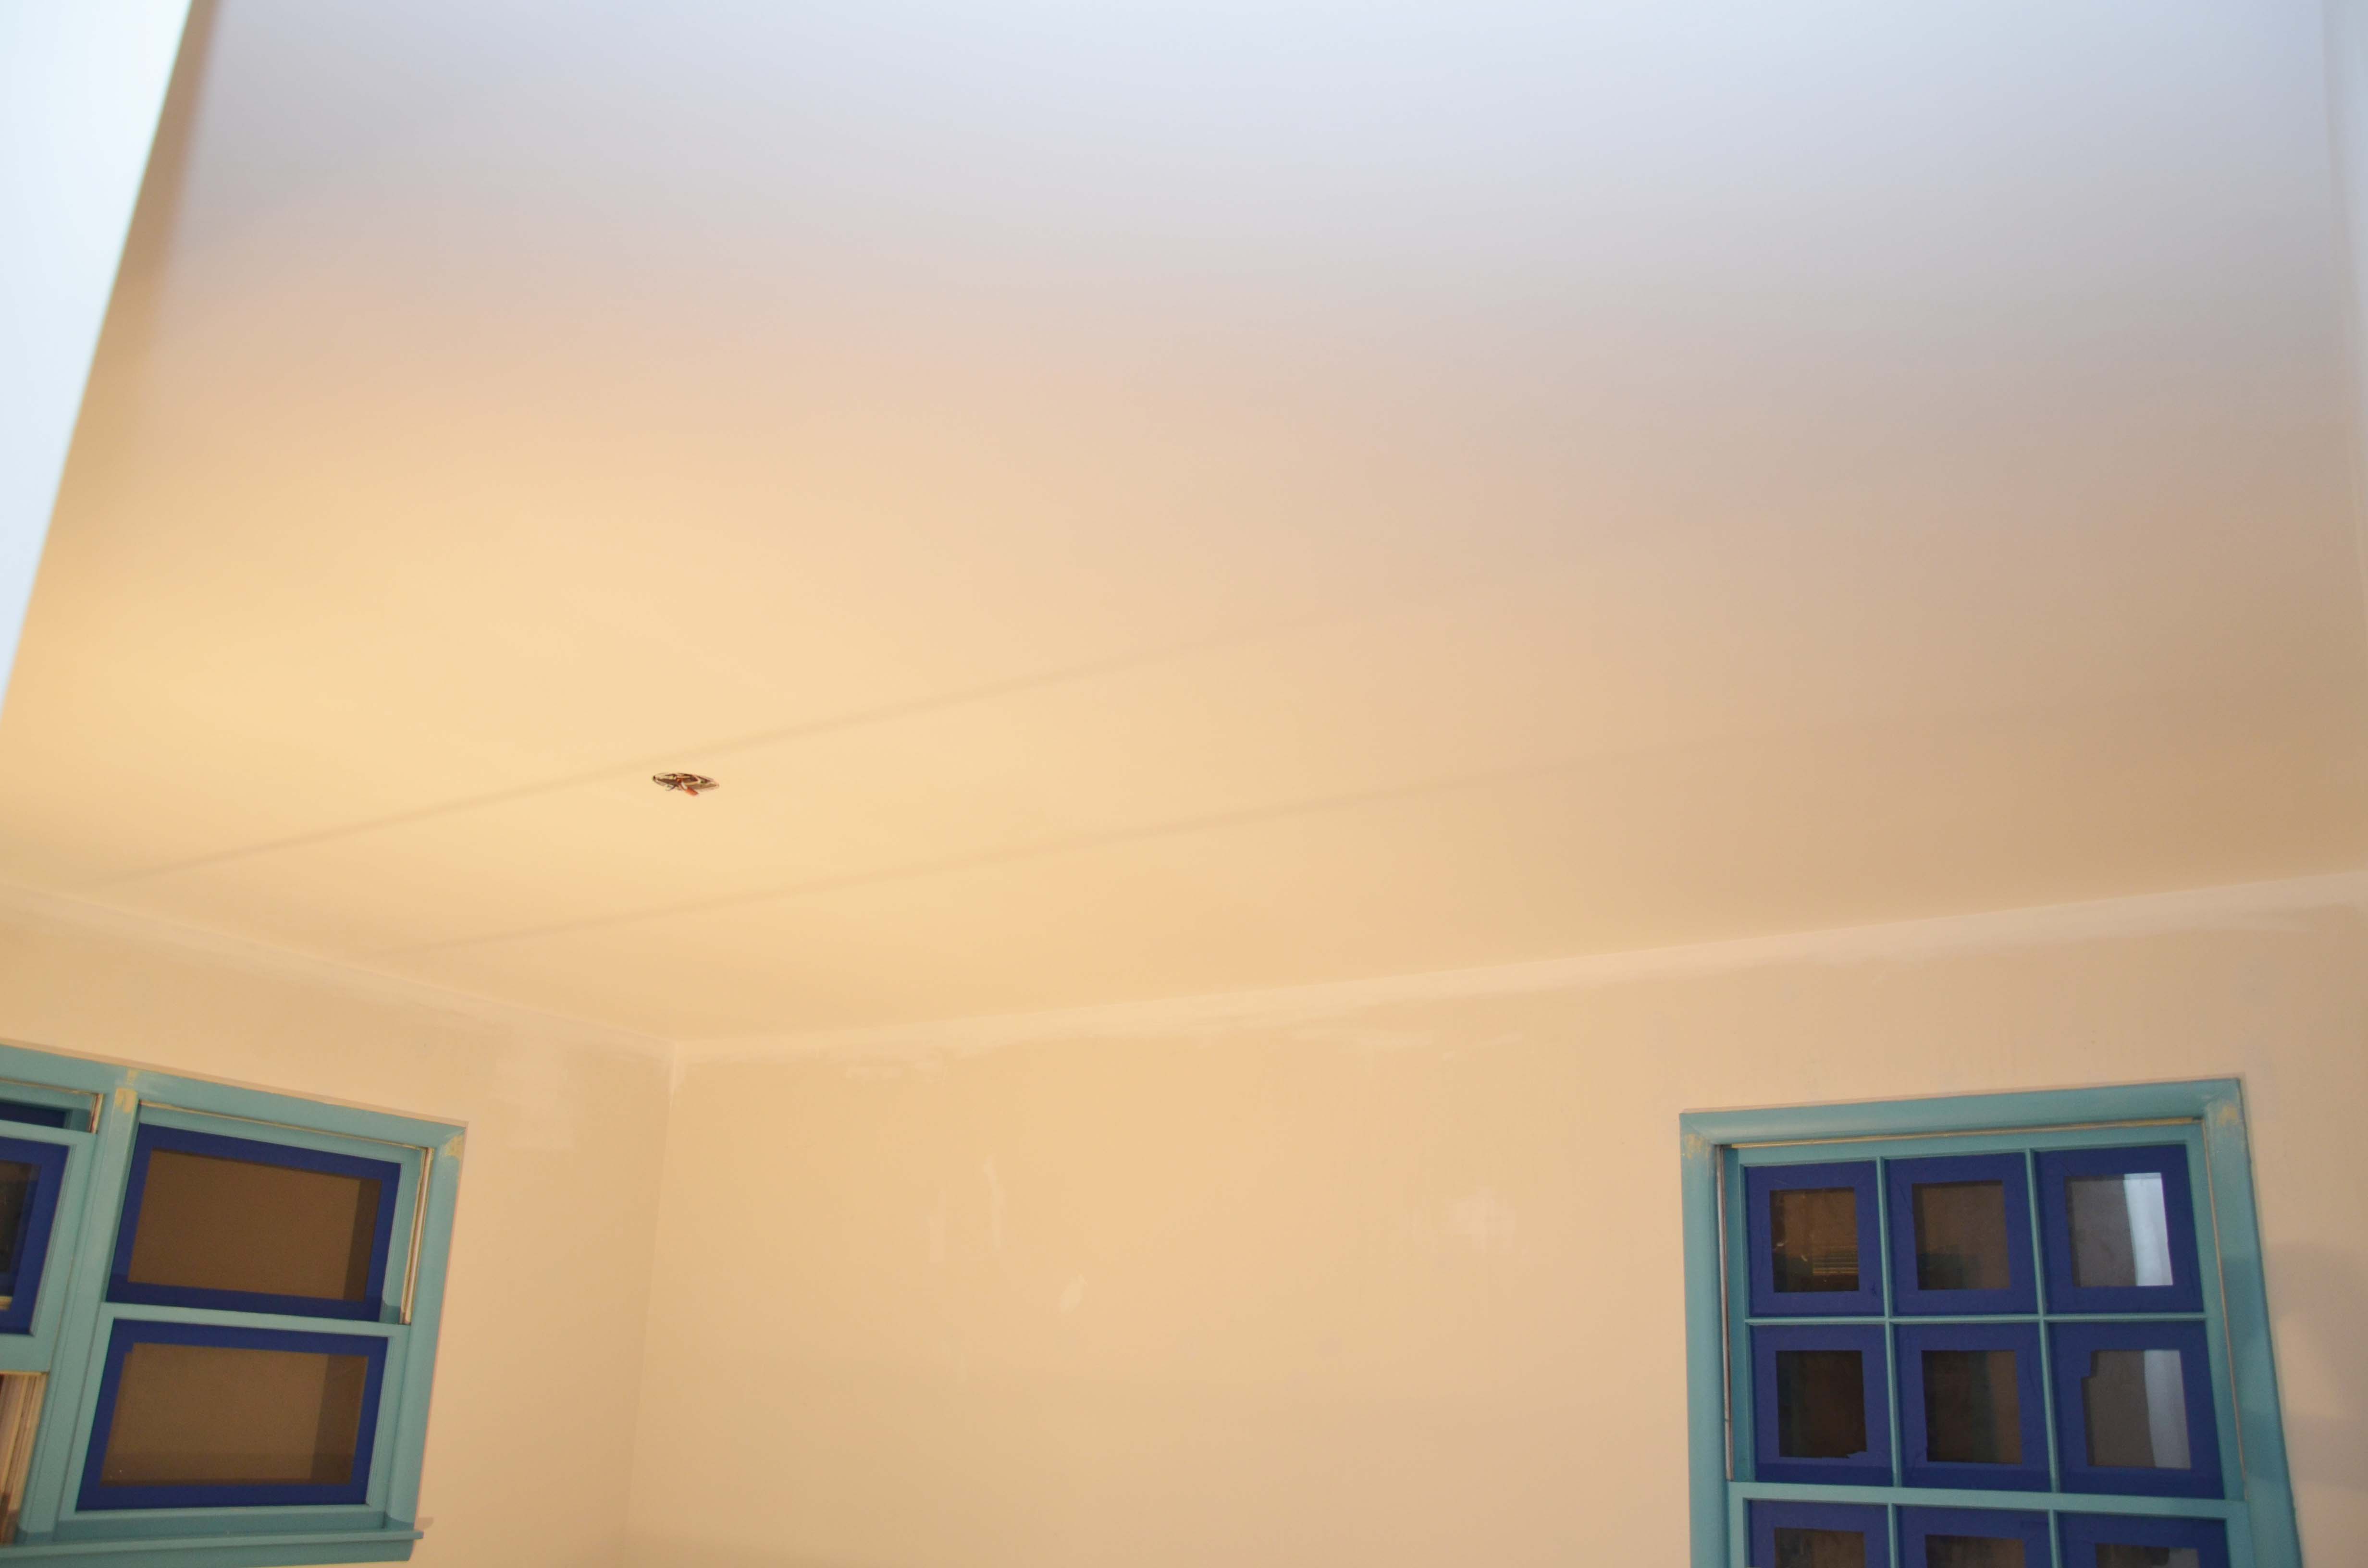
Then Mama and I did a second coat of paint/primer on the ceiling.
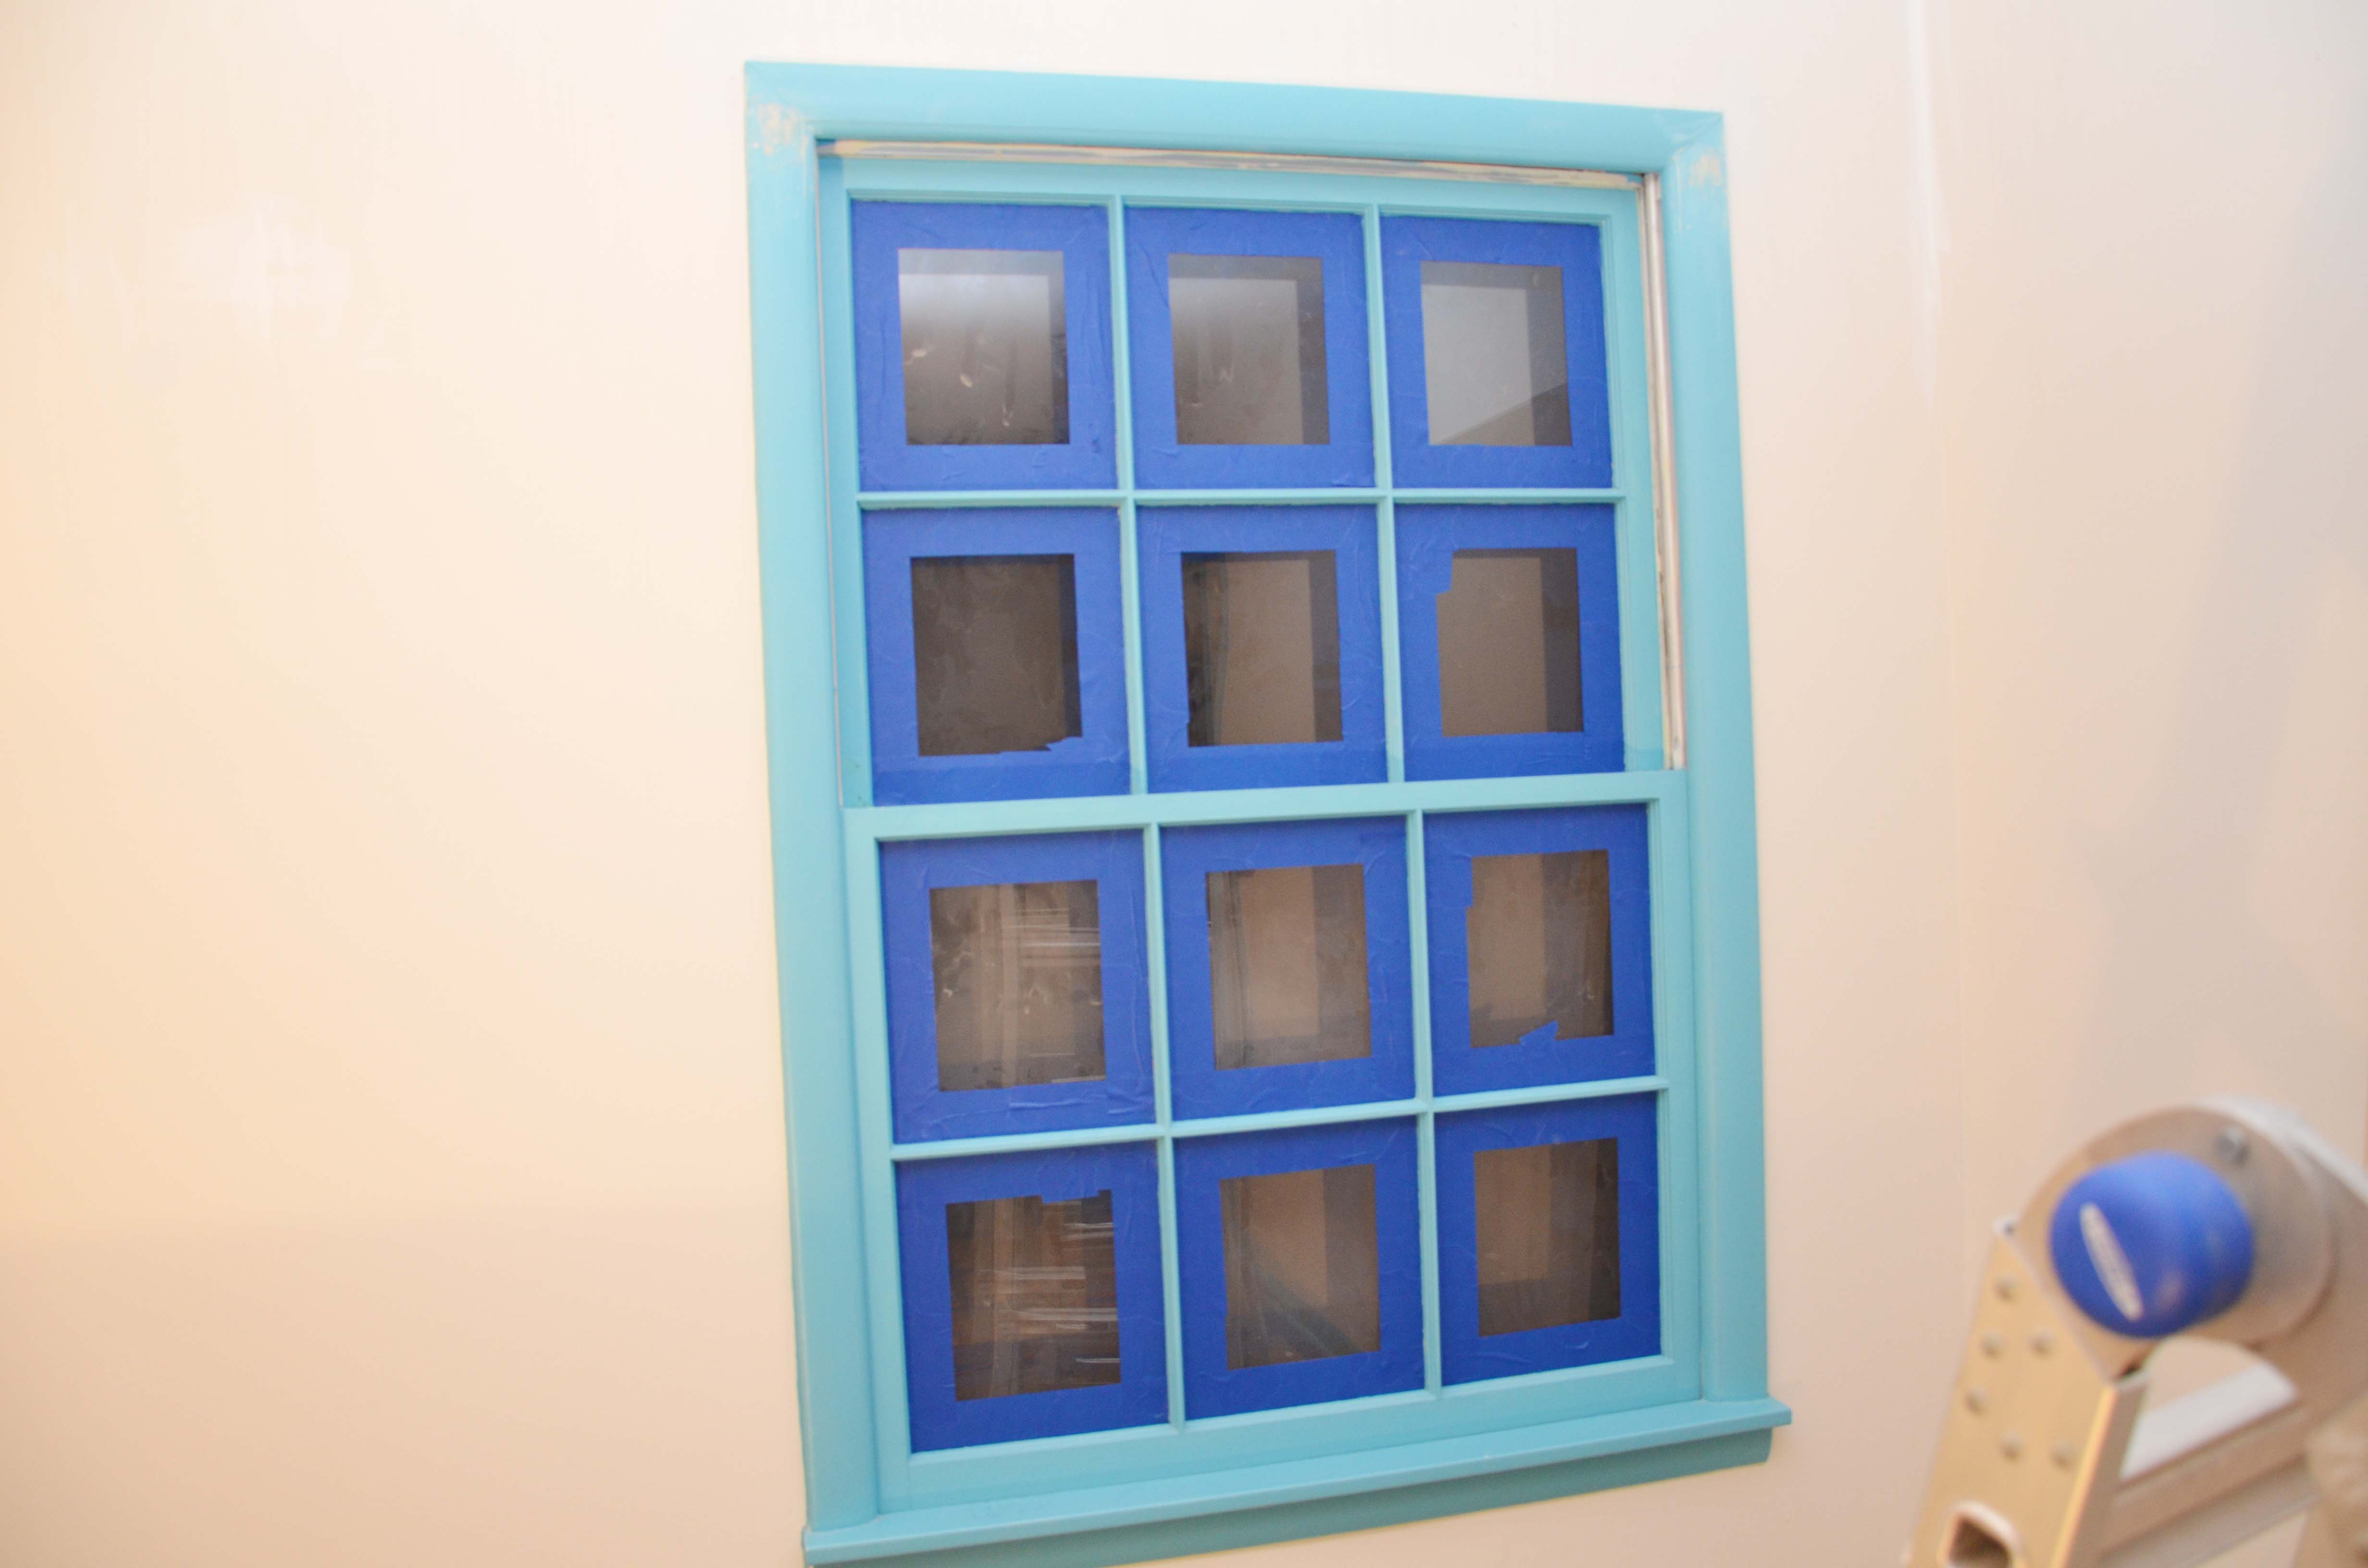
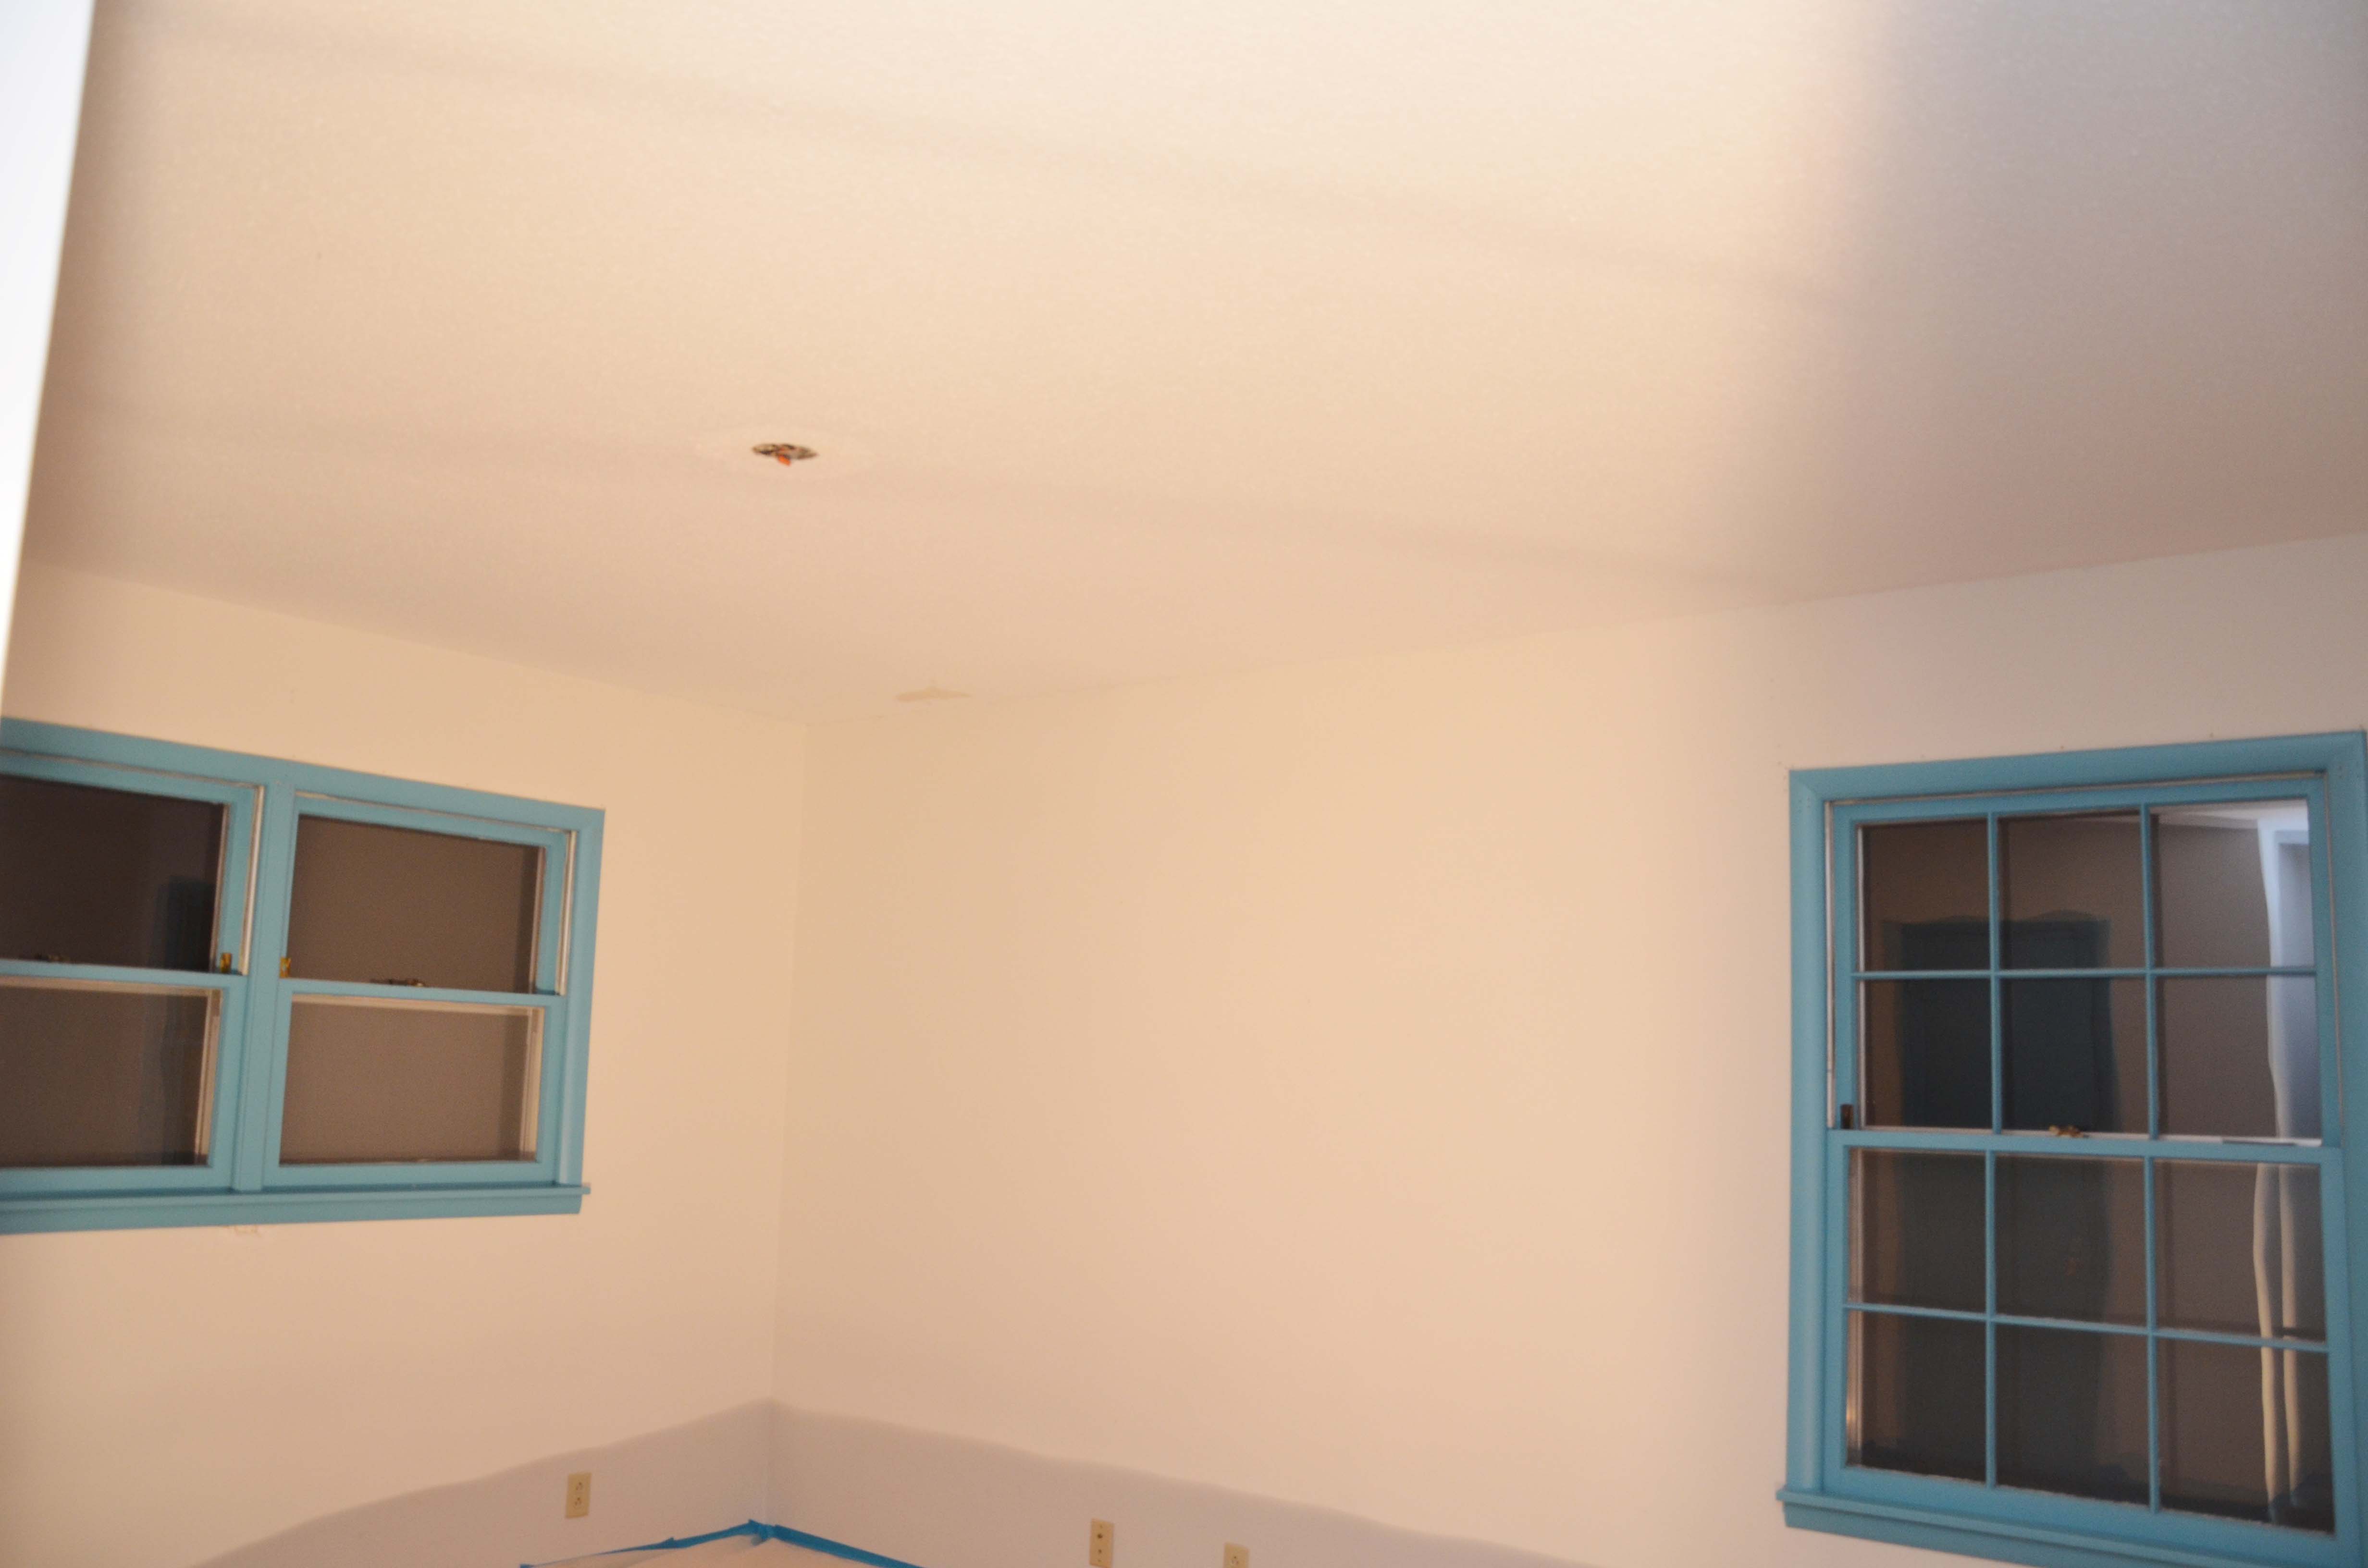
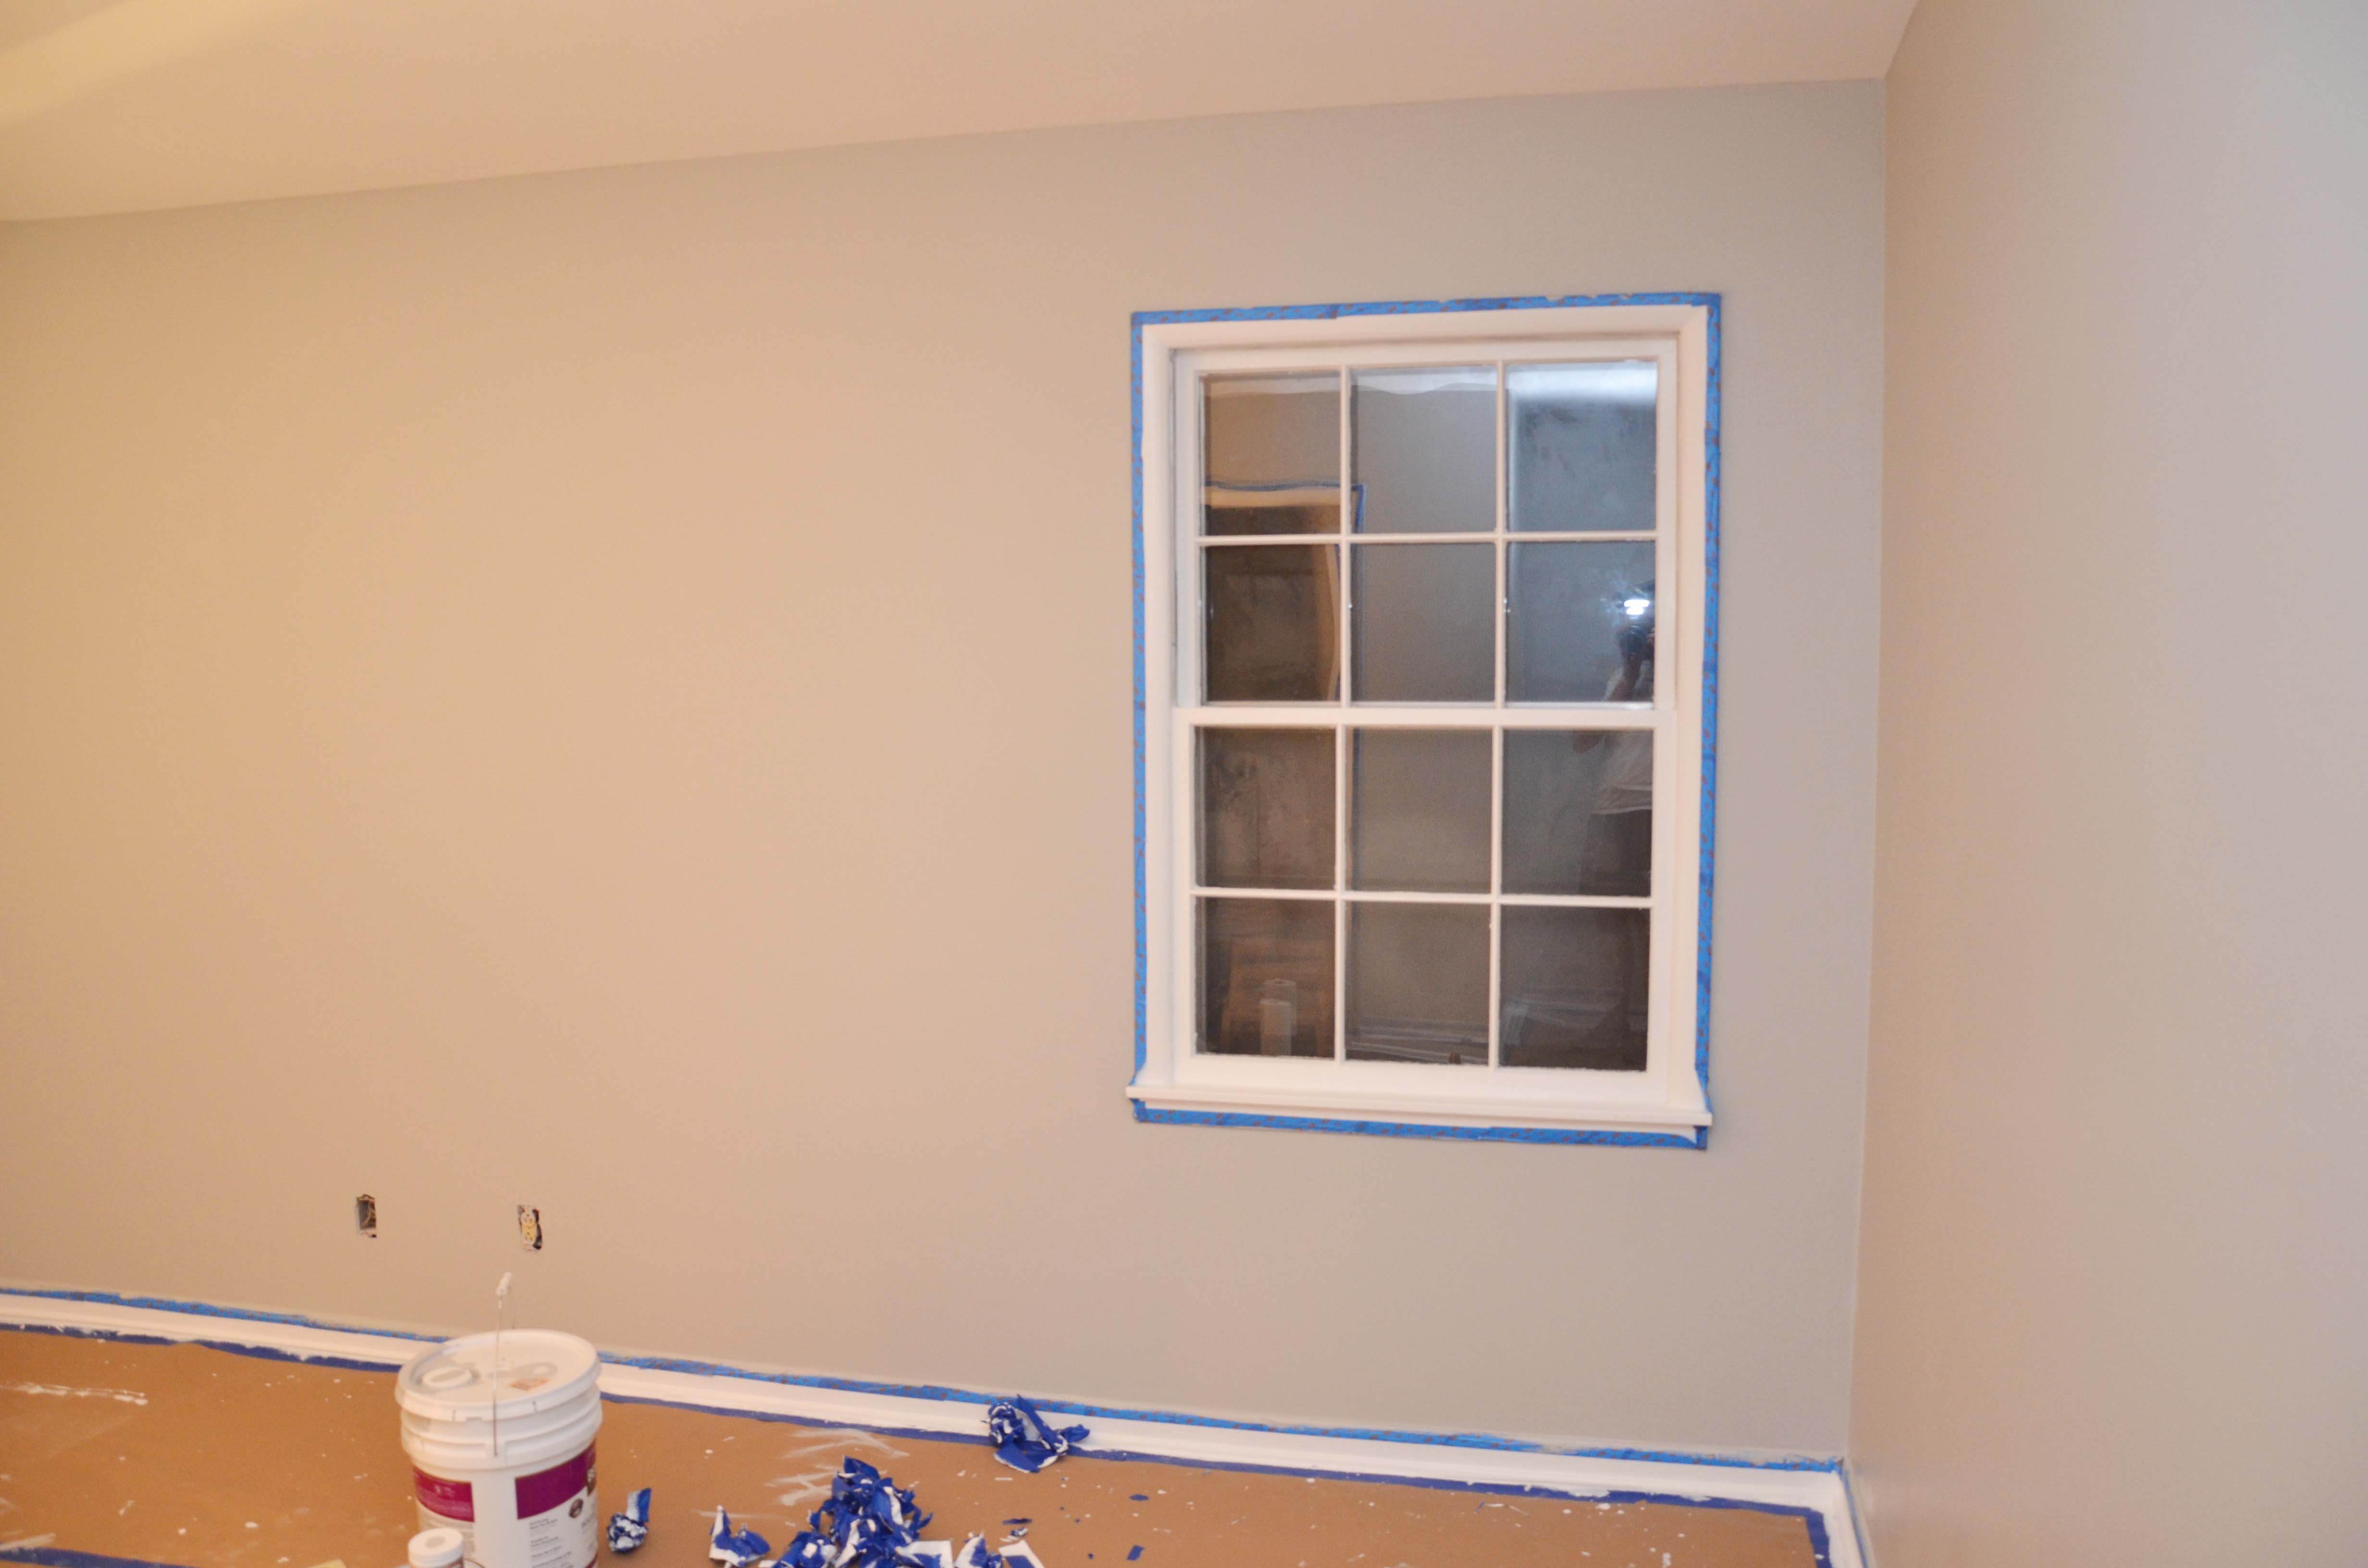
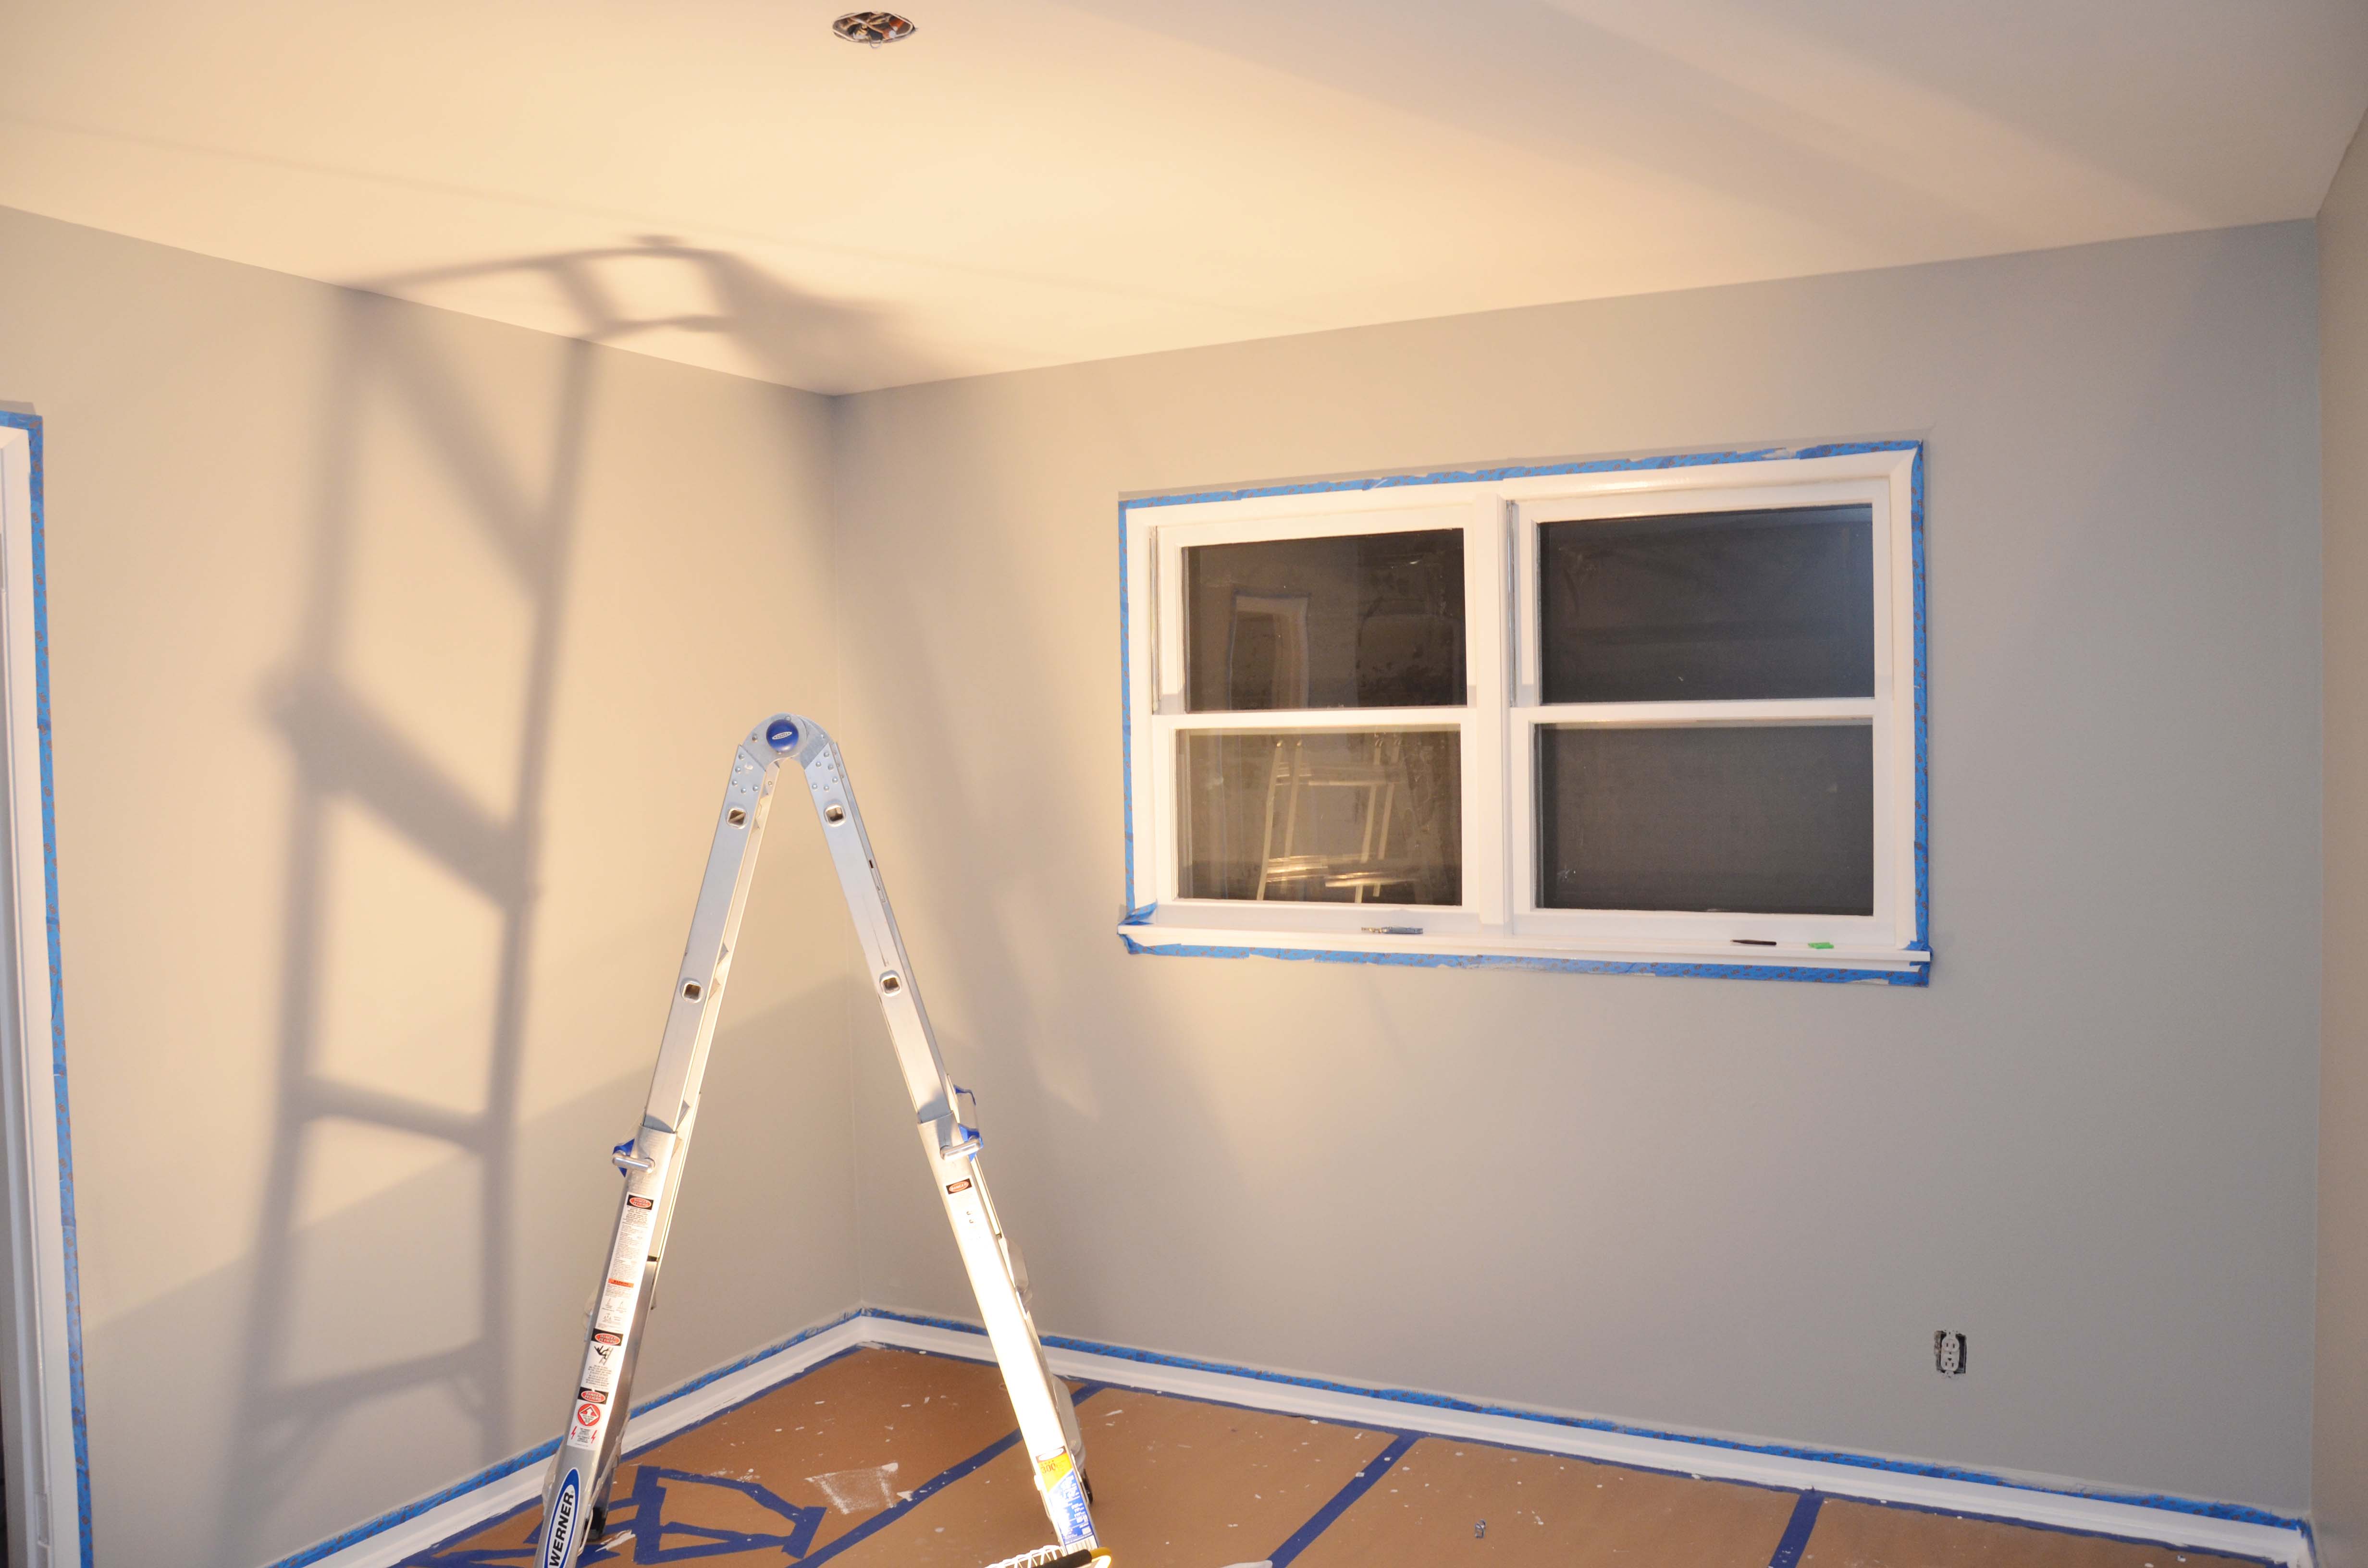
Once the ceiling was done, it was time to start taping off the windows so we could start on the trim.
While Mama taped off this window, I spackled any holes I found, took off all of the outlet and switch covers while Grant removed the doors since they too needed to be painted.

Here you can see the first coat of paint on the trim, and the two paint colors that we were deciding between. We liked both colors,but ended up using the one on the right(Harbor Gray by Benjamin Moore) because of the crib color. The one on the left(Natural Gray by Behr) will be used either in our master or guest bedroom most likely.
This trim was the bane of our existence, it took 4 coats of paint/primer to cover the blue, and even now that it has completely dried and cured I can take my finger nail and scrape it off if I wanted. It peels off like sunburned skin which is not what we were wanting at all! We couldn’t figure out why this was, but after talking to a lot of different people, we realized that our current trim paint is oil based, and we were painting latex paint on top. You can tell if your paint is oil based by buying some denatured alcohol. Put some of the denatured alcohol on a paper towel and rub the paint. If it pretty much wipes off, then you have latex paint, if it stays on then you have oil based paint. So, for the rest of the house we will either use oil based paint, or one day just replace the trim whenever we sand and stain the wood floors and replace the windows. So, I’m not 100% sure which will come first, but I have a feeling we will be using oil paint in the rest of the house on the trim because the latex on top of the oil paint just isn’t very durable especially for the time and money that went in to painting it.
We were told by the Benjamin Moore store that their Advance paint which we used for painting our cabinets does adhere to oil based paint better than plain latex because it has an alkyd properties in it. That paint is about $20 more a gallon than the regular latex trim paint so we weren’t convinced. We had a tiny bit left from the cabinets so we gave it a try on a small part of trim in the nursery, and honestly it stuck a tiny bit better, but I wouldn’t spend the extra money on it. I would use oil paint in the other rooms or just put new trim in.
We also tried an area of just primer, then trim paint, and that didn’t make any difference than the latex paint and primer in one. So, the moral of the story, pay attention to what type of paint you are painting over.
Then it was time to paint the walls. I did the cutting in.

While Grant painted the first coat on the walls.

More cutting in, pregnancy always makes the pictures goofier. We did use low VOC paint,but I used a respirator the whole time just to be on the safe side.
It is starting to look soo much better already!
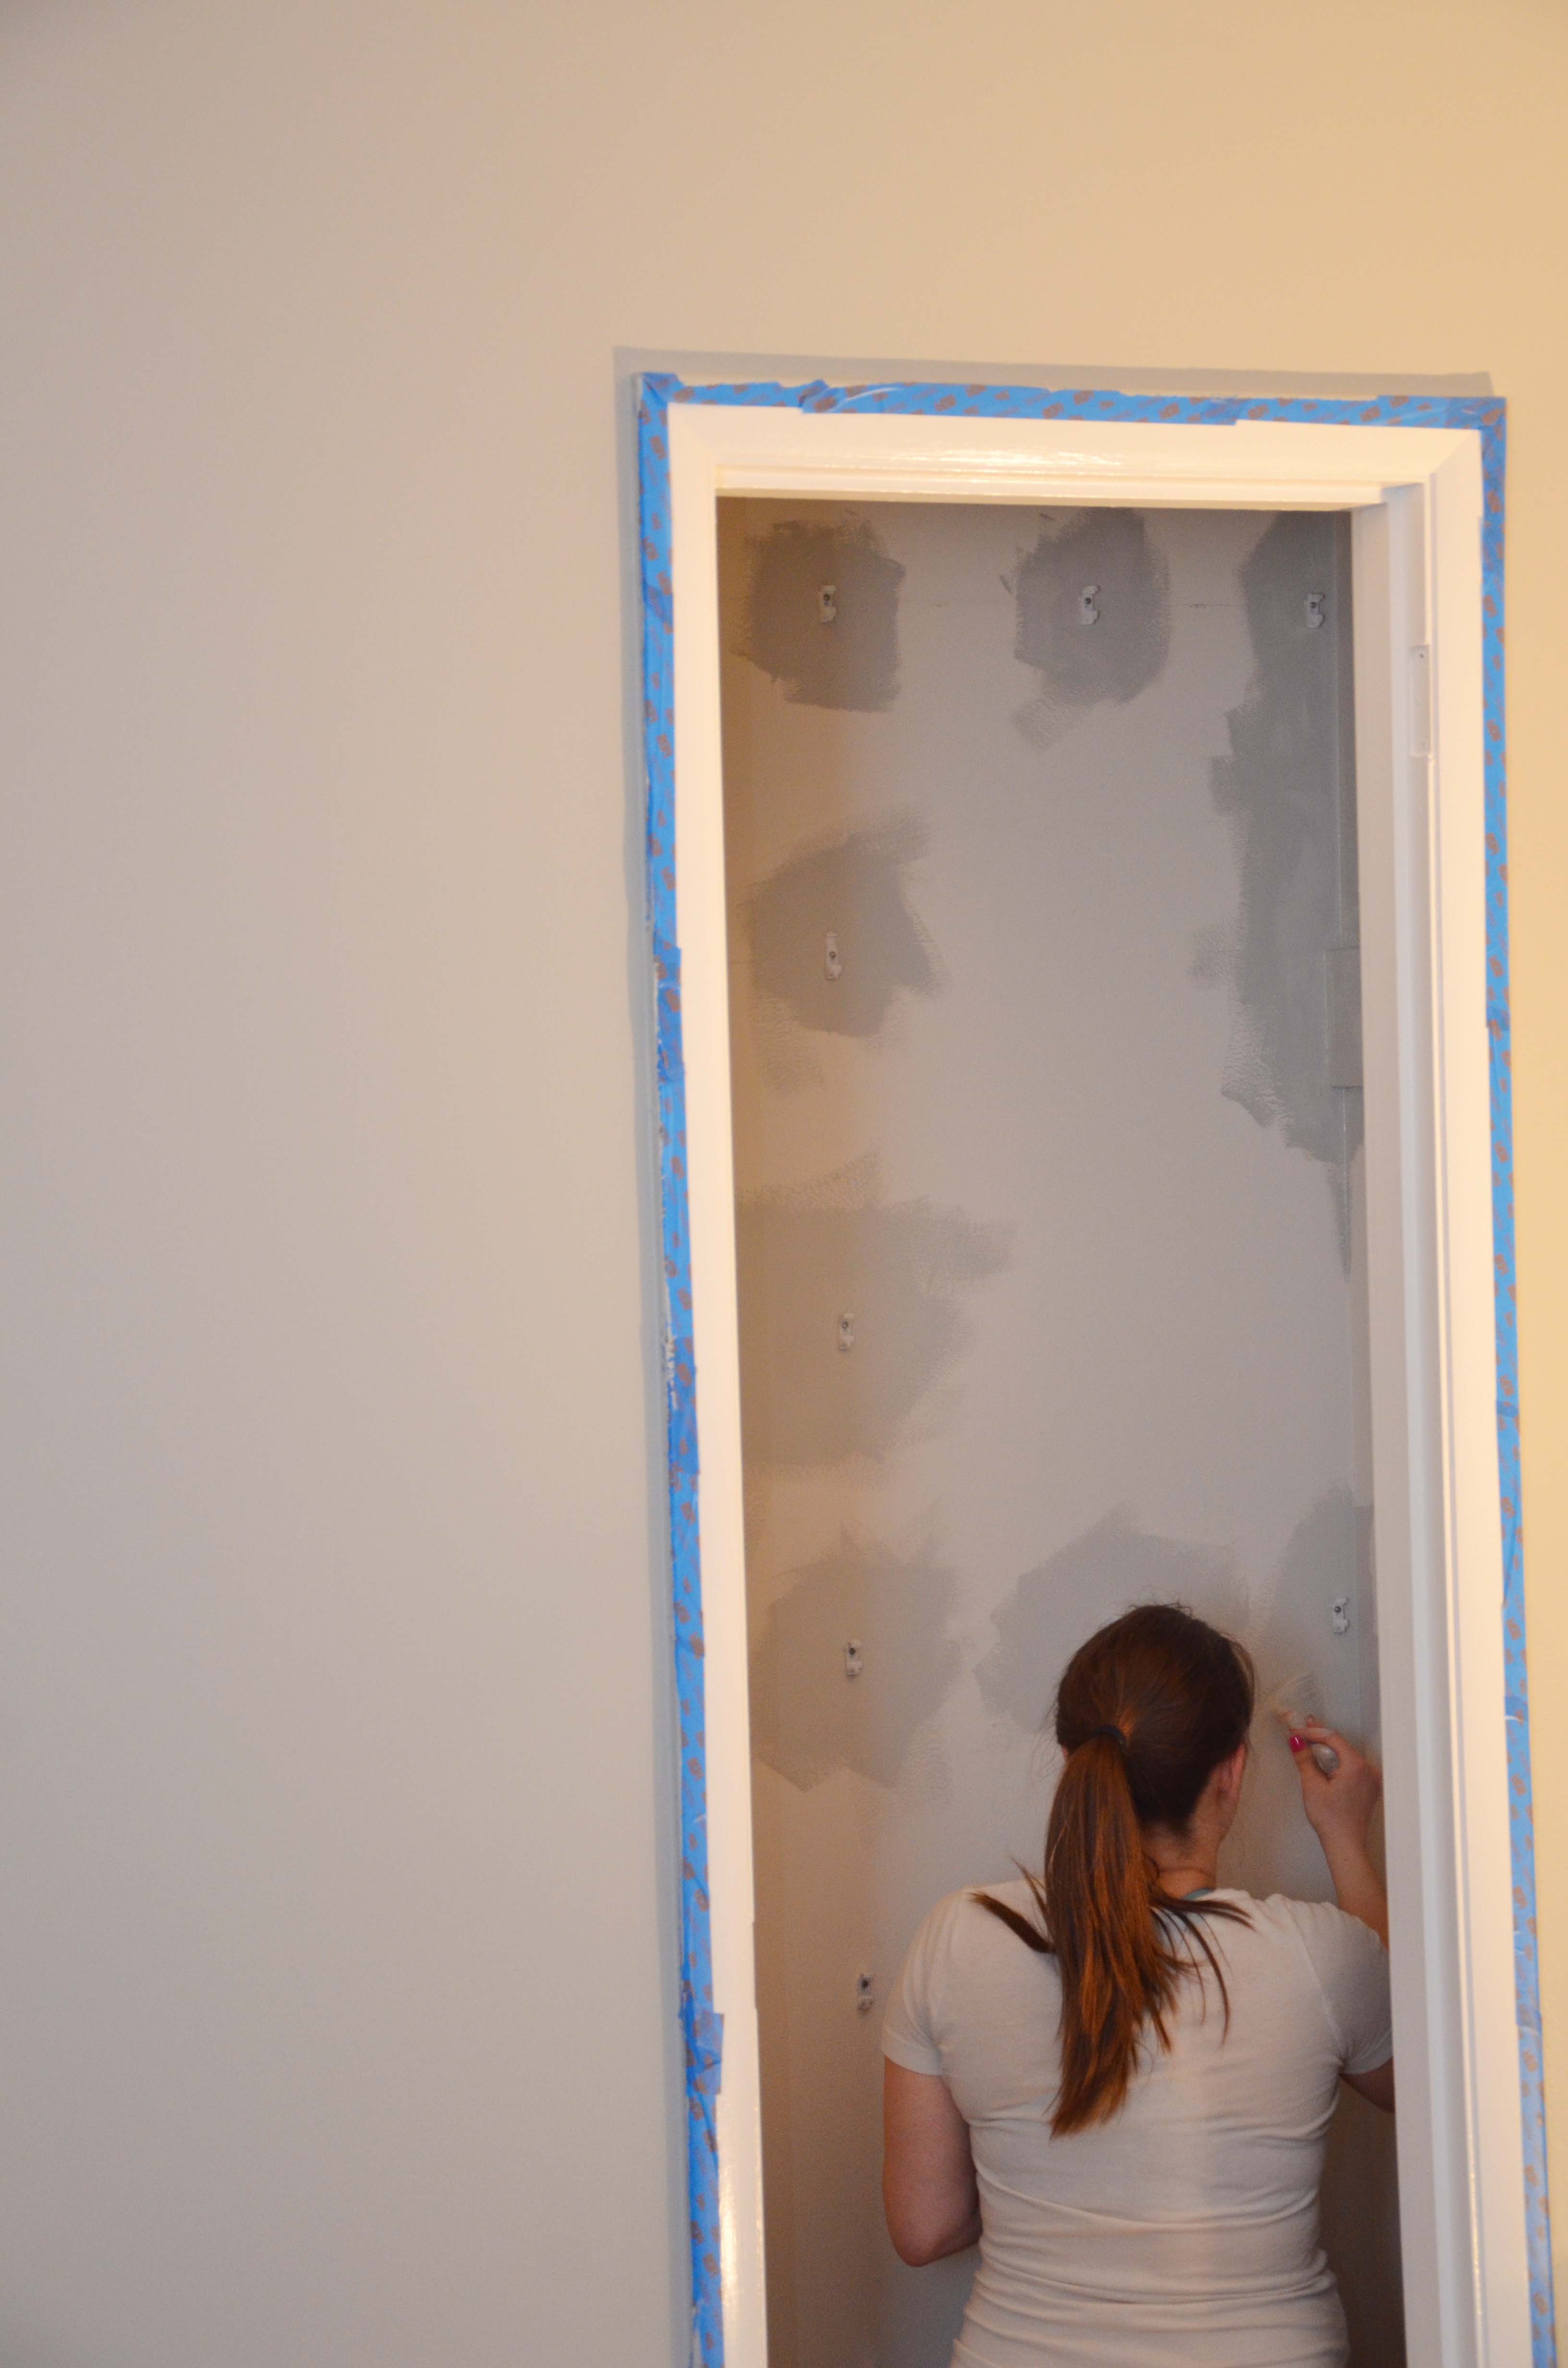
I then started on the closet.

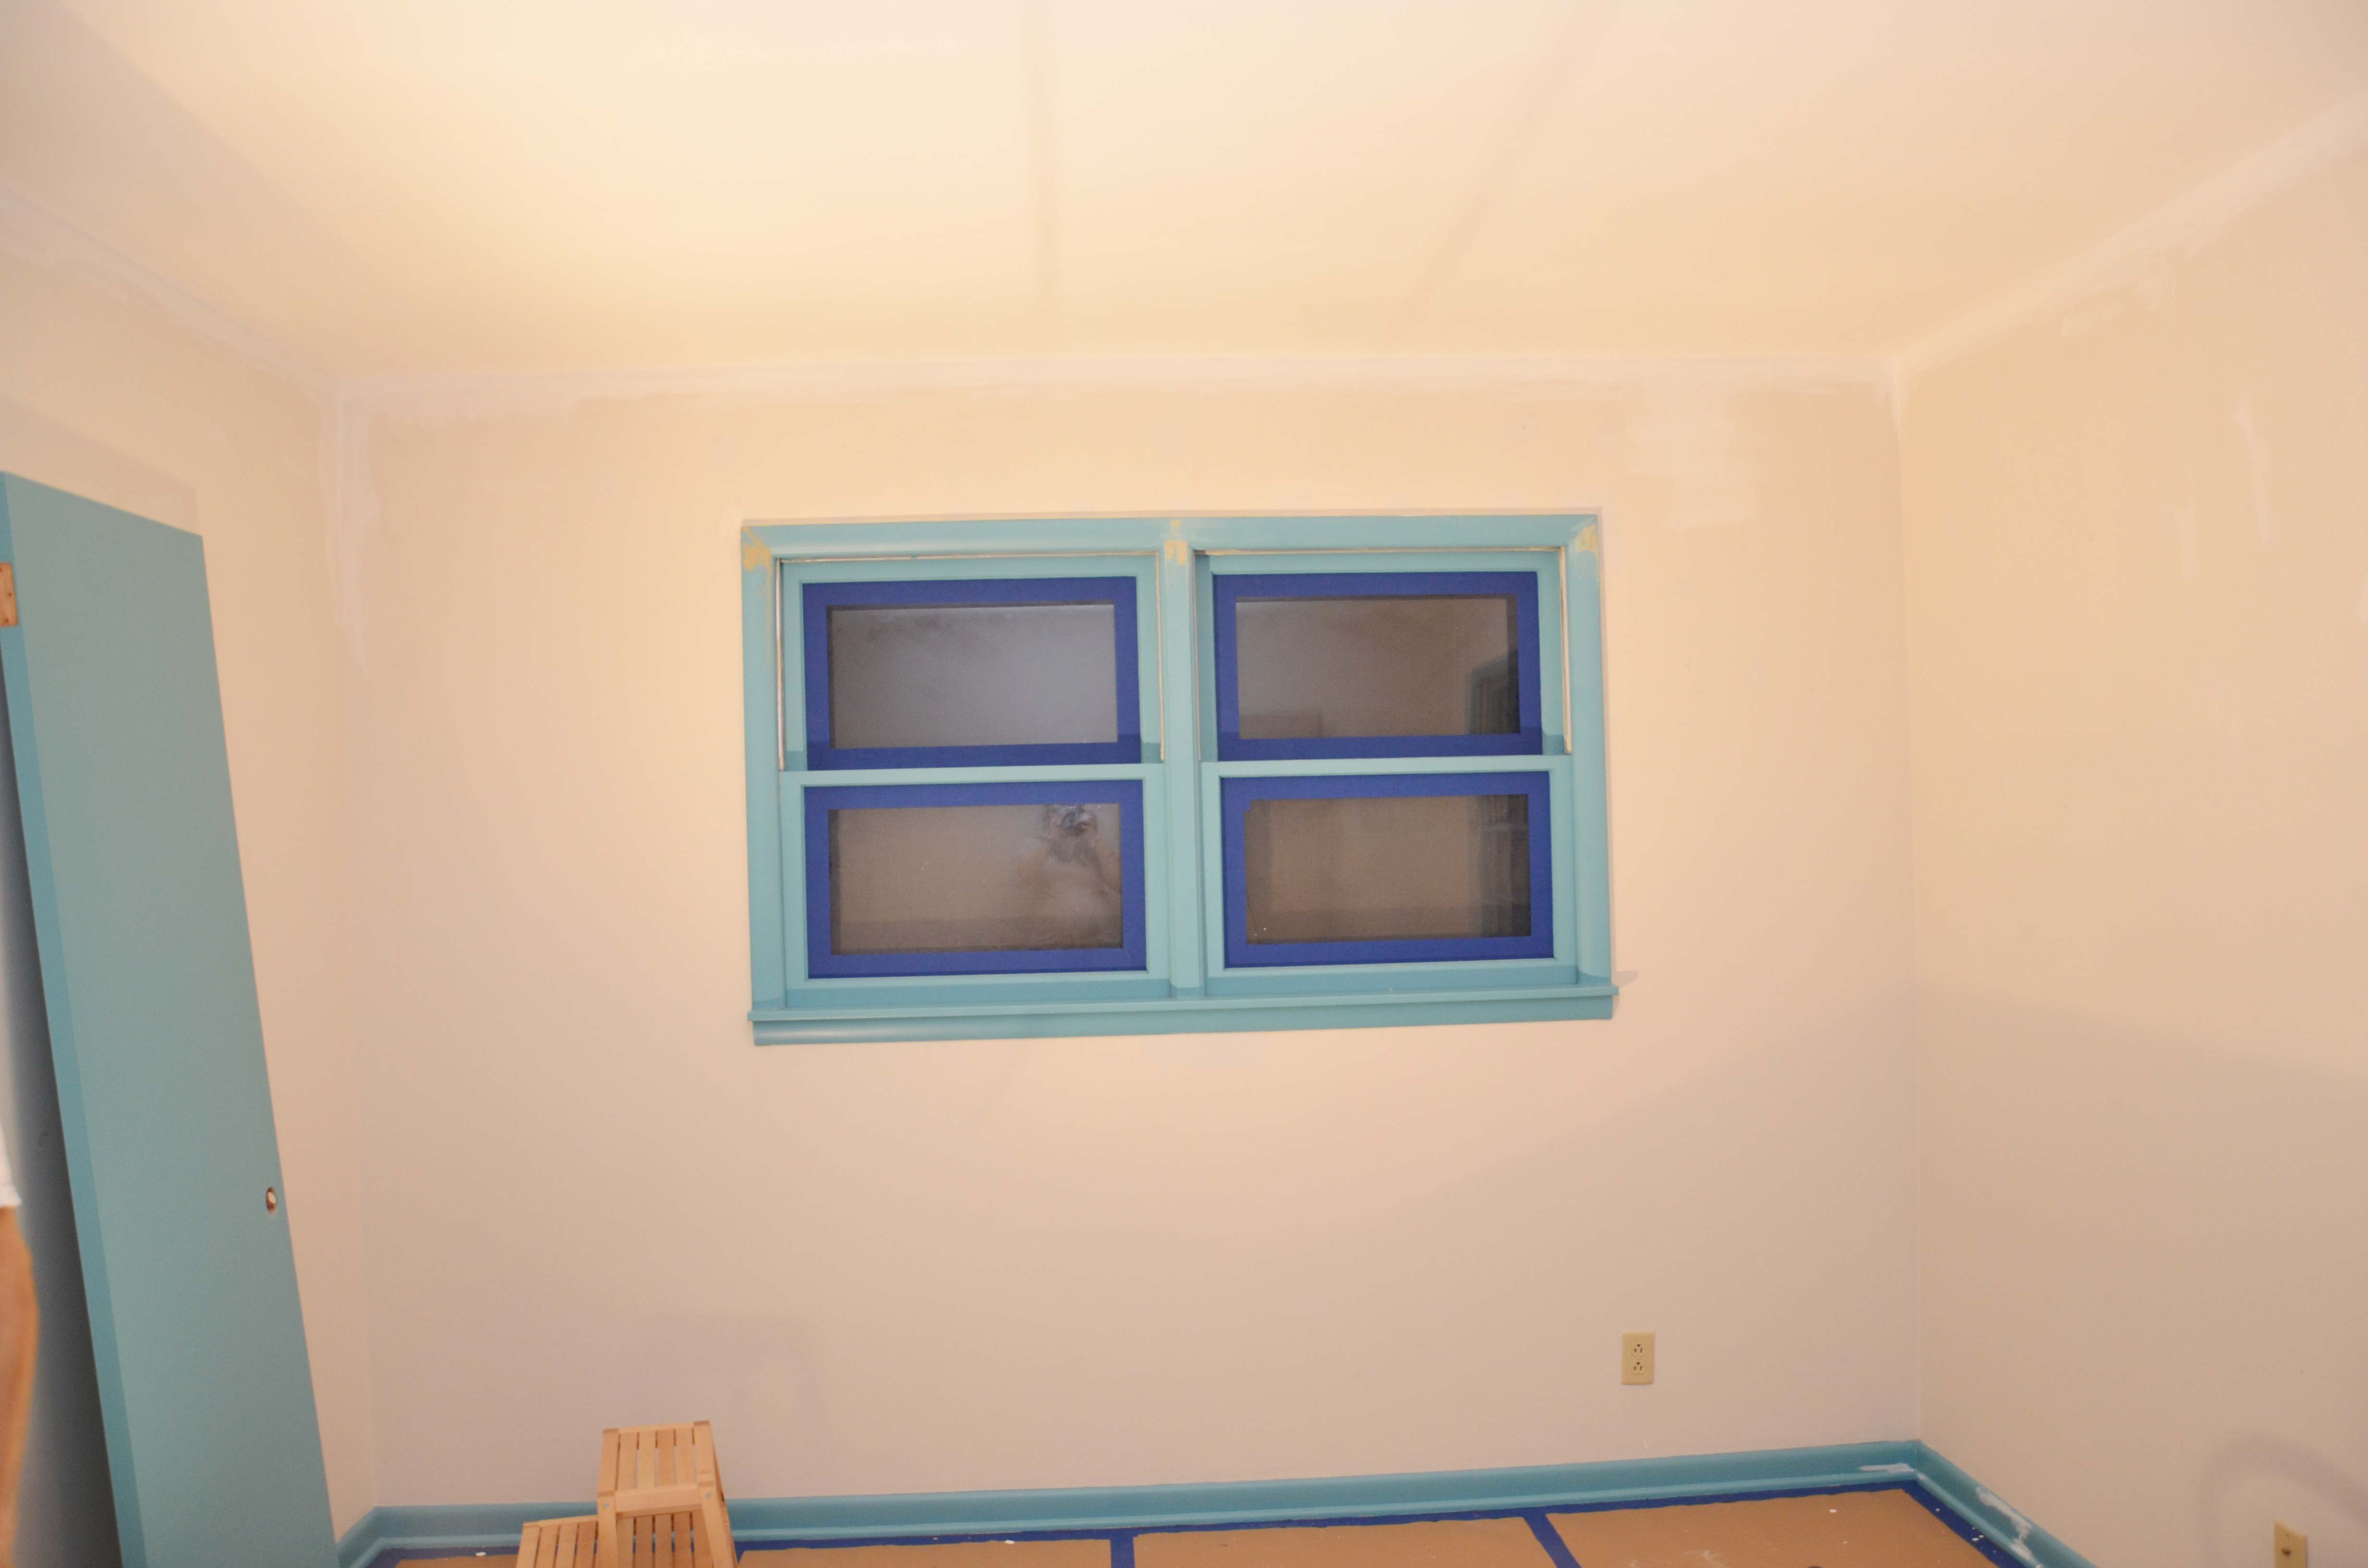
Once the trim paint was completely dry, it was time to unstick the windows and paint the last portion that needed to be painted. The drip marks you see on the inside of the window are from previous paint jobs that we just couldn’t reach to fix, sigh. One day we will have new windows and that won’t be seen,but until then at least they aren’t turquoise!
Then I painted the ceiling in the closet.
I was fine with grey on the ceiling in there since it really doesn’t matter.
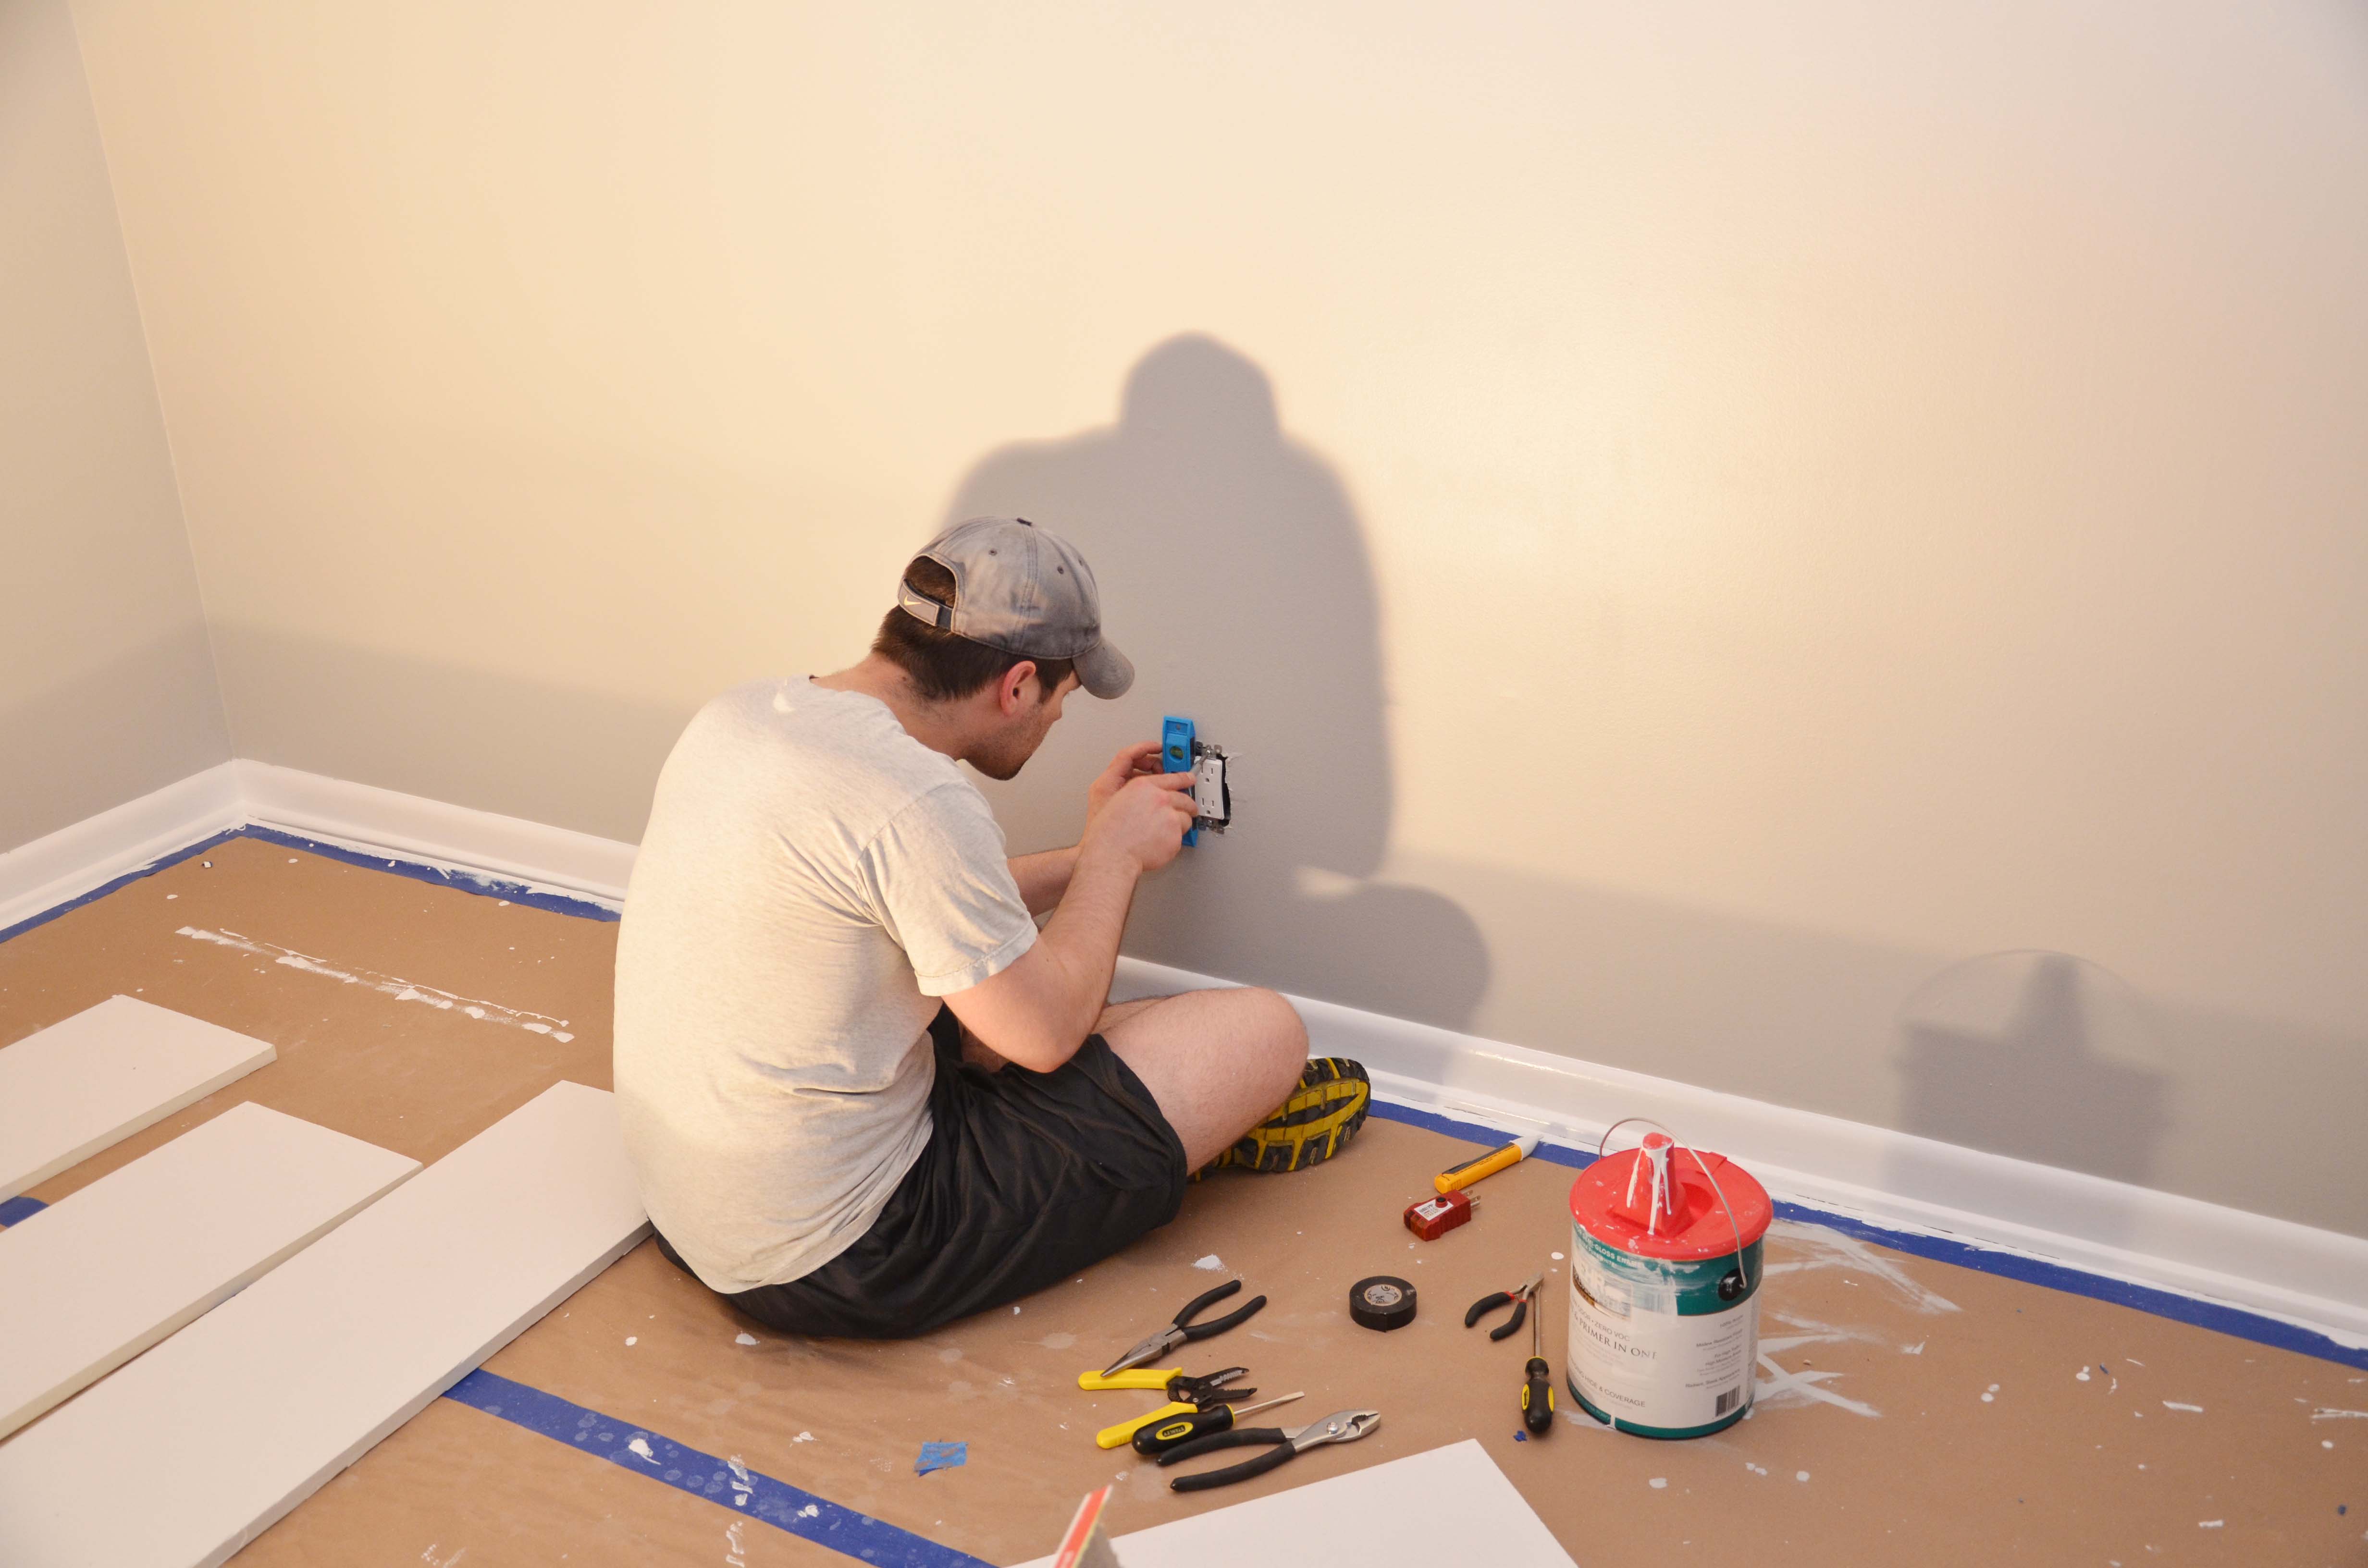
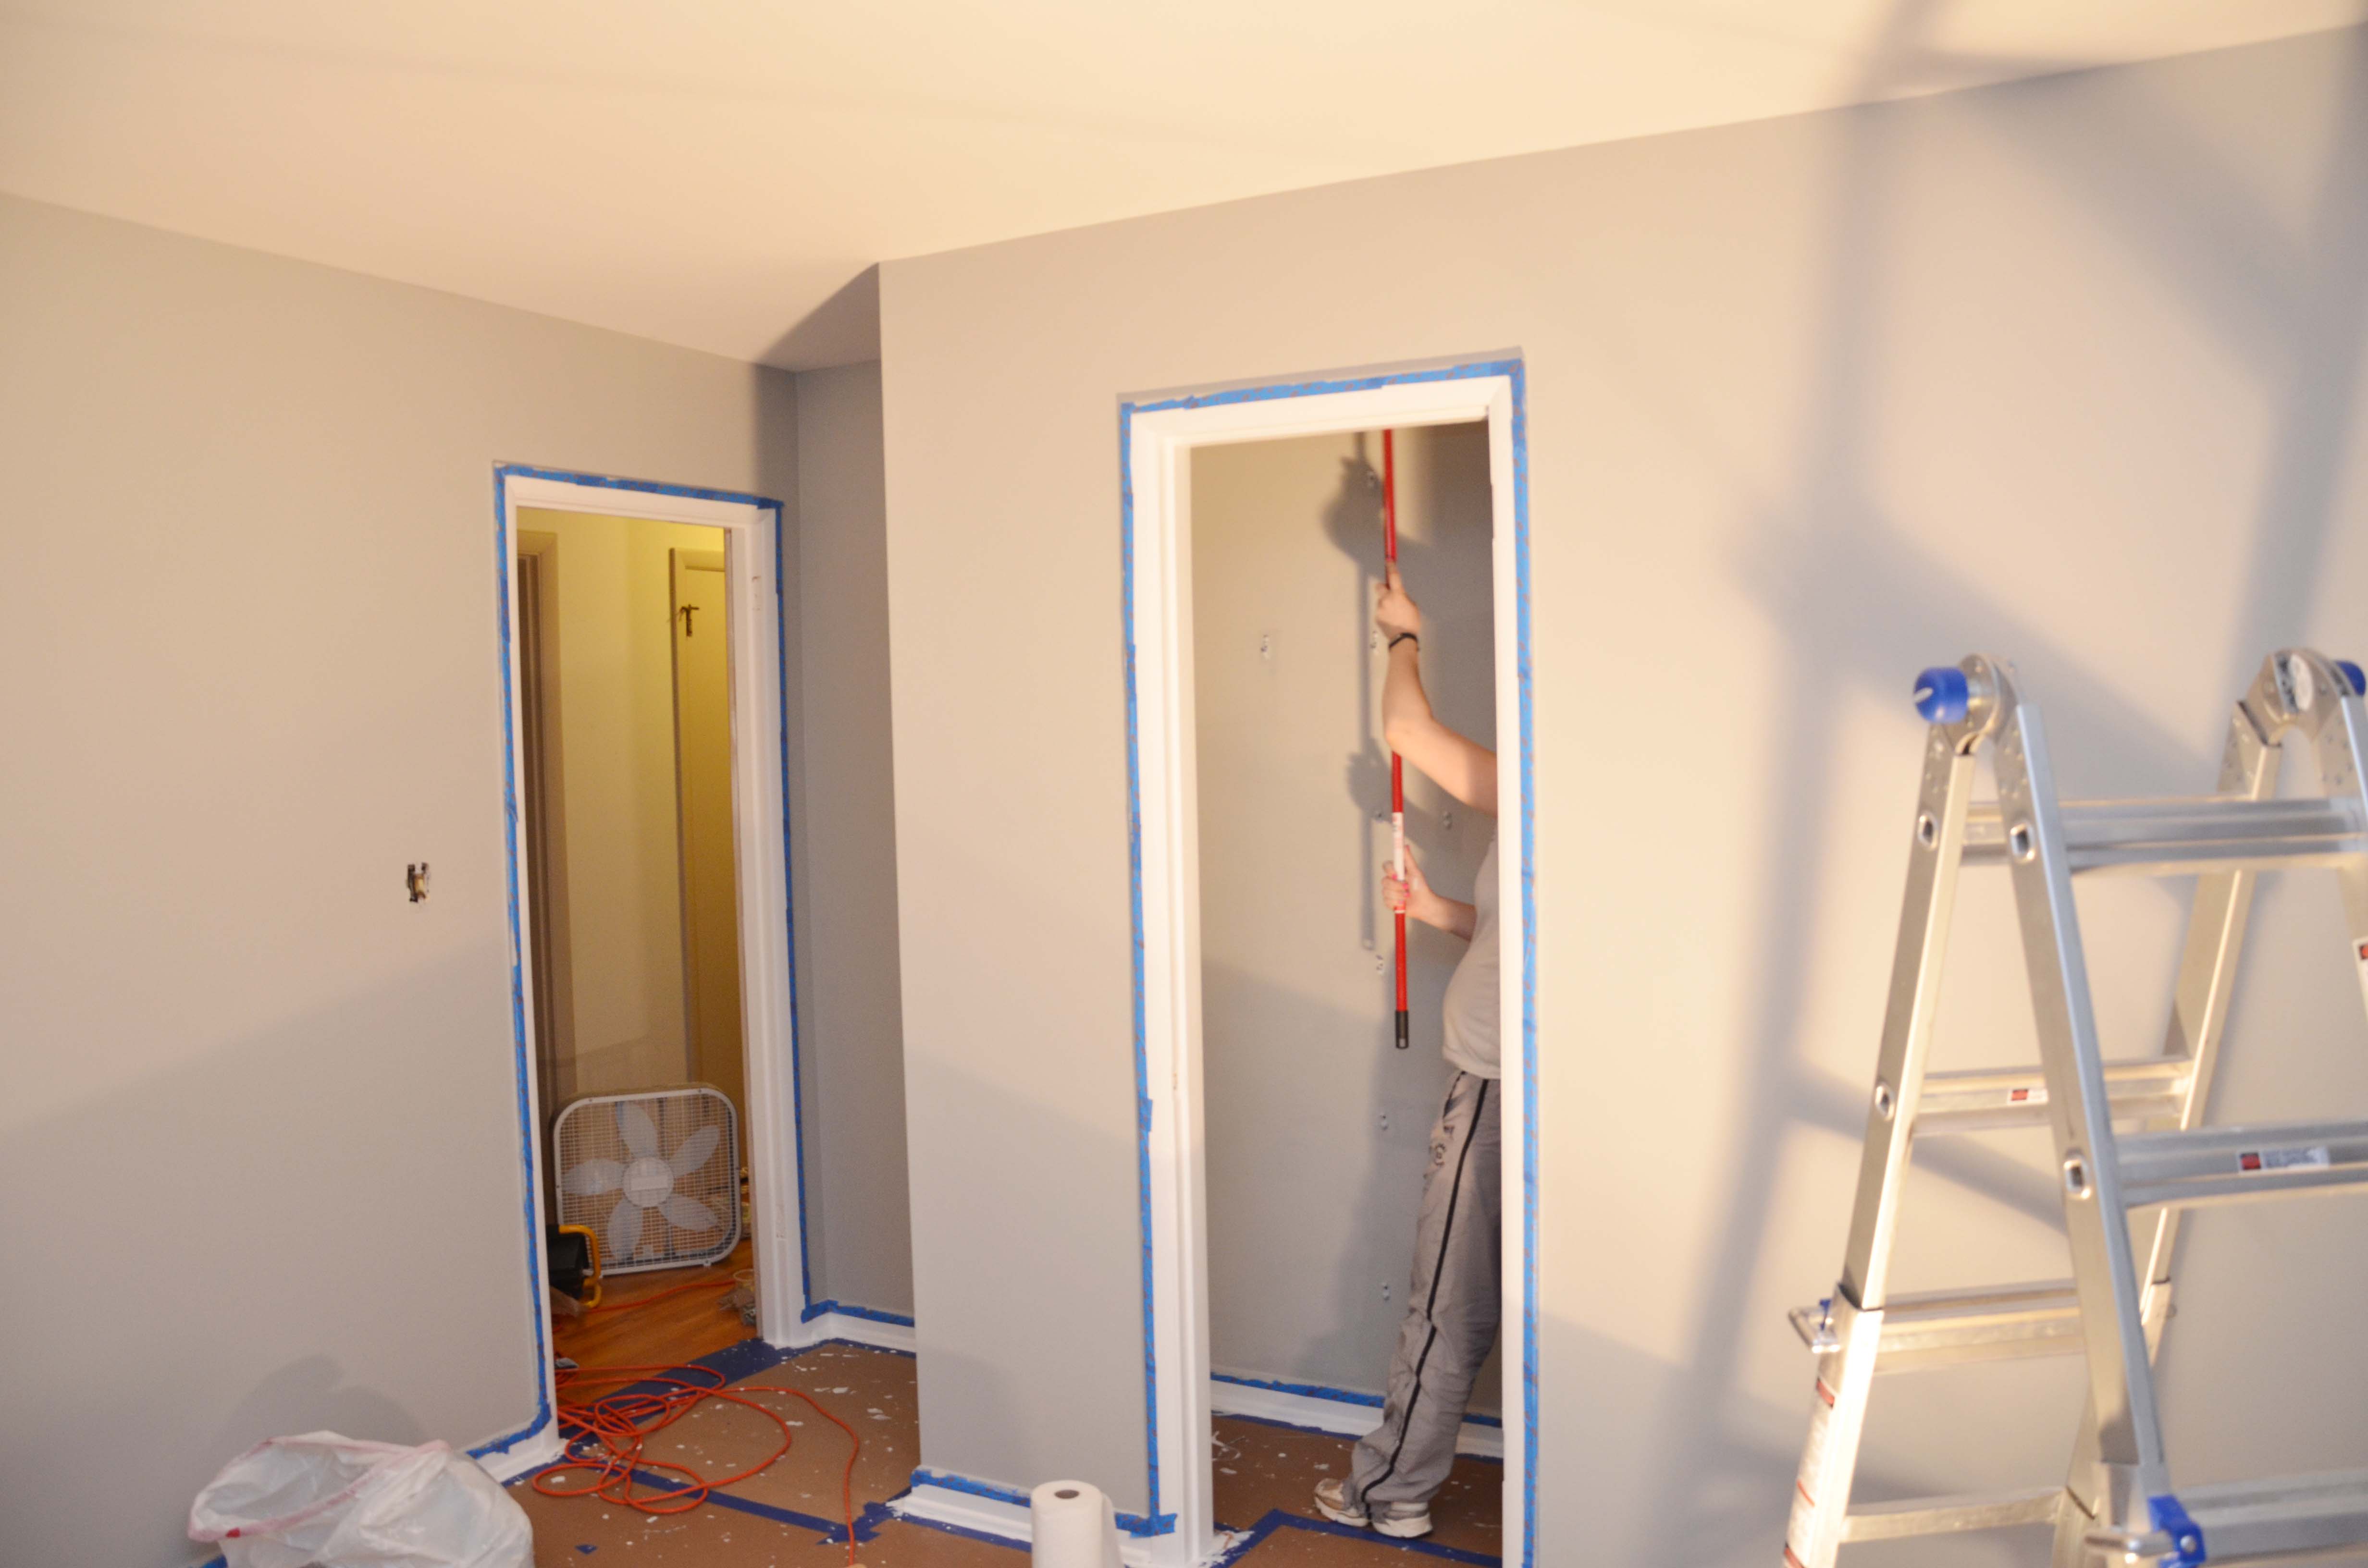
Half of our house has updated slight switches and outlets the other half doesn’t, so we decided as we update a room, we will update those items so eventually it will all be nice and consistent. Here you can see Grant with a level making sure the outlet is straight. He isn’t a perfectionist at all. 🙂 We ended up going with these outlets, they come in a box of ten which makes them more affordable, and they are child safe. Now, they aren’t annoying like some where you have to turn or push a portion out of the way,but you just have to put a plug in like normal and it just works,but if something is just inserted into one side then it is blocked.
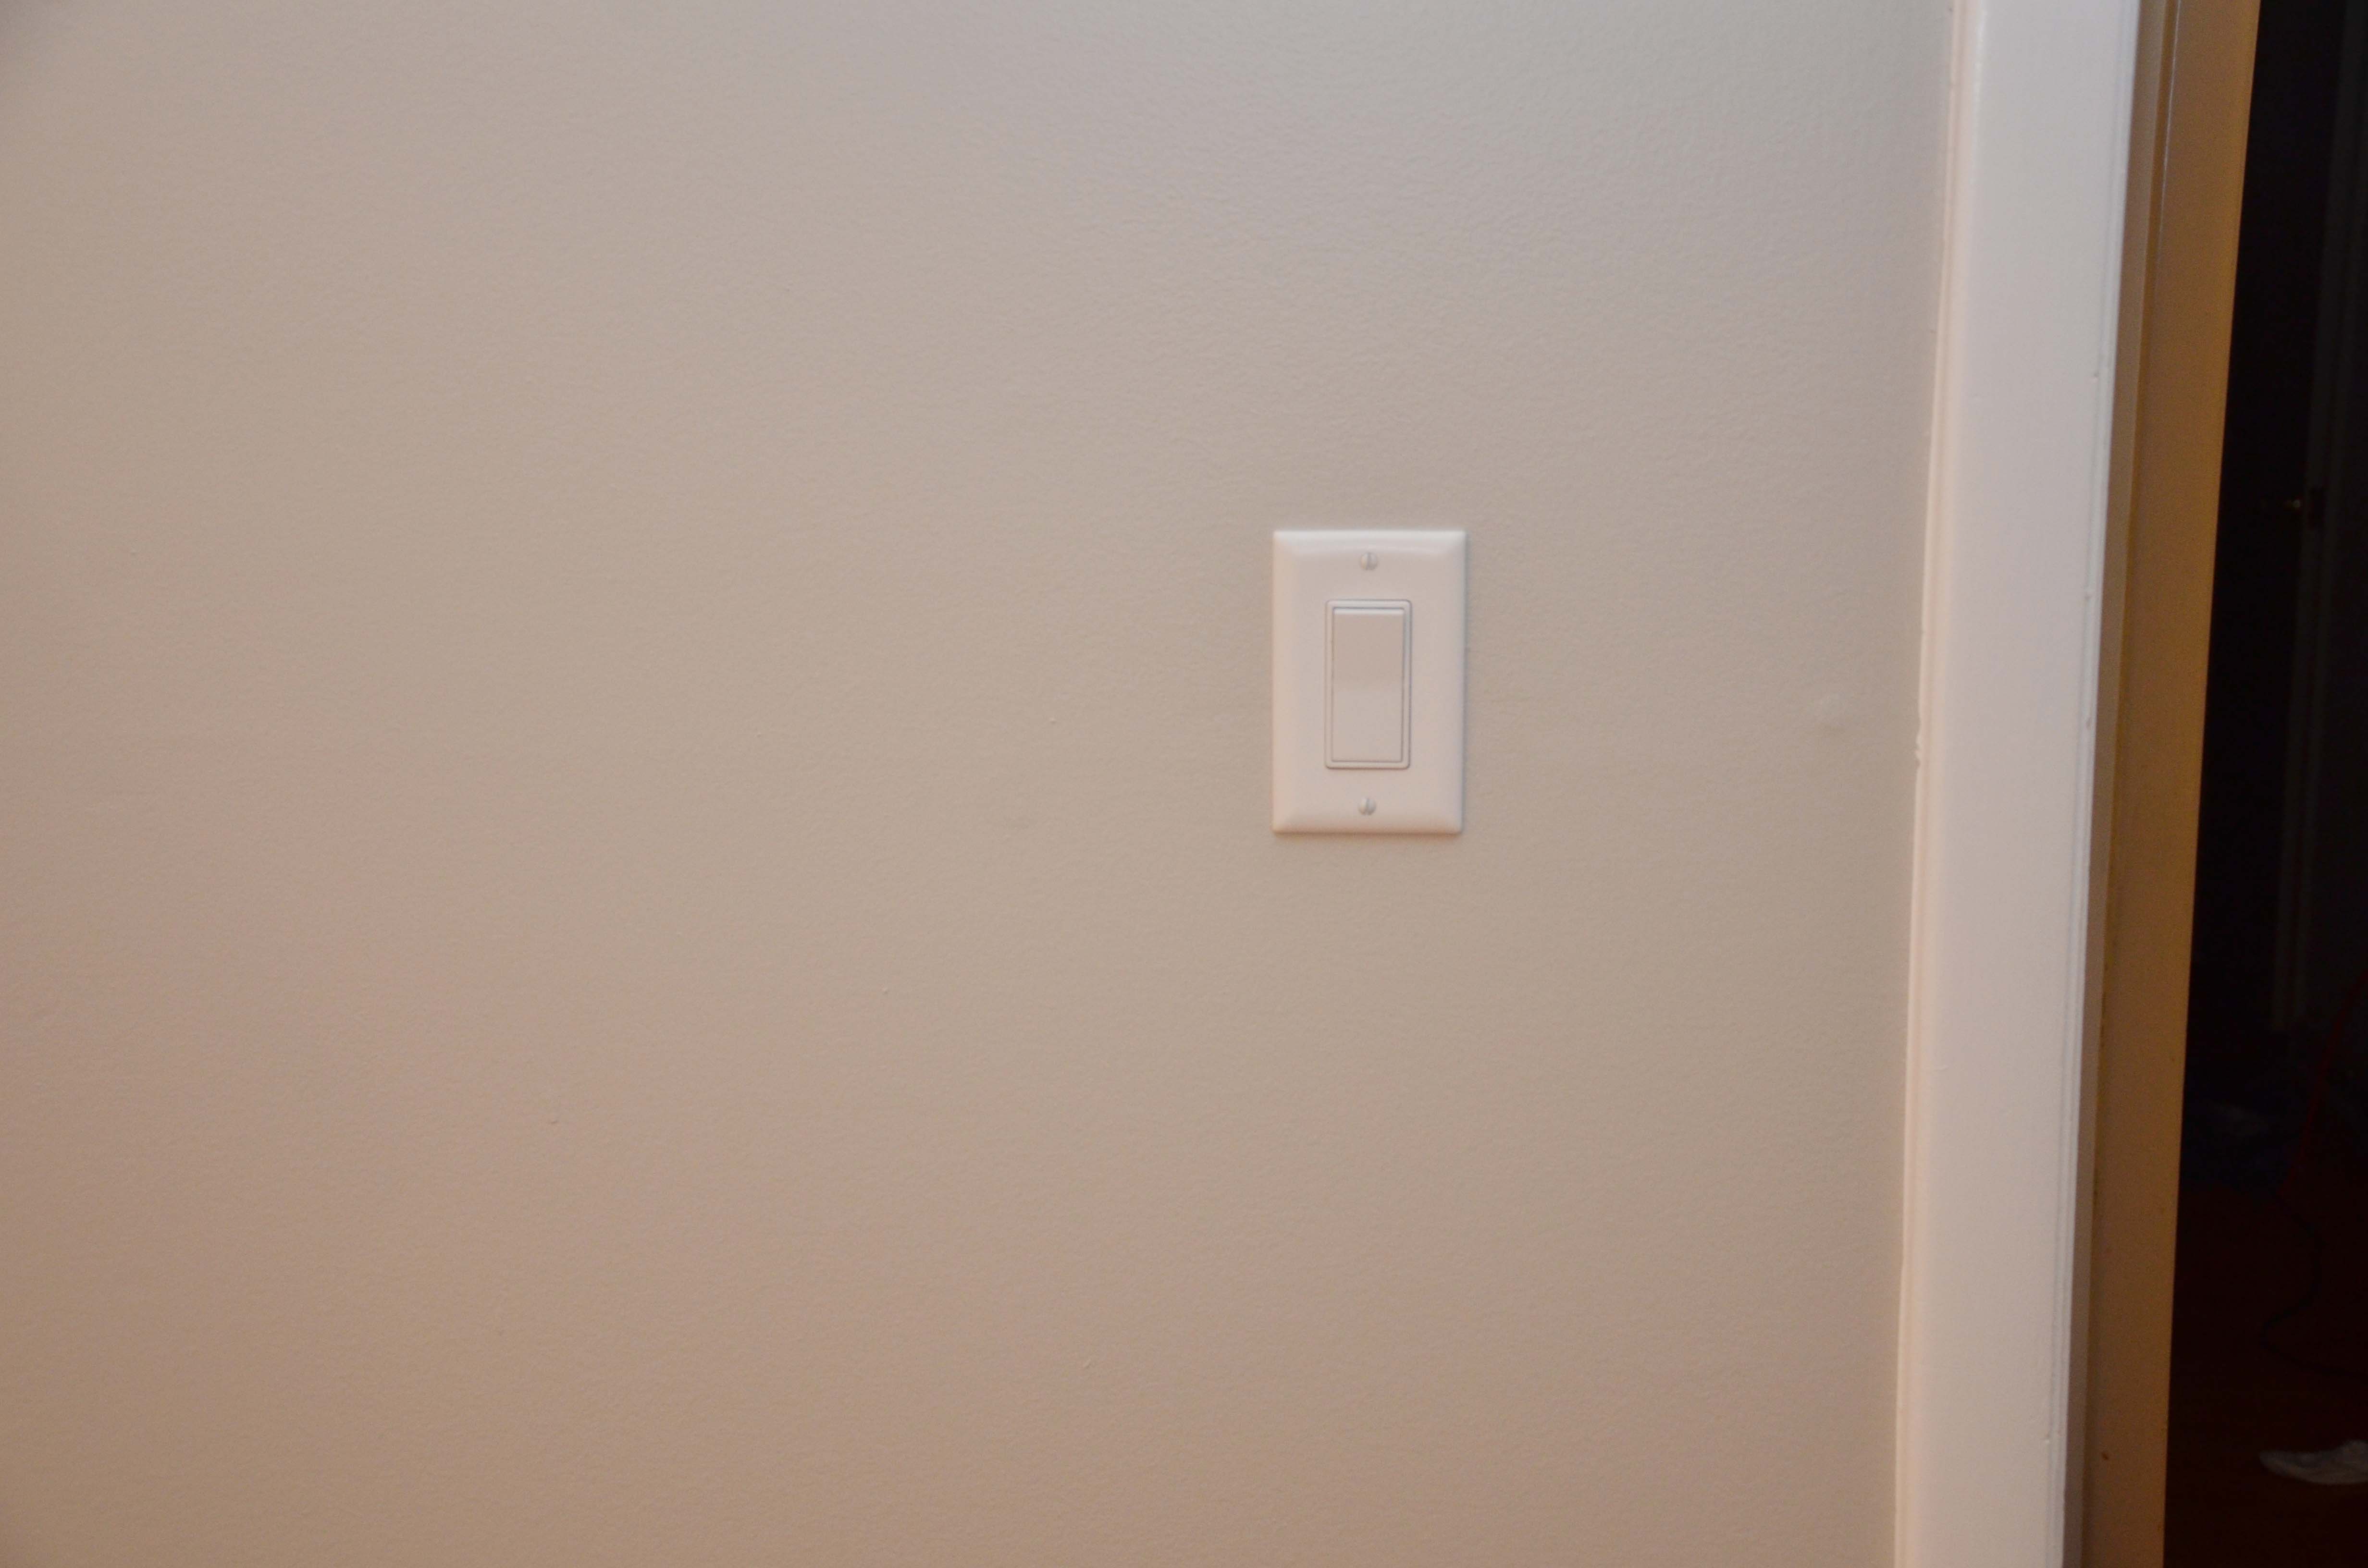
Our updated light switches, door hinges, and the door handles to match the few in the house we have already upgraded.
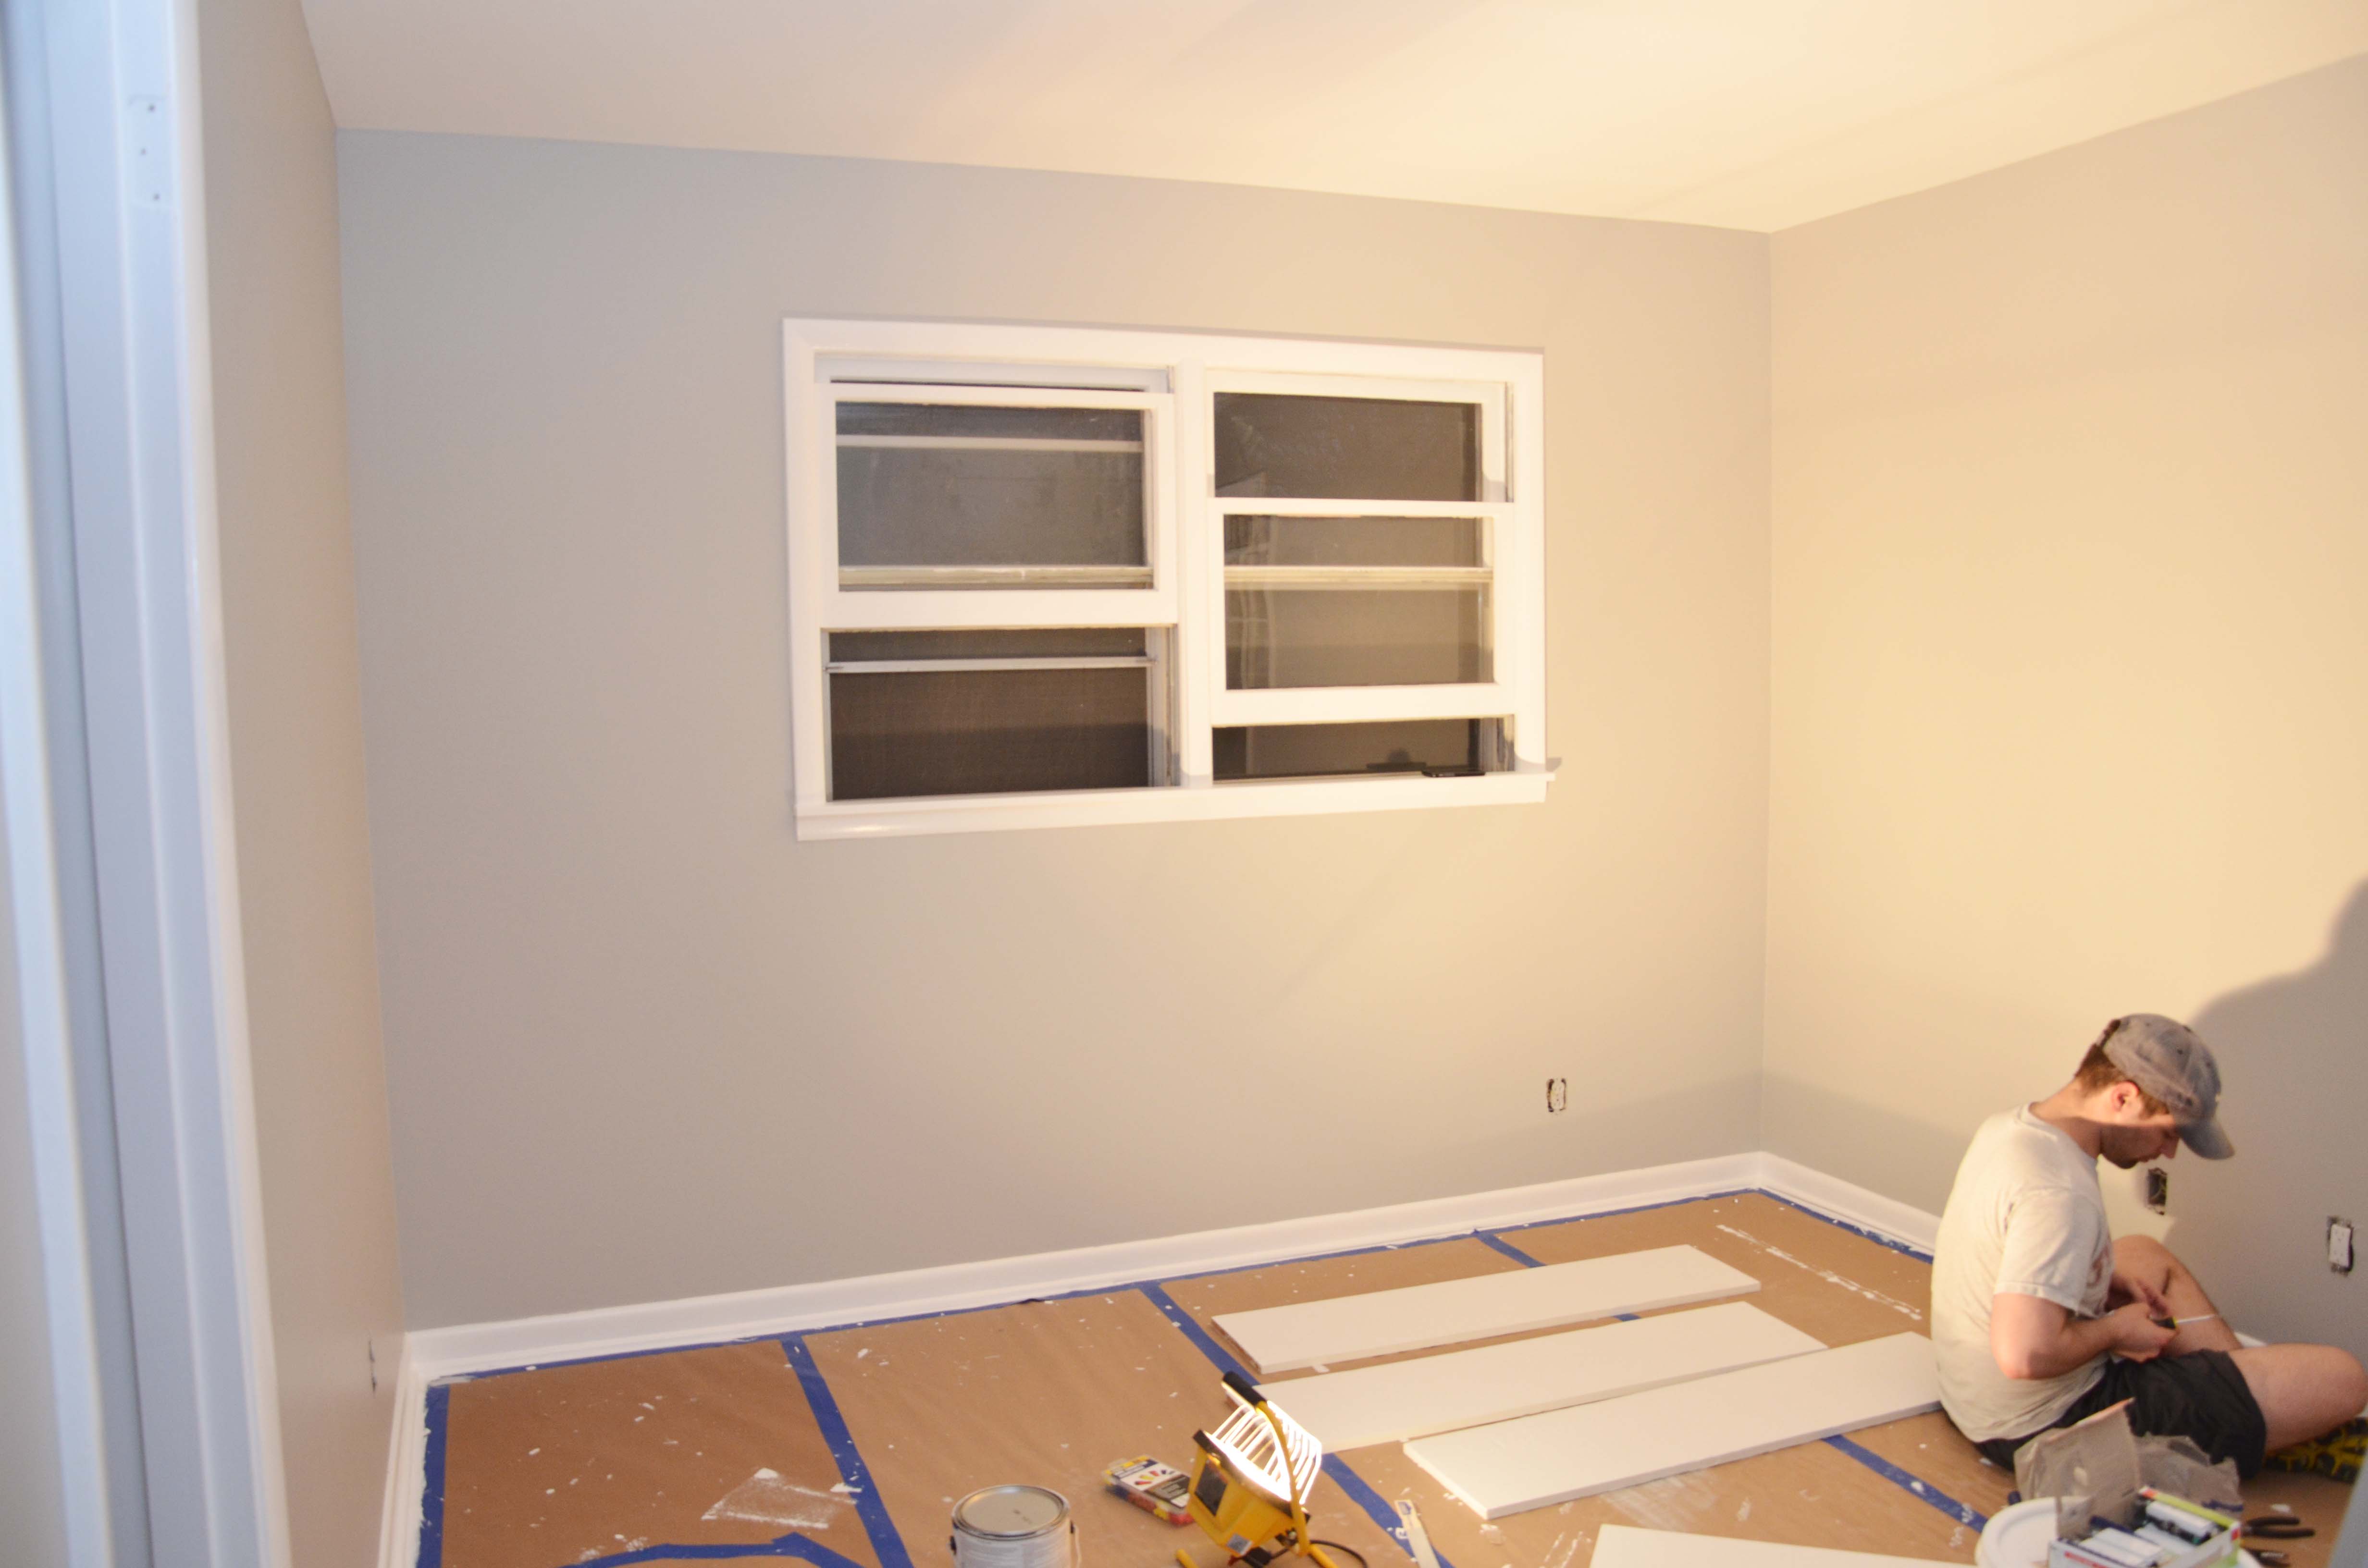
Here you can see the window bottoms are done.
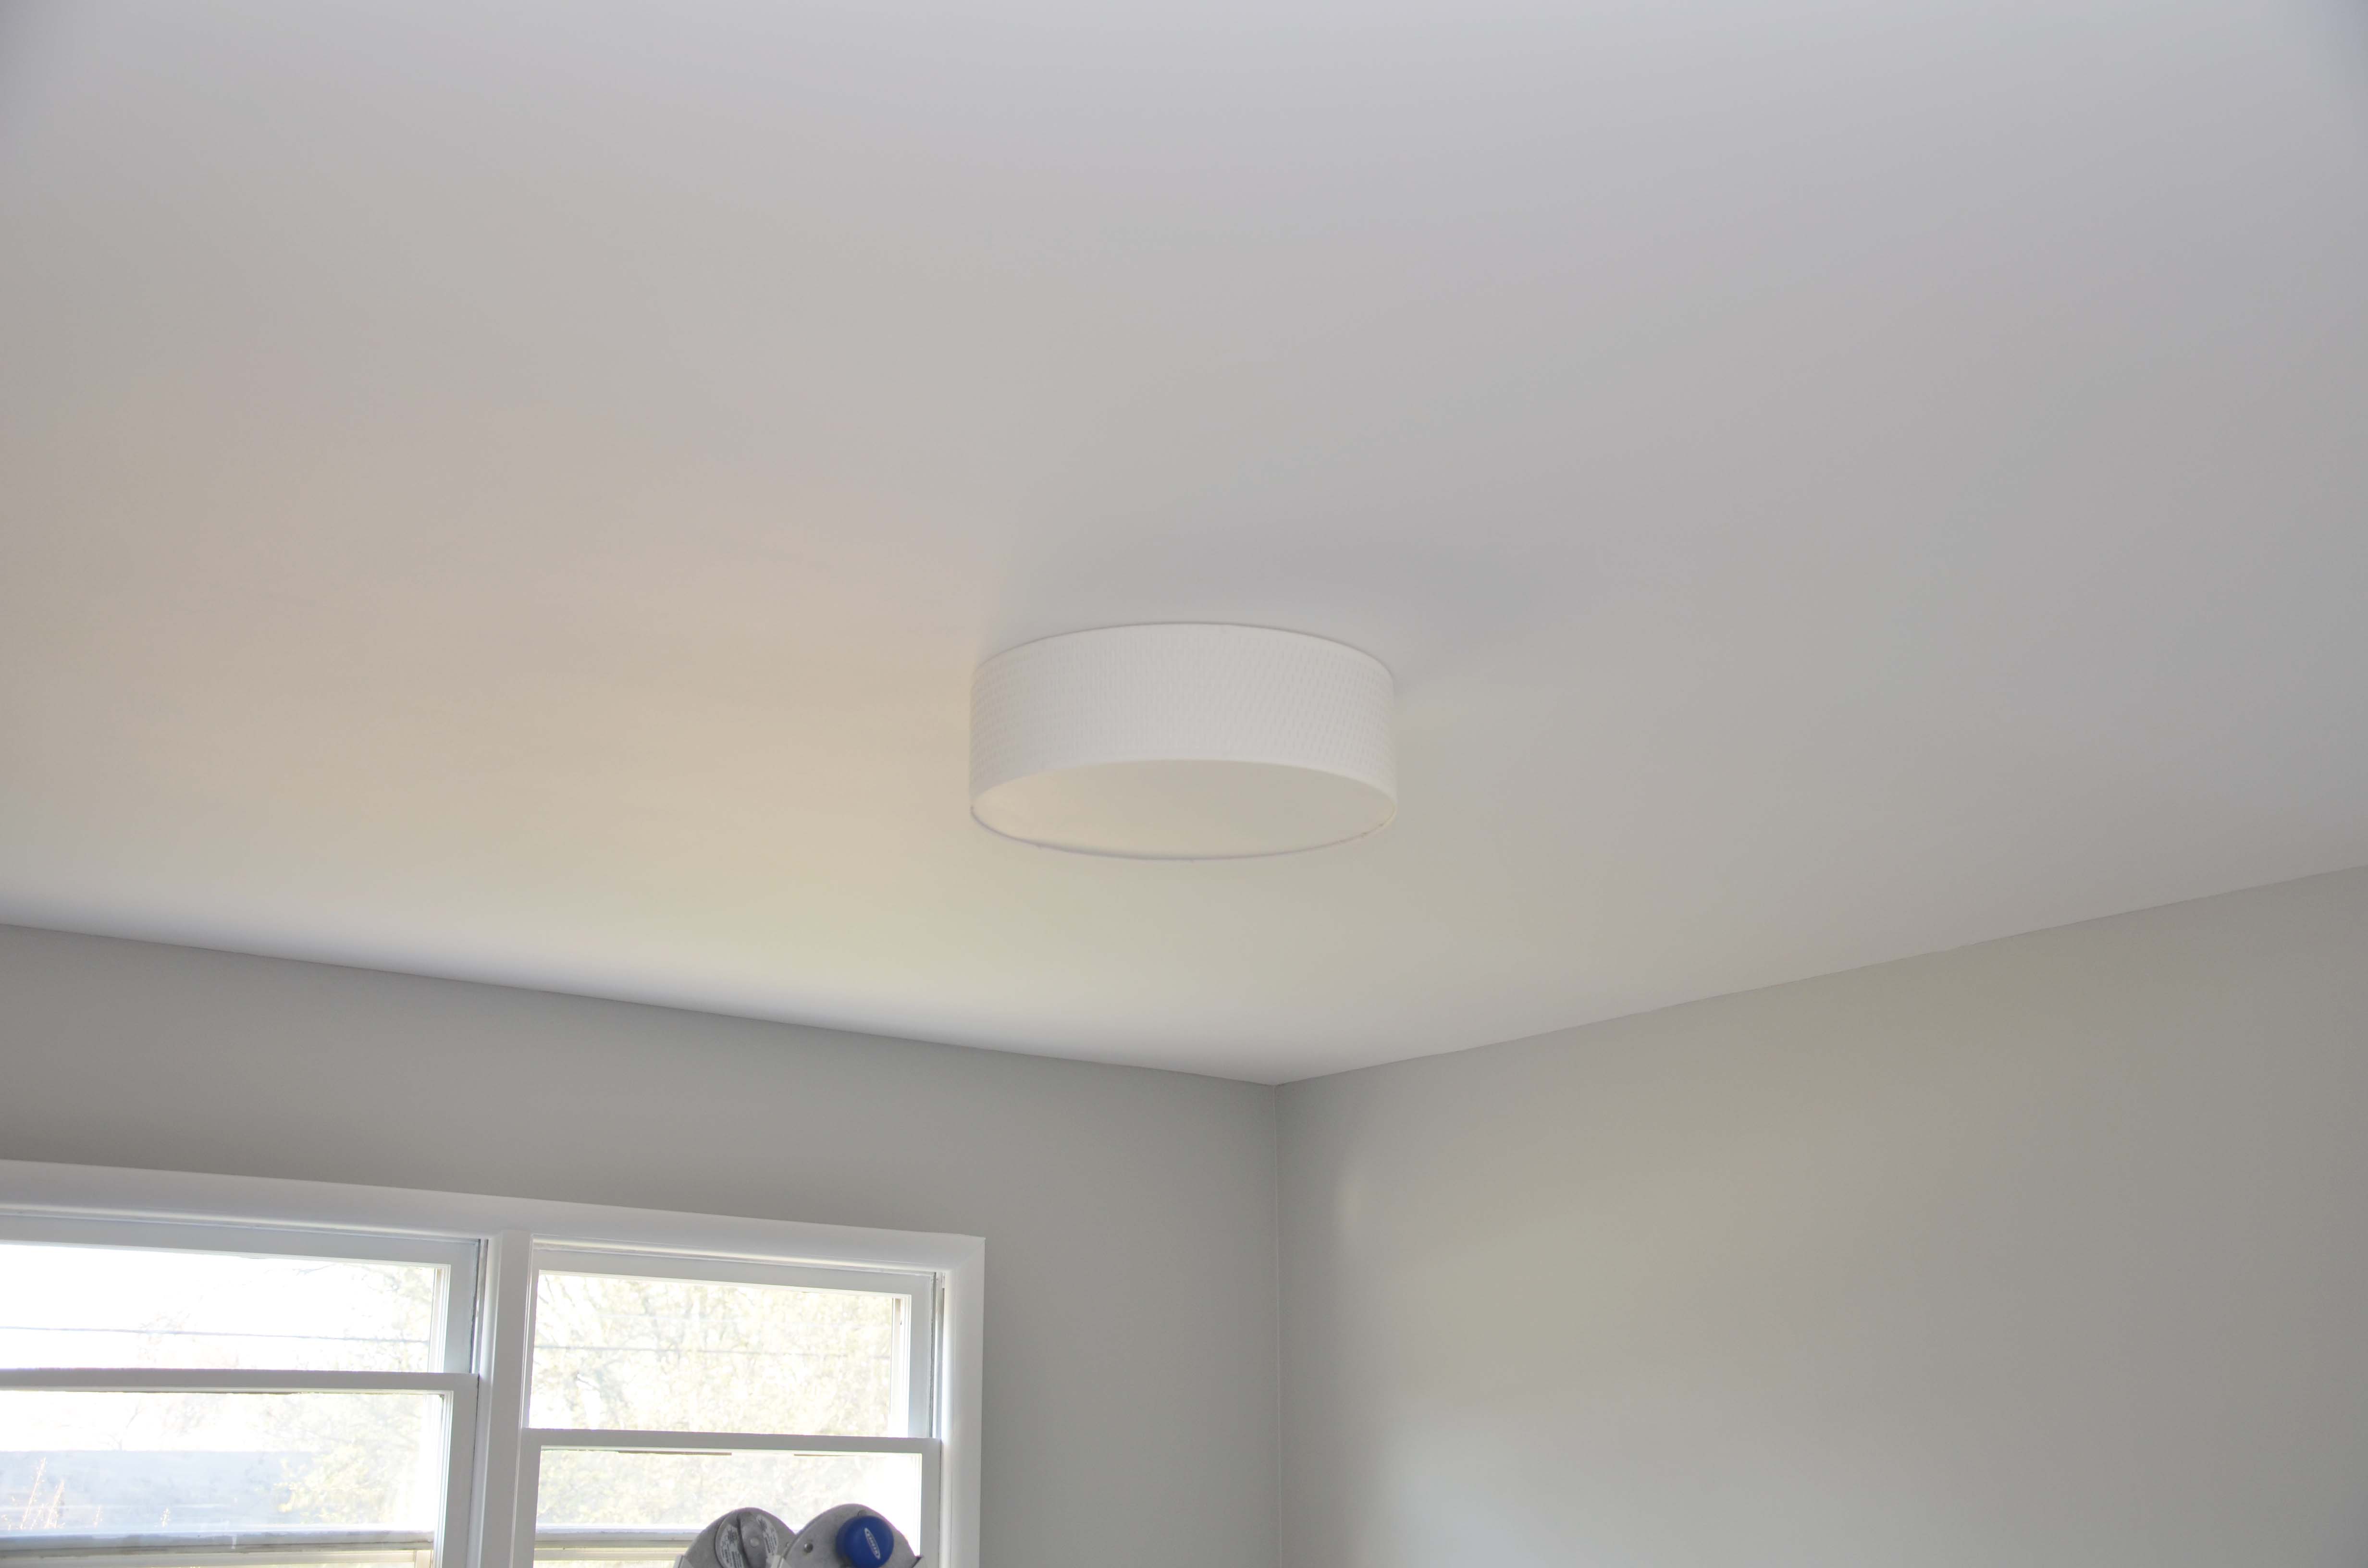
We then installed our light fixture which is the ALÄNG light from Ikea.
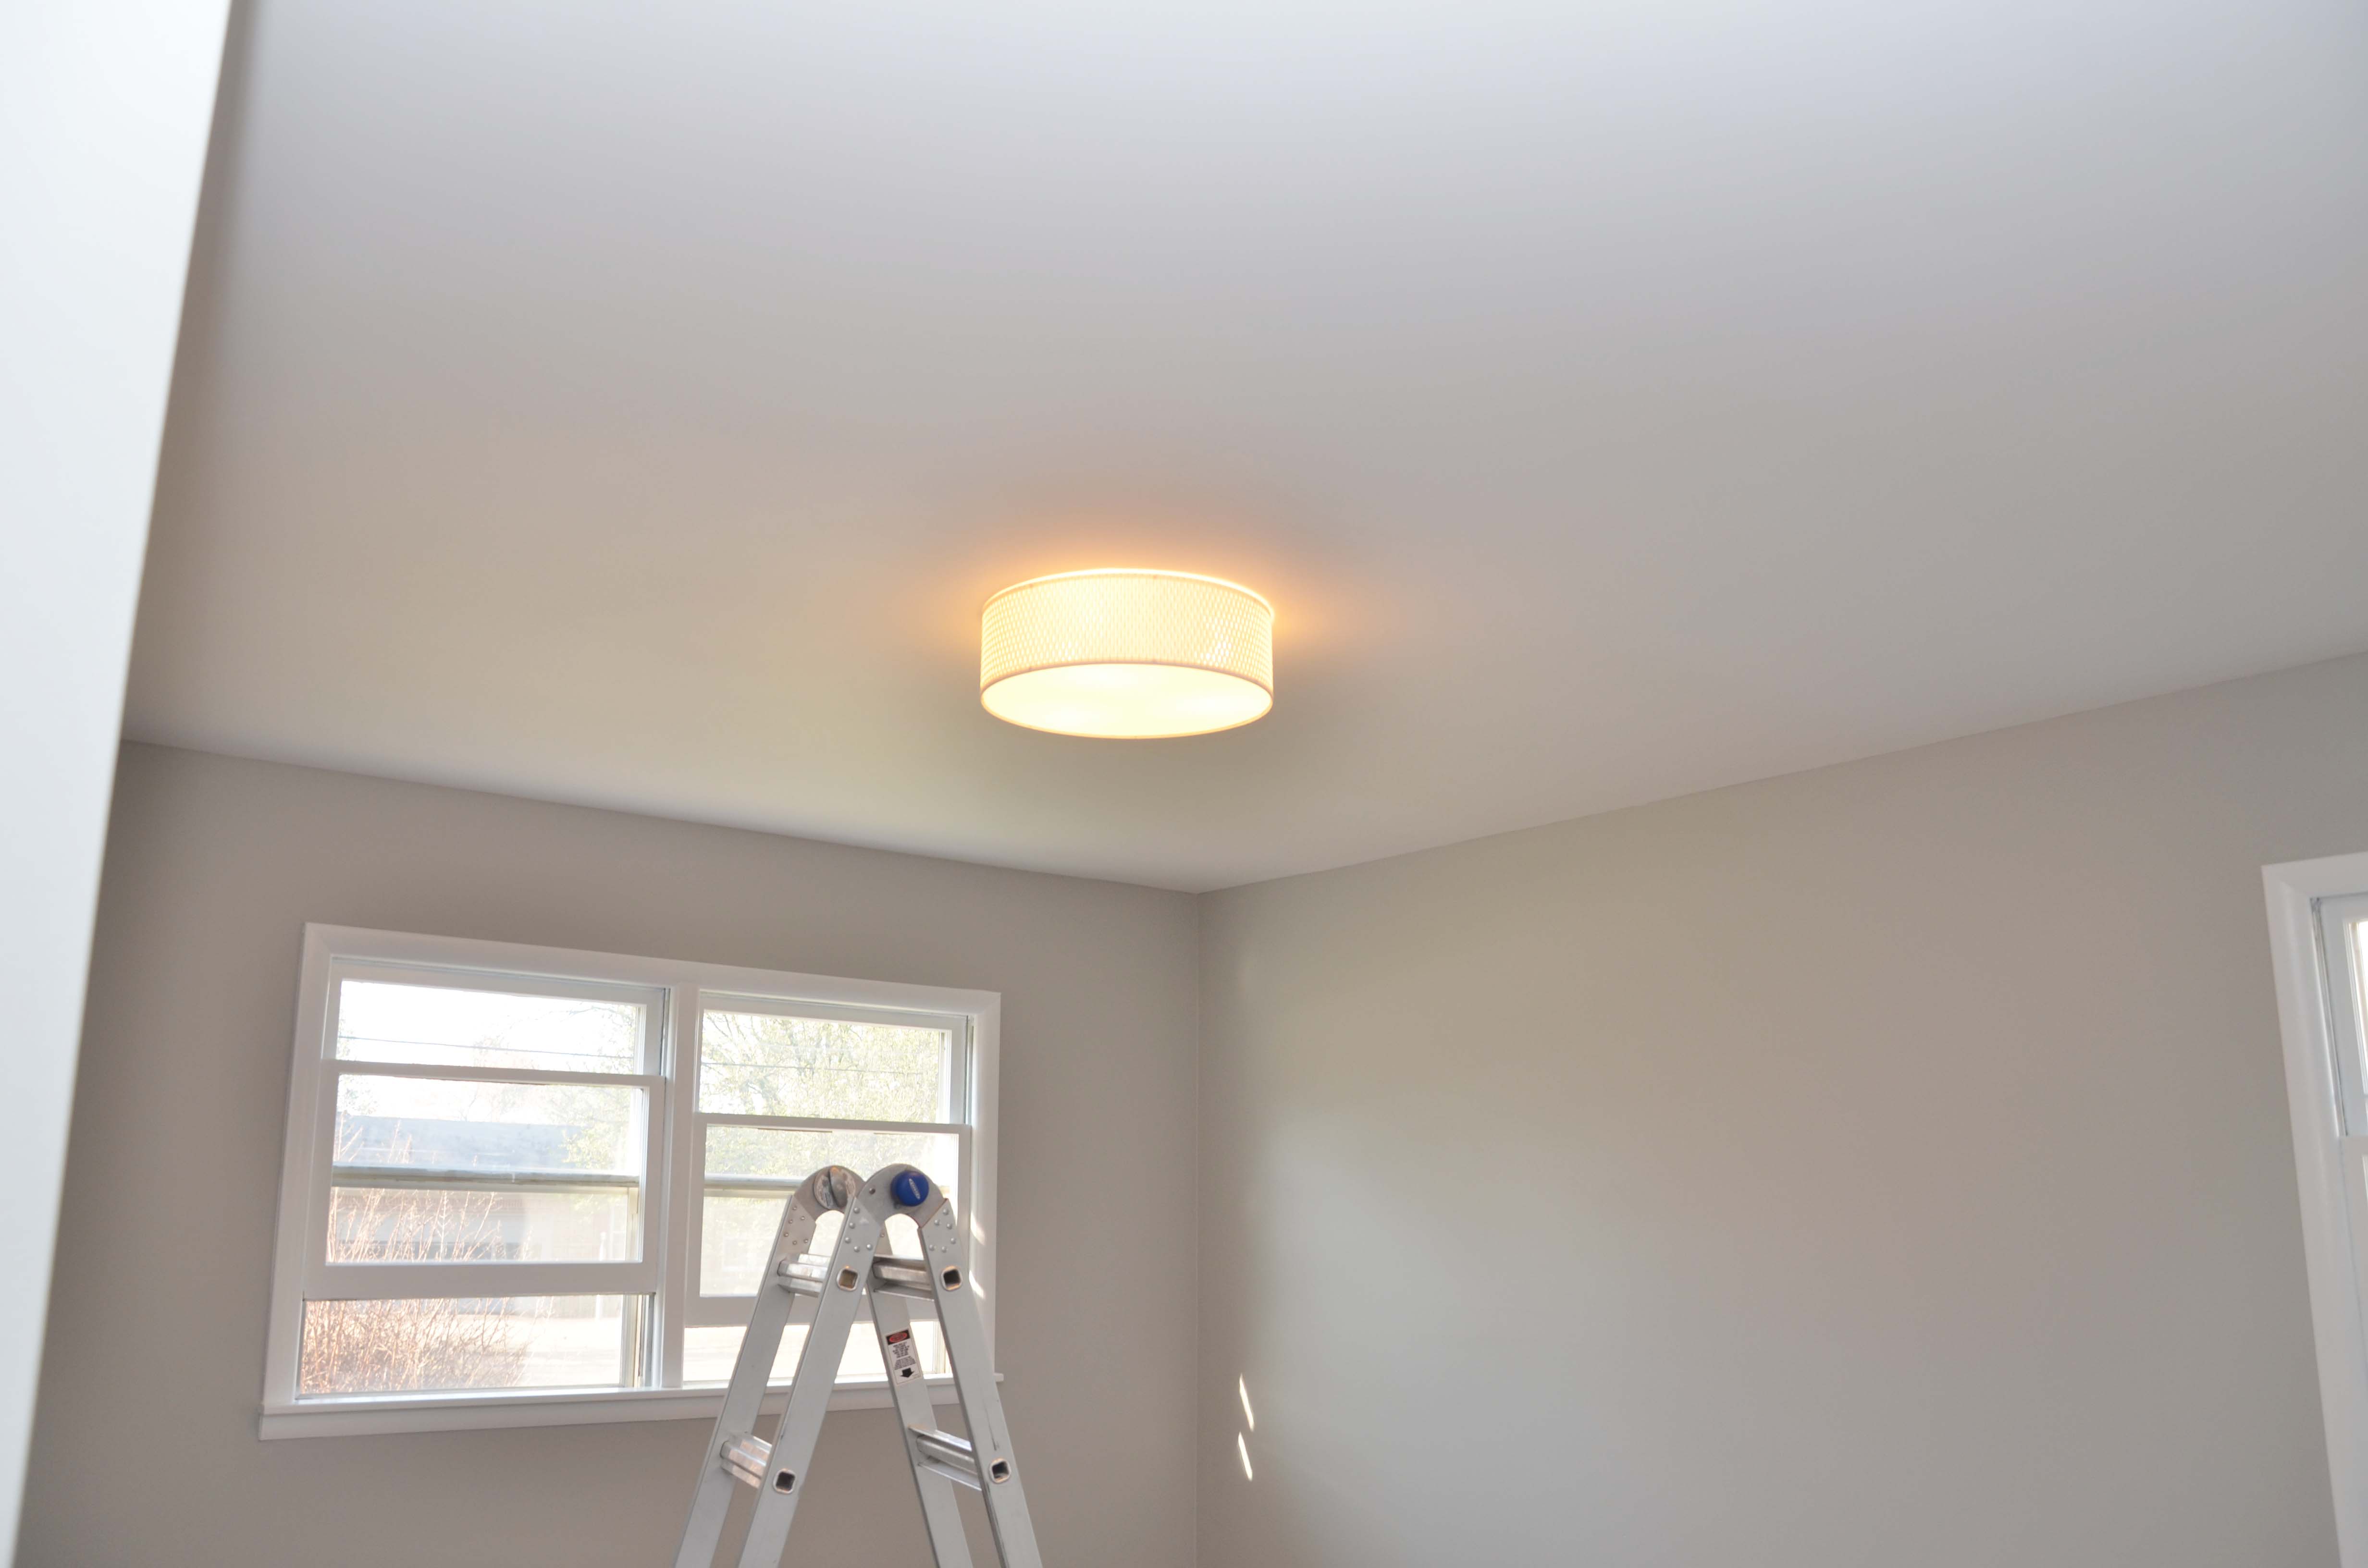

This is what the nursery looks like now. It isn’t 100% finished, but the baby doesn’t care.
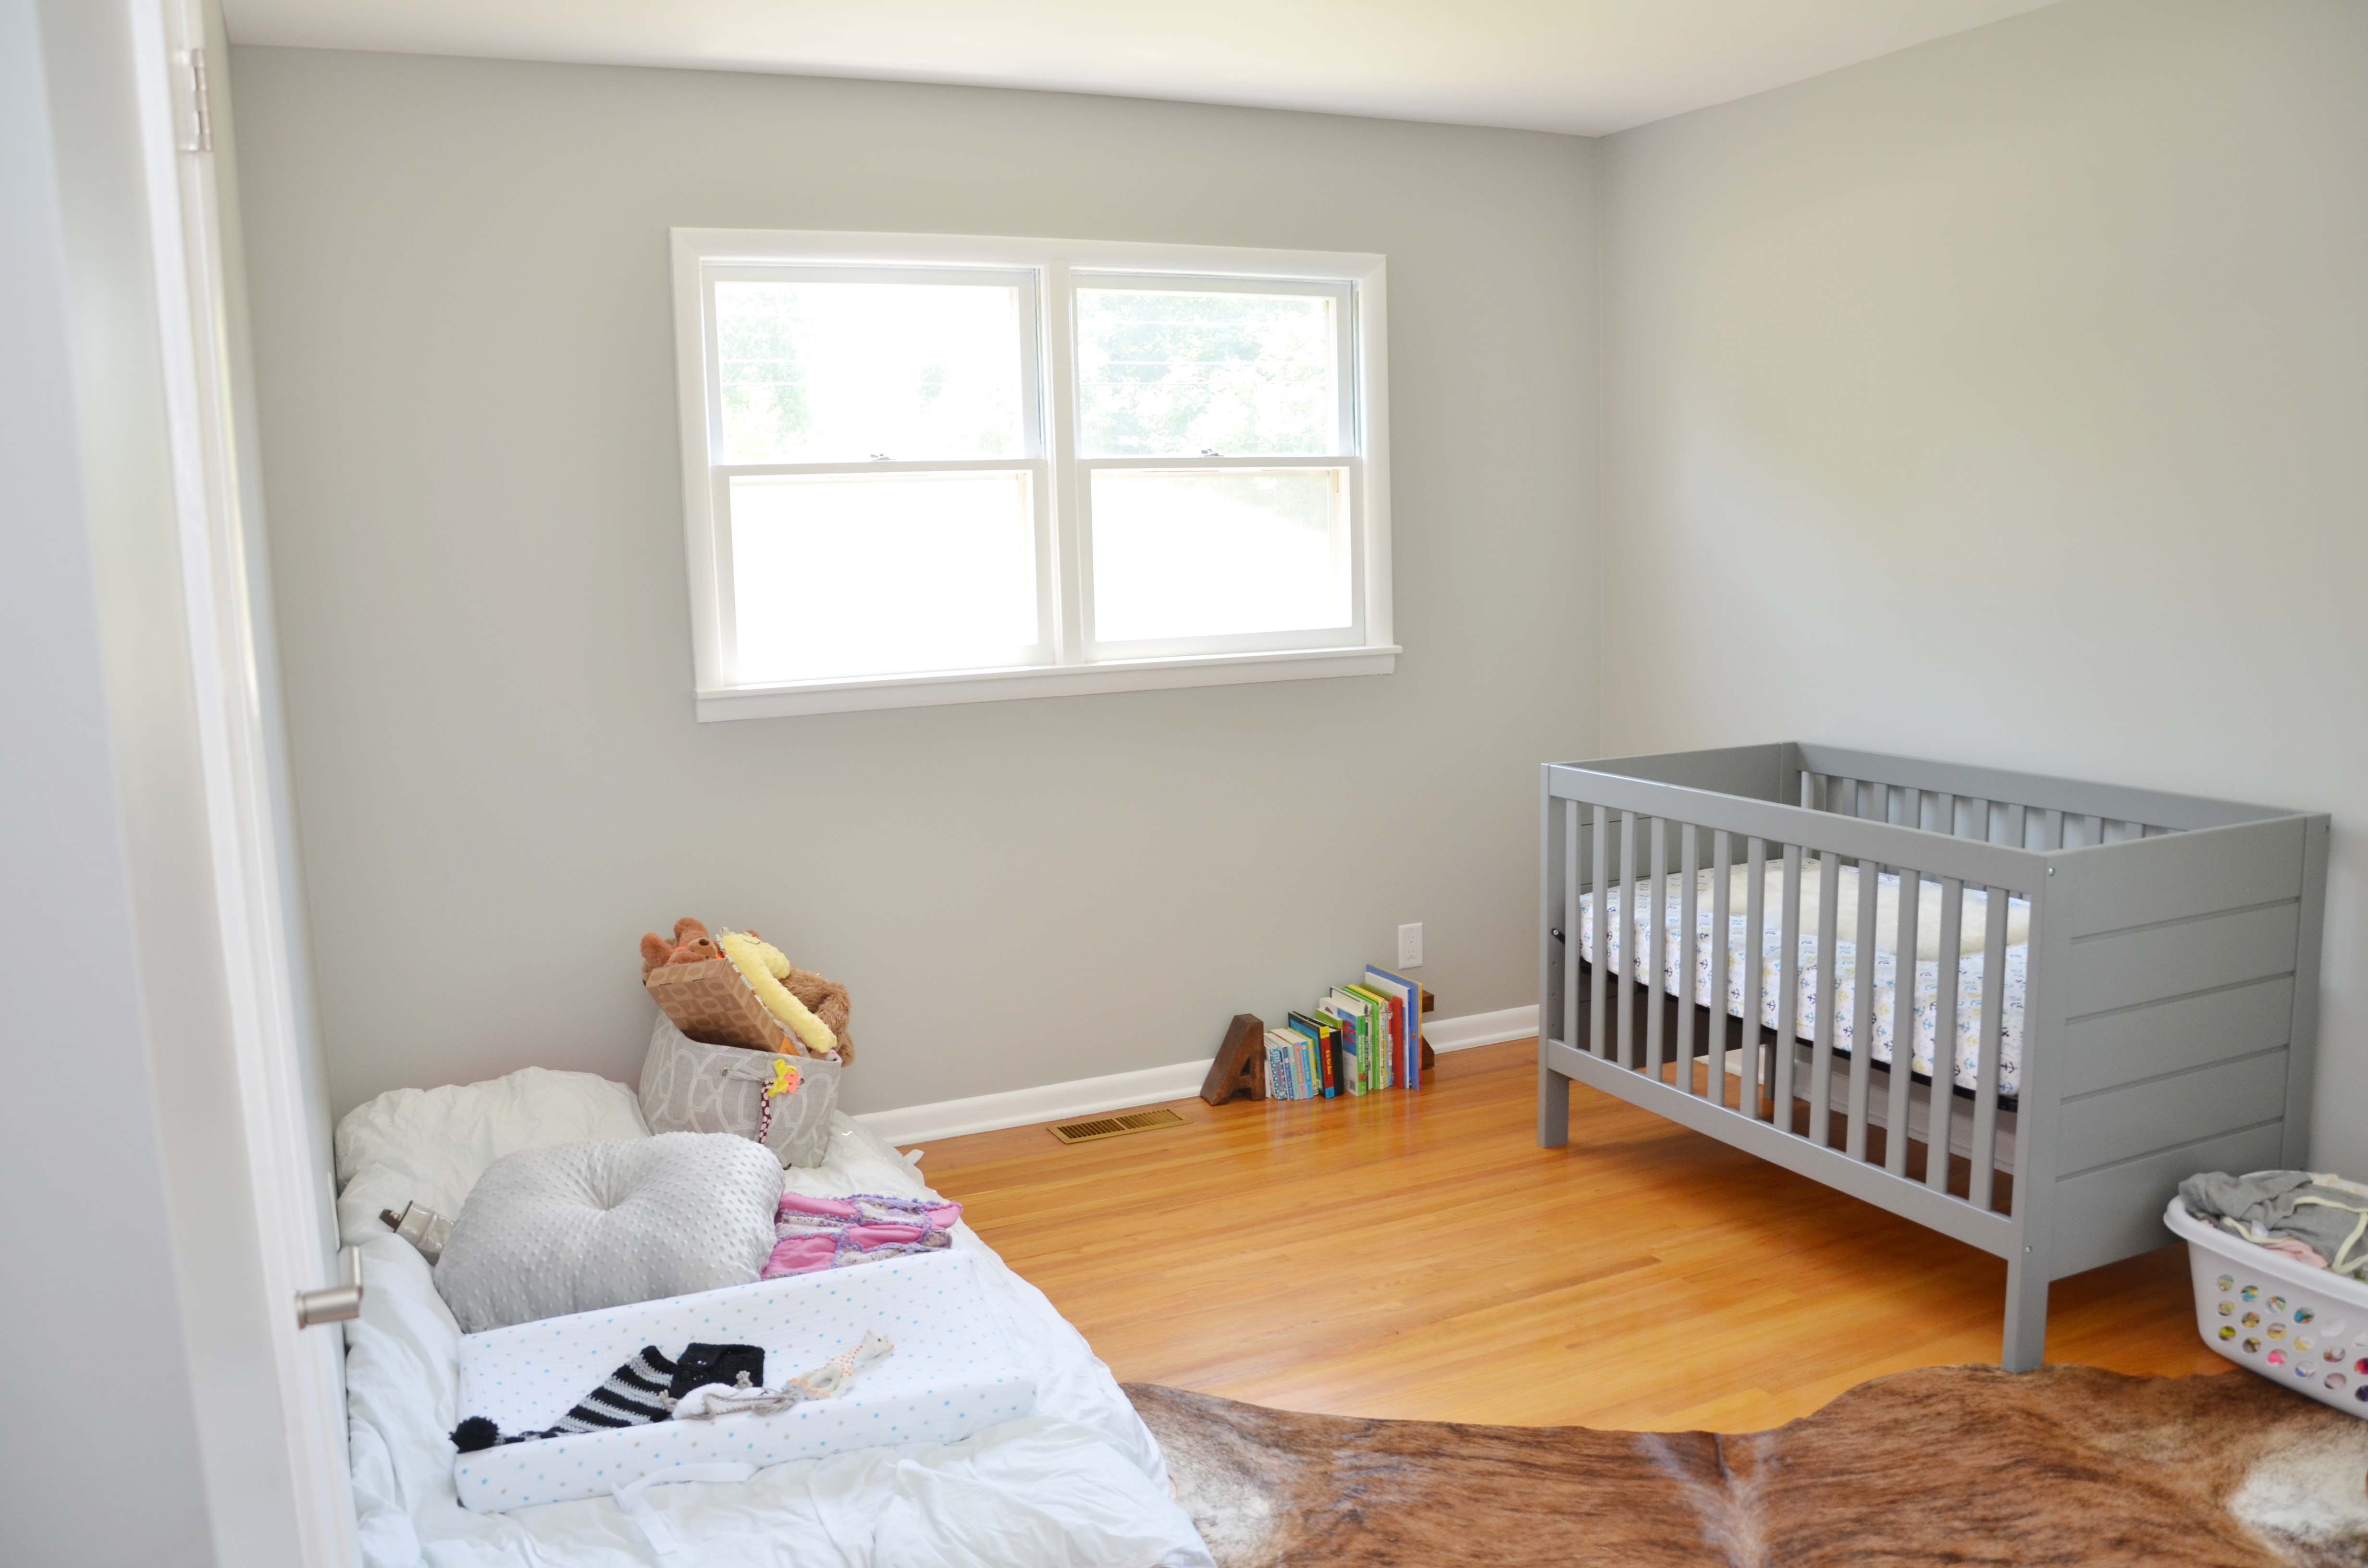
We will have to add window coverings, decor on the walls, the dresser we are currently building, the chair I will use to nurse in, but we are in no hurry since she won’t even be using this room for a while. We did buy a twin size mattress which you can see on the floor on the left. We bought THIS mattress from Amazon, and I so far we like it. We will eventually build a frame for this twin mattress since it will stay in her room especially for when Alana, Kira, and Andrew come and visit since Alana will be using a normal bed one day. Our crib can be turned into a toddler bed, but I don’t know if we will ever mess with that who knows.

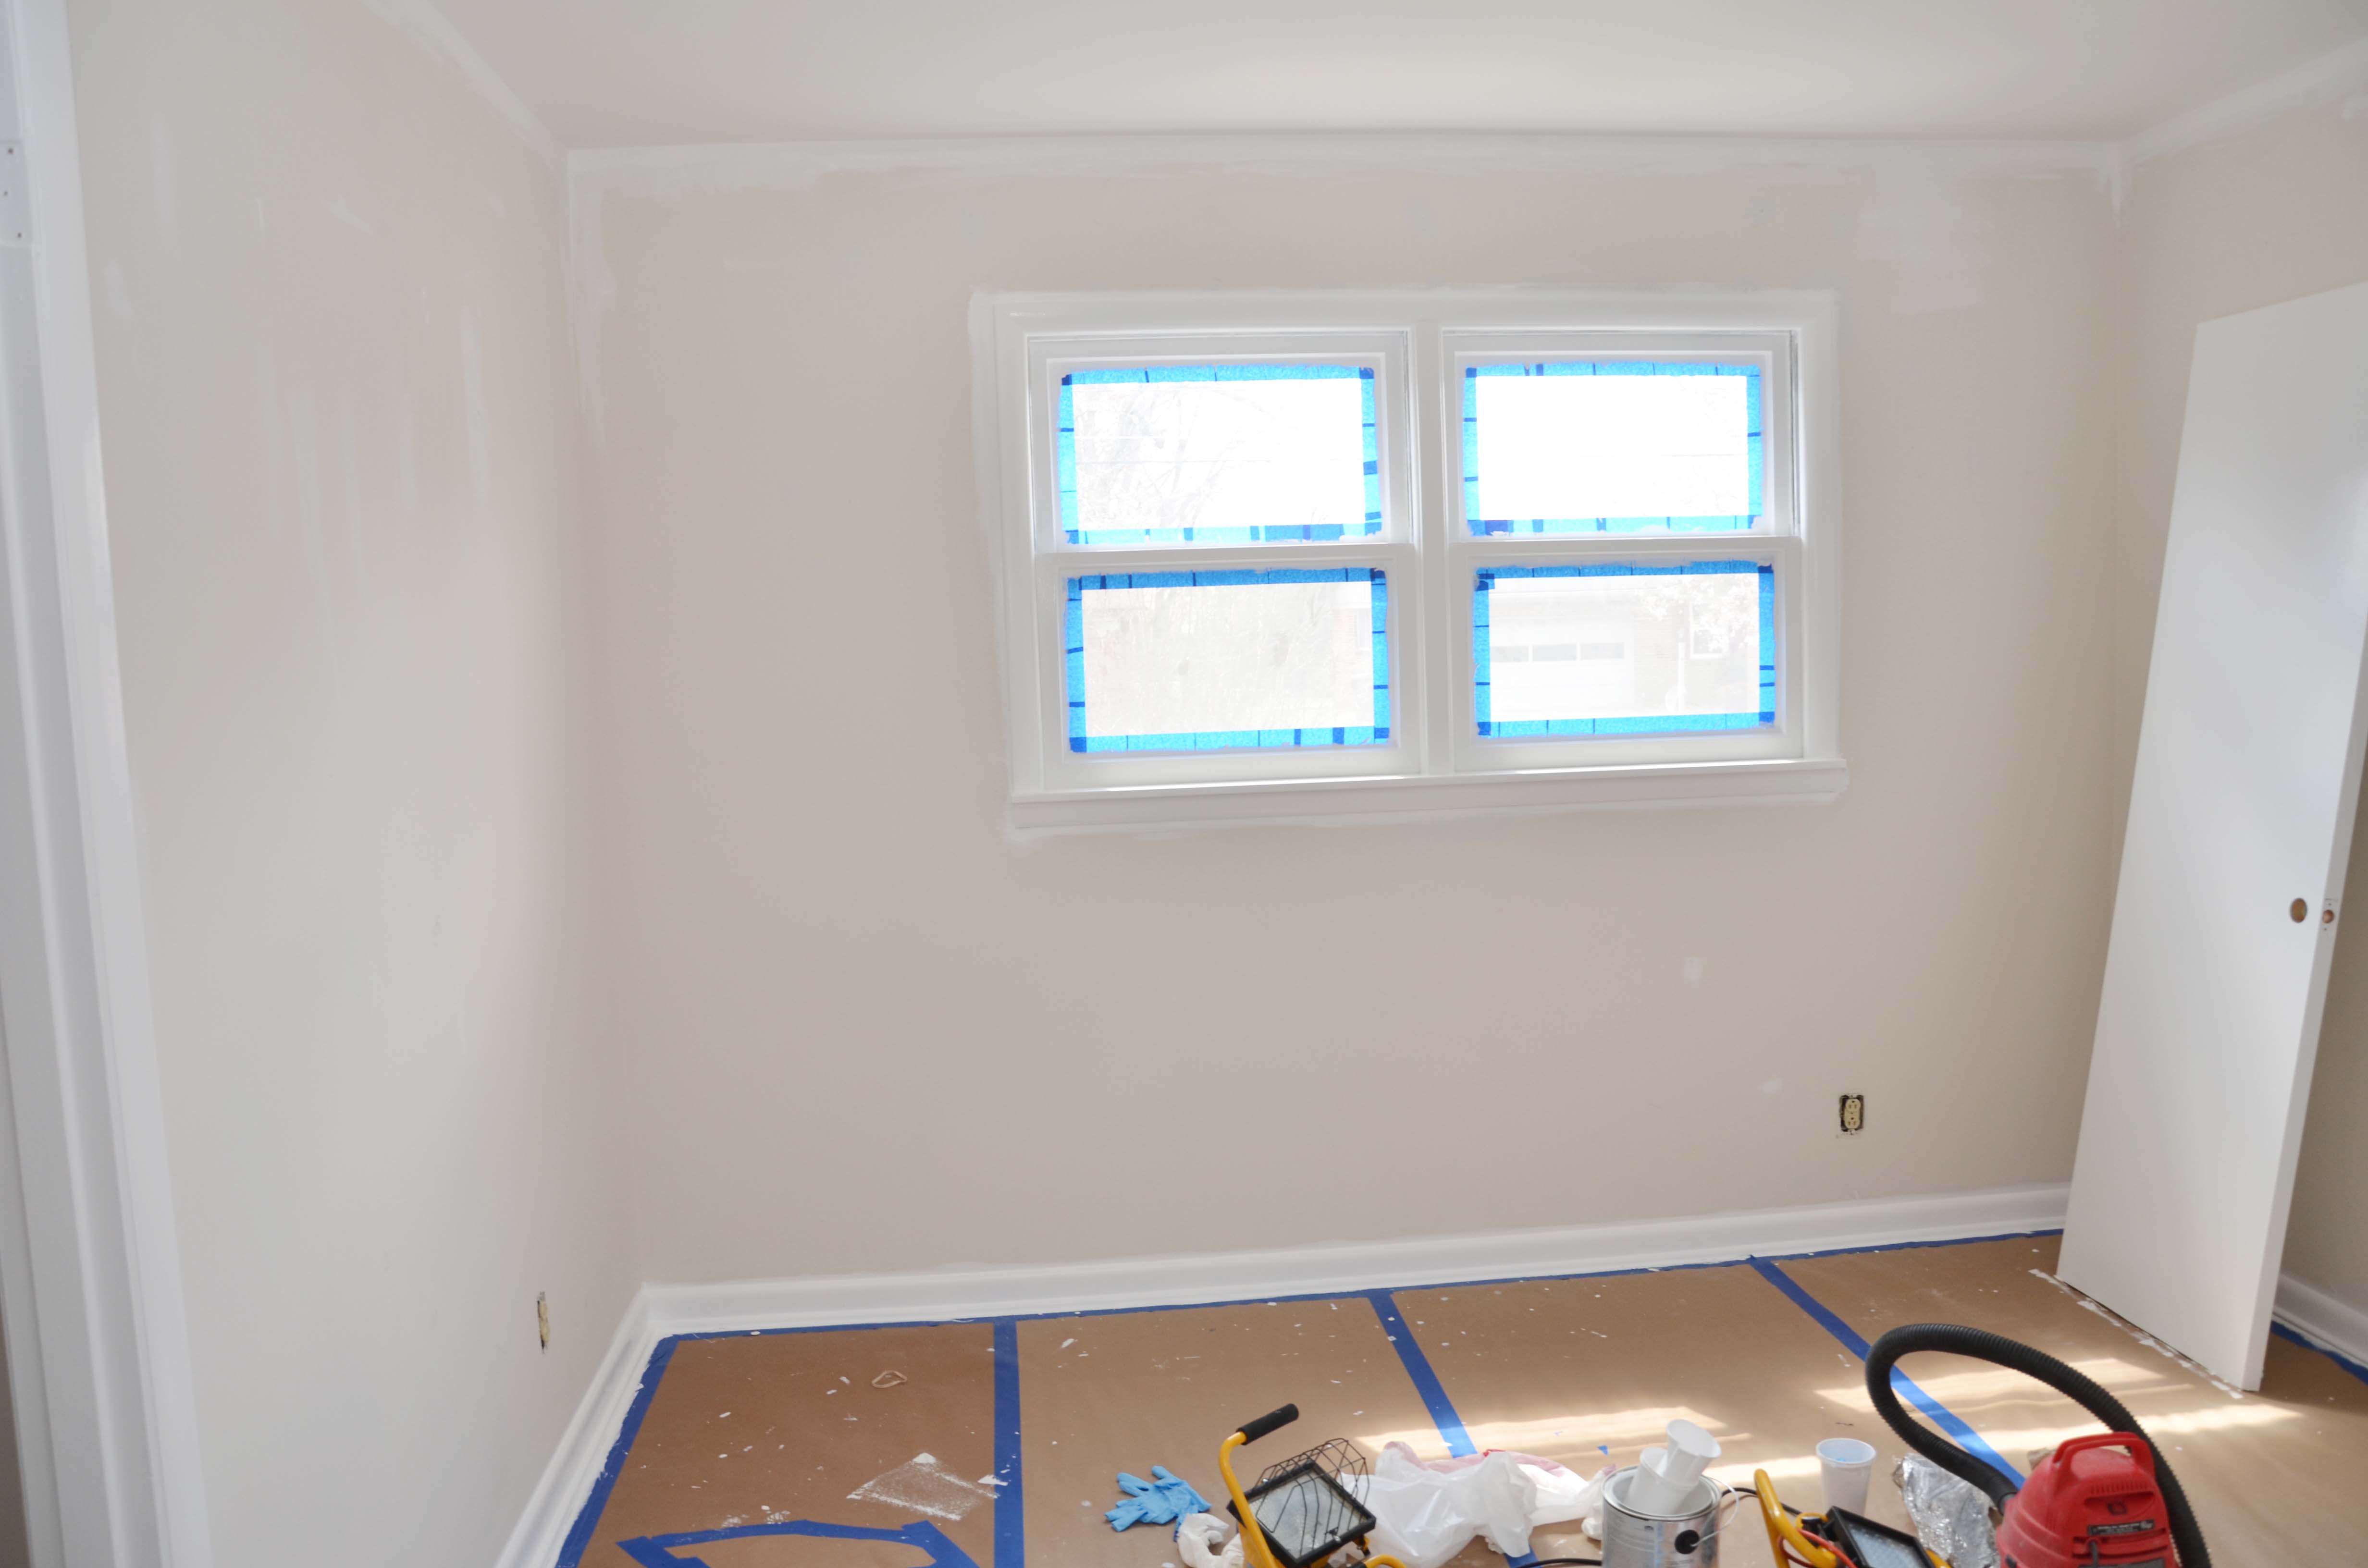
Here you can see the guest bedroom on the left with the same light fixture, popcorn ceilings, and old trim paint, even if it isn’t turquoise. Then on the right you can see the smooth ceilings in the nursery and updated paint. I think this room looks sooo much better now.

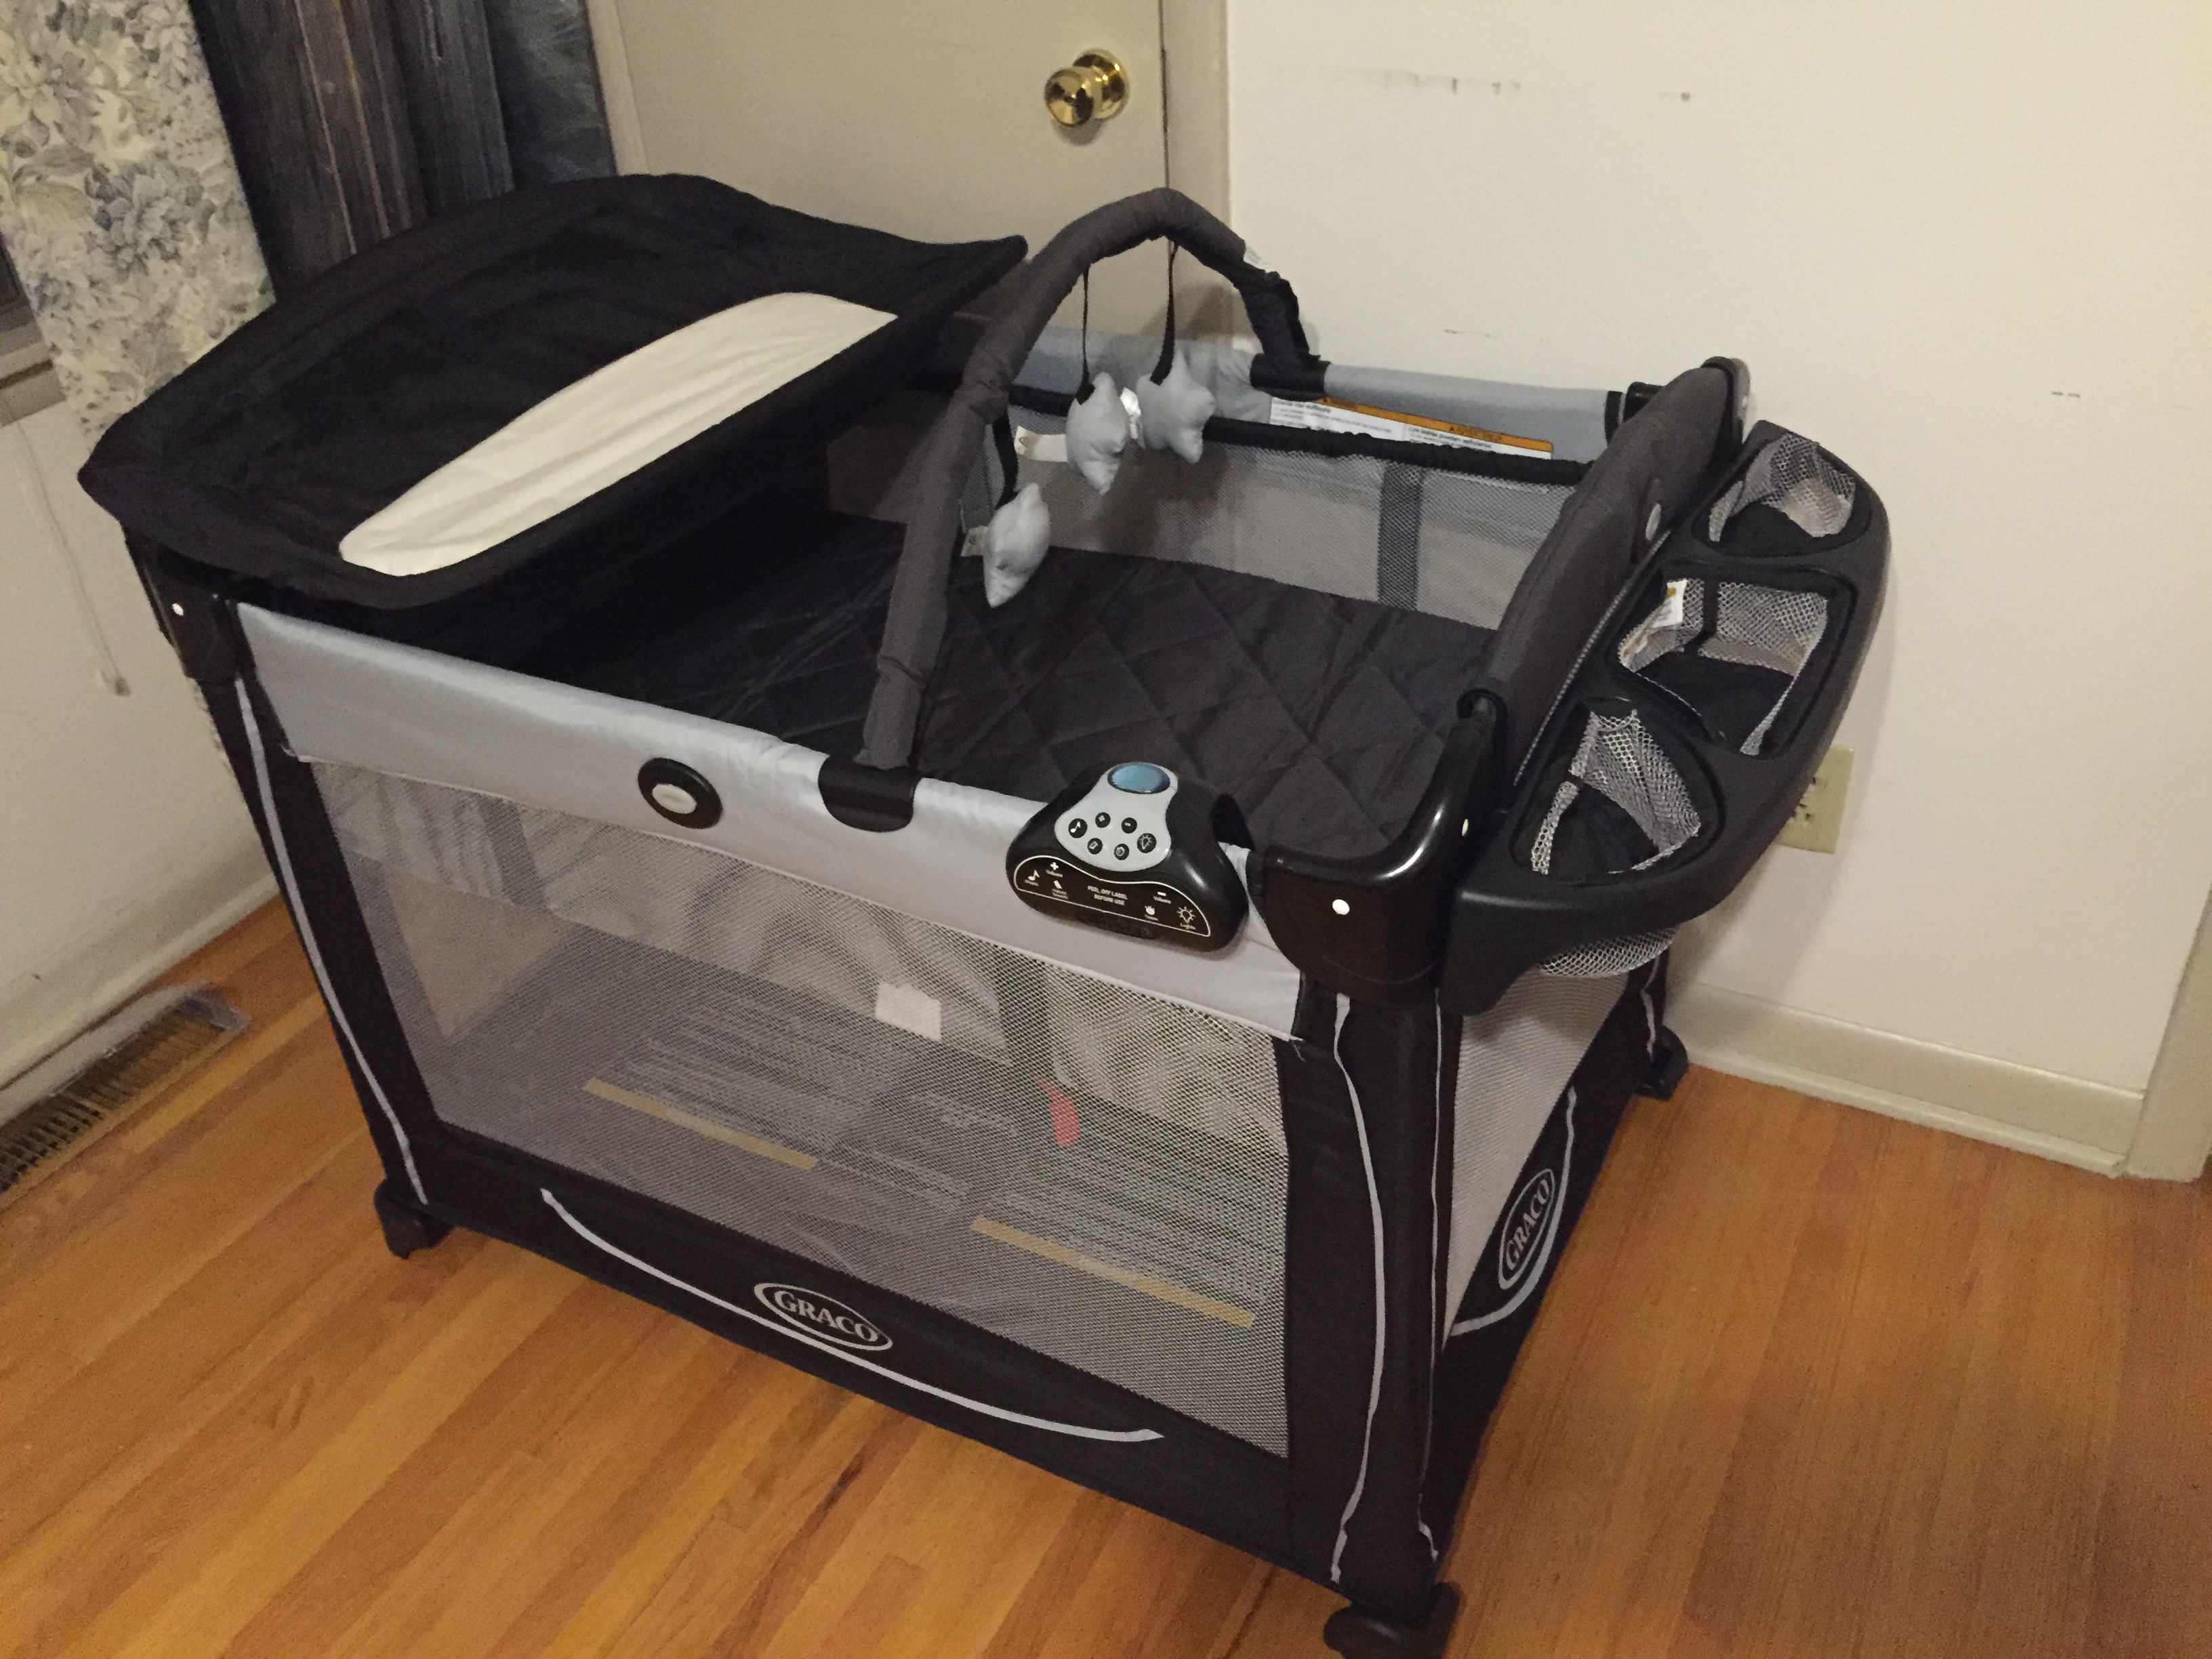
Here is the pack and play that Bryan and Amanda gave us, that is set up in our room for when baby comes until we are ready to move her into her room and the crib. I have put a sheet on it,but this was taken right after we set it up. I love all of the features that it has, and I think they got us the cadillac of pack and plays so THANK YOU Bryan and Amanda.
If you have any questions that I haven’t addressed please let me know!