

For a while now, I have been eyeing this certain quilt. I am not a huge quilt person mainly because I am not always a fan of the patterns, or especially colors used on them. This is not to degrade the quilts that others make because an incredible amount of time, effort, and design go into those blankets. I grew up with my great grandma, grandma, and mom making an amazing amount of quilts among other crafty things from sewing, mending, crocheting, knitting, etc. I made my first mini quilt which was for my fifth grade class. I was sick one day and missed the instructions, and the paper that I was given failed to mention that it needed to be made from construction paper. So, I thought I had to sew a real quilt. I think it had to be 2′ by 2′ so pretty small. Anyway, within a few days and my mom’s verbal instructions, I made this small quilt. I then felt like an idiot when everyone else had a paper one,but now my nieces in Austin use it for their baby dolls so I guess not a total fail after all.
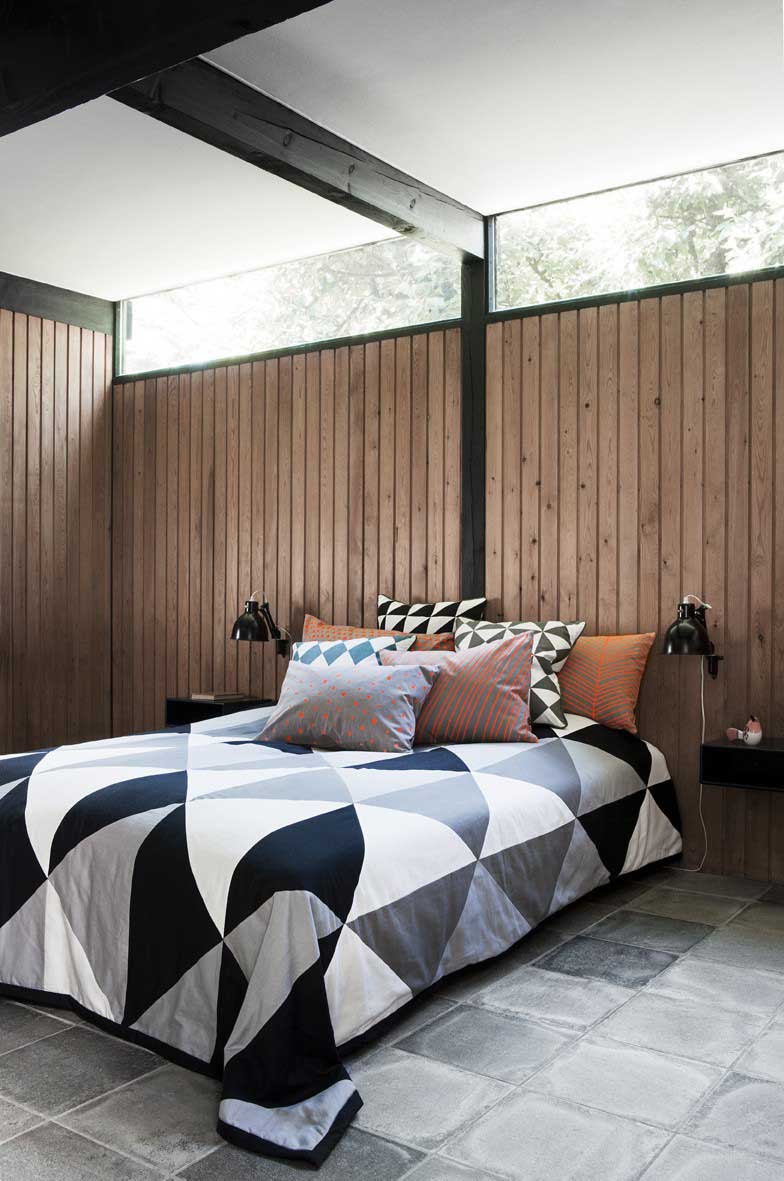
Here is the quilt that I was eyeing. I love the colors(Surprise, Surprise I know),and I like how simple but graphic is it. Only problem was the €230 price tag and the fact that it was sold out.
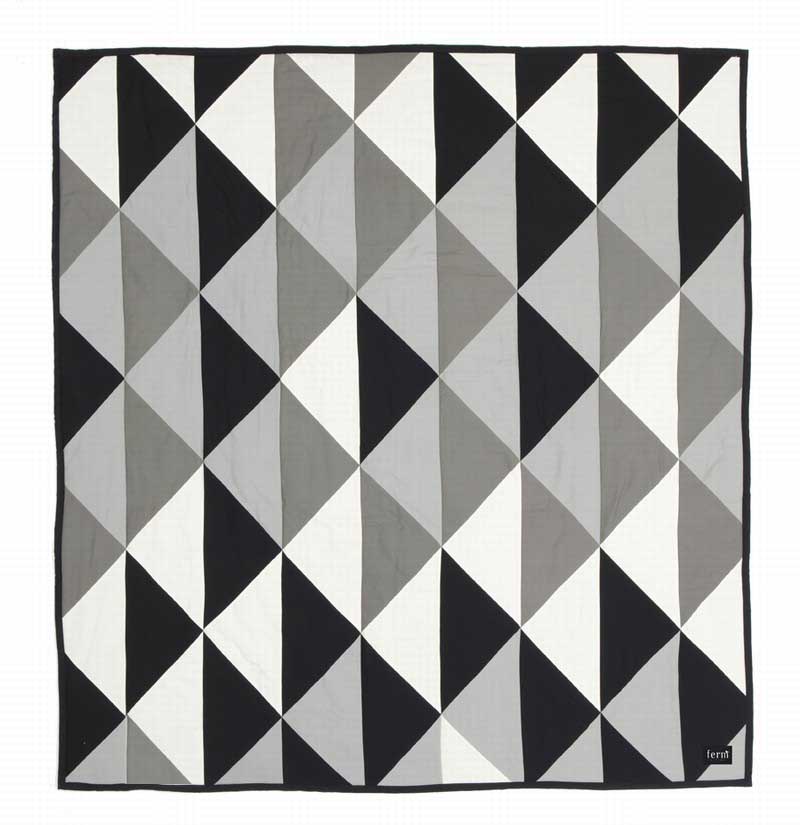
The second photo on their website showed the layout which made me think I could make my own version for way cheaper than €230. Now I had to guess on how big all the pieces were, but since the website gave the overall dimensions, I could count the pieces above I had a pretty good estimate of what I was looking at. I also figured since the pieces would be larger, this should speed up the process a lot.
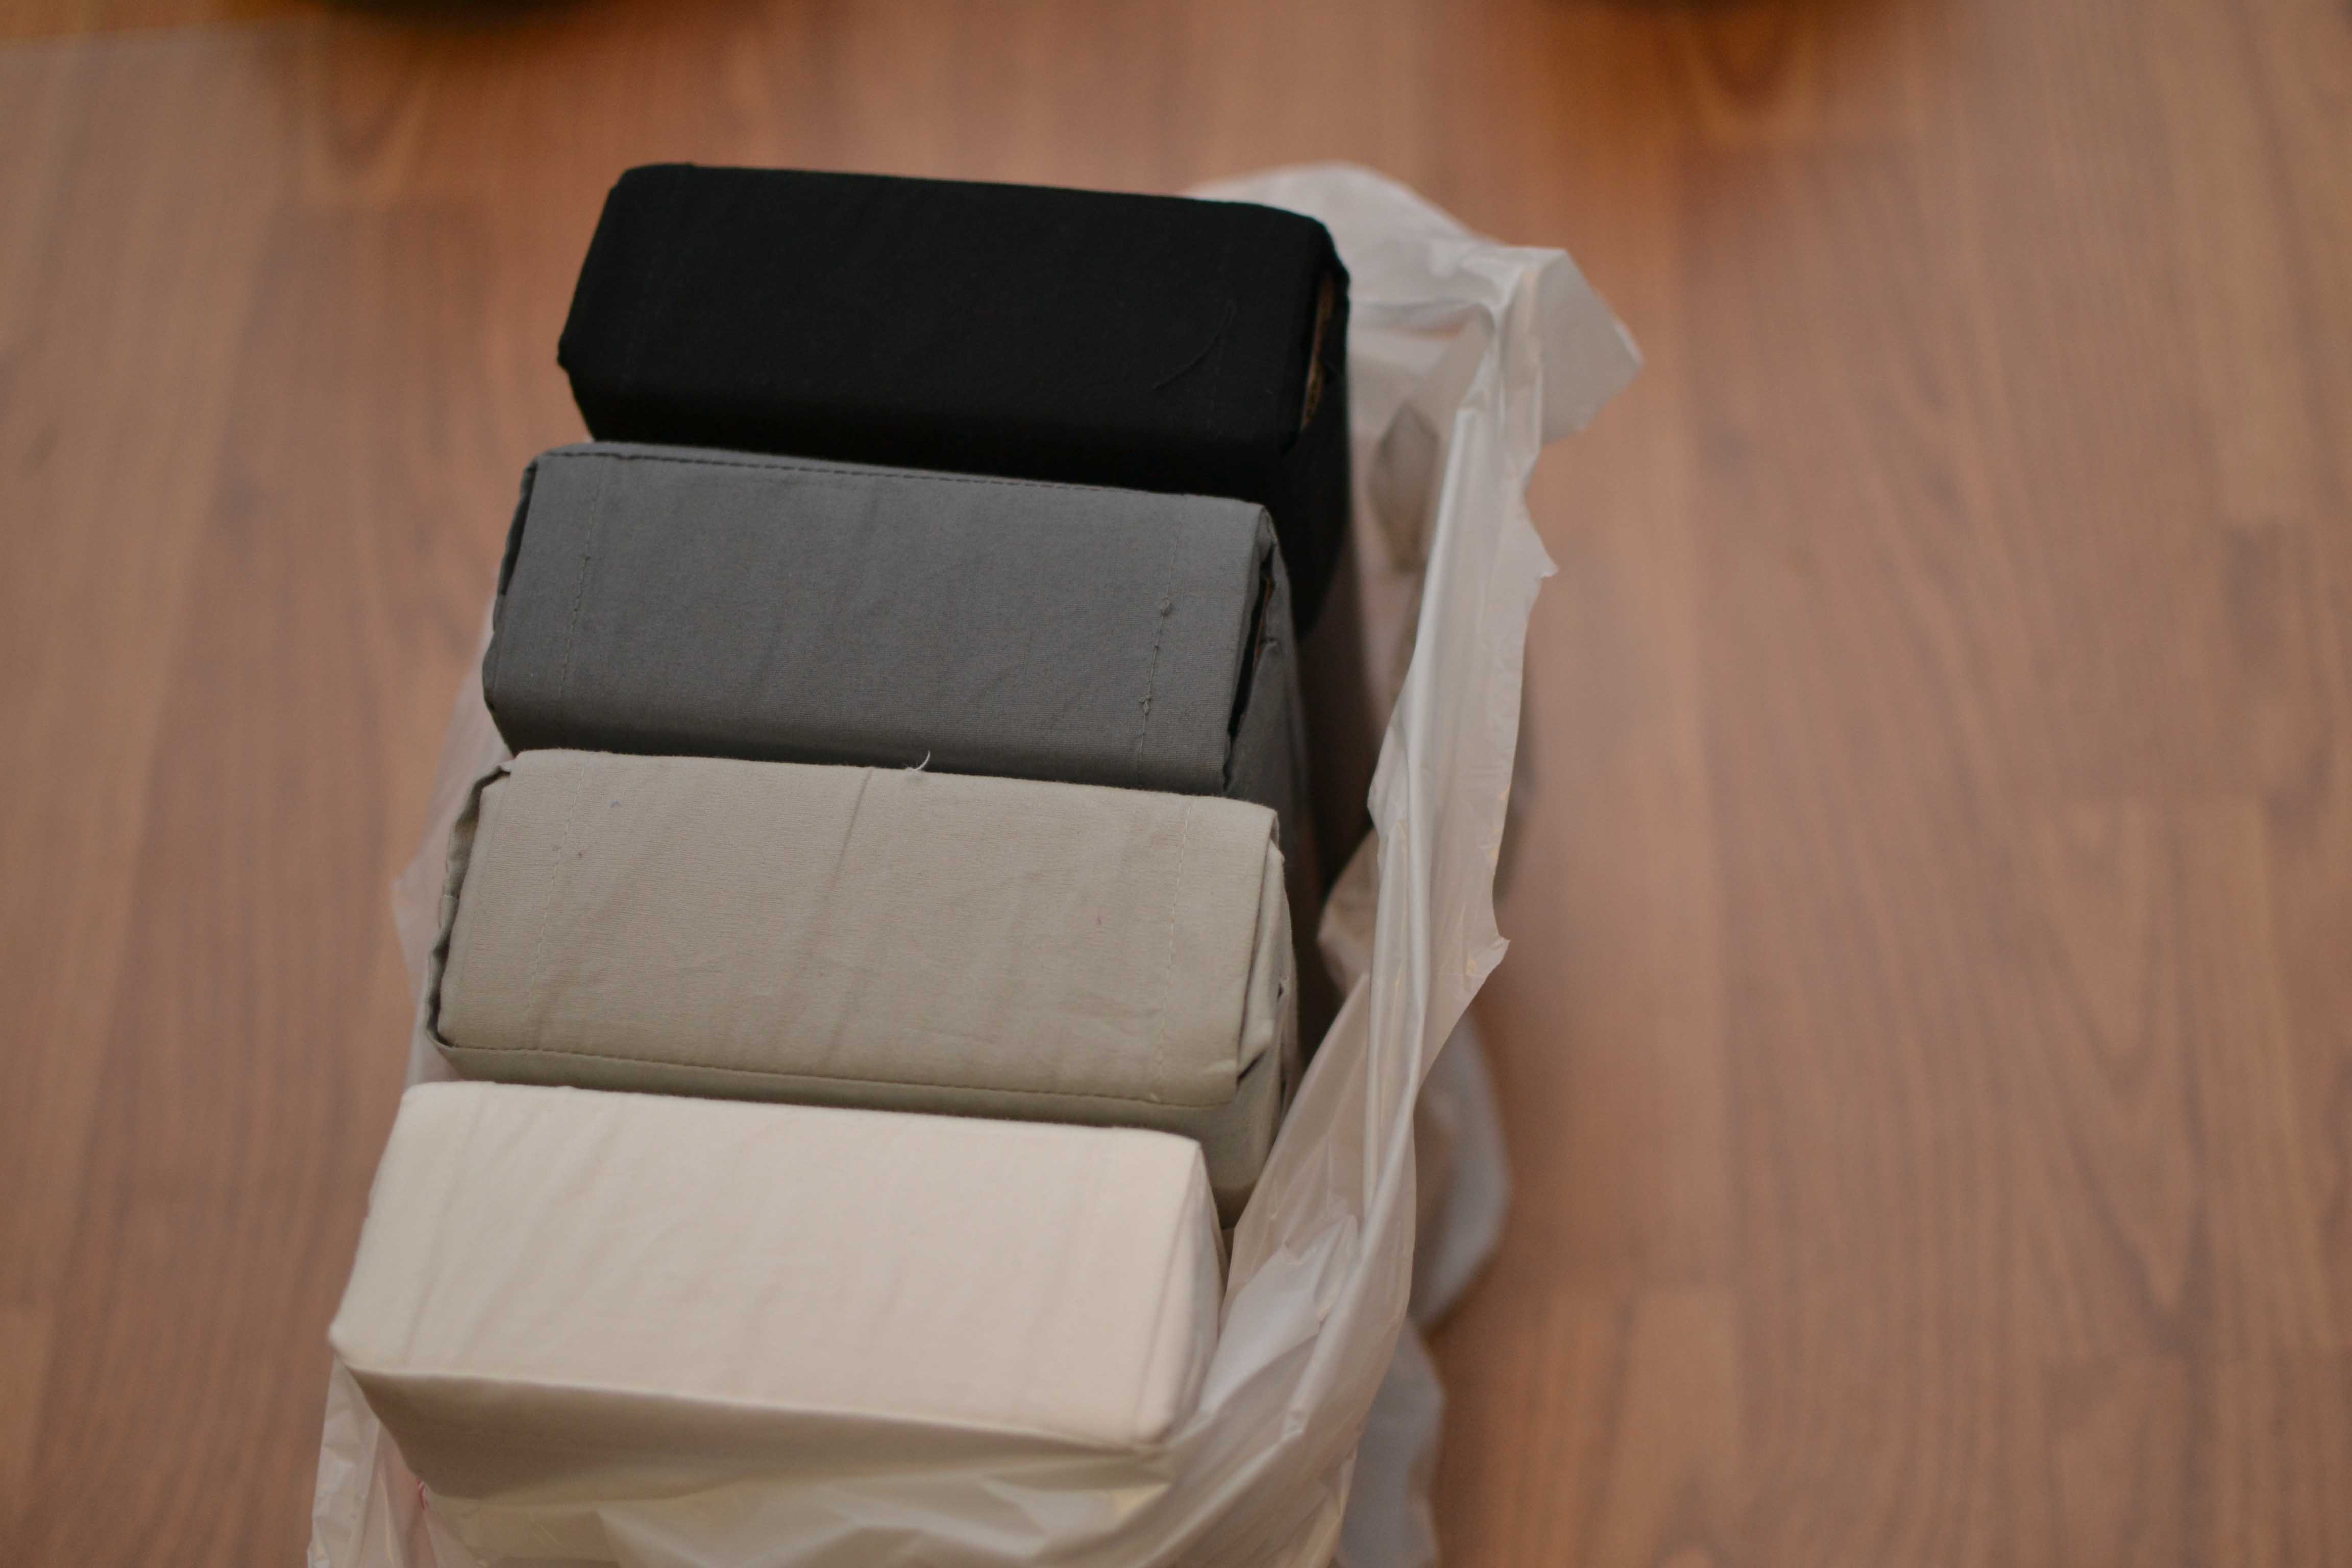
So this weekend, JoAnn’s had all of the President’s Day Sales,but even with me getting fabric SUPER cheap, it was still more than $70 dollars for the fabric which I was not wanting to pay. So, I went to Walmart and Target and found all the colors I wanted in a Twin sized Flat Sheet. I also wanted to make sure I had plenty of fabric so that I didn’t run out.
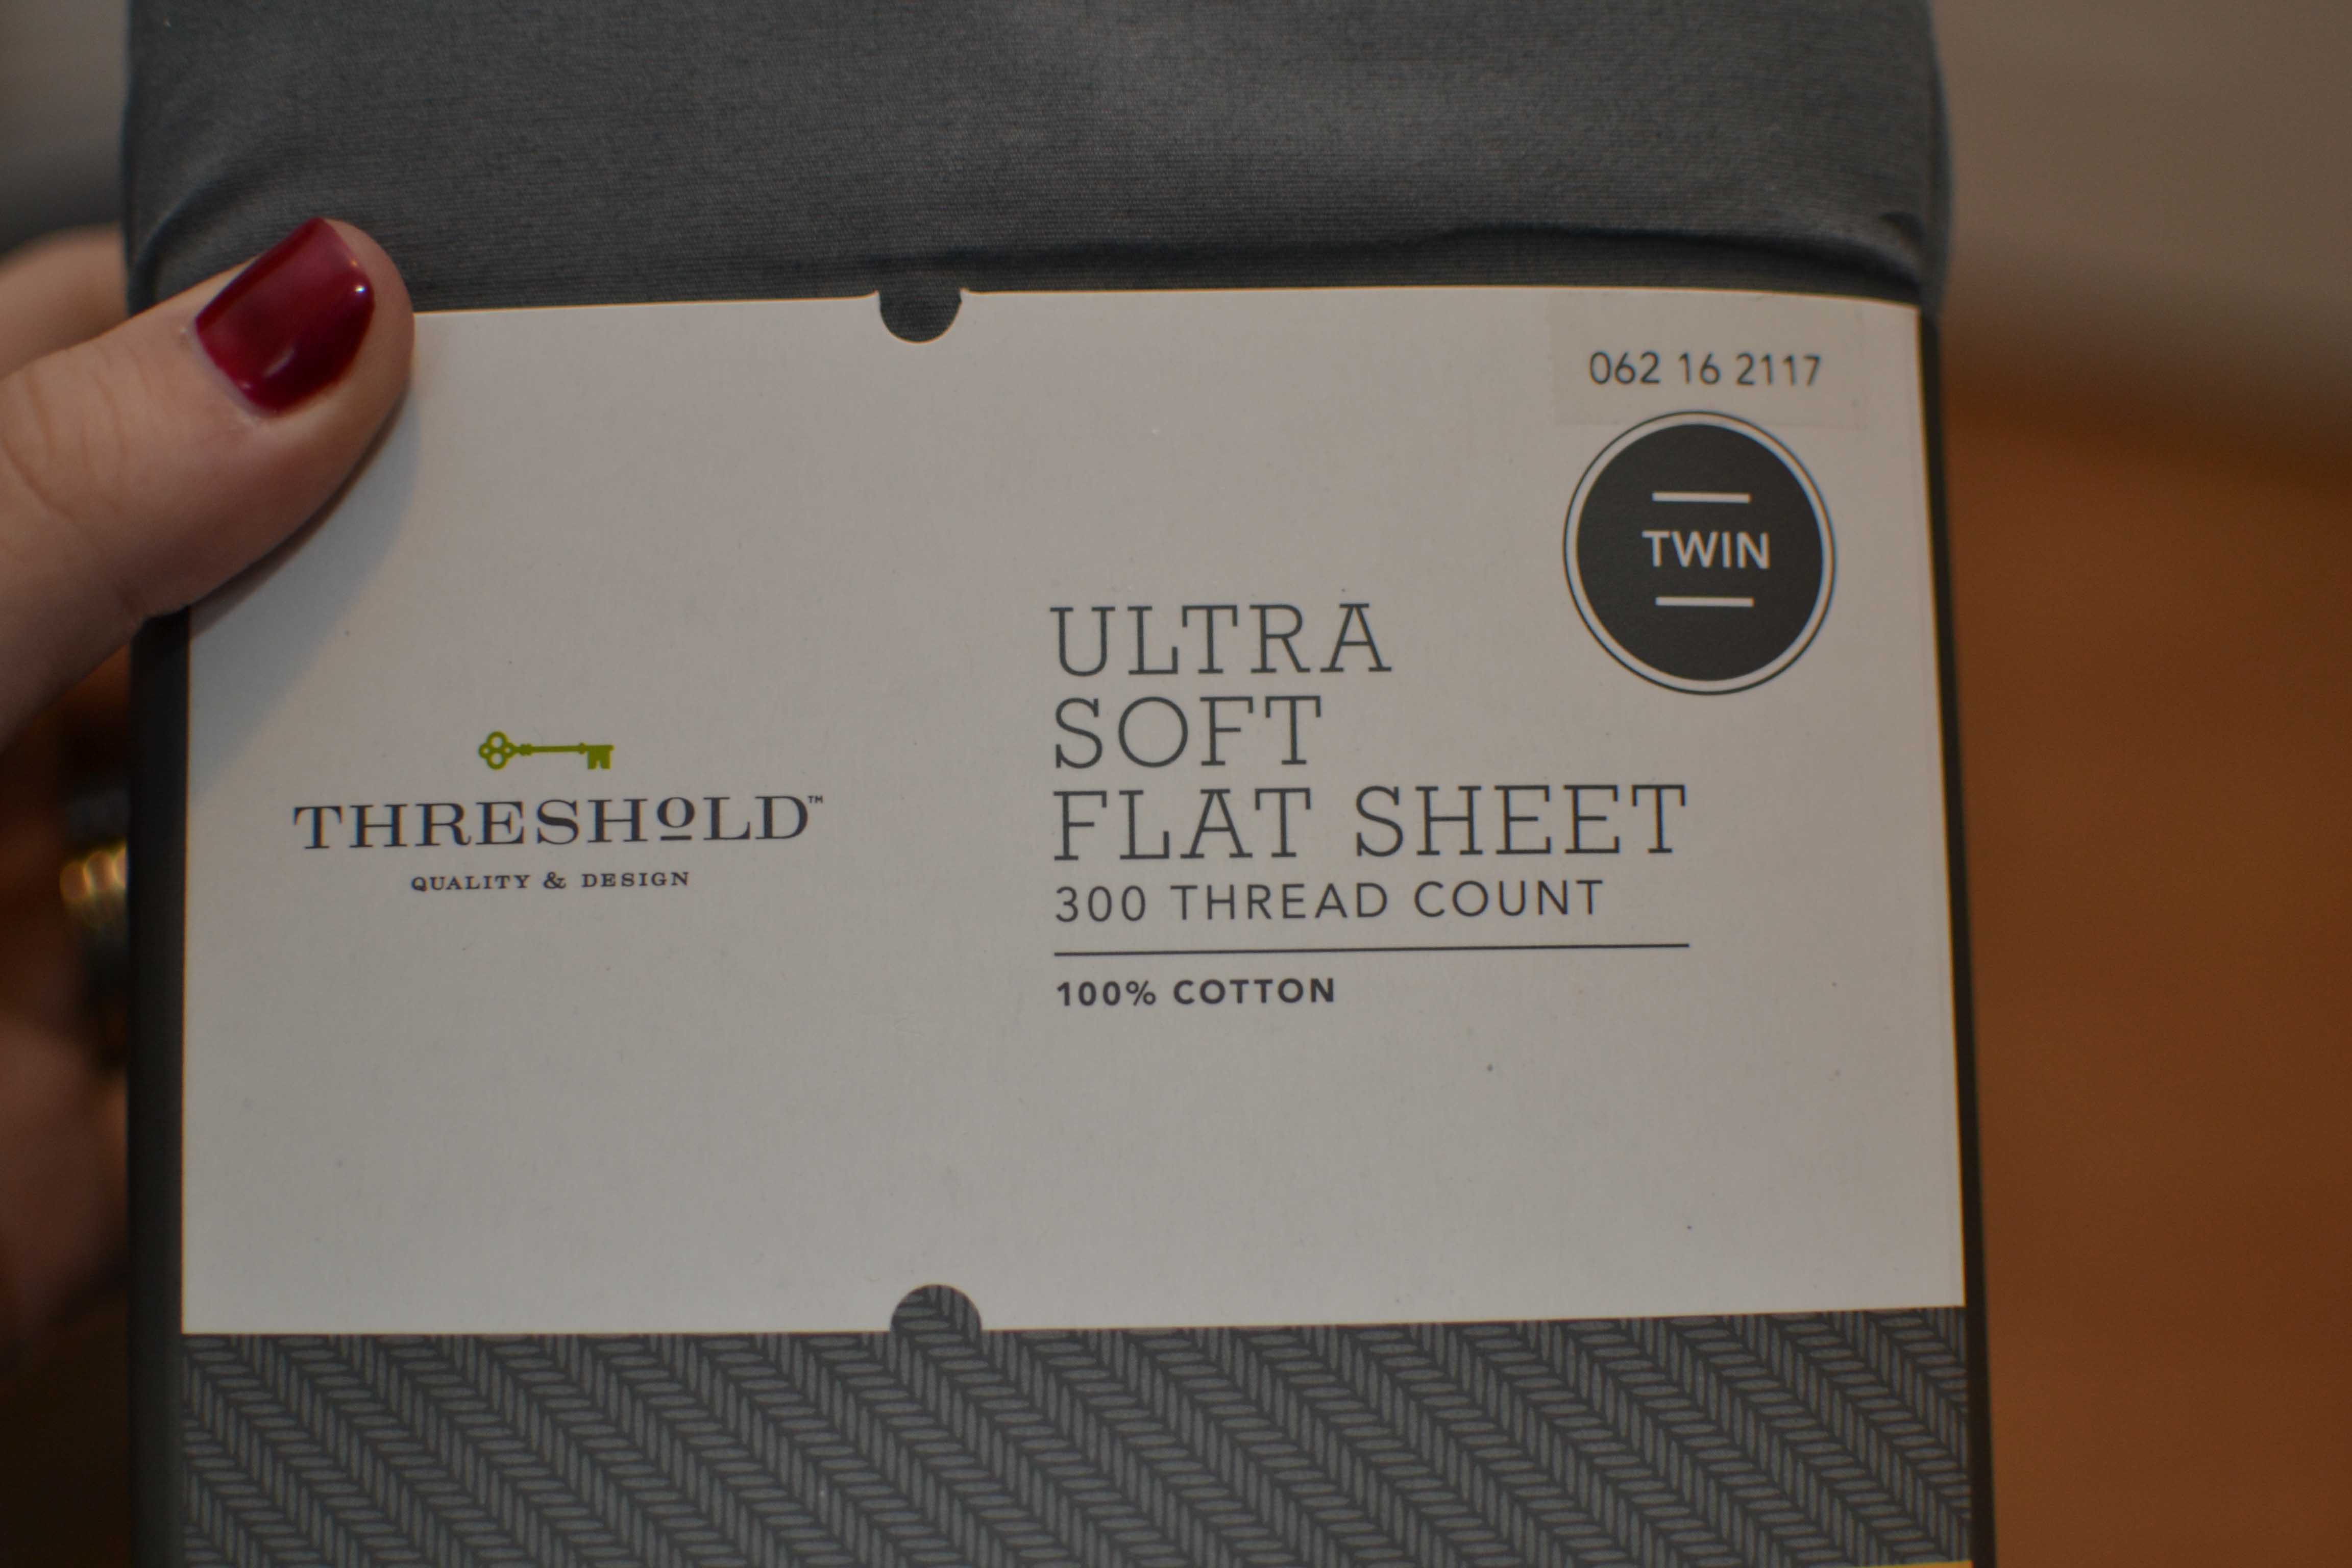
I found these soft ones at Target which were 100% cotton, and I paid $10 for each color except the lightest grey was on sale for $3.28 because they had phased out that collection. So, I paid around $37 for the fabric for the front of the quilt.

Via
Grant and I use down feather blankets and duvets so we don’t use our flat sheets. So, I had a queen sized white flat sheet that had never been used that I decided to use for the back of this quilt. Also, last year in a giveaway, I won a queen sized batting blanket. This would cost you around $25 dollars at Walmart or $35 without coupon at JoAnn’s. So, having a few things really helped me save money here.
So on Friday after work, I went and bought all the flat sheets that I showed above and went about washing and drying all of the sheet sets because I didn’t know how much they would shrink. Then I soaked the batting in hot water and dried it super hot like the directions said to do since it also shrinks.
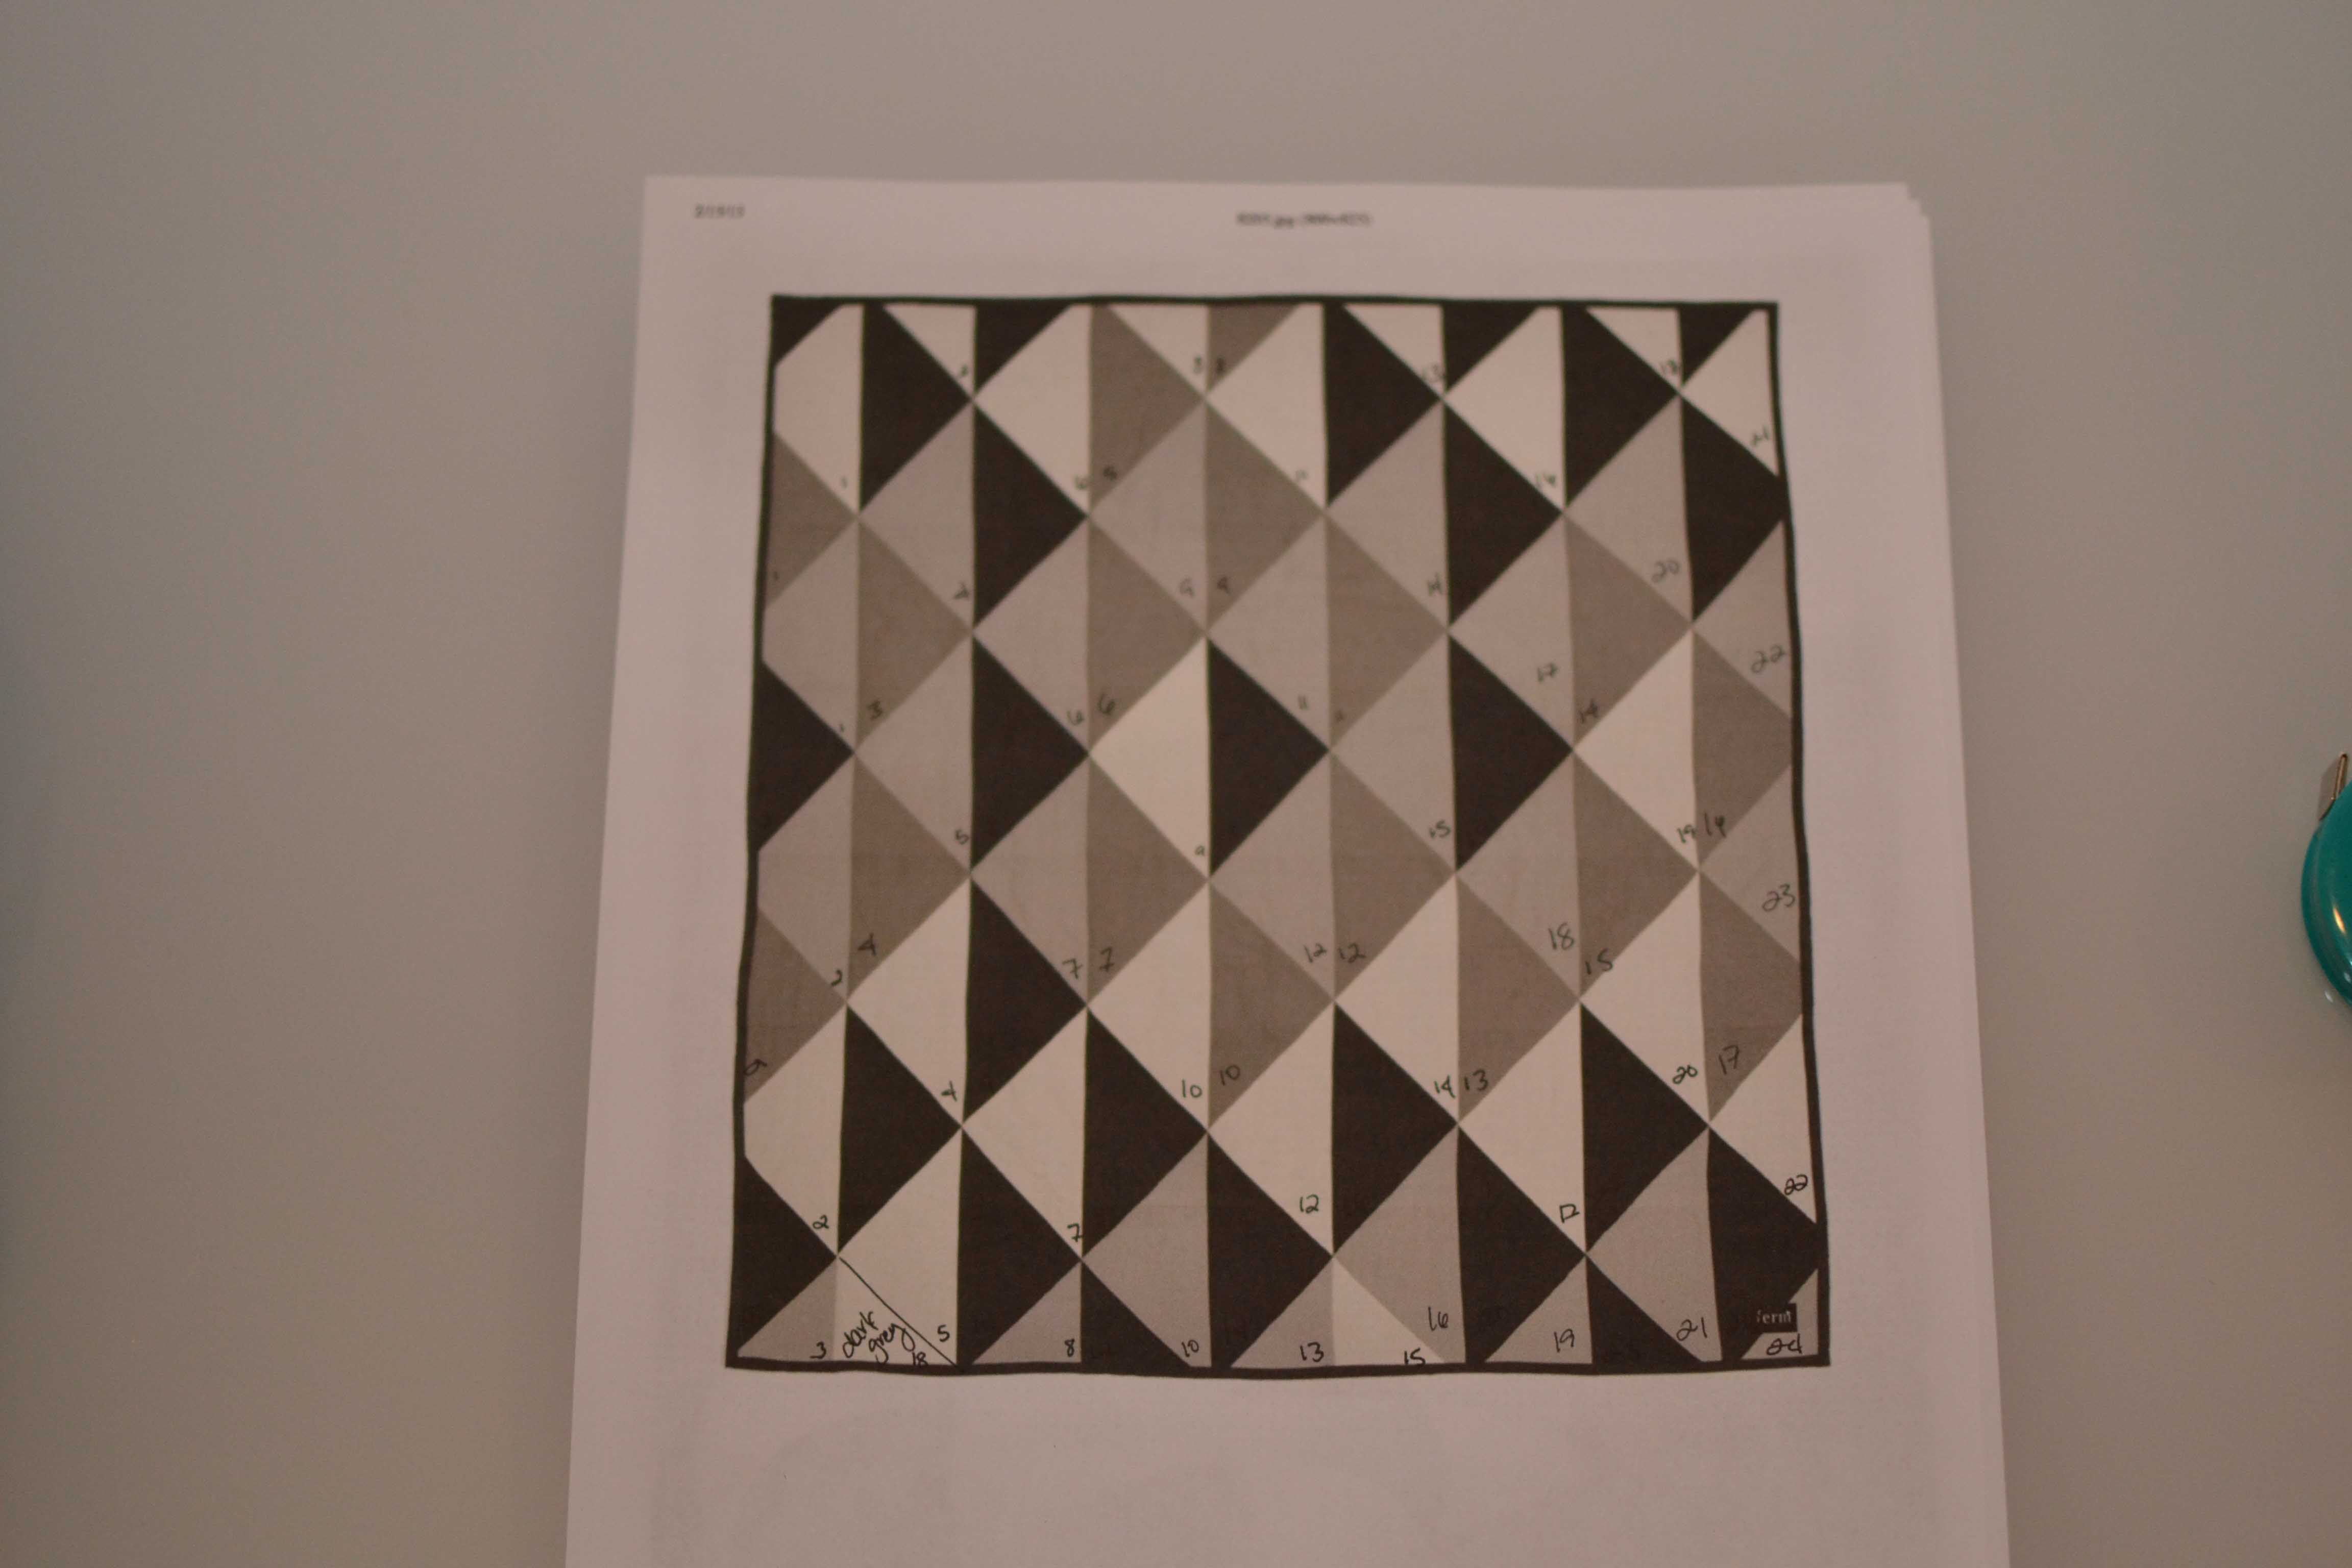
First I sat down and decided that each large square which is set at an angle is around 20″x 20″ on the finished quilt. Here was my first problem, if I wanted that to be the finished size, I needed to make them all larger than that, but I didn’t so my quilt turned out smaller than I would have liked. Then I counted and figured out how many of each color I would need. I wish that I would have just taken the time to measure each one at 20″ by 20″,but instead I found a guide and made each square 10″ x 10″ and then cut those into smaller triangles.
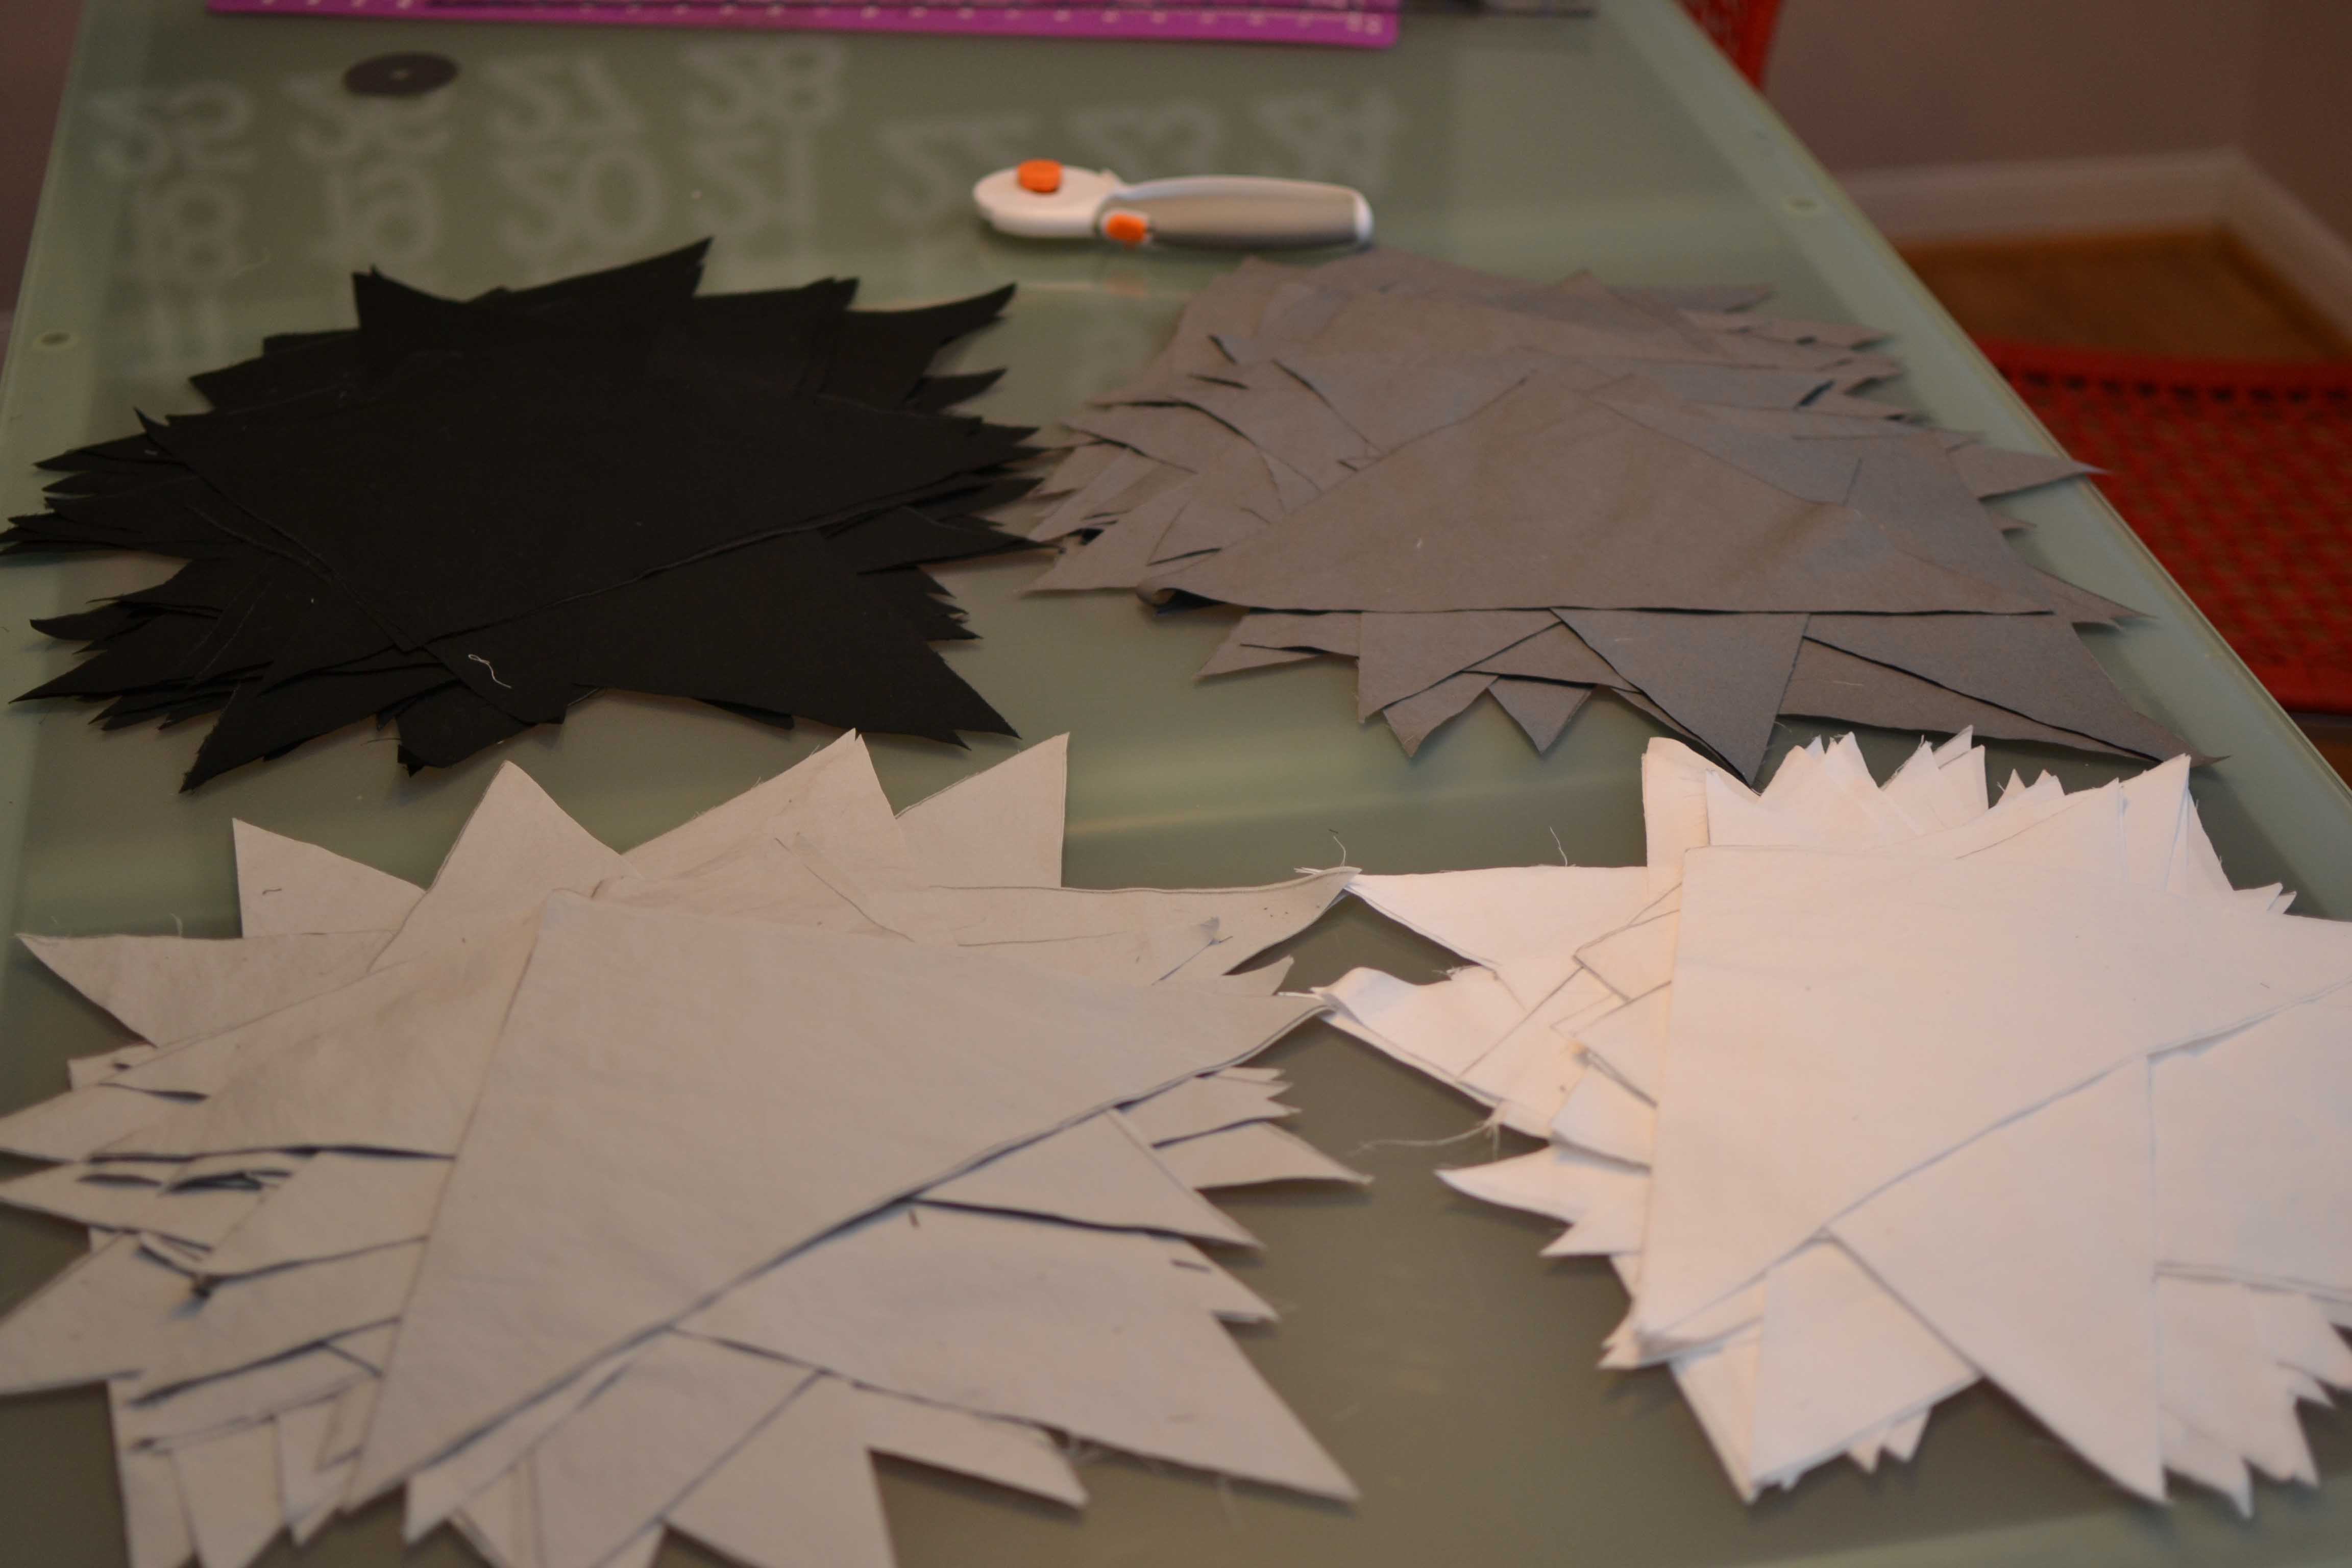 Here are my smaller 10″ triangles which I ironed and then laid out as you can see here.
Â
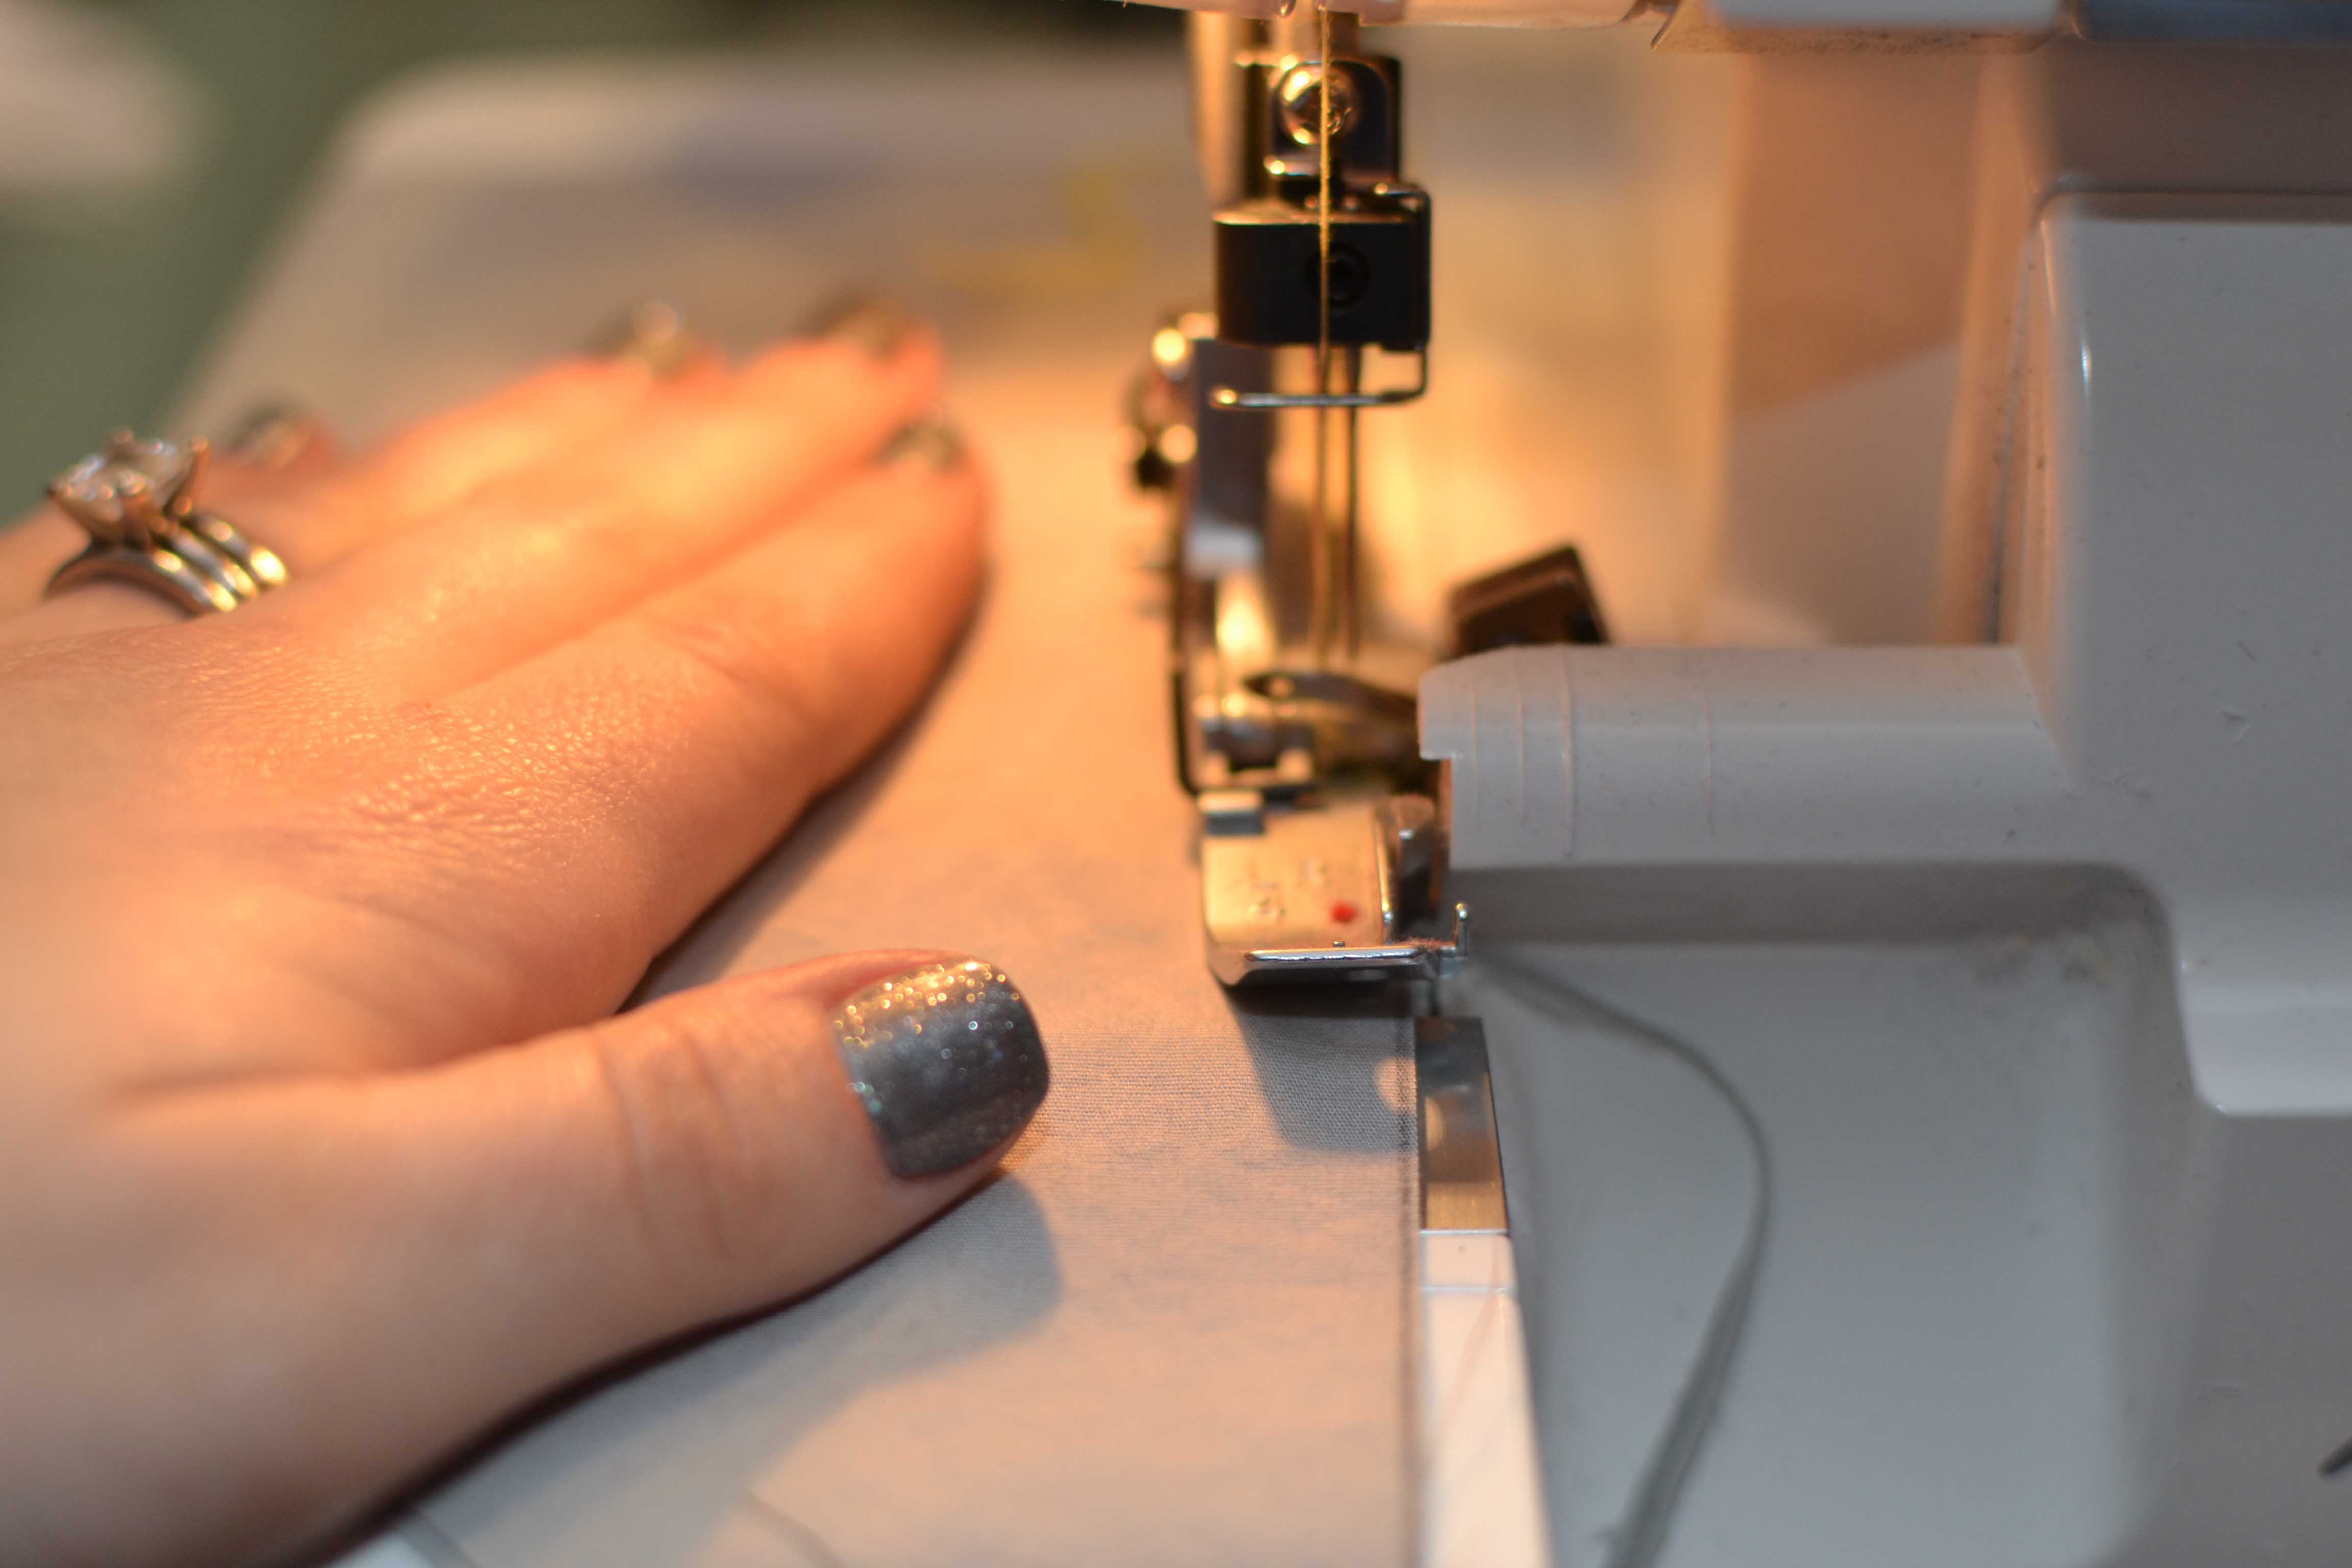 Next, I used my serger to sew two of the small triangles together so they would become one larger triangle. As, I said before, if I had just taken more time and cut them all larger, it would have saved me a lot of sewing and pressing time.
 Now you can see the larger triangles, and more of my time spent pressing the back seams.
 Then I also pressed the front seams as you can tell, and I started all stacks until I was done with all of the larger triangles.
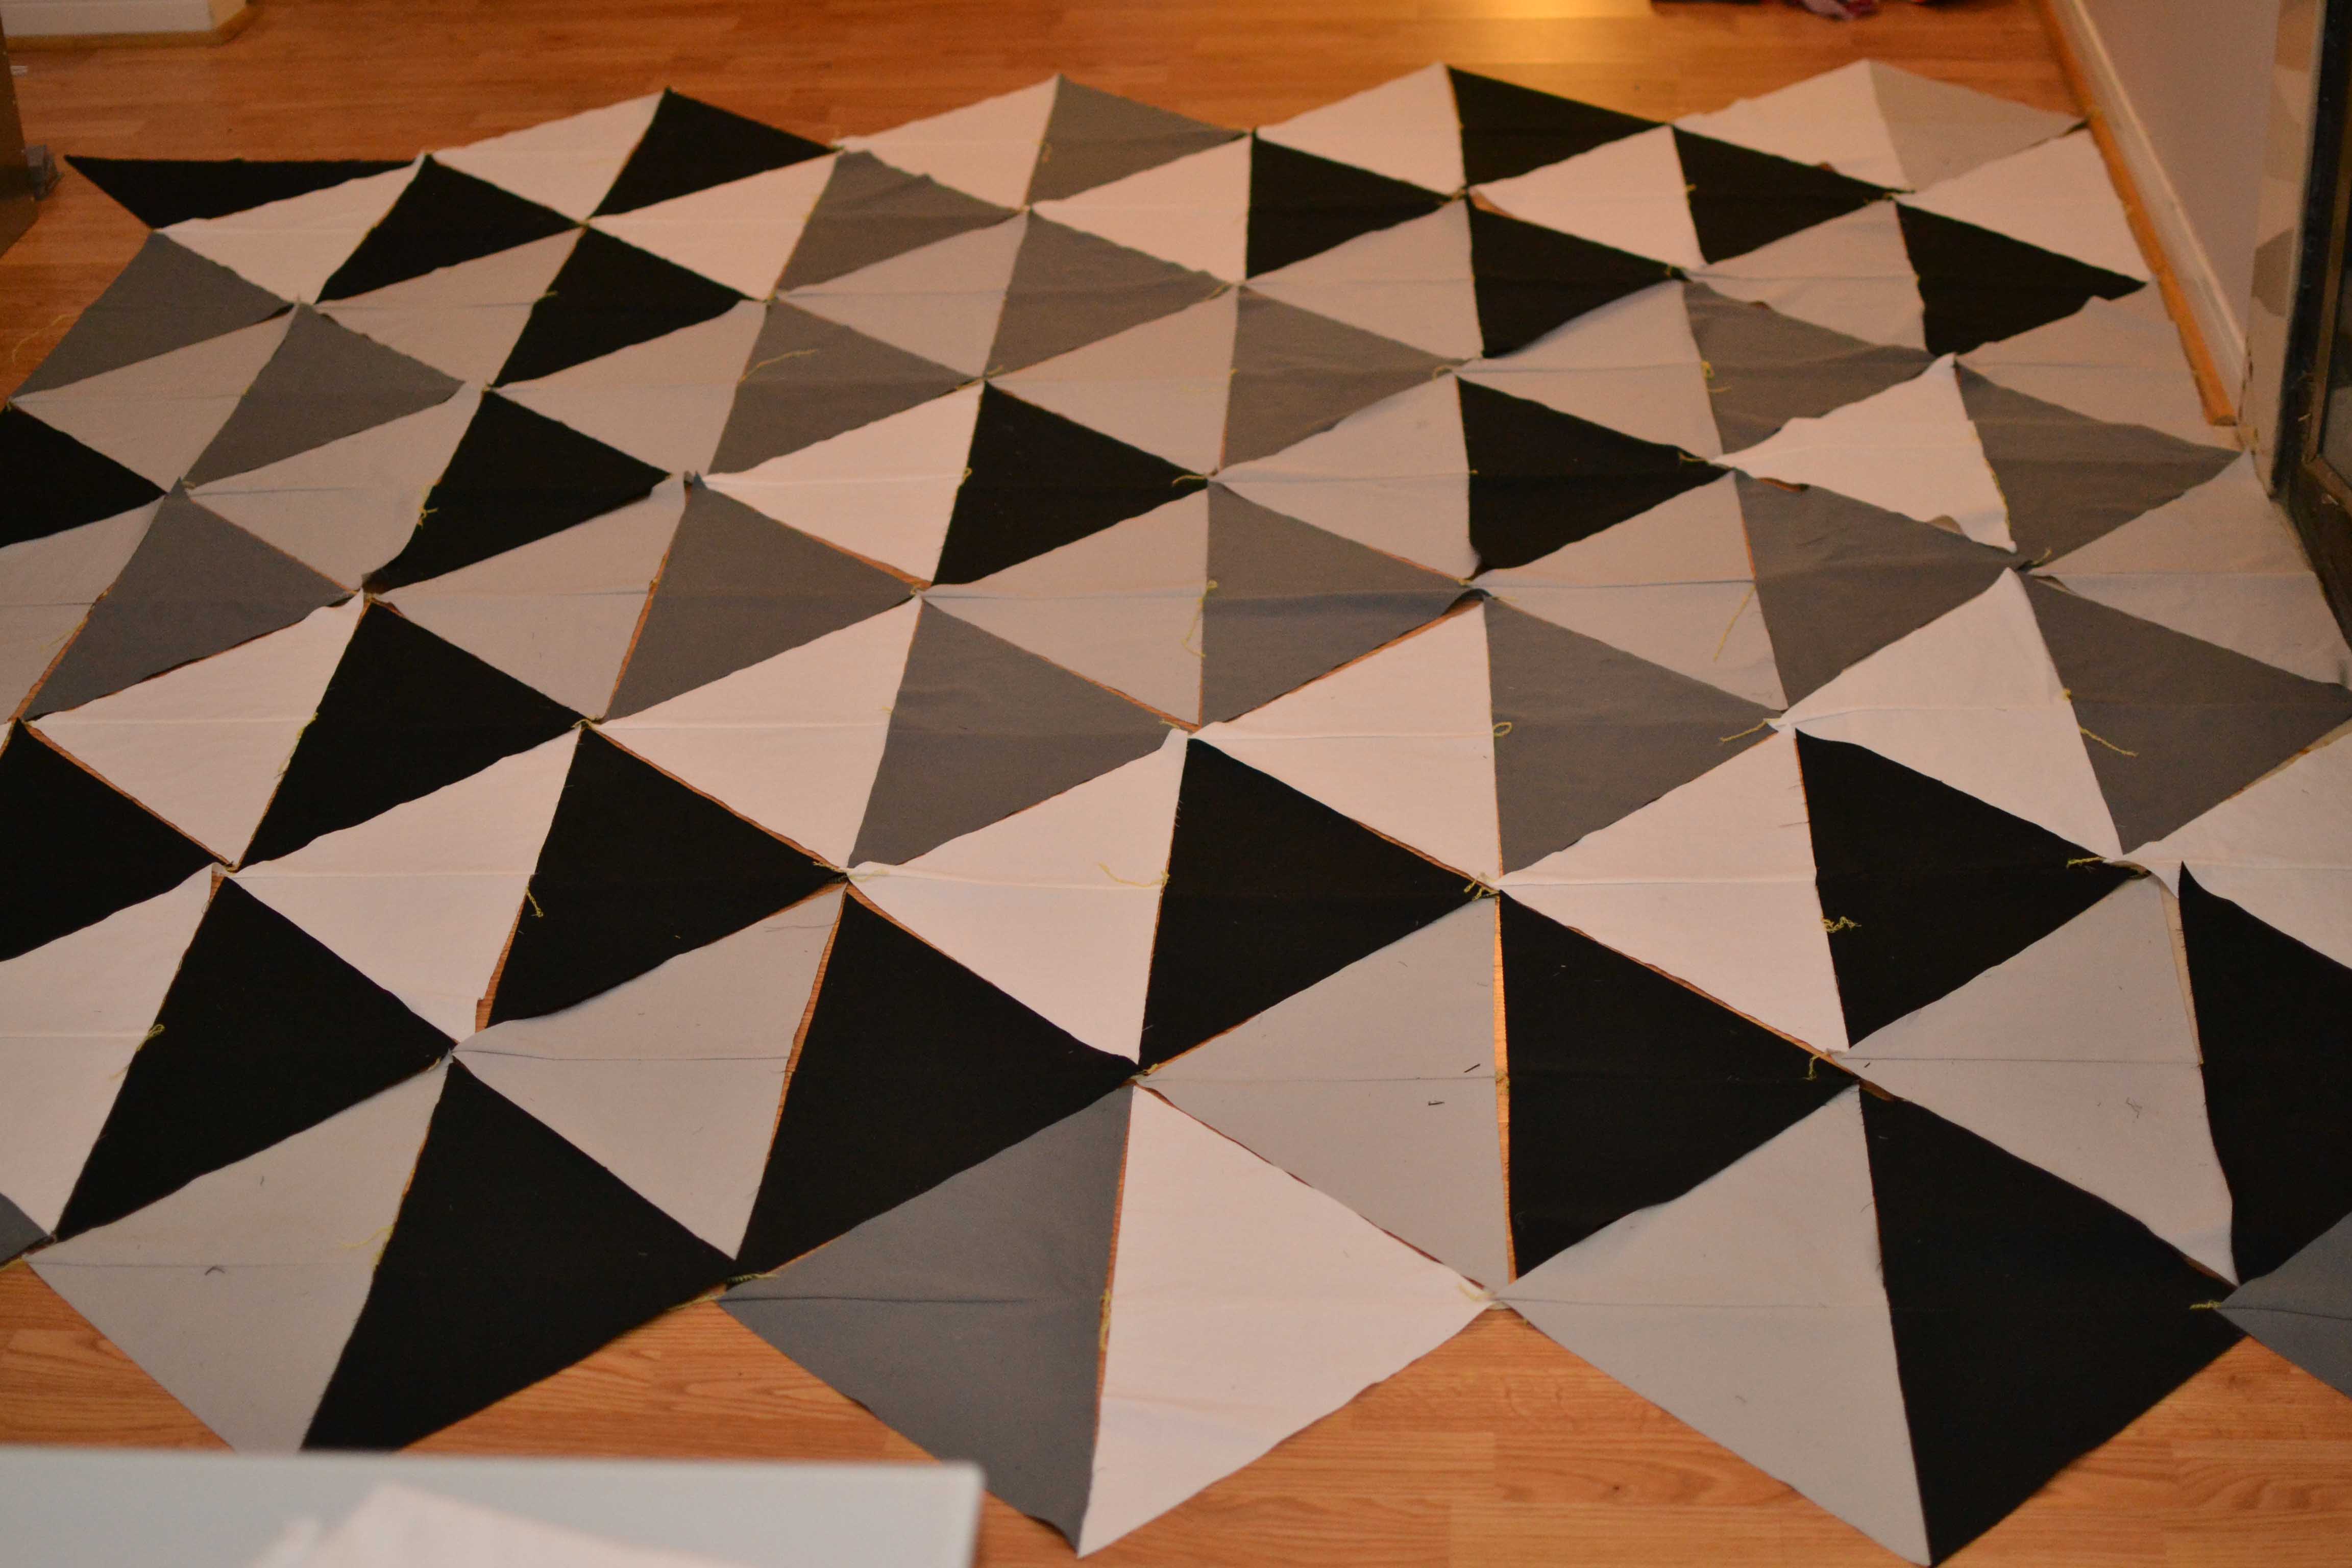
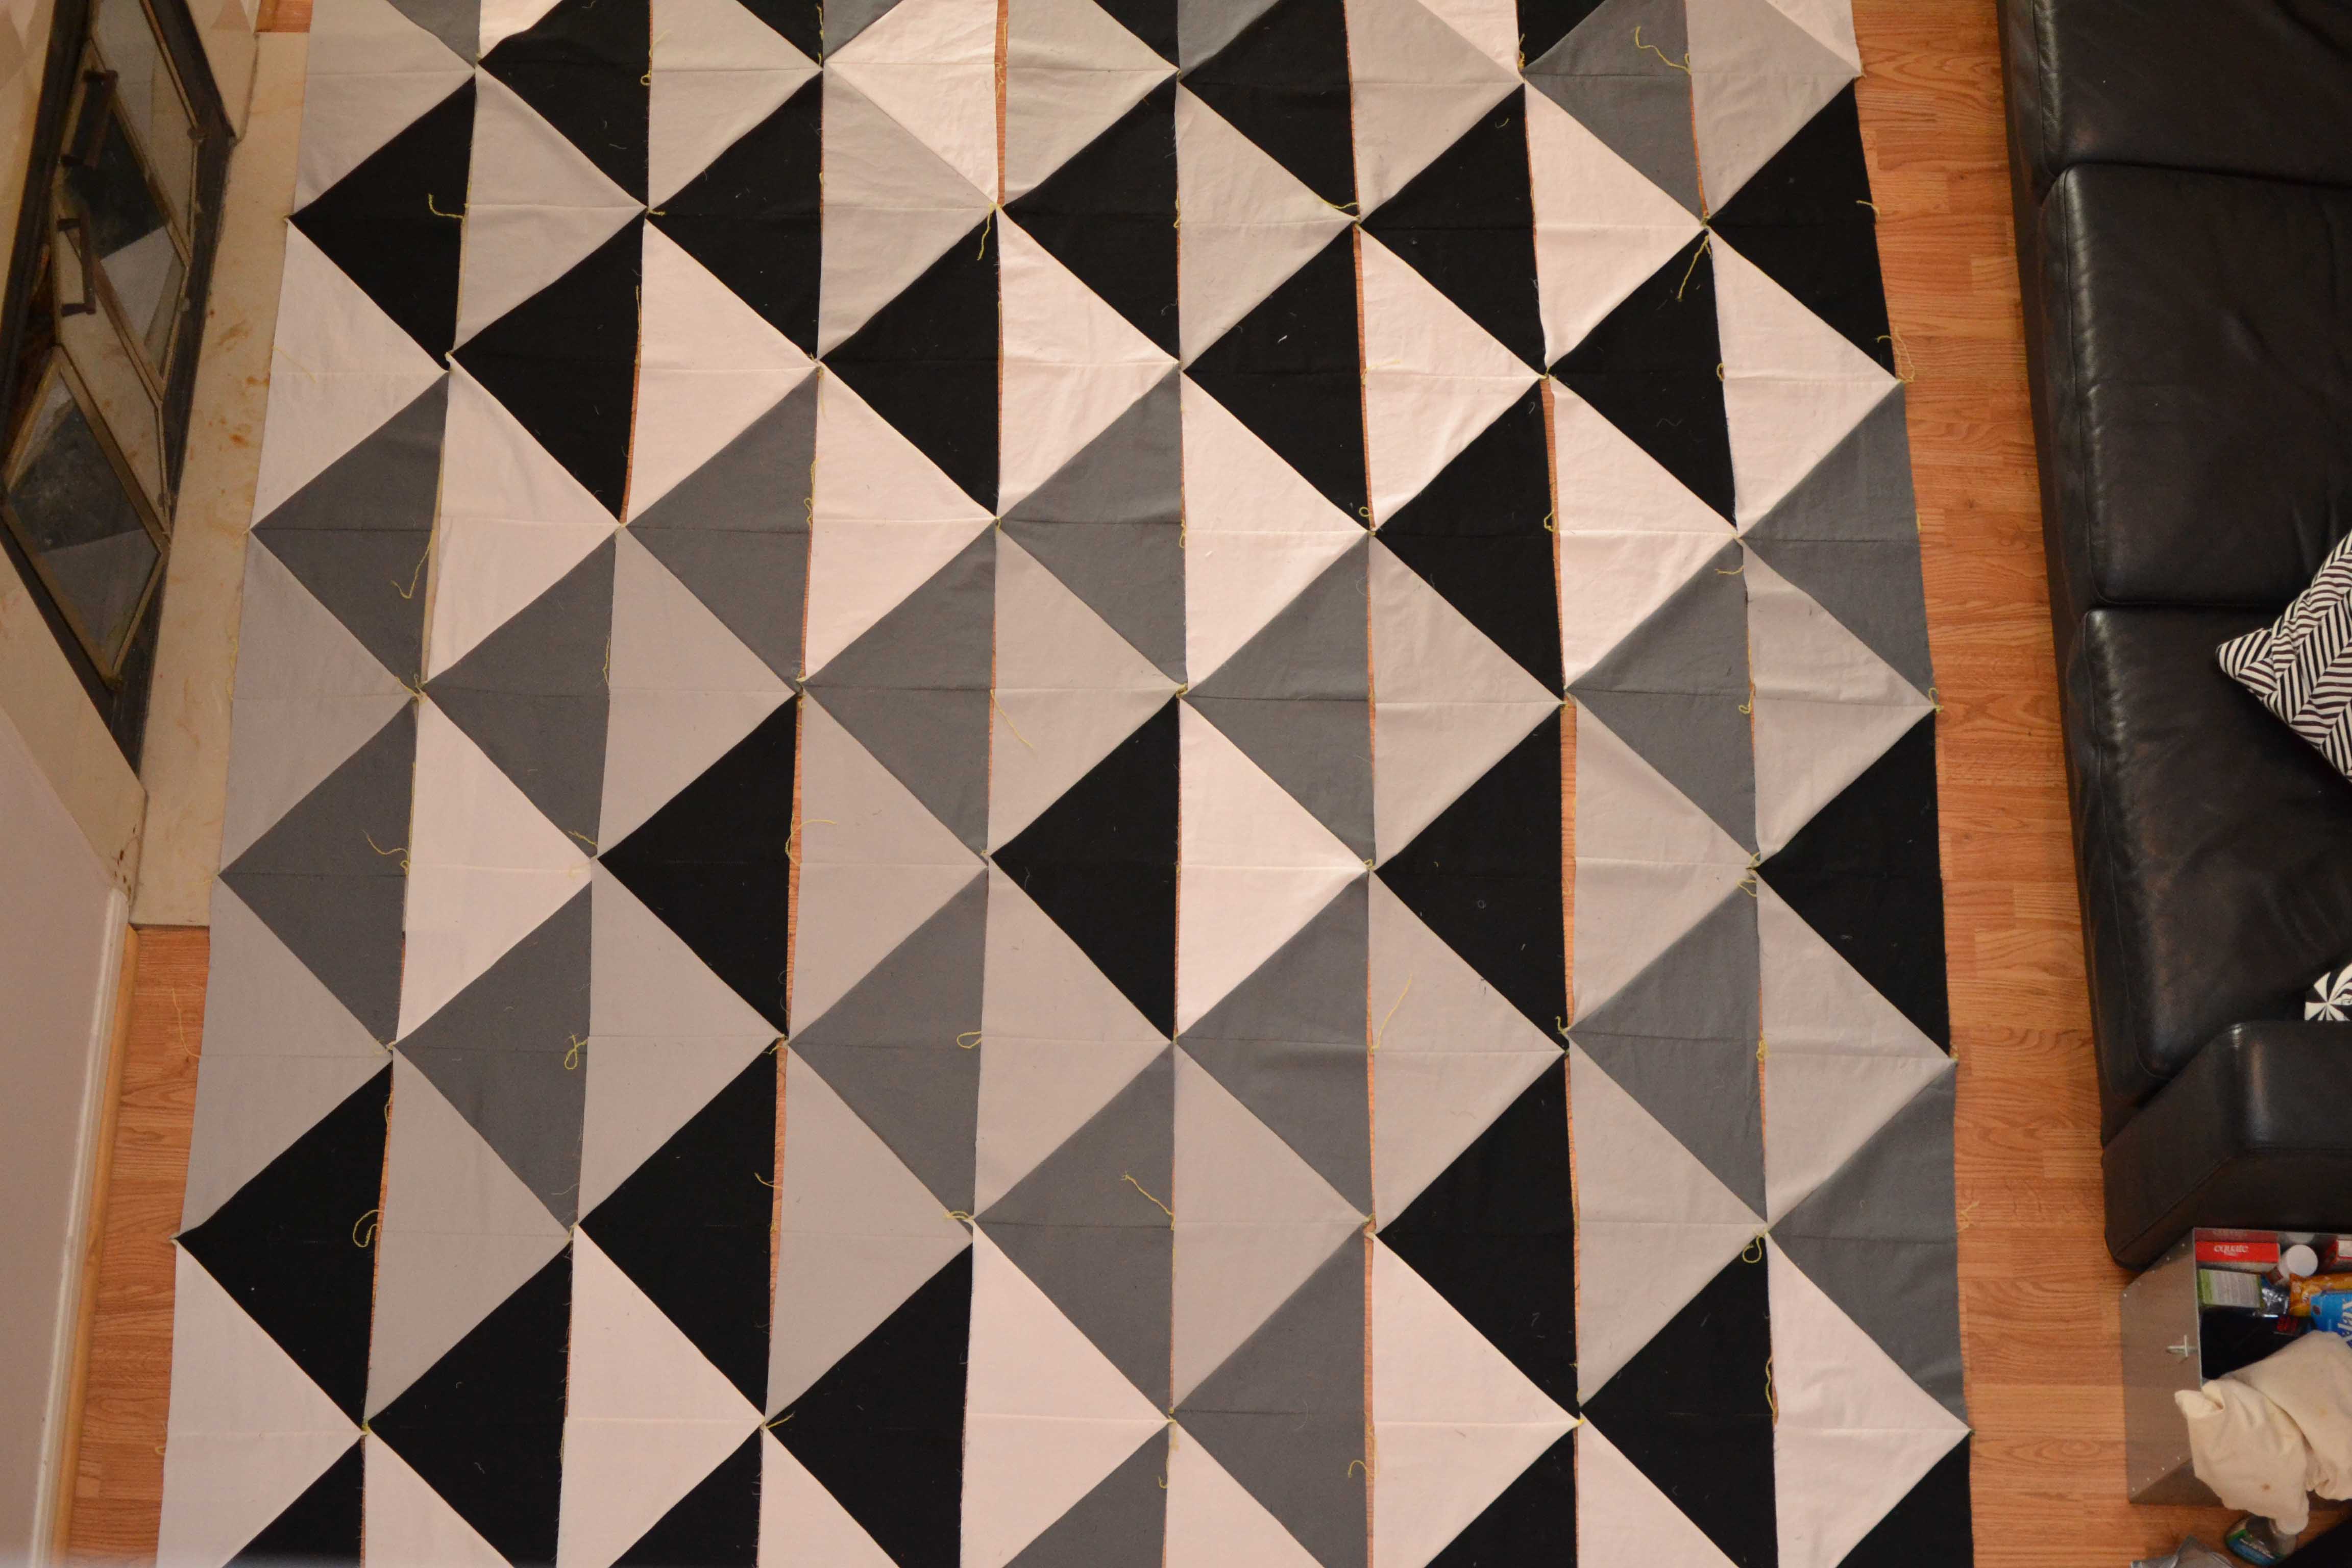
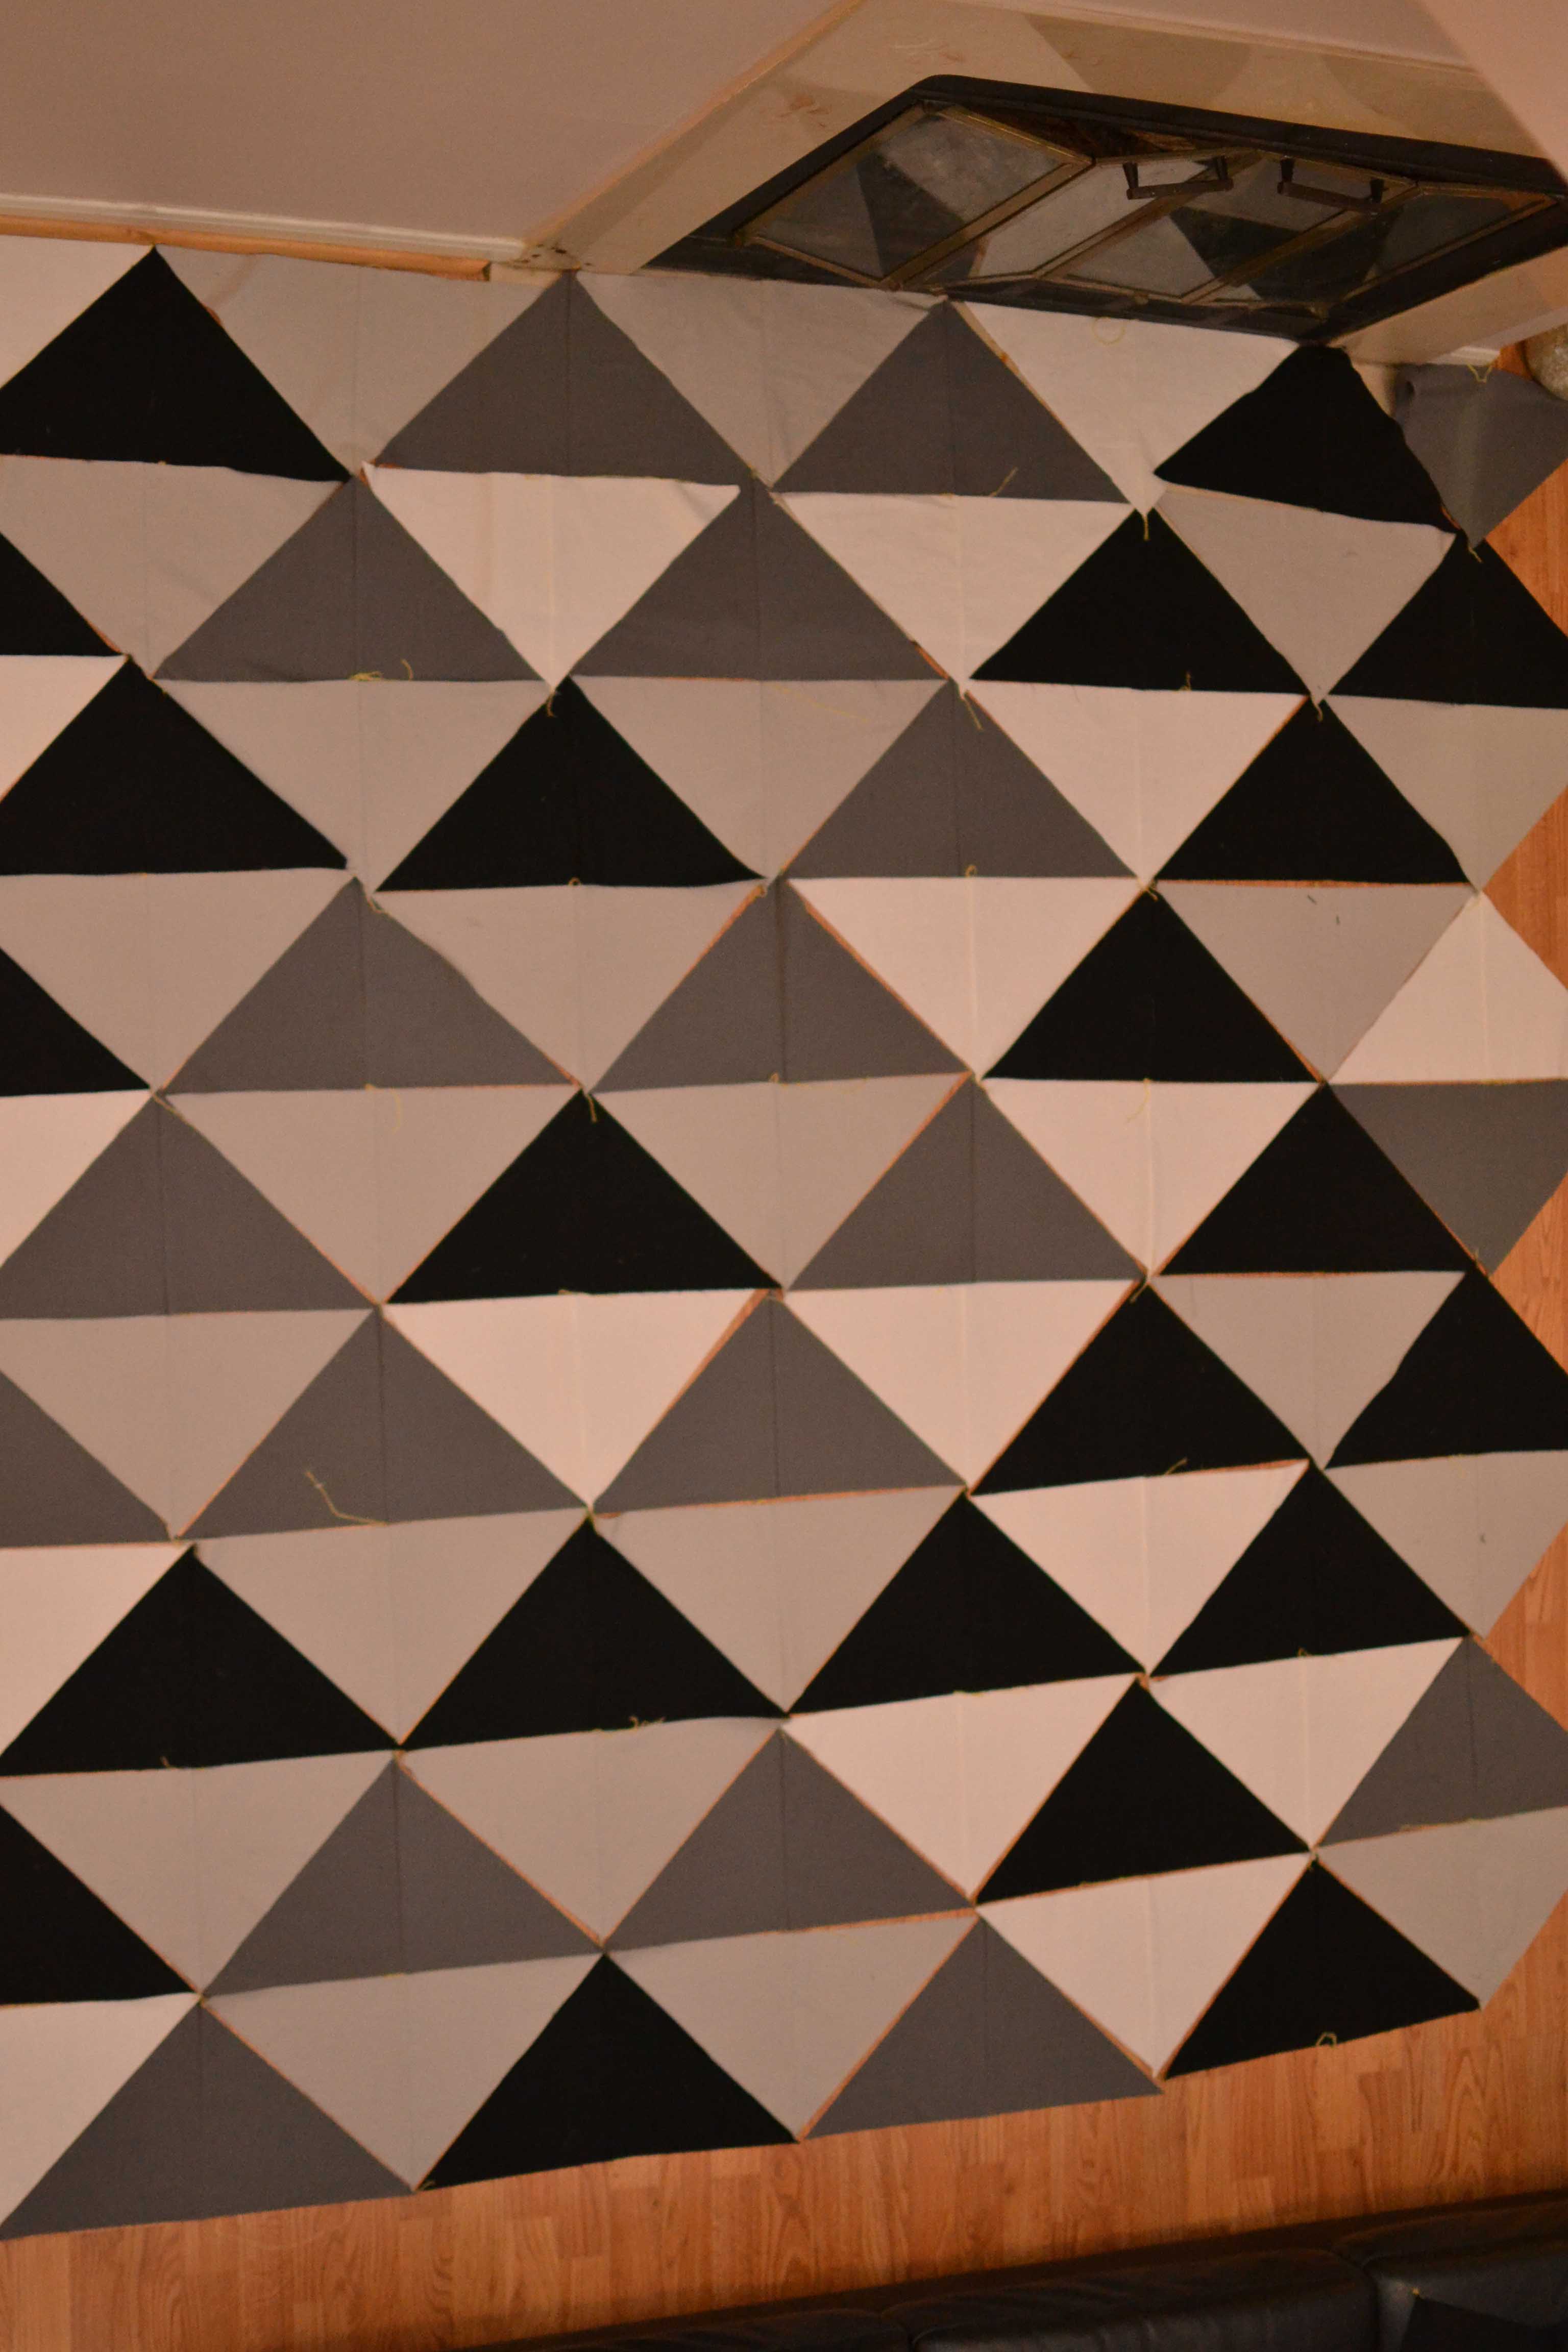 Here you can see how big this sucker started out, I laid out all the large triangles on my living room floor, and this was taken from our walkway to the master so you could see. This is also when I made sure the pattern was how I wanted it to be. I should have seen my next problem here. With all of my pieces already having those corners, when sewn together the corners would disappear. I should have changed the pieces I made so there was extra fabric on the tips so that once sewn the points would then show up.
Saturday, I then proceeded to start sewing pieces together, and I messed up almost half of the first row because I didn’t think about how to best sew them together. This resulted in nasty puckered pieces, and I had to totally rethink how I sewed them together. I then realized that I needed to sew it ins strips so basically sewing a zigzag so that I had a total of 9 different strips. So above you can see 9 of my strips are finally done. This also took longer because I had to remake around 10 large triangles before I got to that point as well as a few times where I had pinned incorrectly, and a serger isn’t as forgiving as a sewing machine.
Sunday, I was ready to start “quilting”. So, I understand that this isn’t a “real” quilt because I didn’t quilt by hand or by machine. My problem was with a quilt this large, there was no way I had the patience to hand quilt or the quilt stand to do it, and with the bulk or fabric, I didn’t see being able to quilt it with my sewing machine either. So, I found a way of quilting with the serger. You do everything in strips. So my front was in 9 pieces, I then cut my batting into 9 strips as well as my backing fabric. Then I would layer them and use the serger to do row after row.
Here is a great video on how to do it.
 So, here are my first two pieces sewn together, you layer the pieces this way ( right sides together of the backing pieces, then a layer of batting, then the top of the first piece, the top of the second piece which have right sides together and the last piece of batting), then sew with the serger and lay like above and iron the front and backs. Then do the same layering only on one of the strips and just keep building. This way, the seam from the serger is between the pieces and hidden, and it is “quilted” together enough. Now, you have to be super careful when pinning or they might be off as you can see, and because of lack of extra fabric my points got cut off. I was worried about my serger sewing through that much fabric but it did an awesome job, and it really made it doable for this large of a quilt.
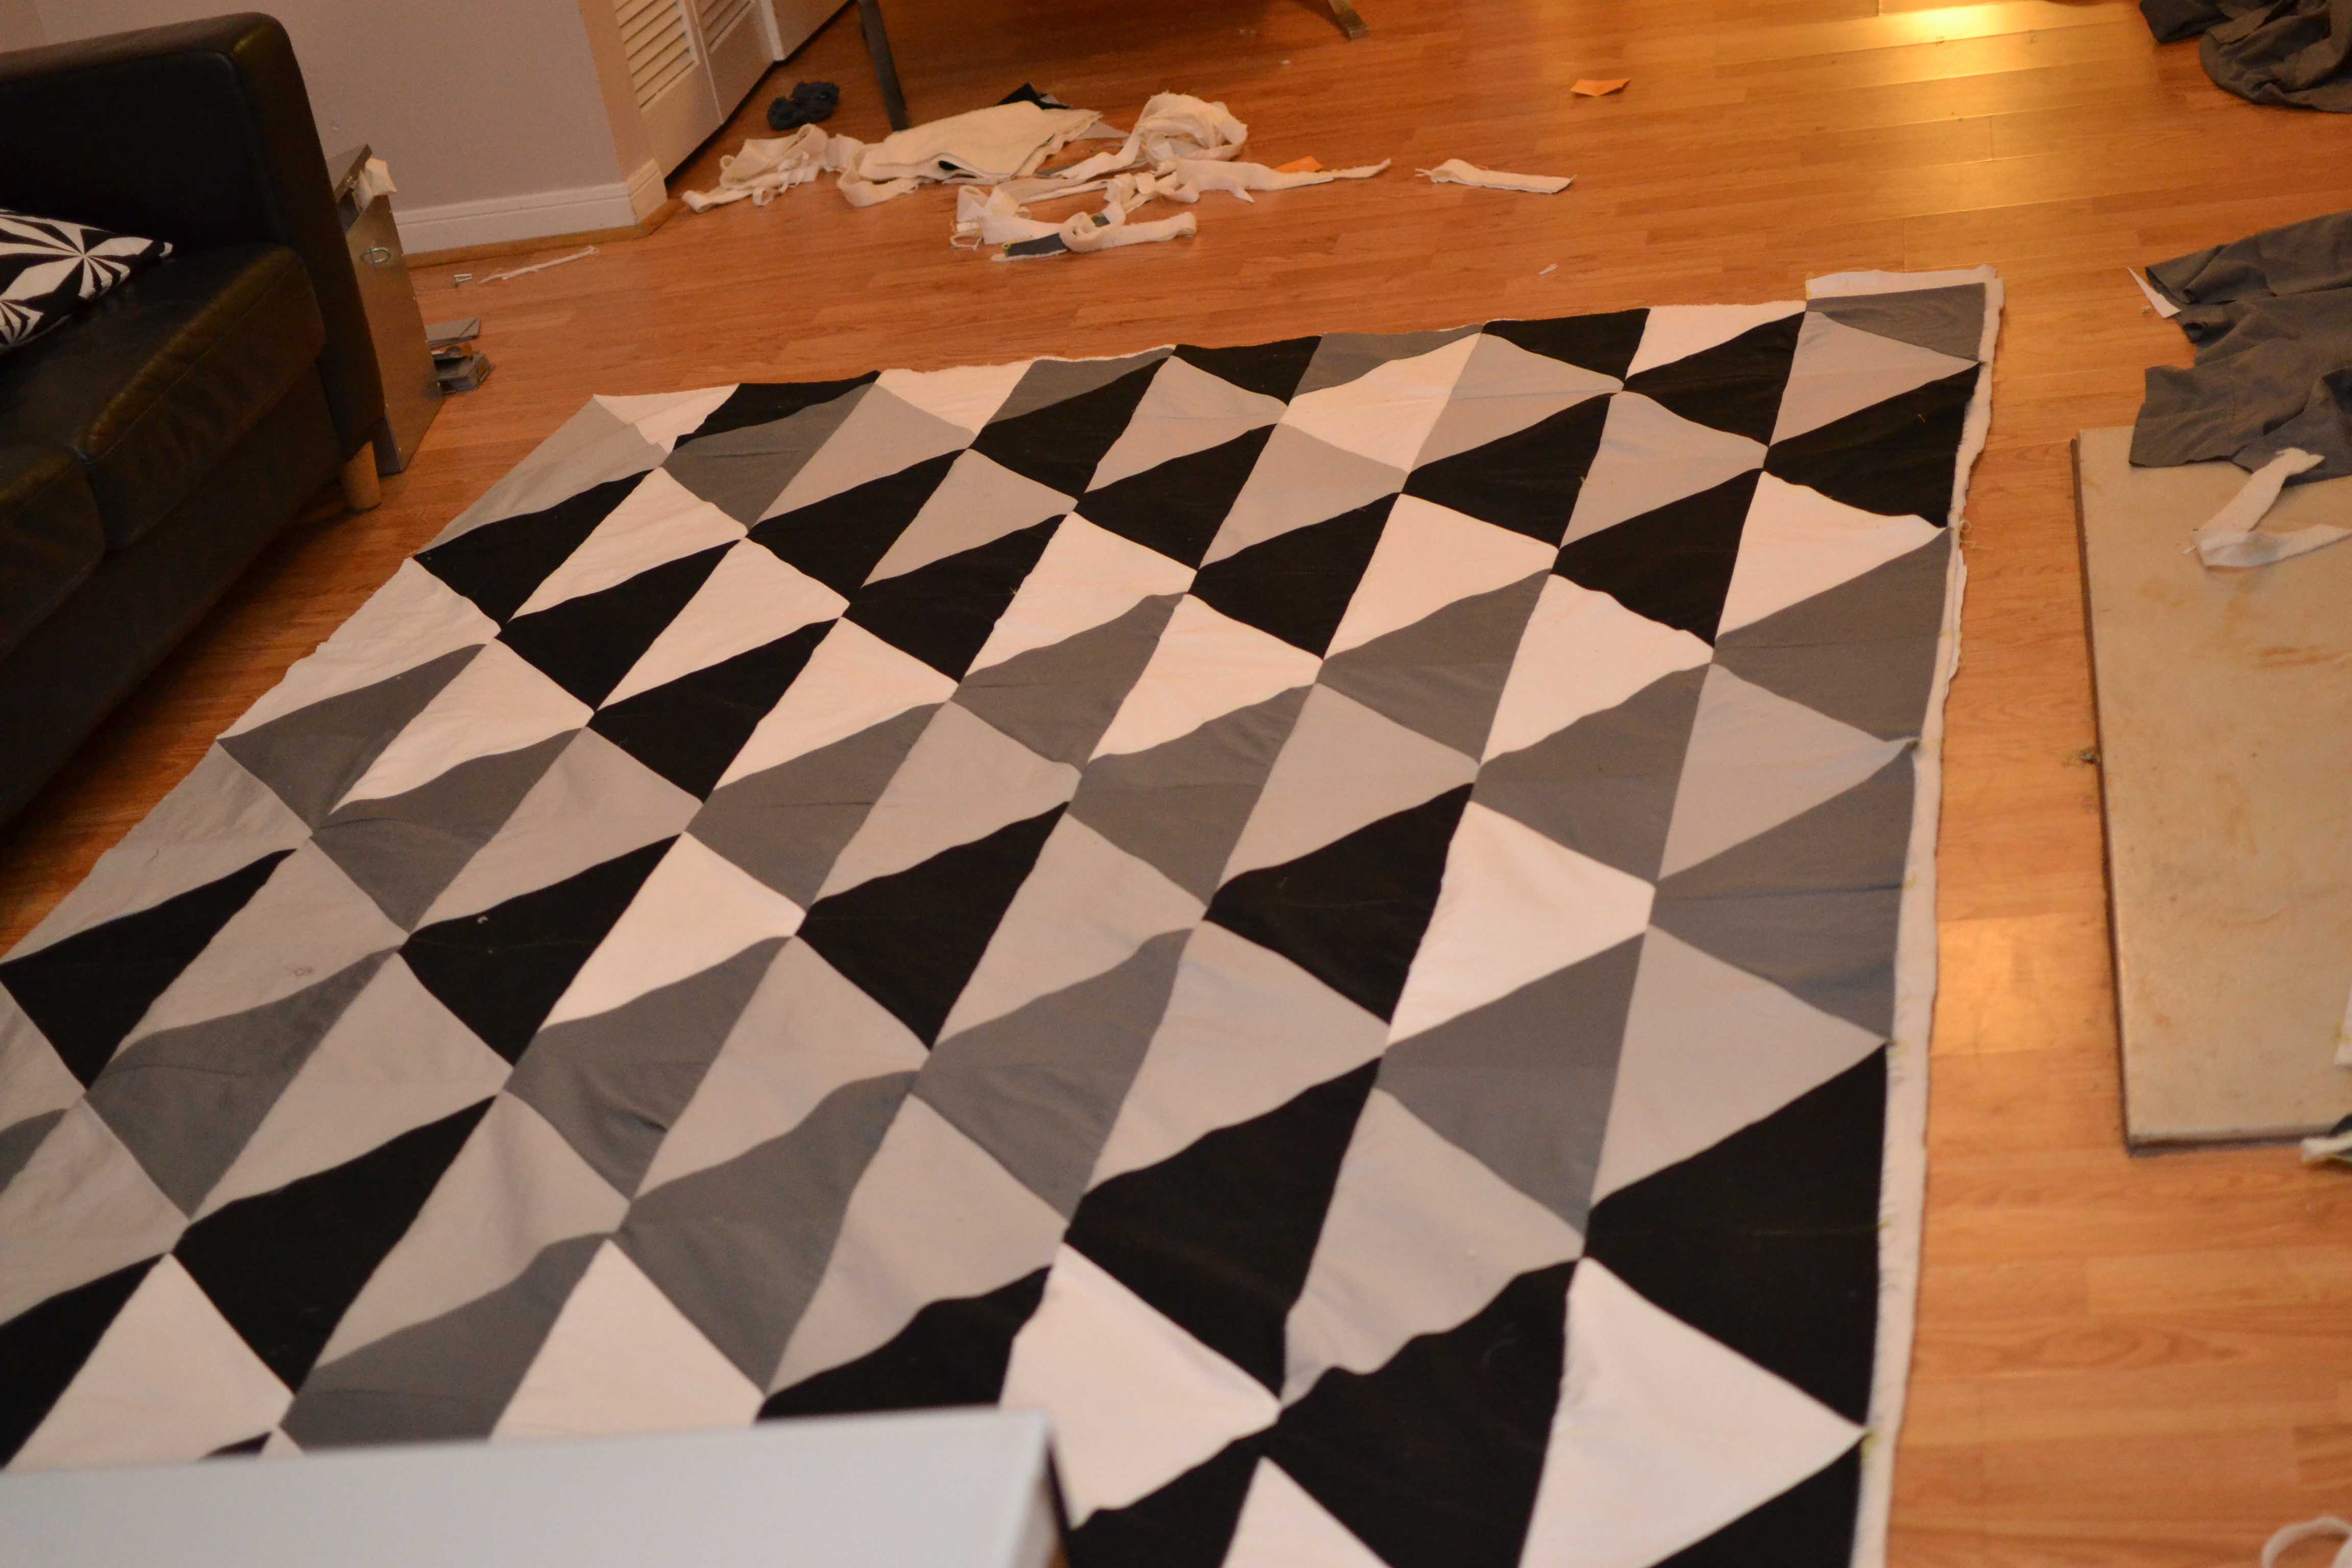 Here you can see the whole top quilted. So, I then trimmed up the edges and extra batting.
Sunday night, I then sergered the entire edge of the quilt to have a nice edge to then bind and this is when I stopped.
Monday is when I did the binding of this quilt. I could have made my own binding tape,but I didn’t have enough fabric of any one of the colors I used to bind the whole quilt. For this one, I didn’t want to used different colors for the binding. So, I went to walmart and bought black 4 3/4″ blanket binding to use at $5 a pack, and I used 2. I used my sewing machine to bind the quilt after watching a lot of tutorials. I made a pocket which is a good idea, but next time, I would do it differently even though this method worked.
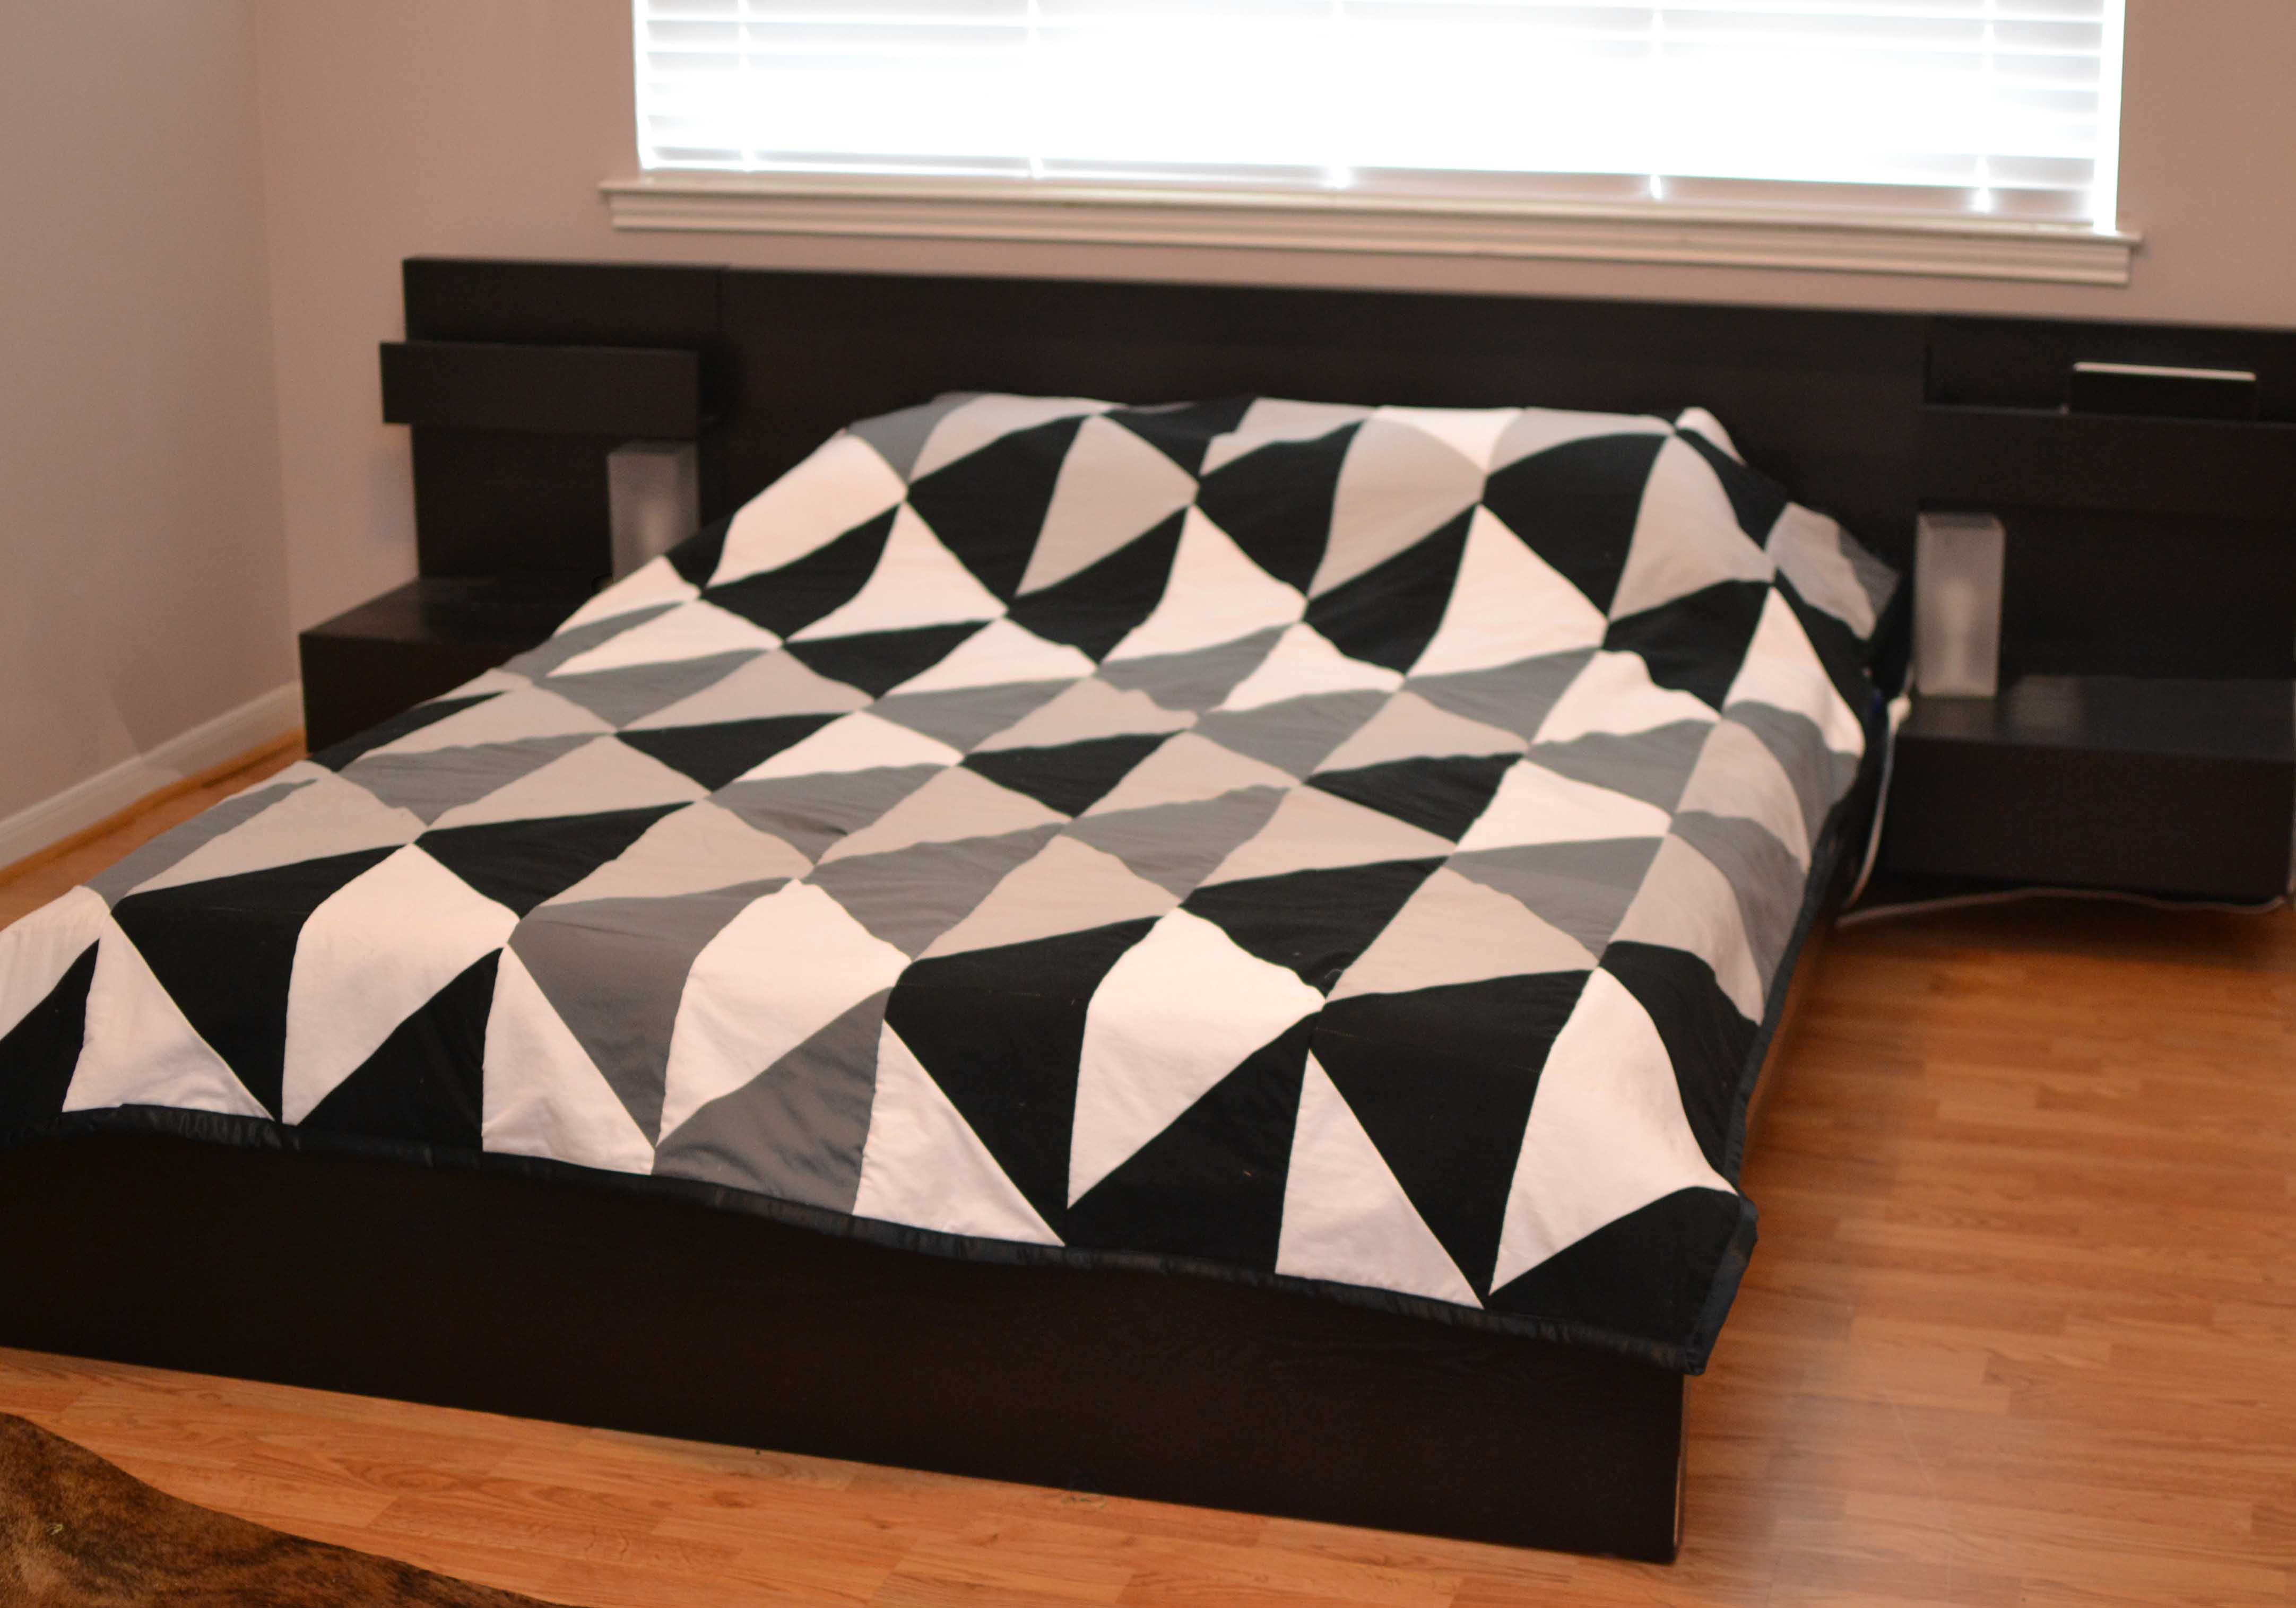 Here is the finished quilt. It isn’t perfect, and boy did I learn a lot for any future quilts that I make,but I cannot say that it was a complete dud either.
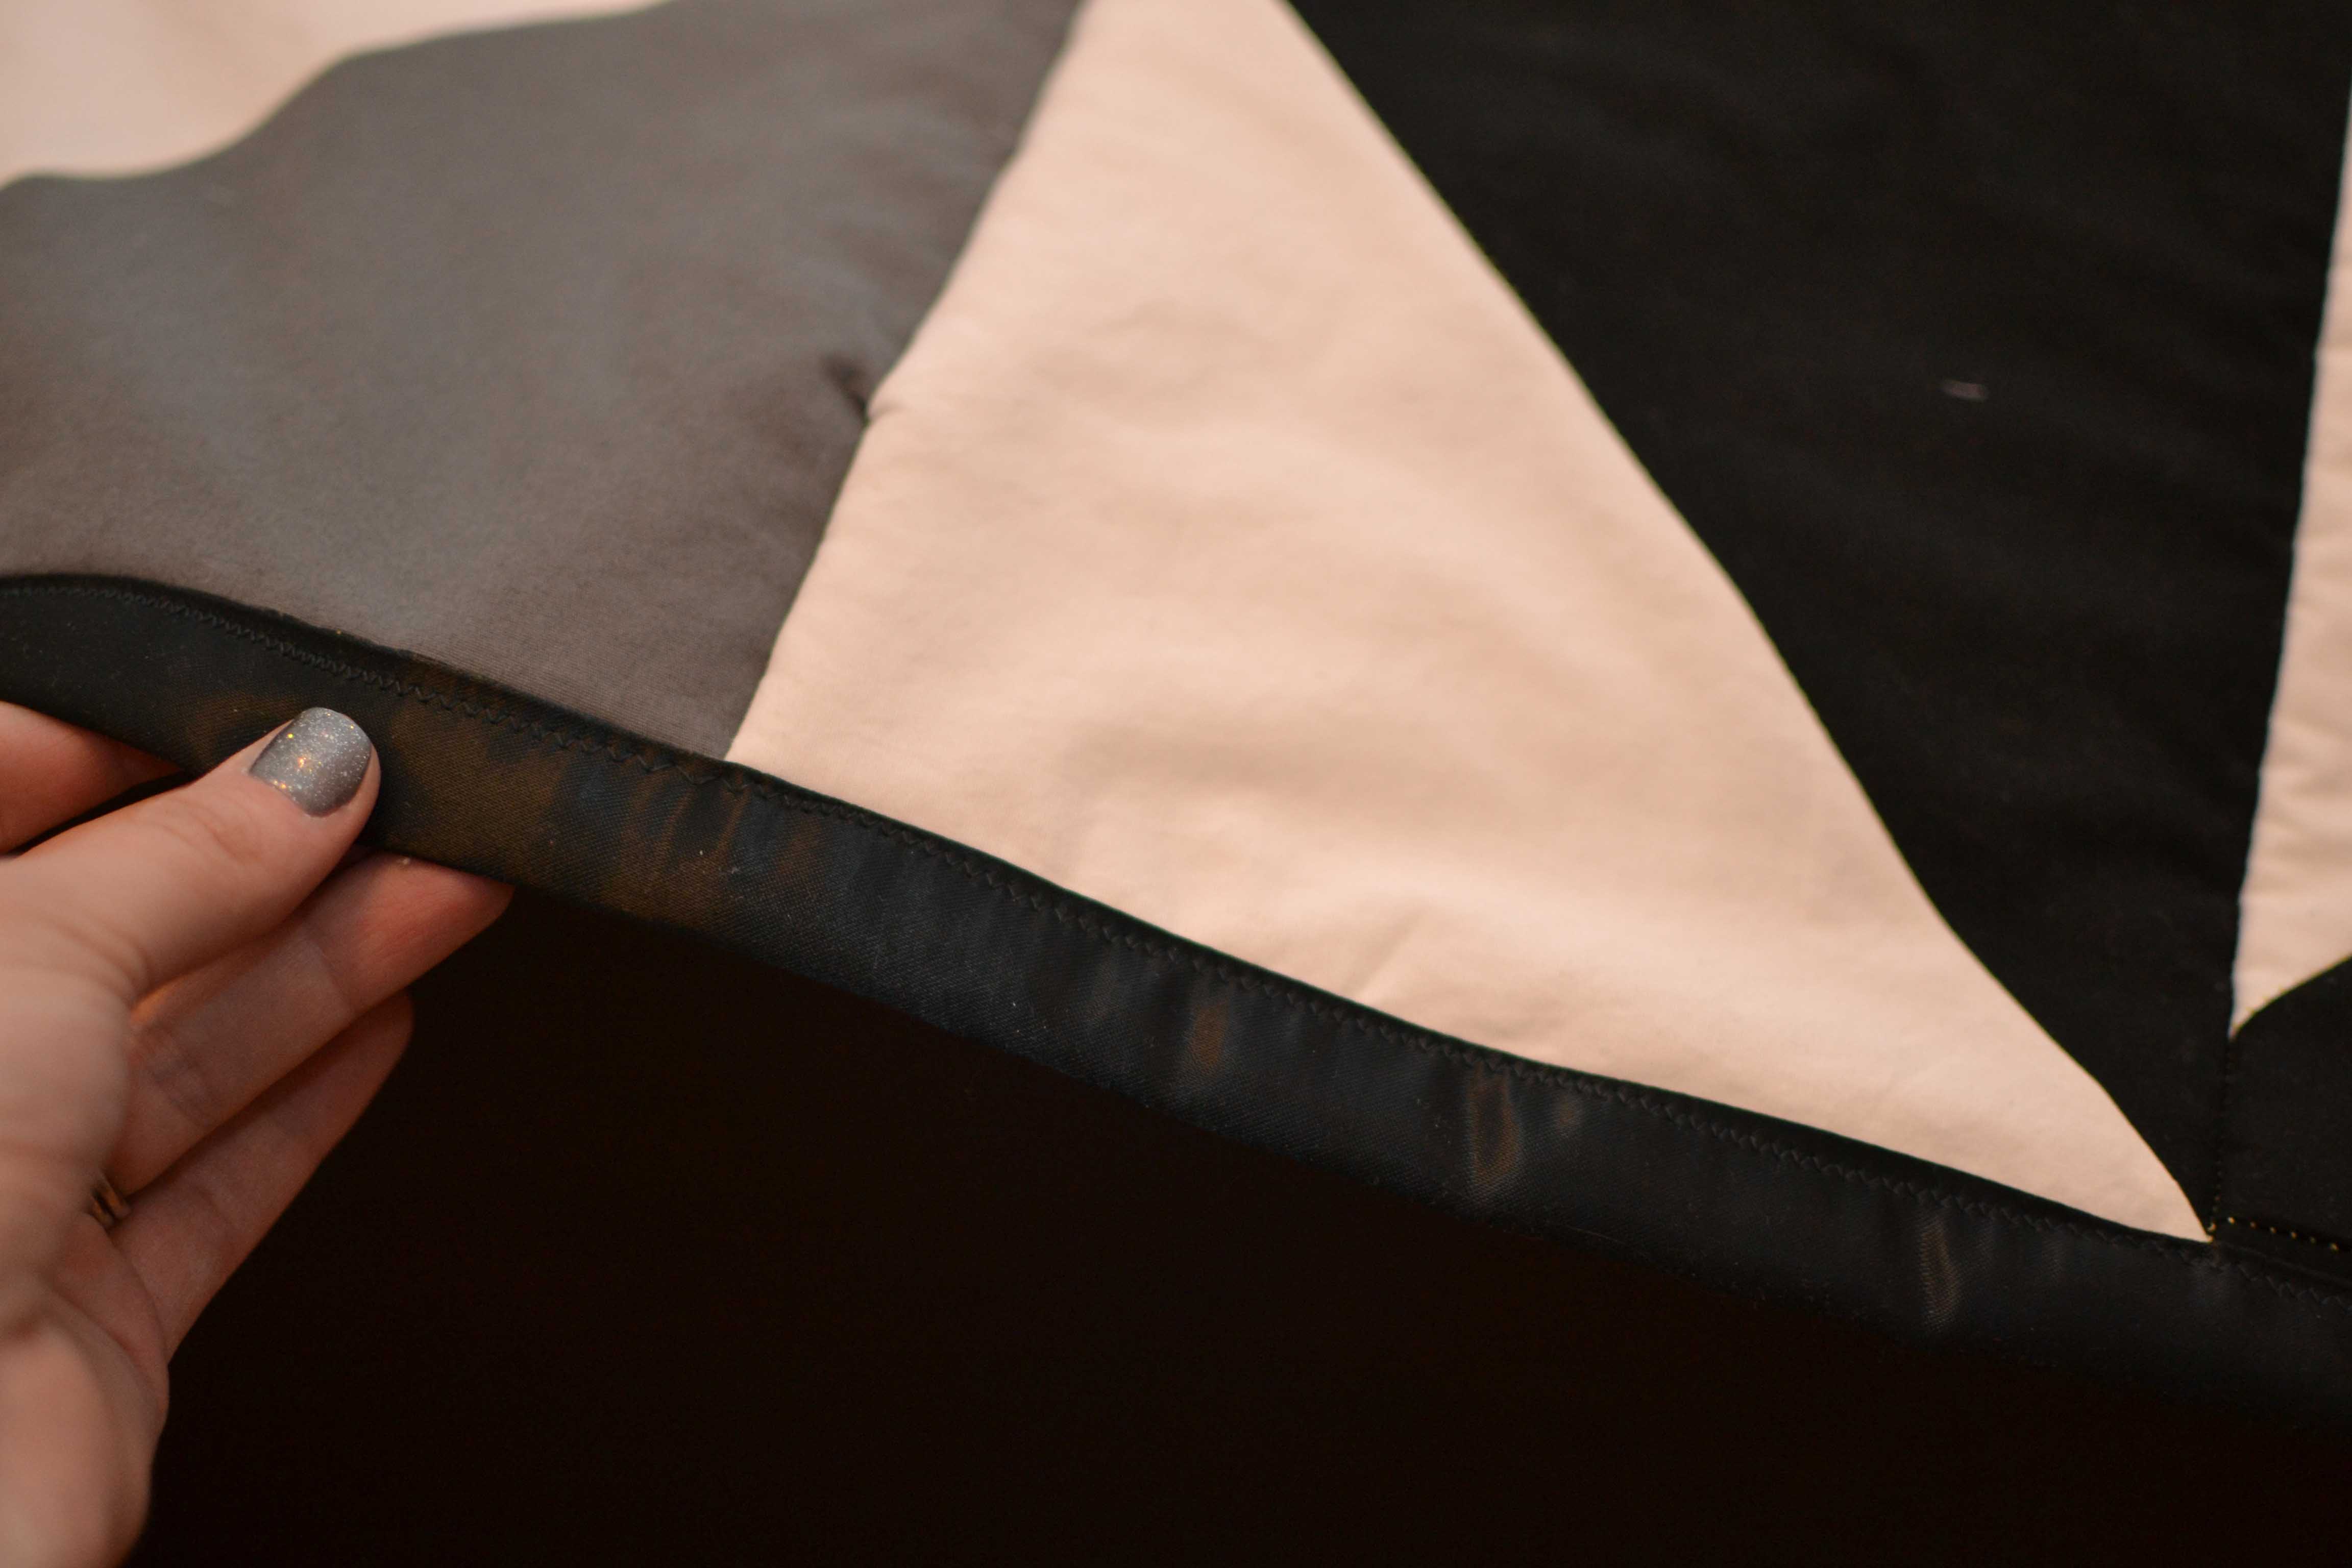 Here is a better view of the binding.
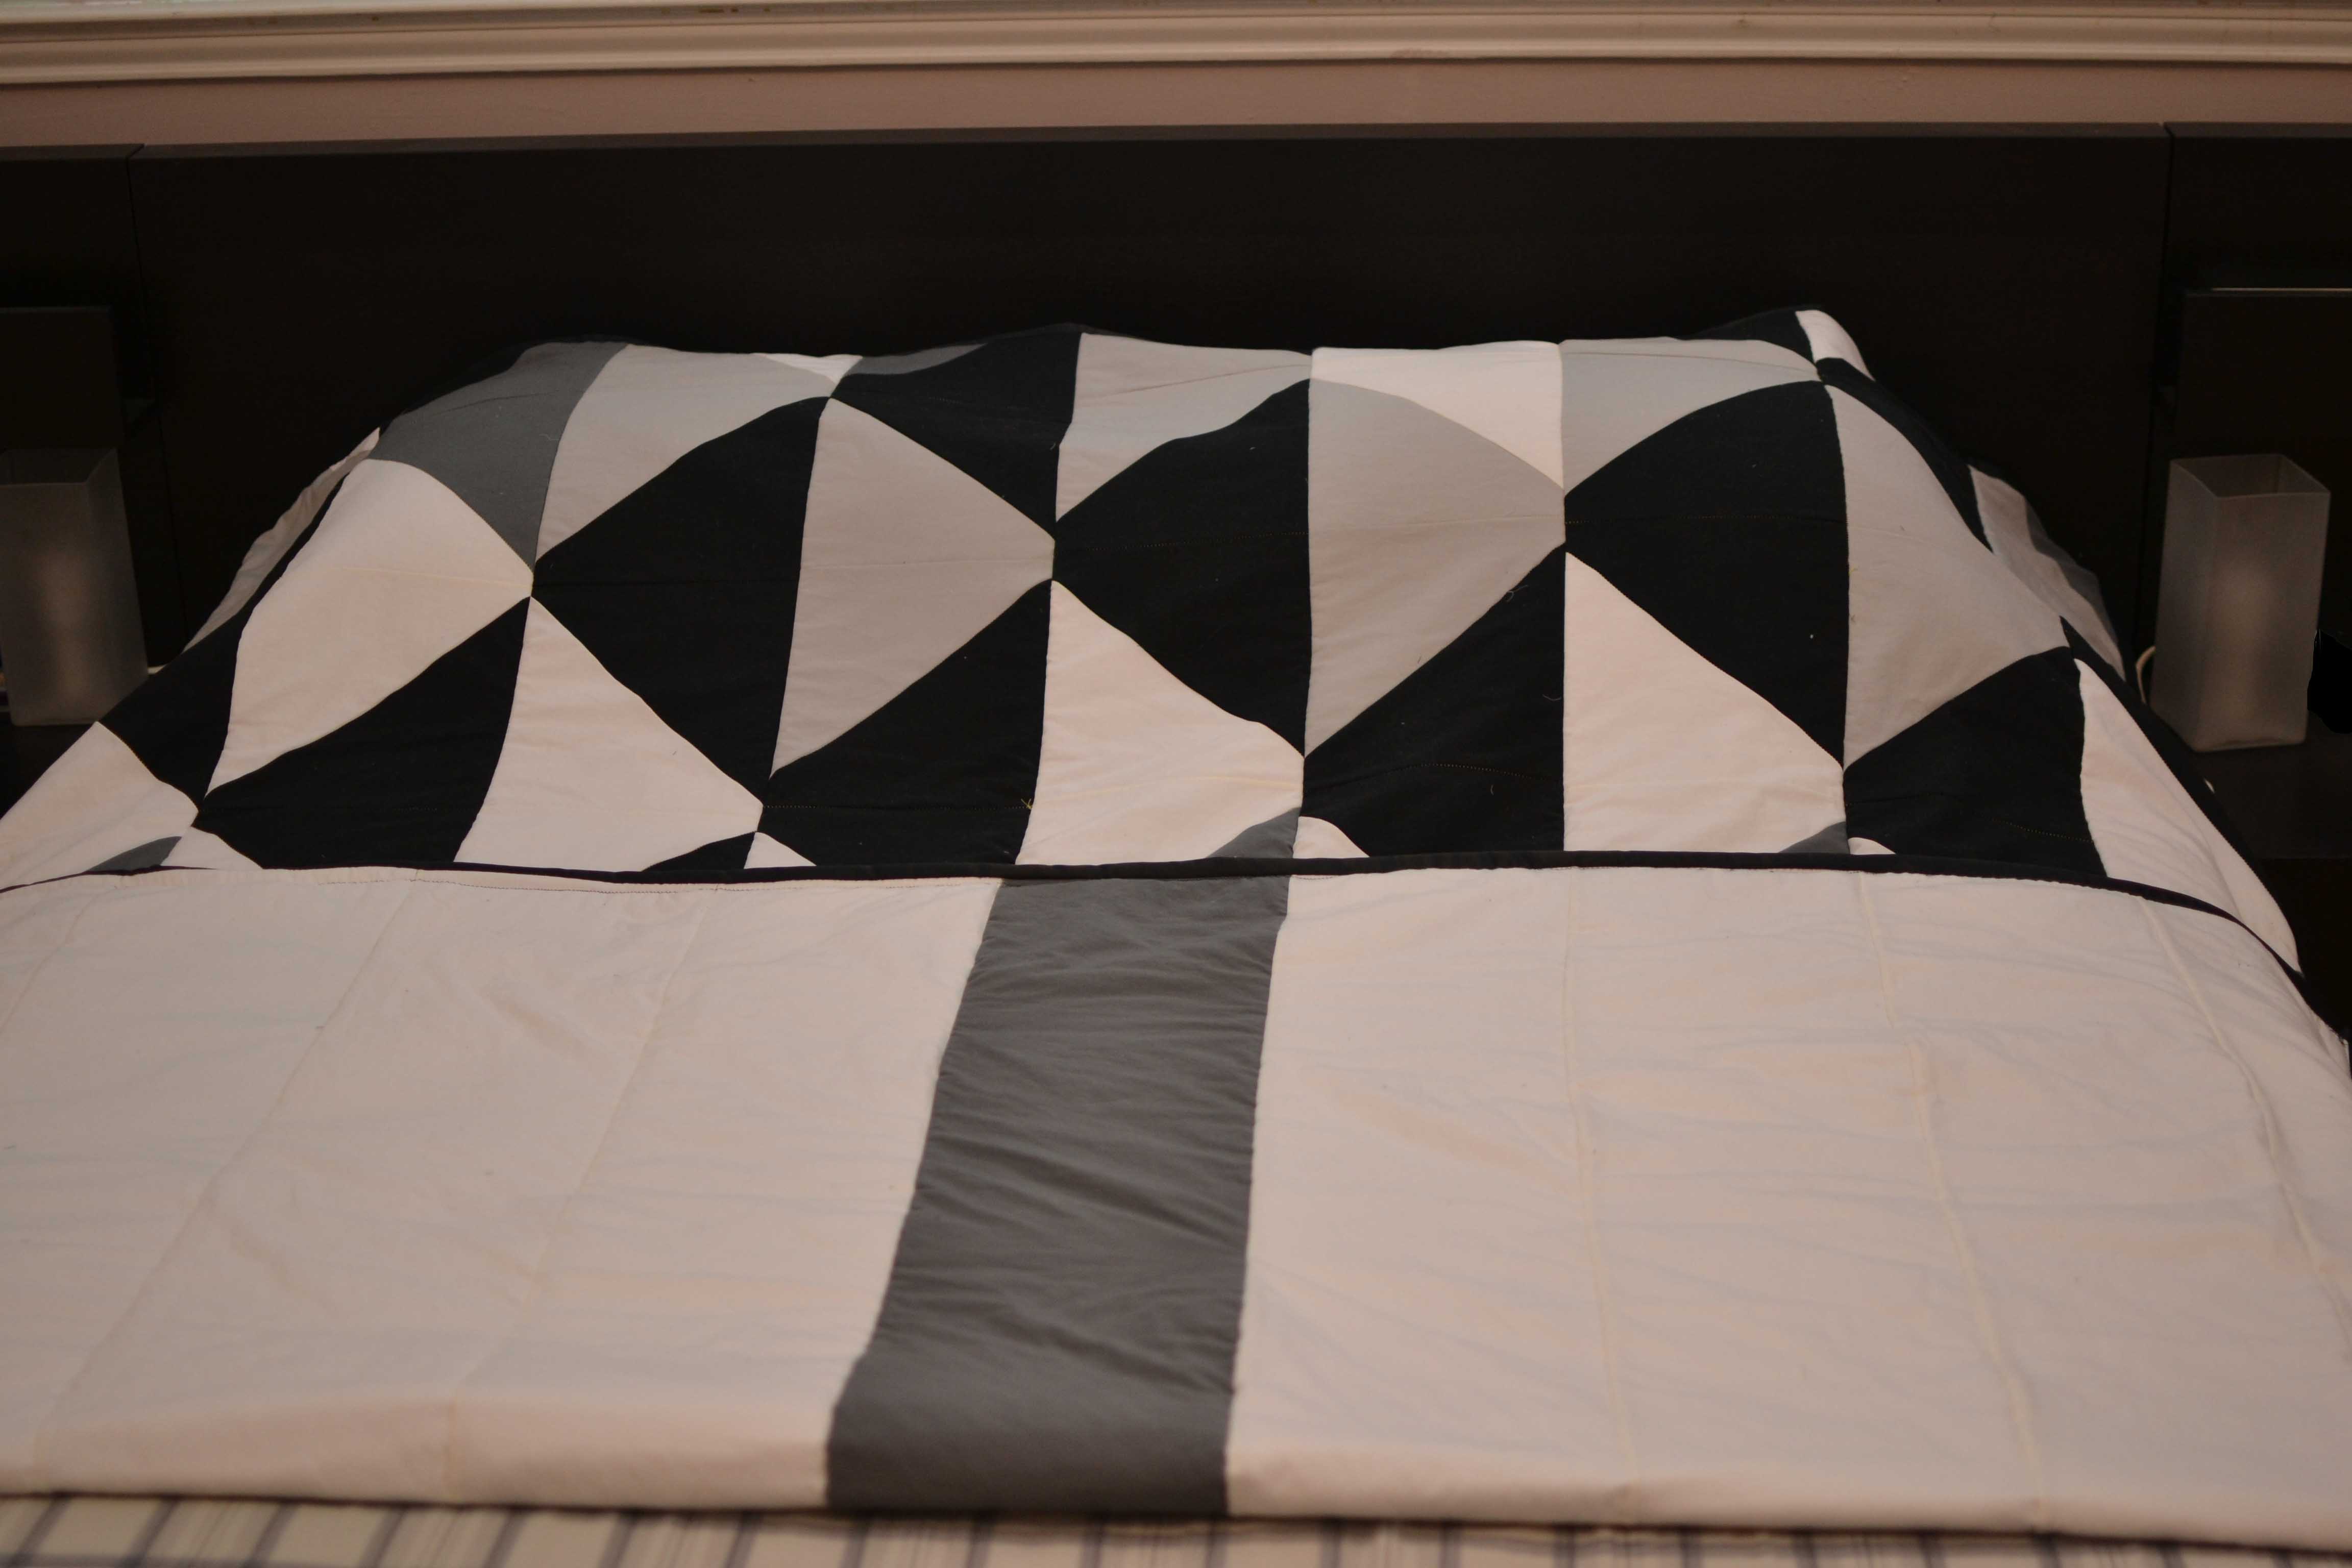
I also used 4 strips of white, 1 strip or grey, and 4 strips of white again to add some interest on the back.
 I like shorter quilts since Grant and I have a platform bed, and I dislike them trailing on the ground,but this quilt I would say is not quite big enough for our queen bed,but would be perfect for a full. So, I am glad I attempted it, and hopefully my future projects will look better than this one.
So to break down of costs:
$37 for sheets
$0 for Batting (would have spent $25)
$0 for backing sheet ( would have spent $15)
$10 for binding tape
$47 total for me someone else making it without the items I had would have spent $124 without coupons,etc. (could be lowered if you made your own binding tape) Either way, both of these prices are way cheaper than the 230 Euros without shipping or tax from the website. Now, I understand time is huge on this,but it just comes down to how badly you want something like this, and if you have the time to invest in it. Â Anyway, I hope you like it and don’t judge to harshly the imperfection of my quilt. 🙂
Part of the Link up Party Here!
http://owensolivia.blogspot.com/2013/03/lets-get-aquainted-monday-link-up-party.html
2 comments
I ´m proud of you for trying and succeeding! There is always something you learn from a project, thanks for sharing.
The quilt I made for Simon and Sarah I did in sqares. In the end then I just sewed all the quilted sqares together with strips.There is still an unfinished quilt I started in 1988 and it´s almost finished! Have fun being creative! Love, Irene
It looks great, Jess!