

So far for my baby shower gifts that I am trying to put together in advanced, I have made Burp cloths (tutorial#1 & tutorial#2), Baby Girl Headbands with Bows (Tutorial), Bow pins (Tutorial), and now for the boy baskets, I wanted to make some cute little boy hats or beanies. Below is my tutorial.
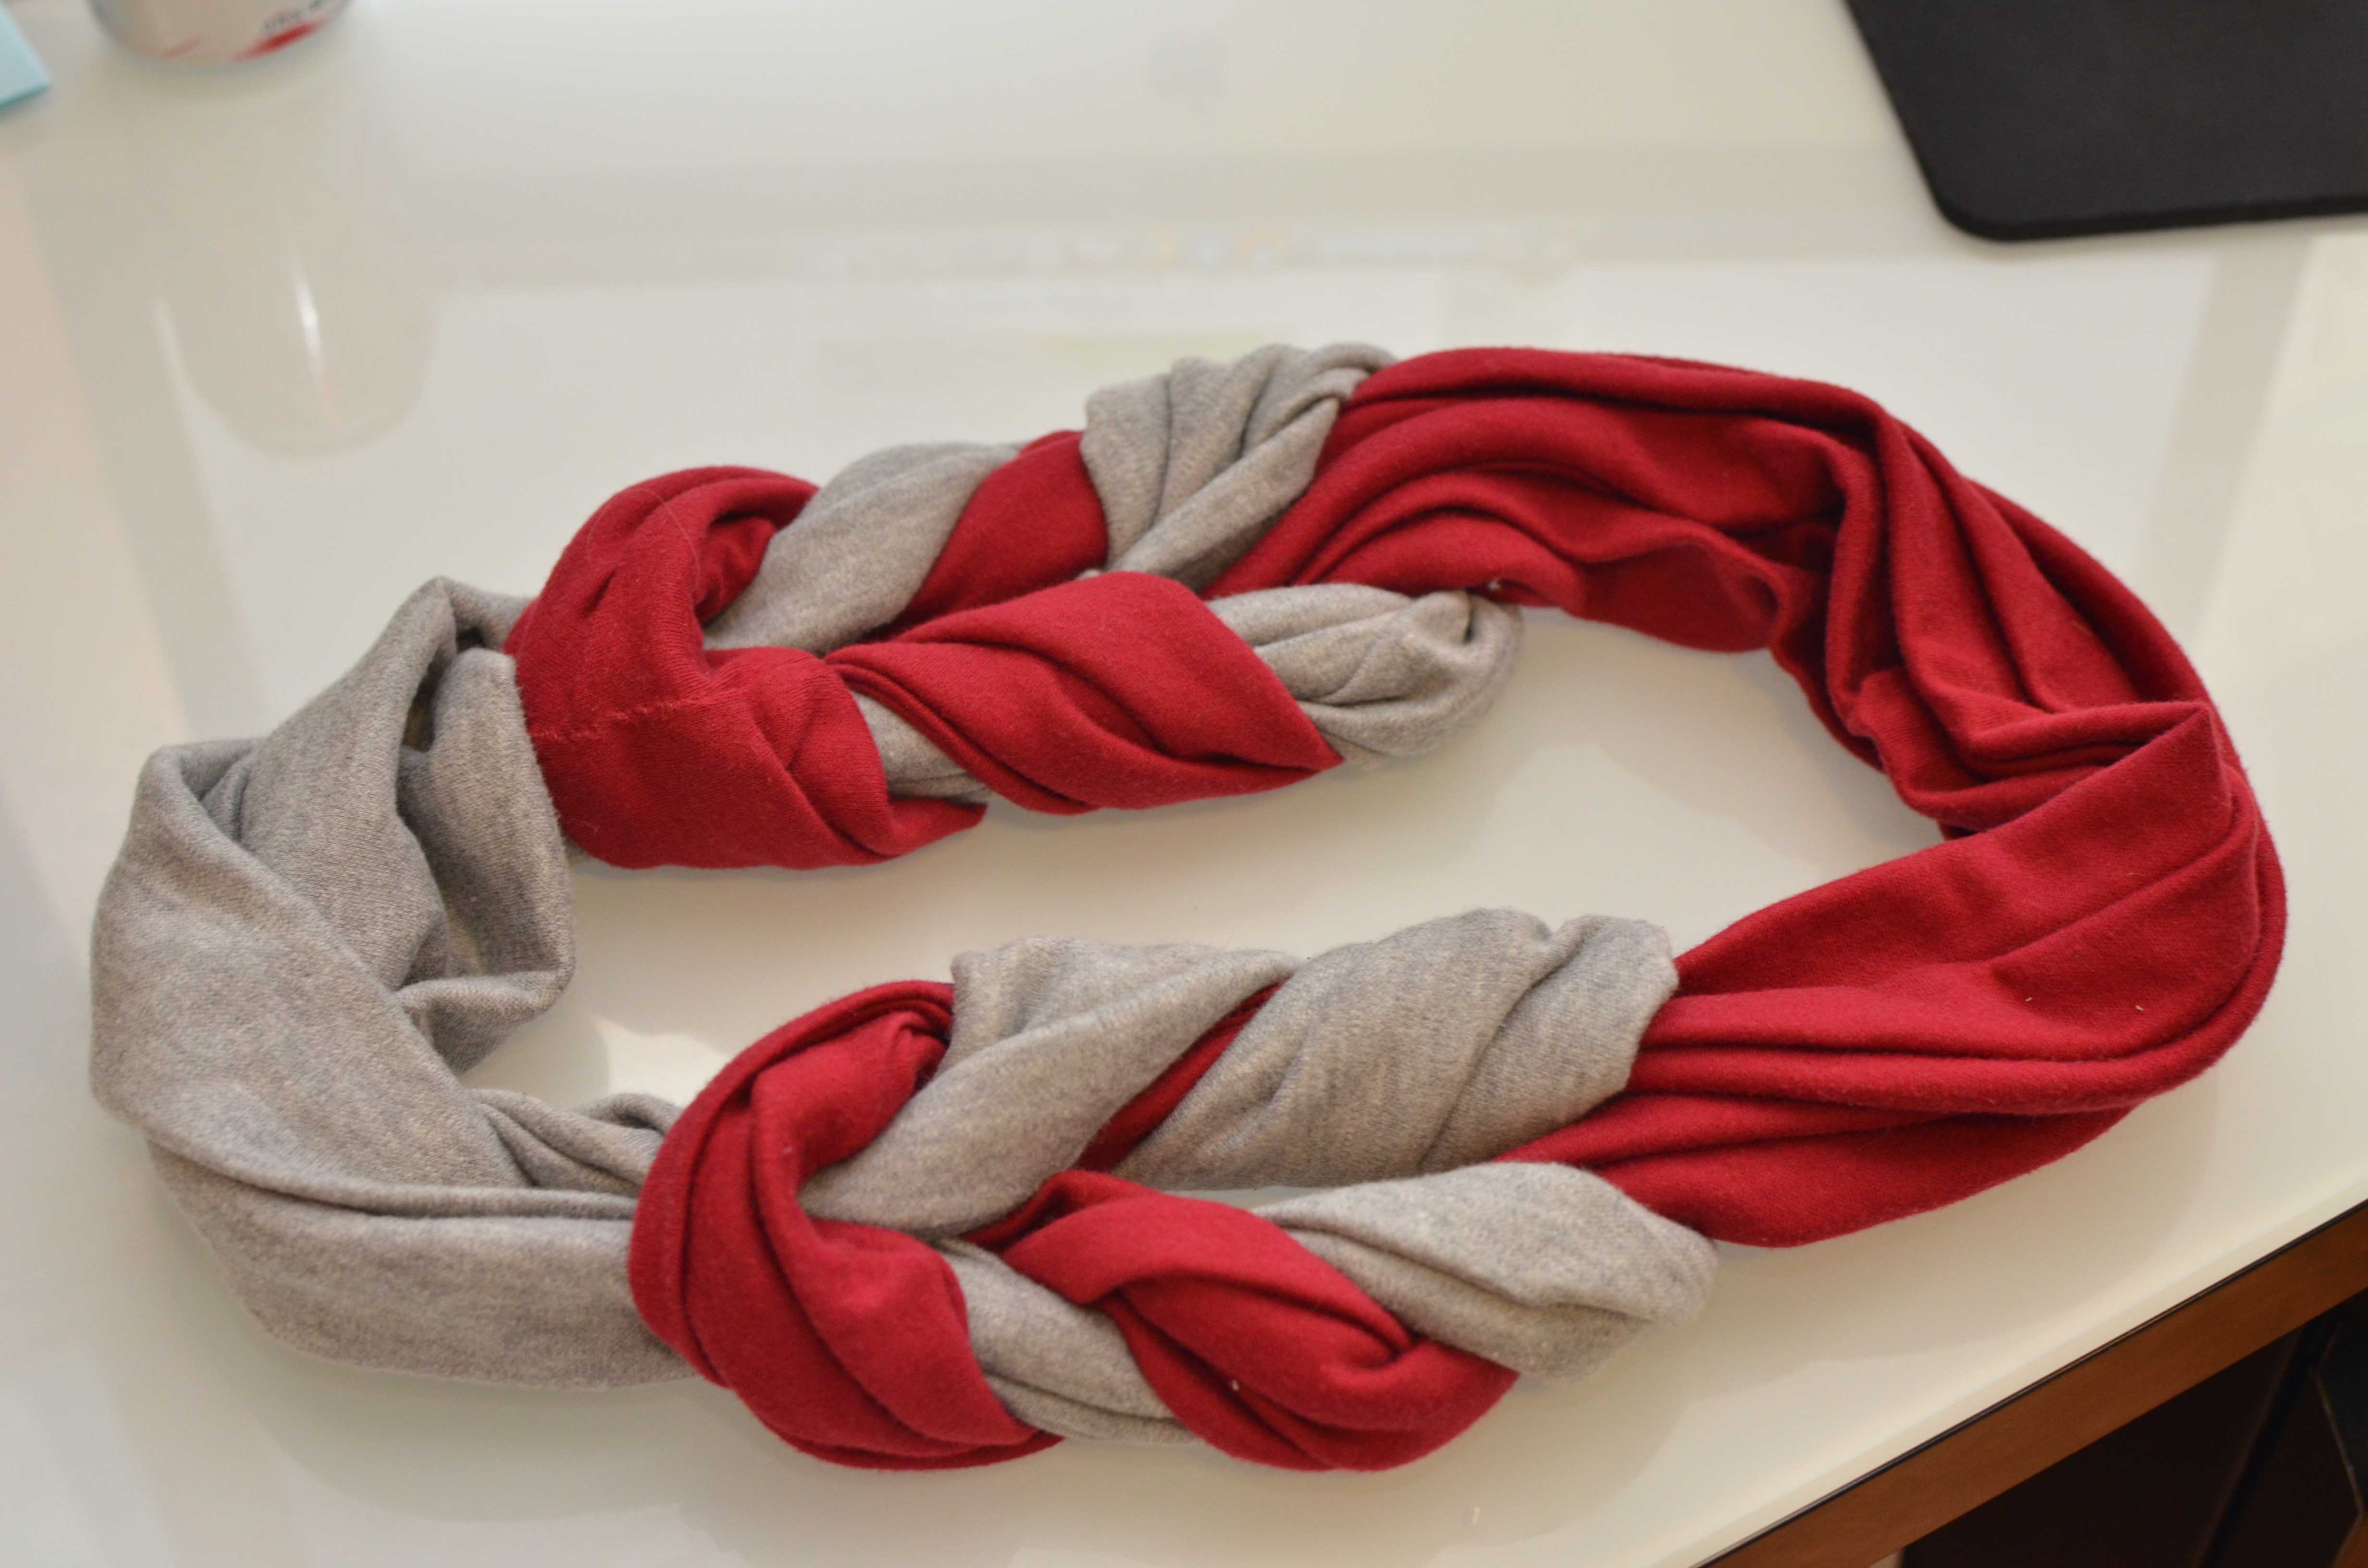
I made this scarf after seeing it on pinterest, and while it looks good I never wear it. So, I decided I would rather use the knit fabric for something else.

After completely taking it apart with my awesome seam ripper, which I got HERE, it was time to start cutting stuff. (I am not paid to advertise the seam ripper, they are just handmade on Etsy out of acrylic on a lathe and make great gifts. I gave one to my mom for her birthday and she loves it.)
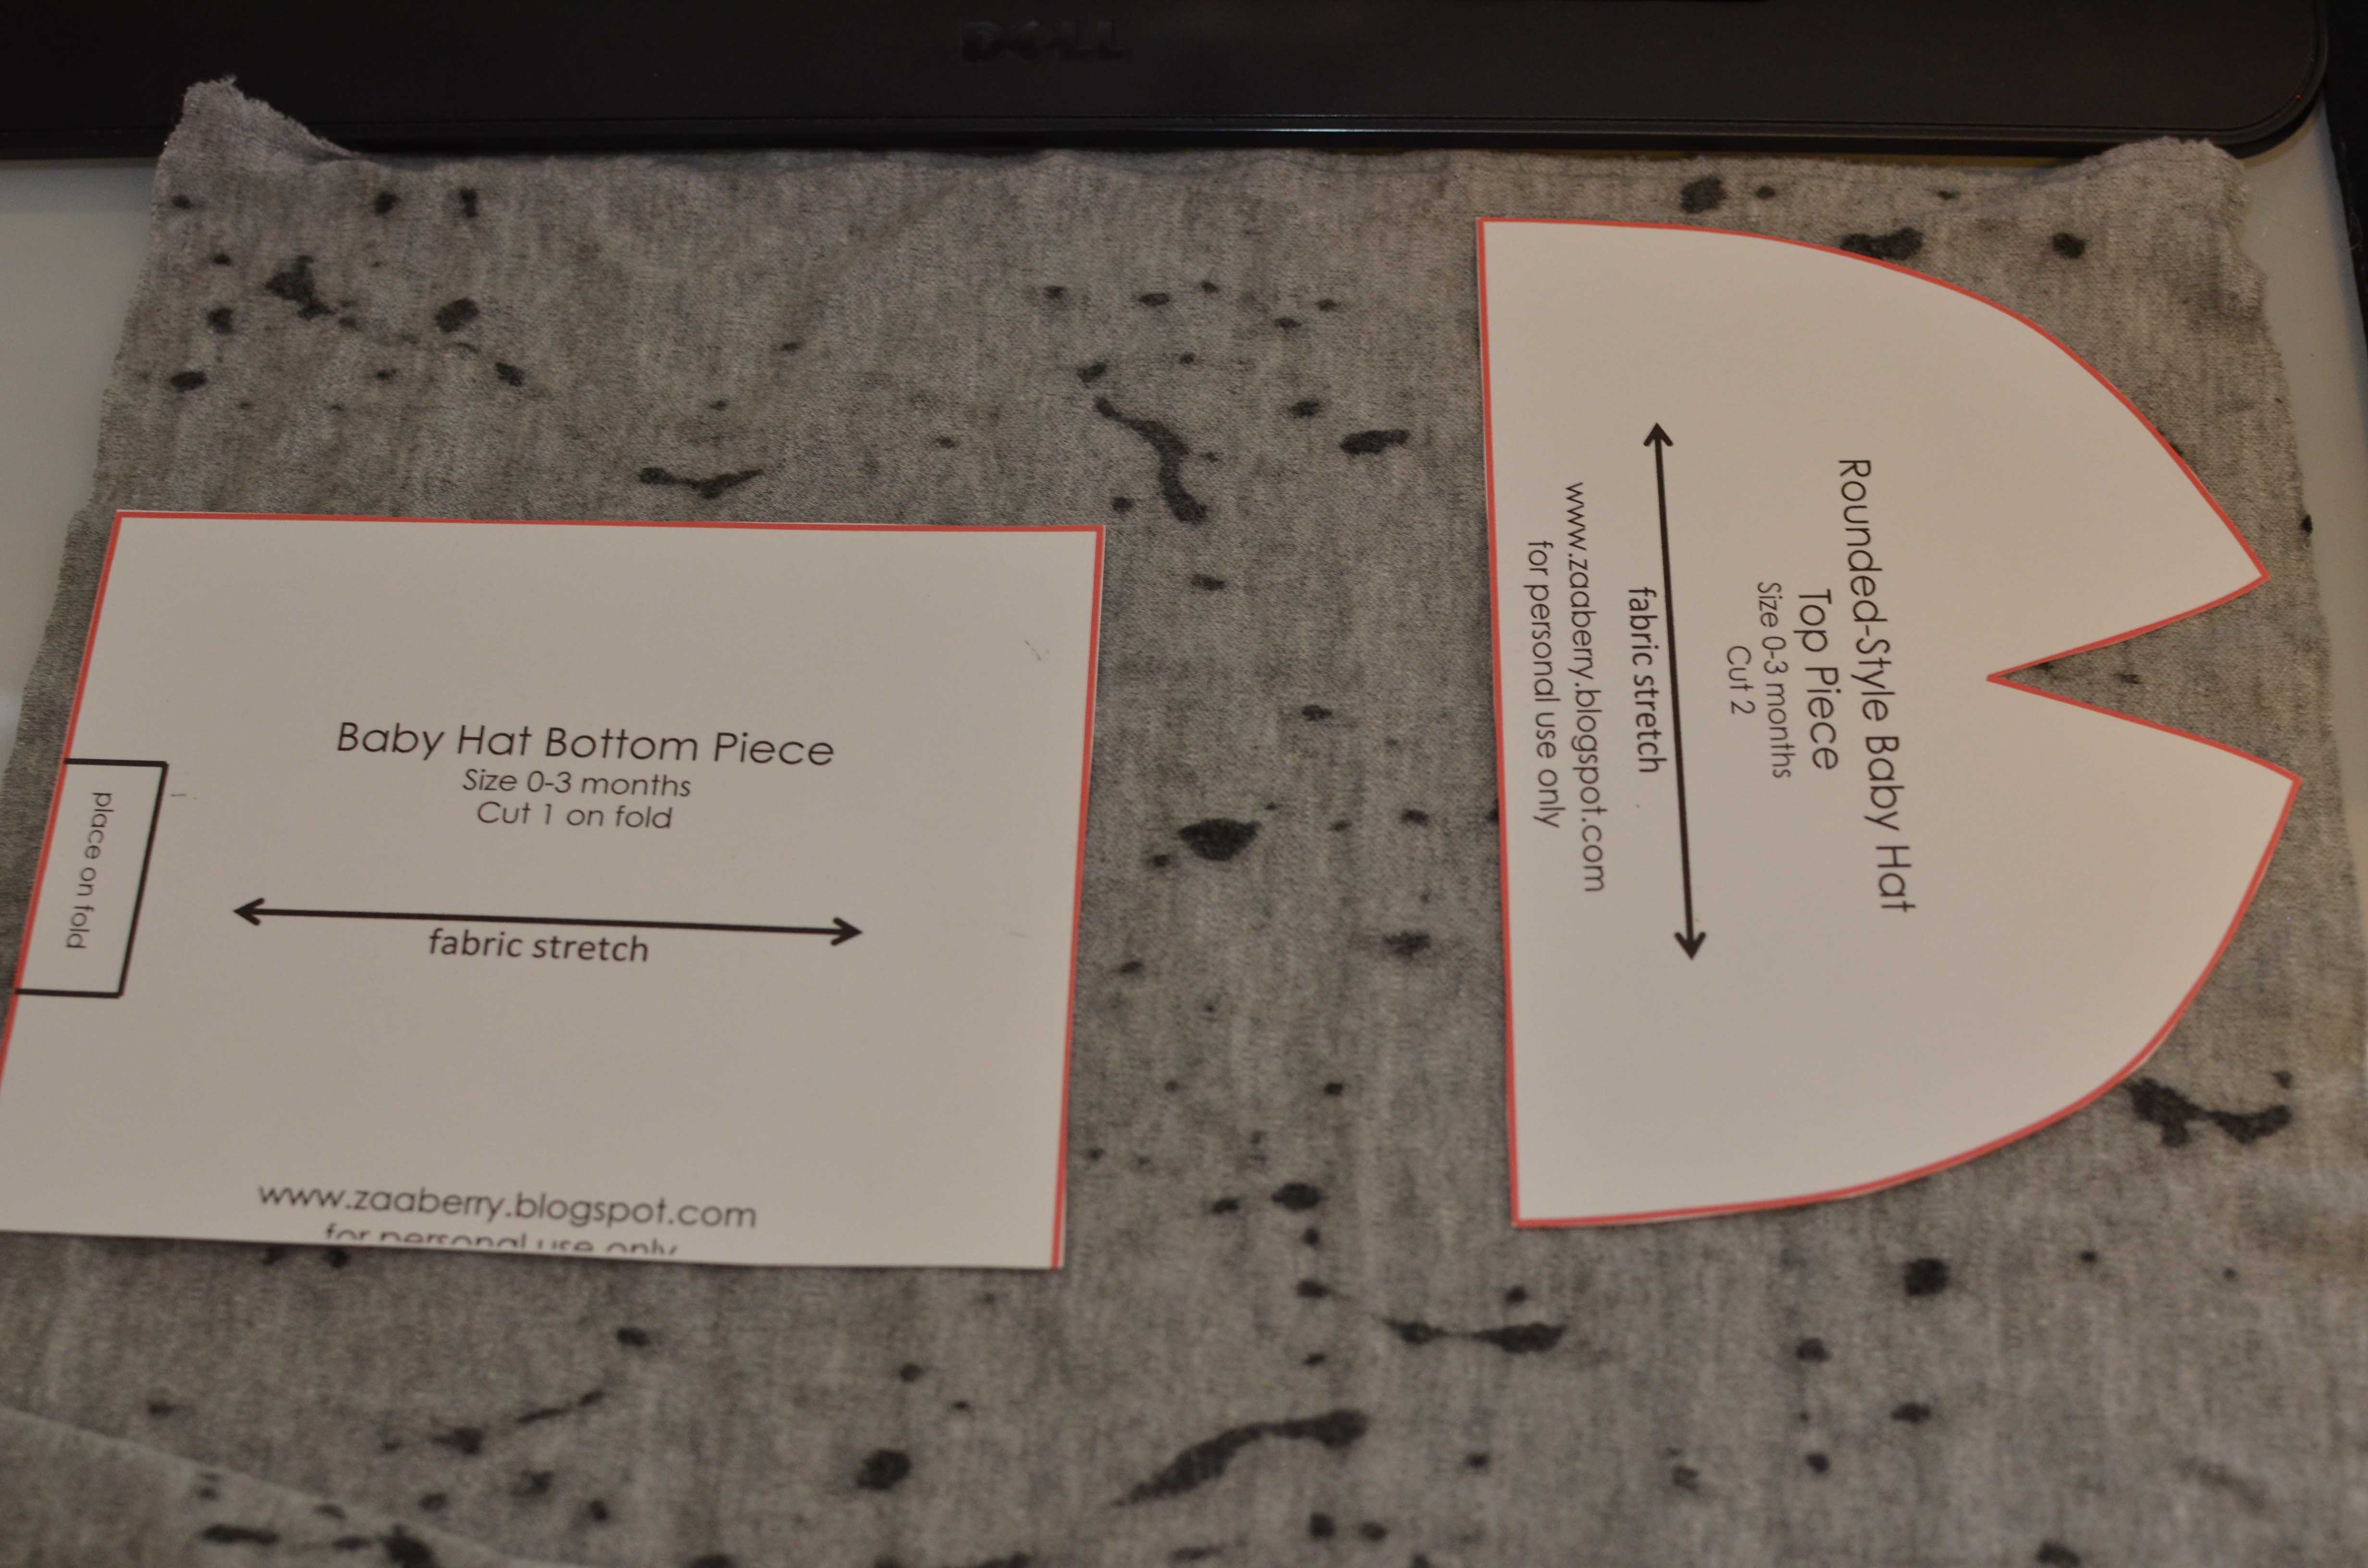
So, I found the tutorial on how to make these hats HERE. She has free printable patterns on there and very good instructions. BUT don’t make the same mistake that I did, if you look above you can see that “Fabric Stretch” is denoted and can’t run two different ways at the same time. On knits, you can easily tell which way the fabric stretches buy simply pulling in one direction and then the other. So, if you cut some of the pieces incorrectly, the headband for instance that should wrap around the head won’t stretch to fit the head,etc.
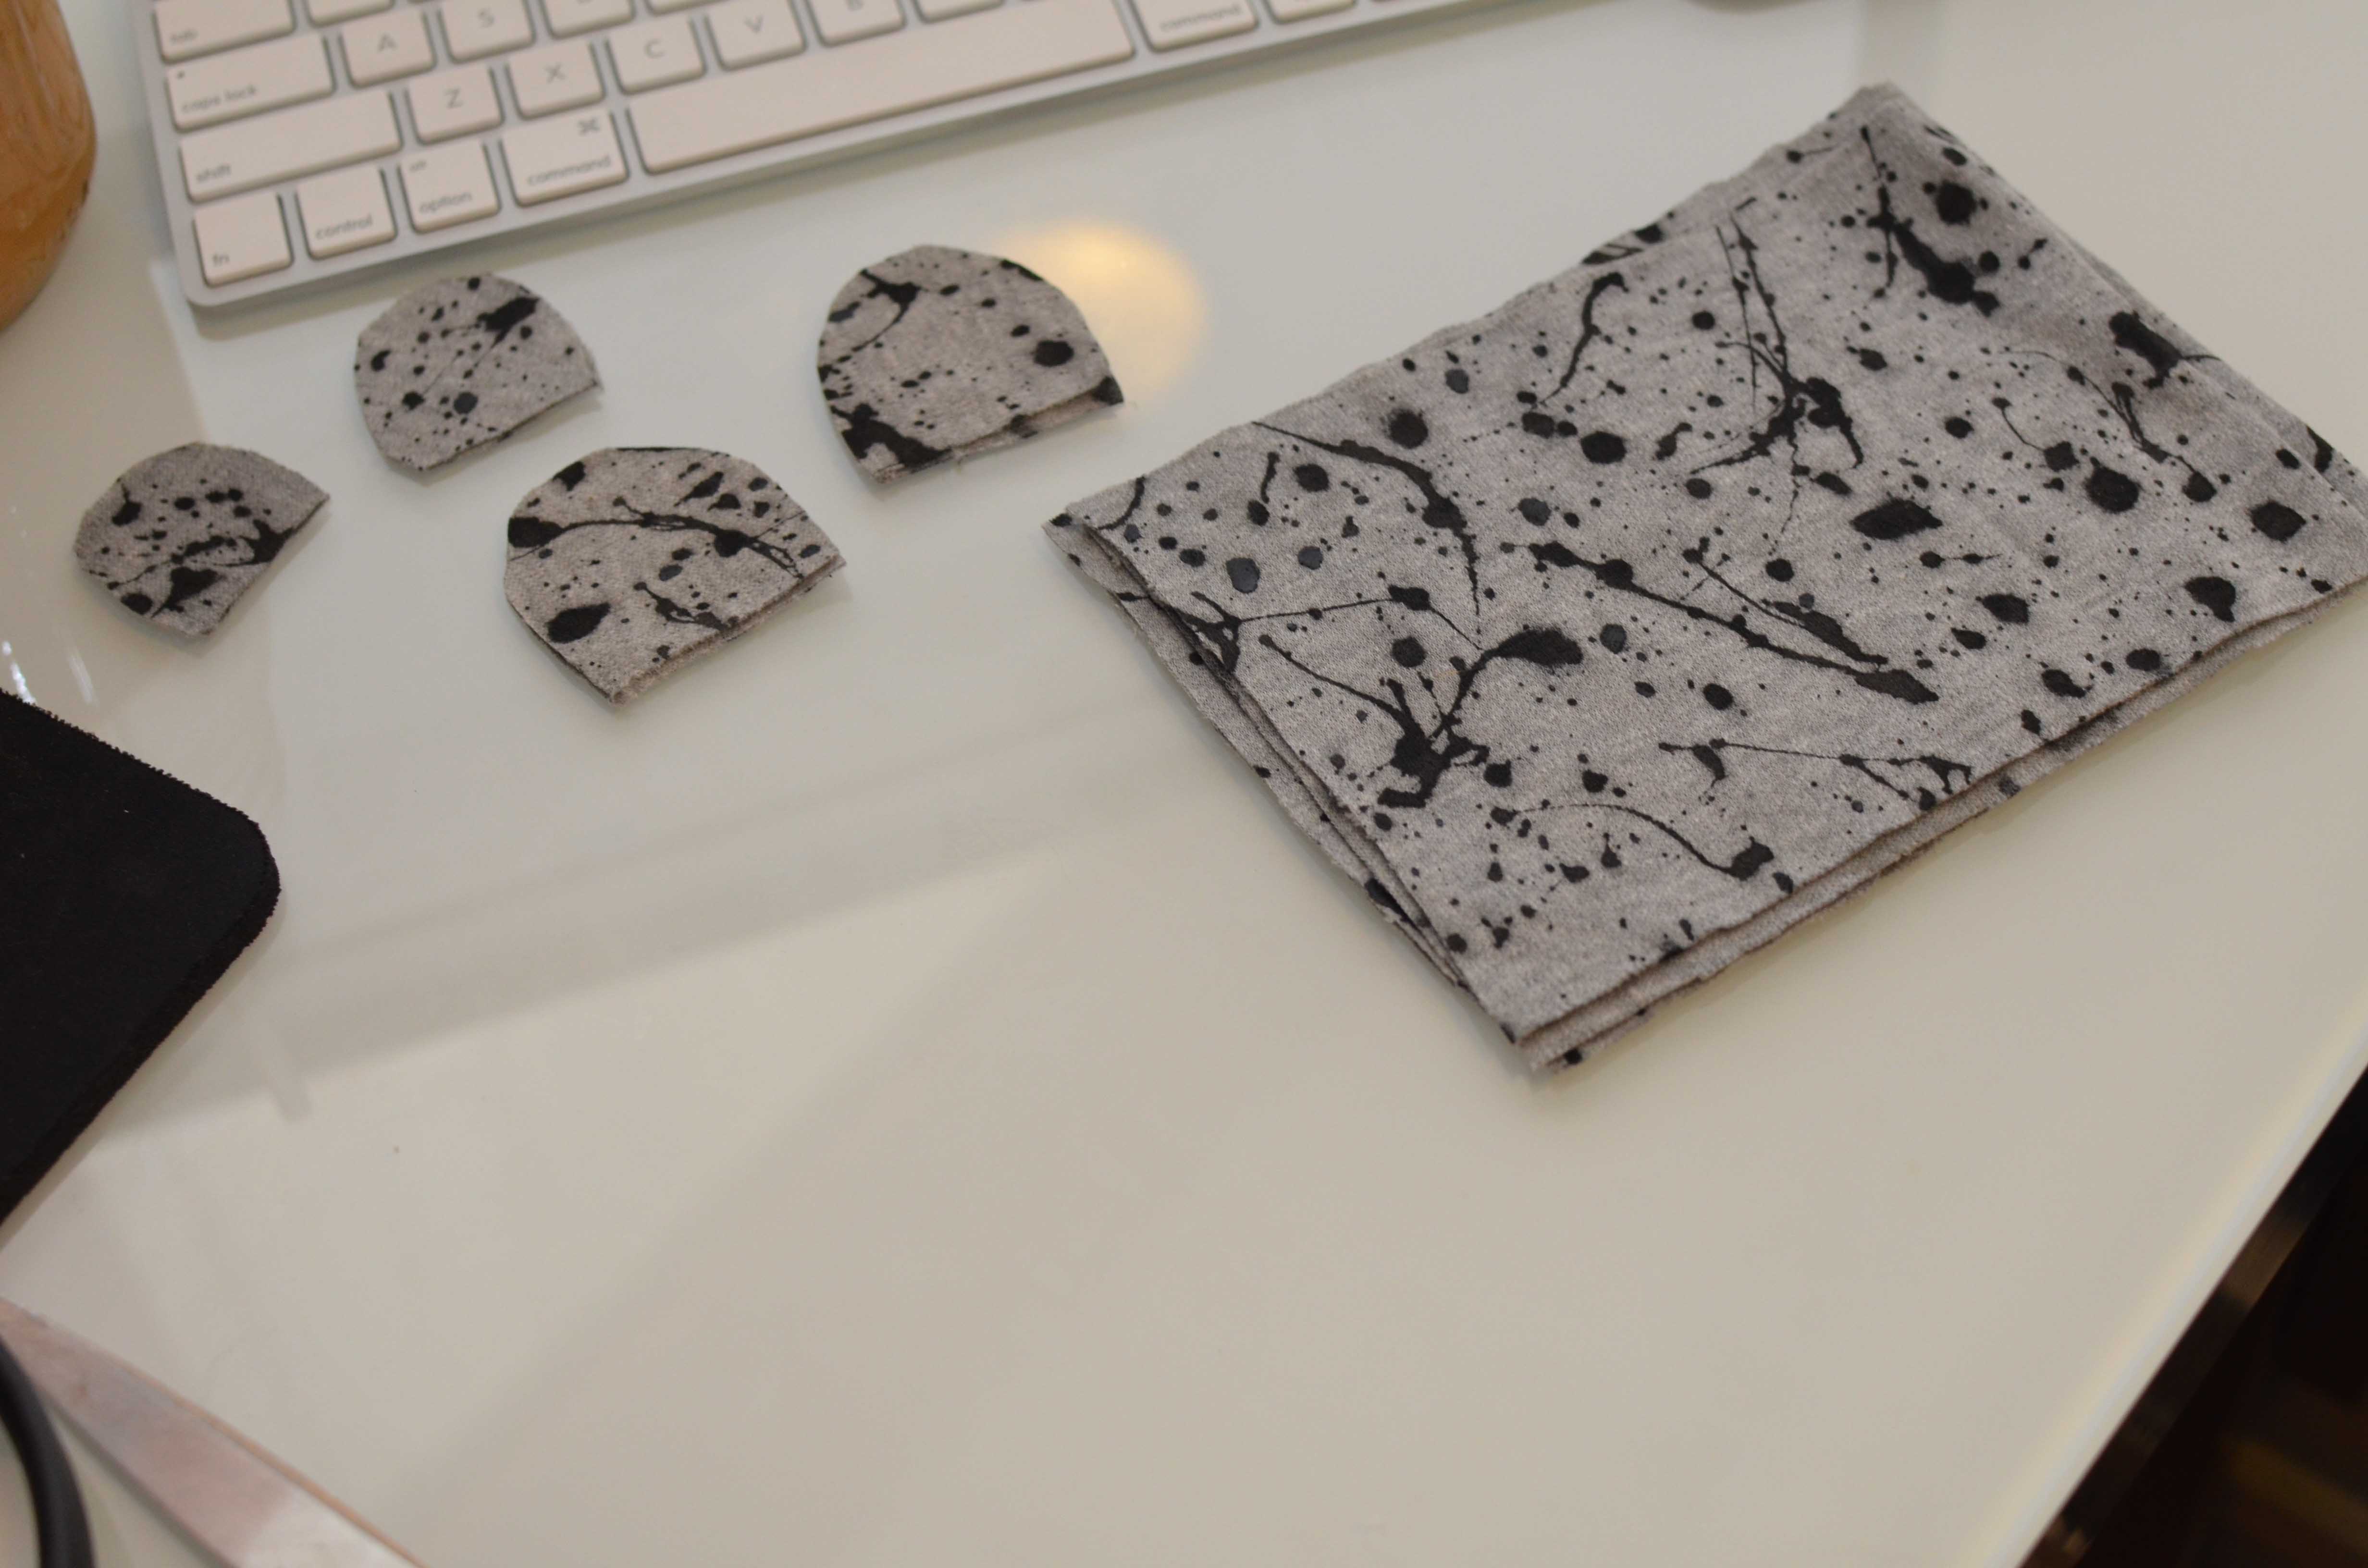
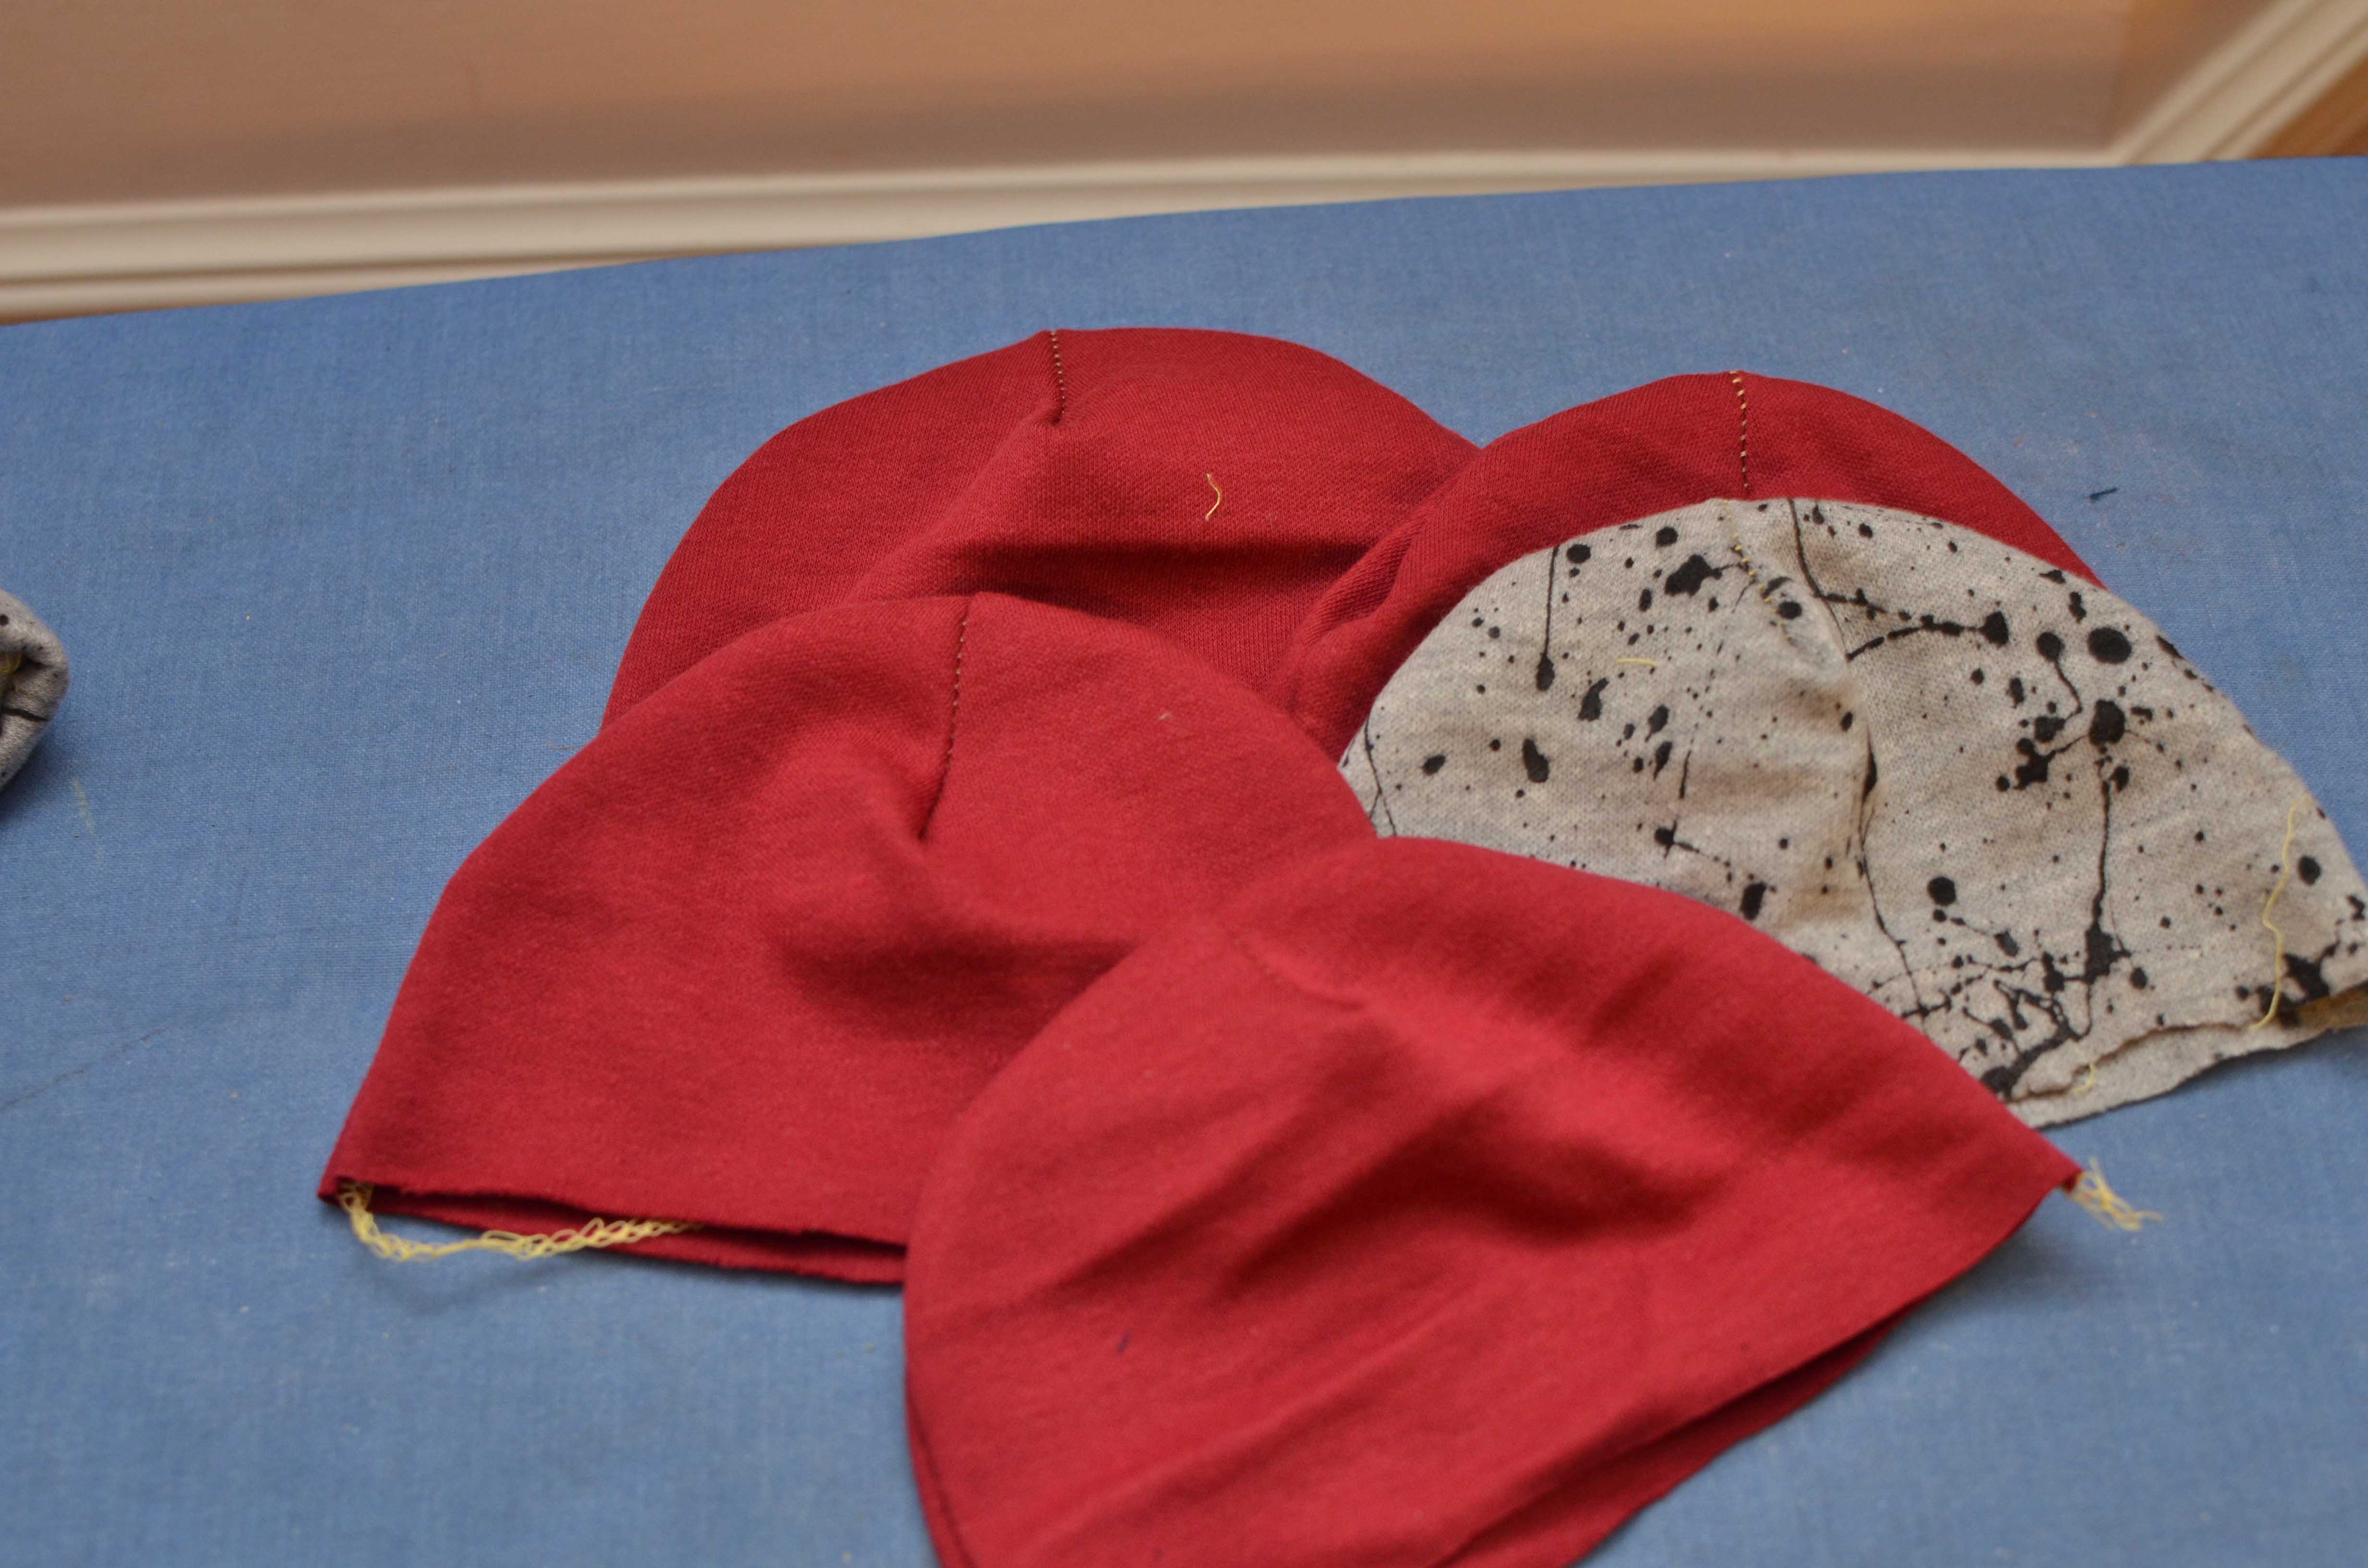
Here are some of the pieces that I cut, and as you can tell, I decided to splatter paint with fabric paint some of my fabric to give it some interest and an edgier look. I was inspired by this post!

Here you can see I laid out the pieces.
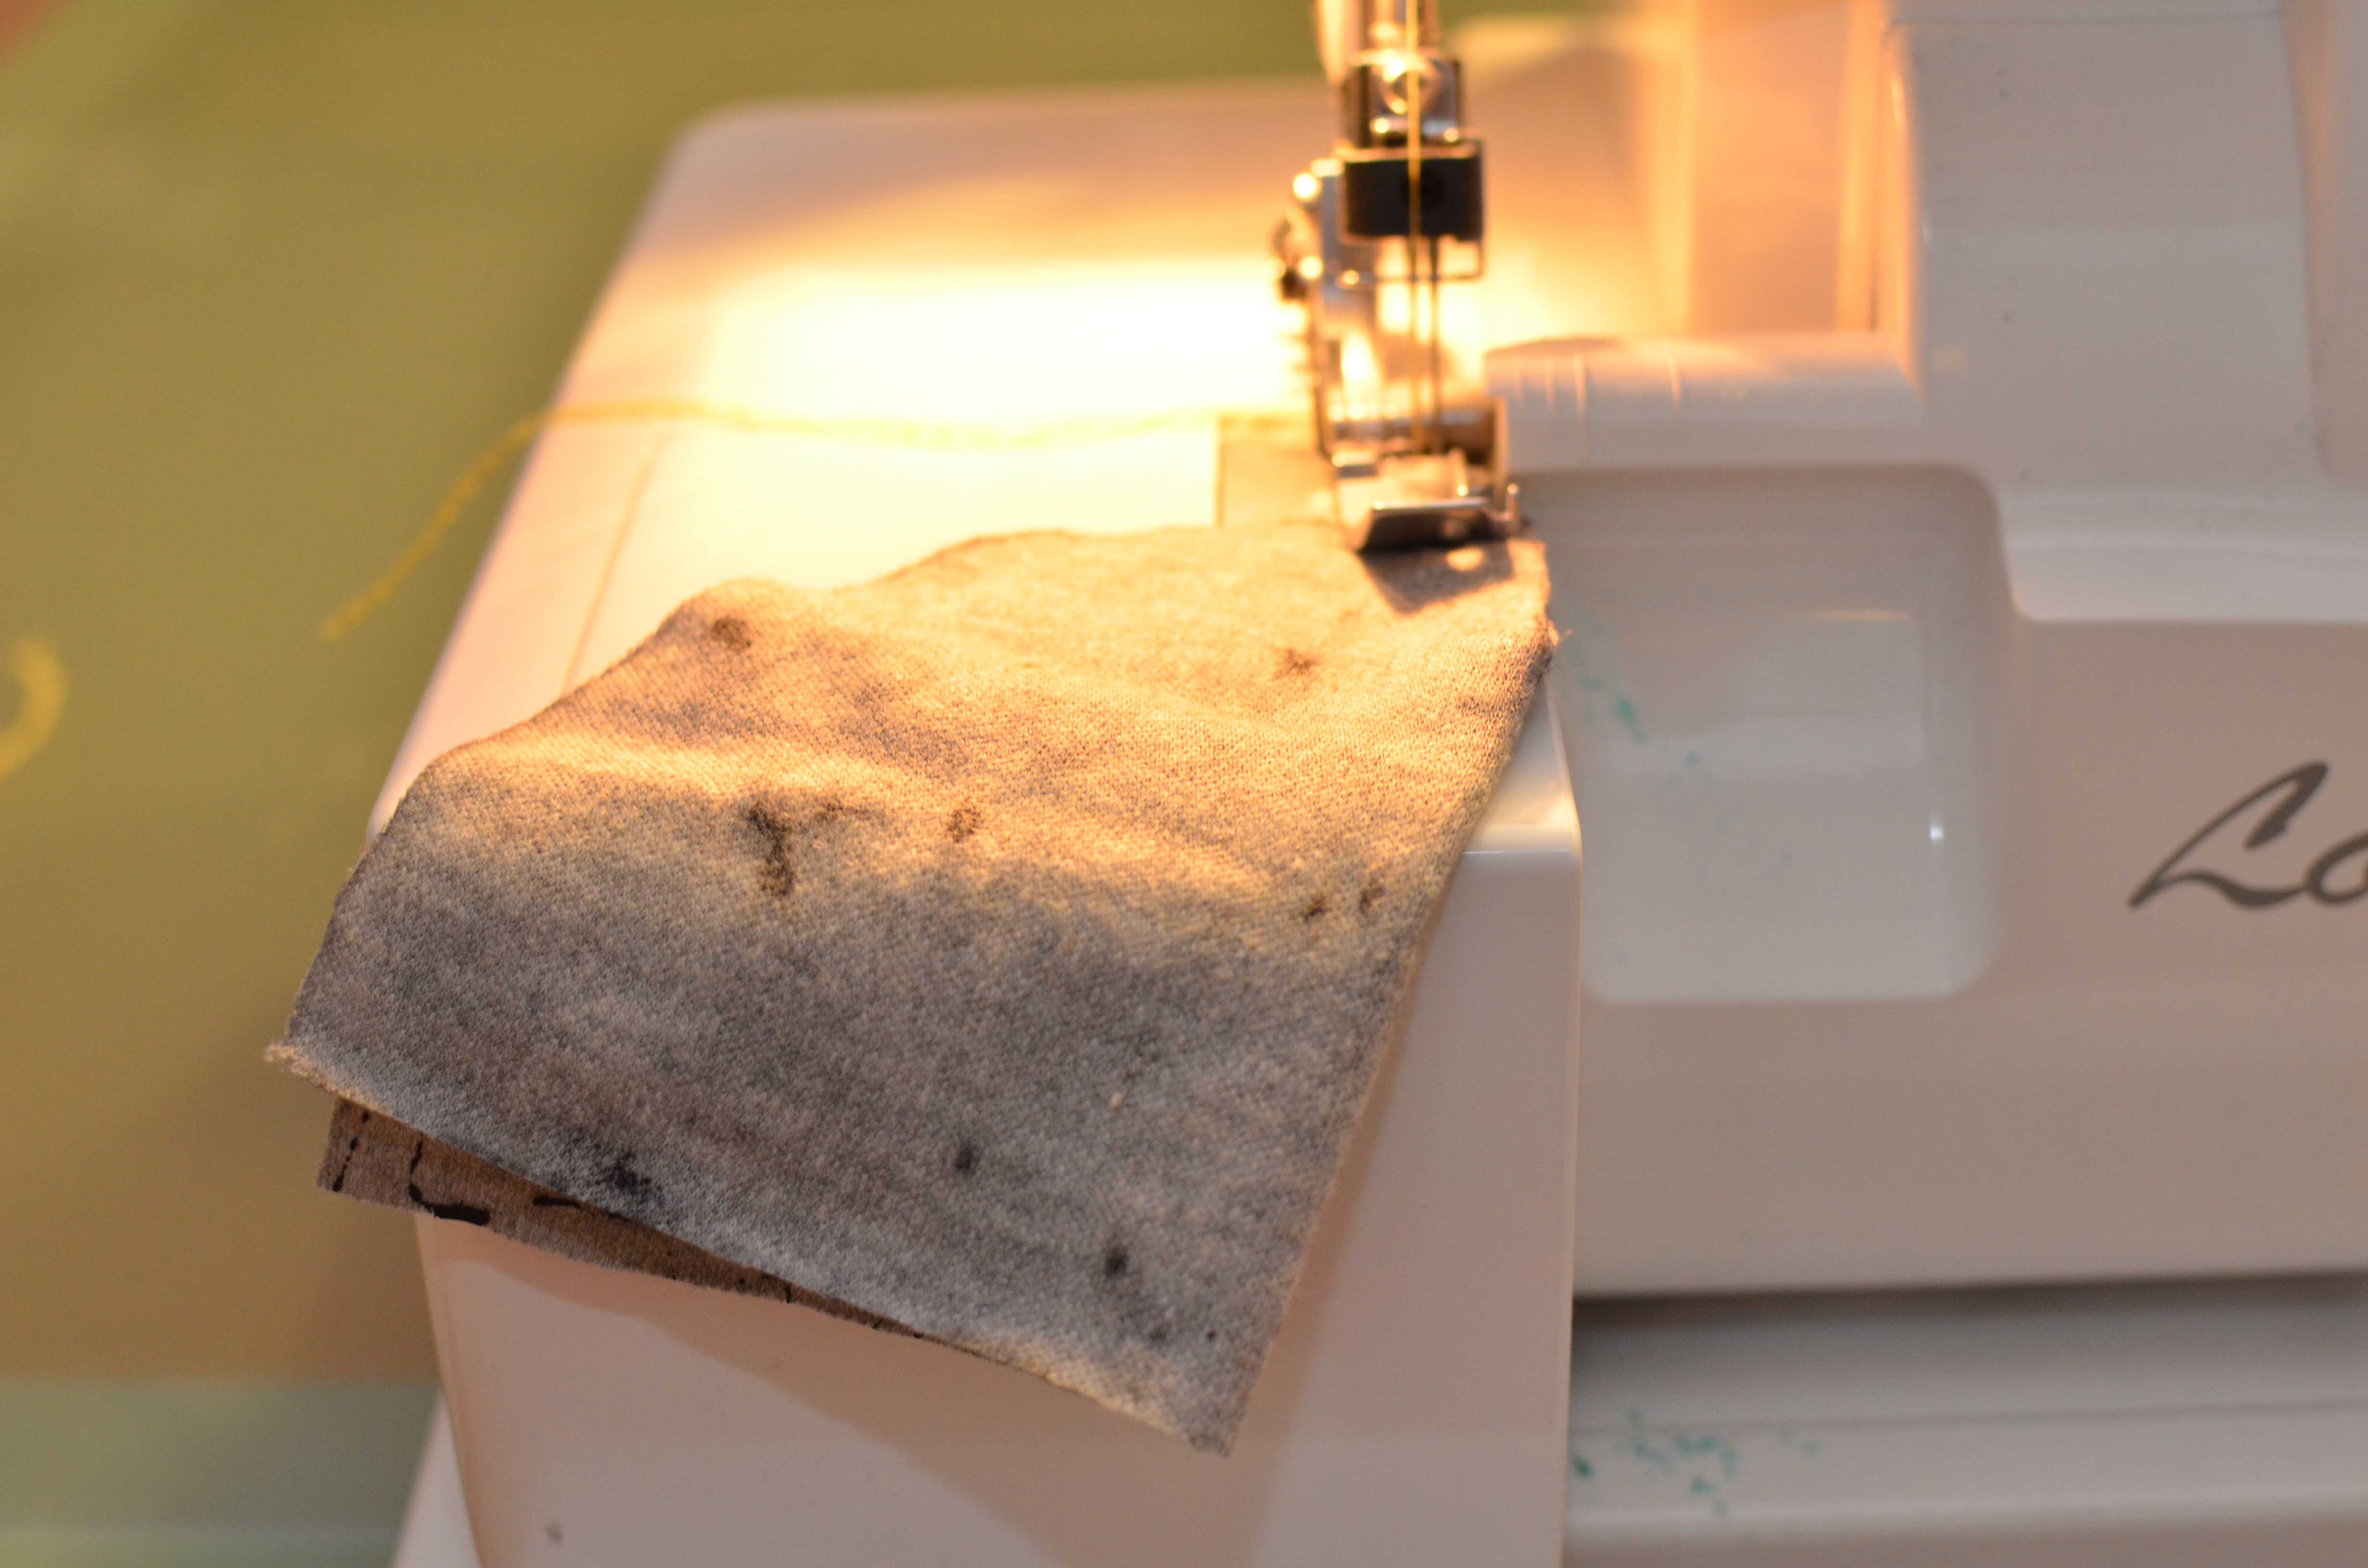
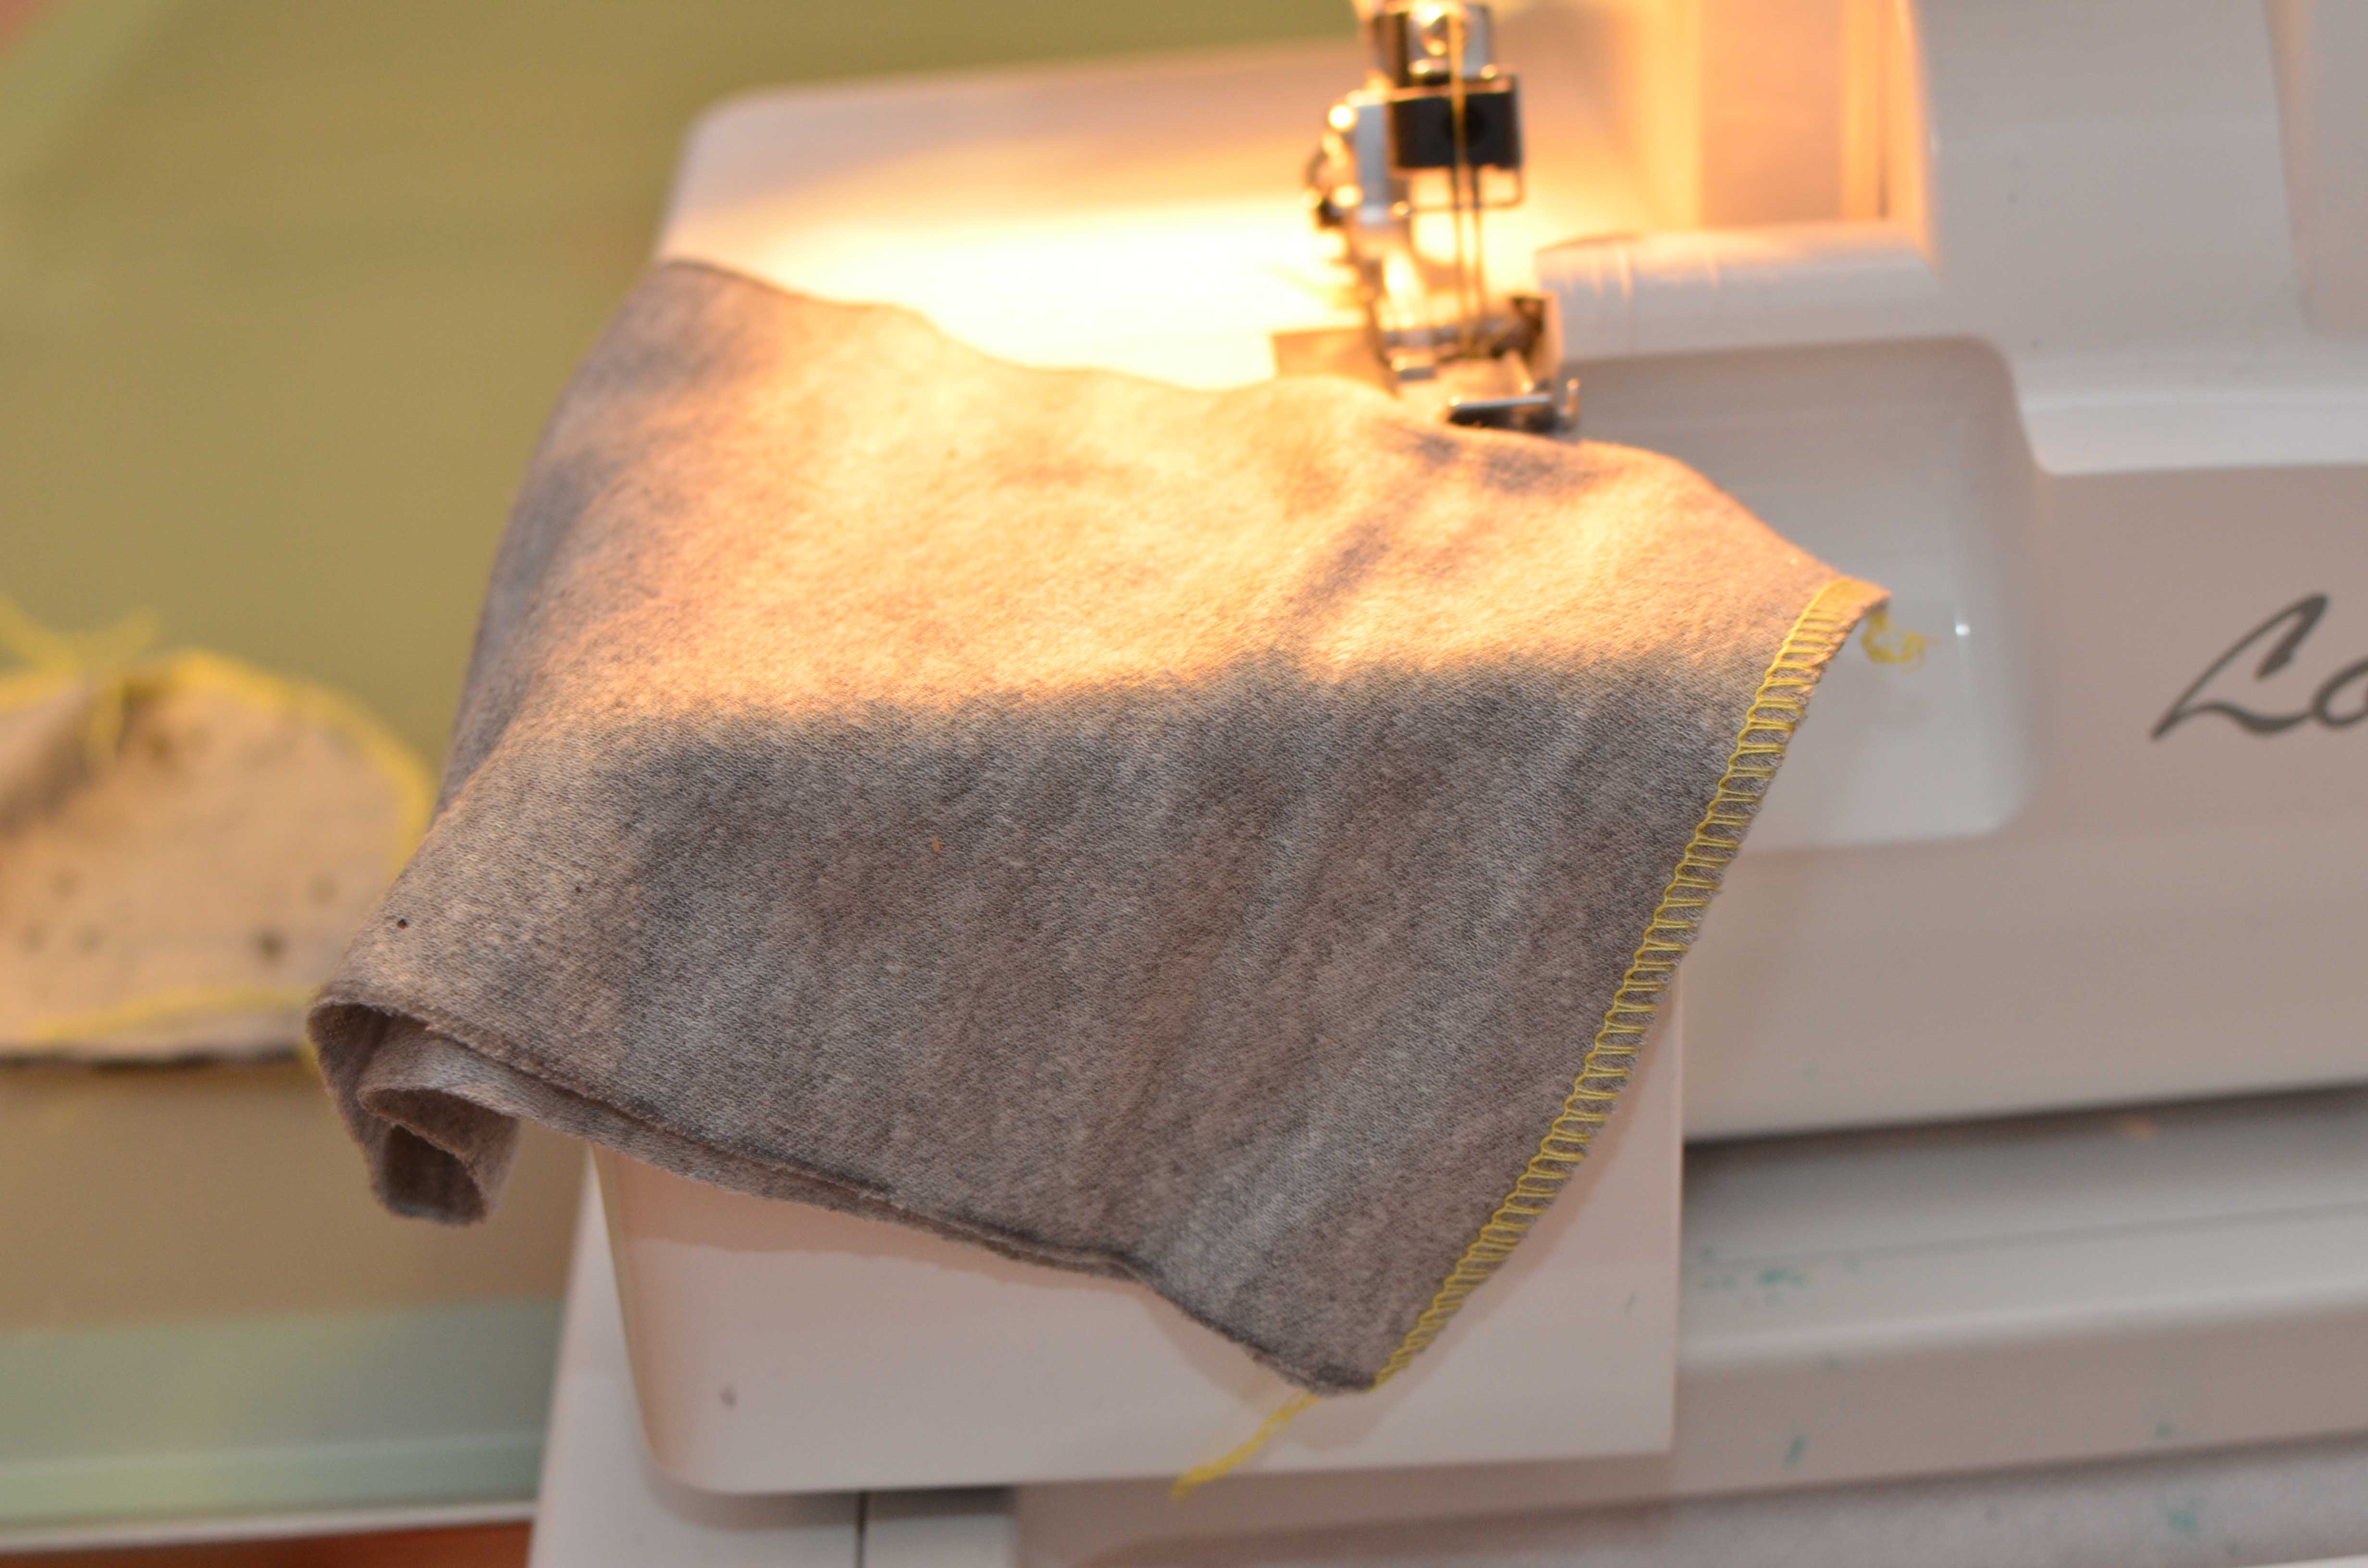
I always serged the hat portion first. You can see the slit that is open, so you fold it in half along that slit with the right sides together and then either sew or serge following that angle.

Once that is done on both sides, place the right sides(or outside of the fabric) together and either sew or serge all the way around and the hat portion is done.
Take the band and place right sides together and sew or serge the open side together so the top and bottom are still open.  The fold it in half  pulling the two ends of the seam you sewed onto each other so you have the band that goes around the hat. Place the band inside of the hat serger or sew all around lining up the seams and turn right side out and you have a hat.

Here are two of my splatter hats done.
Since I cut the stretch wrong at first, I was stuck with a lot of extra small fabric and five hats without bands. So, in my next post you can see what I did with the excess fabric.
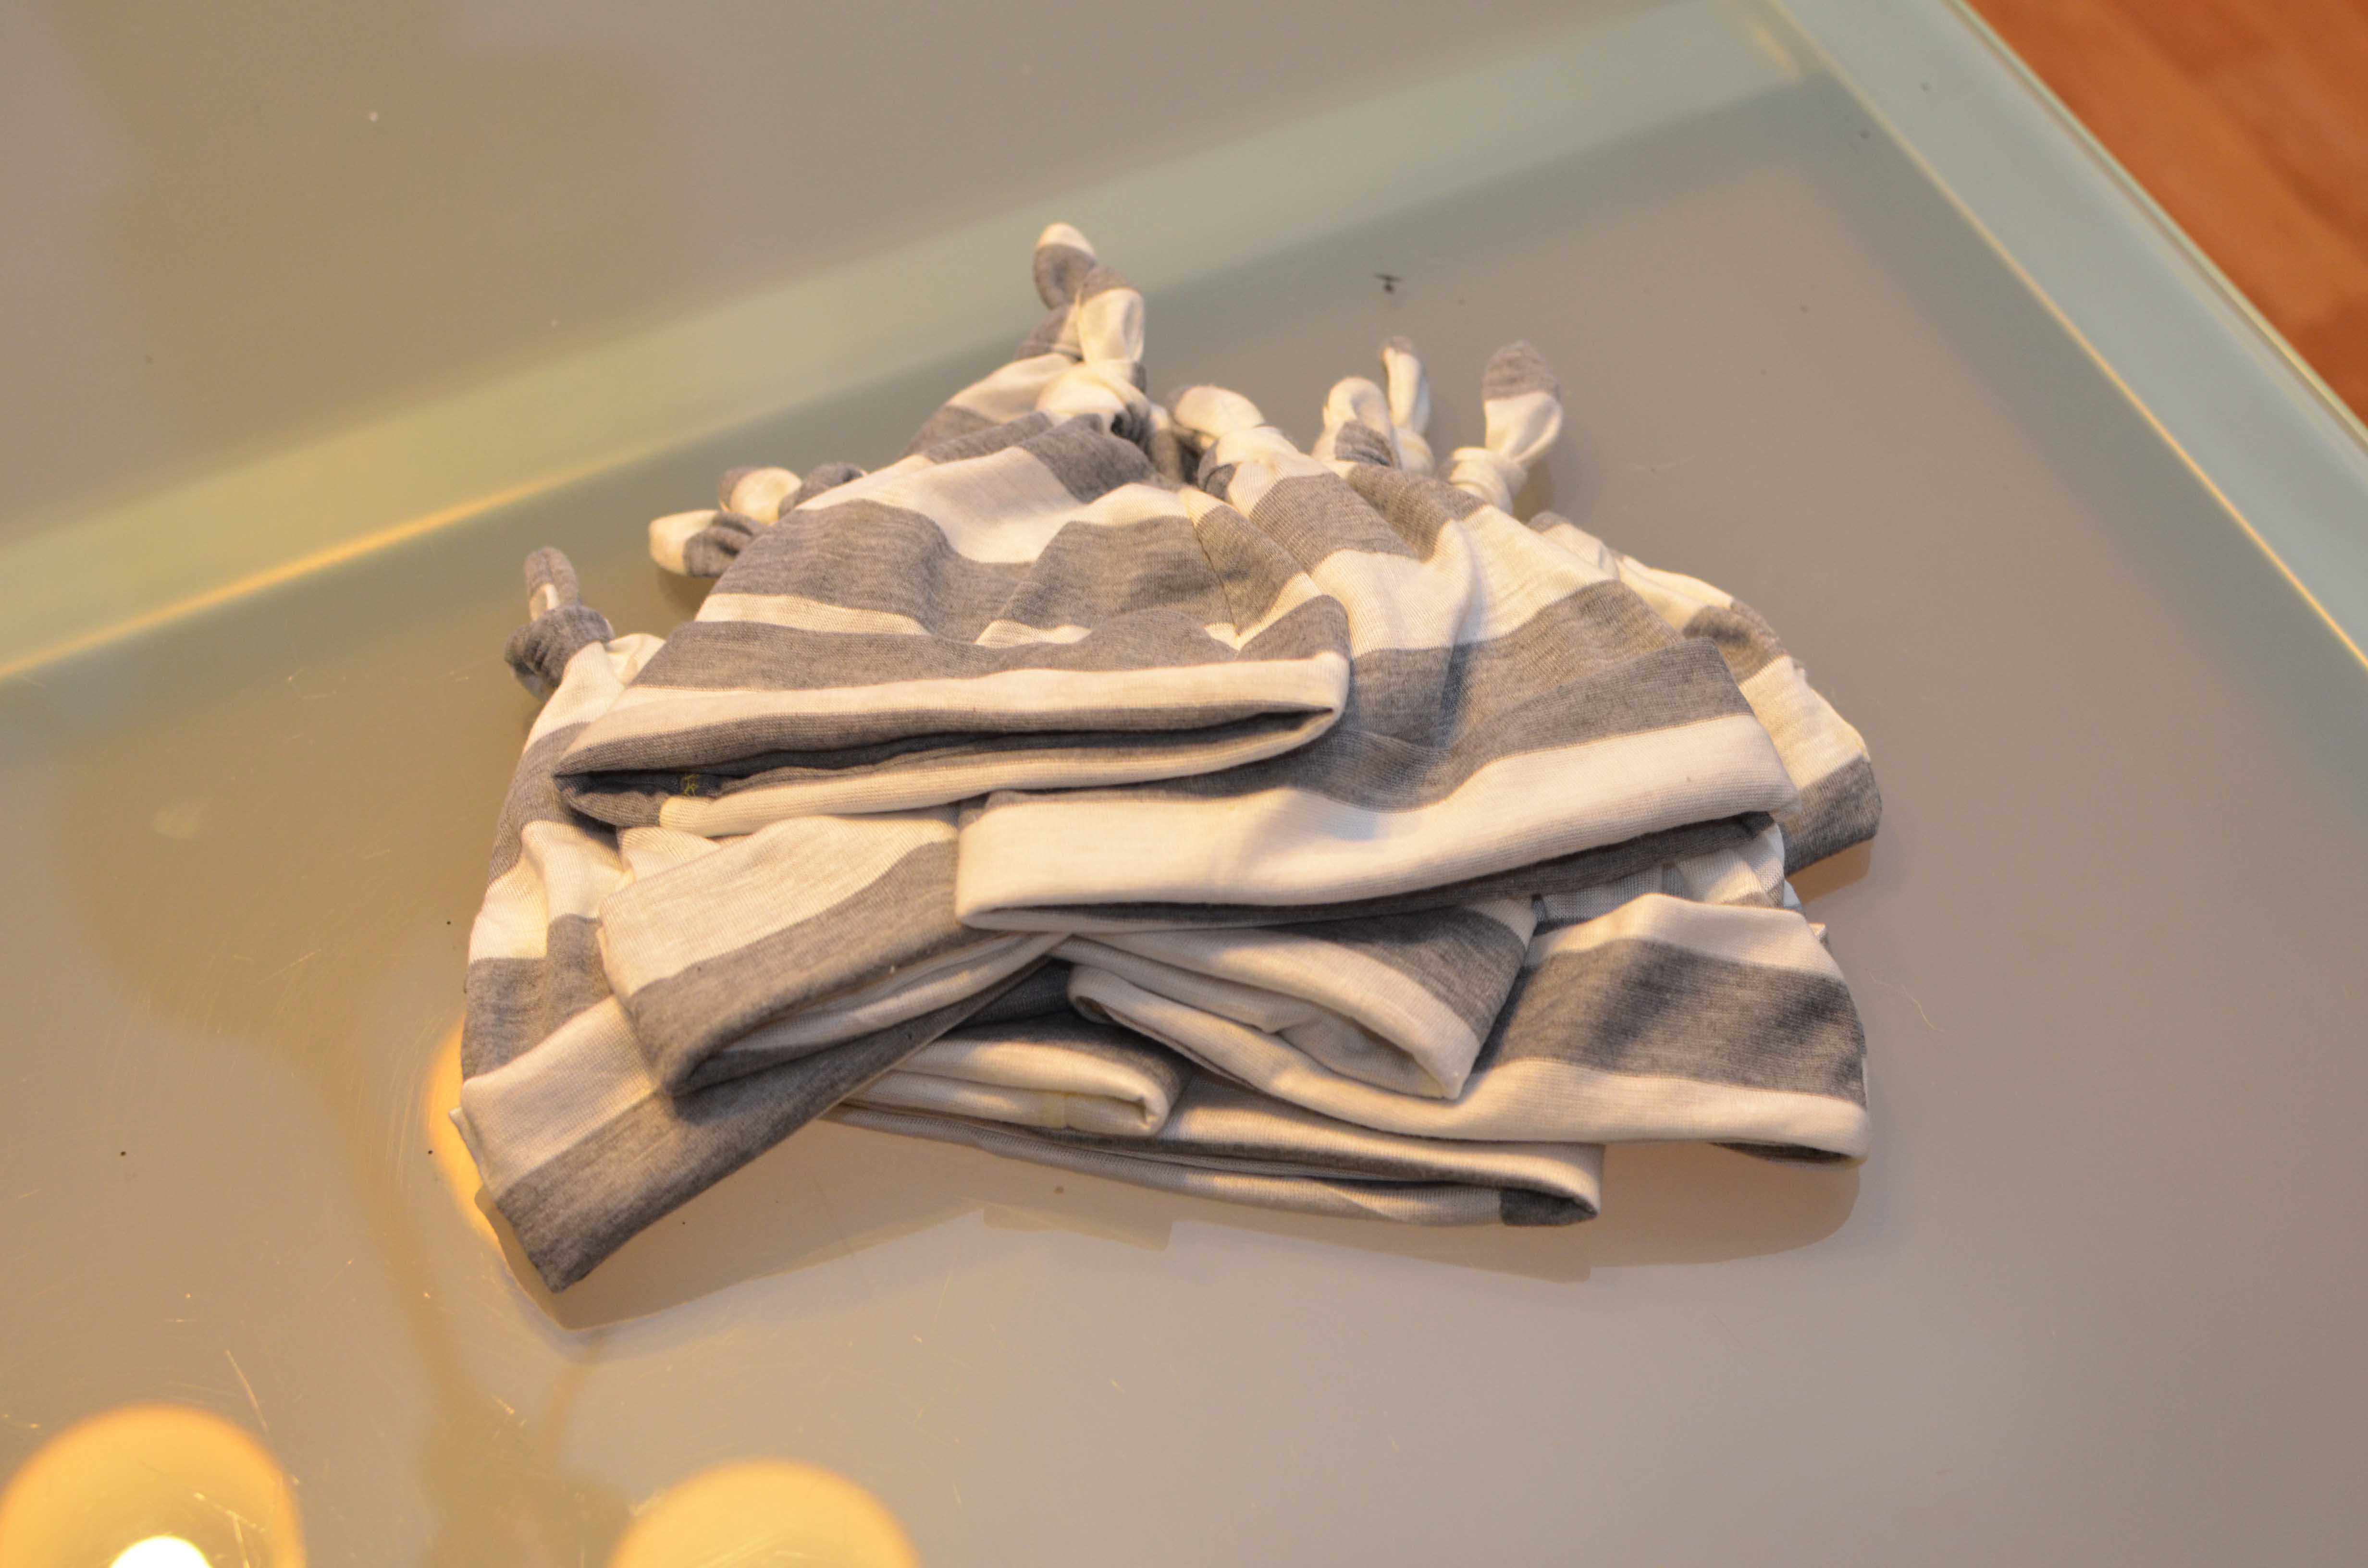 I then took fabric from a failed cardigan which I will post about later and made the knot style hats which are also on shown on the tutorial HERE. These are only different because they don’t have the slits so you sew one time around the whole shape, turn right side out and knot the long portion. I am so happy with these turned out and honestly were super fun to make.
4 comments
[…] yesterday, I posted HERE about my fail with cutting the stretch wrong on some fabric. I didn’t want to throw it away […]
[…] https://thesimplehaus.com/2013/04/baby-hat-gifts/ […]
[…] Tutorial HERE! […]
[…] DIY Hats […]