

For a while now, I have been making truffles at least during the holidays. I started out hand rolling the truffles and dipping them in chocolate which works pretty well,but then I realized I could use a candy mold which I describe the process here. That worked wonderfully too,but then I found out about these truffly molds that make my life SO much easier. I bought one of the huge molds which is pretty expensive, but they have smaller versions if you prefer to make smaller batches. So here is my new system for making truffles.
 This recipe just happens to be Gluten Free if you pay attention to your ingredients. The main culprits of gluten are the candy coating, the chocolate, and the powdered sugar you use.
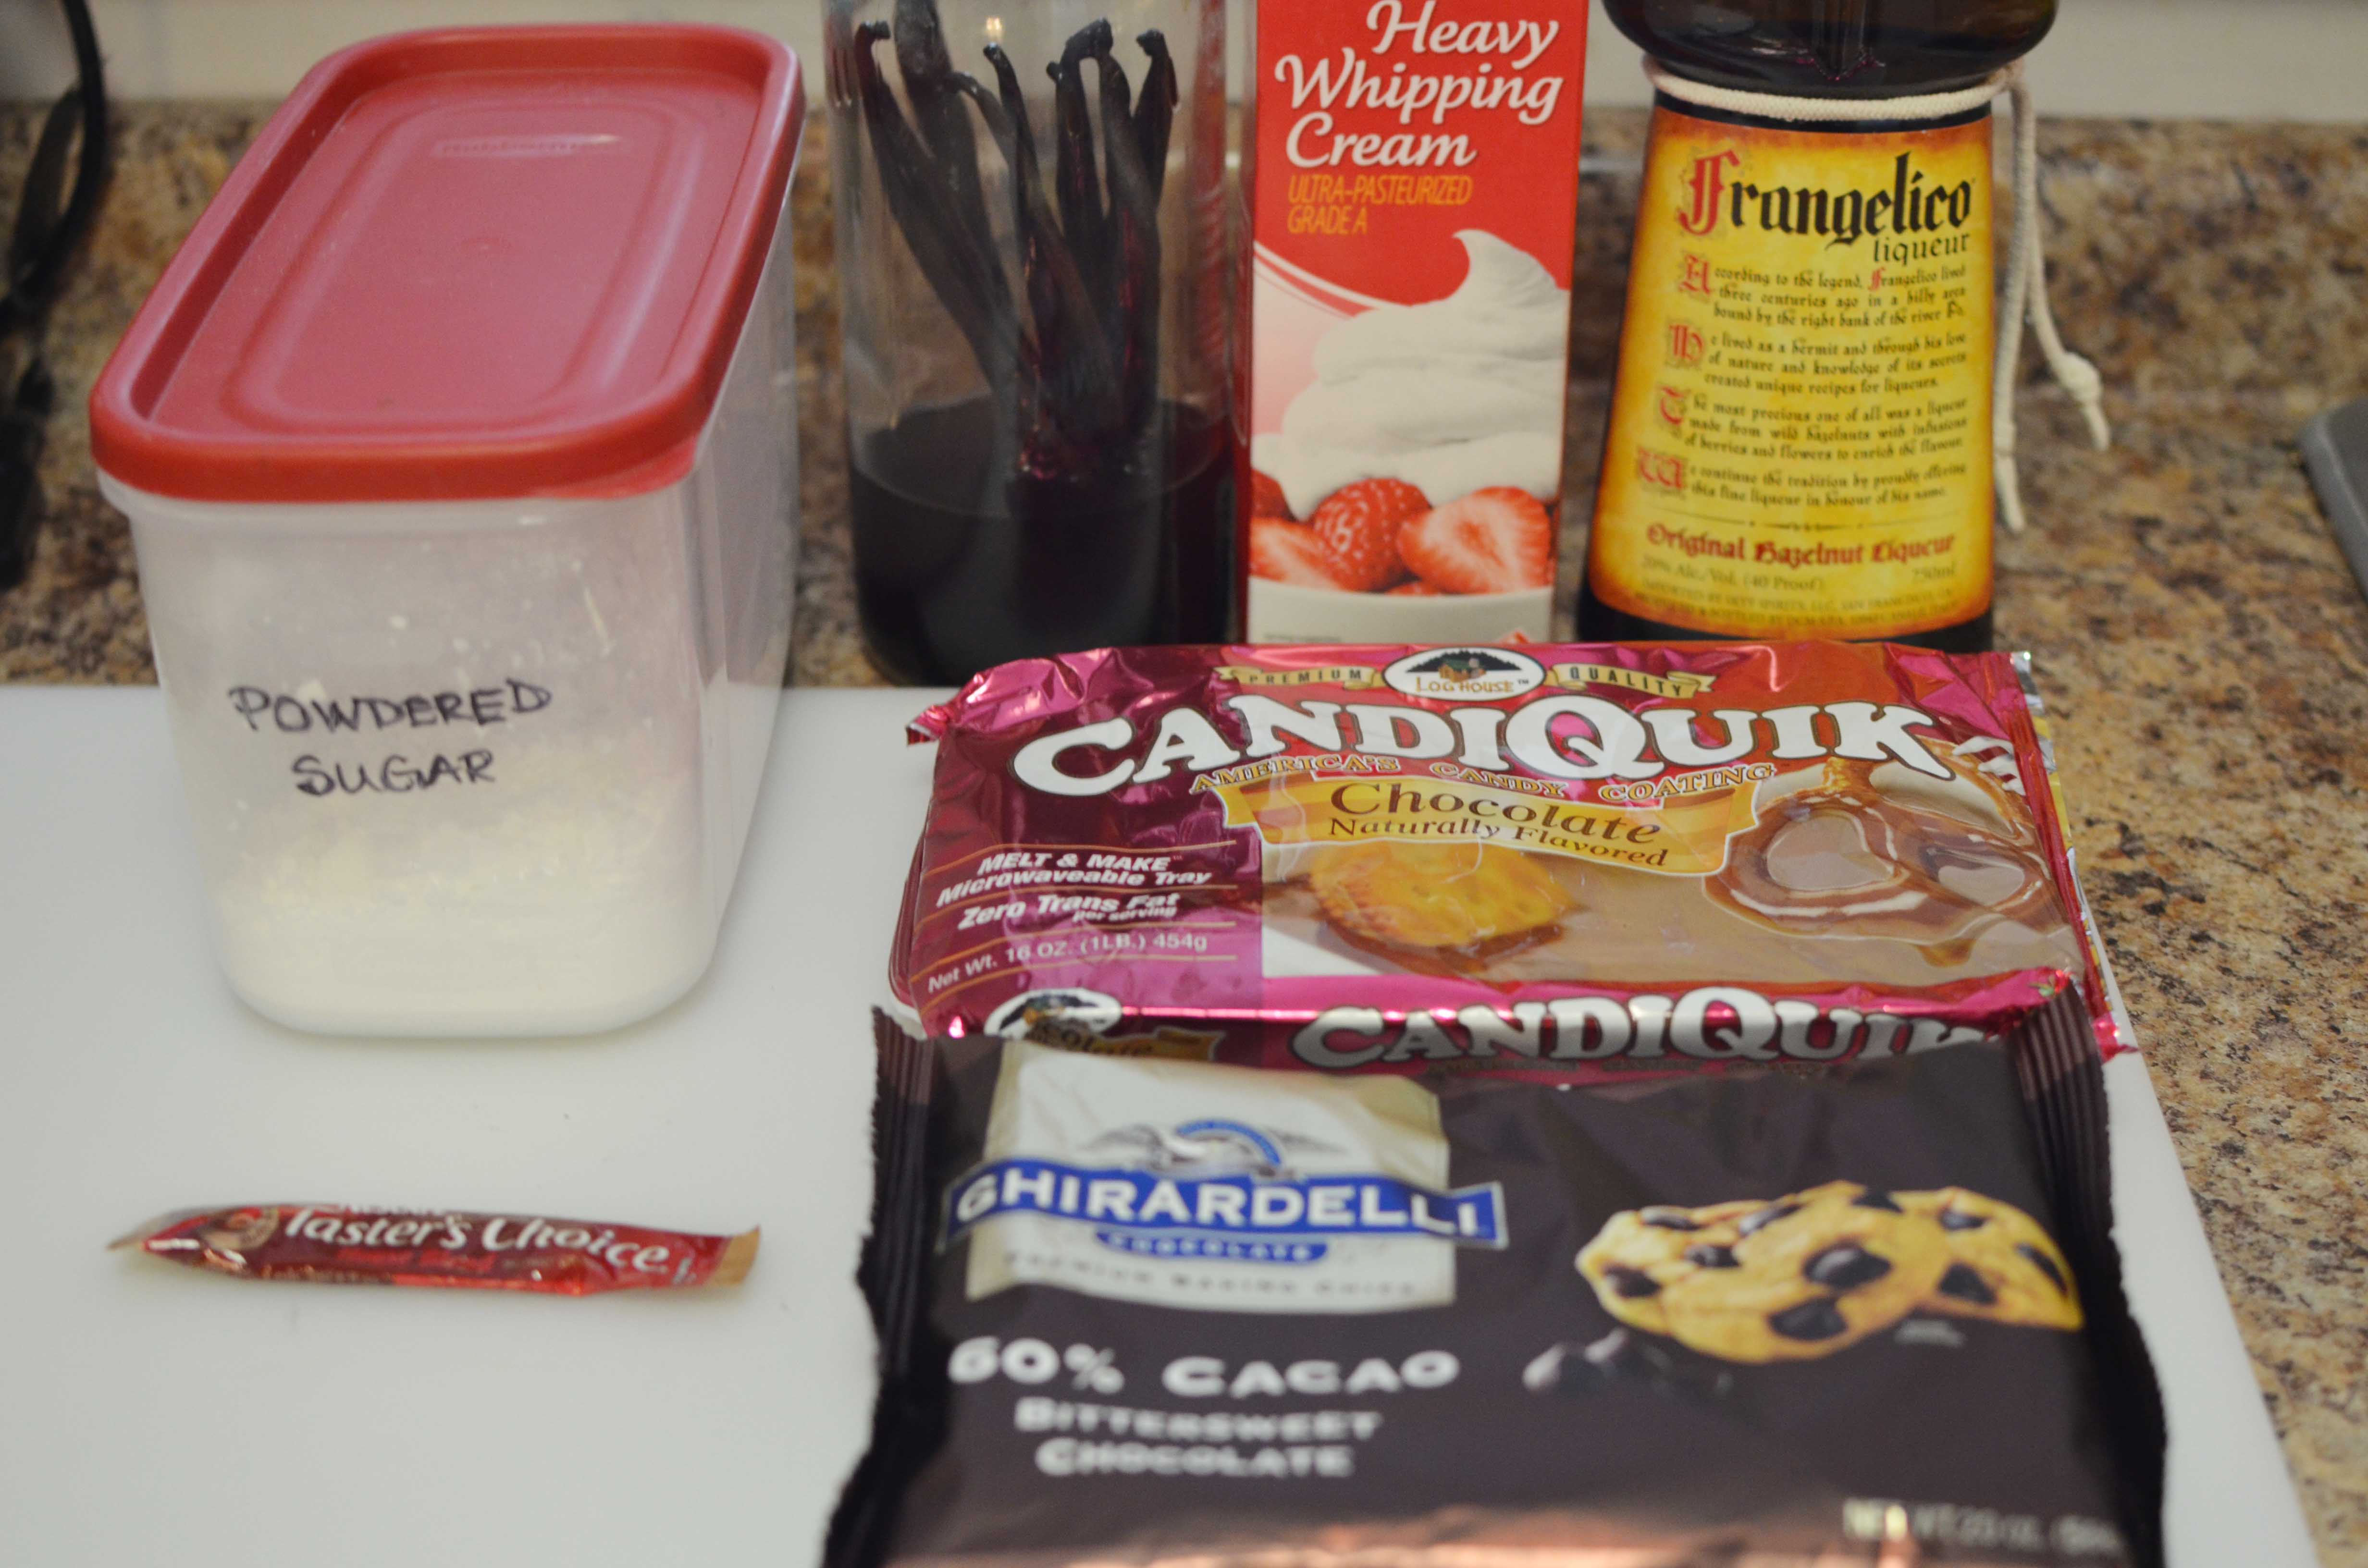
Here are your ingredients; we don’t eat gluten free, but these truffles were going to be our Christmas gifts to Grant’s coworkers, and a few ate gluten free, and one has celiac disease so I was EXTREMELY careful about all of my ingredients. I went and searched each company’s website just to be on the safe side.

Here is the mold that I used which I placed on a cookie sheet since it is silicone and not super structured.
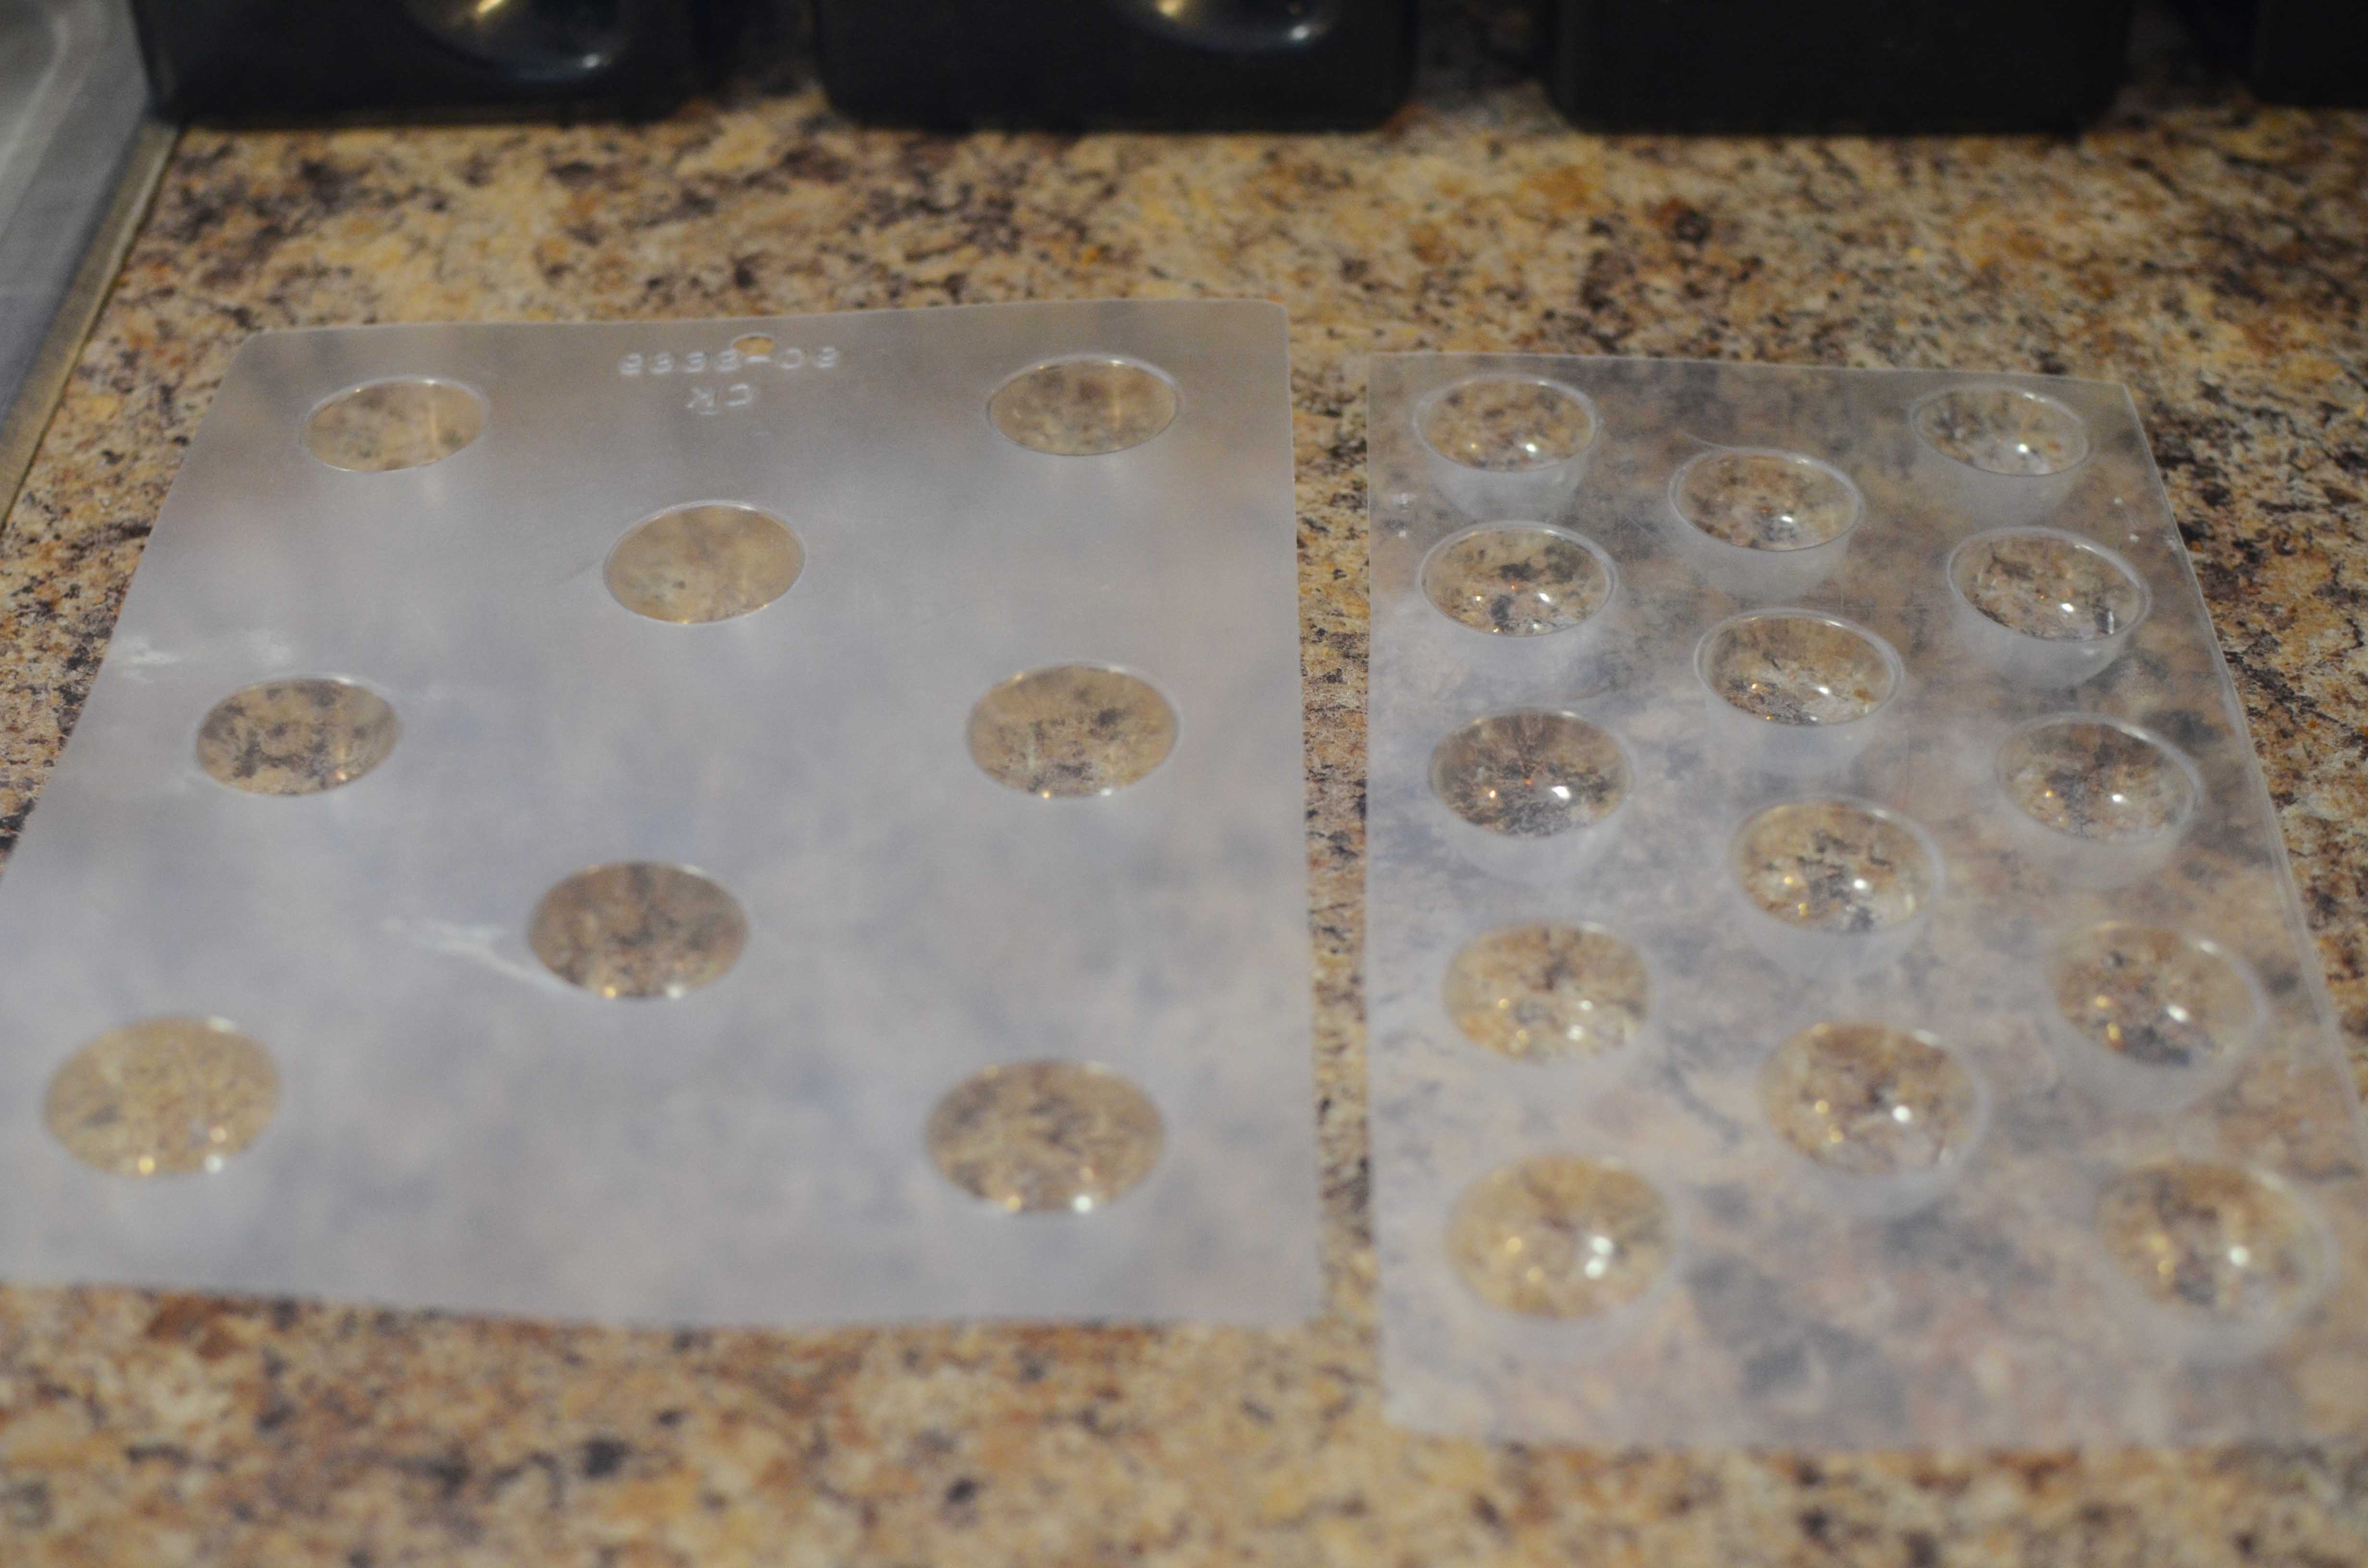
If you don’t want to invest in an expensive mold like I did, you can always use some typical candy molds like the ones above. These cost between $1-$3 a set and are reusable. I started out with these to see if I even liked them, and then after a few years upgraded to the one above.
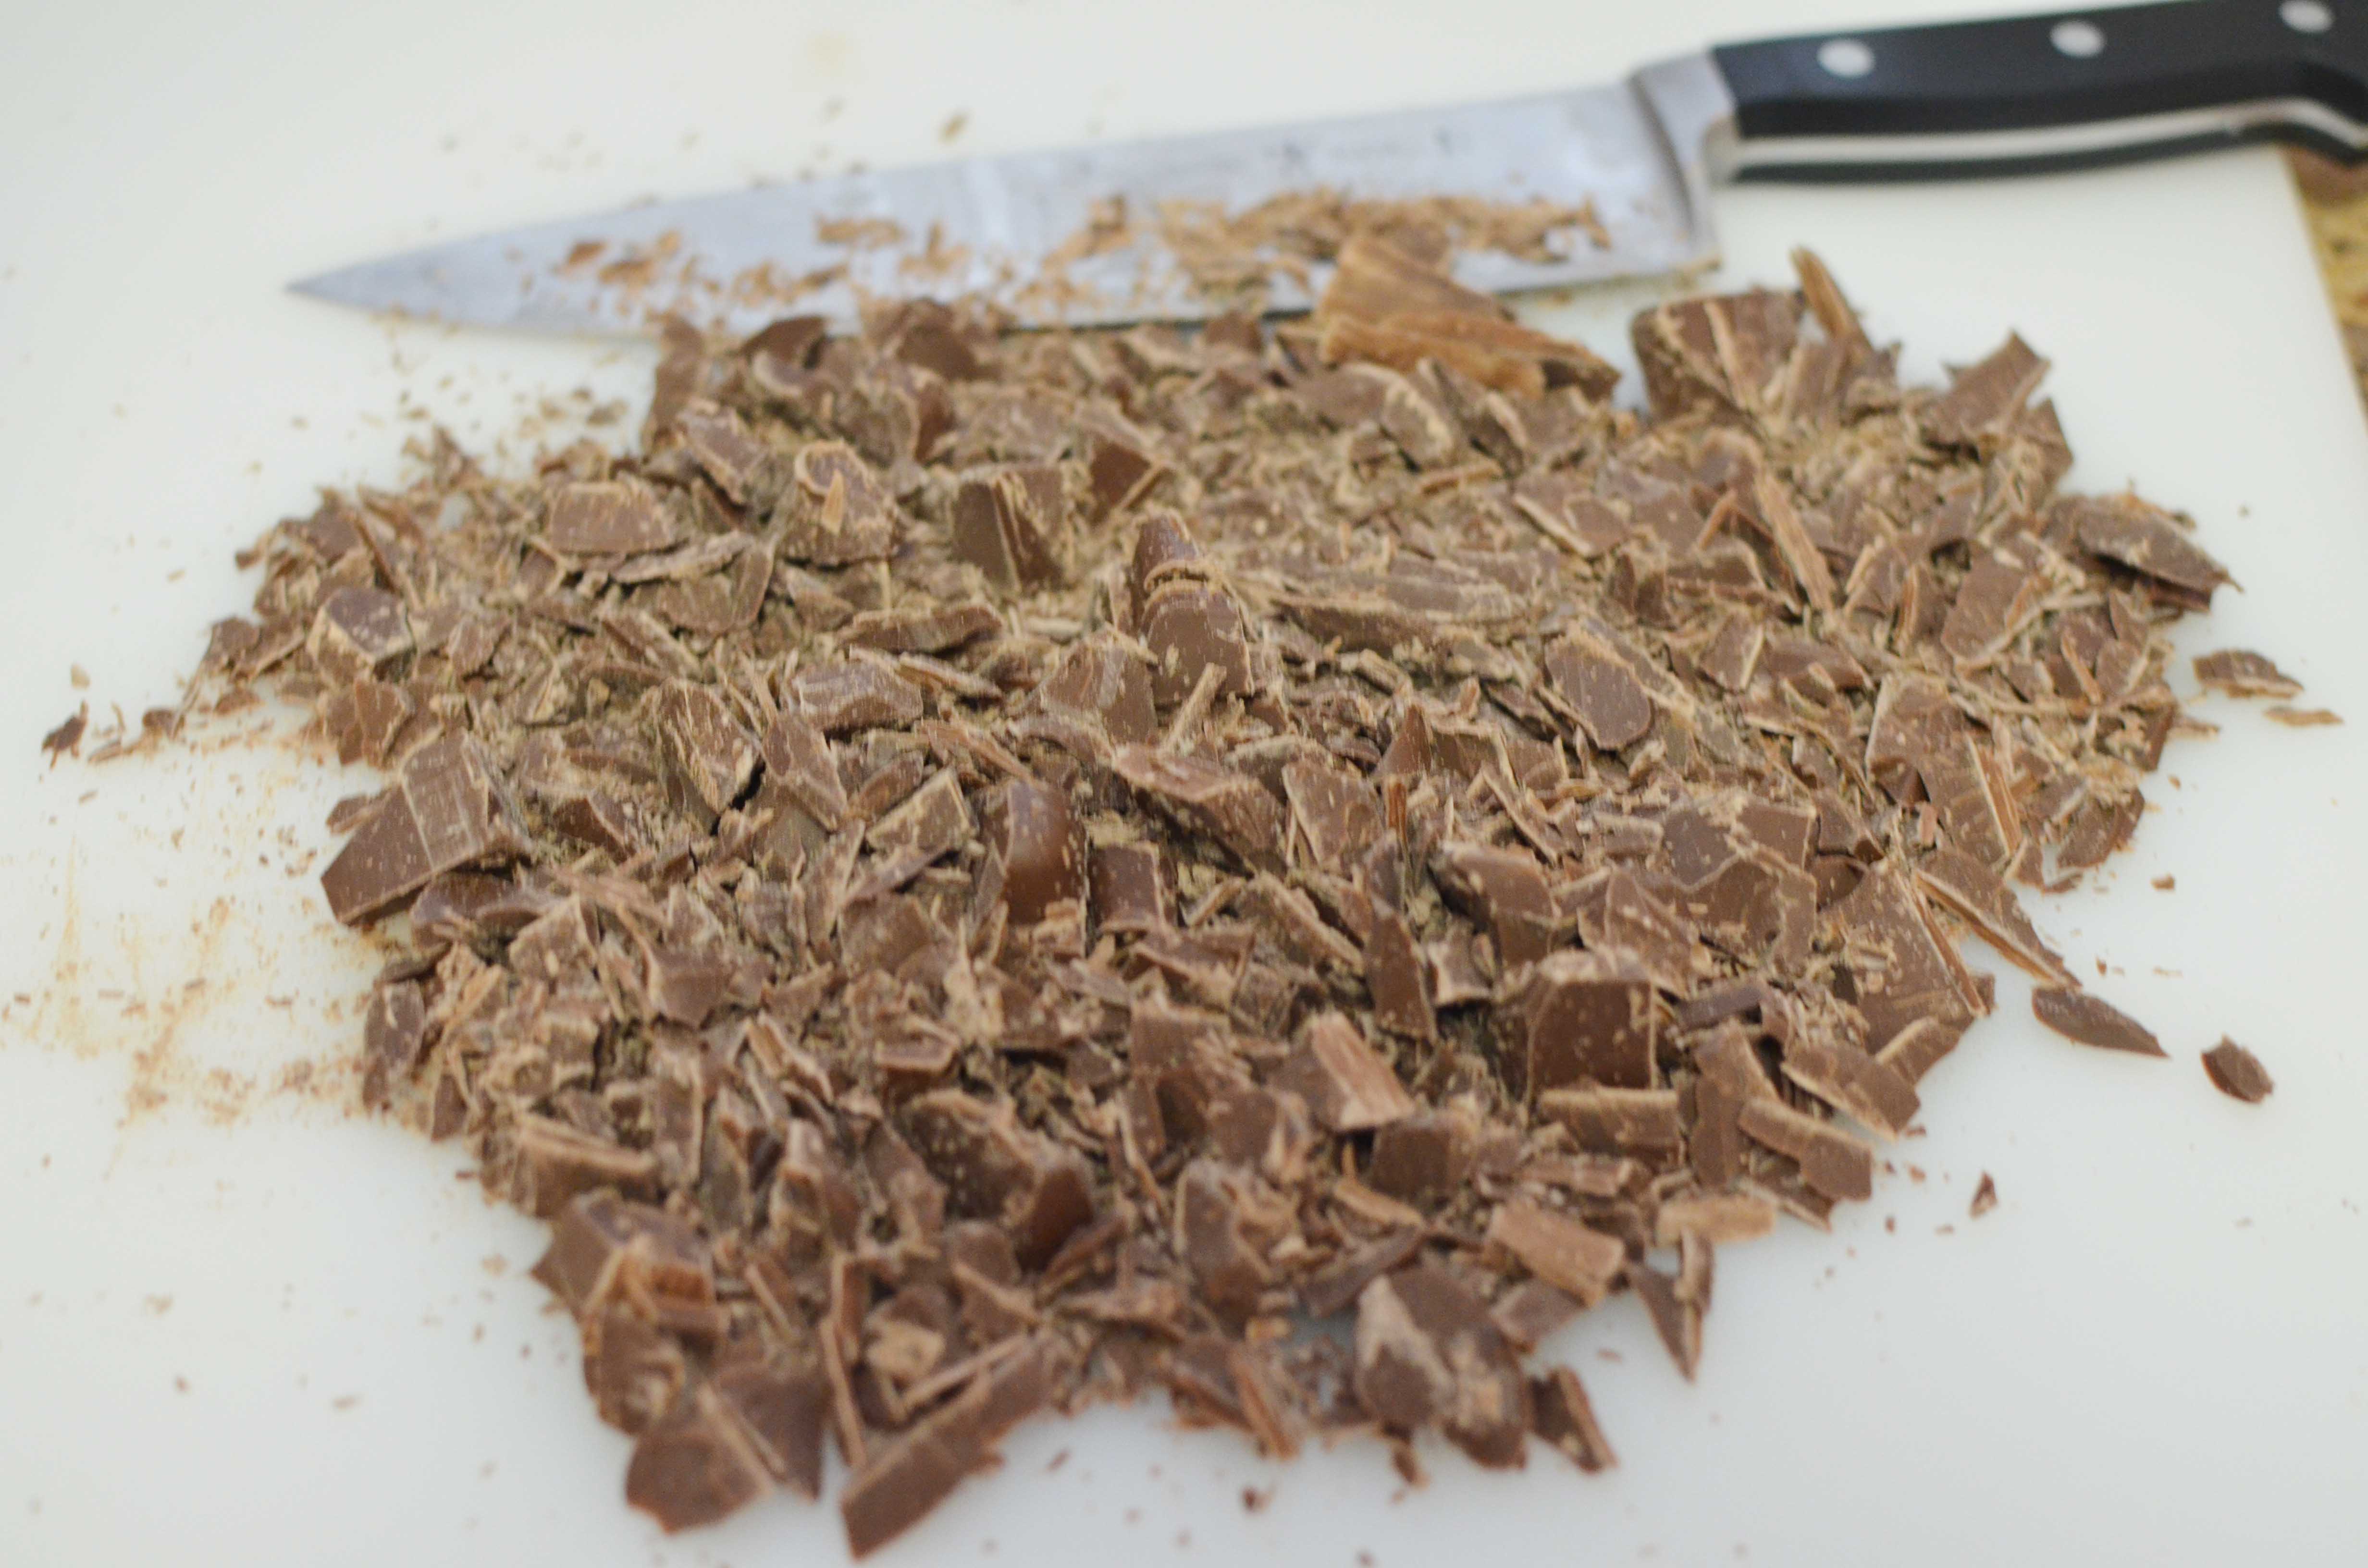
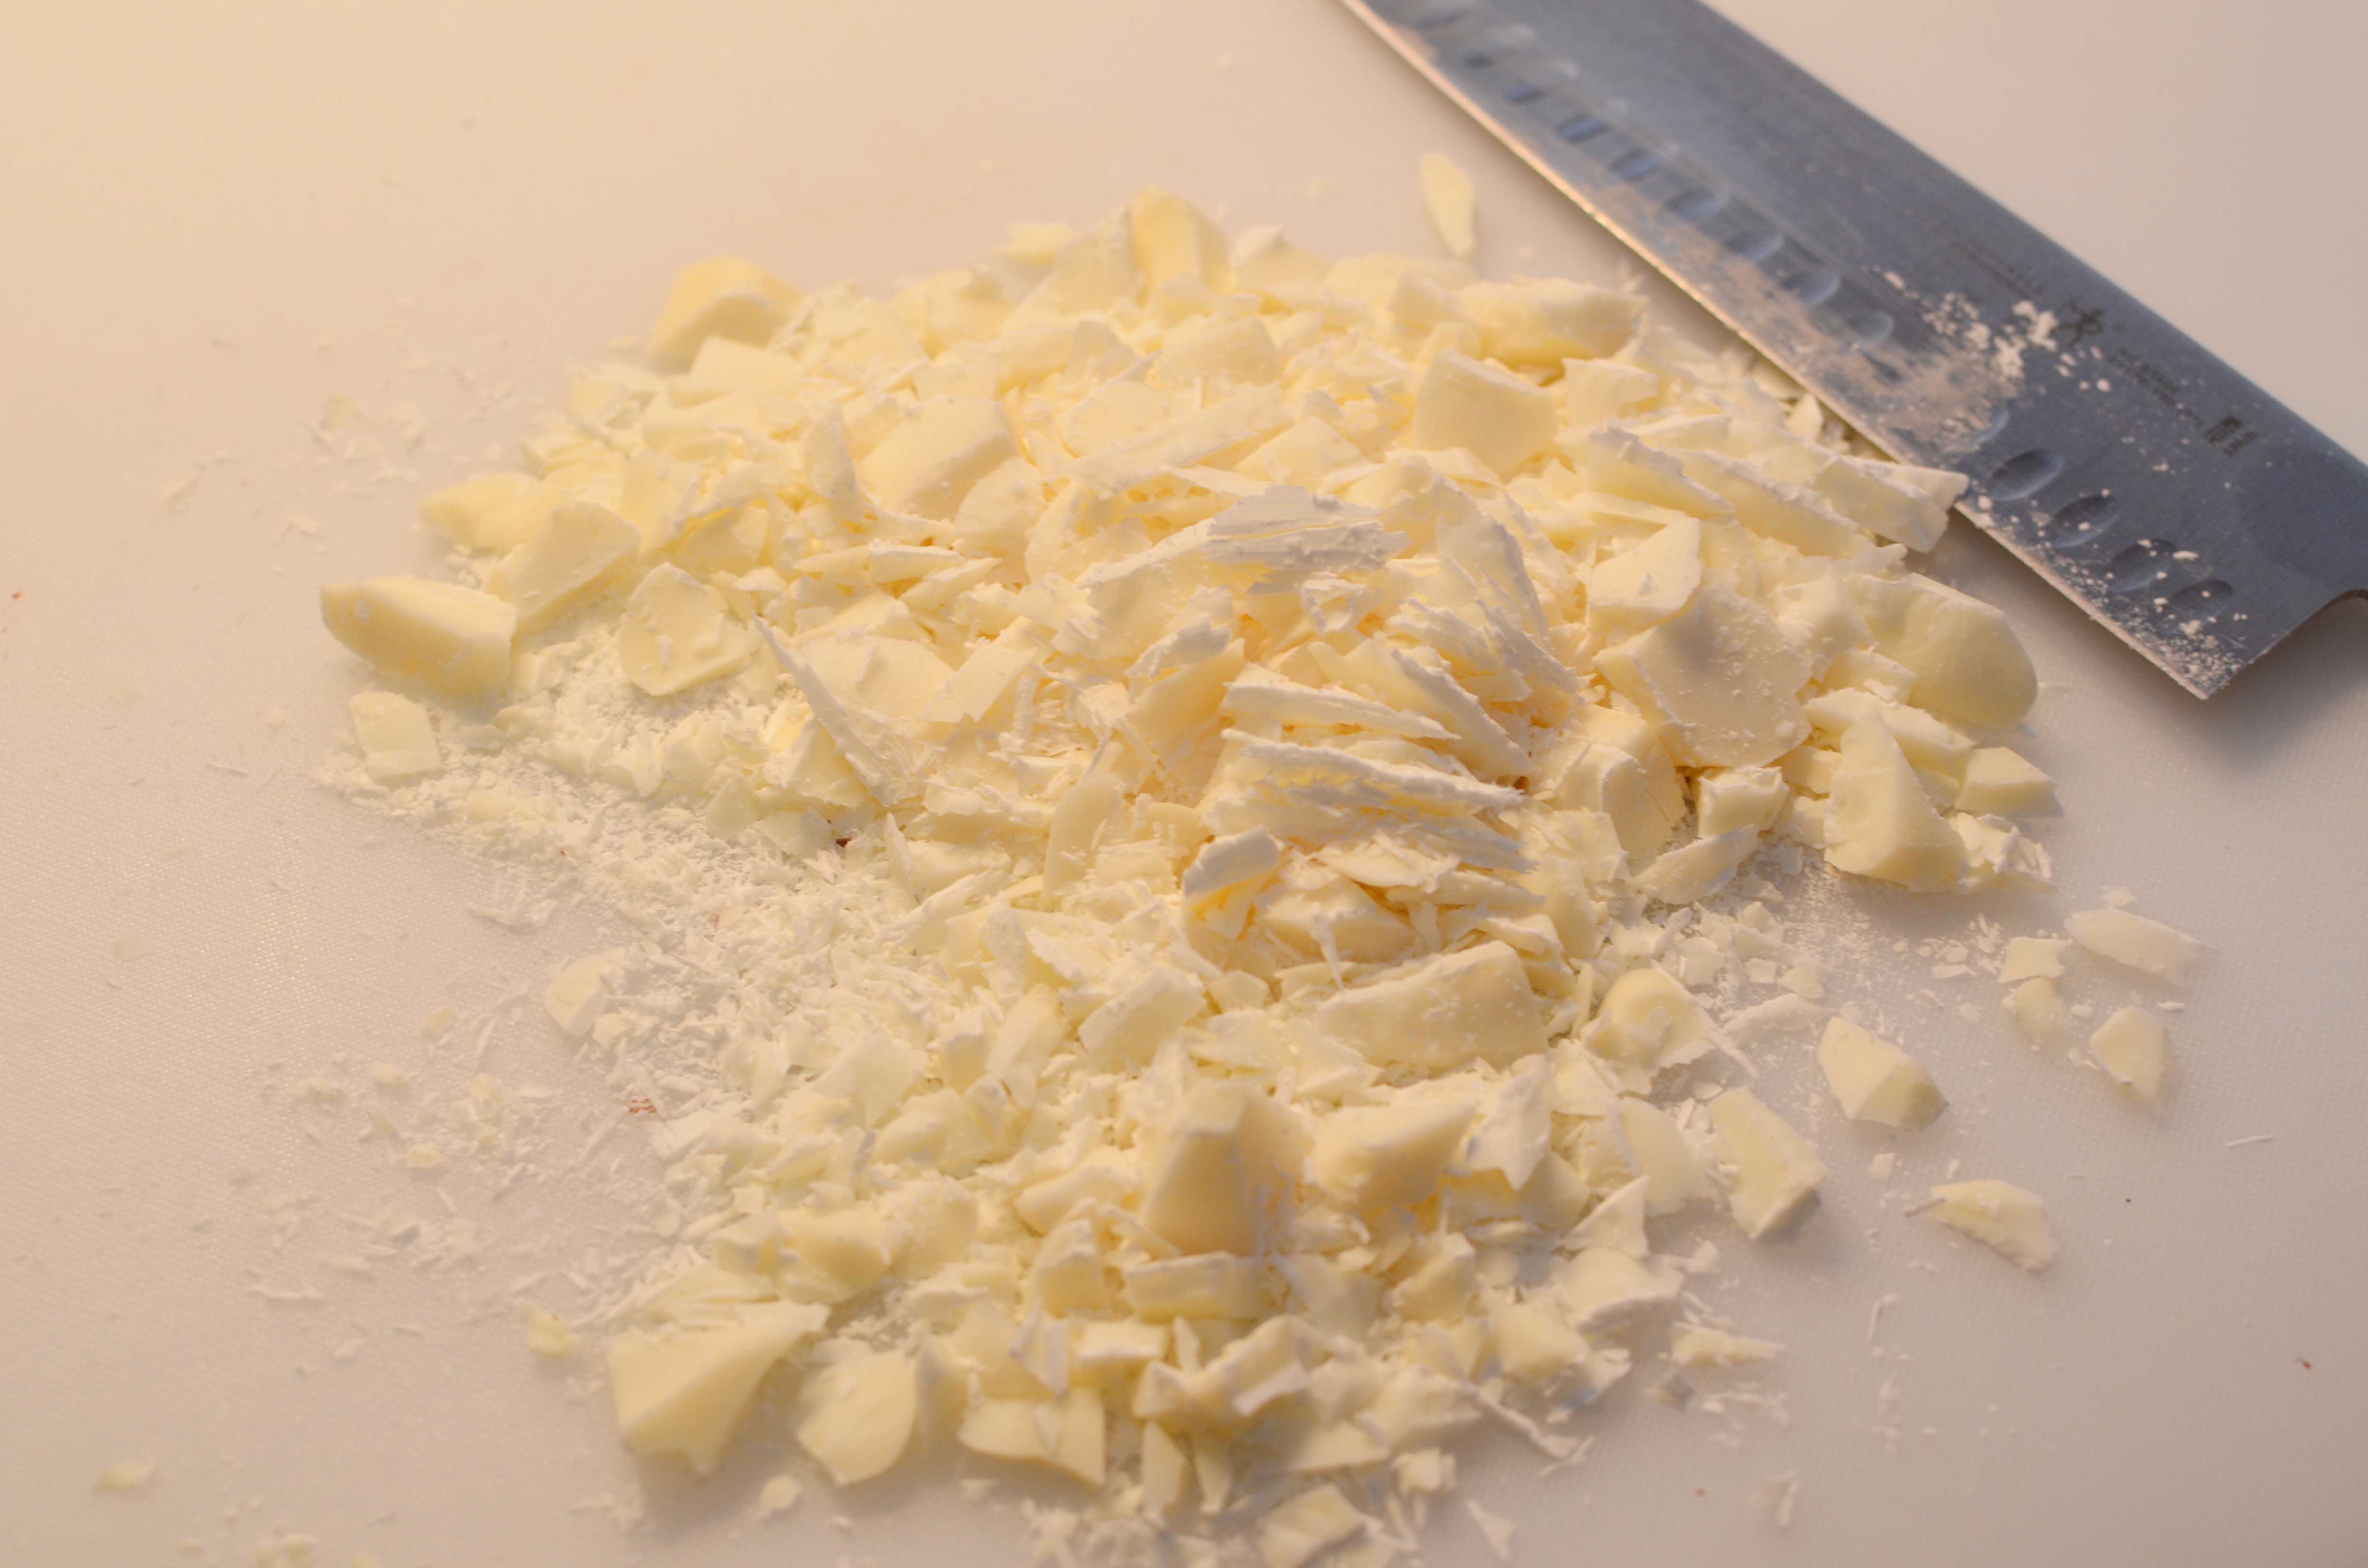
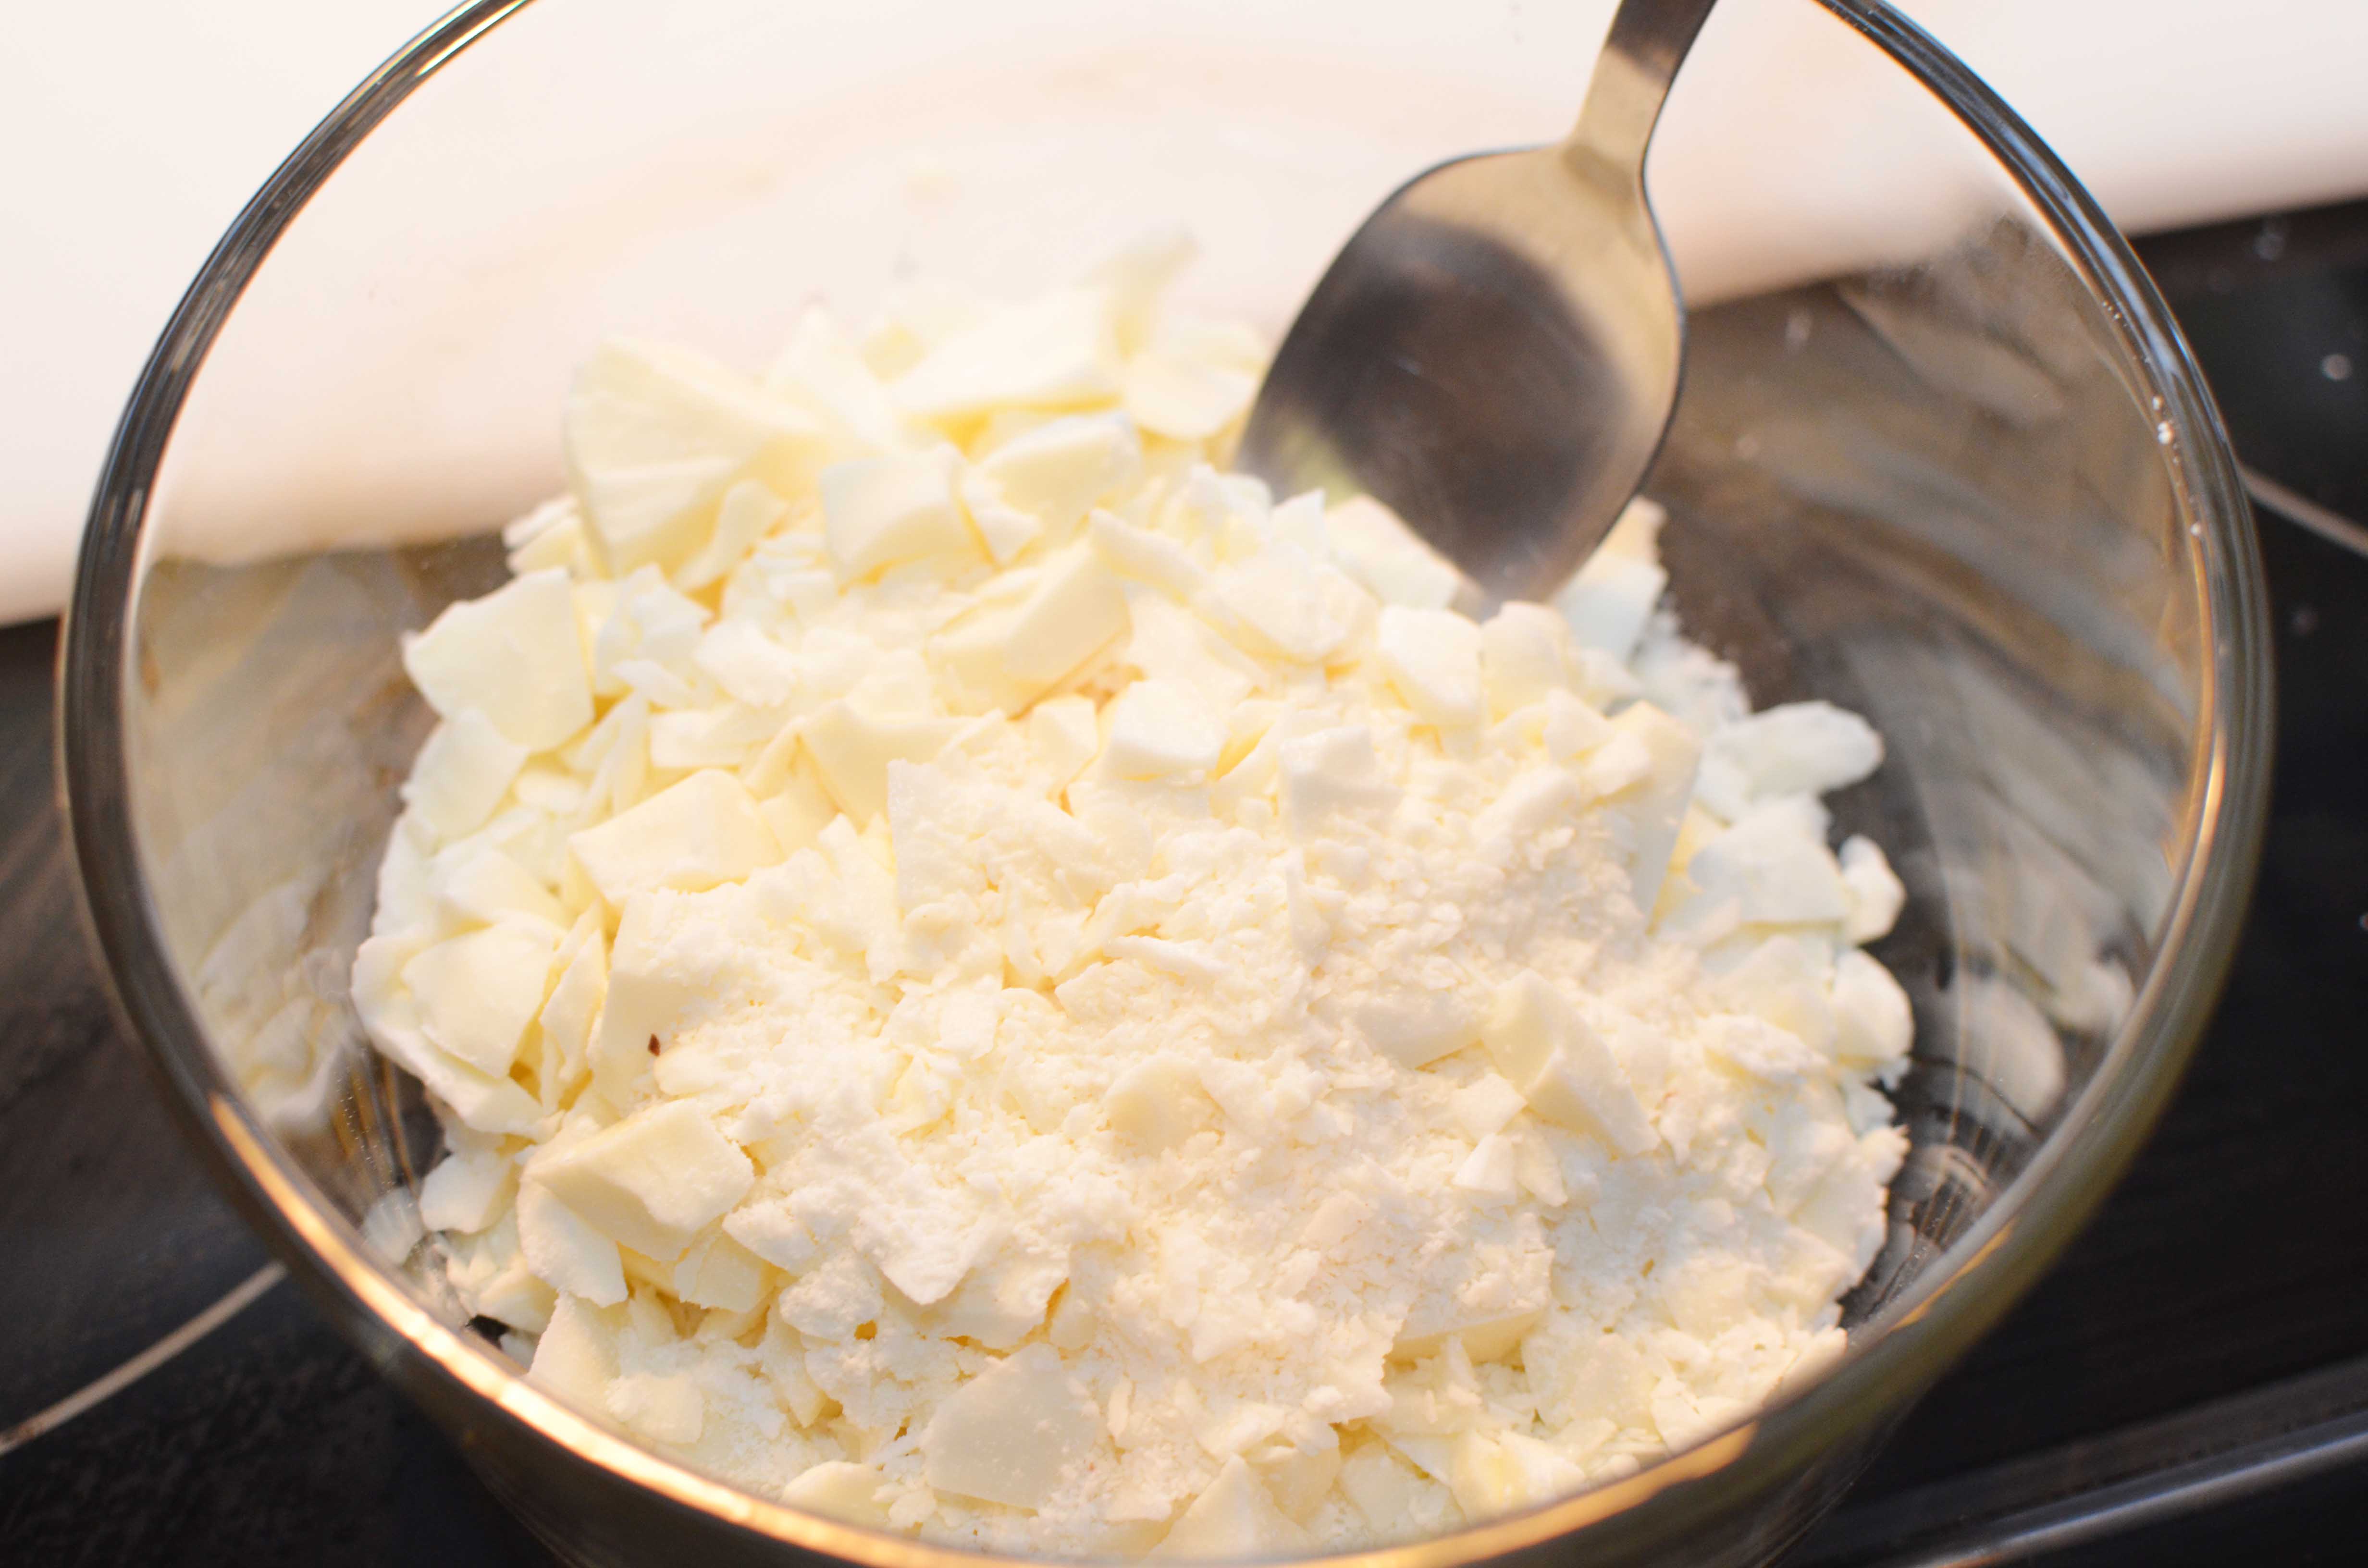
Chop your candy coating.

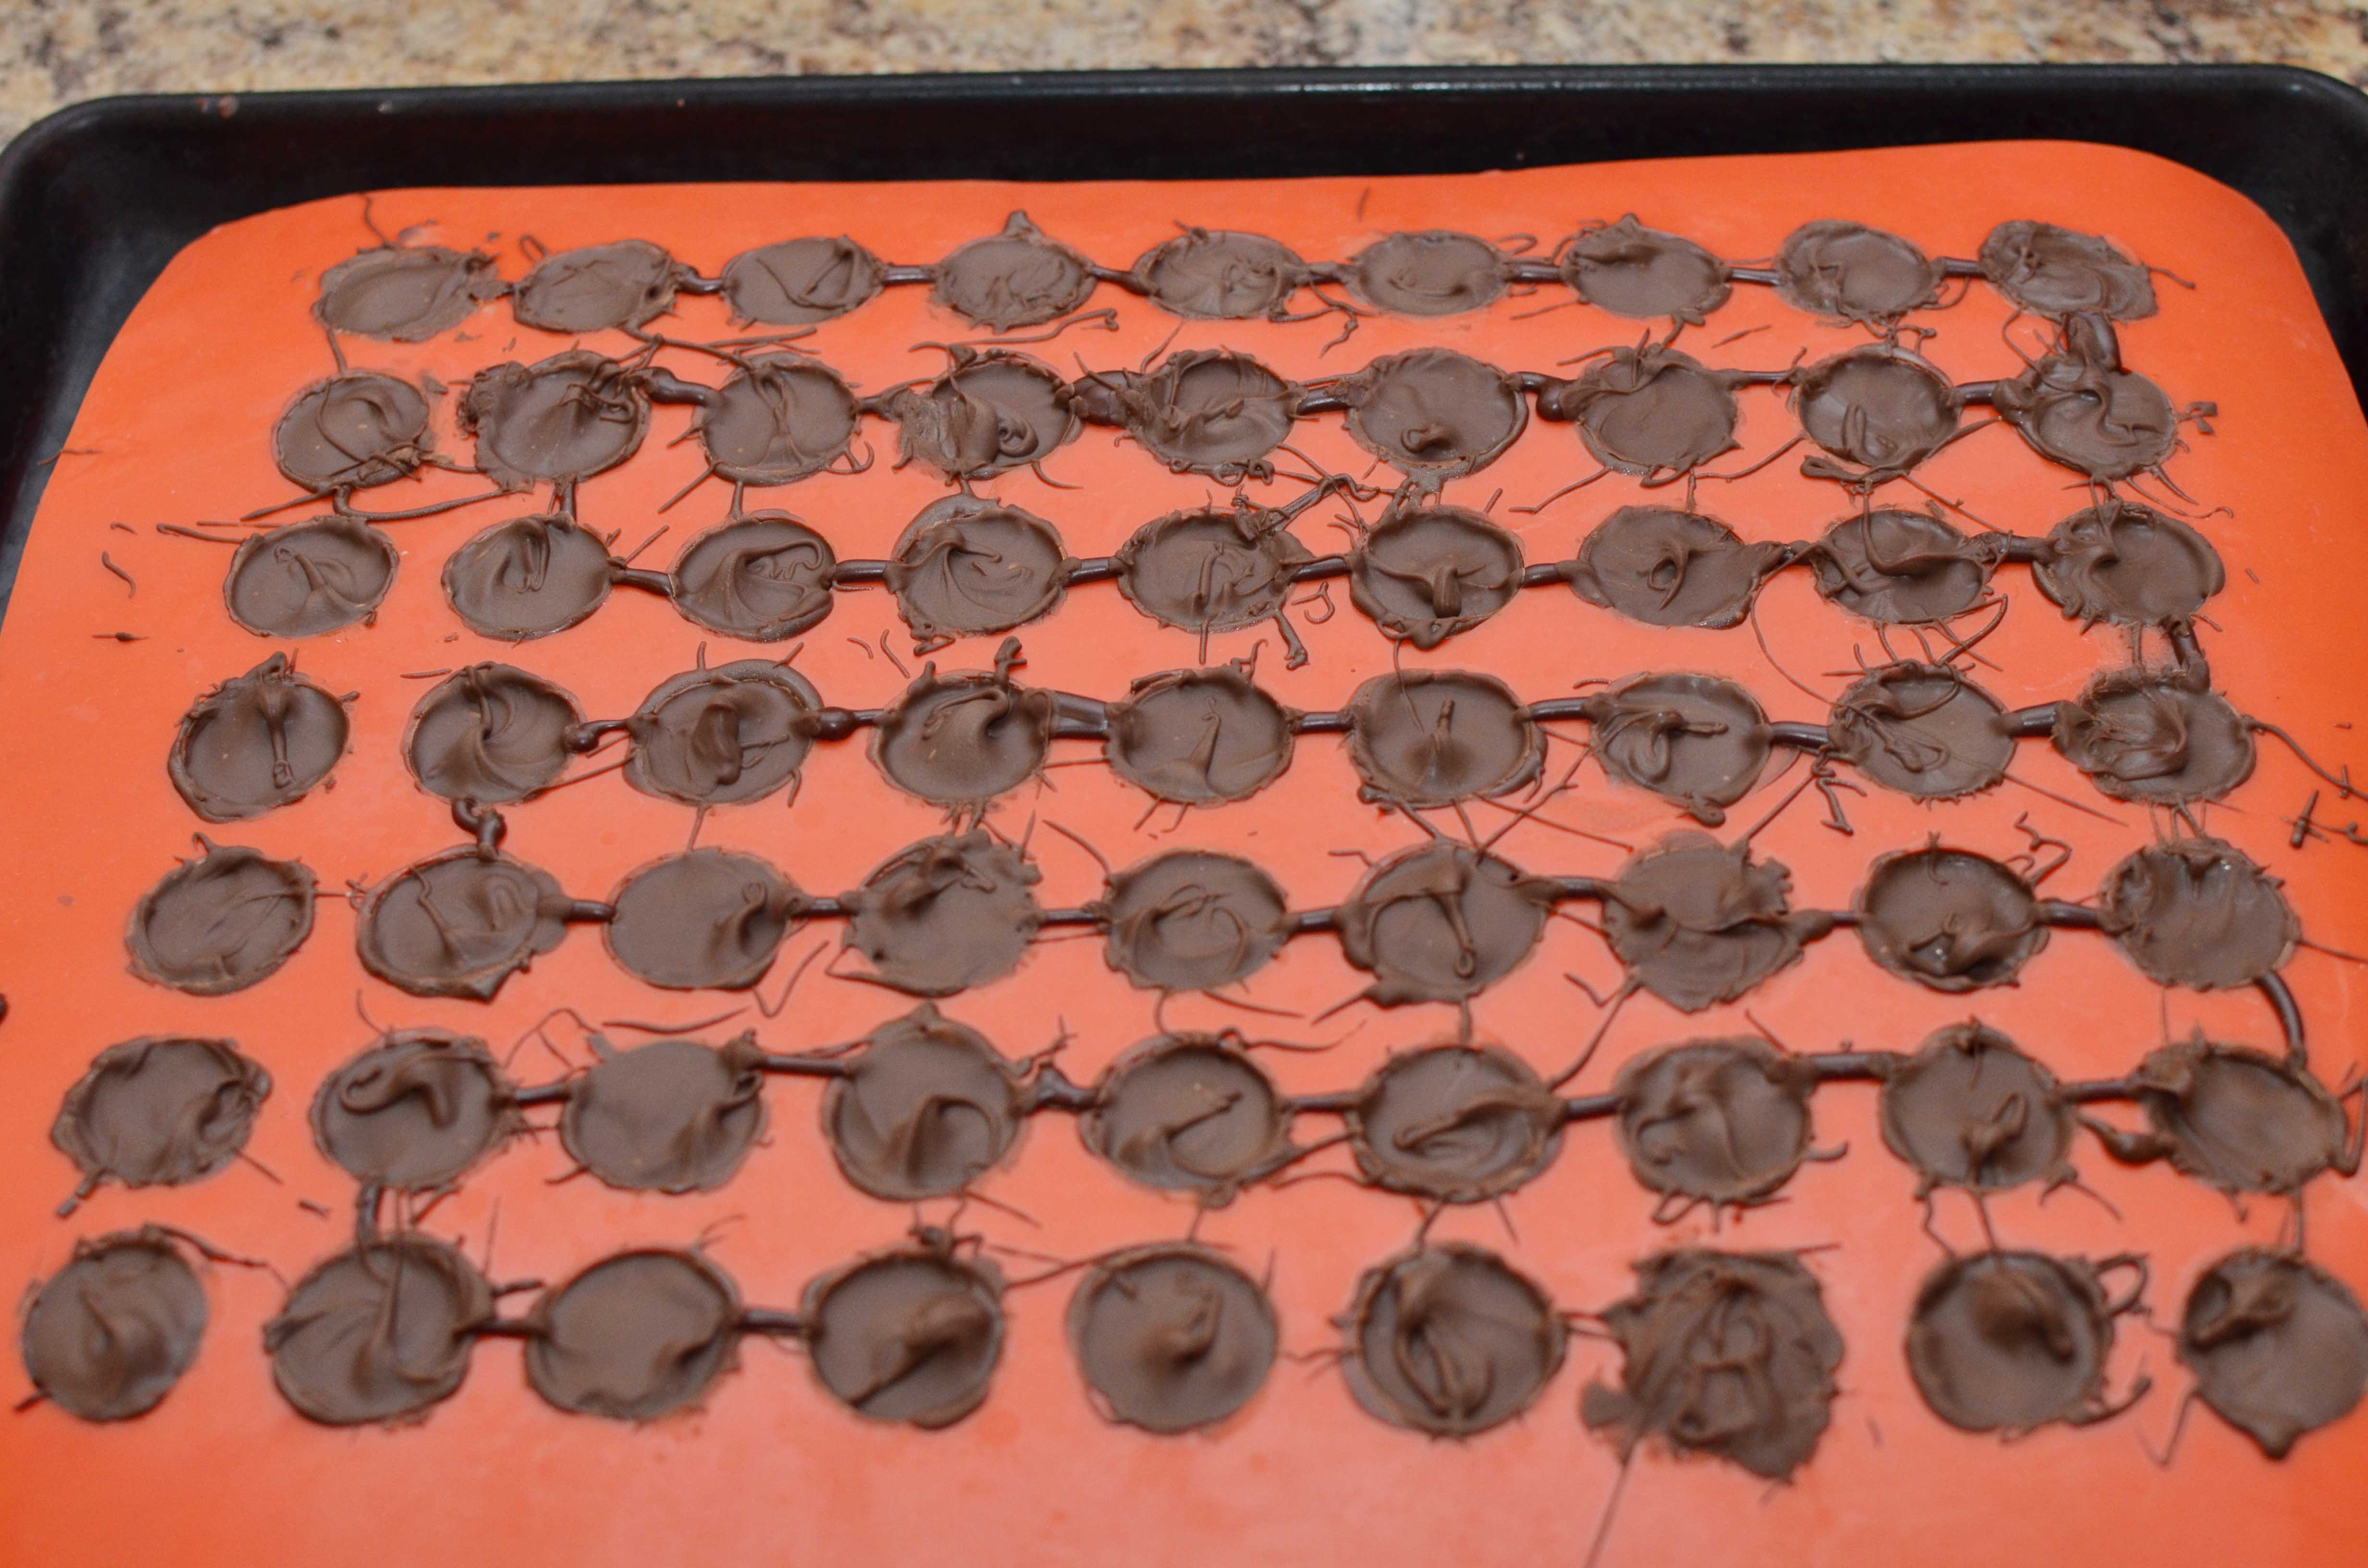
Here is my mold on the cookie sheet.
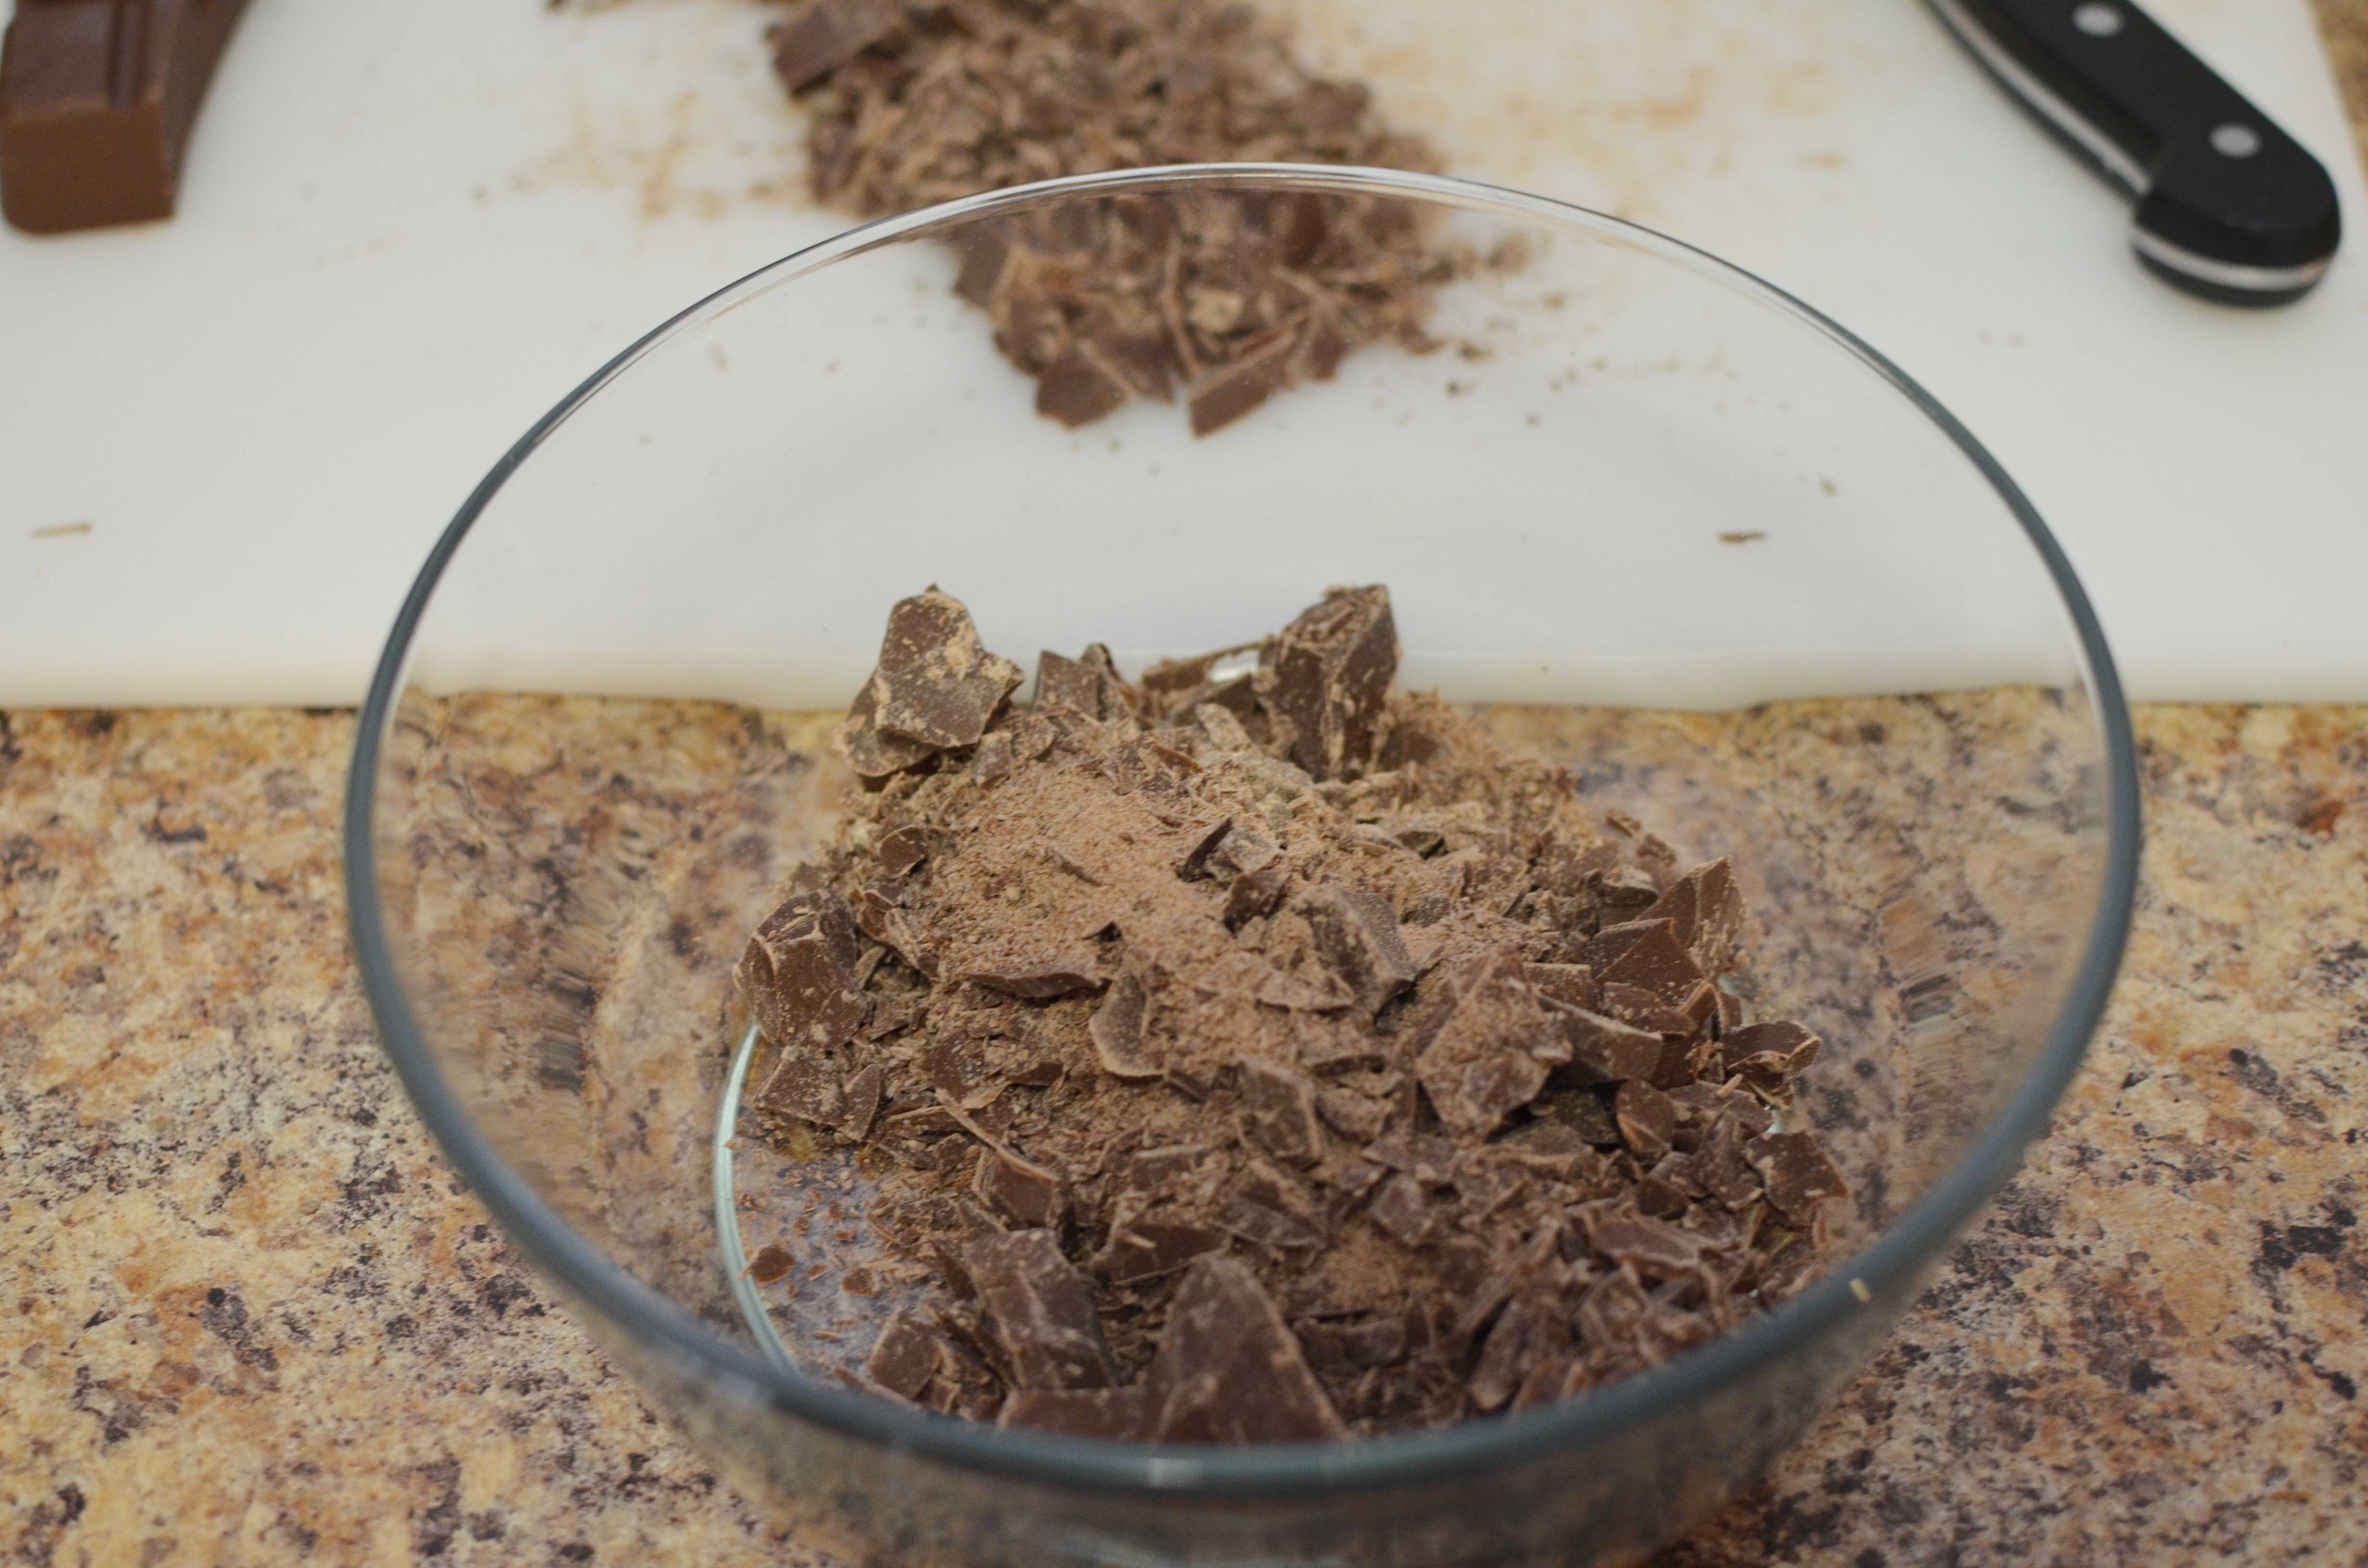
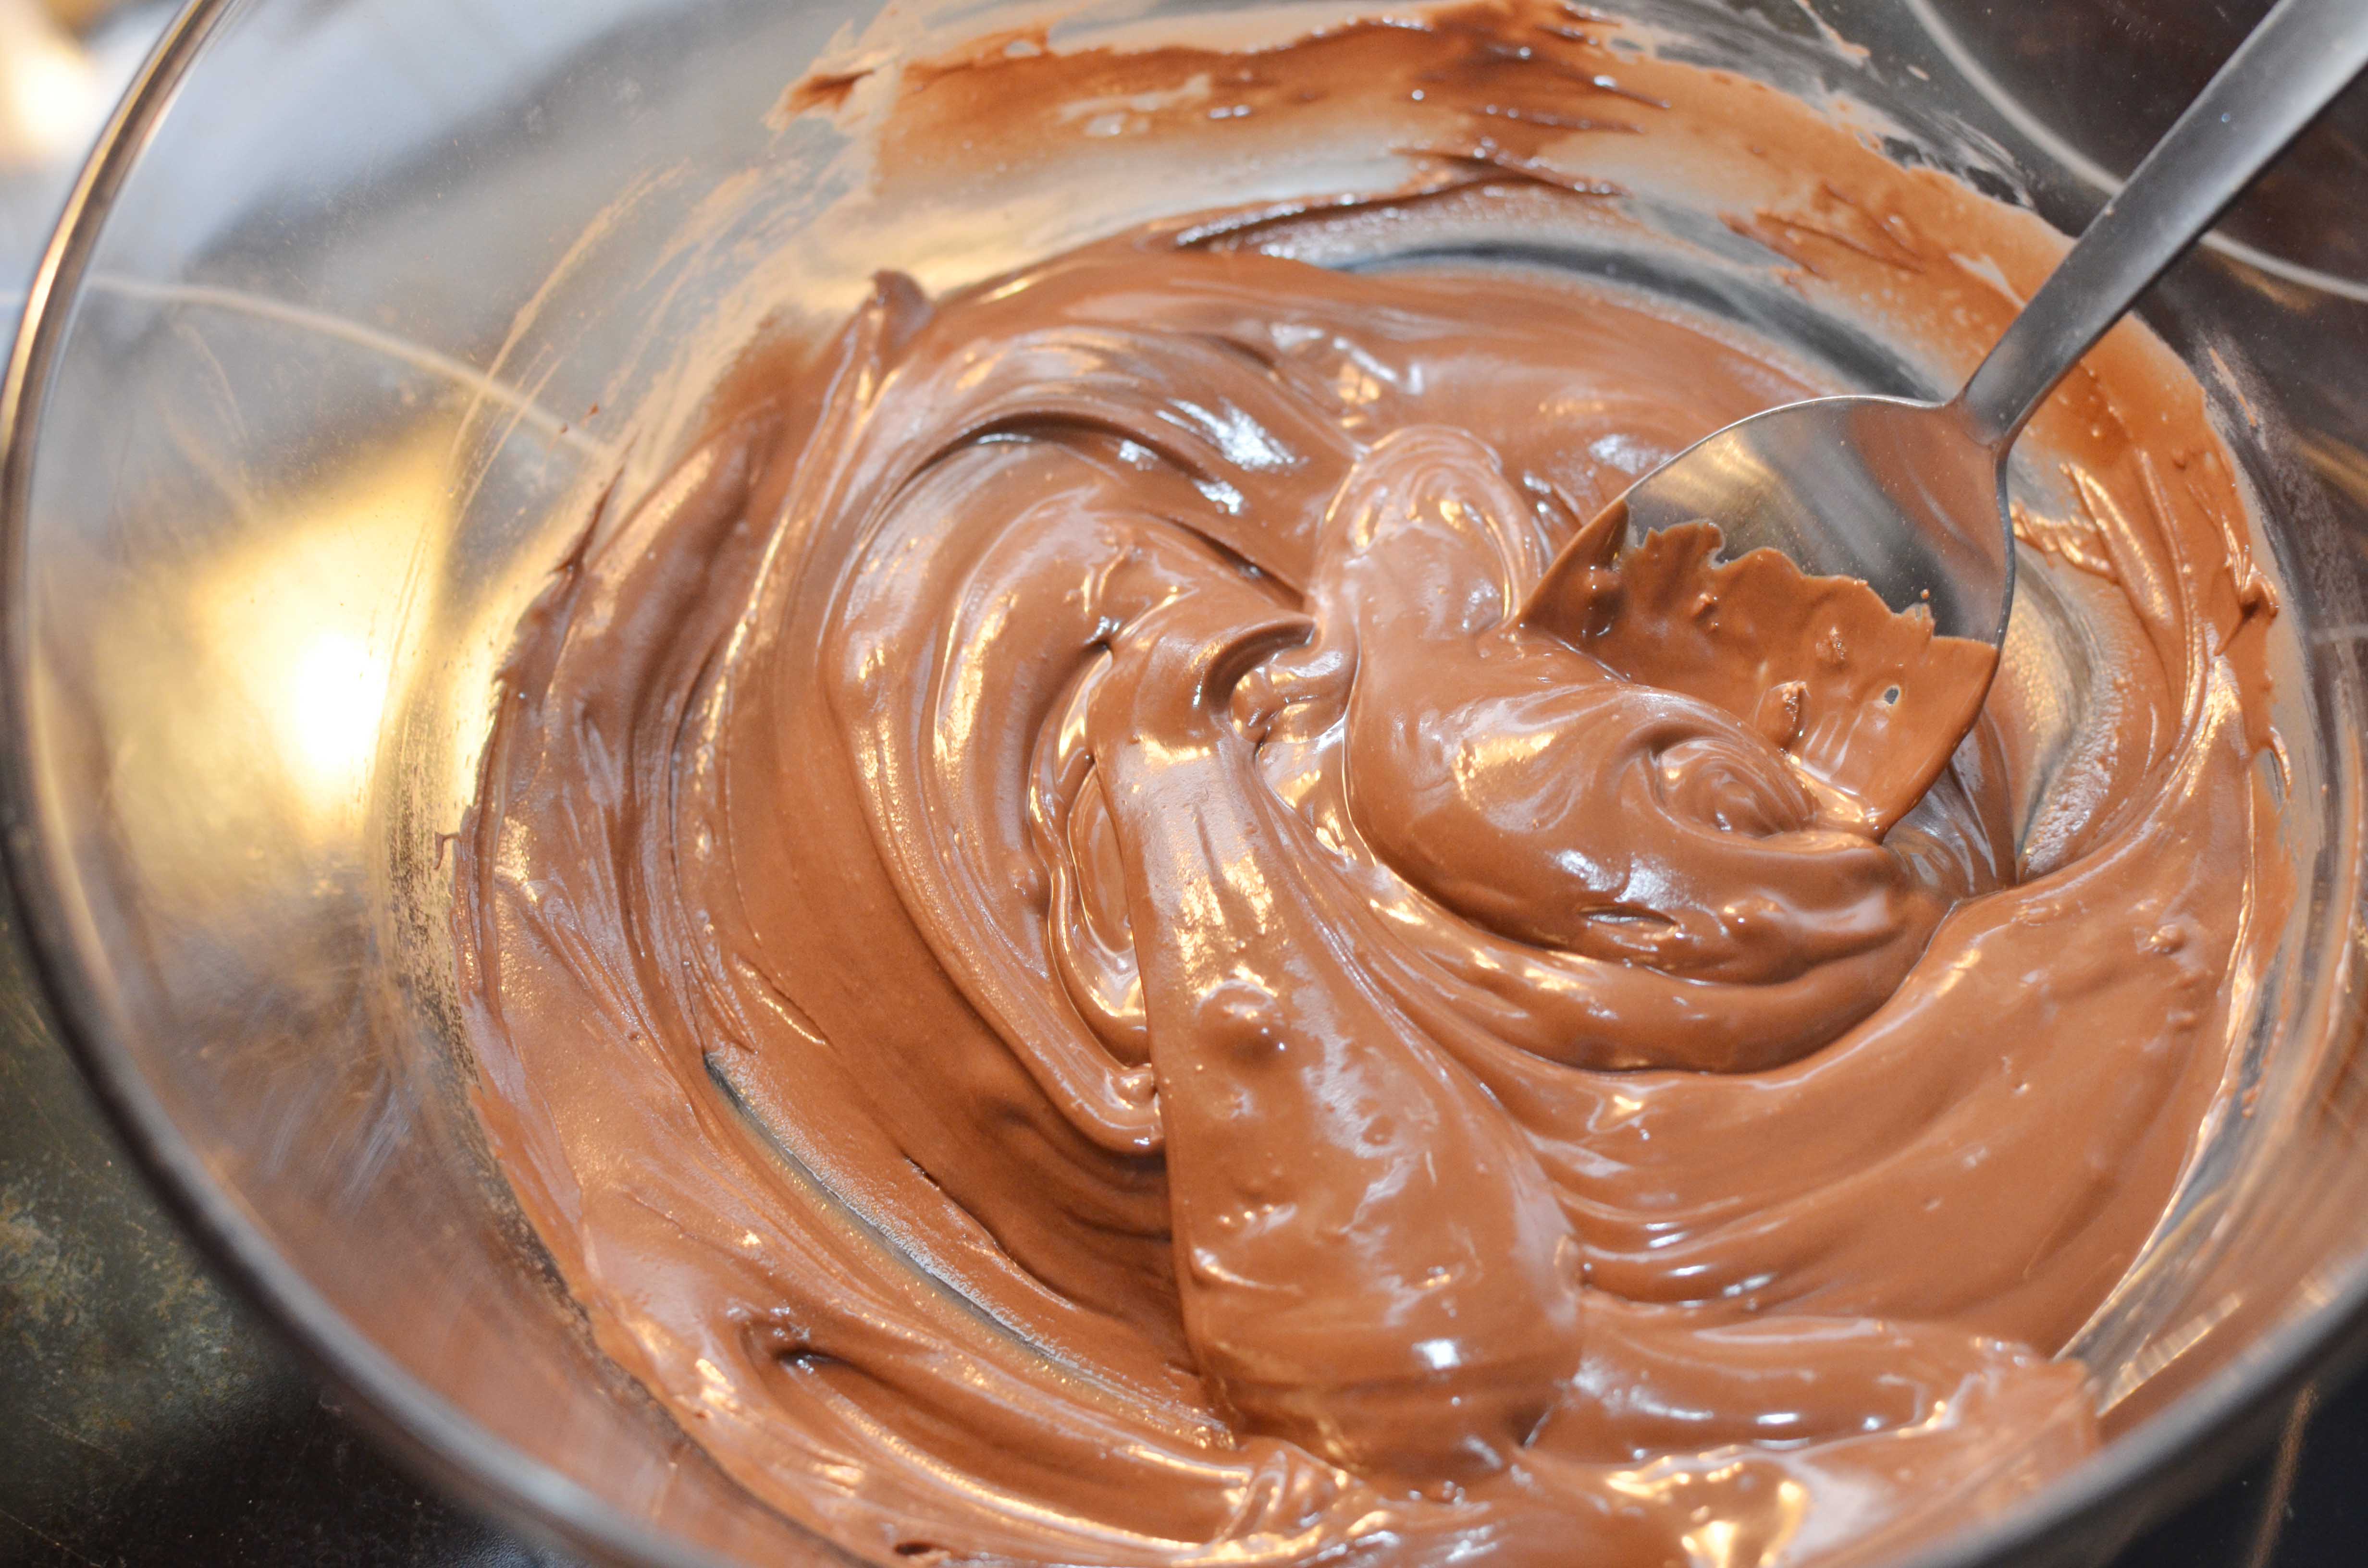
Put 3/4 of the chopped chocolate into a bowl and nuke it in the microwave for 30 second intervals, stirring between each one.

Then it will look like this.
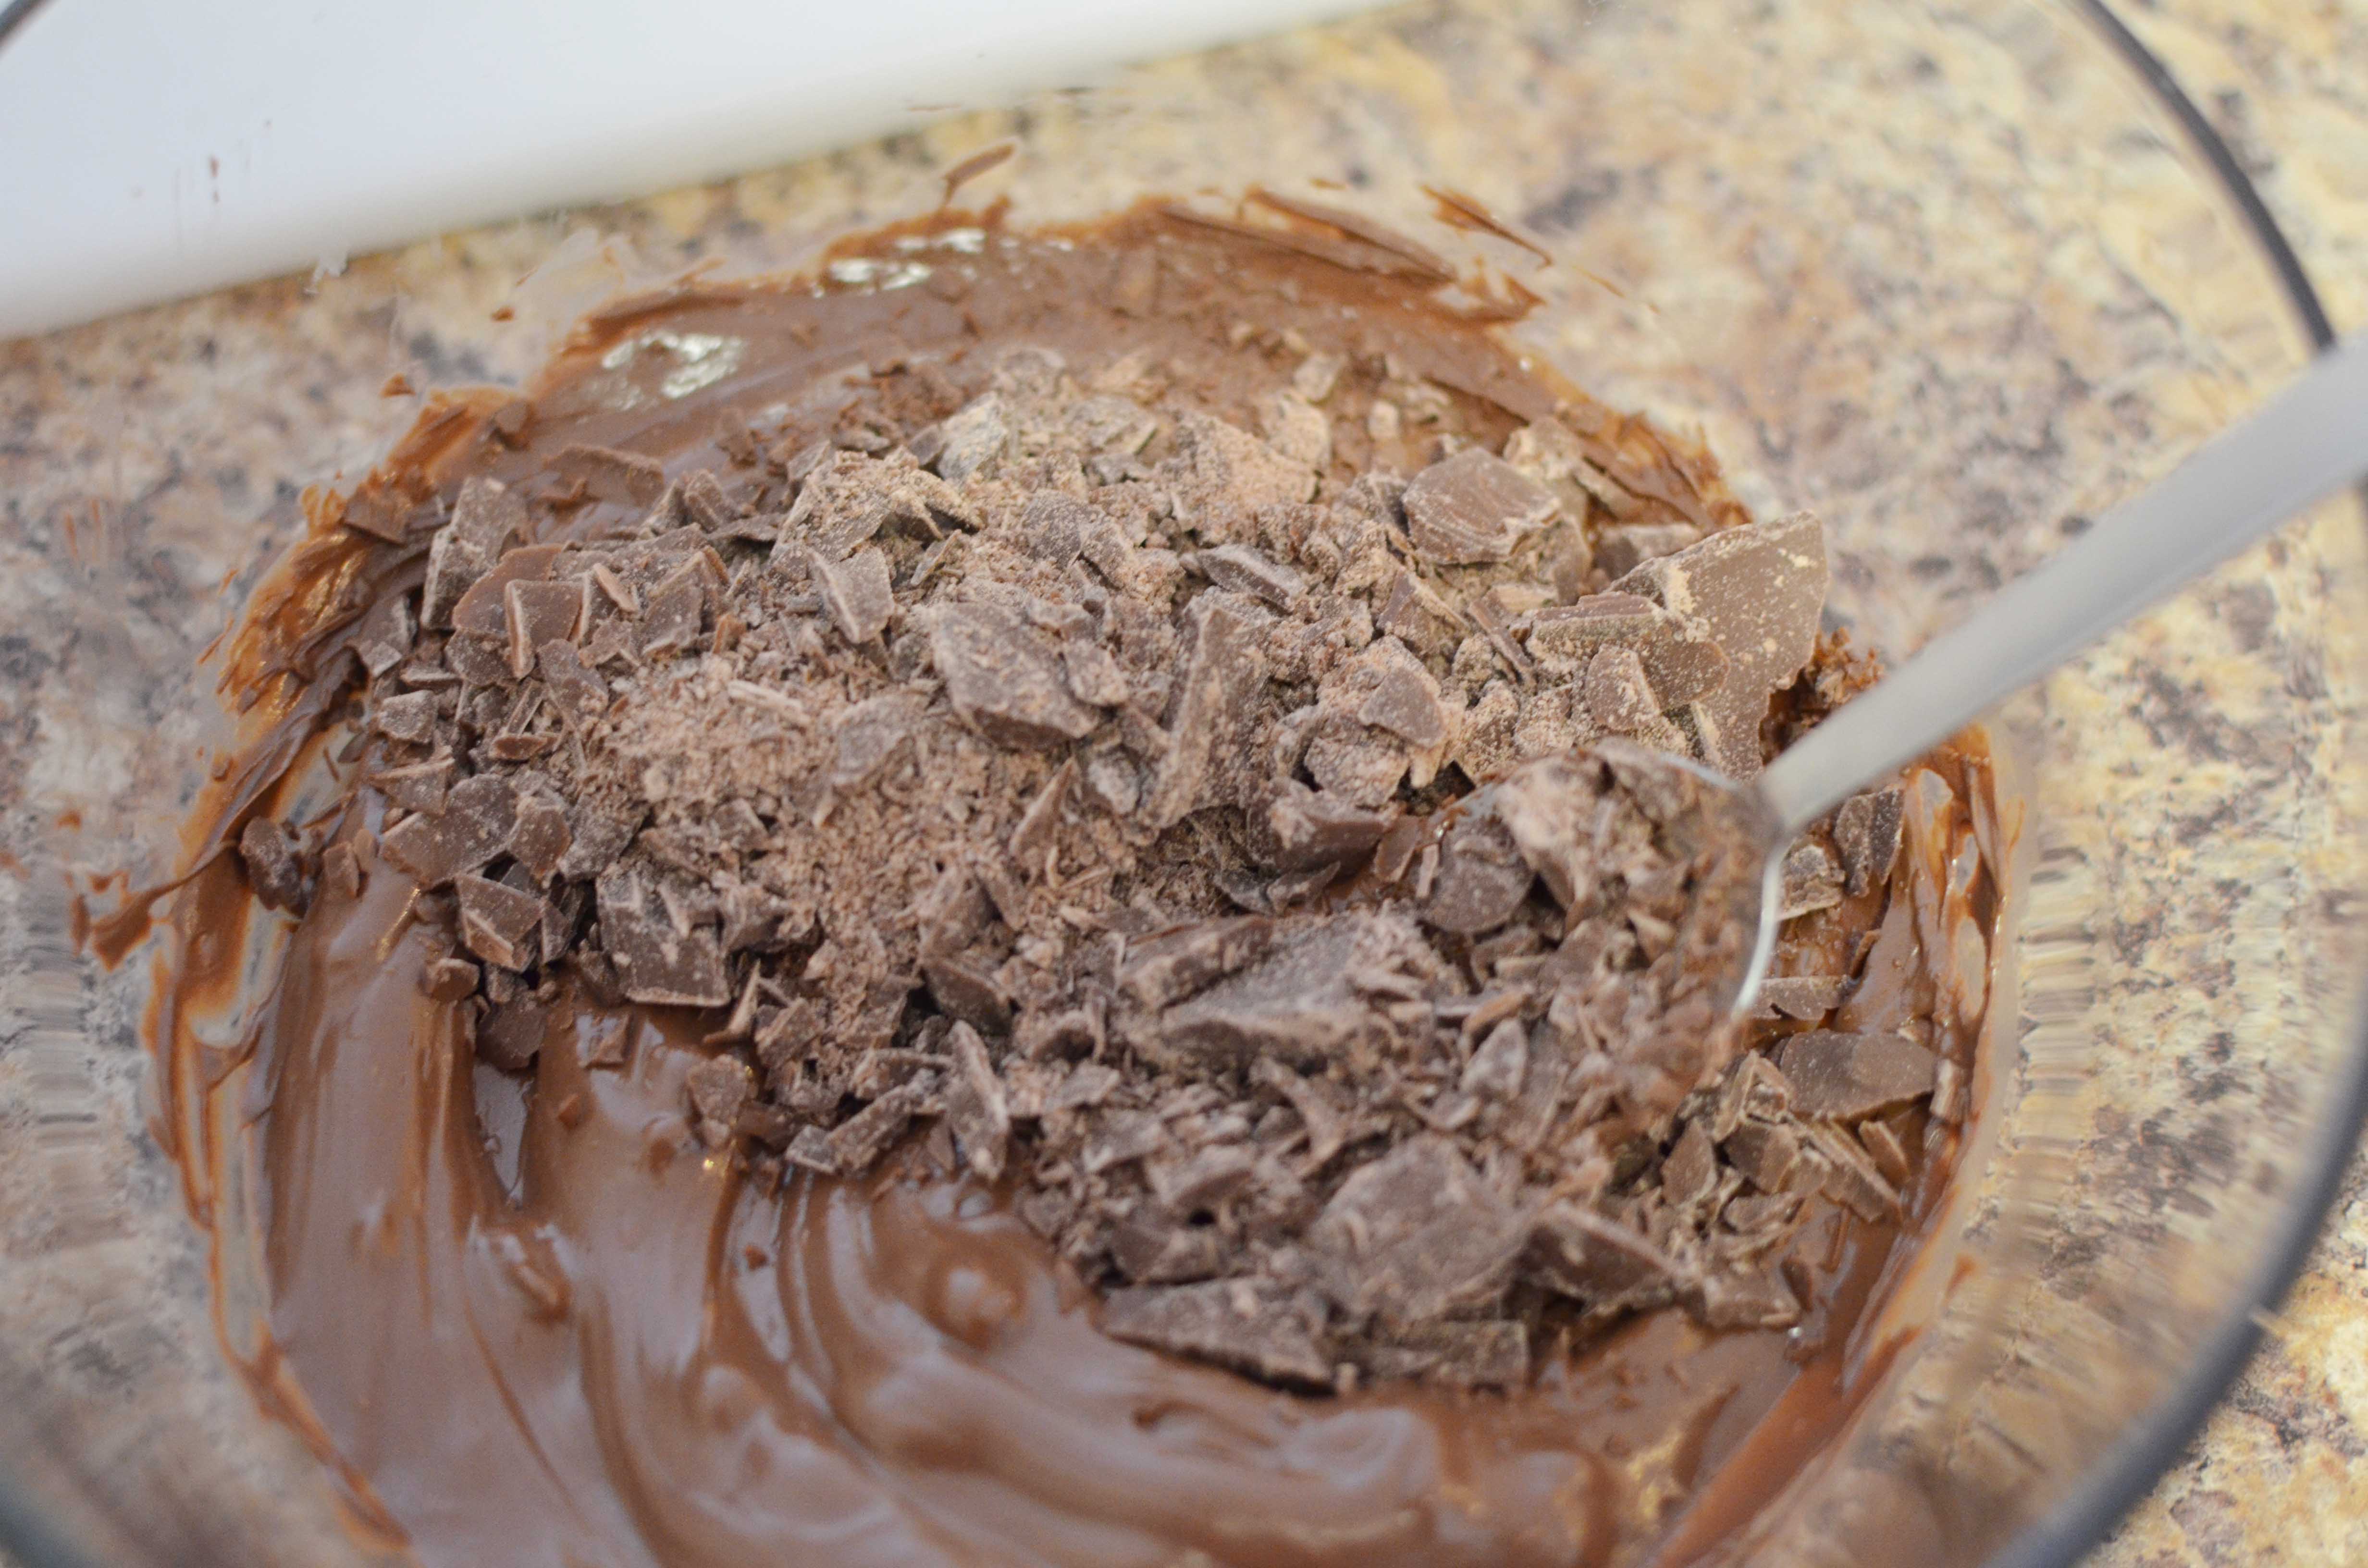
Then add the last 1/4 of your chopped coating and mix.

This will cool the overall chocolate a little bit, and give you a nice smooth coating to work with.

Line each cavity with your coating. This is the first time that I did it, and I ended up having my first batch be very fragile on the outside. So, the second time, I did a second layer of coating, and then they turned out perfectly. After putting coating in the cavity, place it in the freezer to harden.

In a sauce pan or skillet, place your chocolate to start the ganache.

Add your powdered sugar unless you prefer the unsweetened version which some people do.
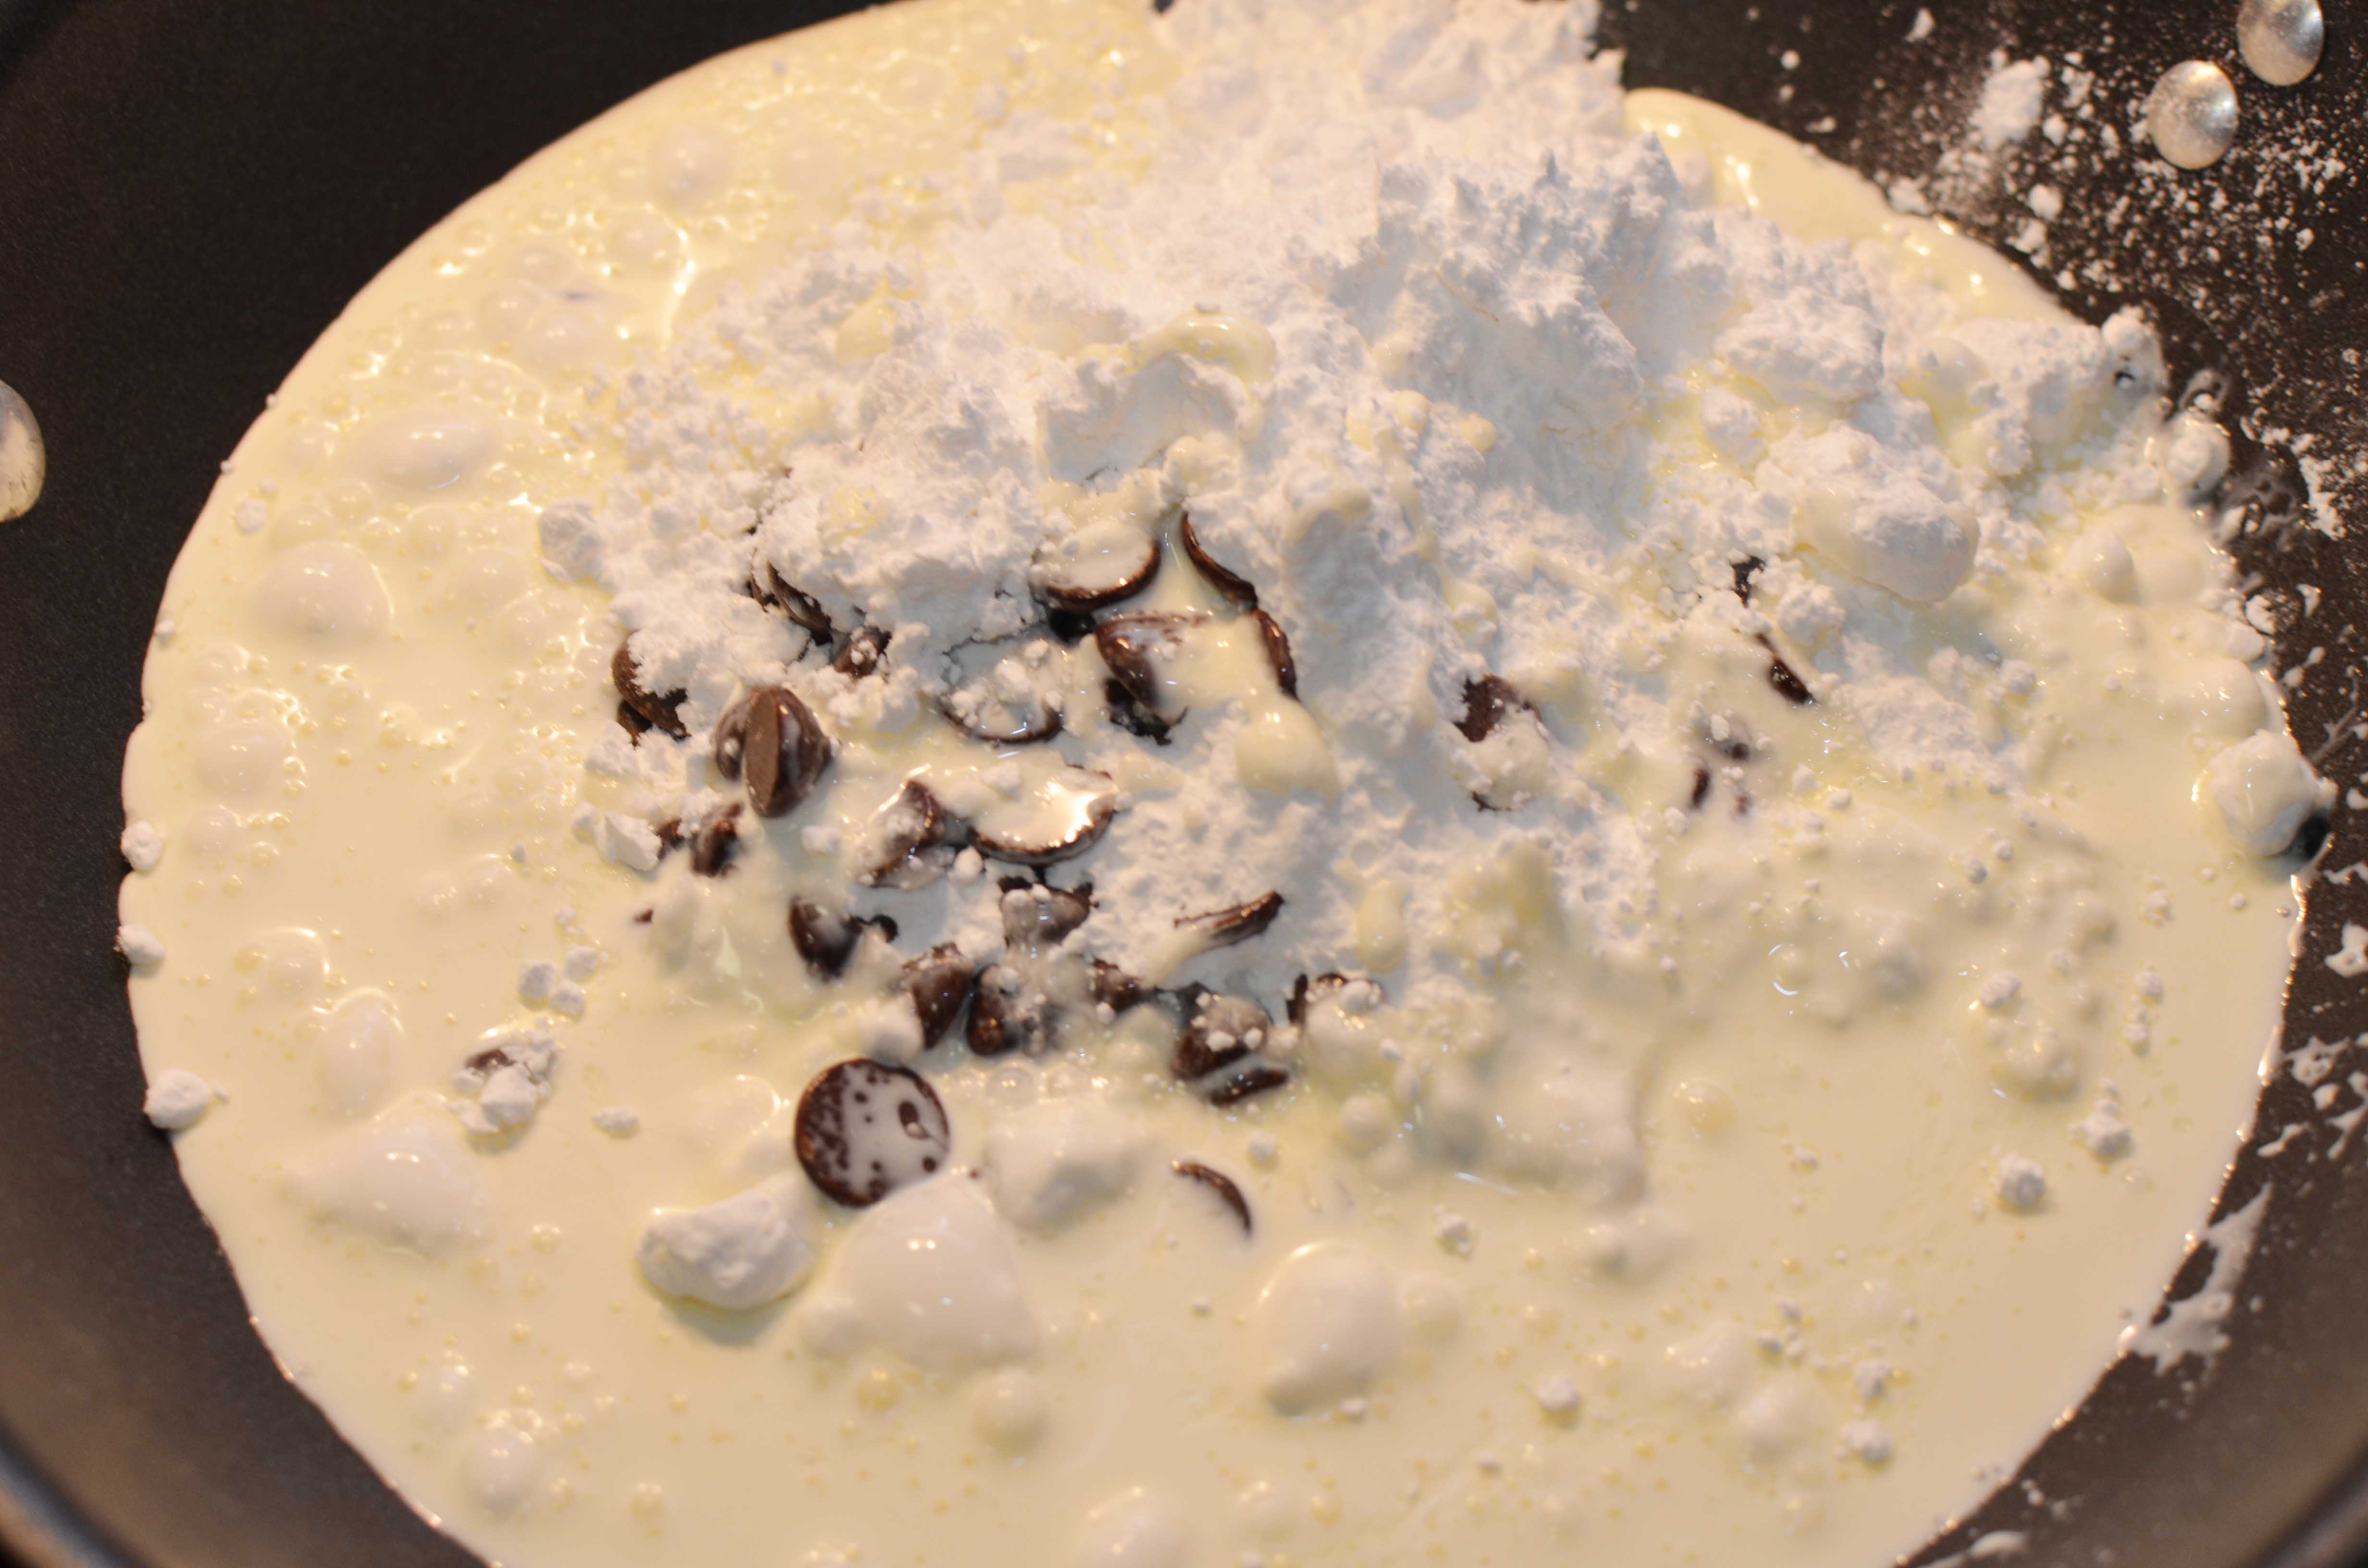
Then add your heavy whipping cream.

I then add instant coffee like Nescafe to add flavor.

Now cook on medium heat until everything is melted.
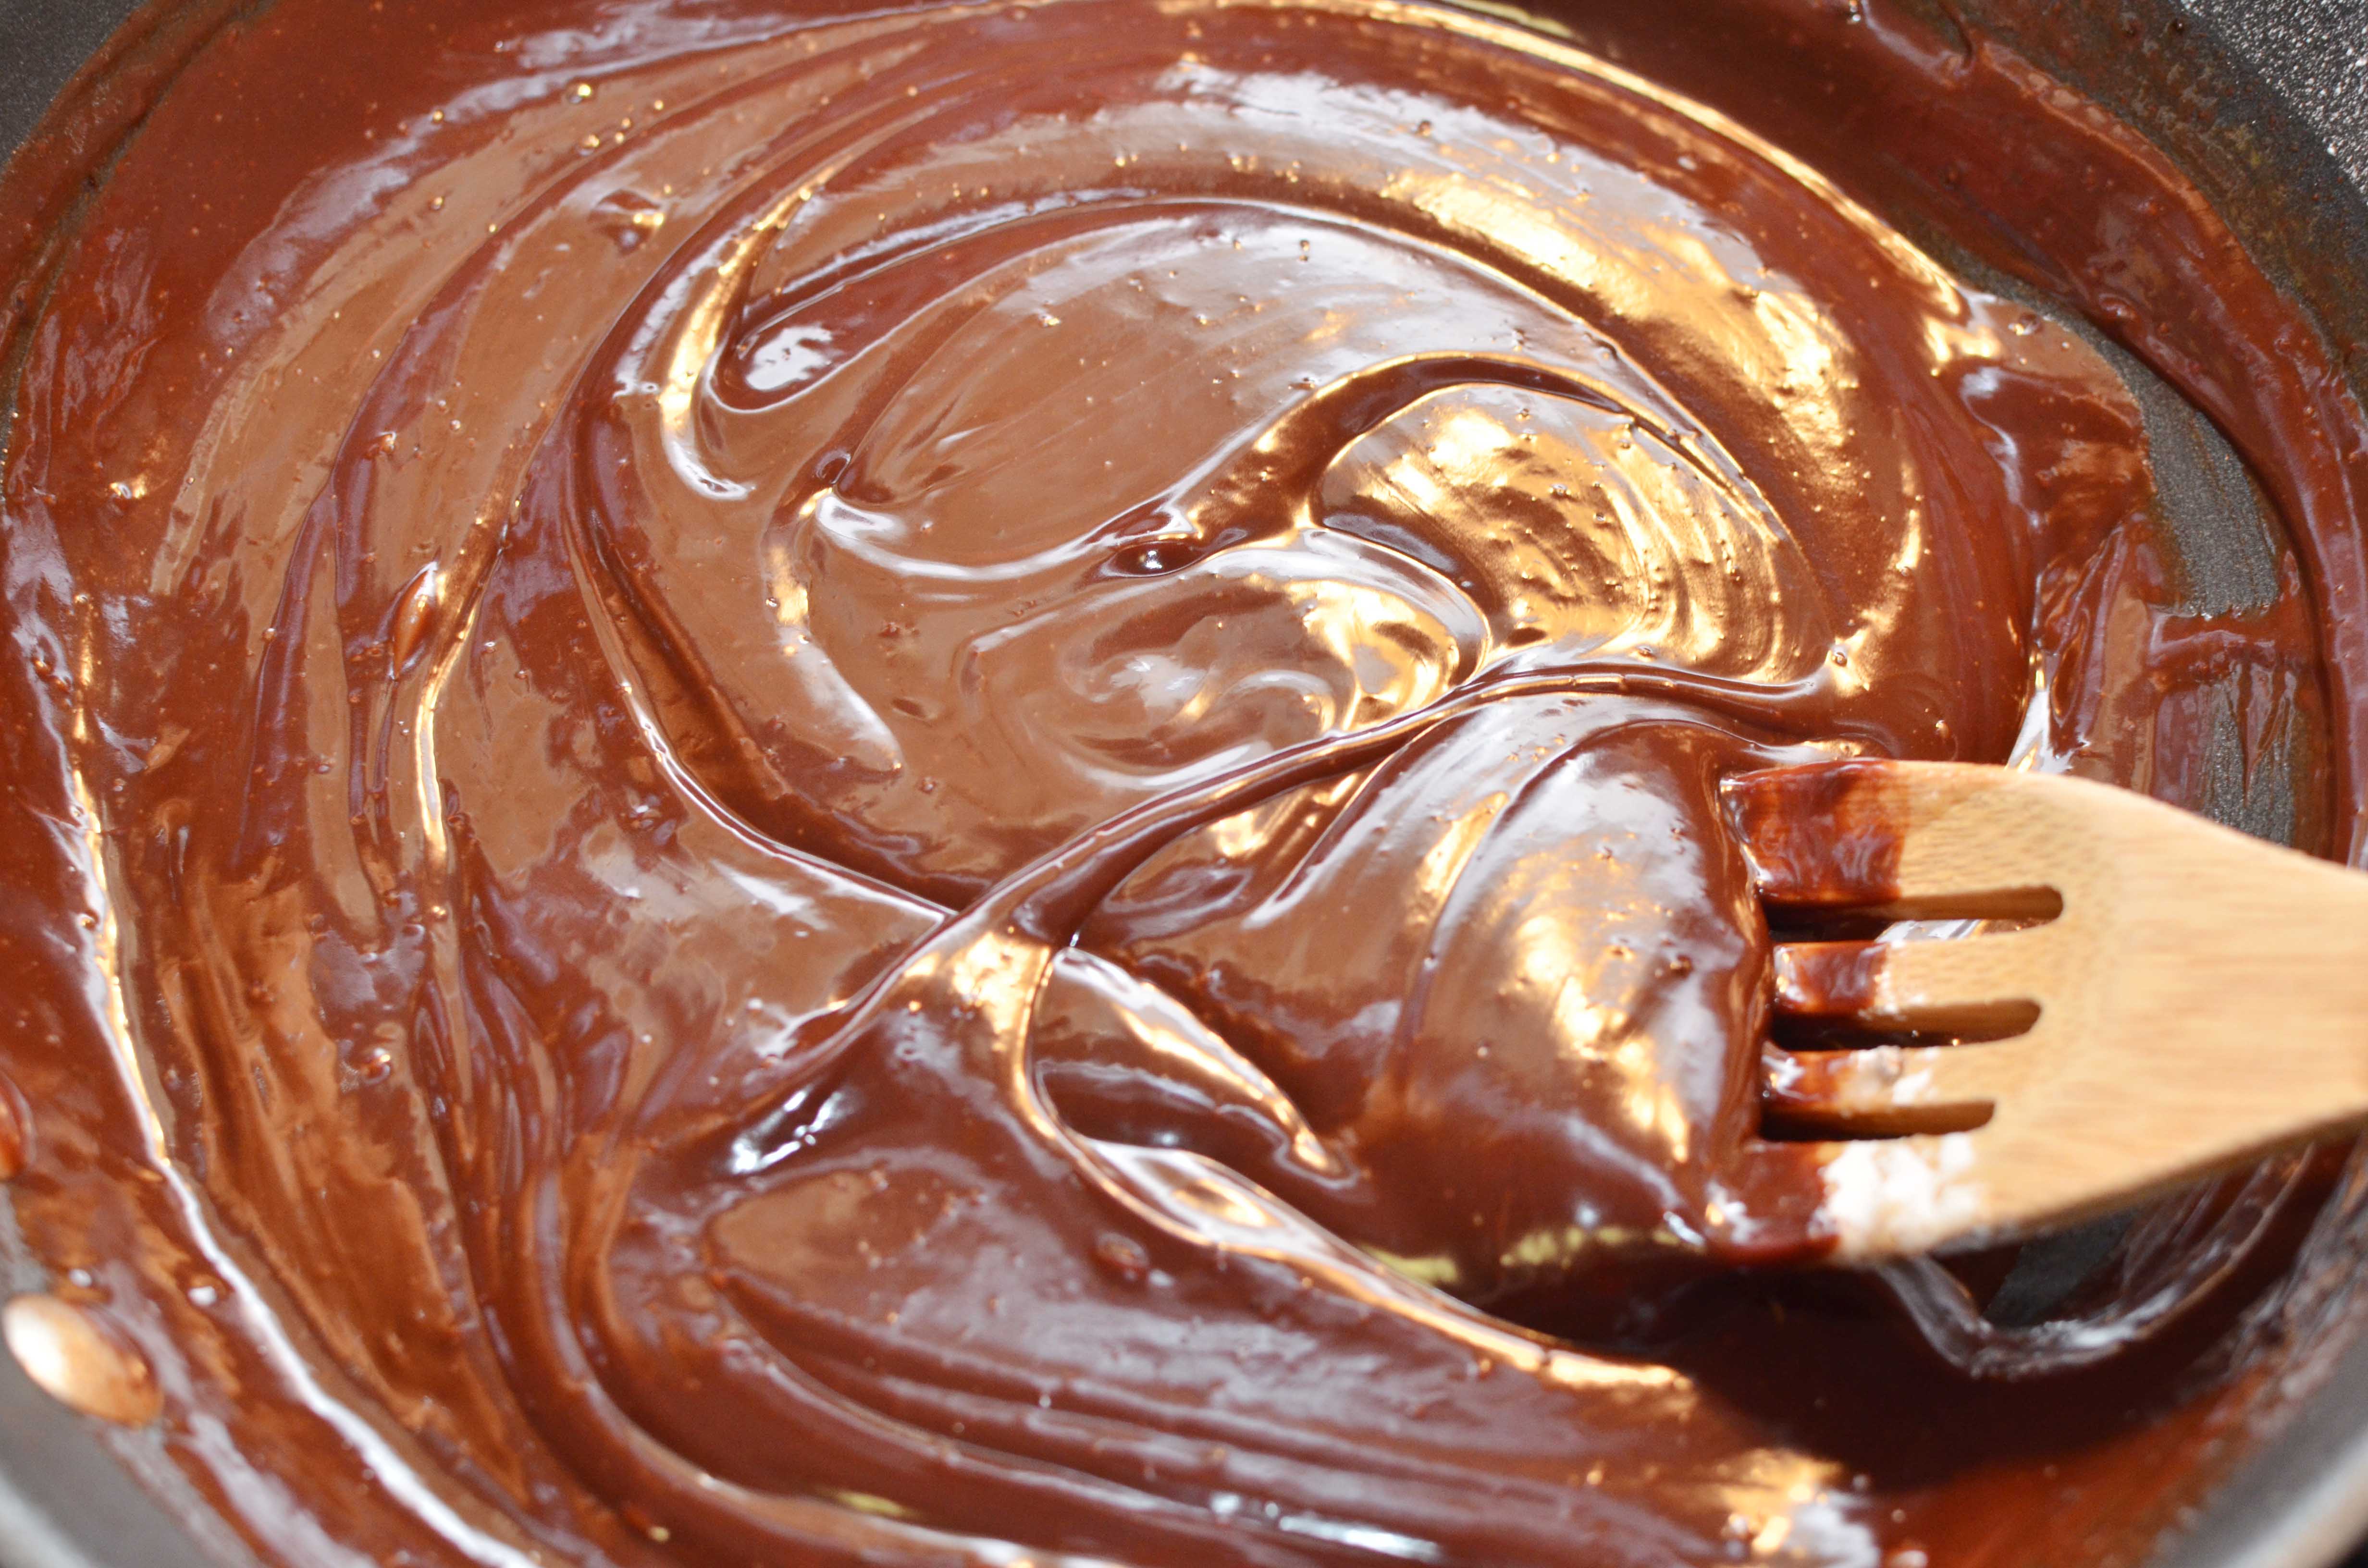
Here you can see it is nice and smooth and well incorporated.
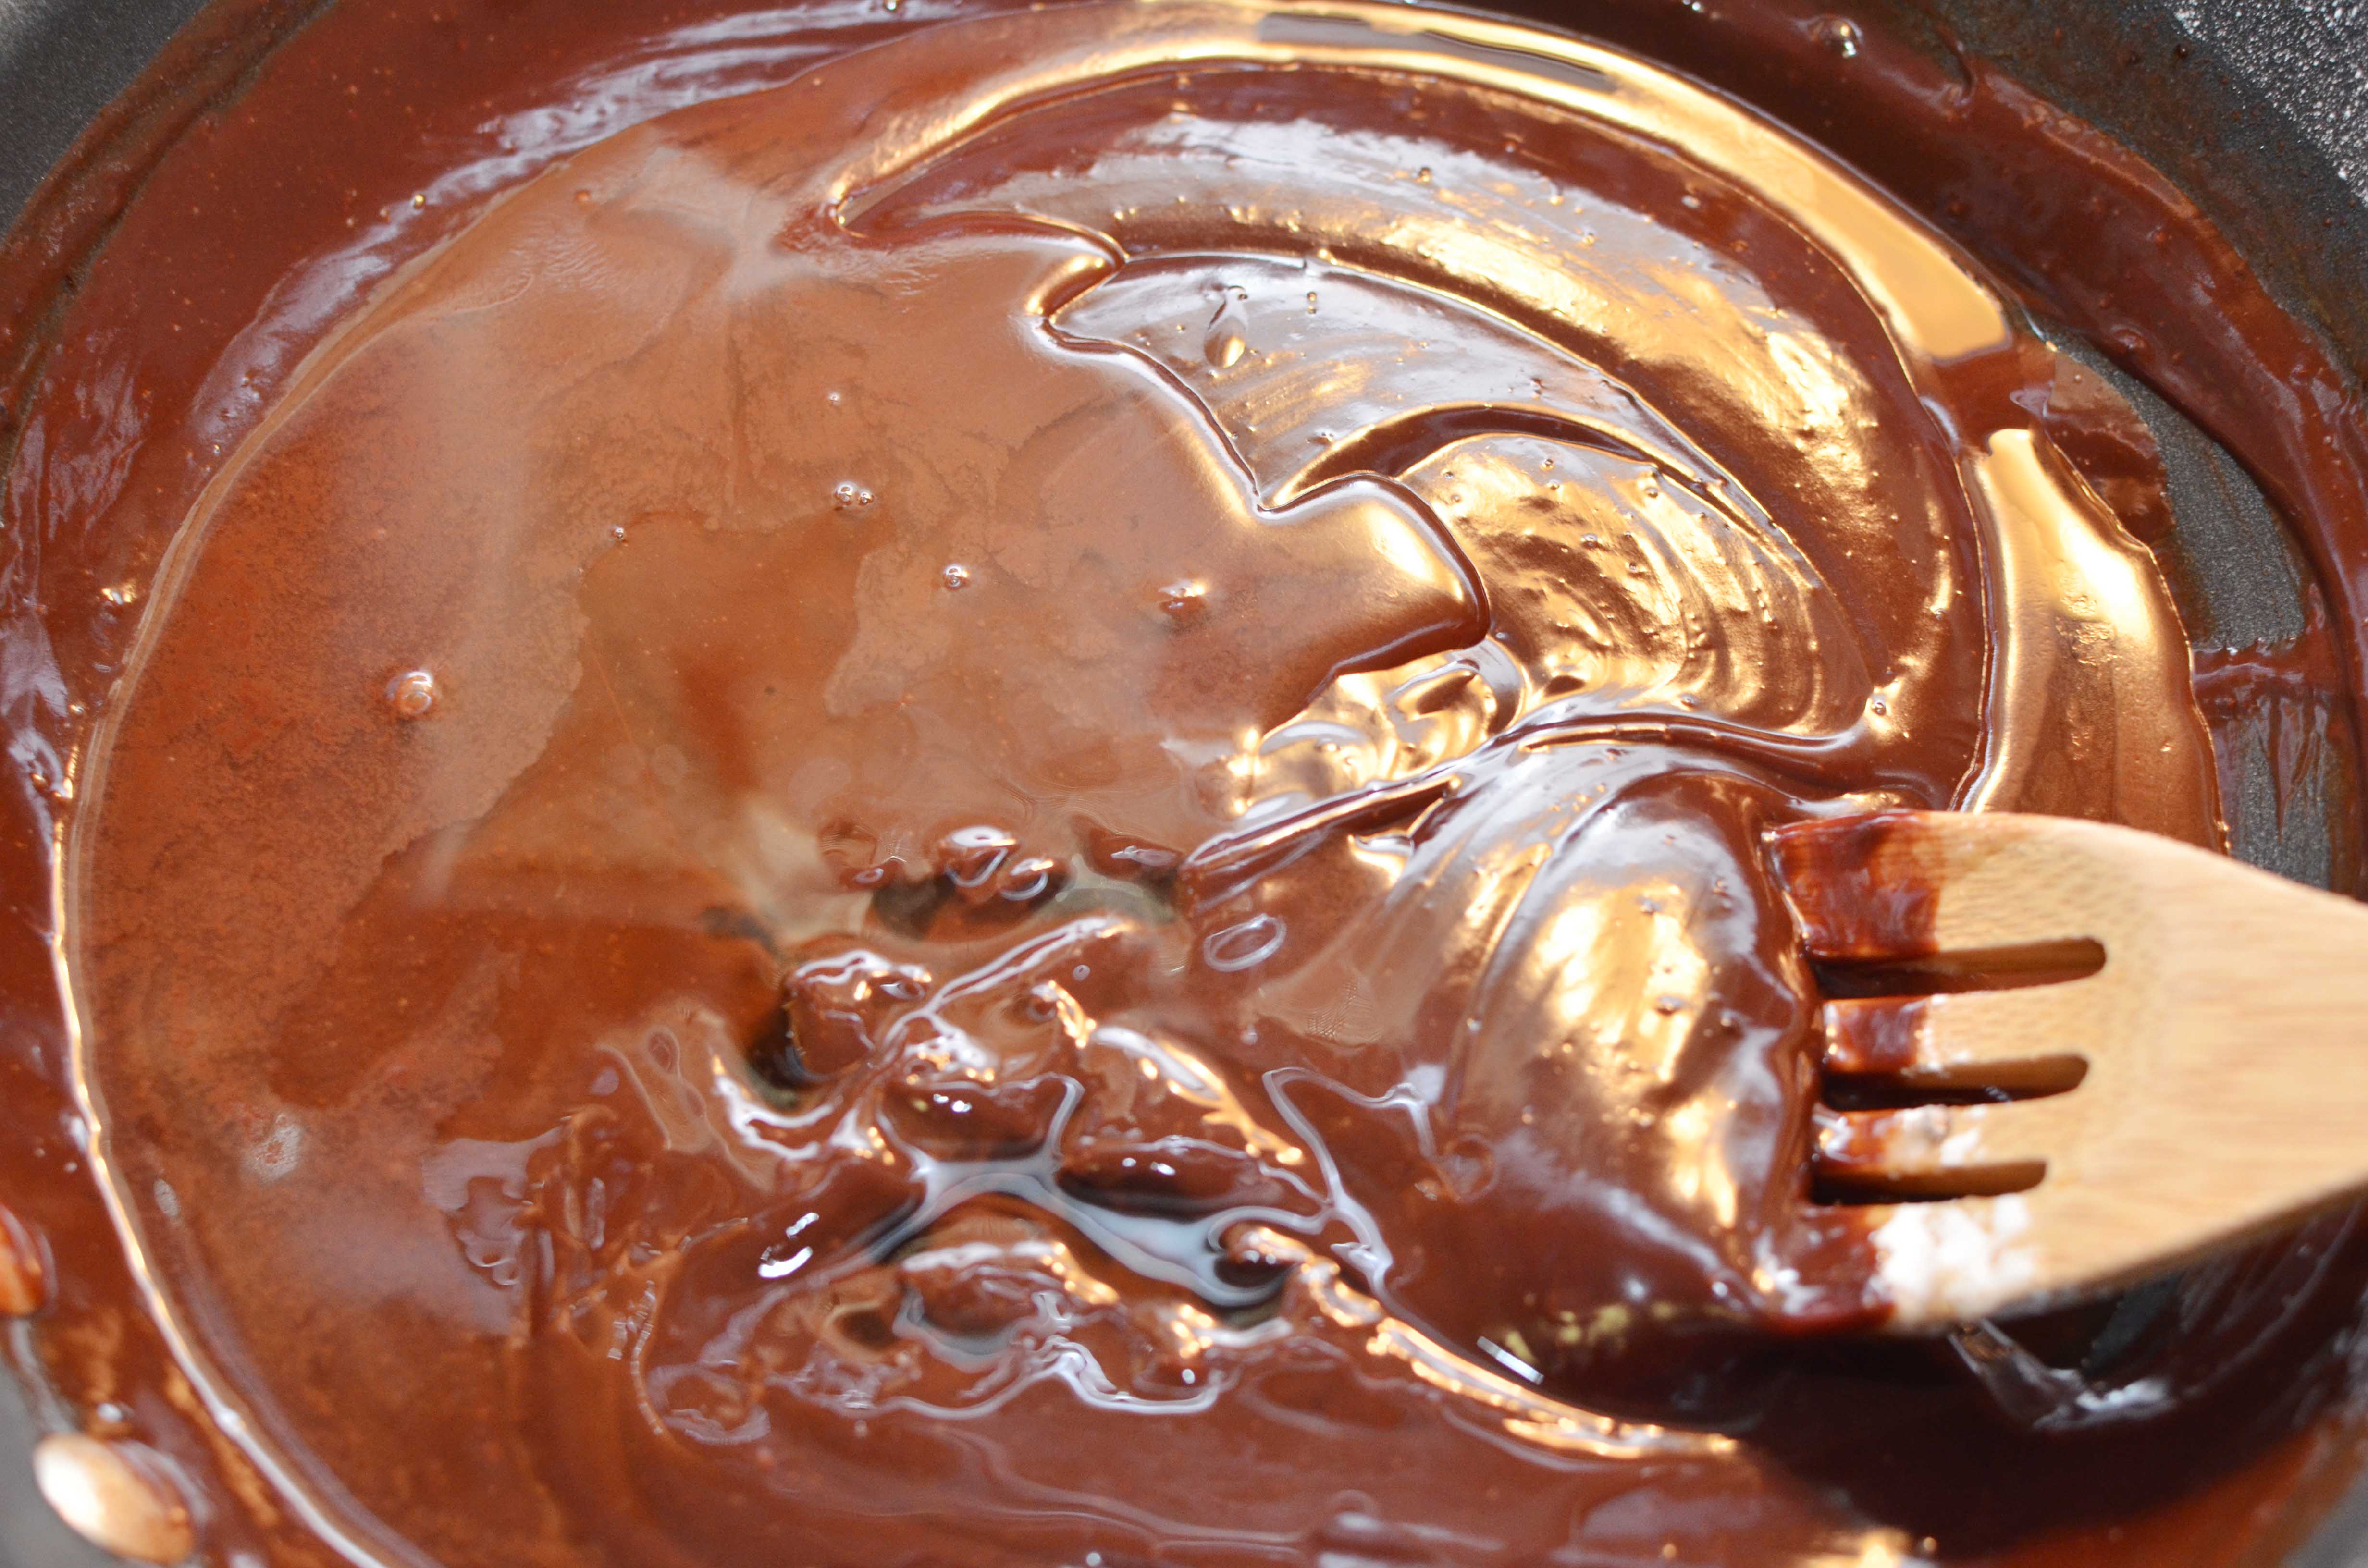
Remove from the heat, and add in your hazelnut liquor and vanilla extract.

Stir to incorporate.
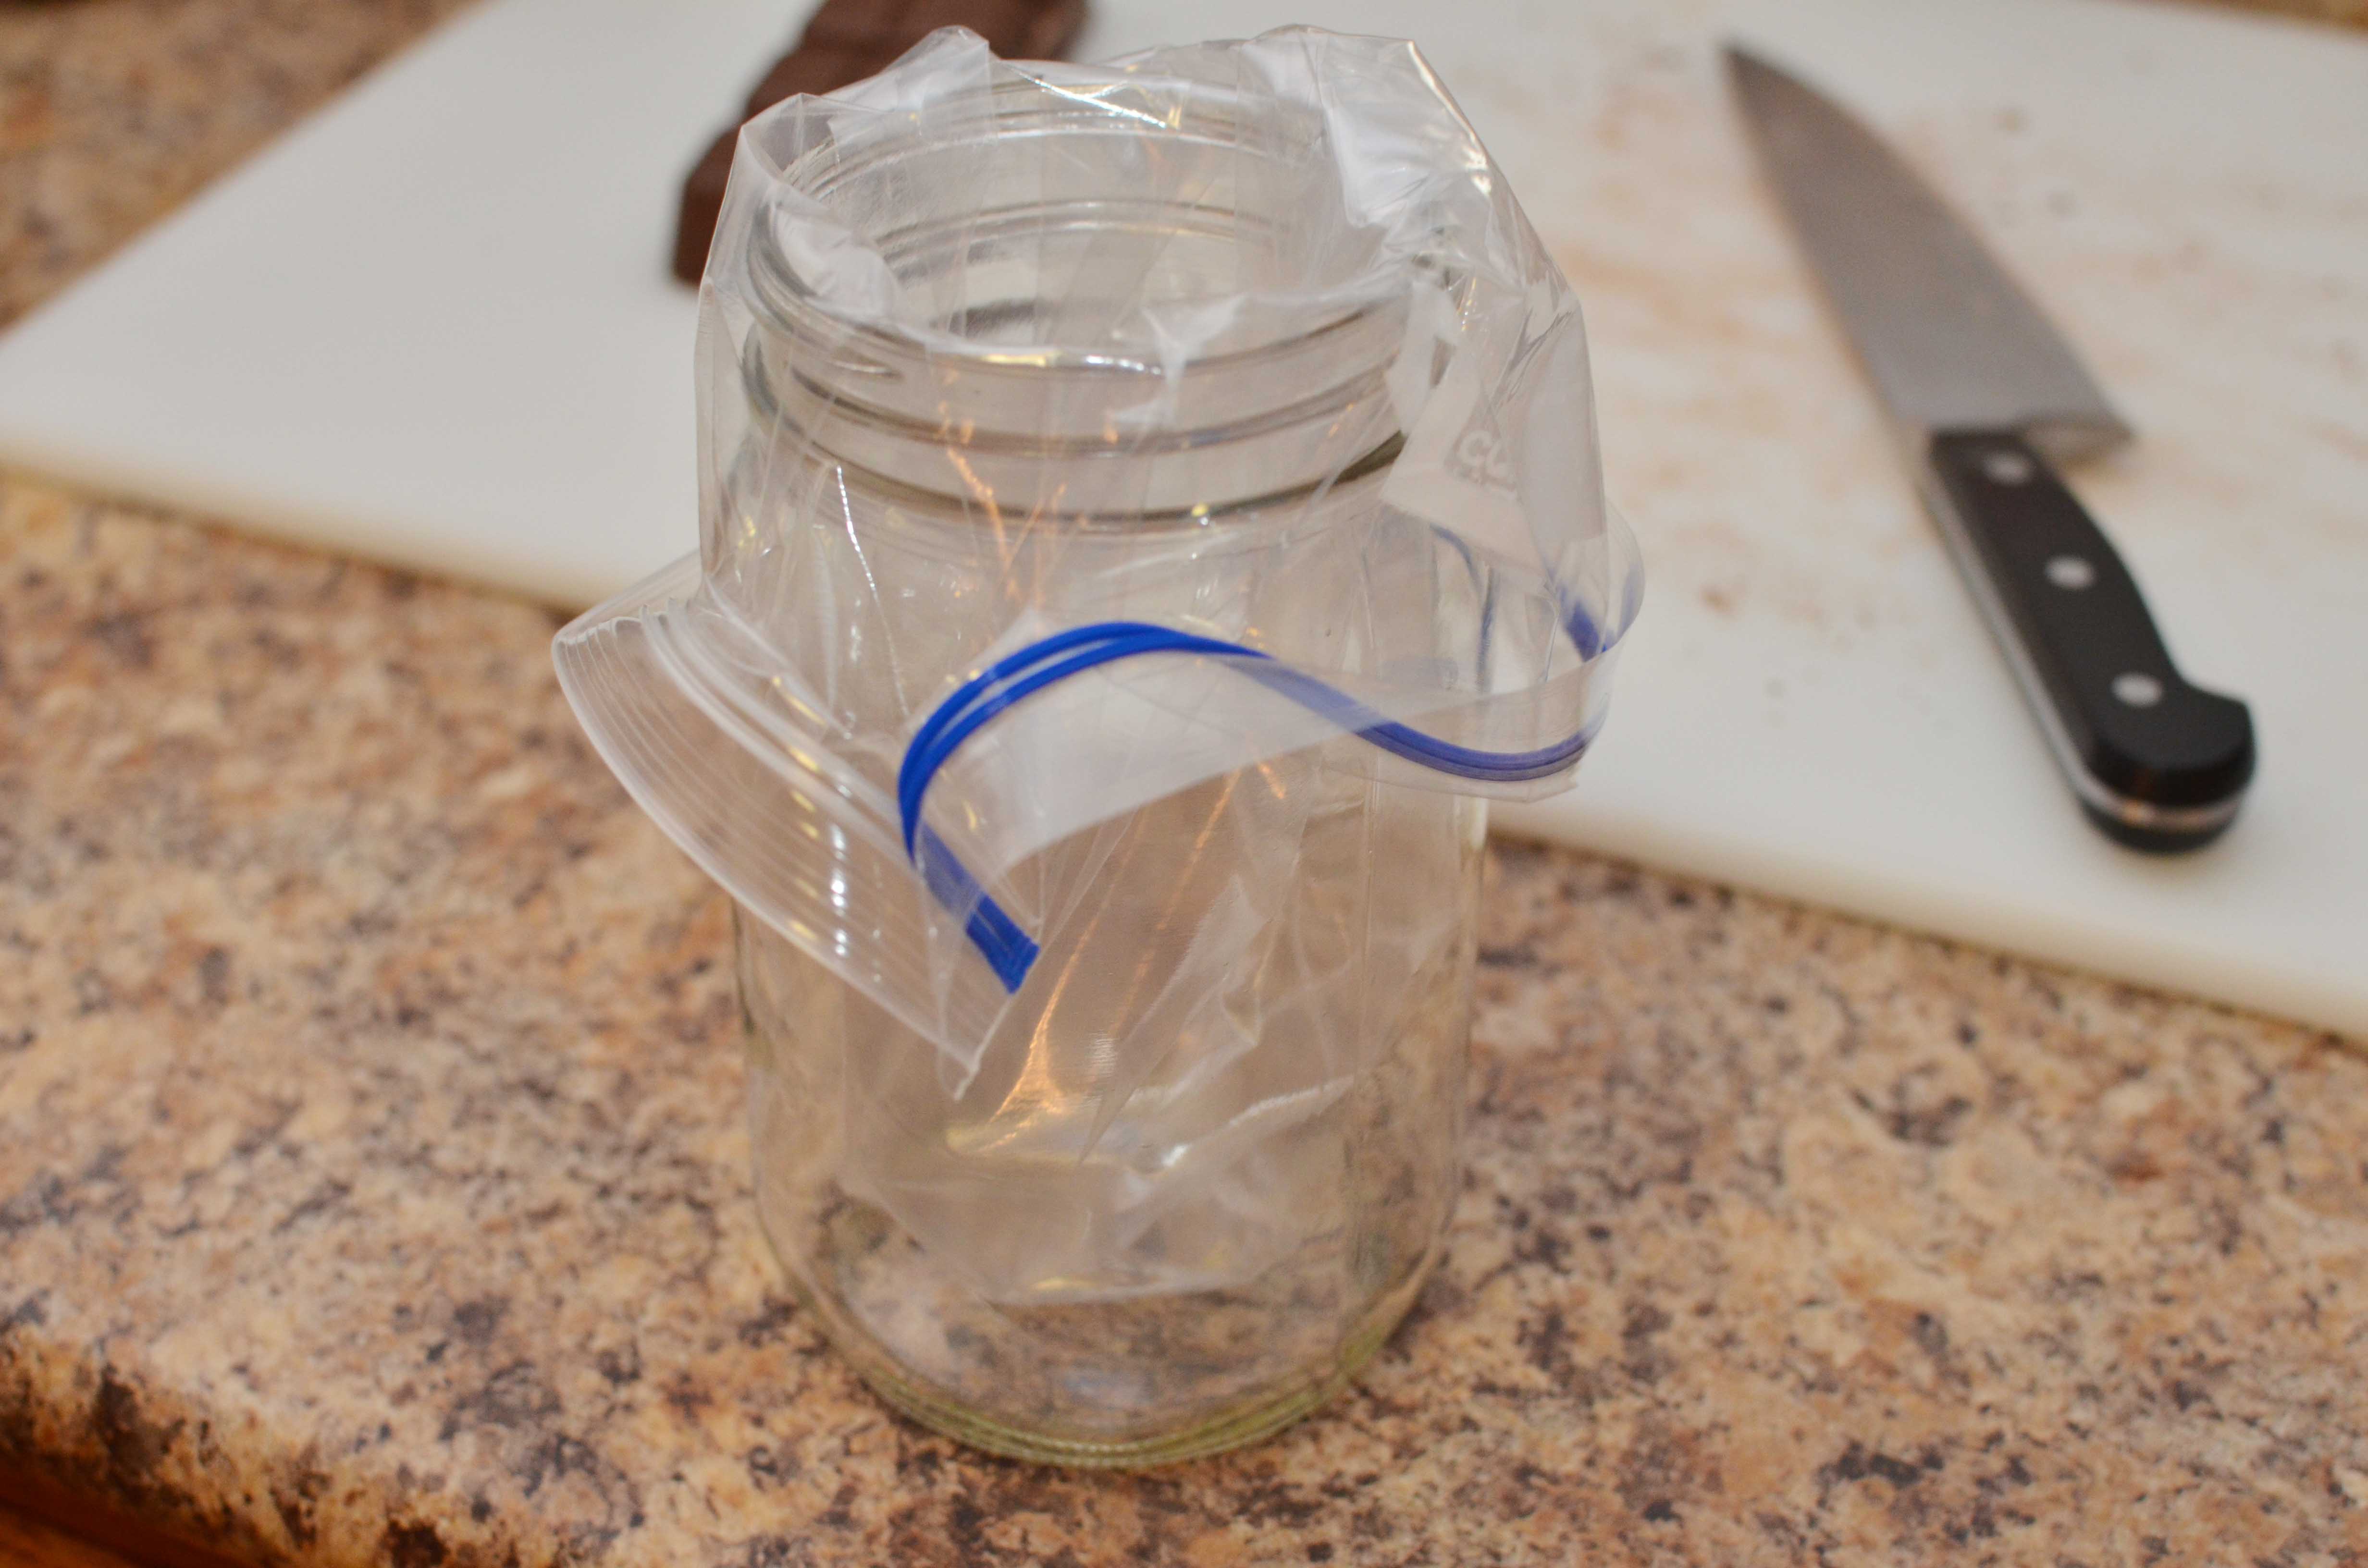
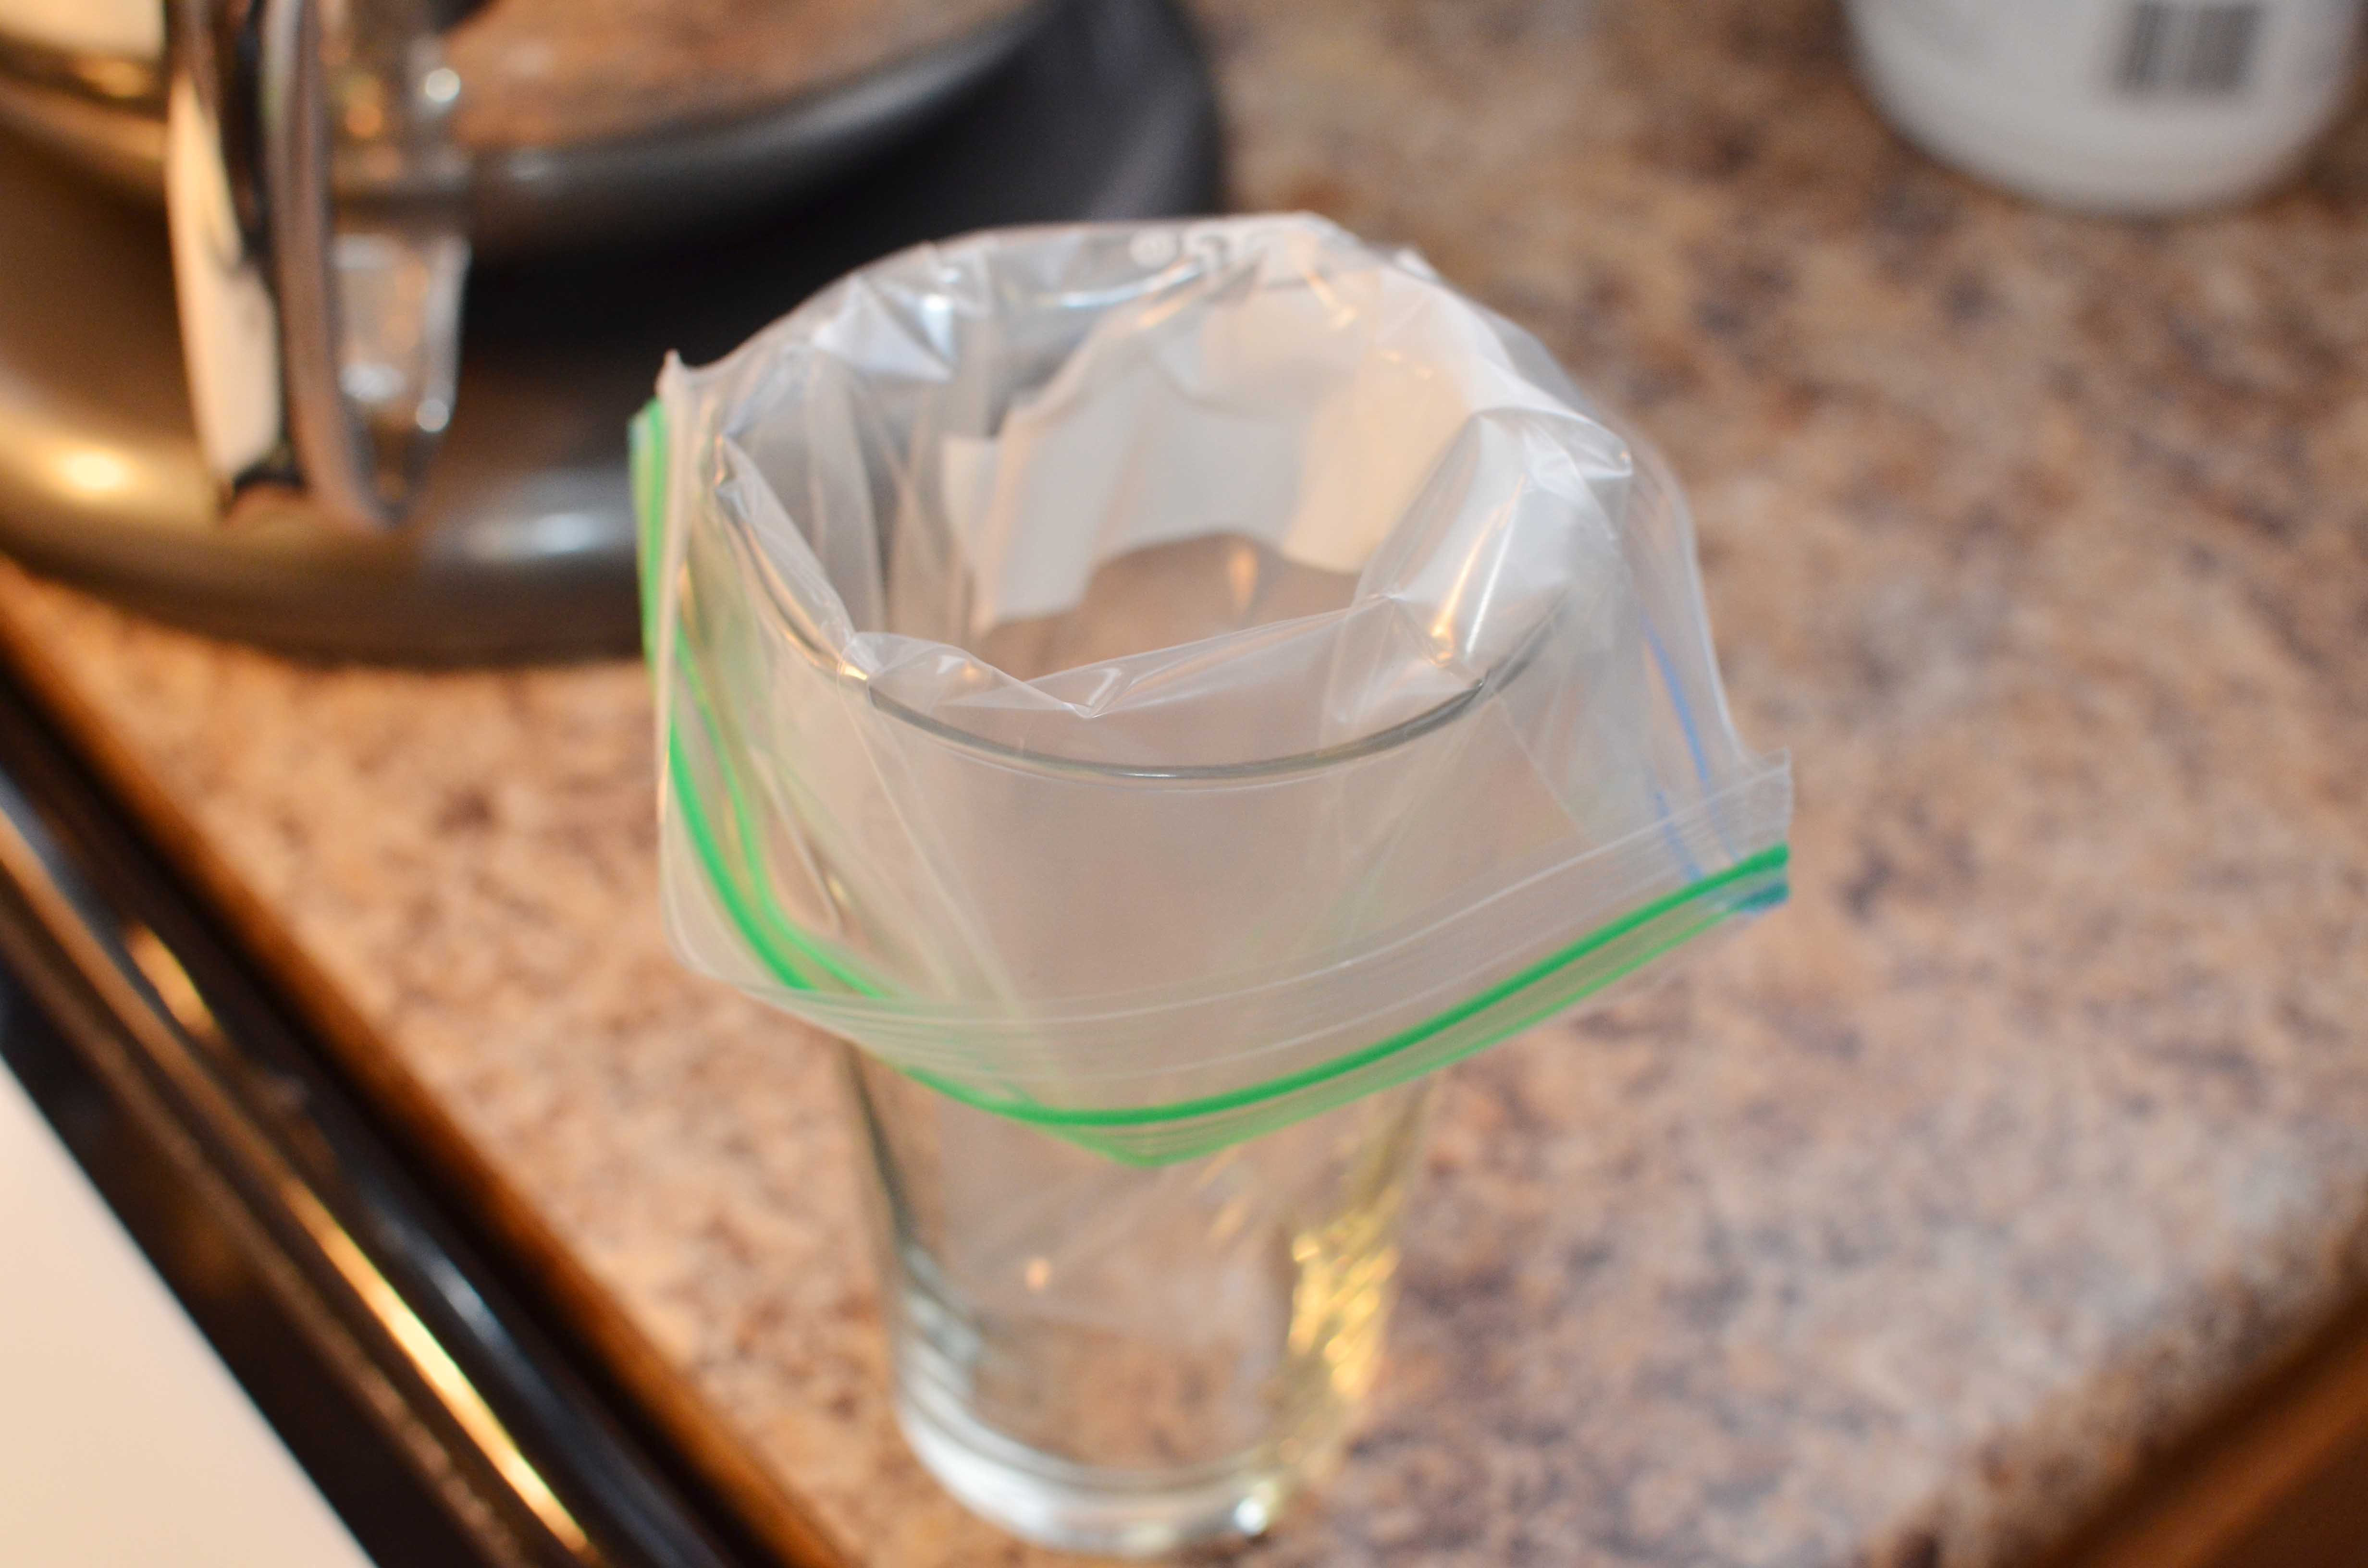
I prefer to use a 32 oz. mason jar and a gallon plastic bag to pipe the truffles since cleaning out reusable piping bags would just be a nightmare with this recipe.

Fill it up, and pull your mold out of the freezer.
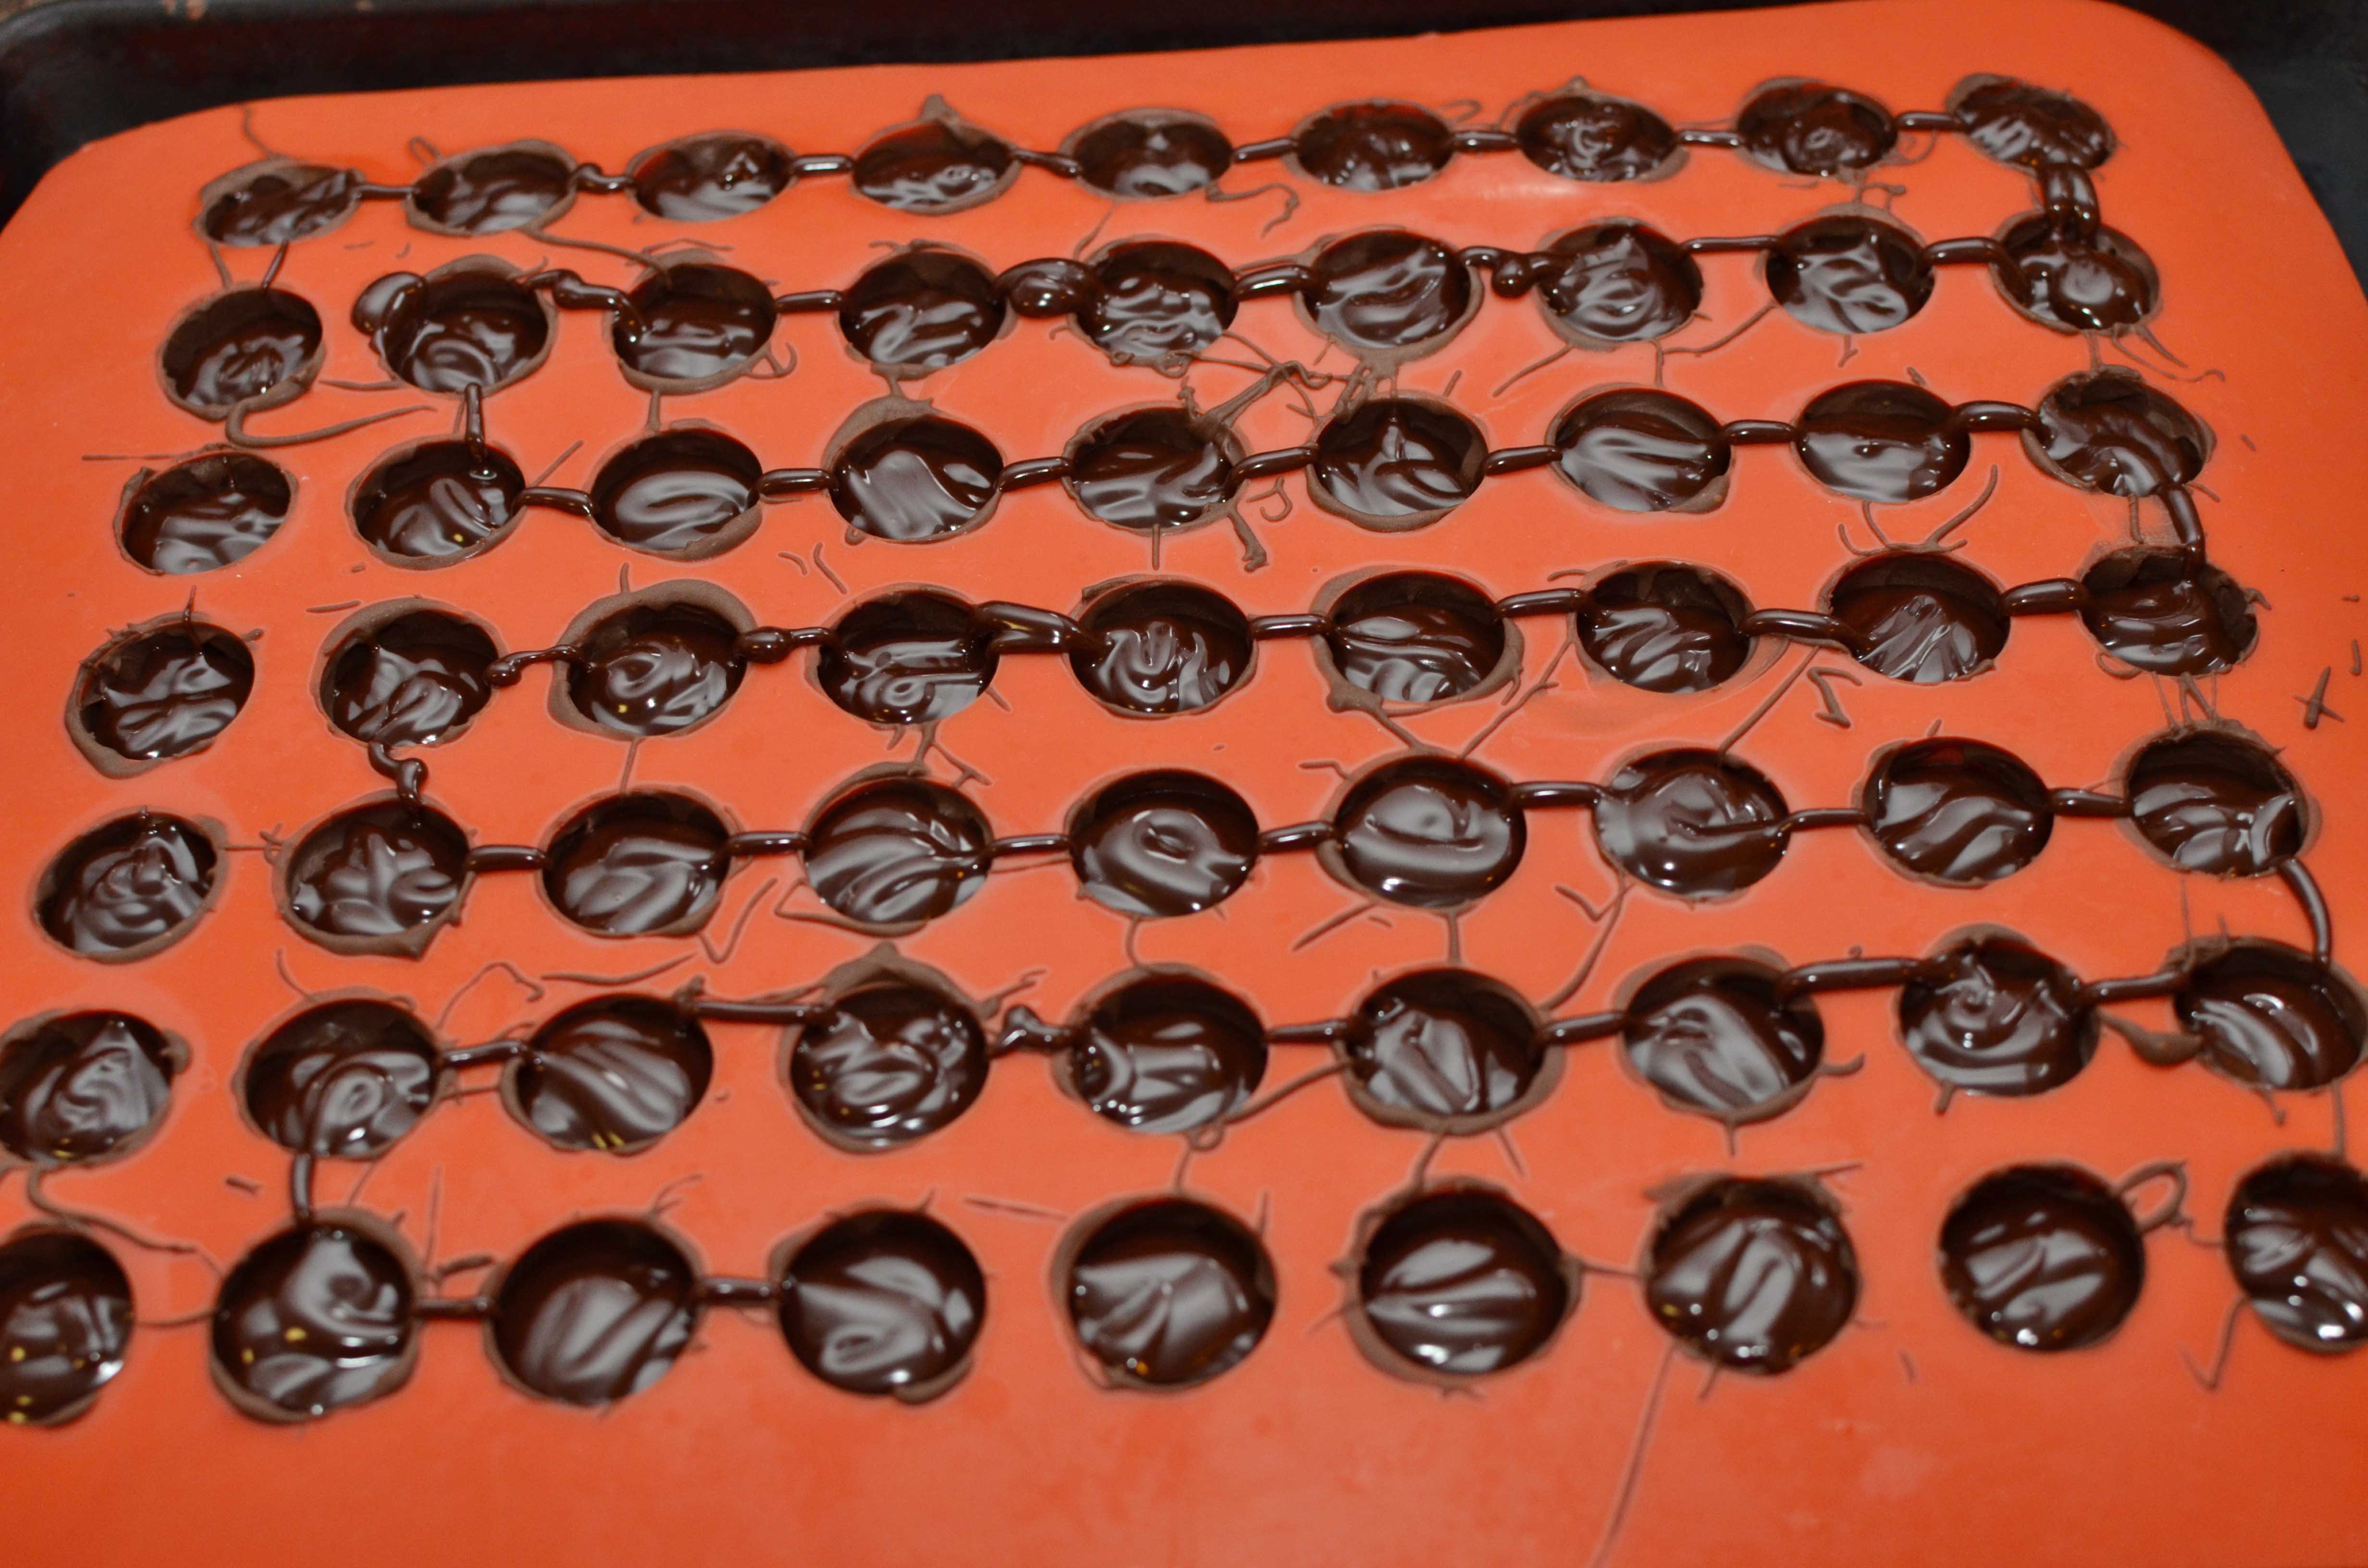
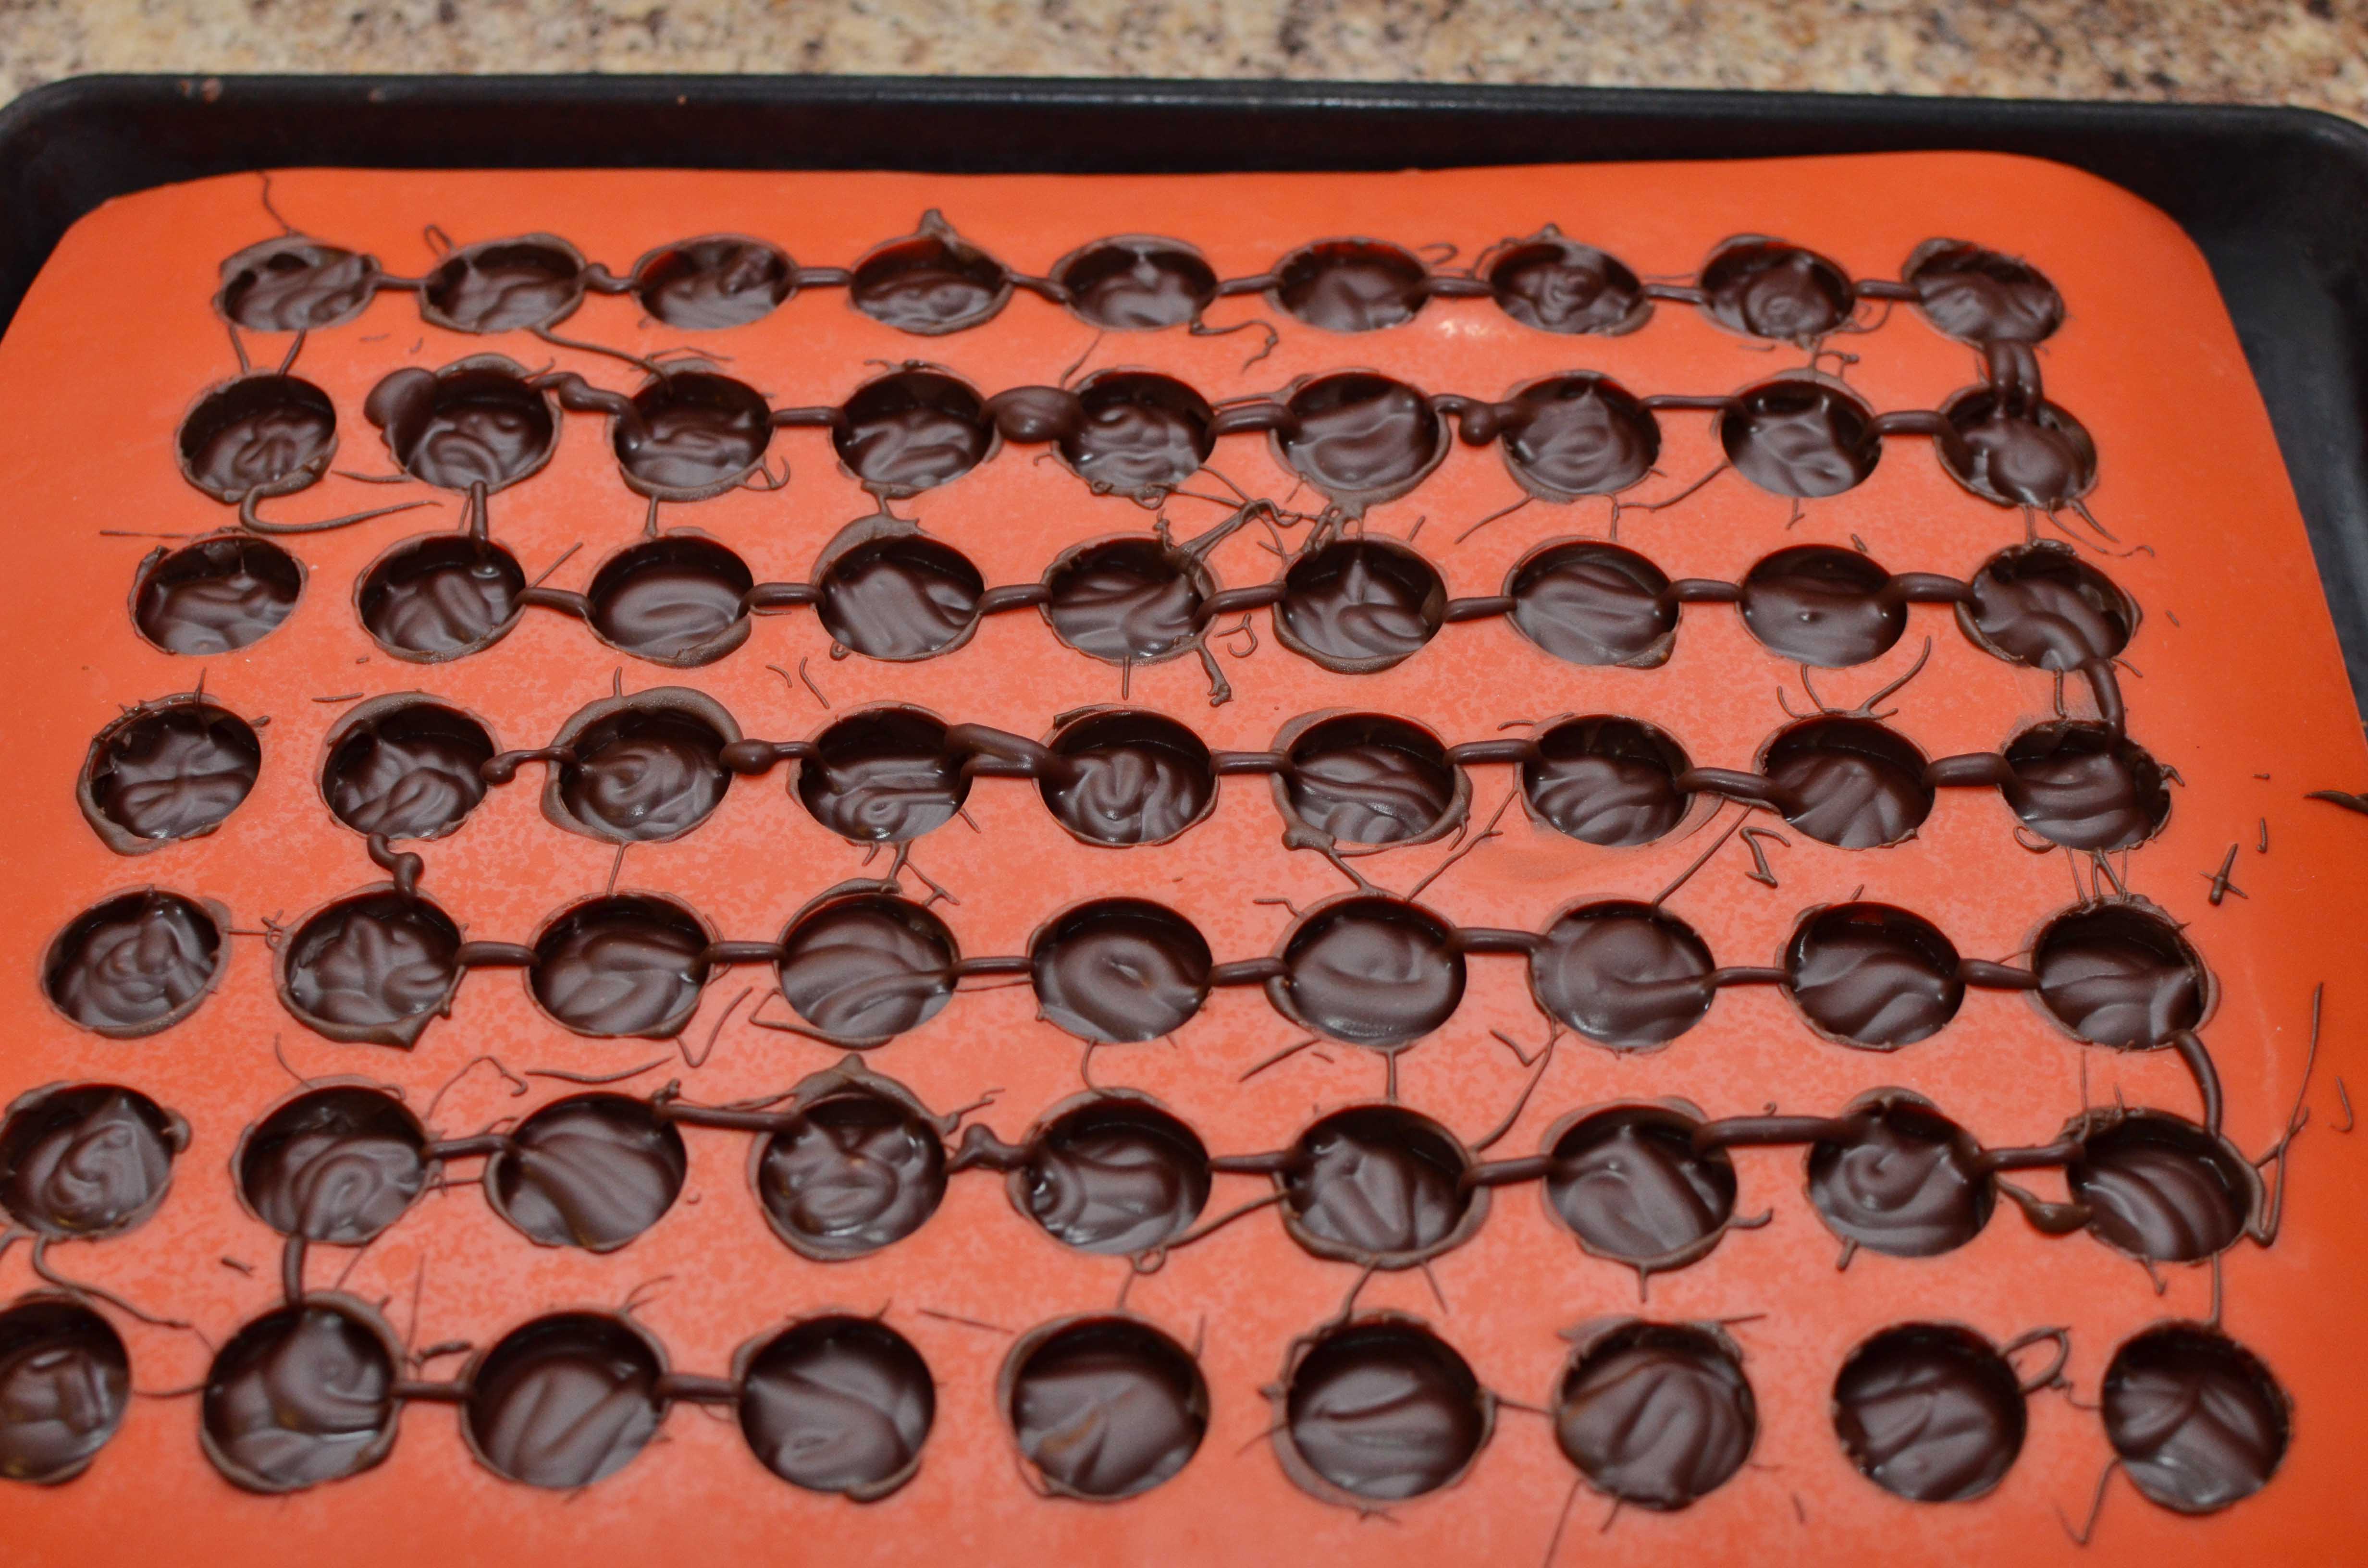
Fill your molds about 3/4 of the way full, don’t worry about any extra drips, those break off of the truffles very easily. Then place into the freezer for at least 10 minutes to get the ganache nice and cold.
While they are in the freezer get more of your chocolate coating ready like I showed above.
Then top each mold with remaining coating making sure they are nice and sealed. Then place in the freezer to get very nice and hard. You want them to be very cold, and you will need to work quickly.
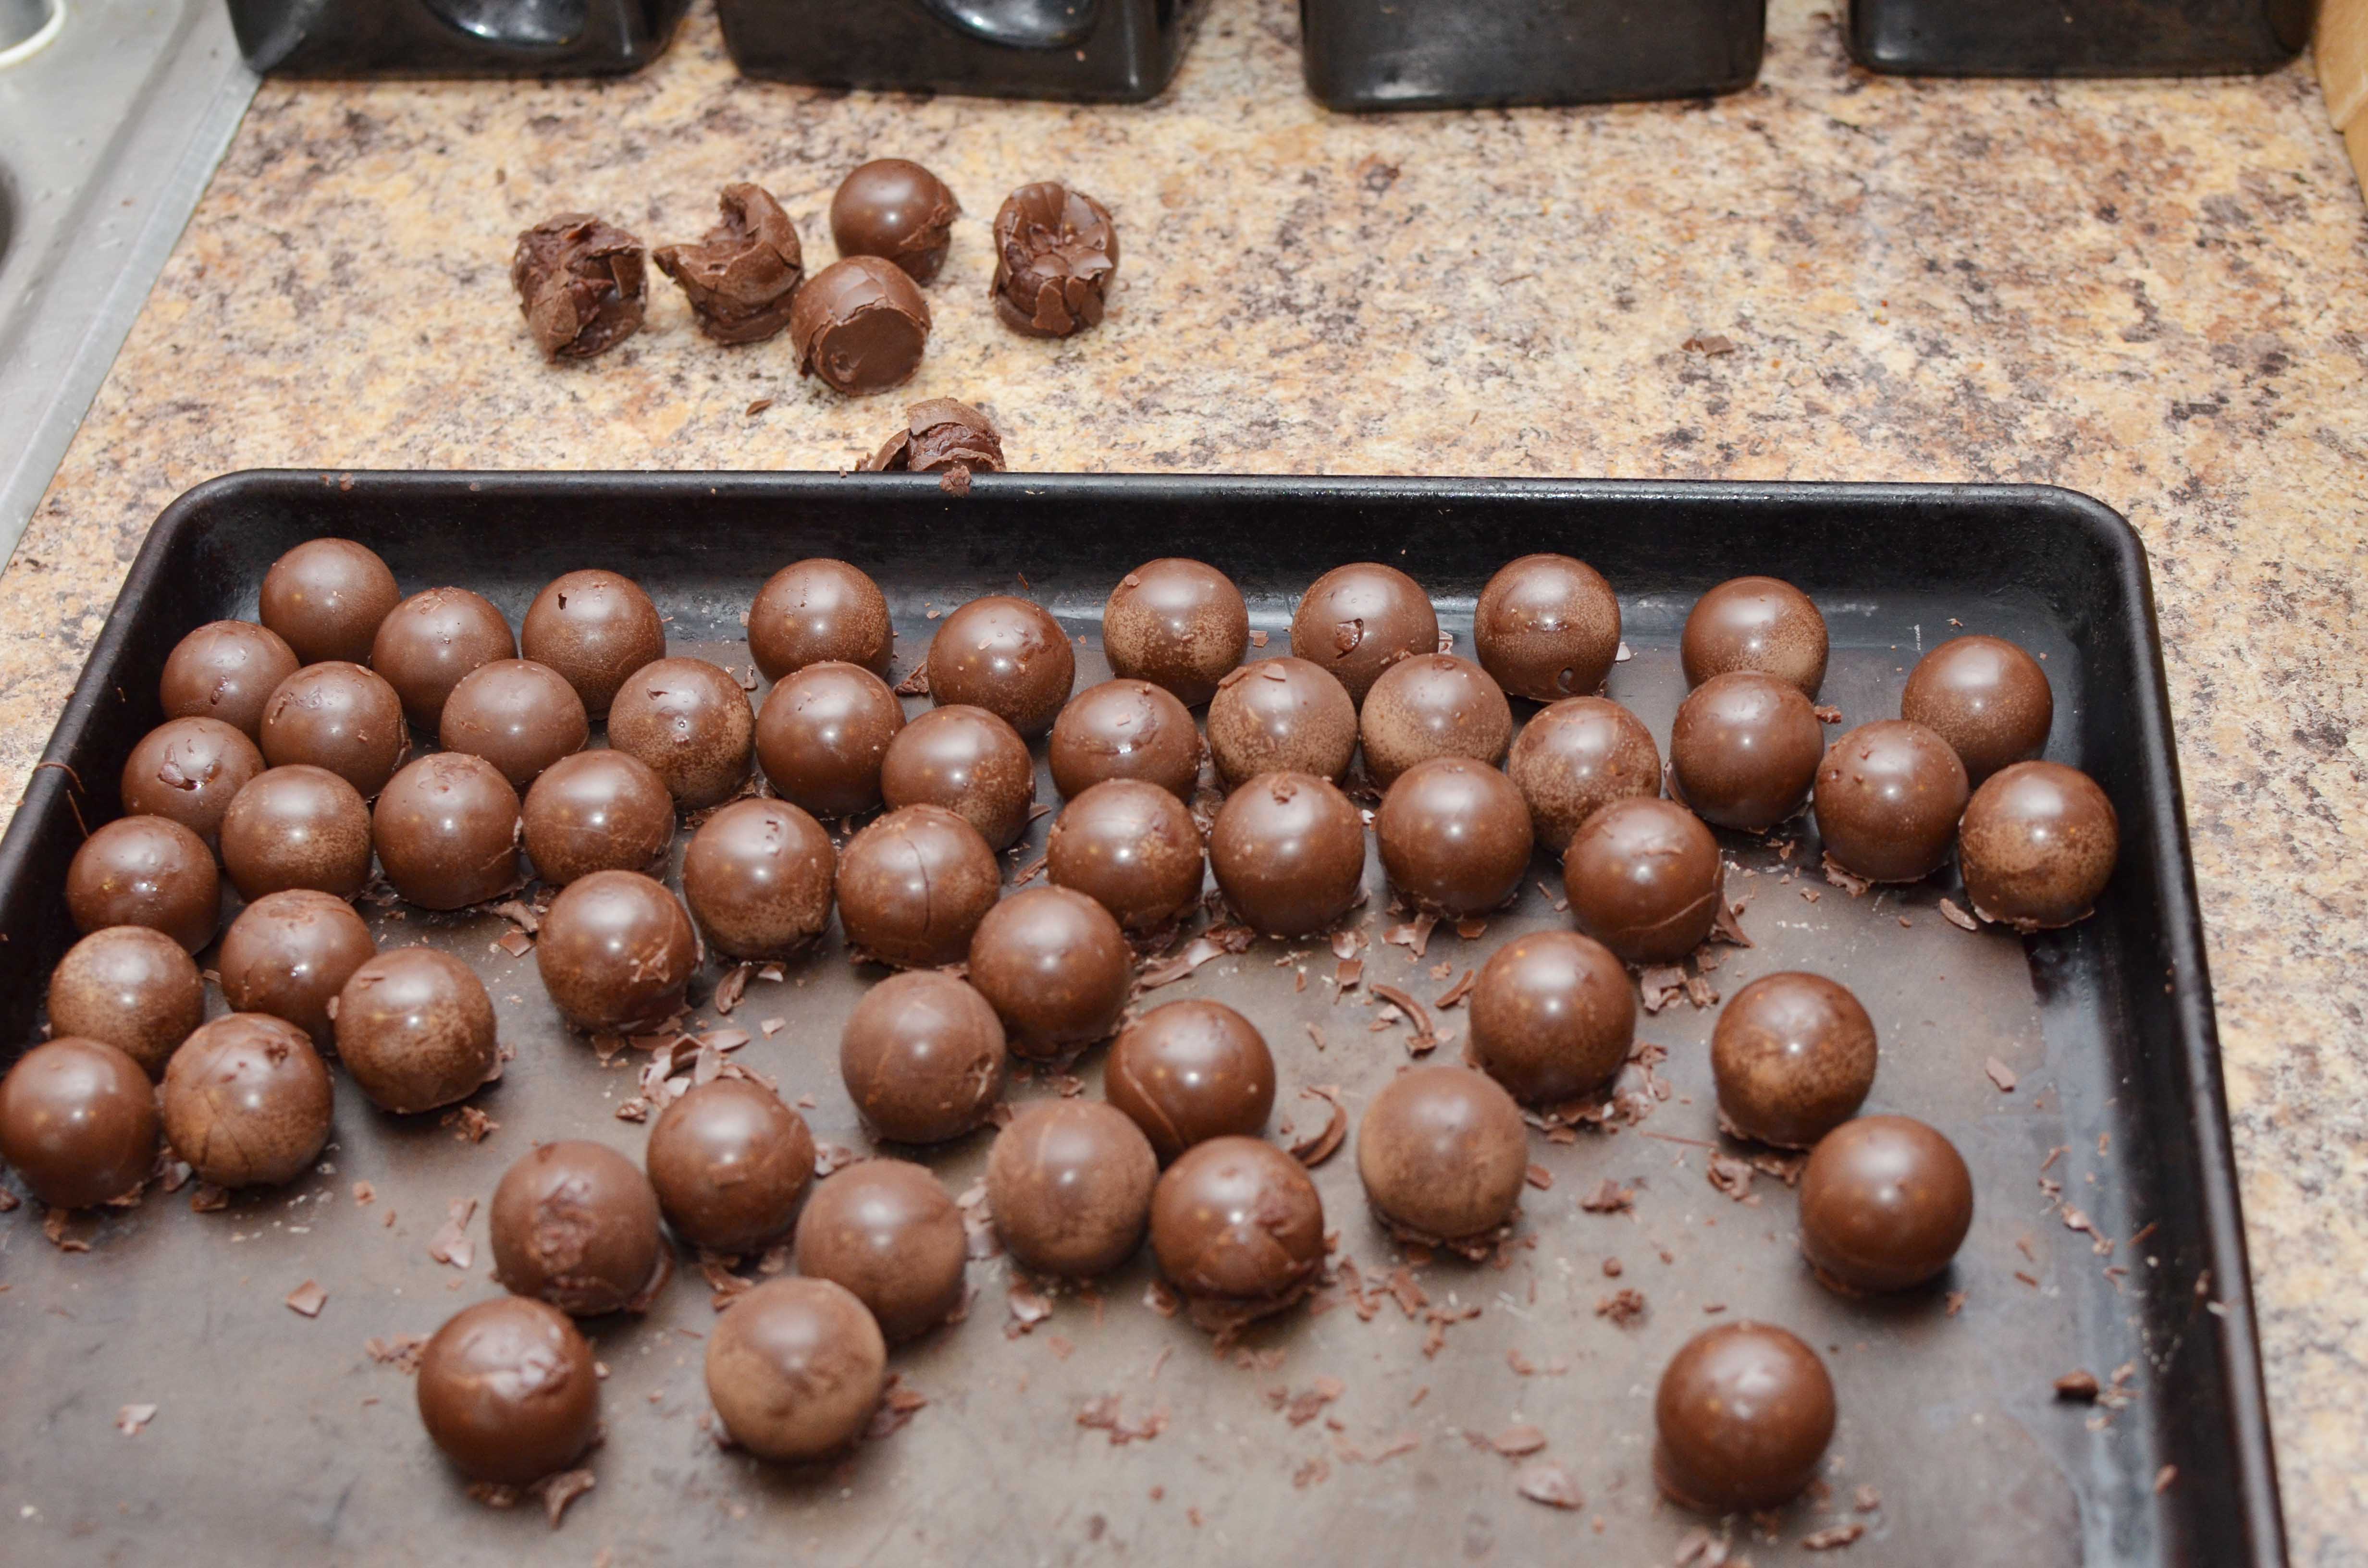
Start popping them out of the mold, and if a few get crushed or squishy, you know that they are getting to warm. Put the whole mold back into the freezer, and then keep going when they are nice and cold.
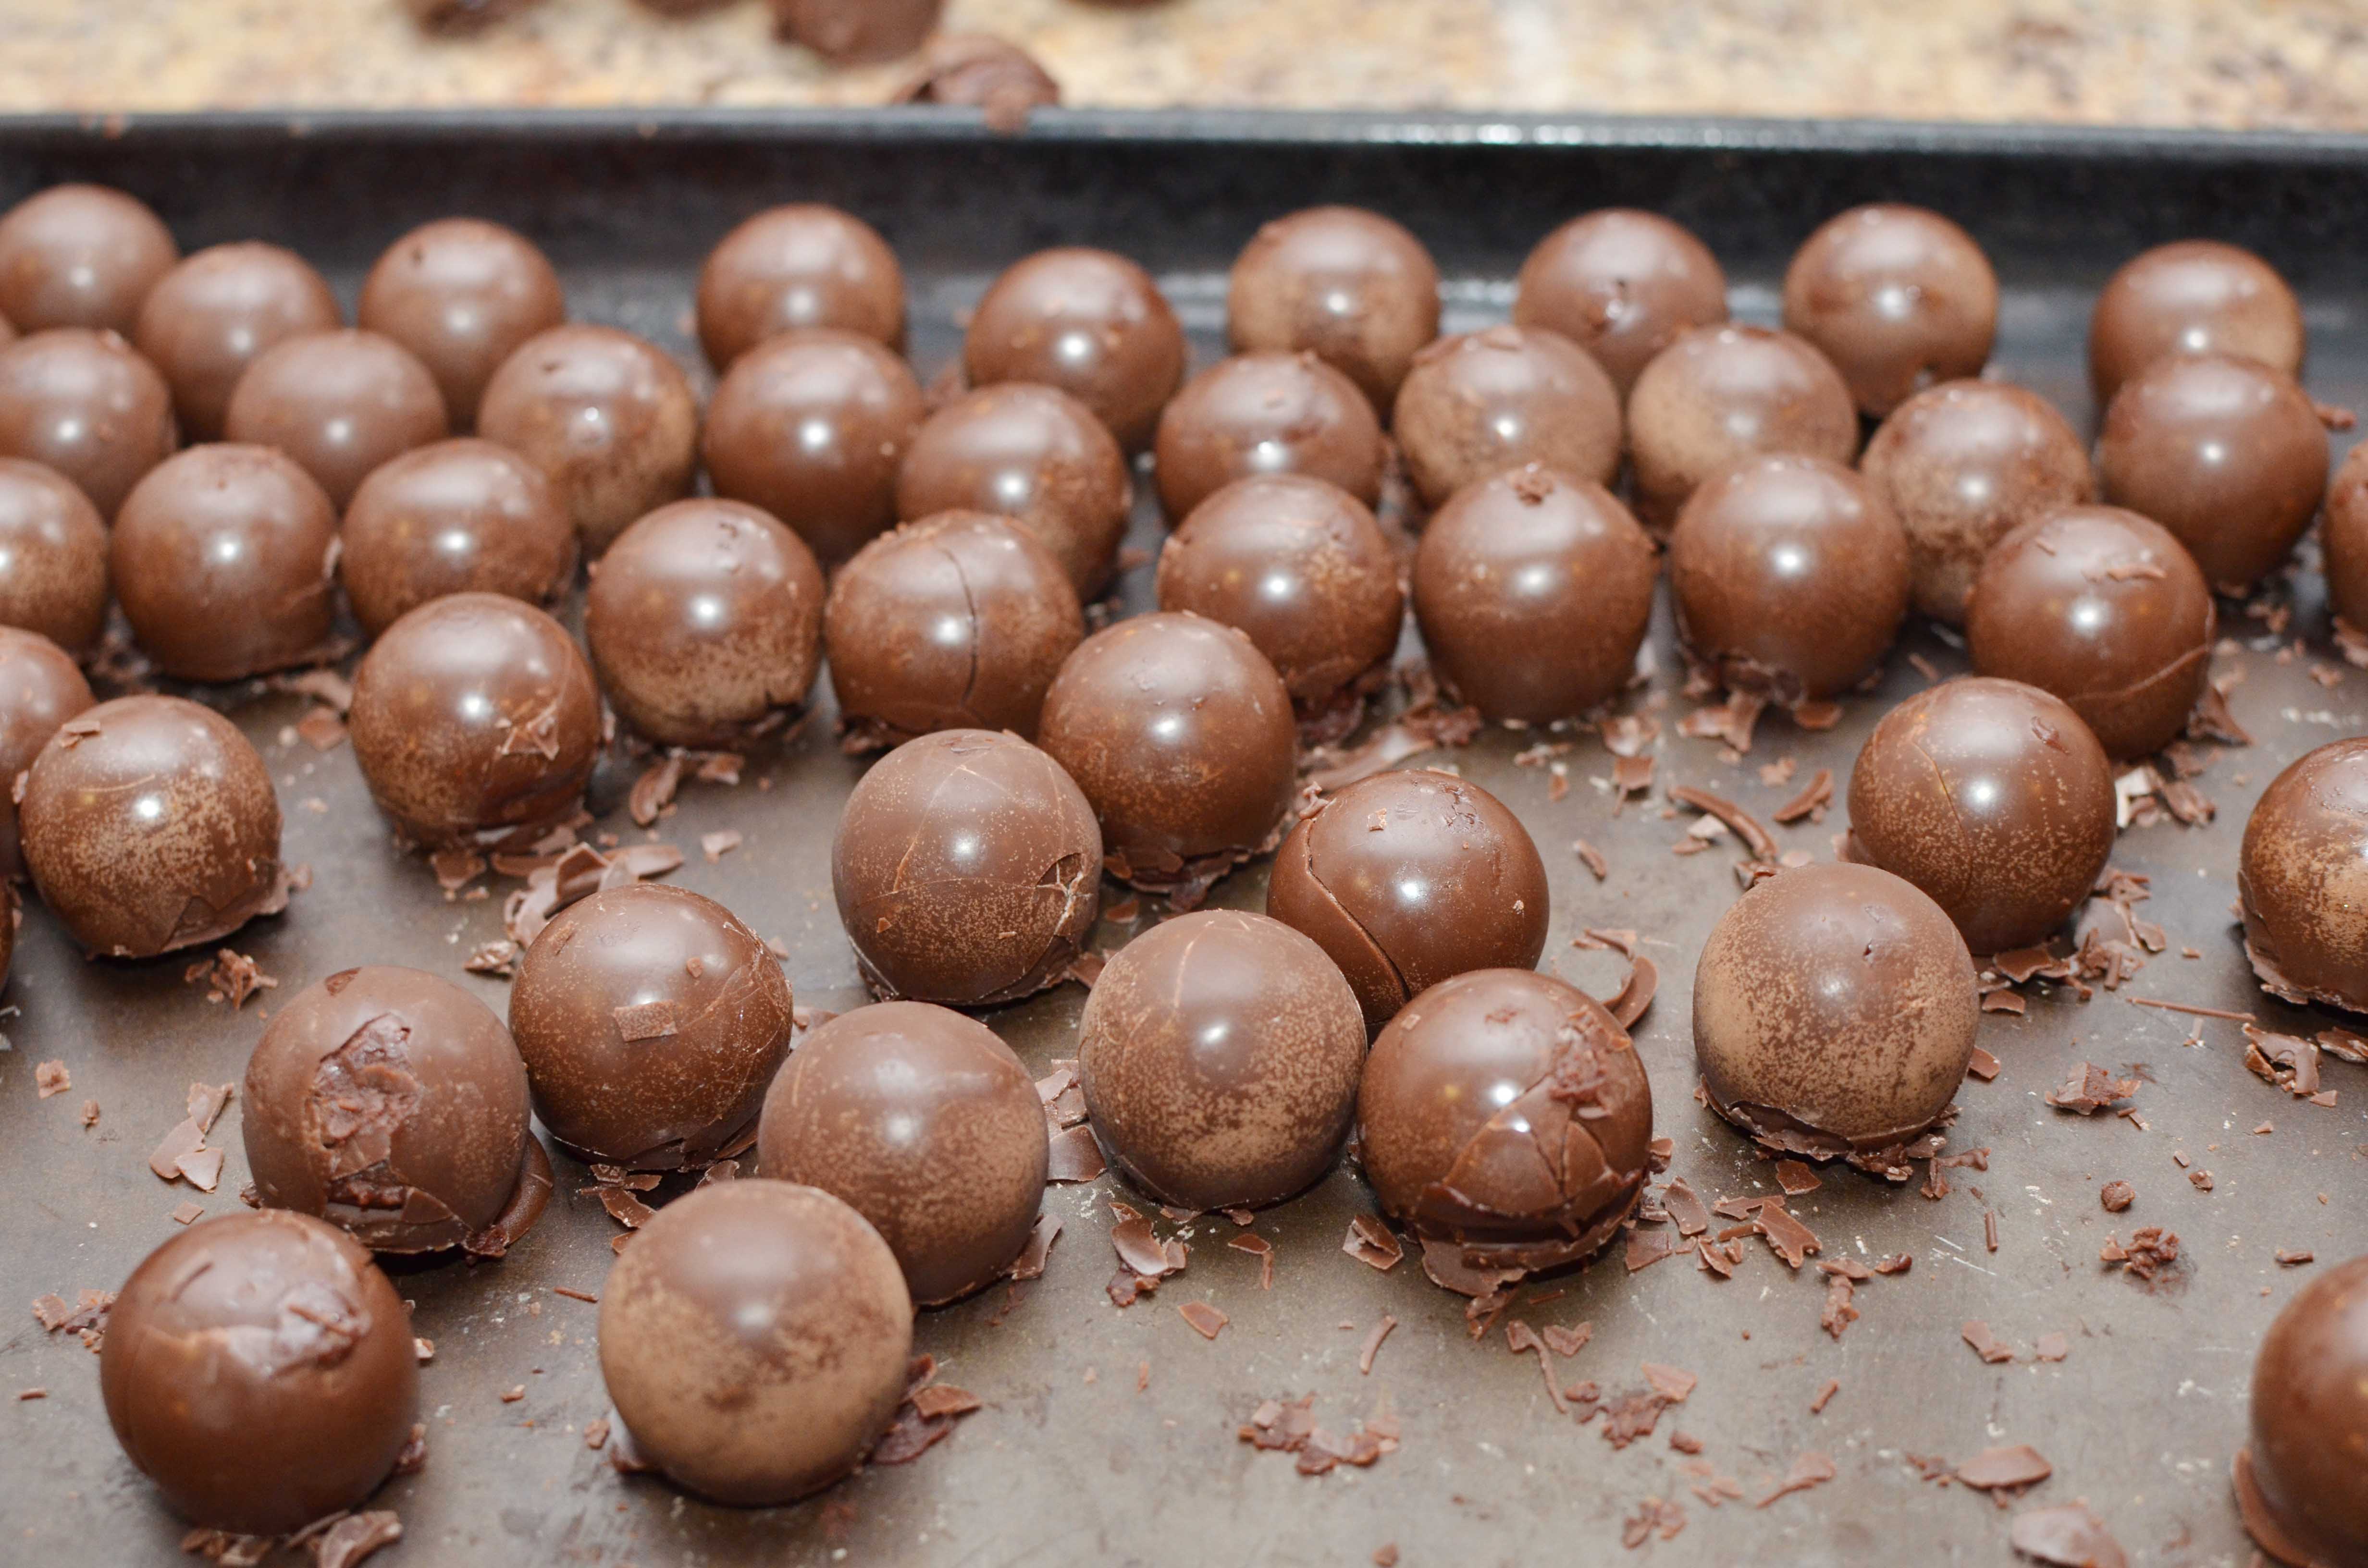
This was my first batch, and as you can see a few of the truffles got cracked because I hadn’t done two coats of the chocolate coating in the molds in the beginning.
Also, the few that got totally murdered at the top were because they were getting too warm,but Grant was happy to take one for the team and eat the messed up ones.
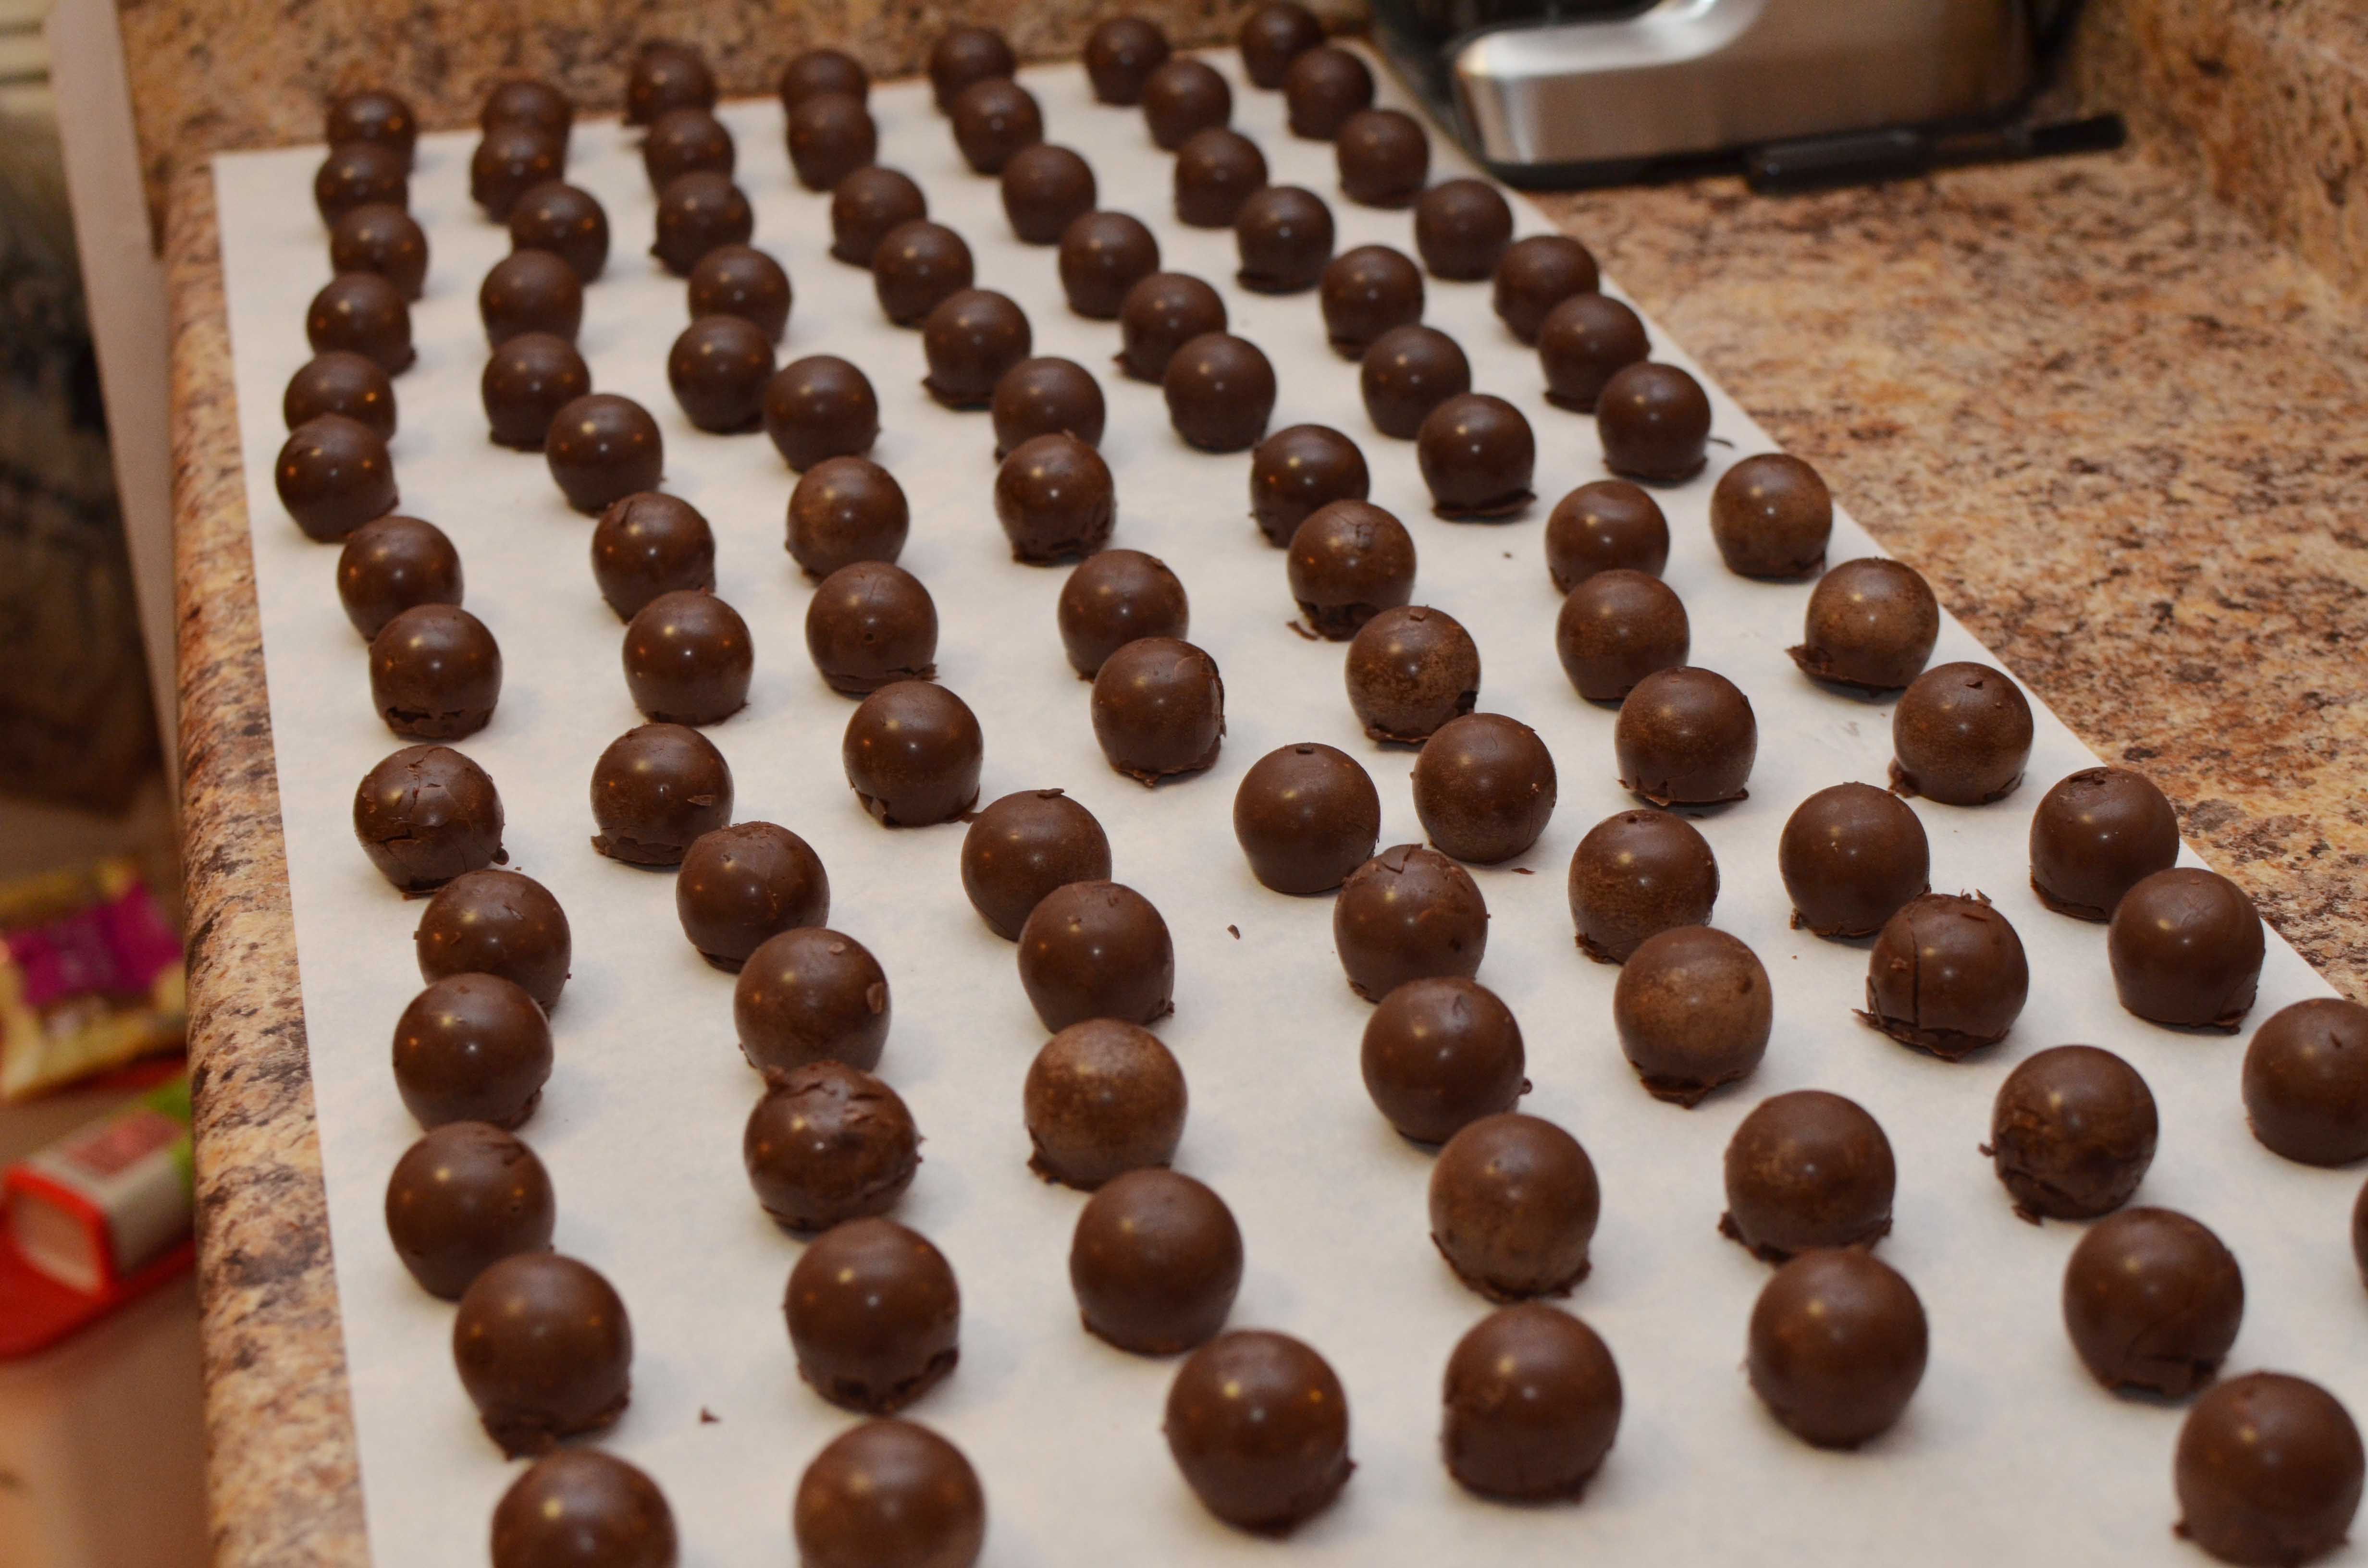
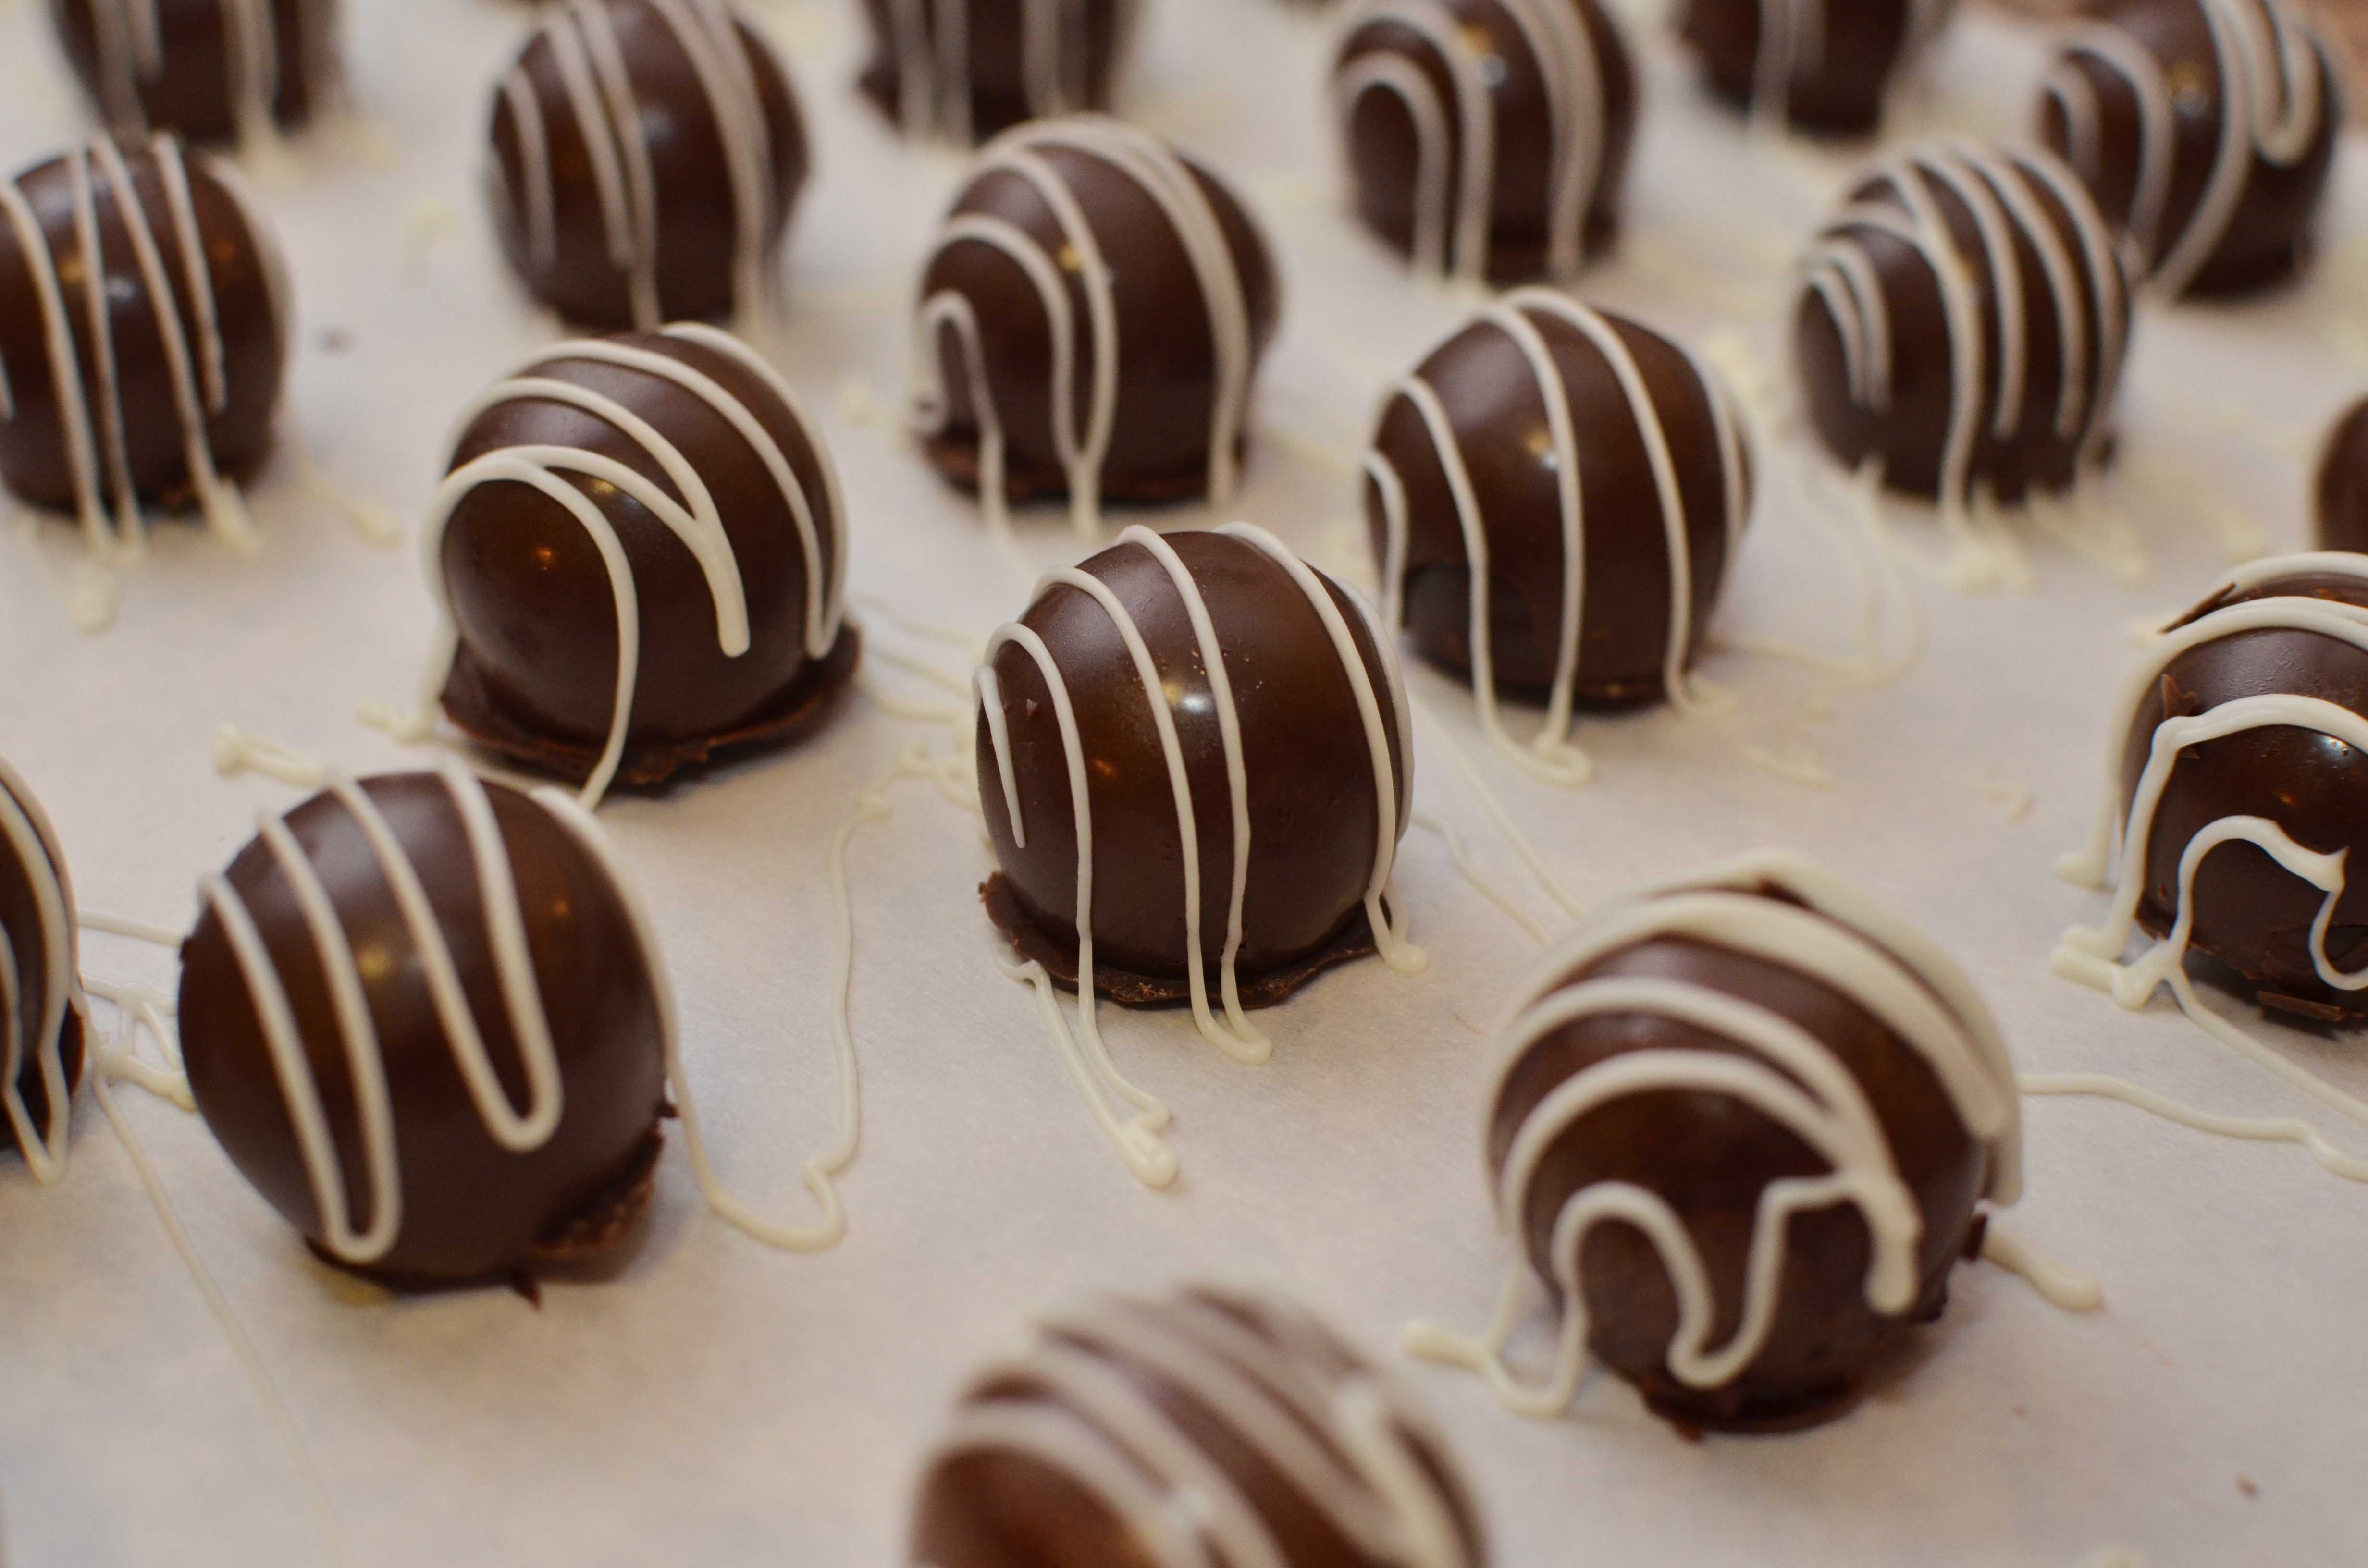
My second batch looked much nicer as the shells were a lot firmer and fewer truffles cracked.
I decided to drizzle some white chocolate coating on them, so I chopped my white coating just like above.
I needed a lot less this time, so you can see I used a quart bag and a regular drinking glass.
Then heat using the same method as above.
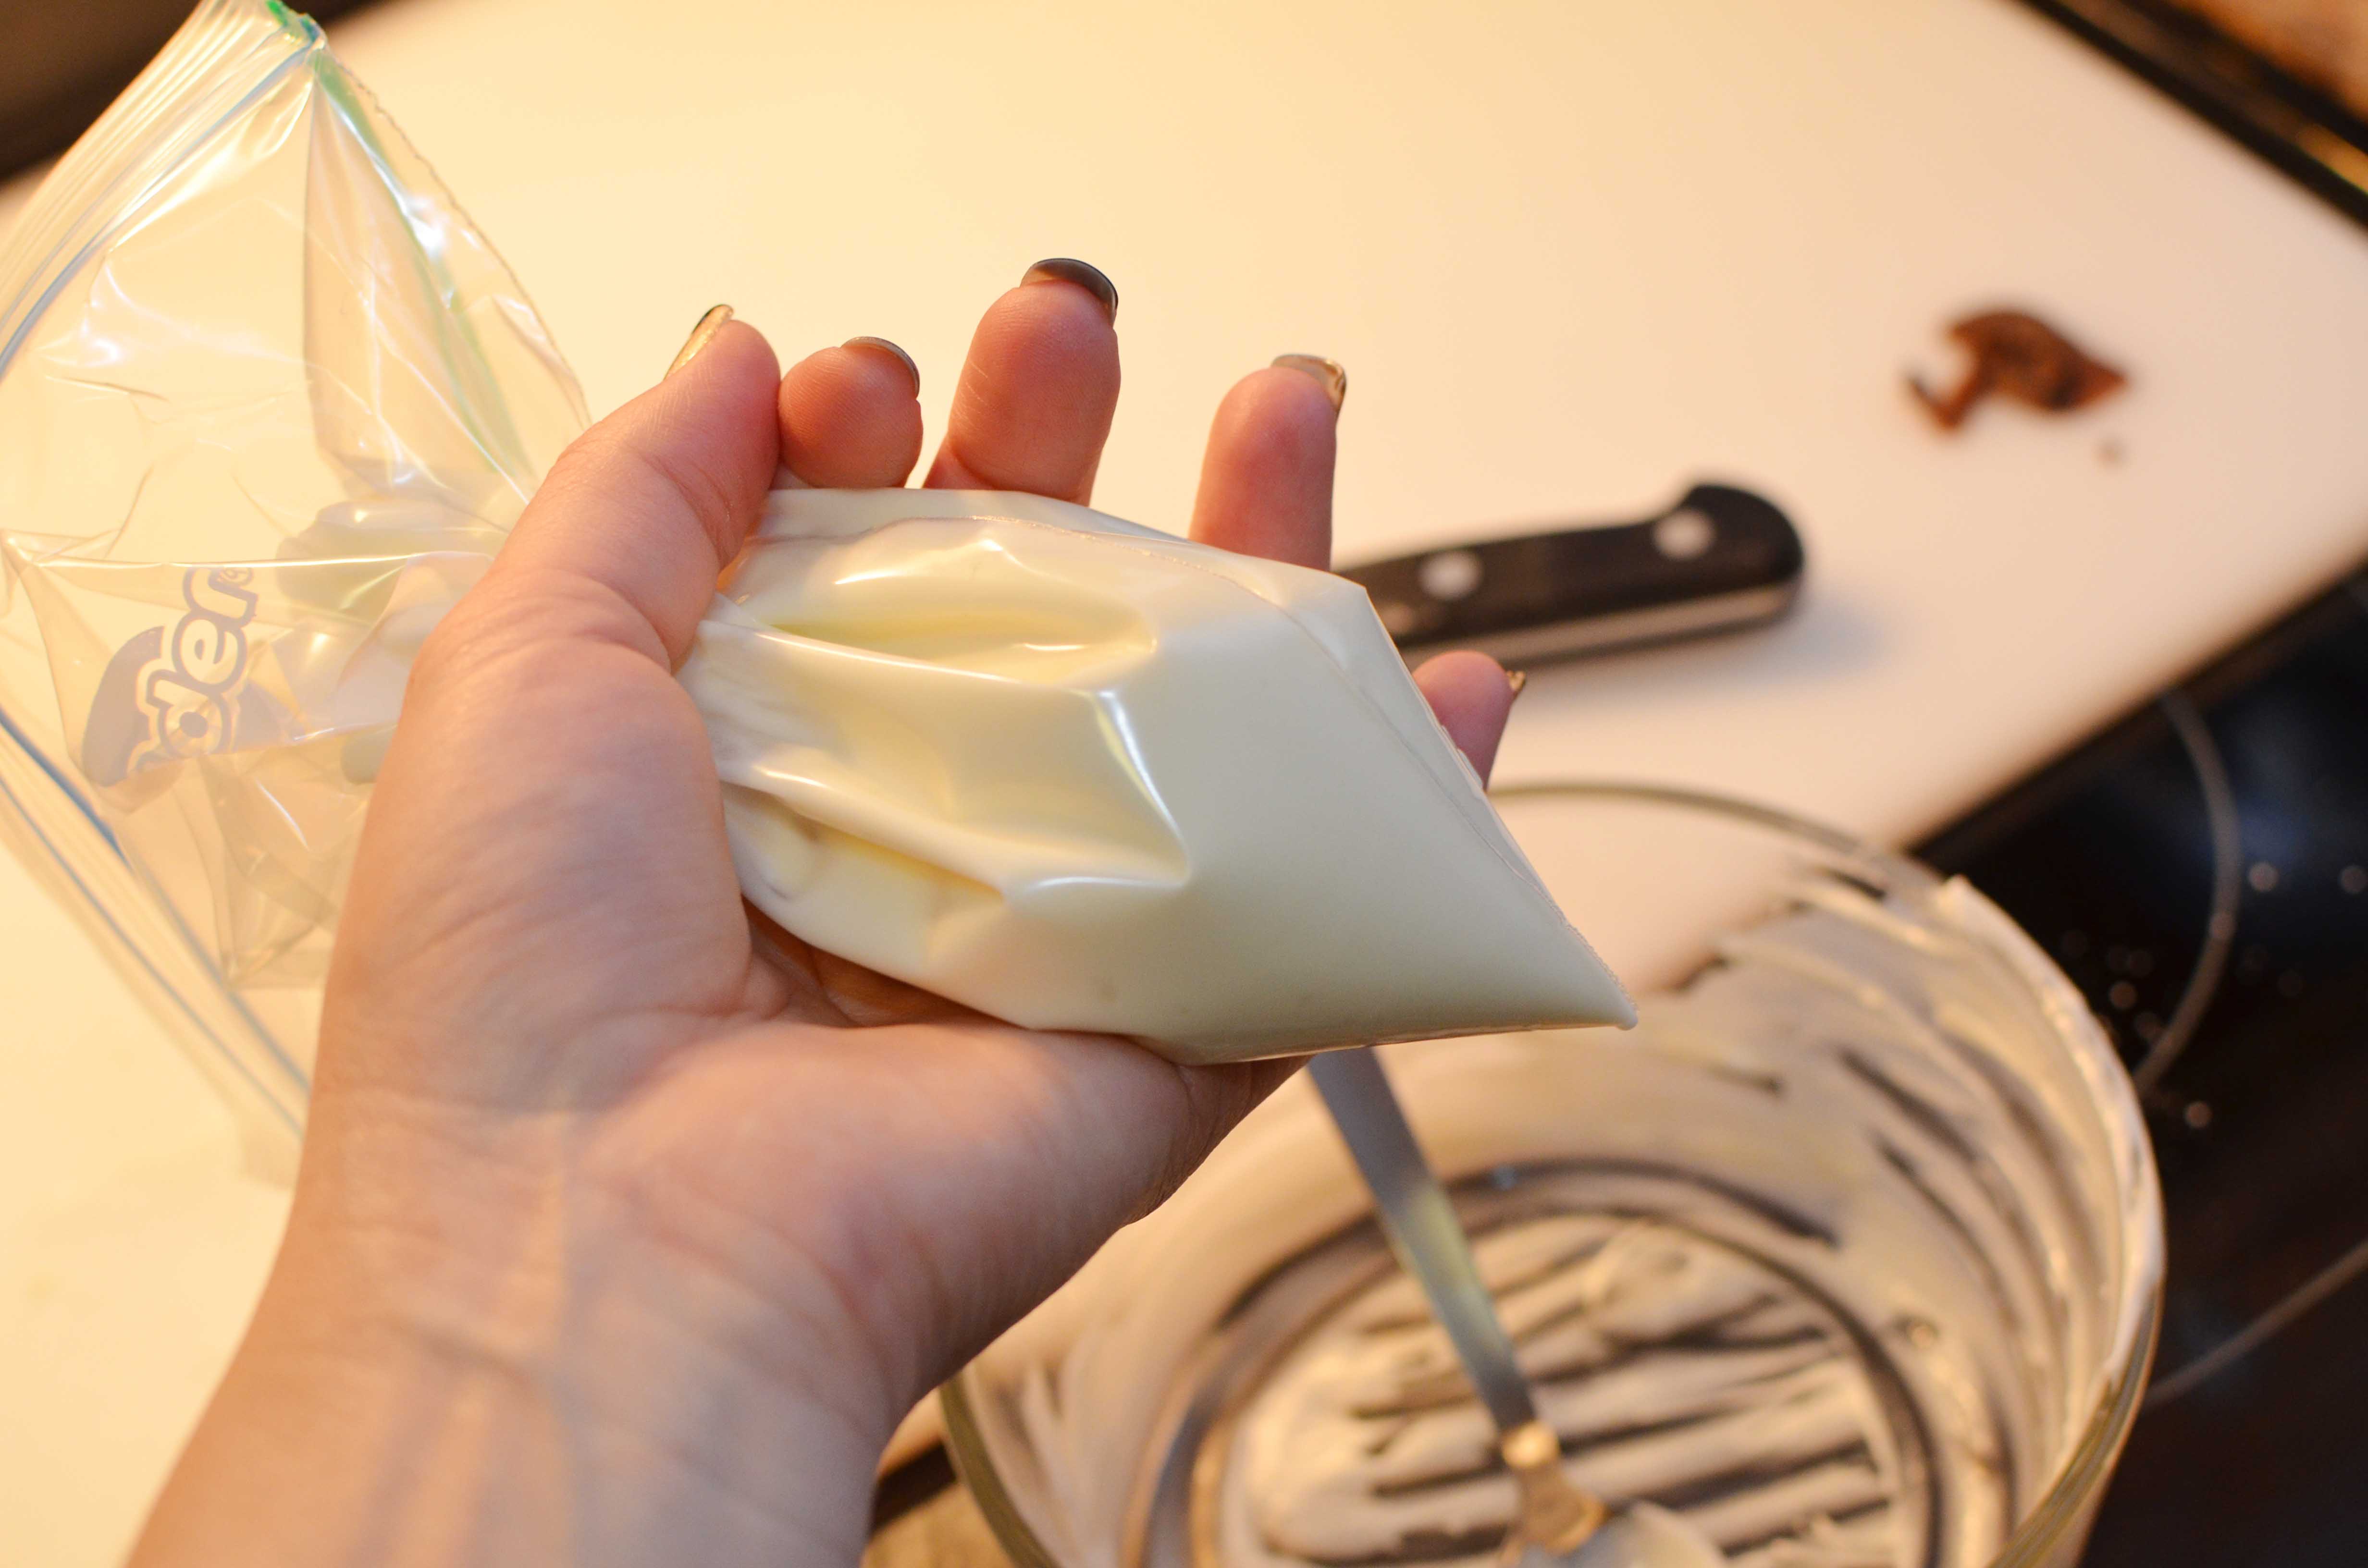
Cut a VERY tiny amount off of the tip and then you can start the drizzling process.
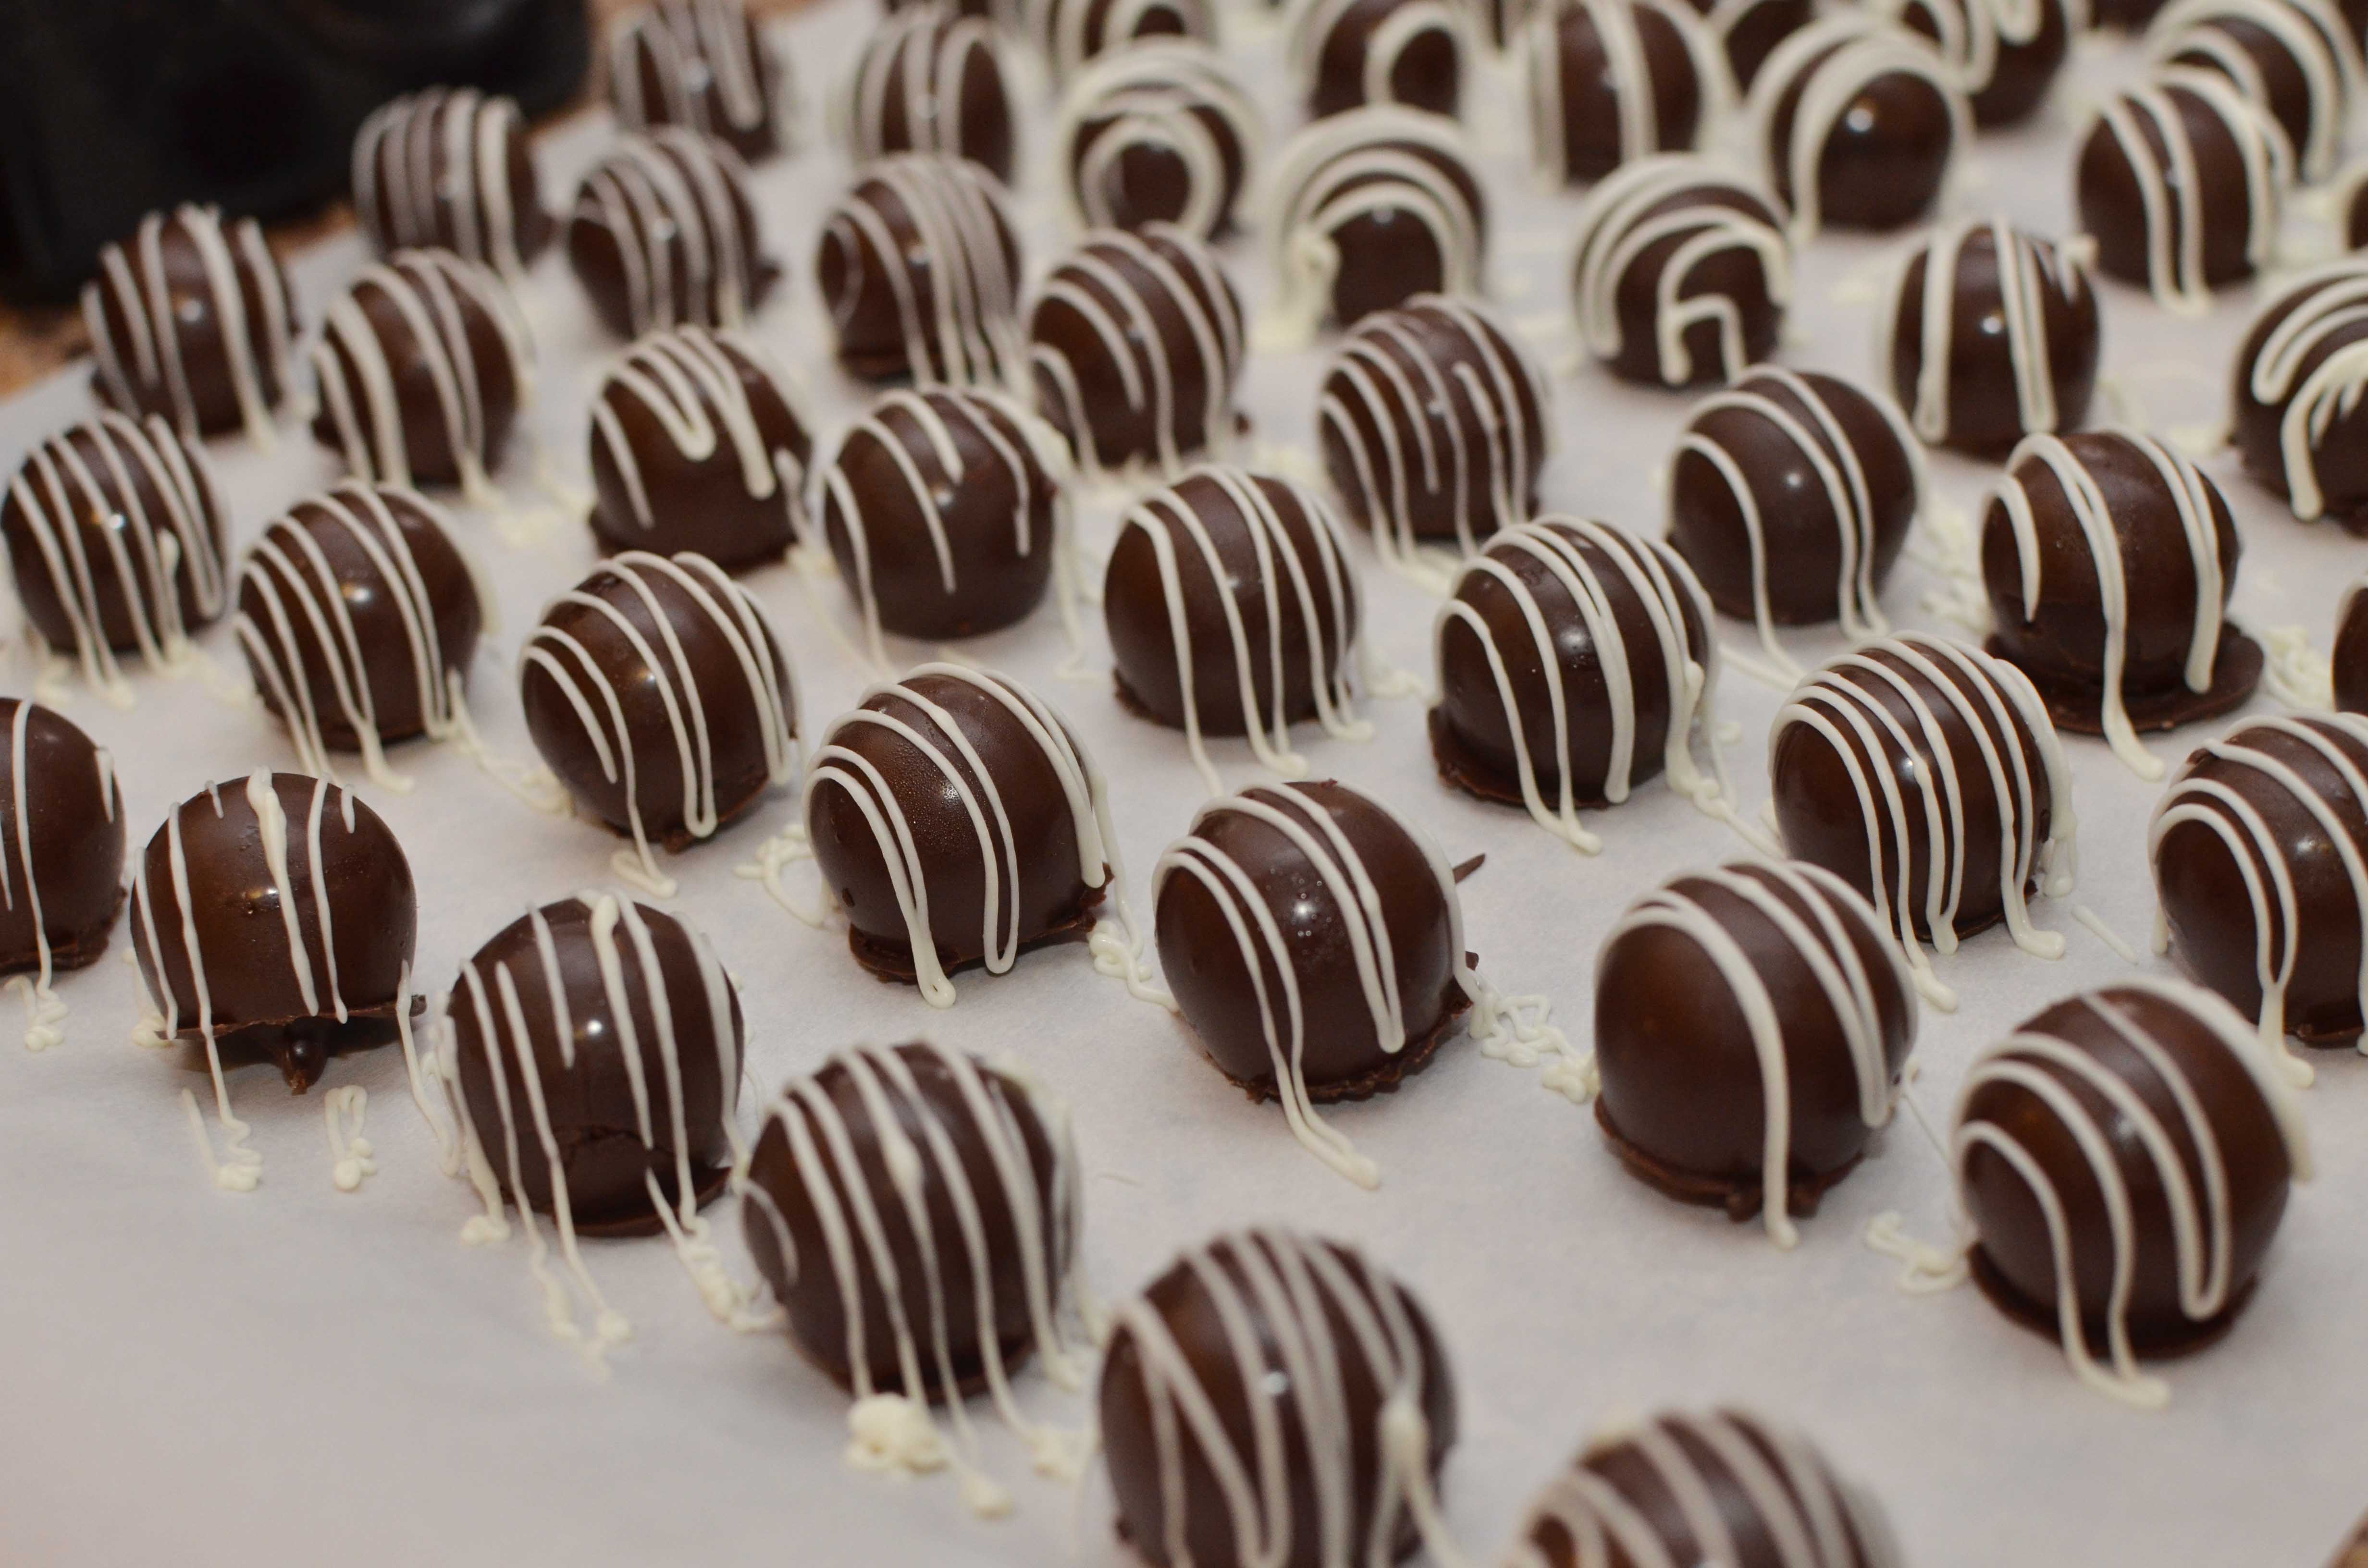
I’m not a professional, so I was fine with these looking homemade and not perfect.
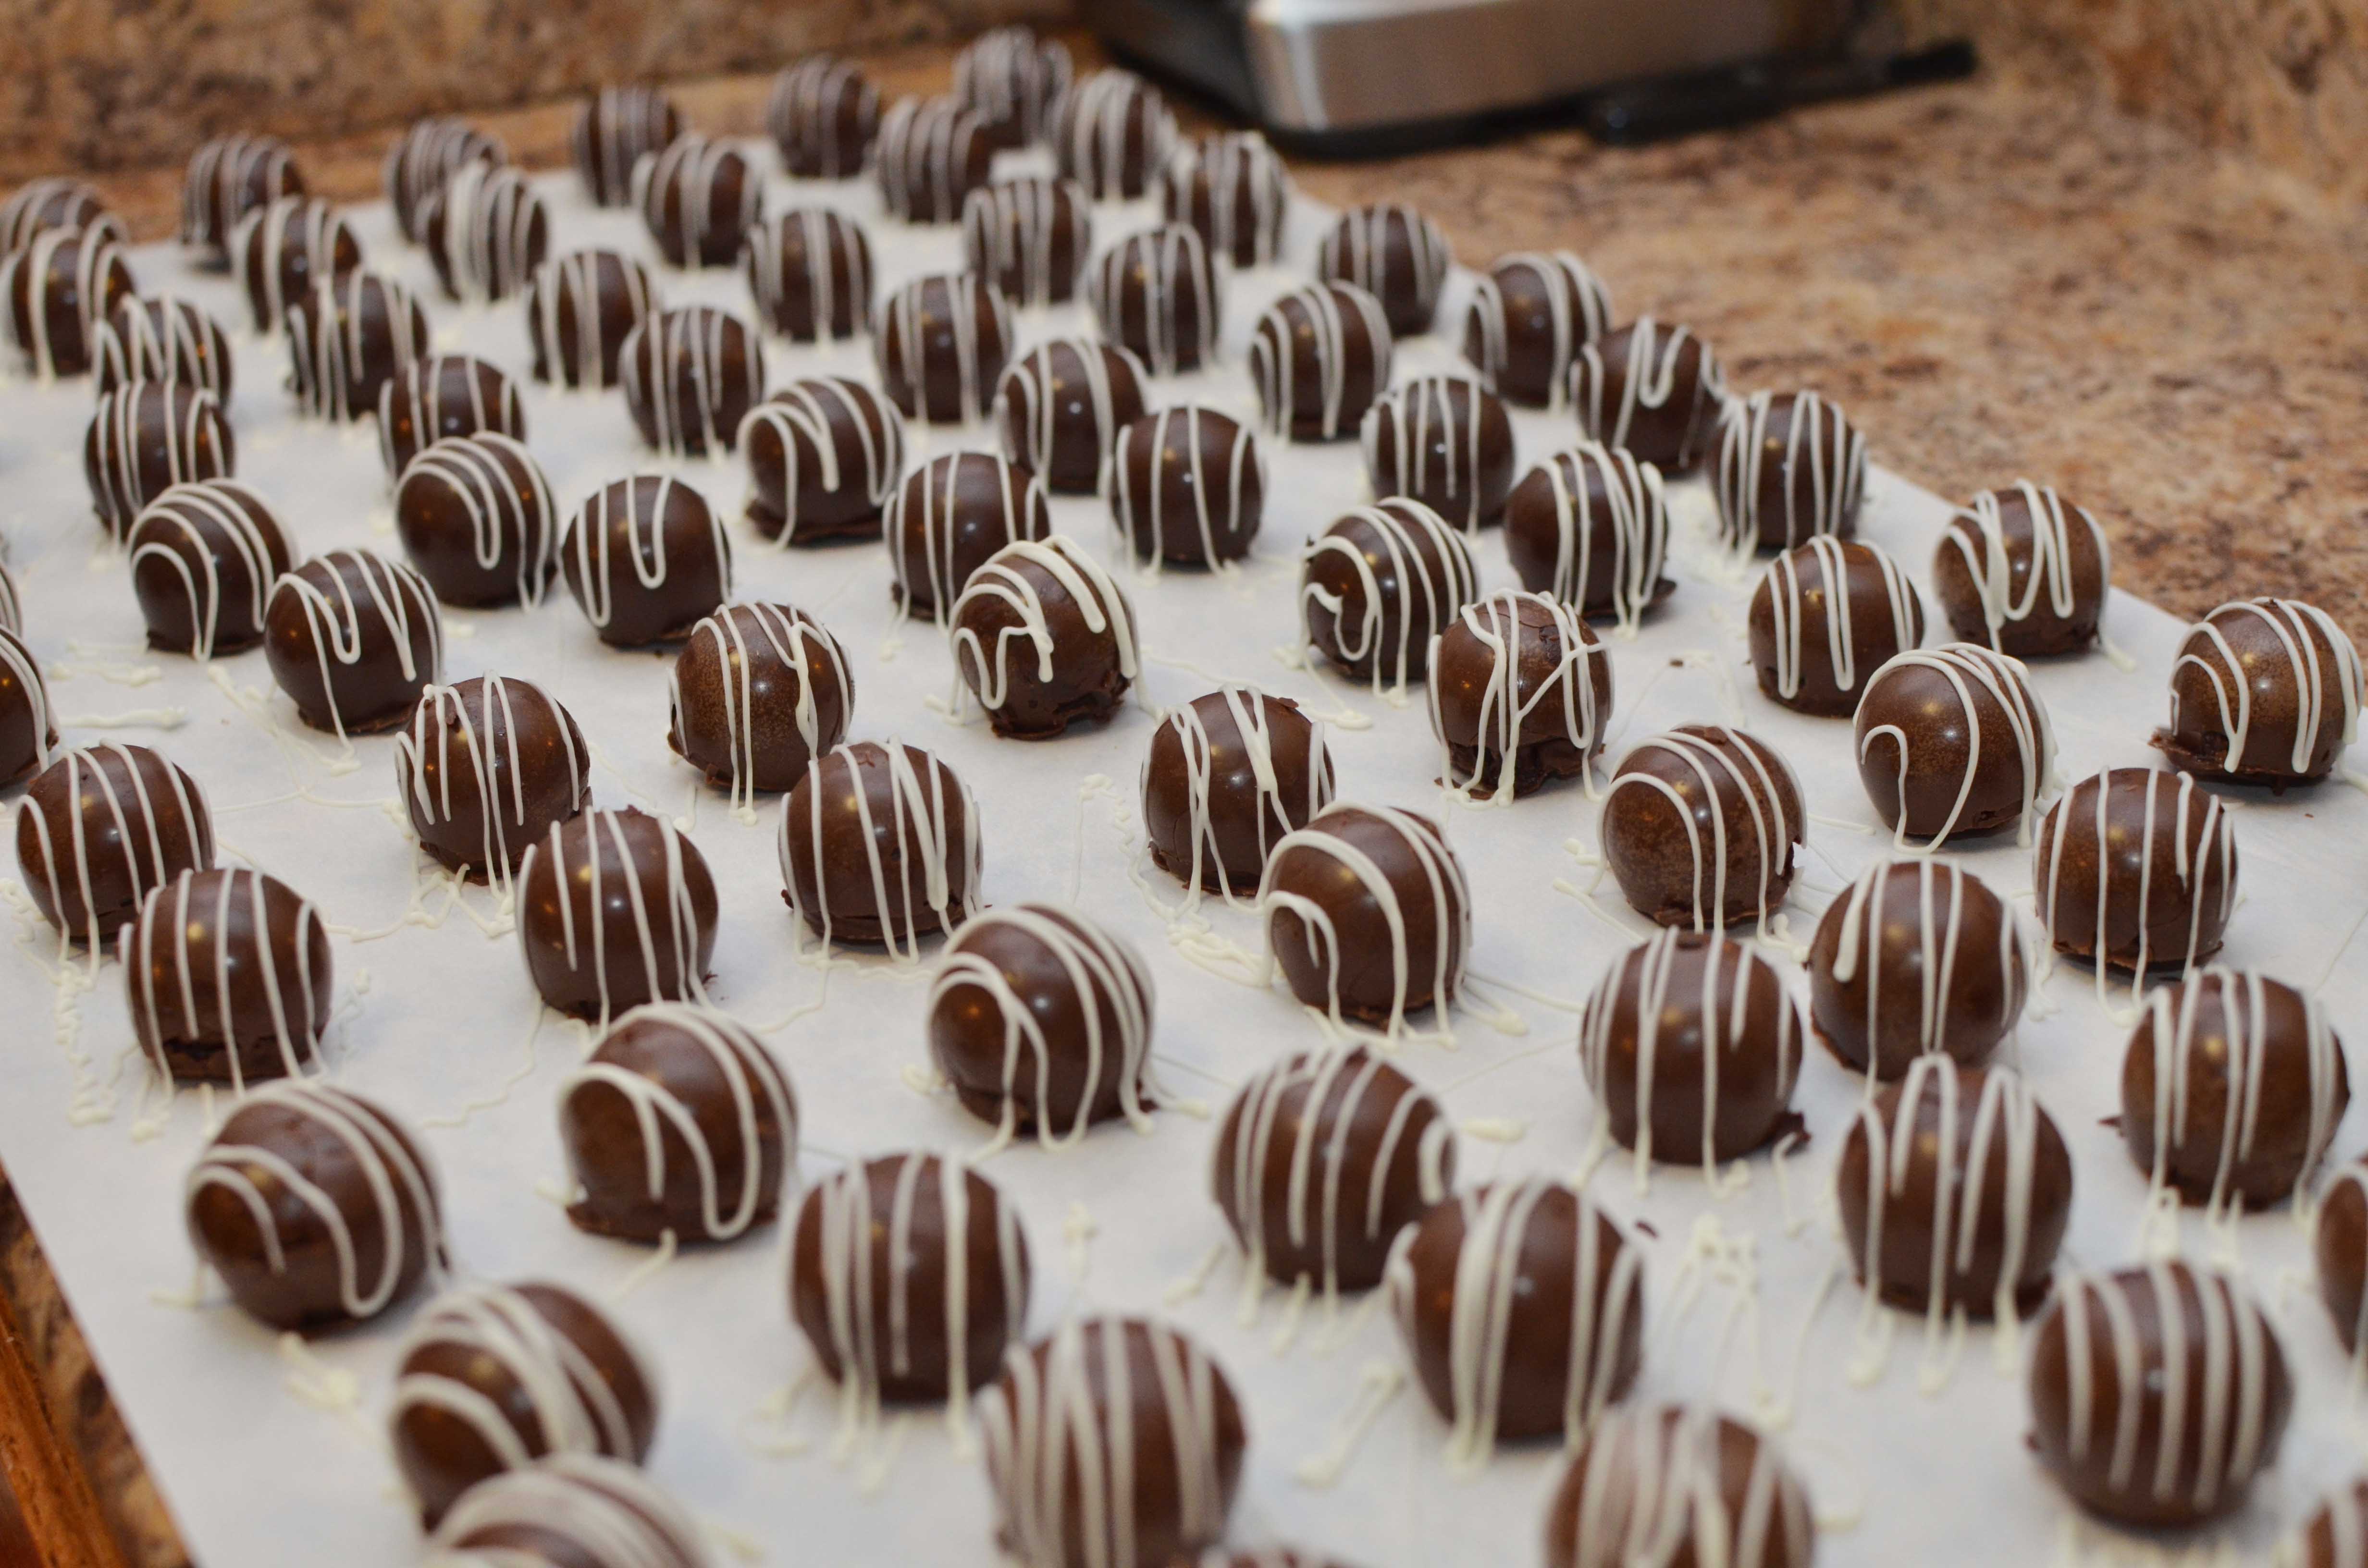
Luckily, they still taste wonderful.
 These can be made in advance and stored in the freezer for a few months if you want, but make sure to move them from the freezer to the fridge, and then to room temperature to keep them from sweating.
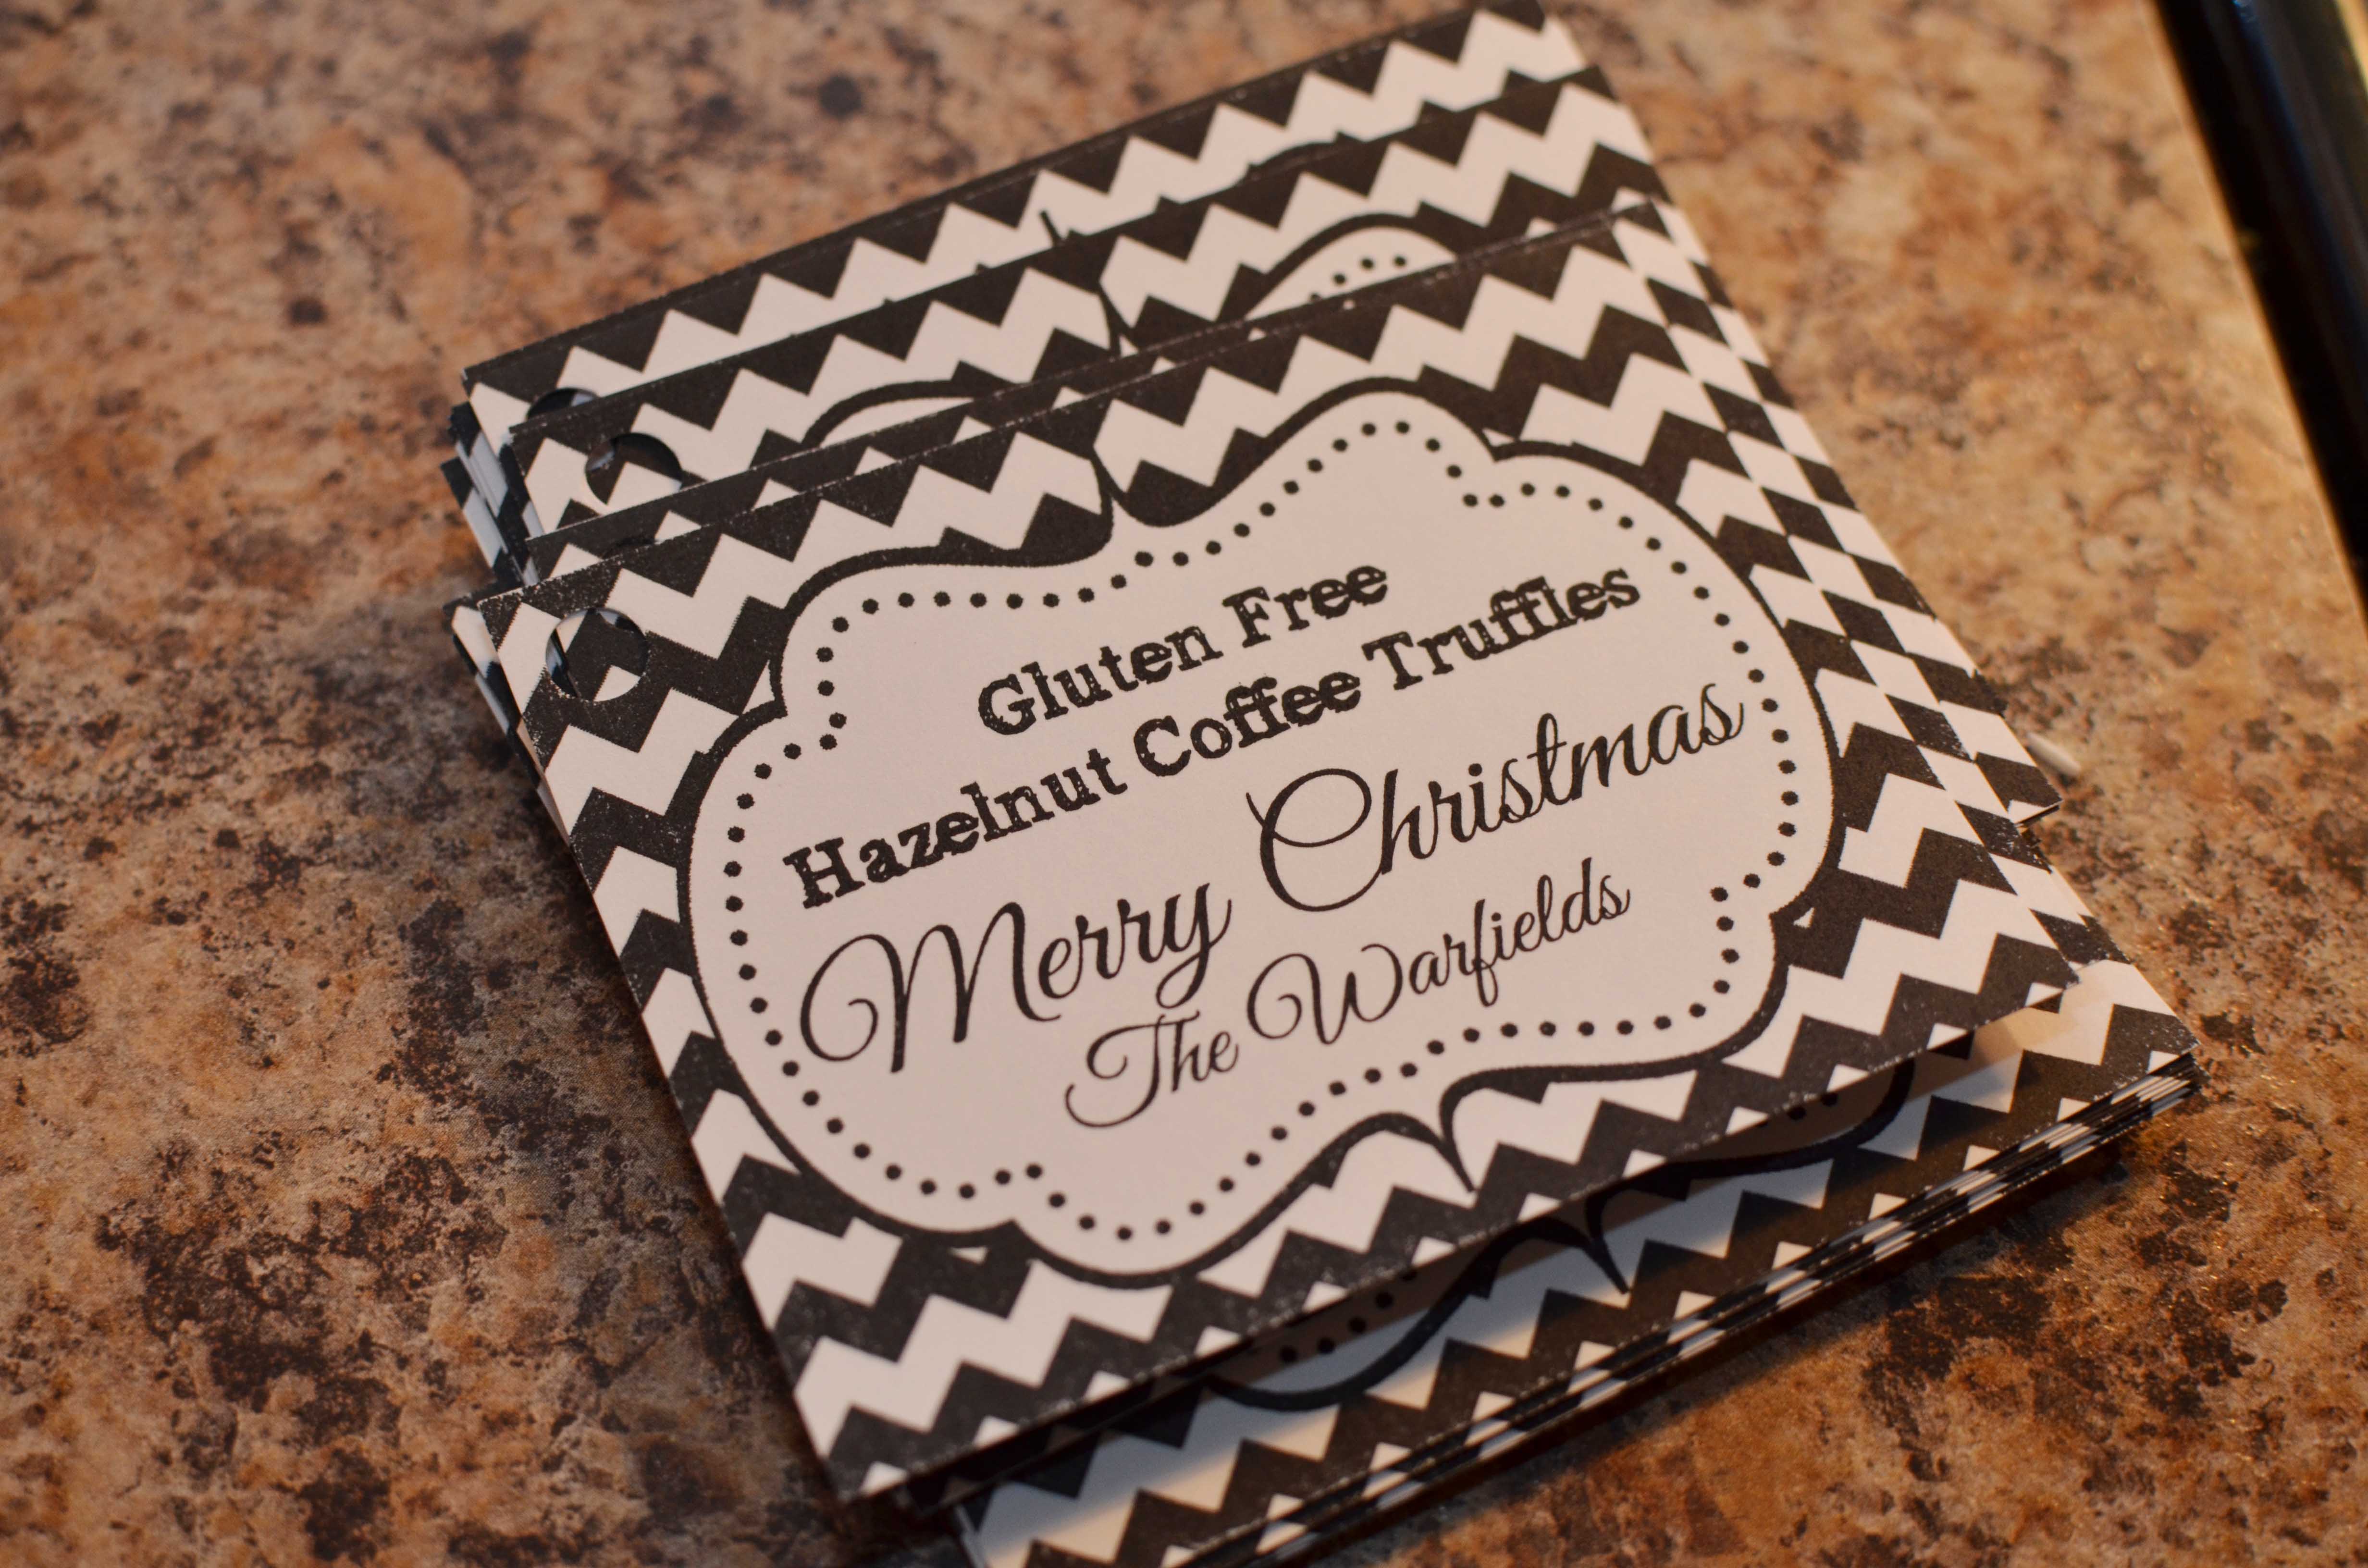
Here are the labels that I used since these were given to all of Grant’s coworkers.
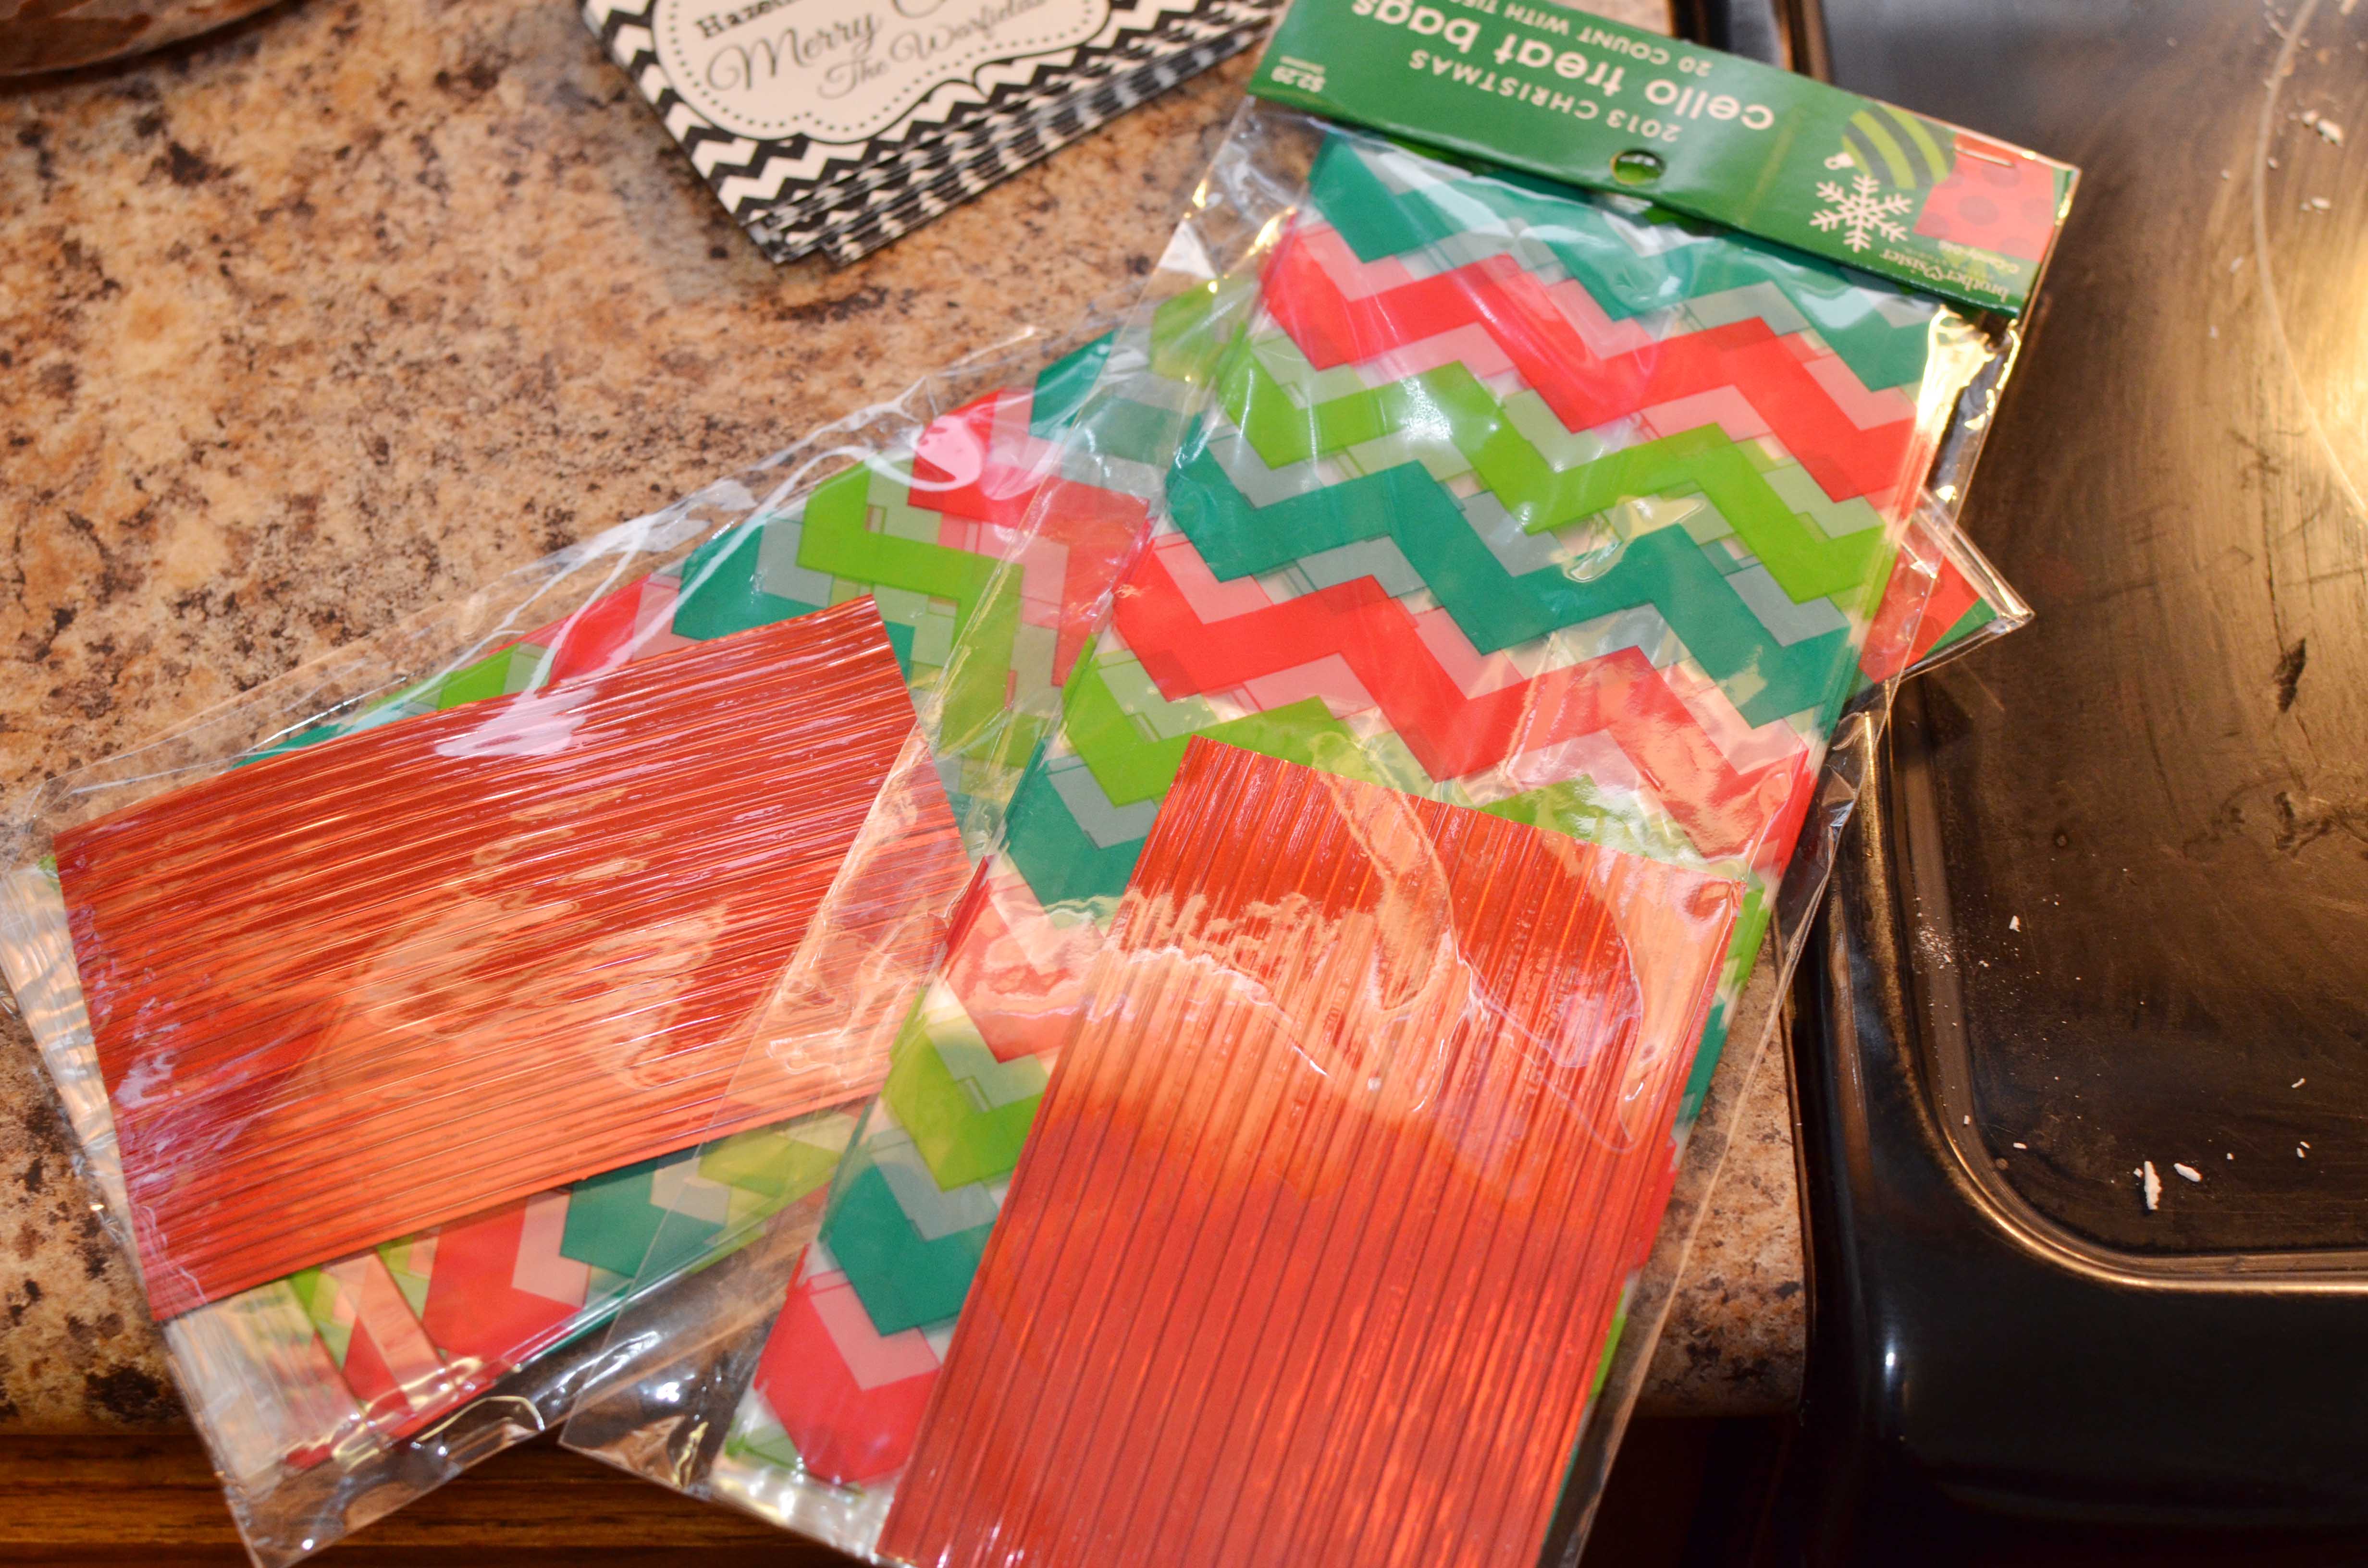
I used cellophane bags that I found a year ago on clearance at Hobby Lobby.
The final product! Let me know if you have any questions on this!
Gluten Free Hazelnut Coffee Truffles Yield: Makes about 4 dozen truffles
Ingredients:
1 pound good-quality bittersweet chocolate, coarsely chopped
1 cup heavy cream or whipping cream
1 tablespoon instant coffee powder ( I have used regular and flavored ones)
2 tablespoons coffee liqueur (I used Frangelico hazelnut liqueur because I didn’t want them to taste too much like coffee)
1 teaspoon vanilla extract
1 cup of powdered sugar
Chocolate Coating for the method used above or cocoa, nuts, or other topping to roll in, instead
Preparation:
Chop and melt your candy coating, use this to line your truffle molds. Coarsely chop chocolate if need be and place into a sauce pan with the cream, powdered sugar, and instant coffee. Heat and stir to melt and blend. When completely melted, remove from heat. Add the liqueur and vanilla. Stir gently, just until evenly blended. Scrape the chocolate mixture into a shallow bowl and cover the bowl with plastic wrap and refrigerate until firm, at least 4 hours or up to 1 week if you plan to hand roll your truffles. If not, then pipe into your molds. Then place into the freezer until nice and firm. Once firm, top with more melted candy coating and freeze again. Then pop out of molds and either serve like that or add decorative drizzles on the outside. Store in the refrigerator if possible. You can also freeze them plain, or freeze them with chocolate already on them, or with cocoa on them. I like to cover in chocolate because I think they taste better. Chocolate coating is the easiest to melt if you don’t have a double boiler.