

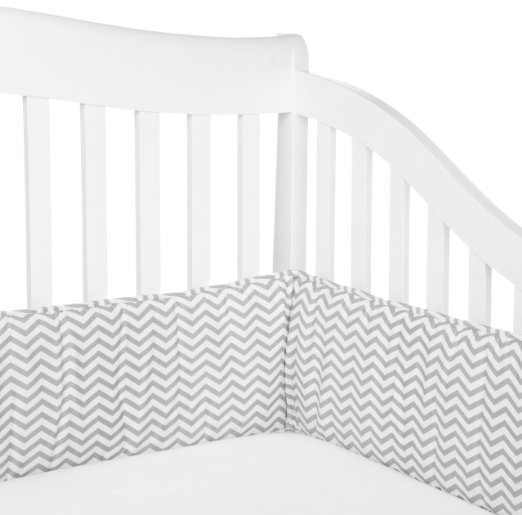
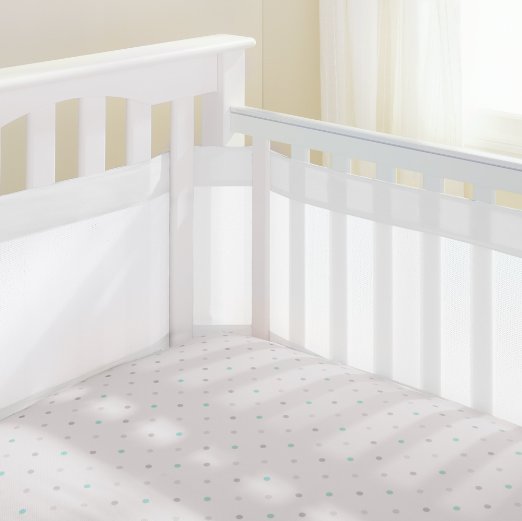
So, I never registered for crib bumpers for Reese. A lot of people are against them because they say a child can suffocate because of them or a whole other plethora of reasons. If I had a set, I probably would have used them when Reese was around 3-4 months old. Reese was very mobile, and could easily move her head so suffocation was something I wasn’t worried about,but a nice simple set runs about $40. I didn’t want to pay that kind of money for something used so shortly. I know I could find them used for cheaper,but it wouldn’t have been hard to find something I wanted, having to meet the person to buy them, and then trying to clean it properly,etc. I needed something though to keep Reese from getting her arms and legs stuck in the slats during this short phase. The next thing I found was a nice mesh bumper that would do exactly what I needed. They are less expensive around $20 and very plain and simple, which I think isn’t too expensive. The only issue is that they are made only for cribs that have slats the whole way around. Reese’s crib has solid ends which means the mesh wouldn’t work. Boo! So I decided I would just make something similar that would fit my needs since I didn’t want to pay $20 for the mesh bumpers to only have to change them once I got them.

I wasn’t going for something that will last forever, because we only used these panels for a few months until Reese figured out how to remove whichever limb was stuck in the slats, but here is the finished product.
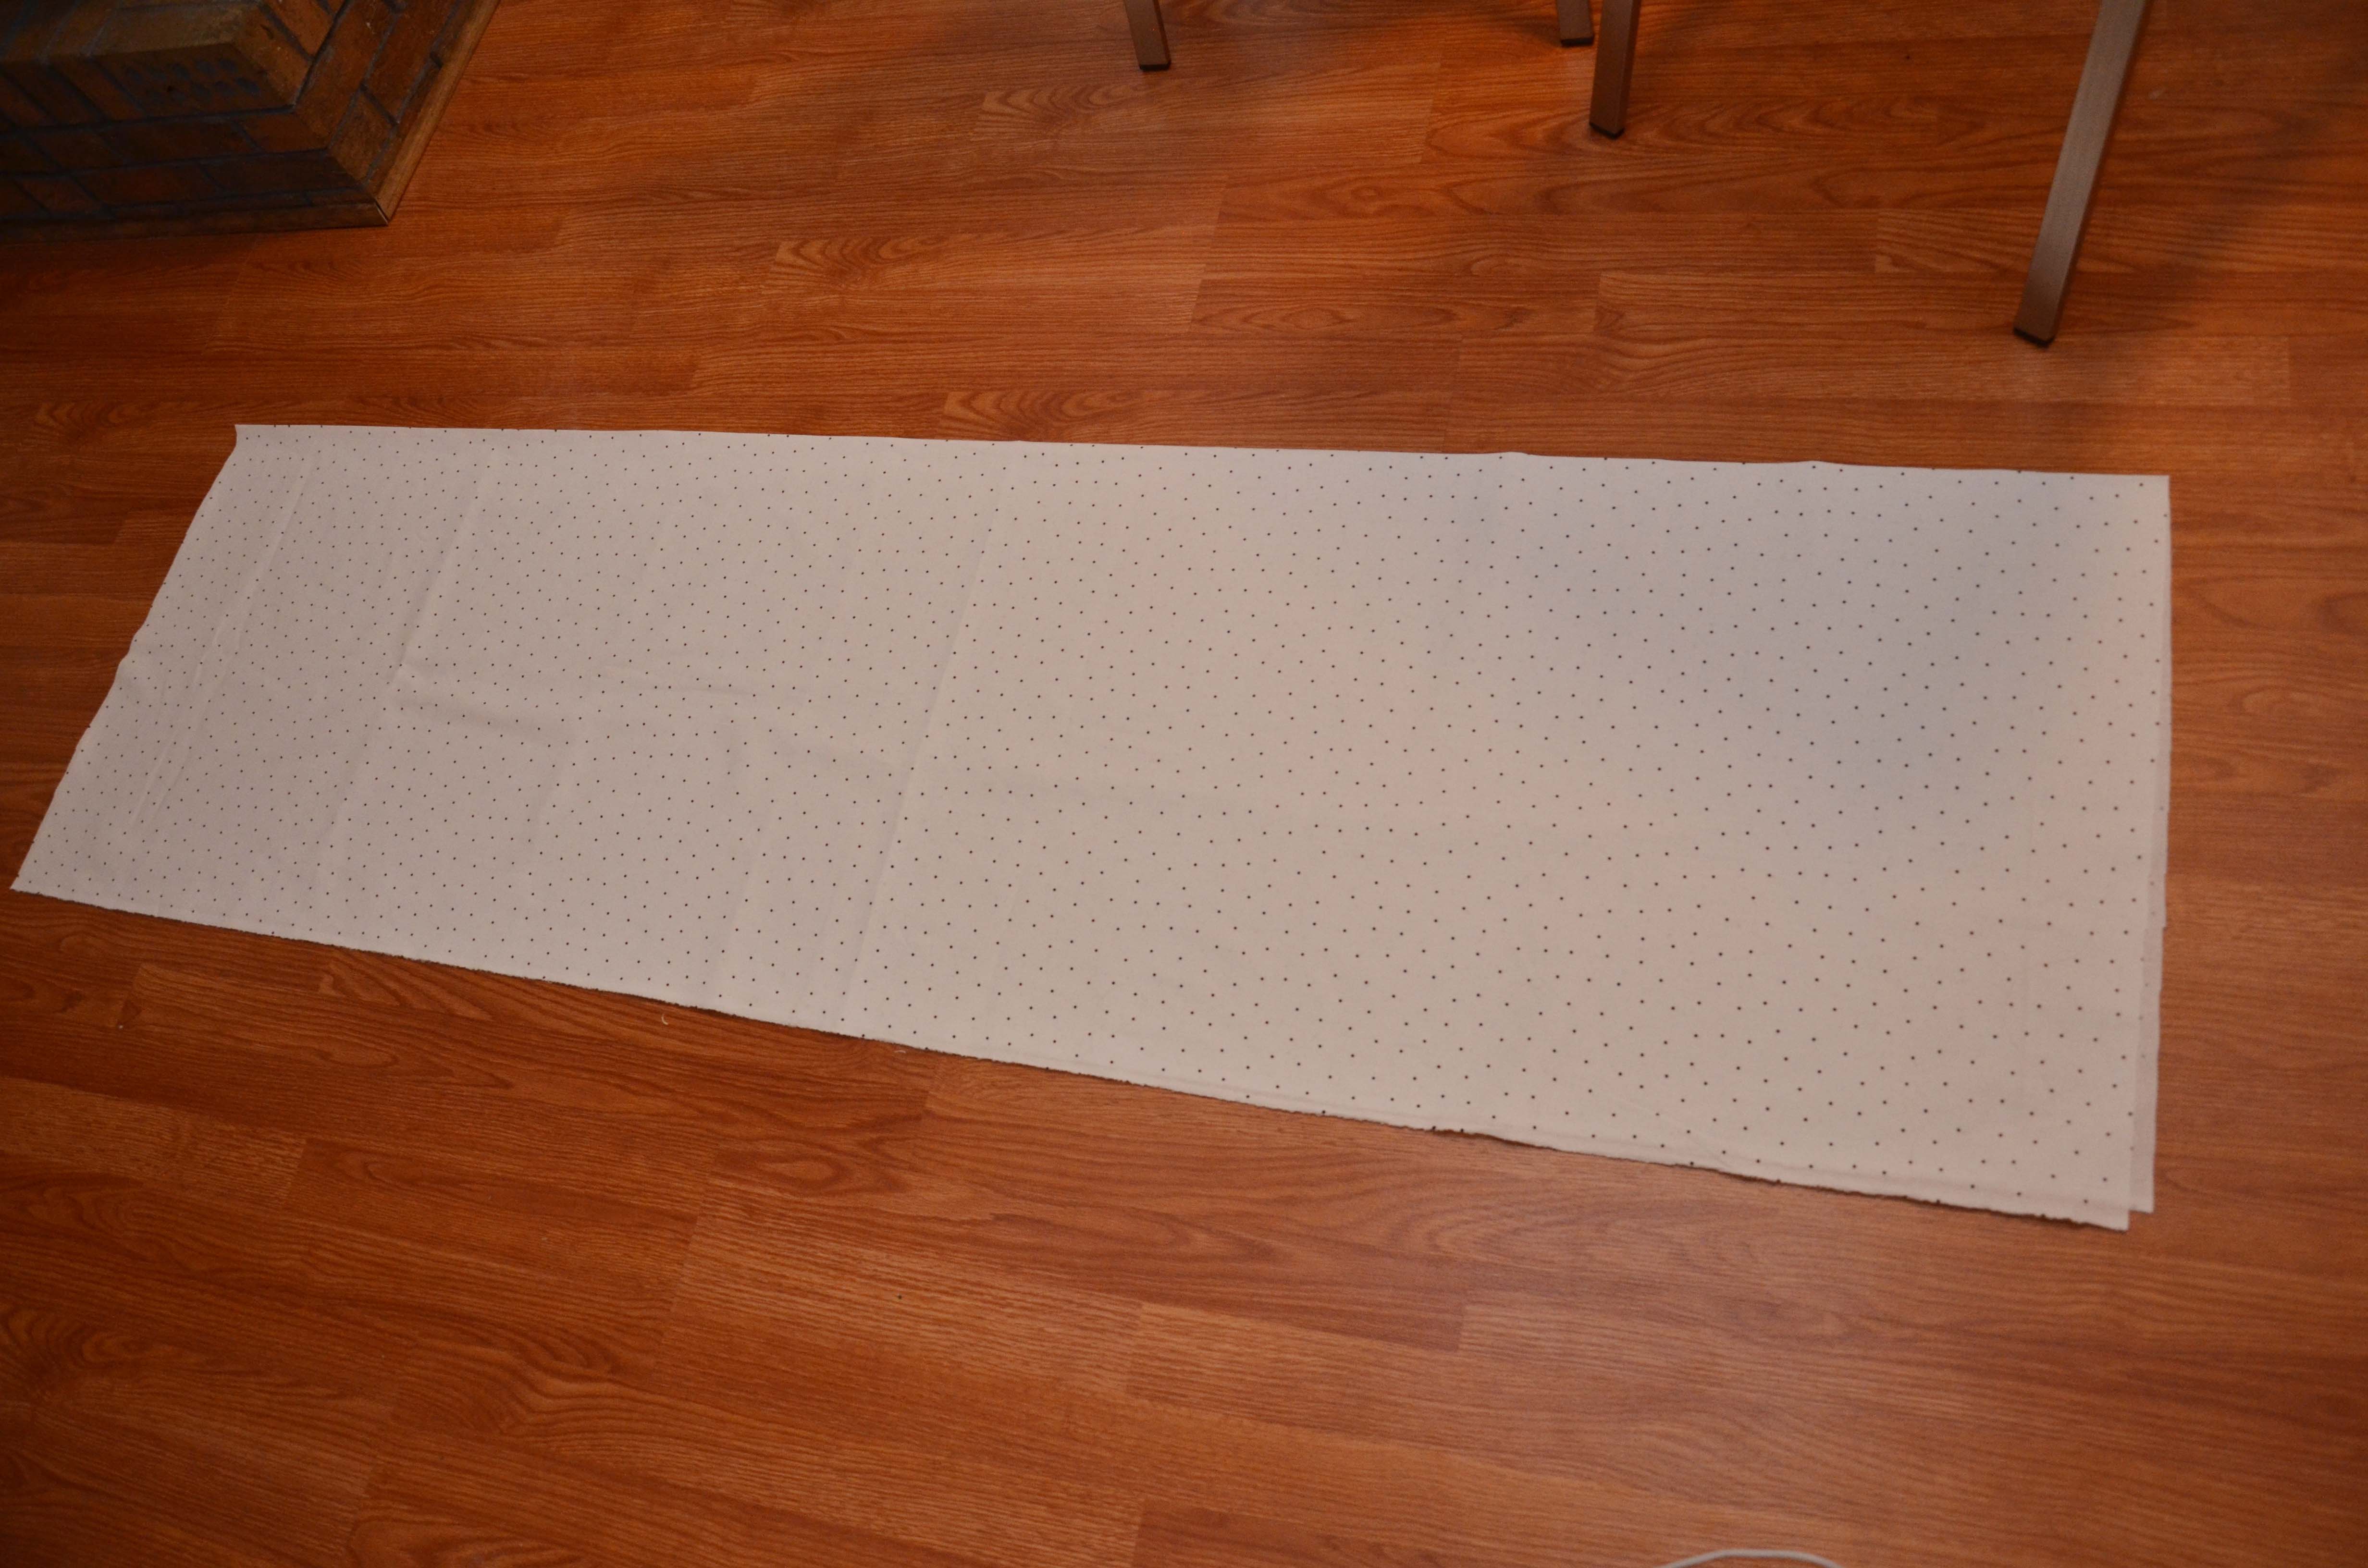
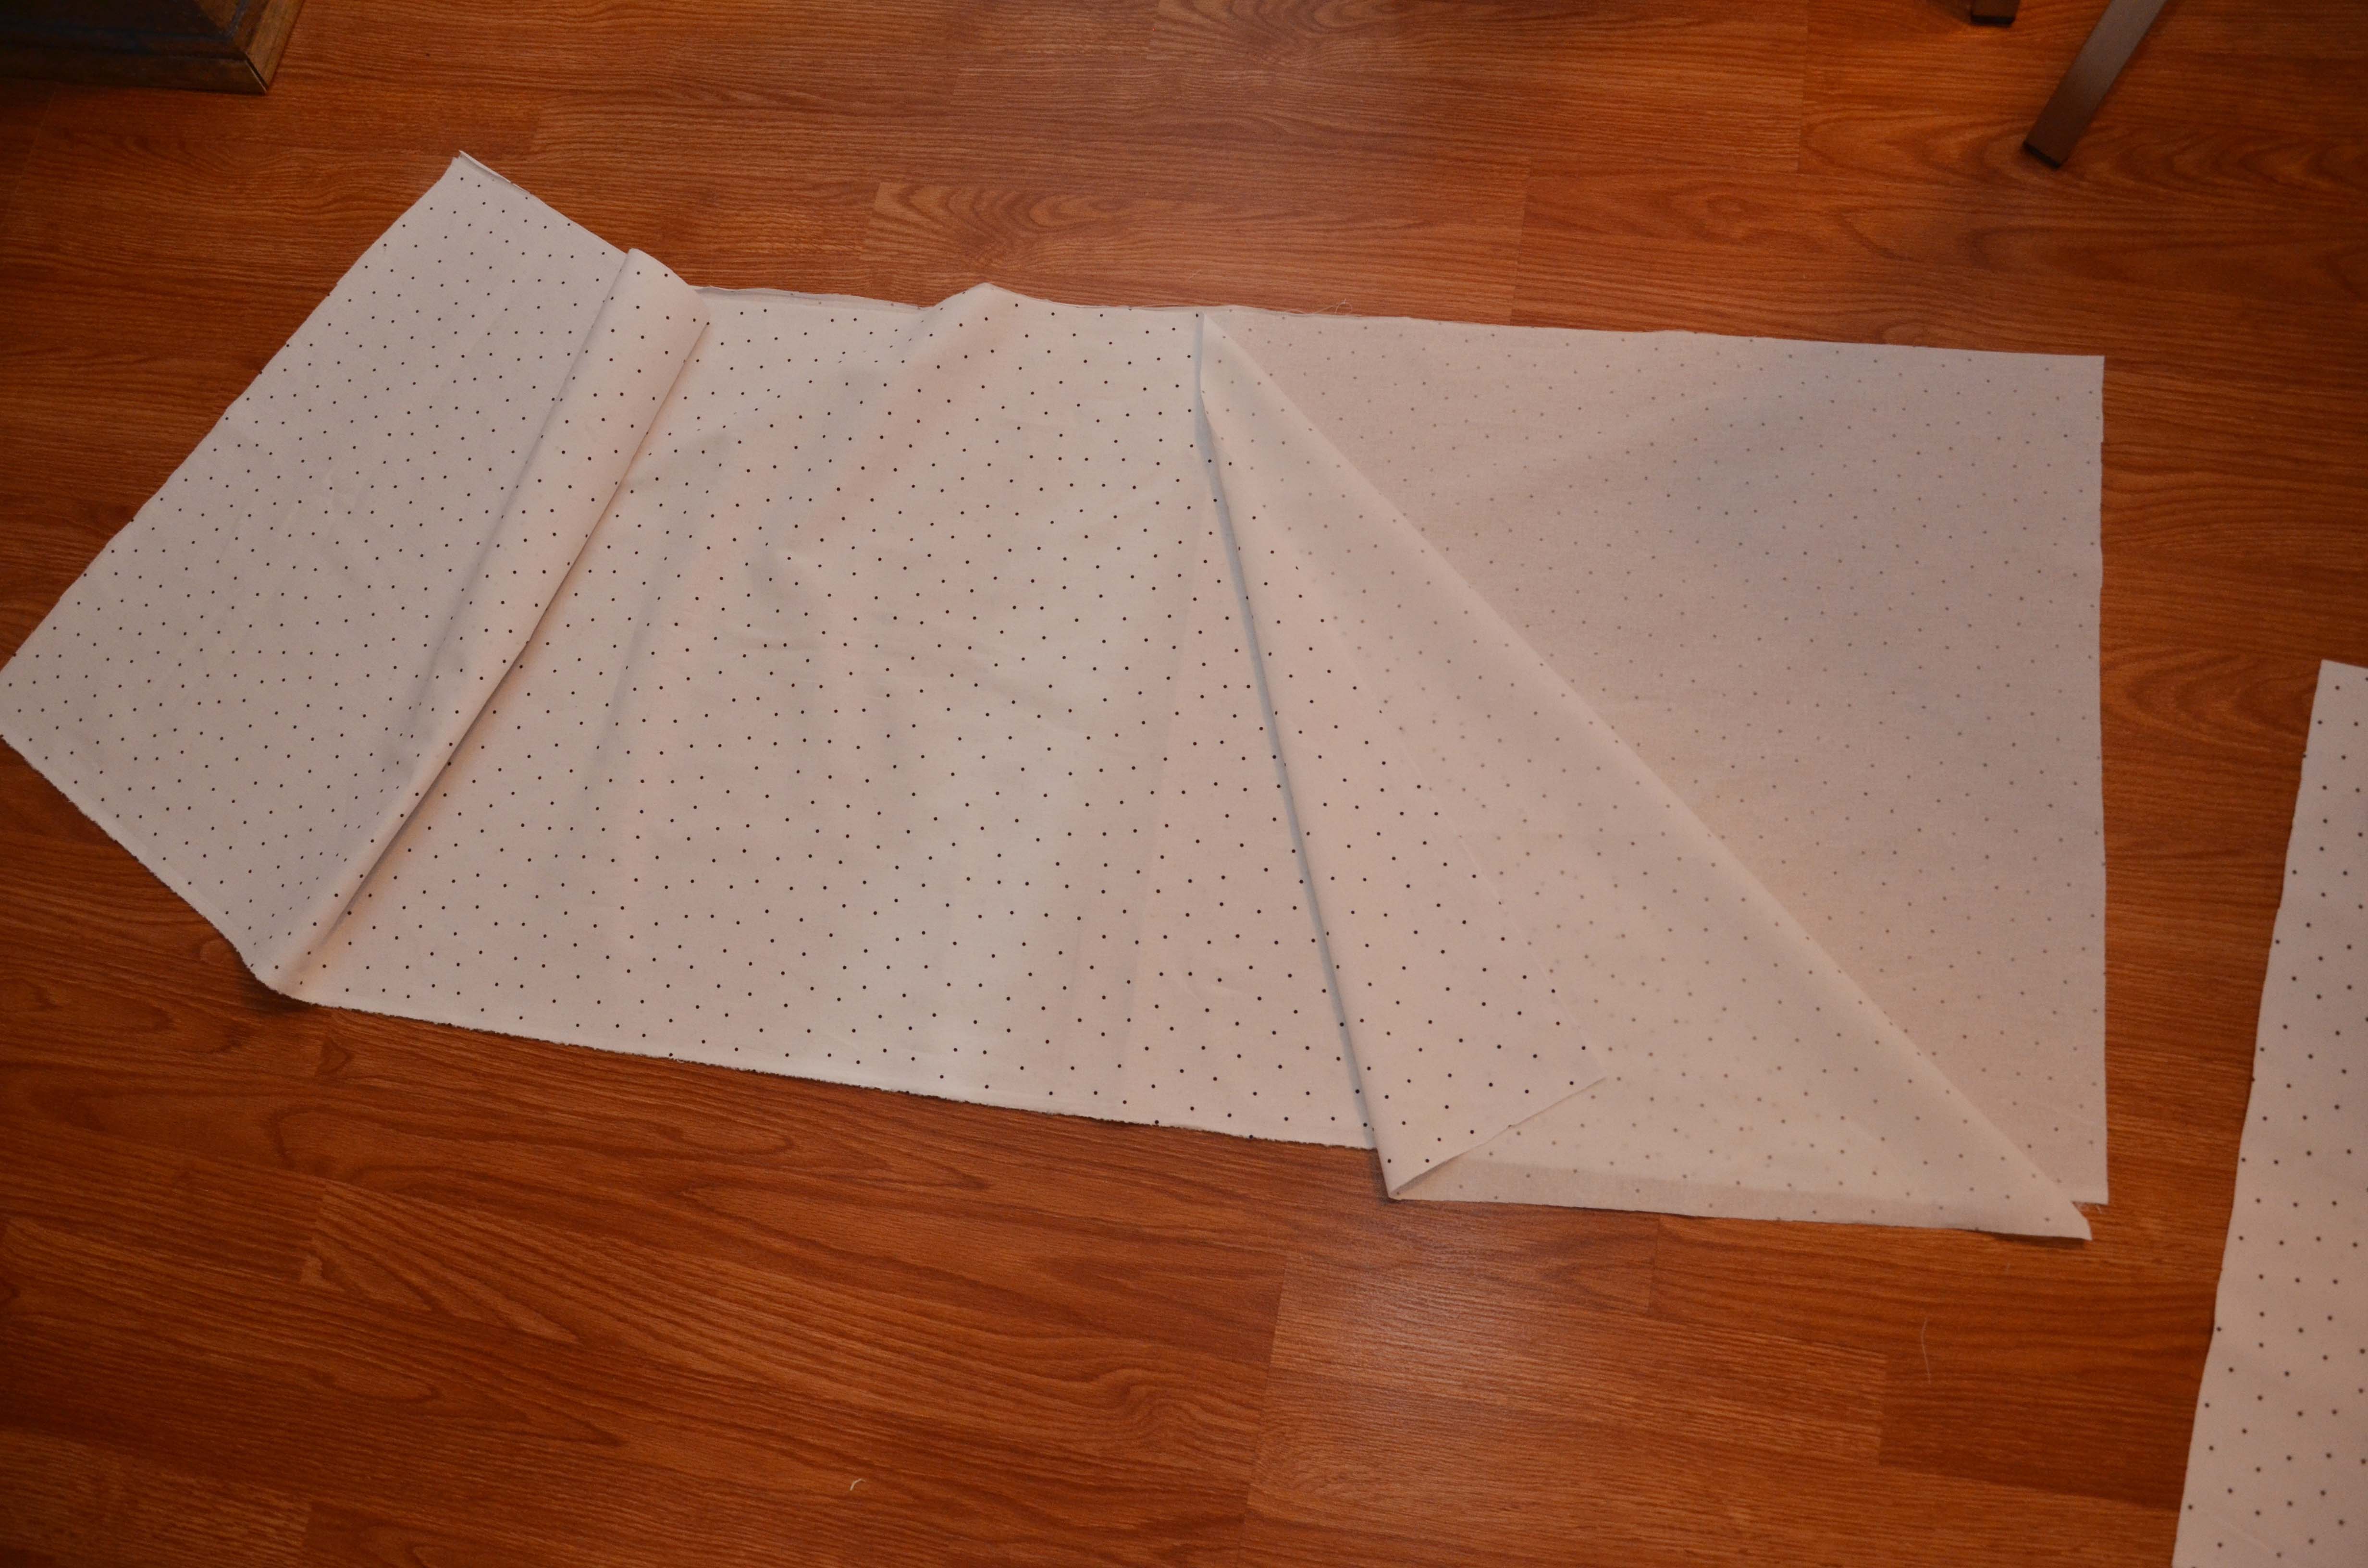
I went to Hobby Lobby and got 2 yards of this white with black polka dot cotton fabric. I put my face against it,and I could breath through it if completely pressed up against it. I could have bought a mesh,but it would have been so much more expensive,and I would need extra fabric to trim the edges to keep it from fraying.

The 2 yards cost me about $8.00 so that was cheap enough for me. If you don’t like it being thin, you could get two yard to have the fabric thicker for a nicer finished look. Fold your fabric in half lengthwise or hot dog style as some people call it.
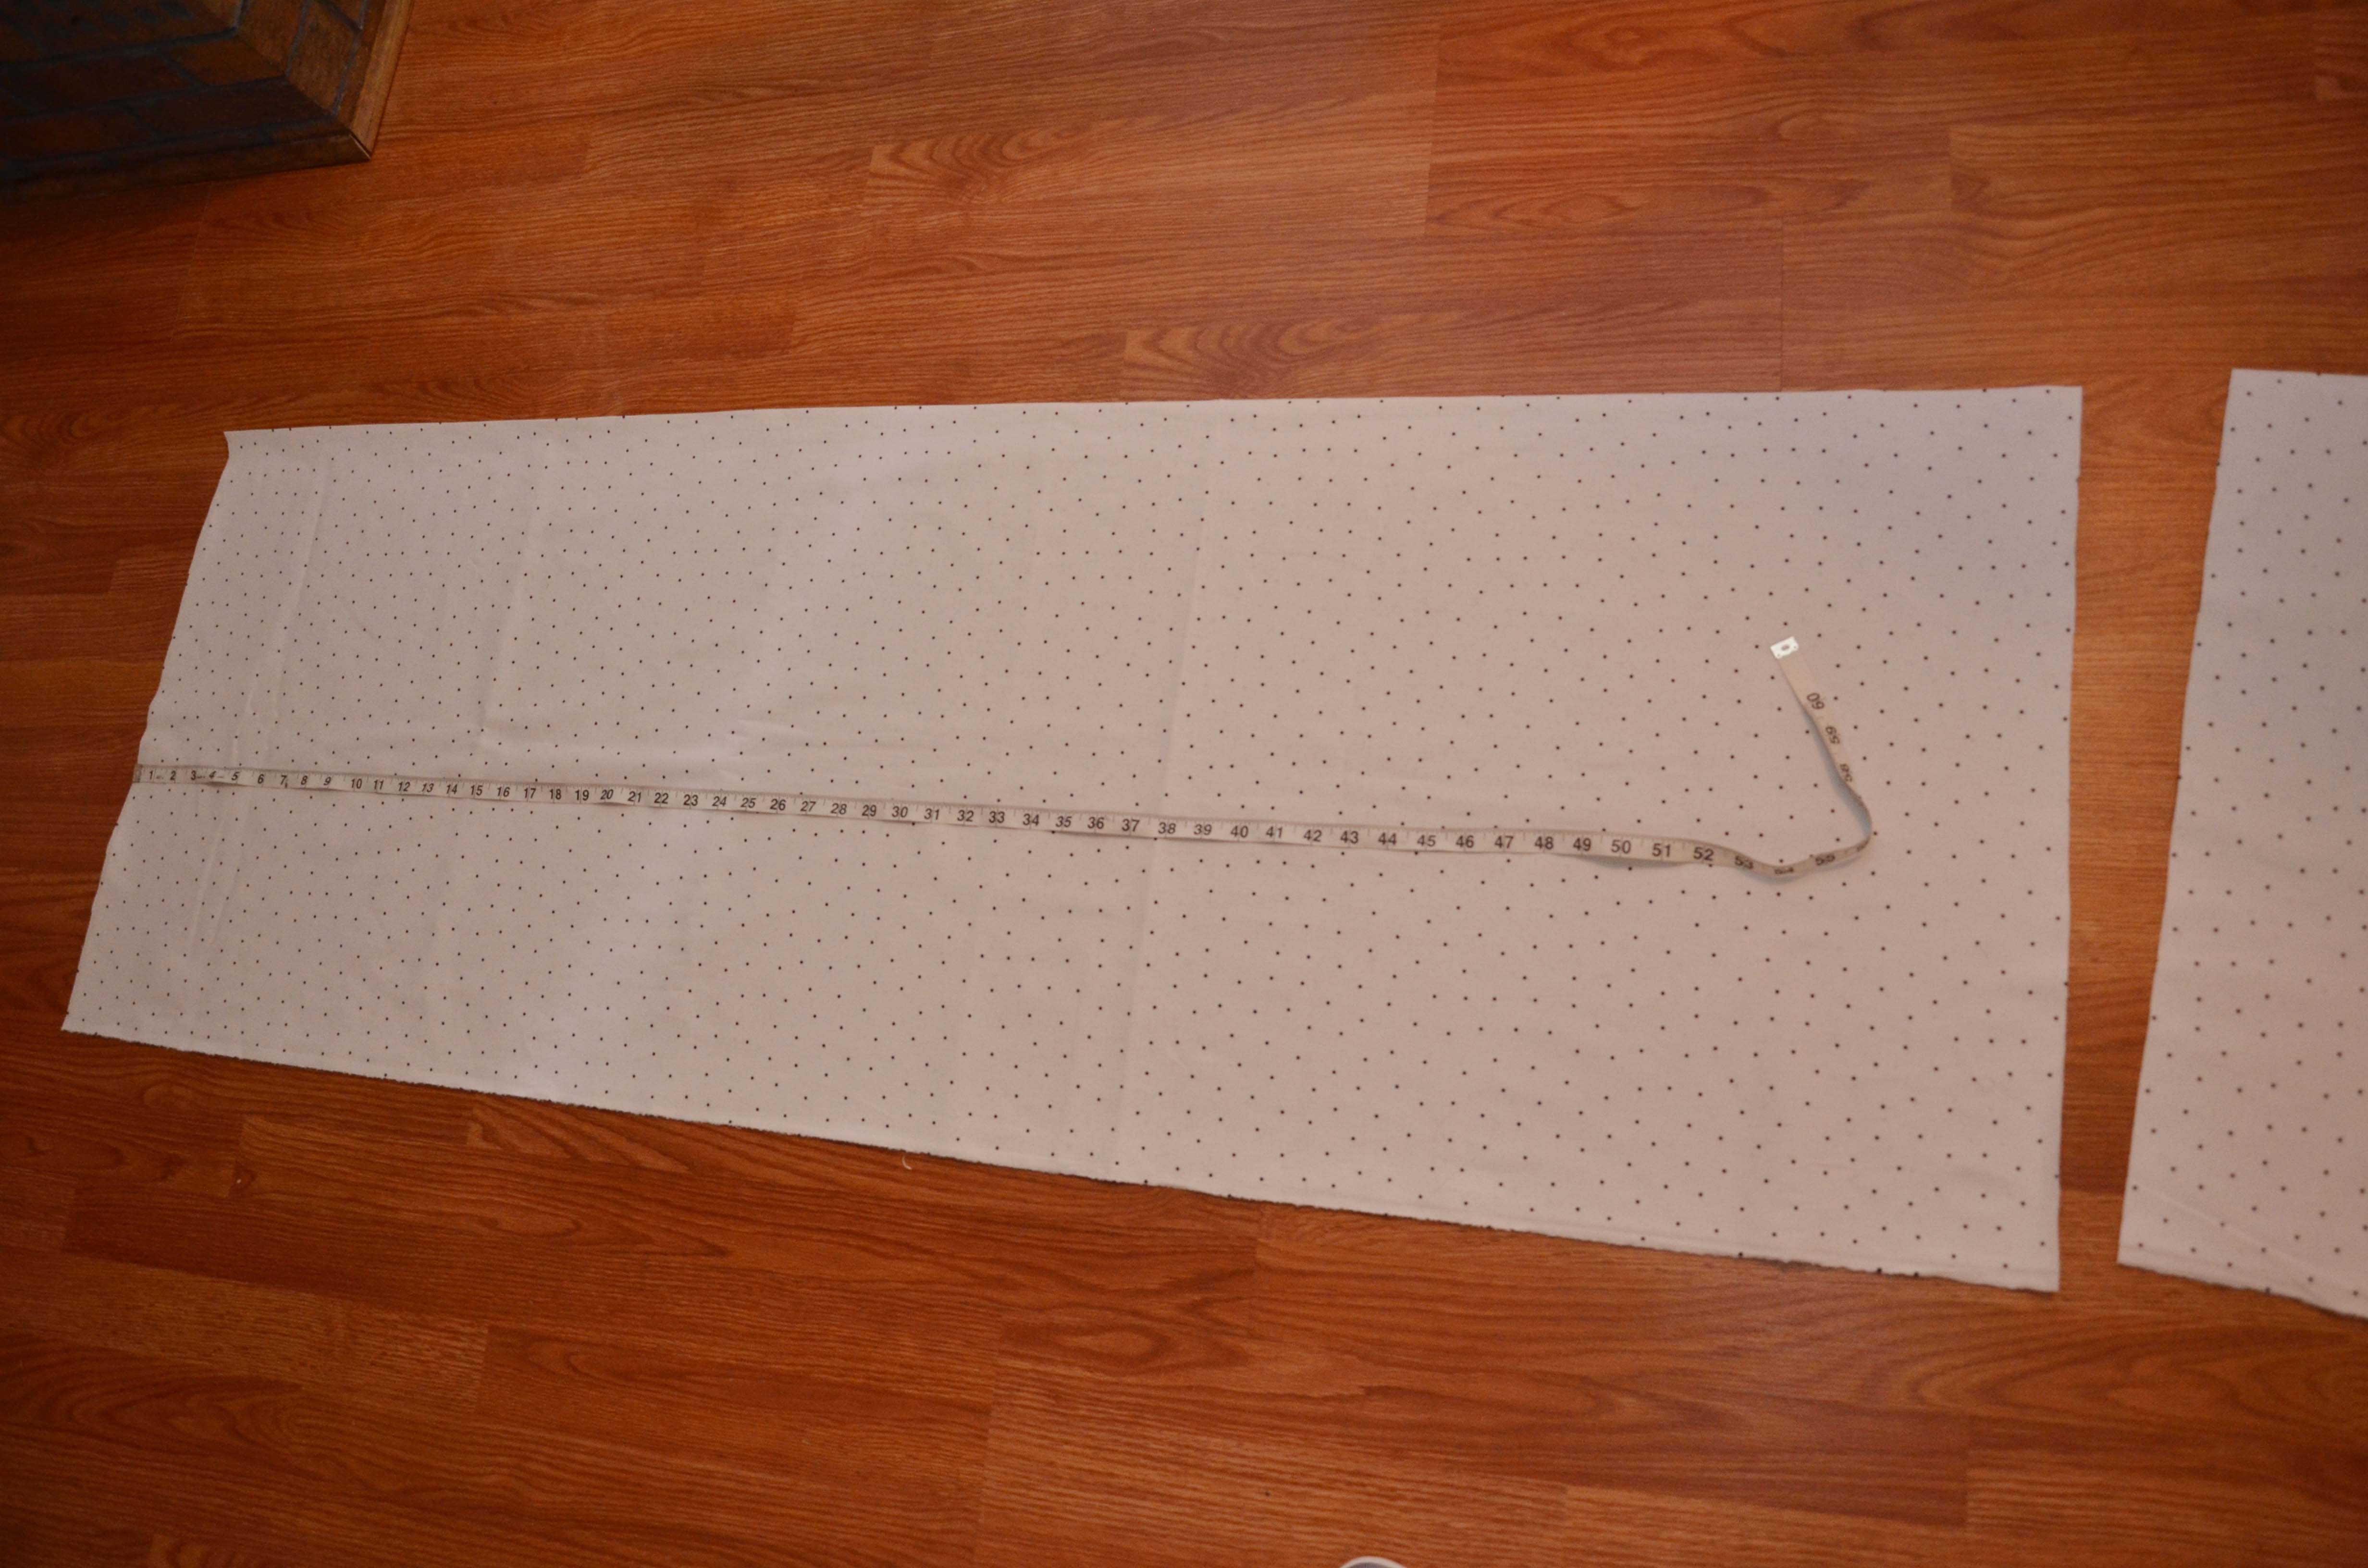
I didn’t want a ton of extra length to deal with so I cut the length to 60″,but you can leave it longer for more play room if that makes you happy.
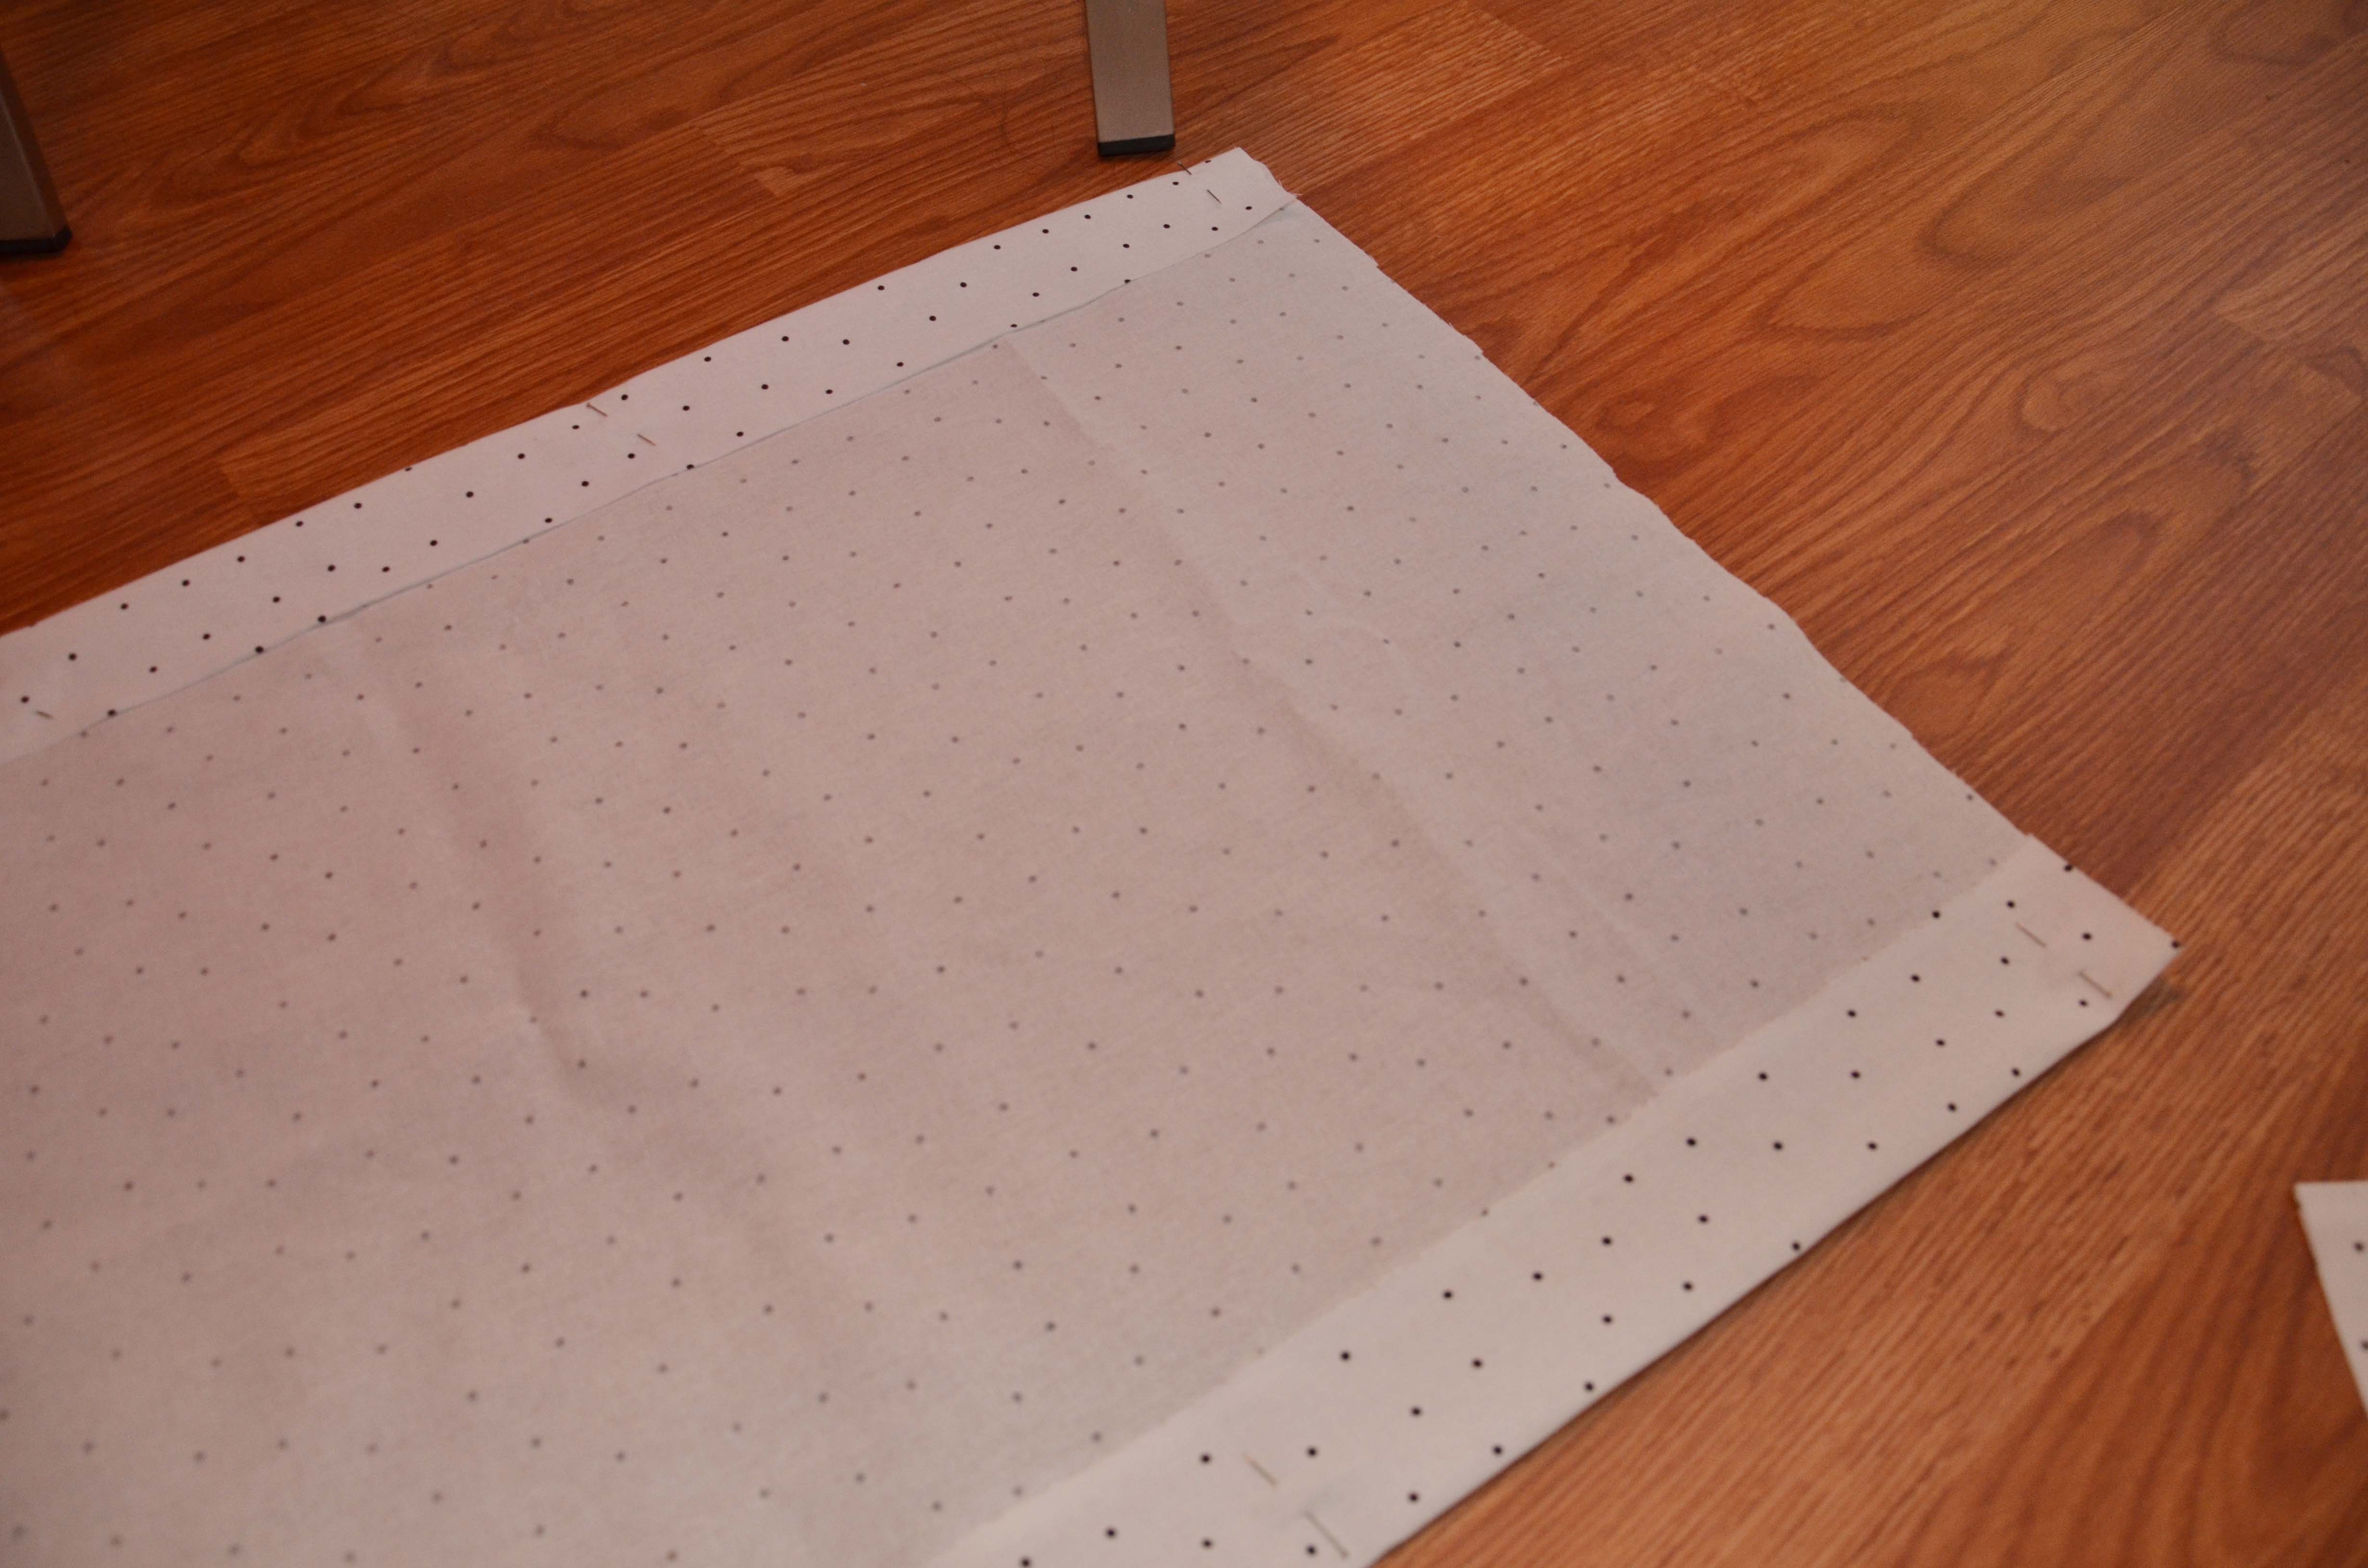
So here are my two panels that are cut to size. If you wanted to double side them, you would cut a total of four panels, and then place them right sides together or the pattern on the inside. Sew almost completely around the edges and then turn right side out. Then you would top stitch all the way around and then figure out your velcro placement.

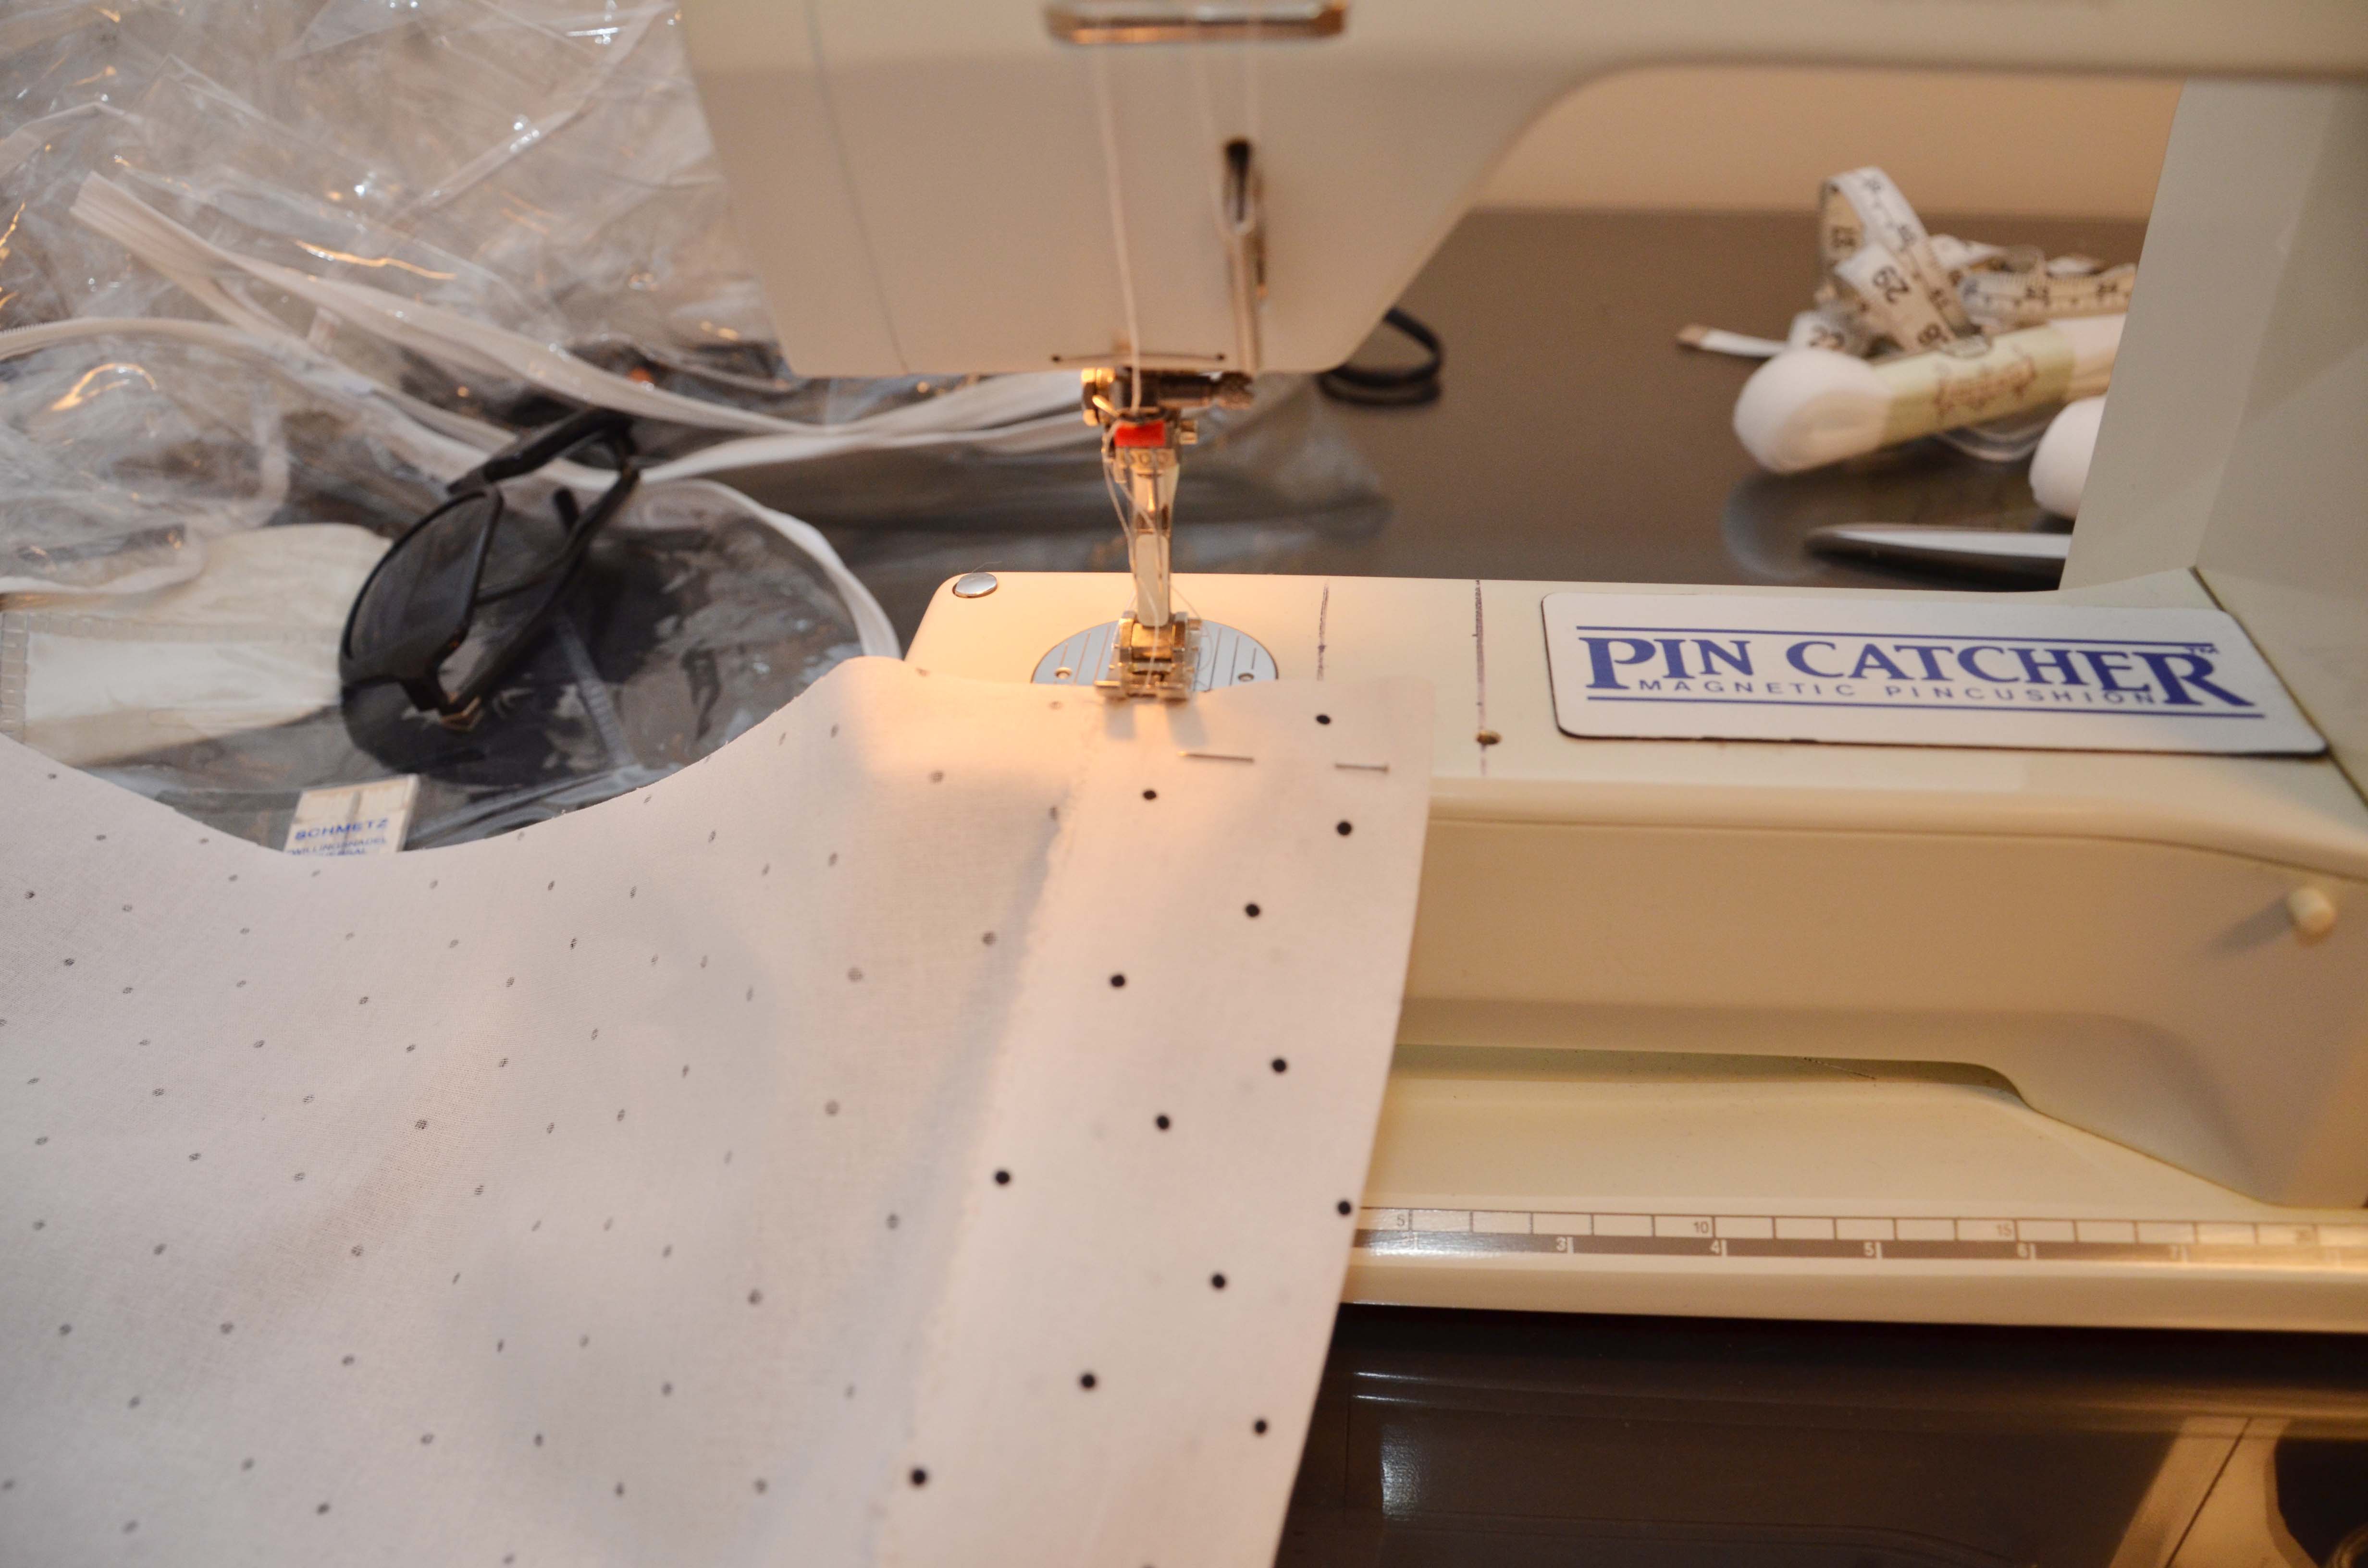
I just decided to do a simple hem job since I wanted to keep this project as cheap as possible. So I folded the top and bottom portions down 2″ and pinned it down.
So if you do a single layer it is thinner,but you will be able to see a little bit of the extra material on the front. This didn’t bother me at all,but just to point it out.
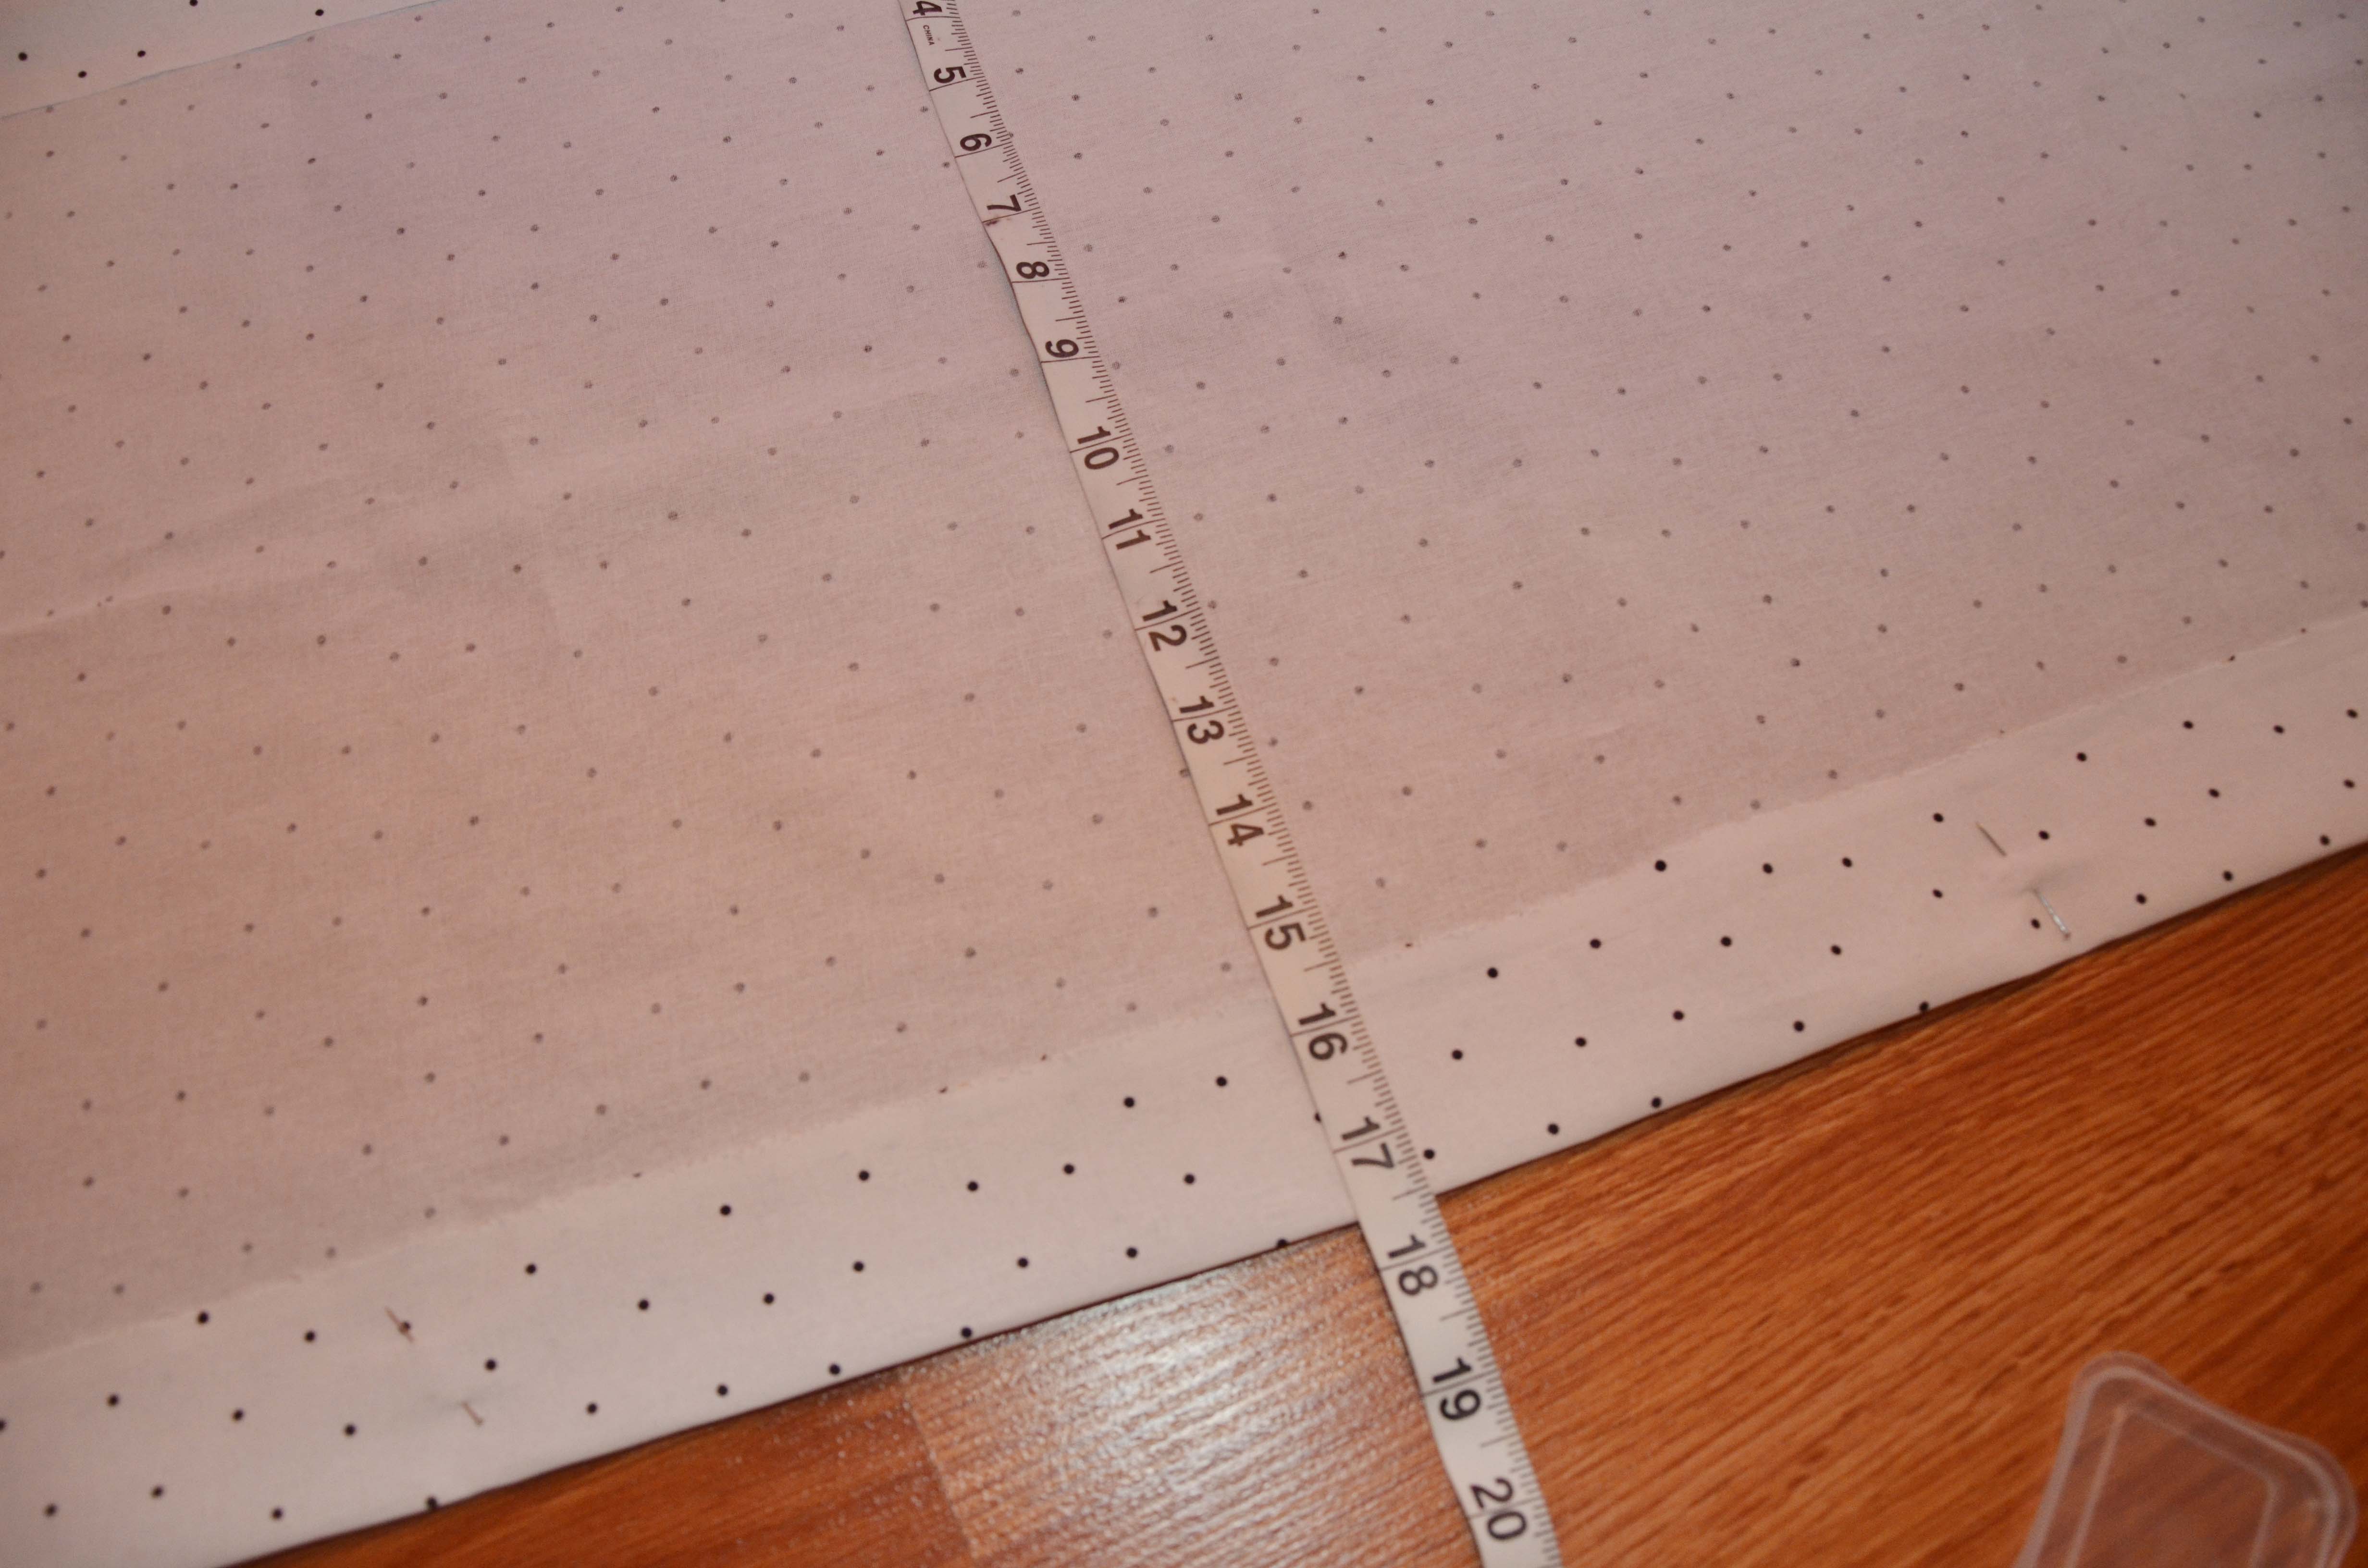
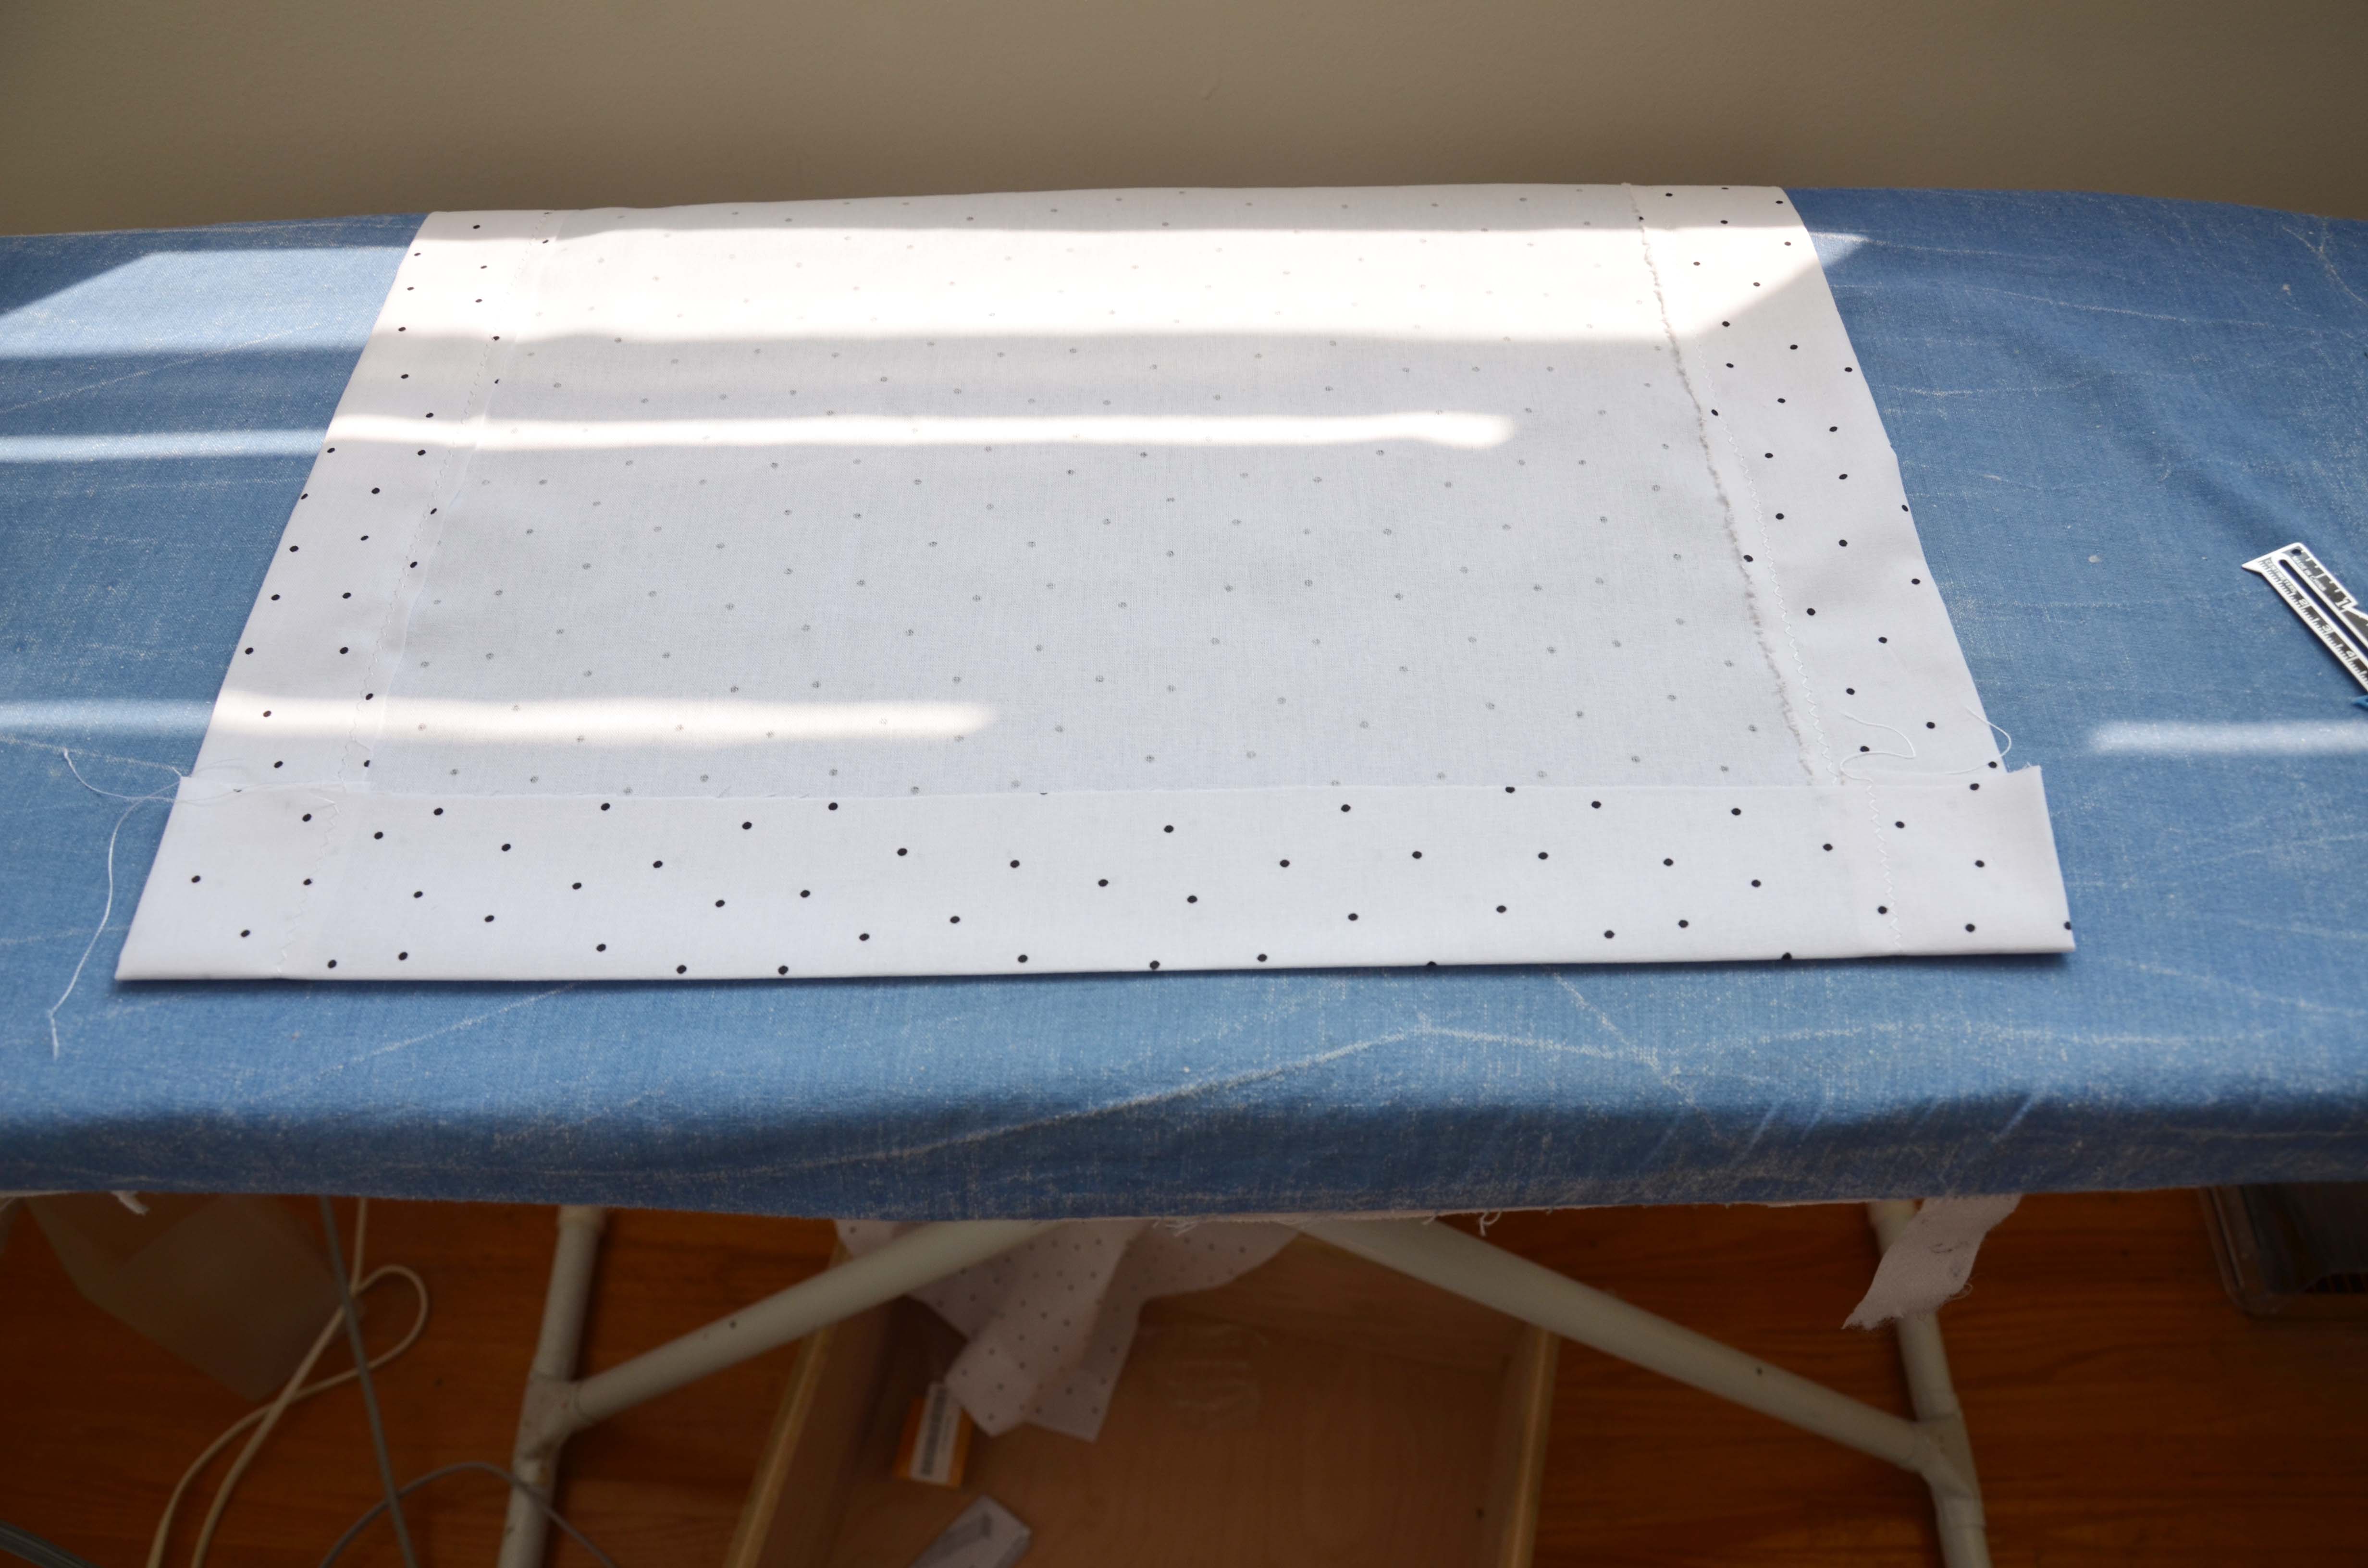
Double check that the height is where you want it to be, and that both panels are showing the same height.
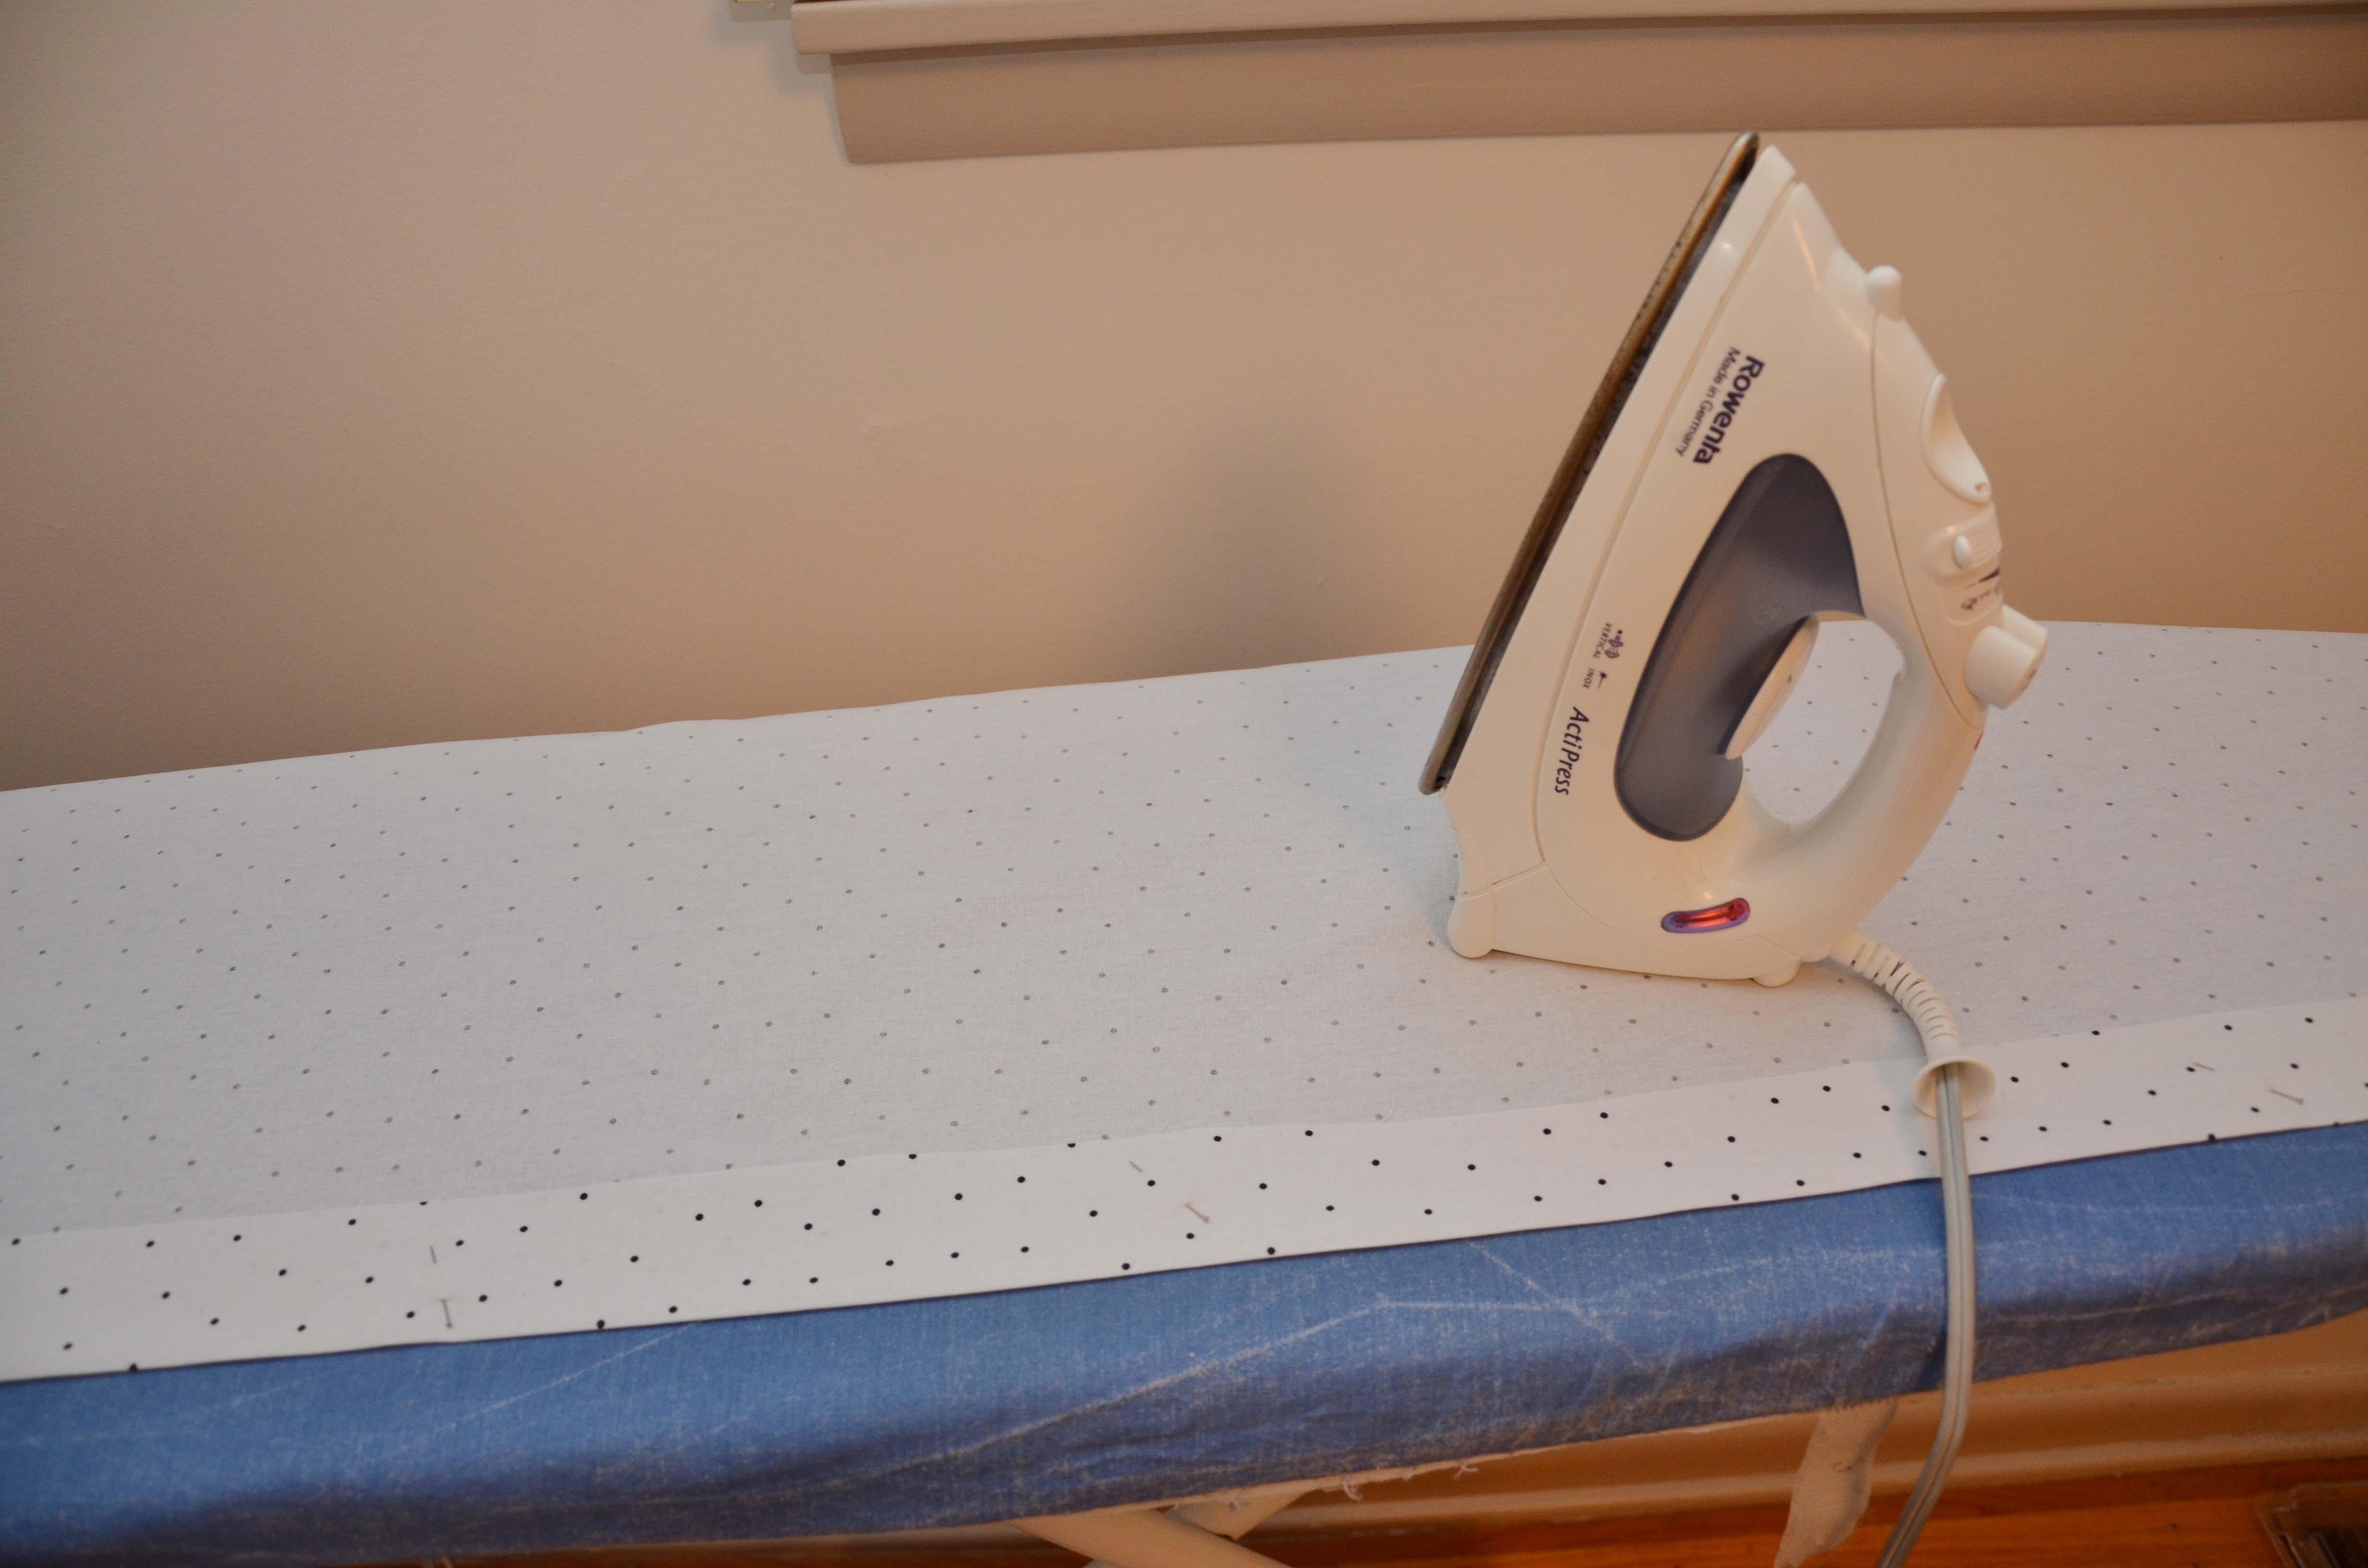
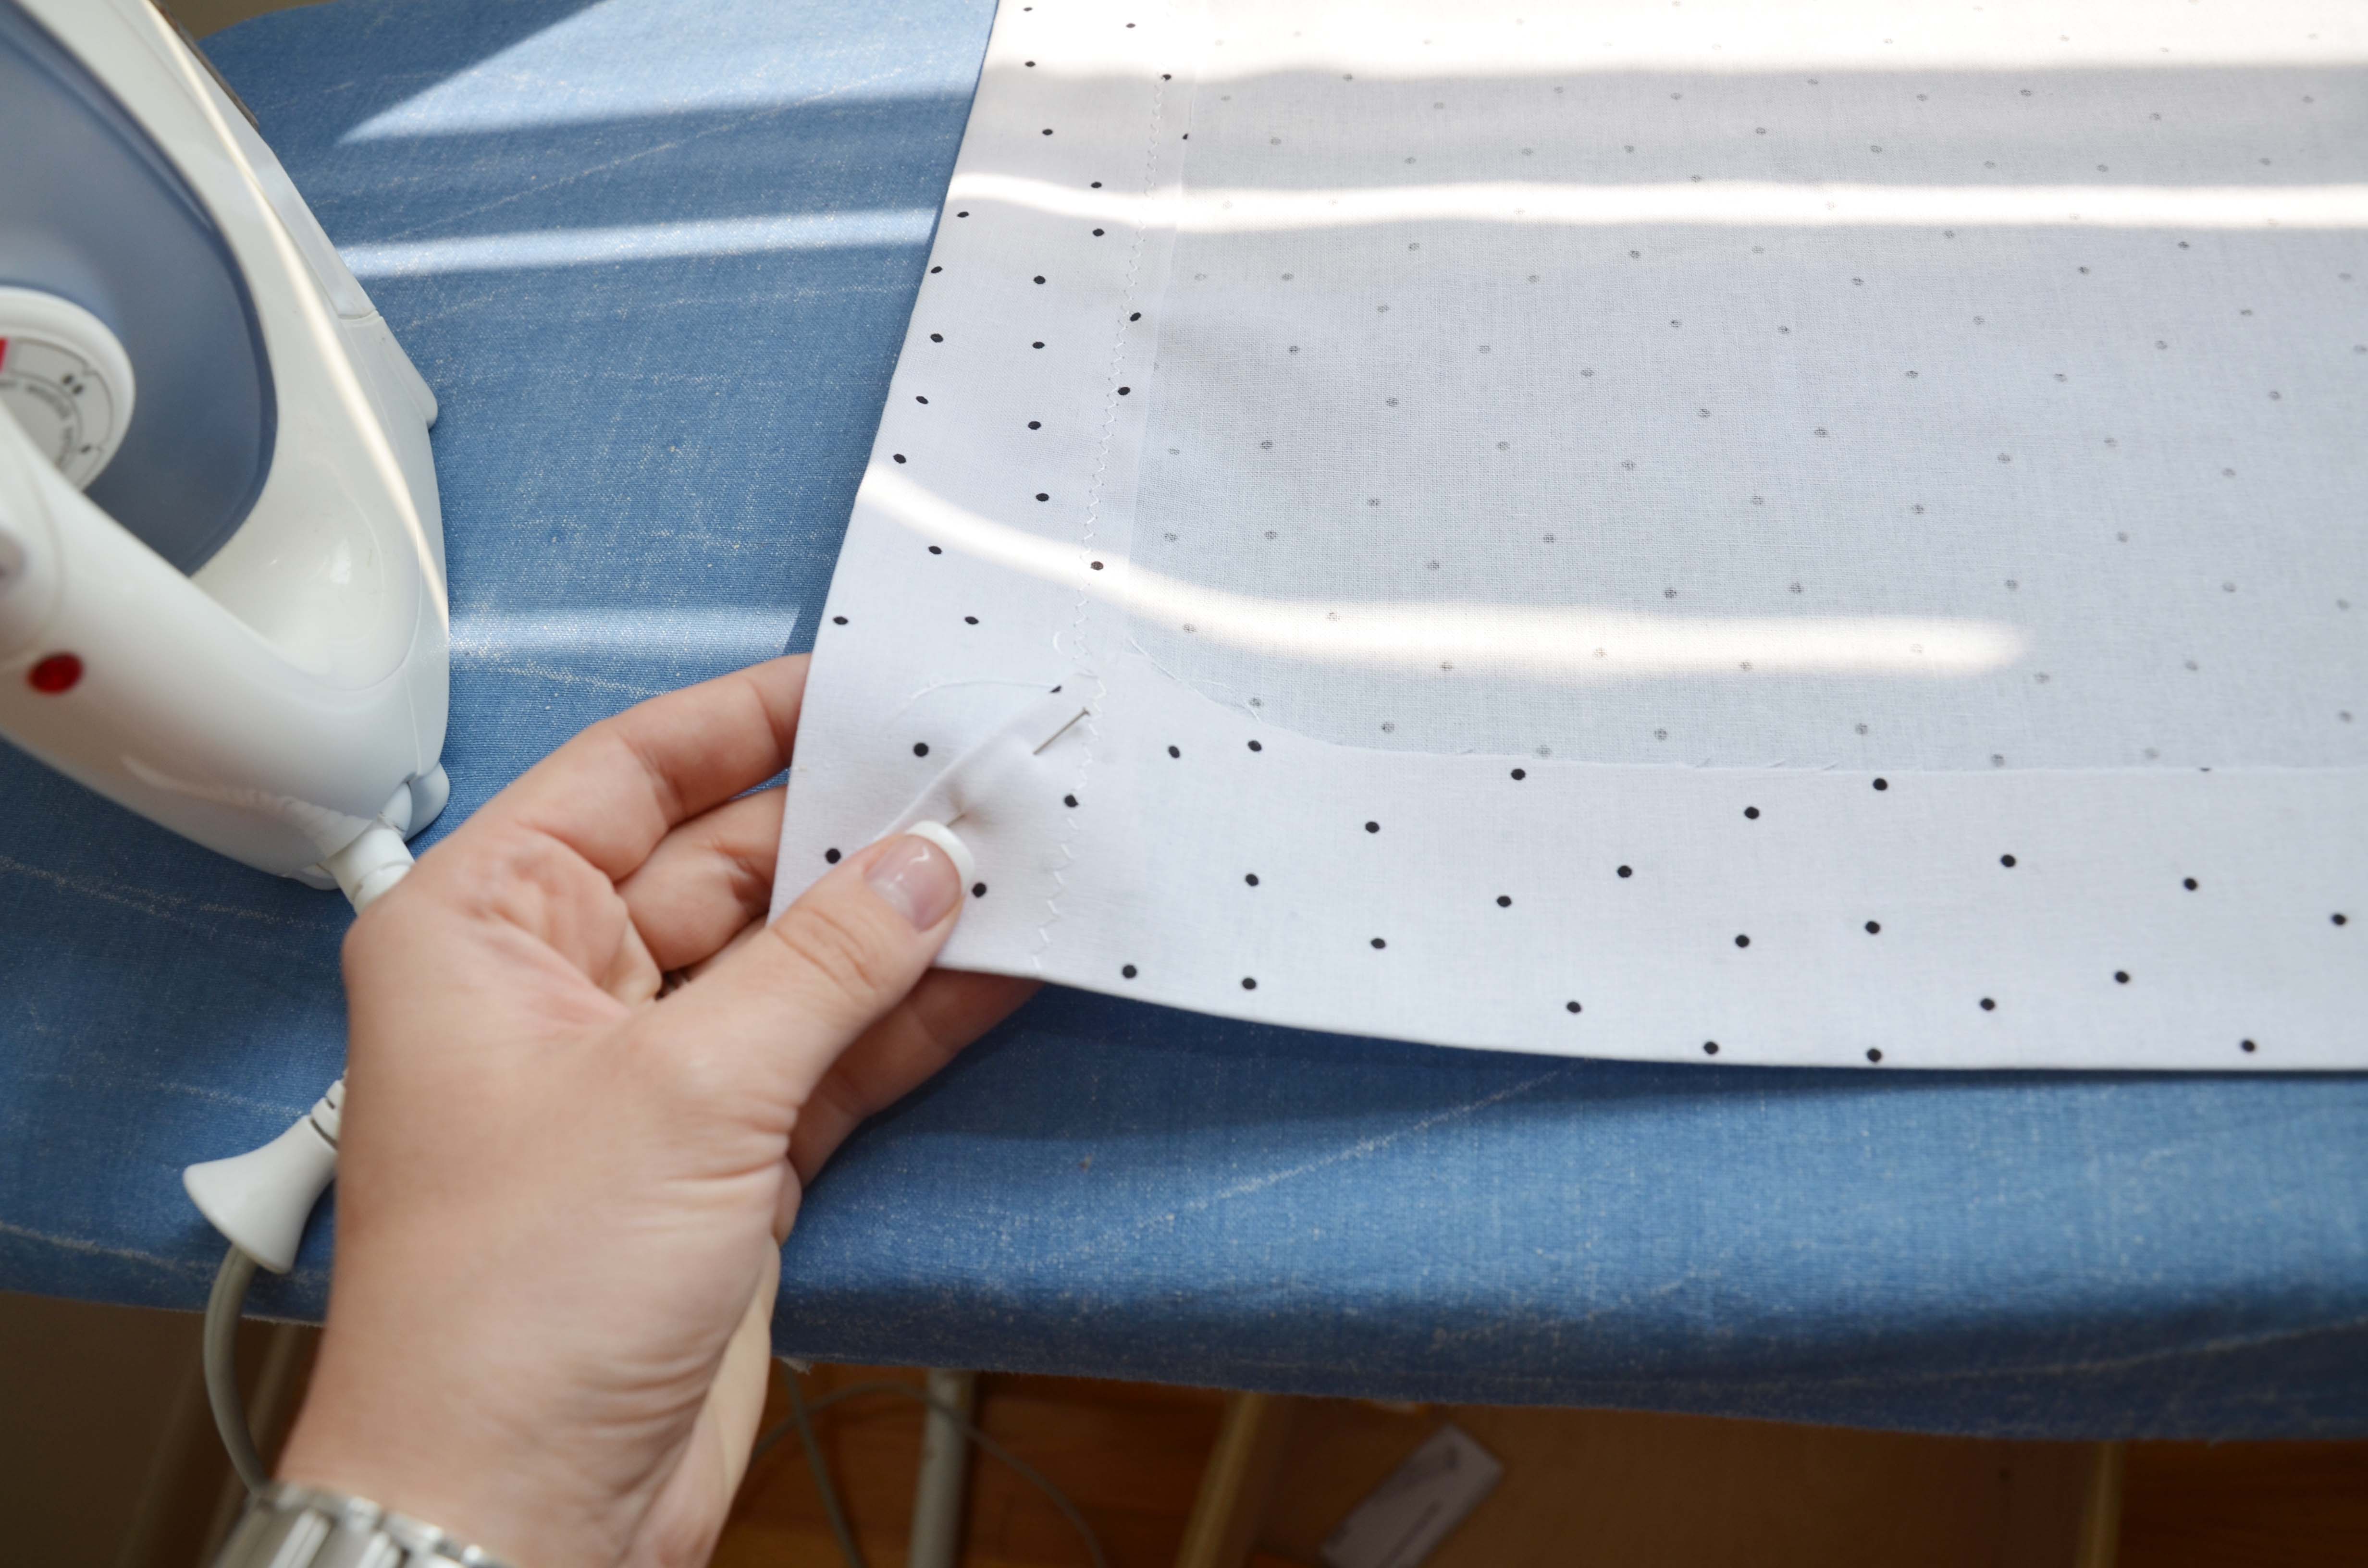
Iron the whole panel to give it a nice flat surface to start with.
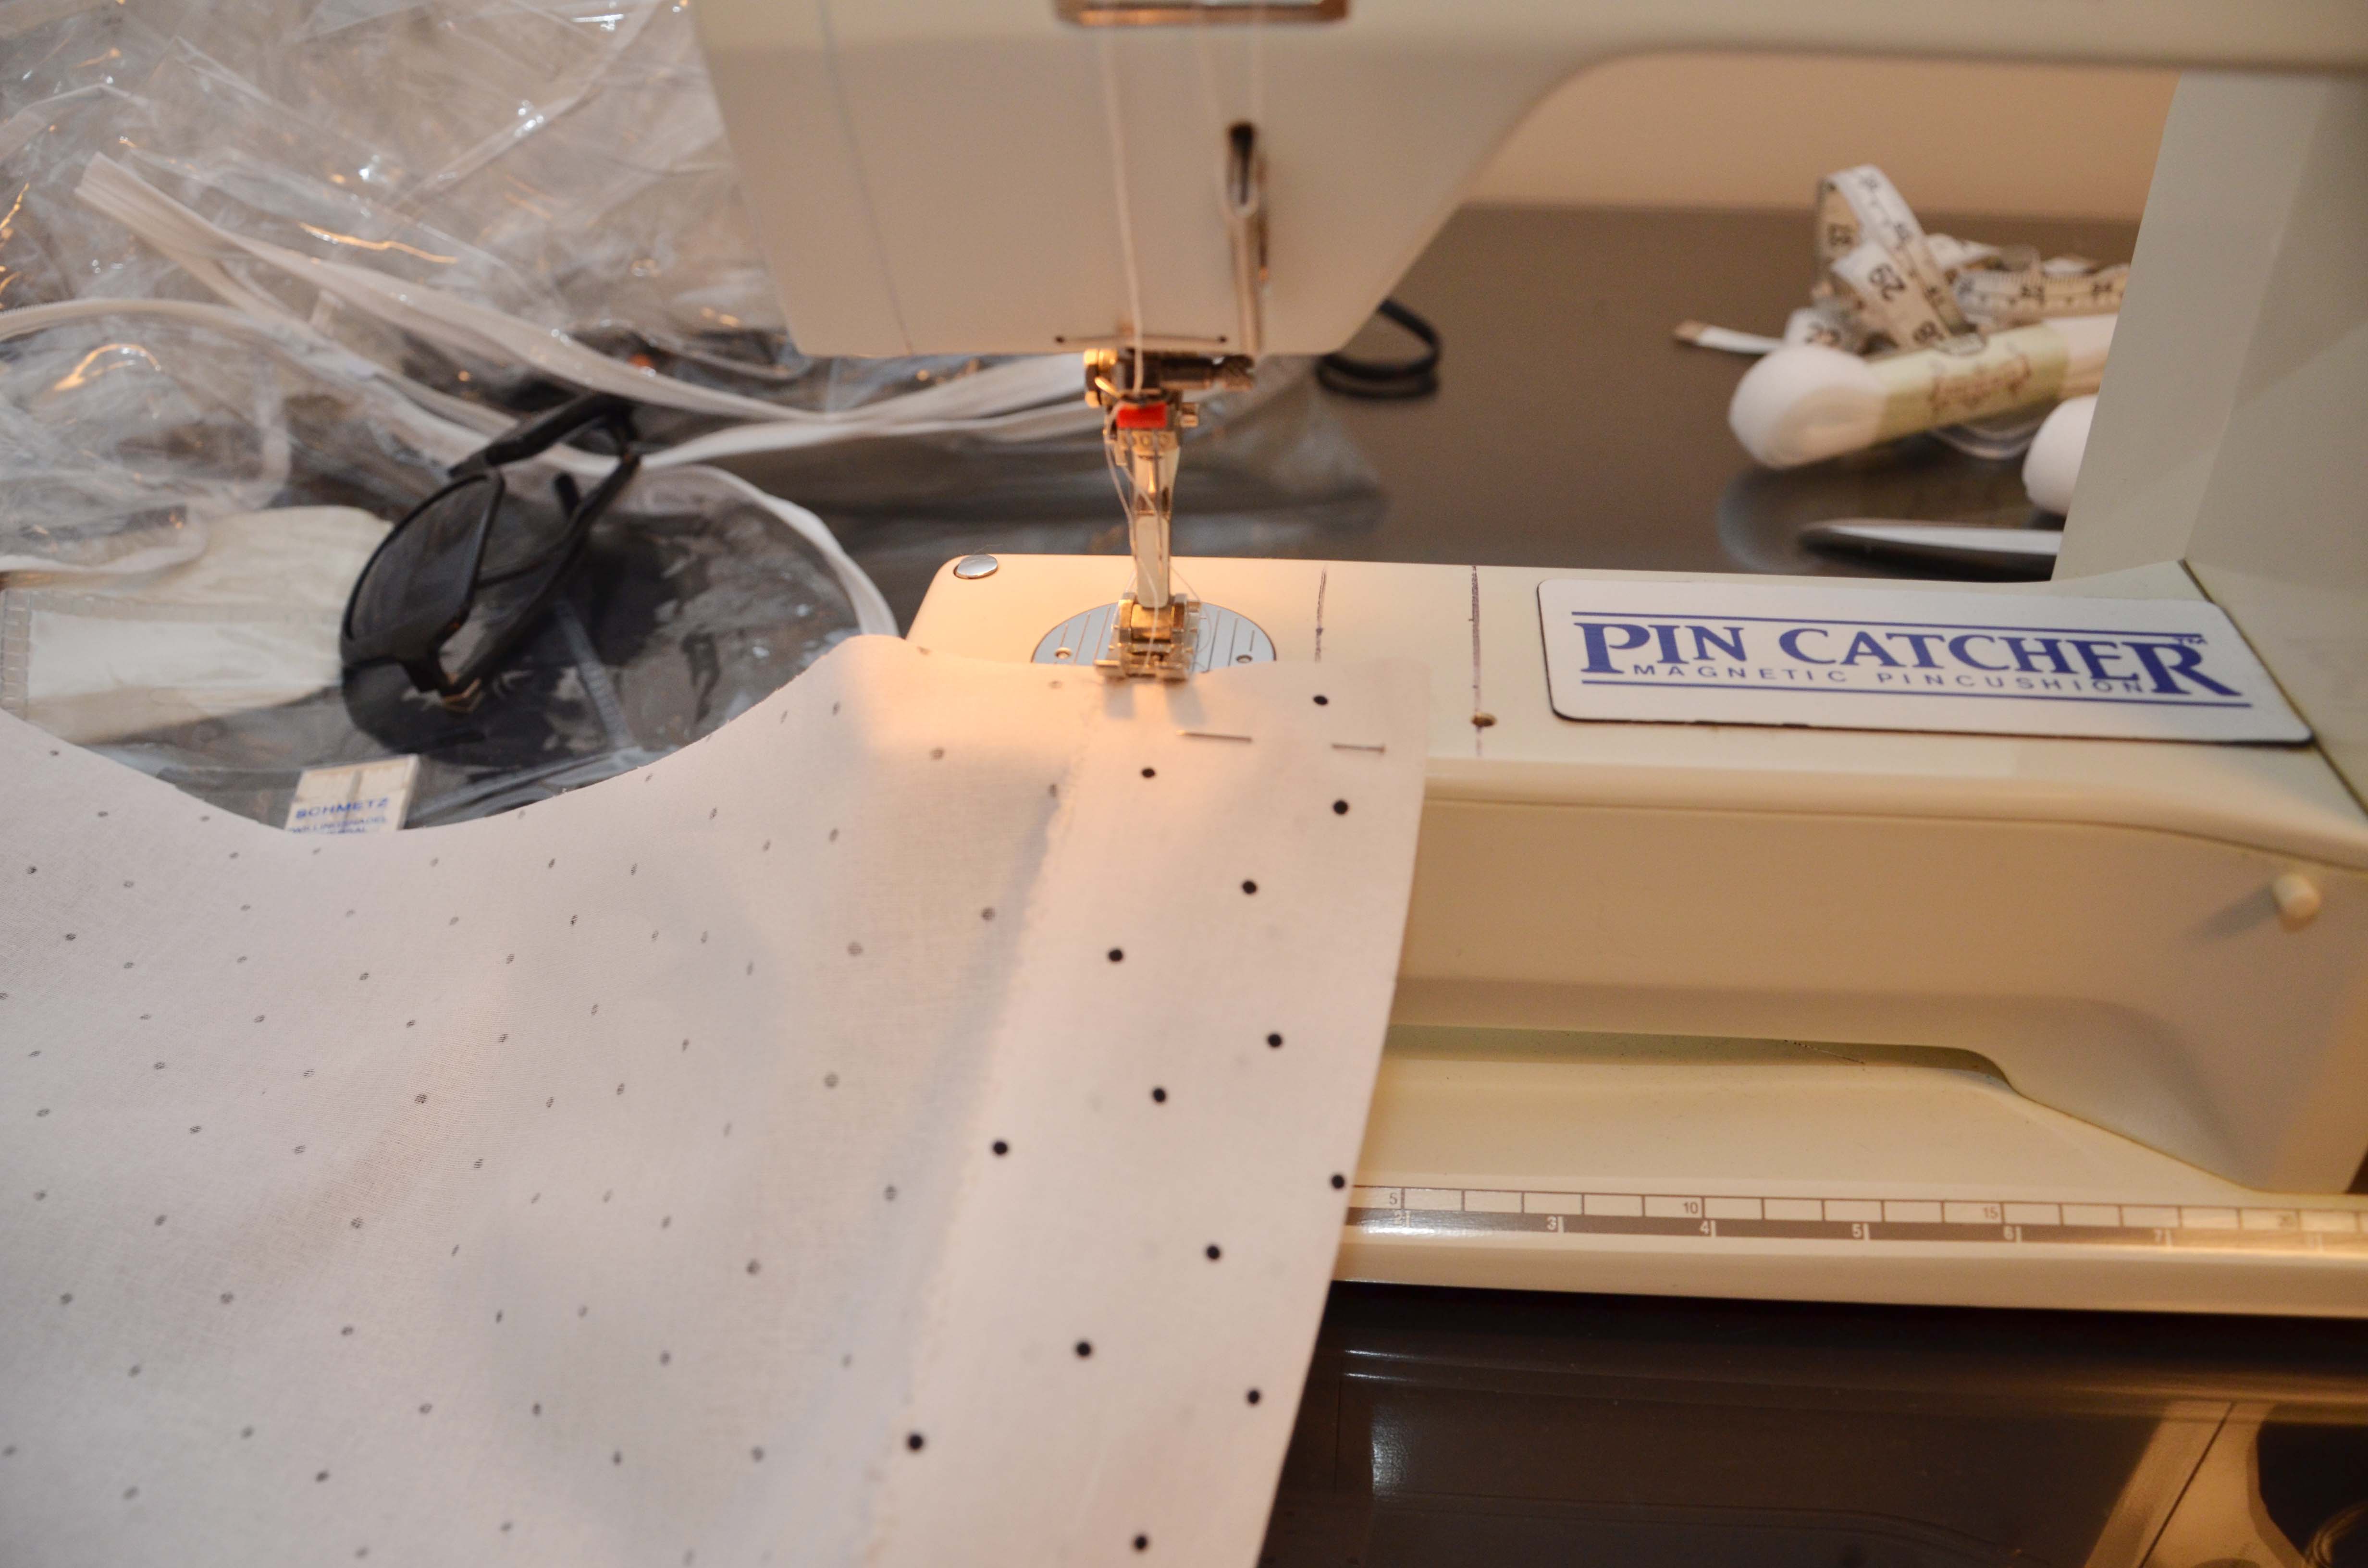
Then sew down the panel with whatever stitch you want. I did a zig zag,but that is honestly not necessary; a simple straight stitch will hold everything just fine.
Then fold down the last two edges 2″, pin, and iron.

I wanted a mitred corner look, so I folded the corners like this.
I then pinned it down so it would be easier to sew.

Once all of the sides are sewn, trim your extra threads, and remeasure to make sure the final measurements are what you were wanting them to be.

I then clipped them onto the crib to see how long I wanted my velcro strips to be.
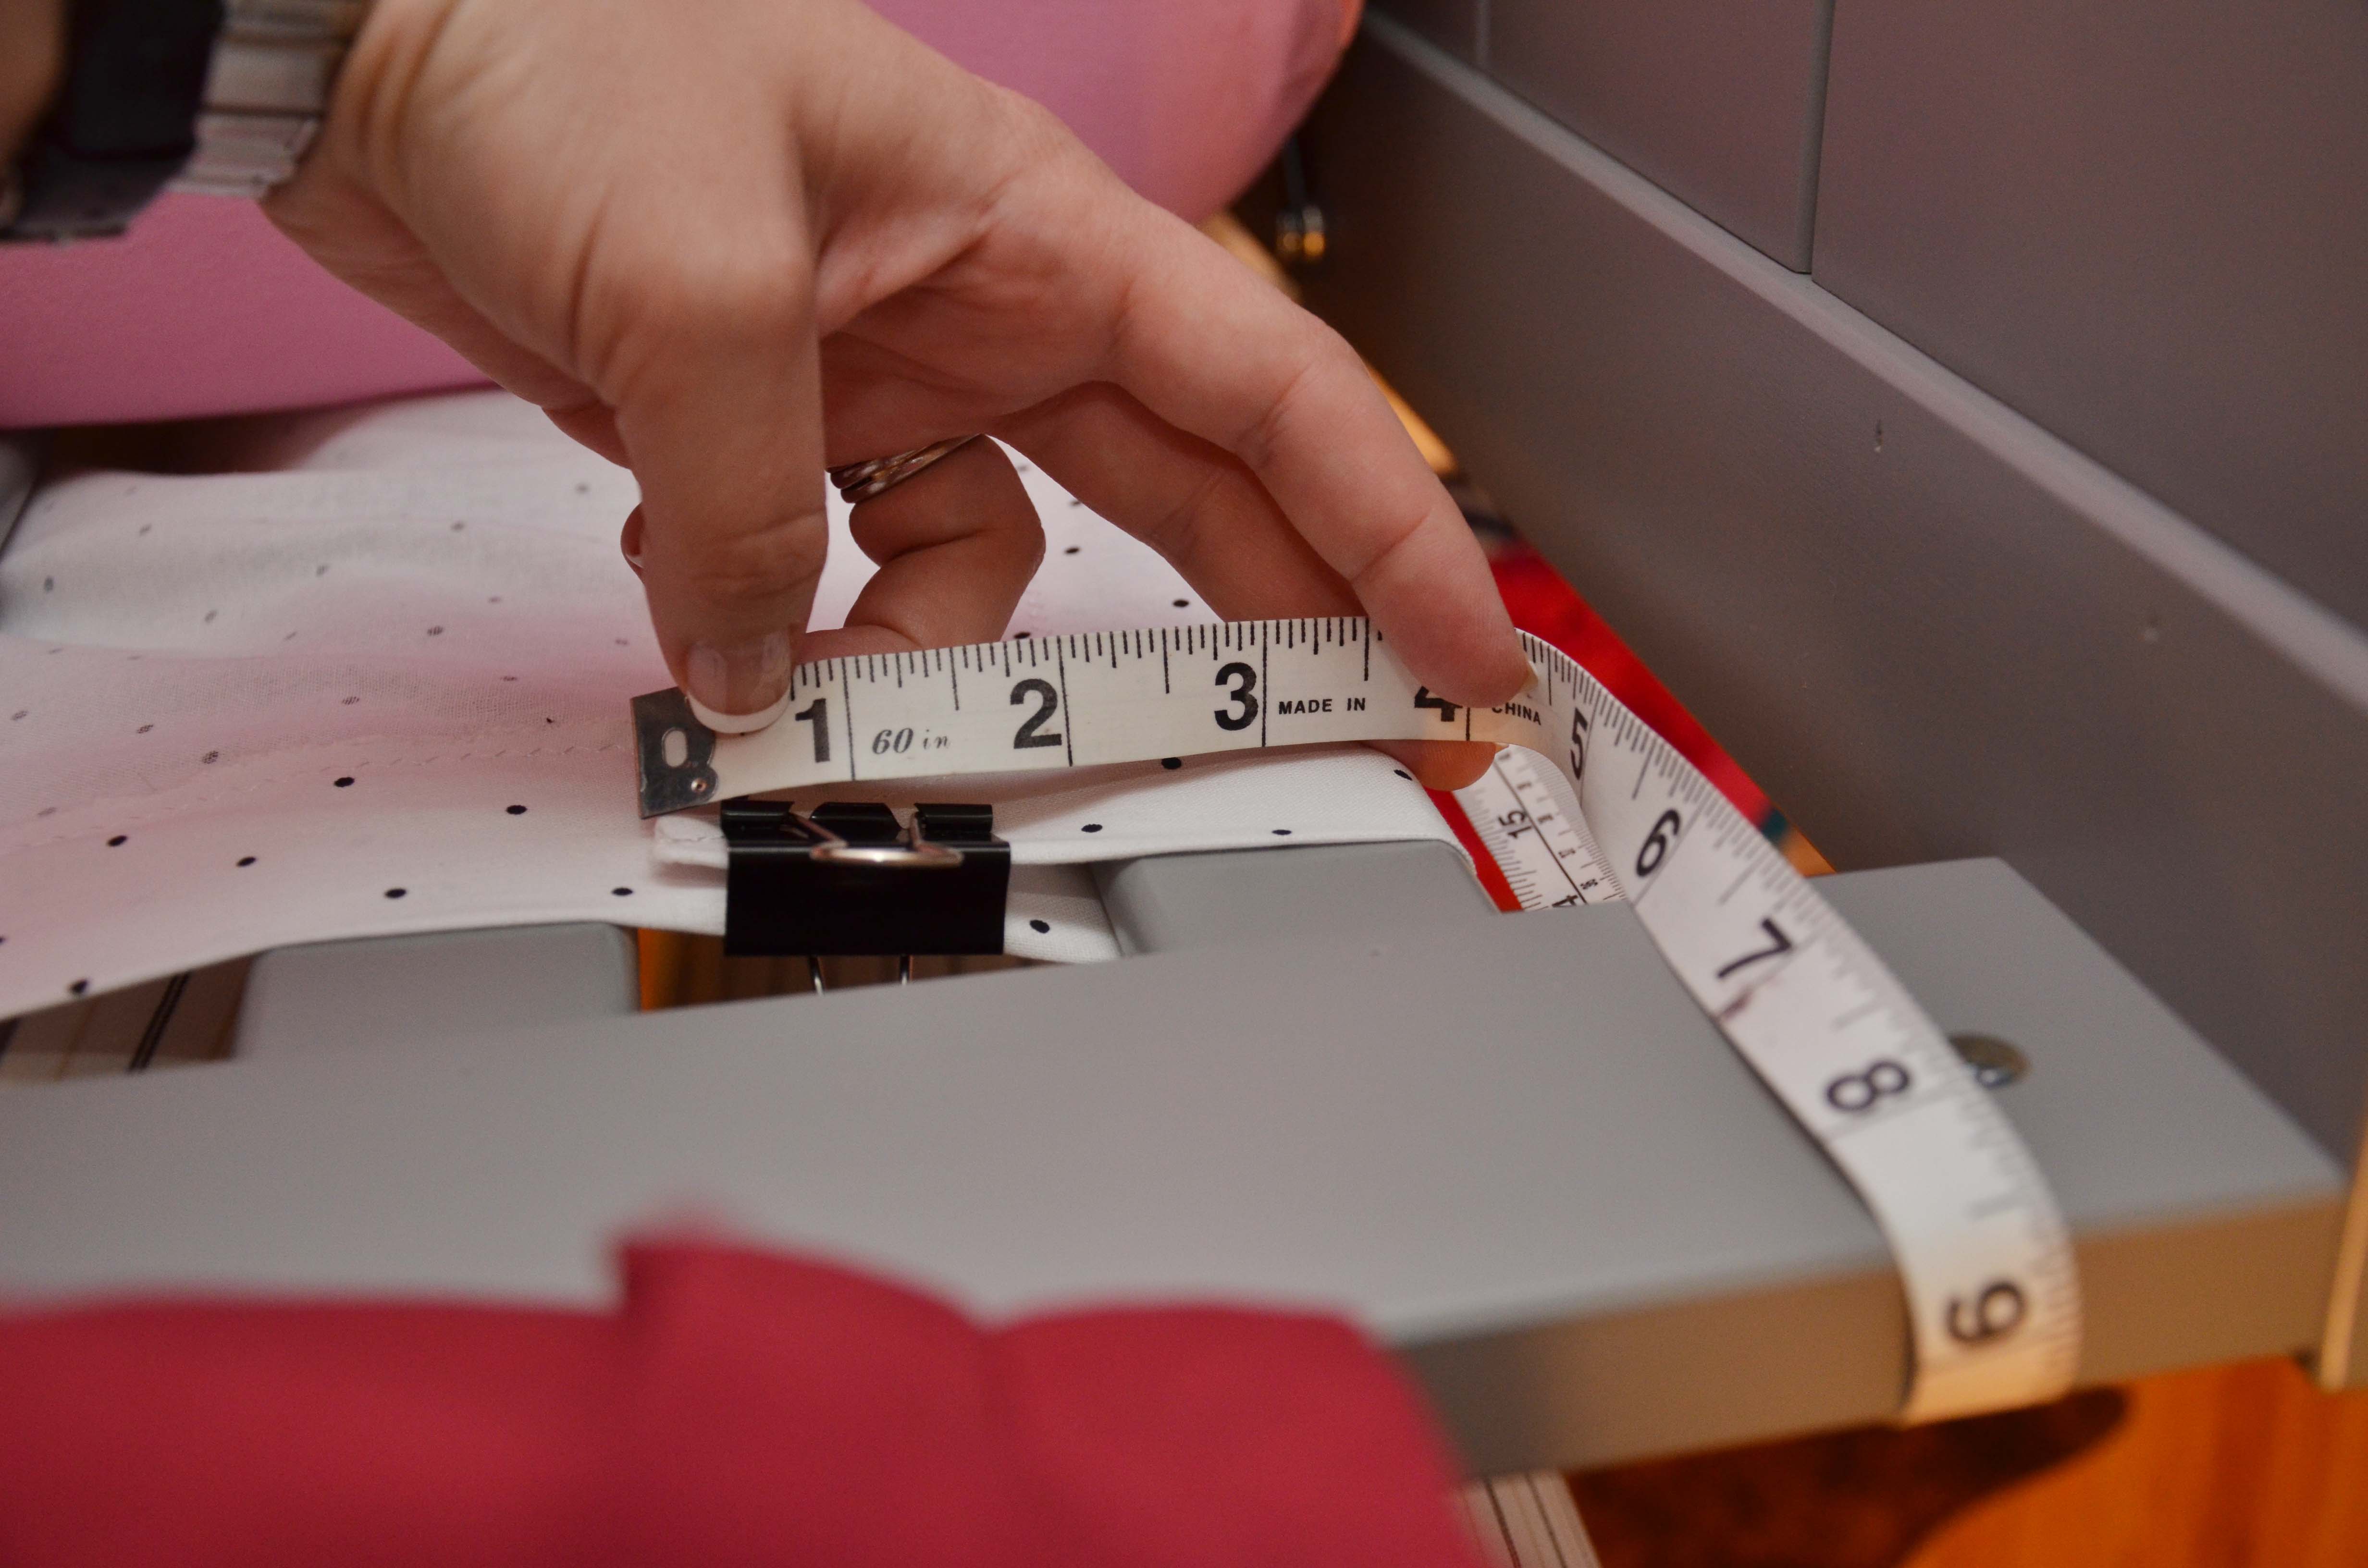
I ended up doing 3″ long pieces of velcro.
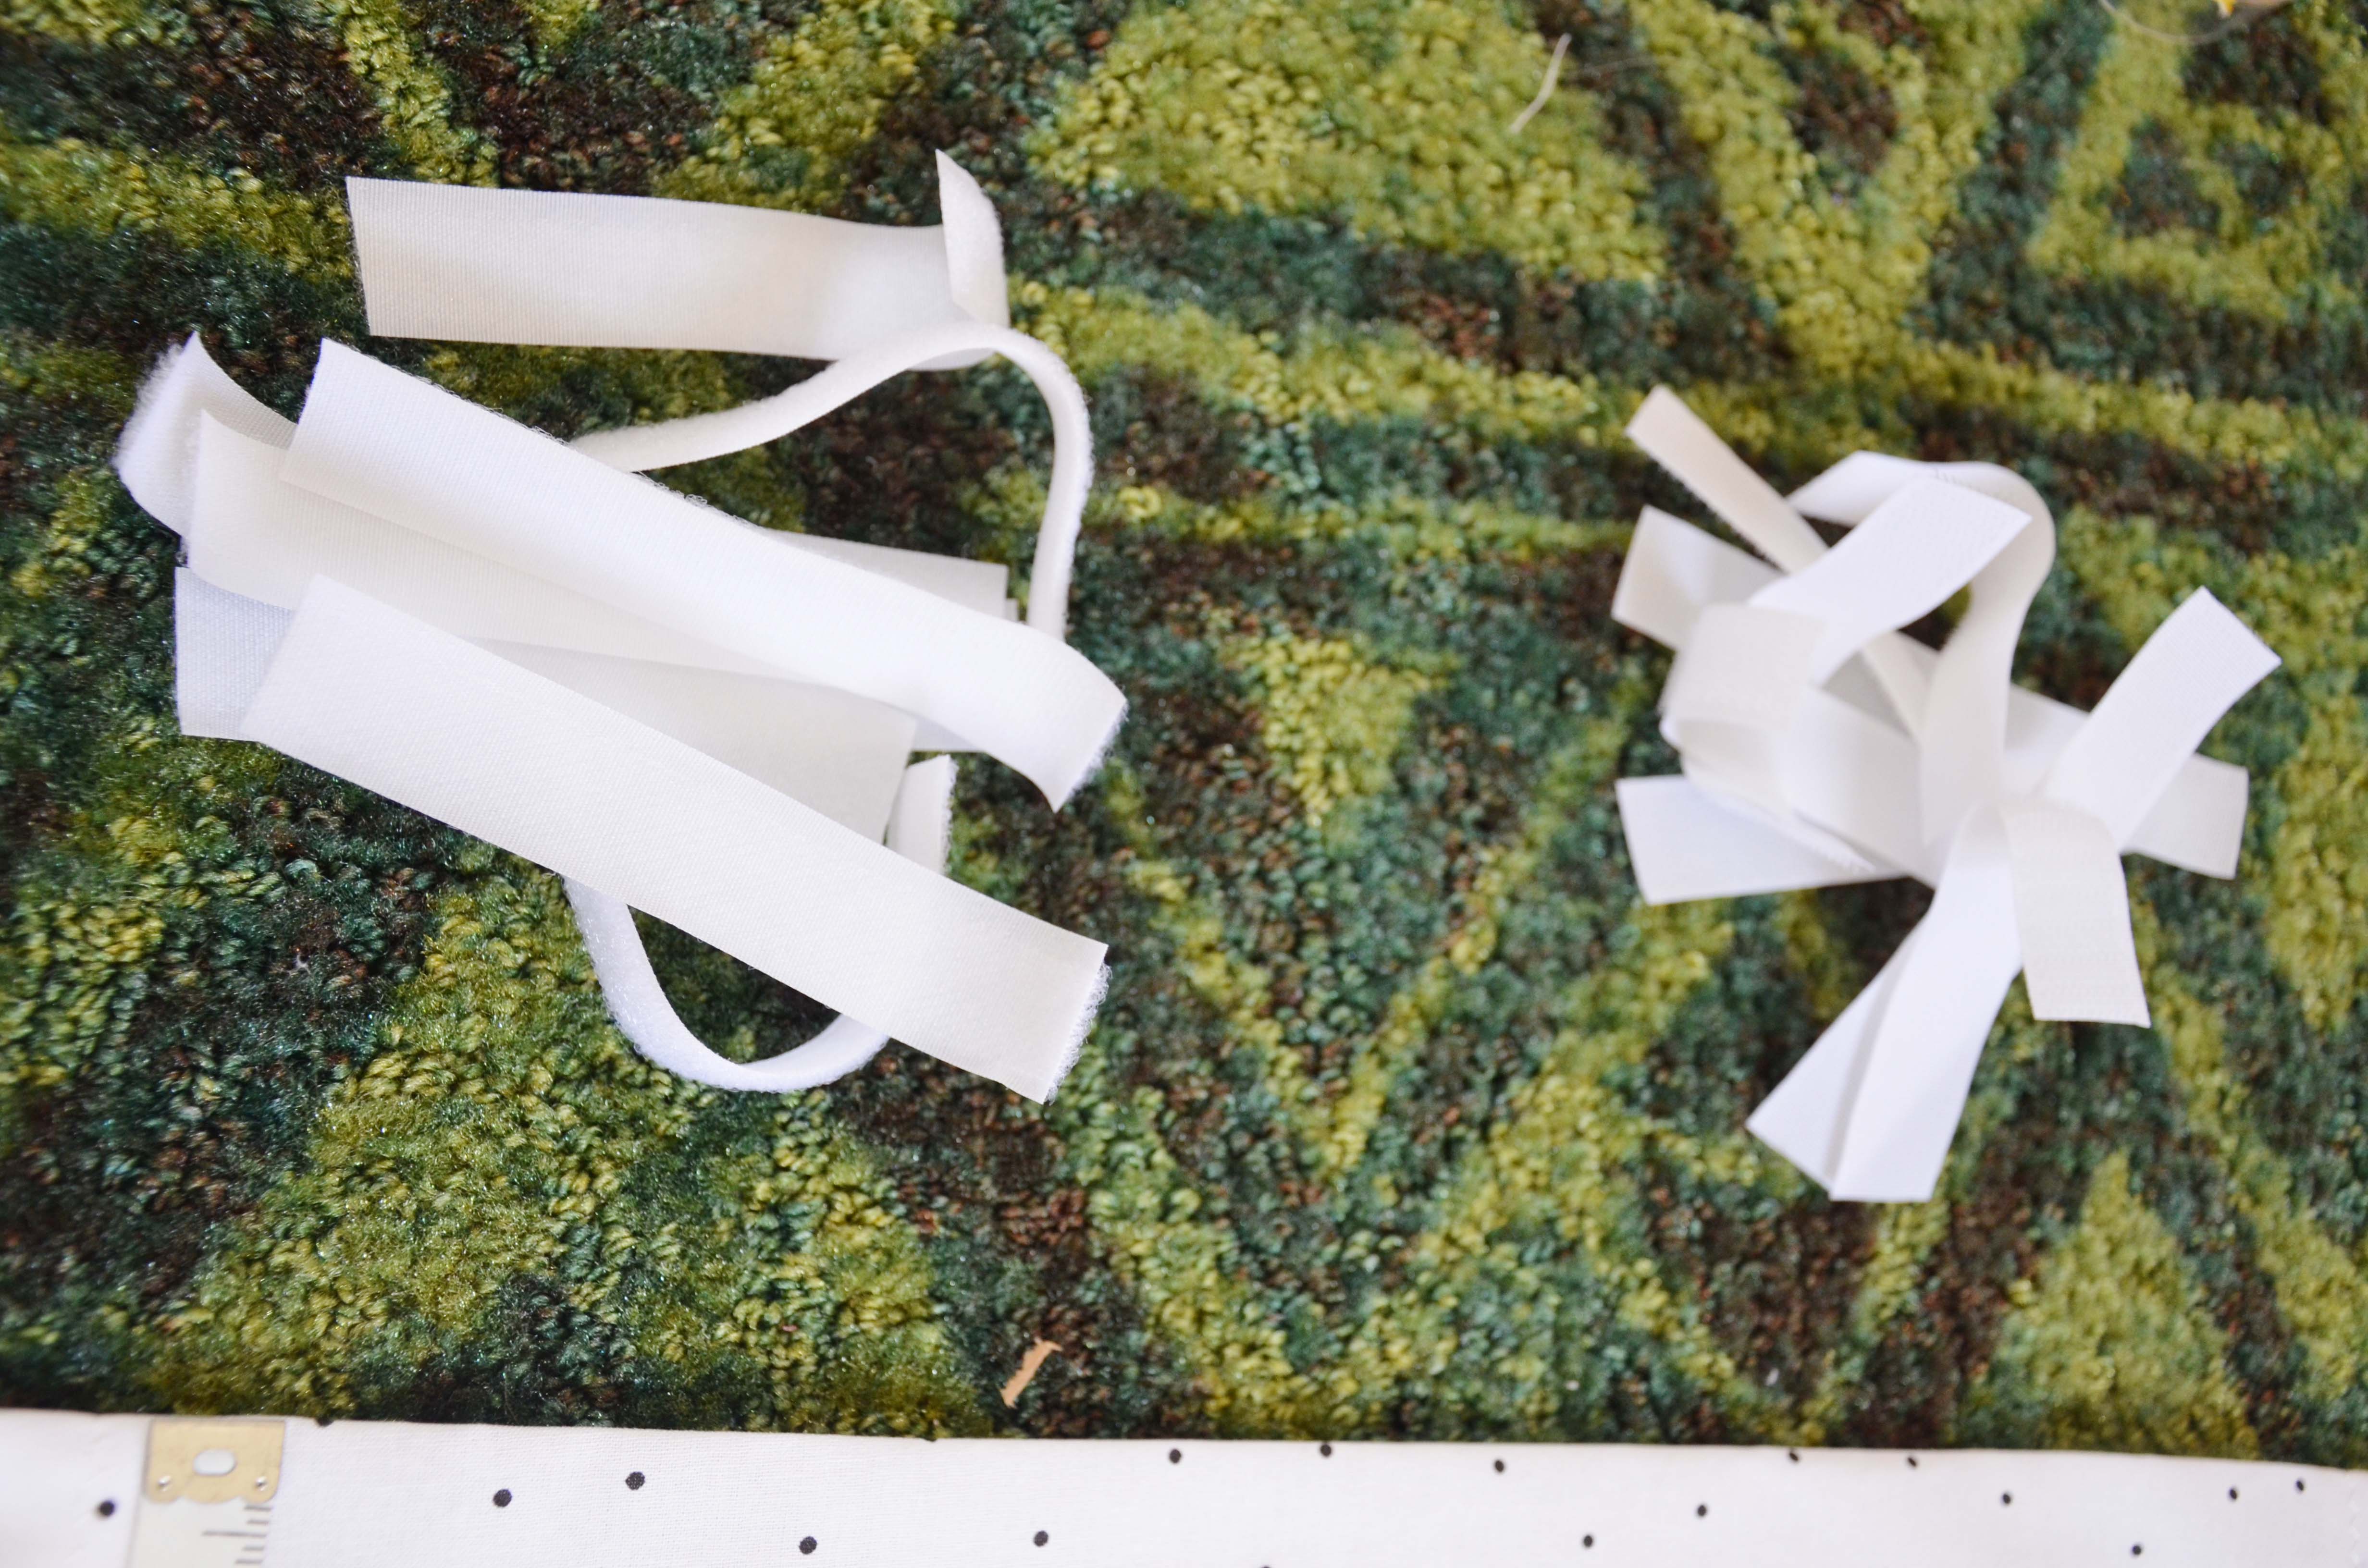
I bought 1 yard of the 3/4″ white velcro at Hobby Lobby, and it ended up being perfect for both of the panels. You can always use a different size. LINK HERE

So I did the Hook portion first, followed by the loop portion. I moved them in a tiny bit from the edge so it wouldn’t be sticking out and scratch Reese.
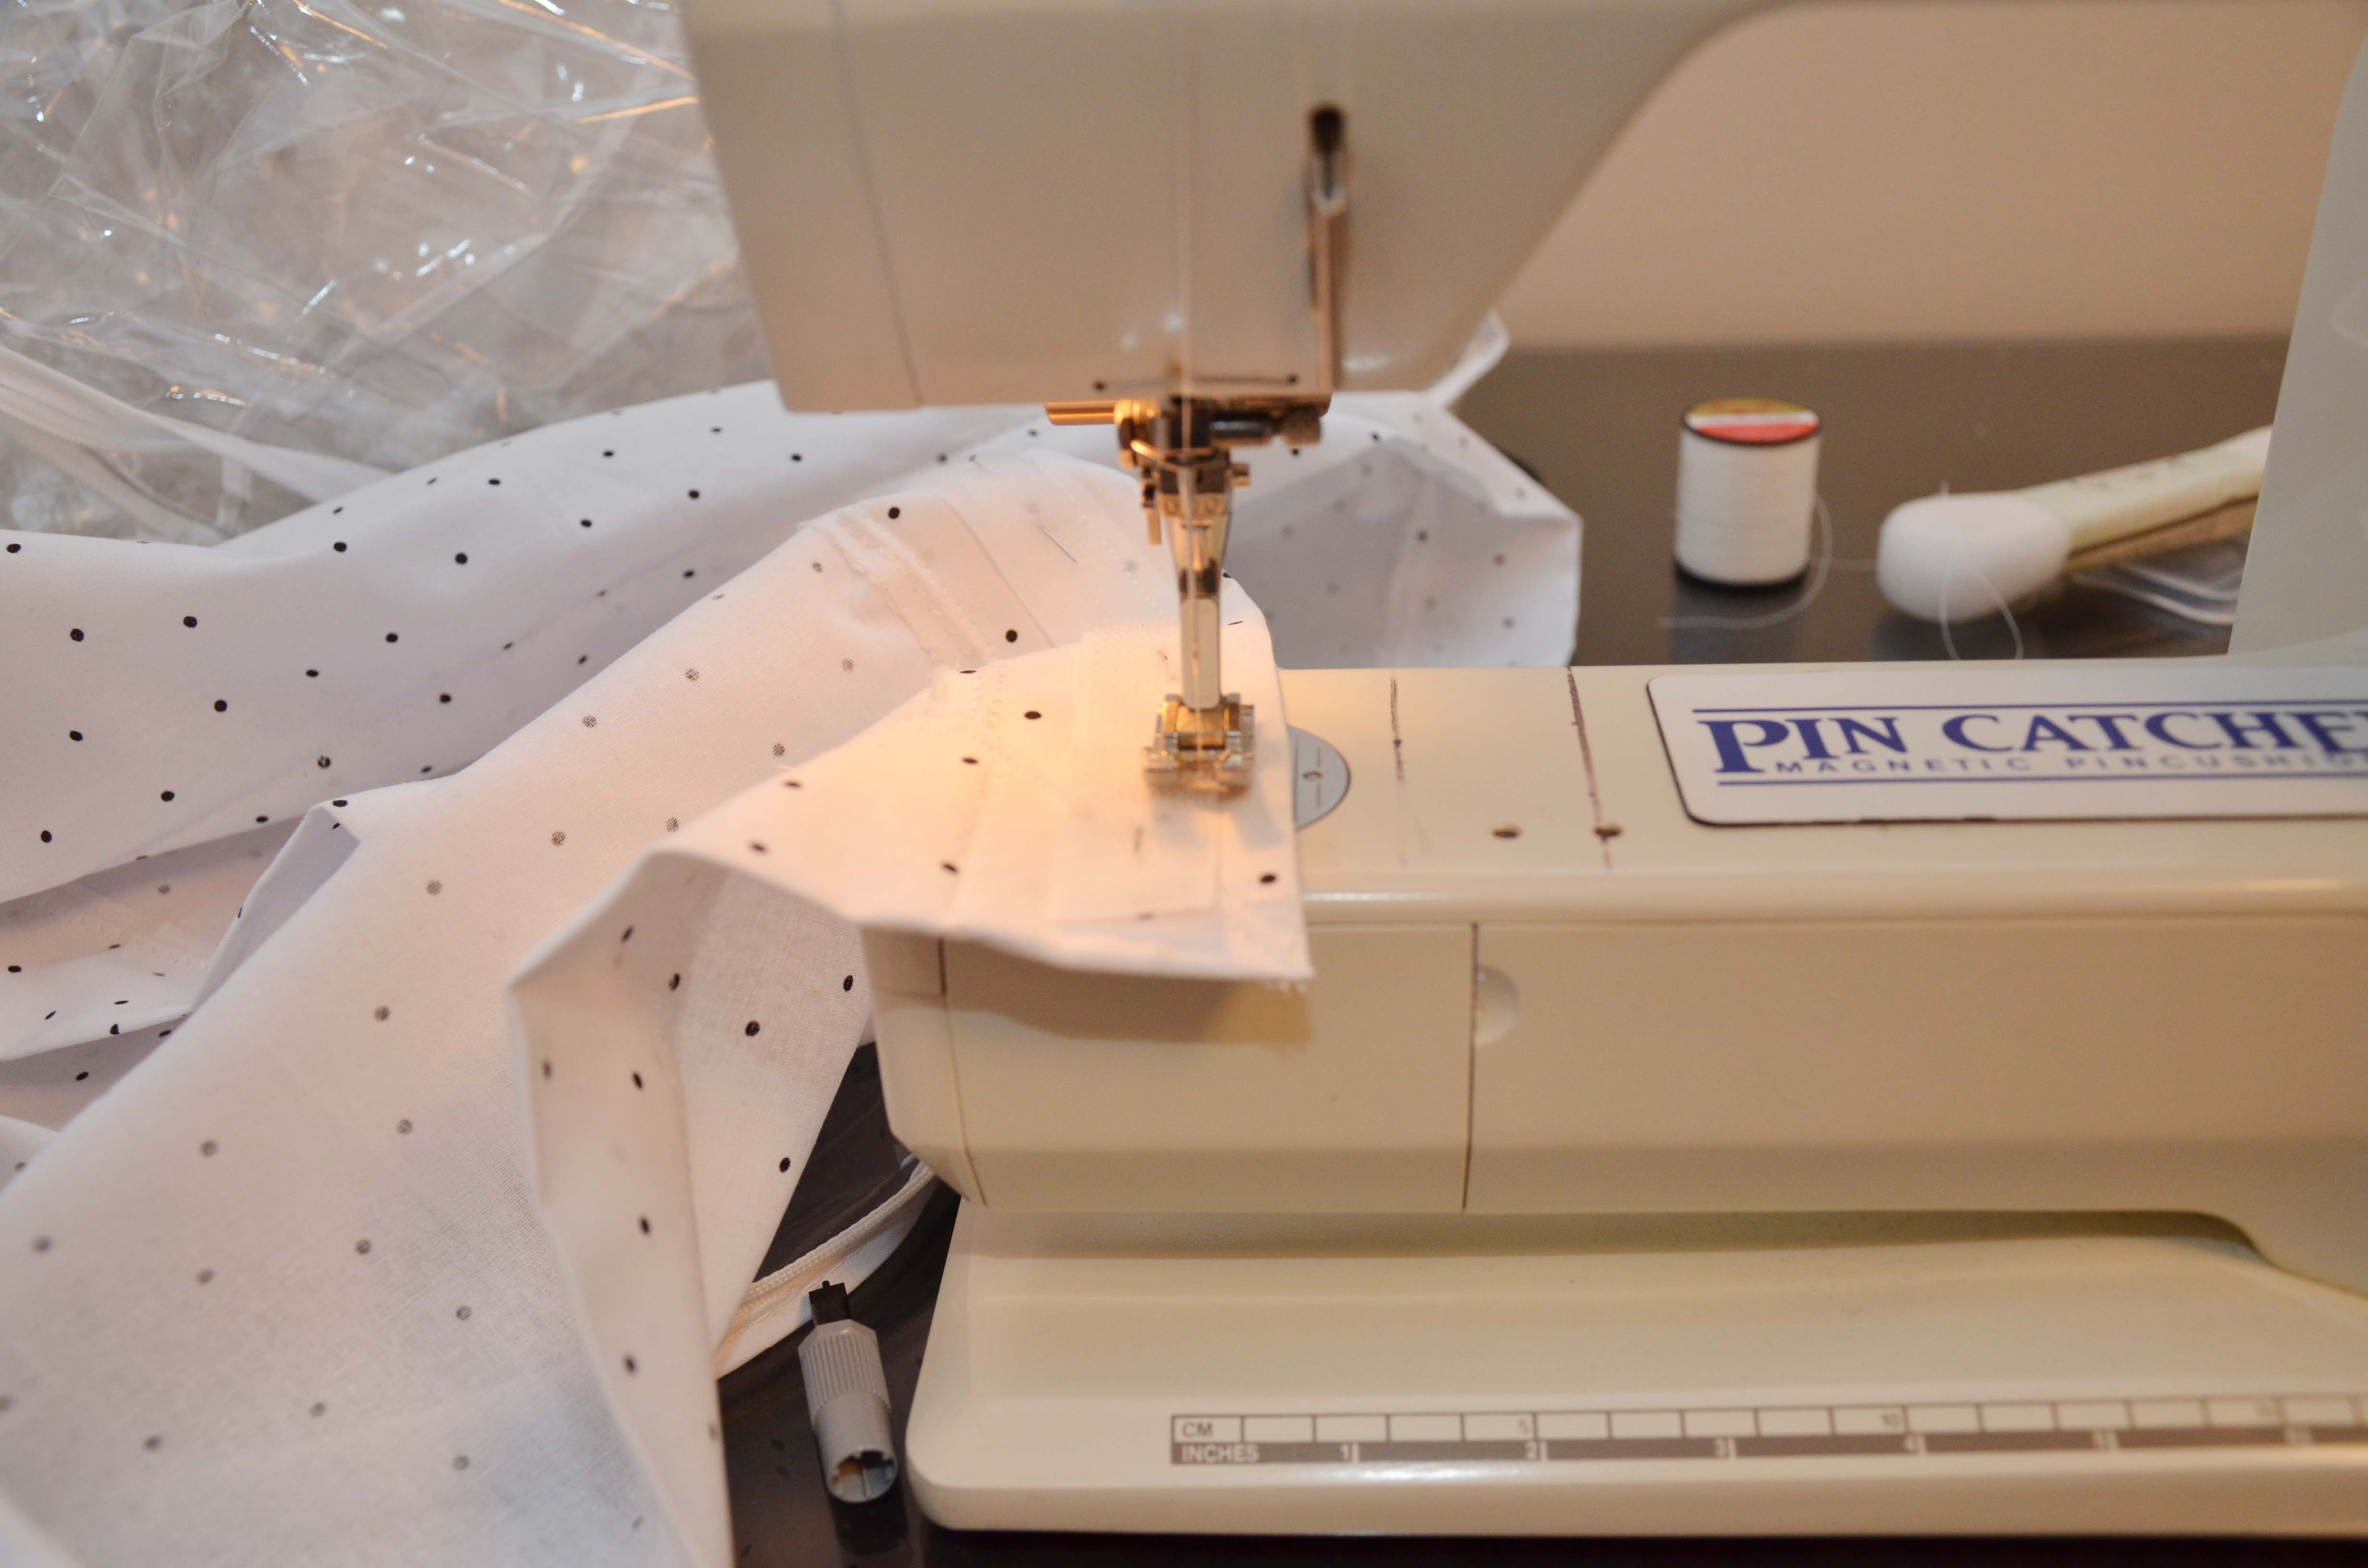
Then pin and sew them on.
As you can see, I sewed the perimeter of the velcro, and one time across the middle. You could always do an X shape too,but for some reason I preferred this look today.
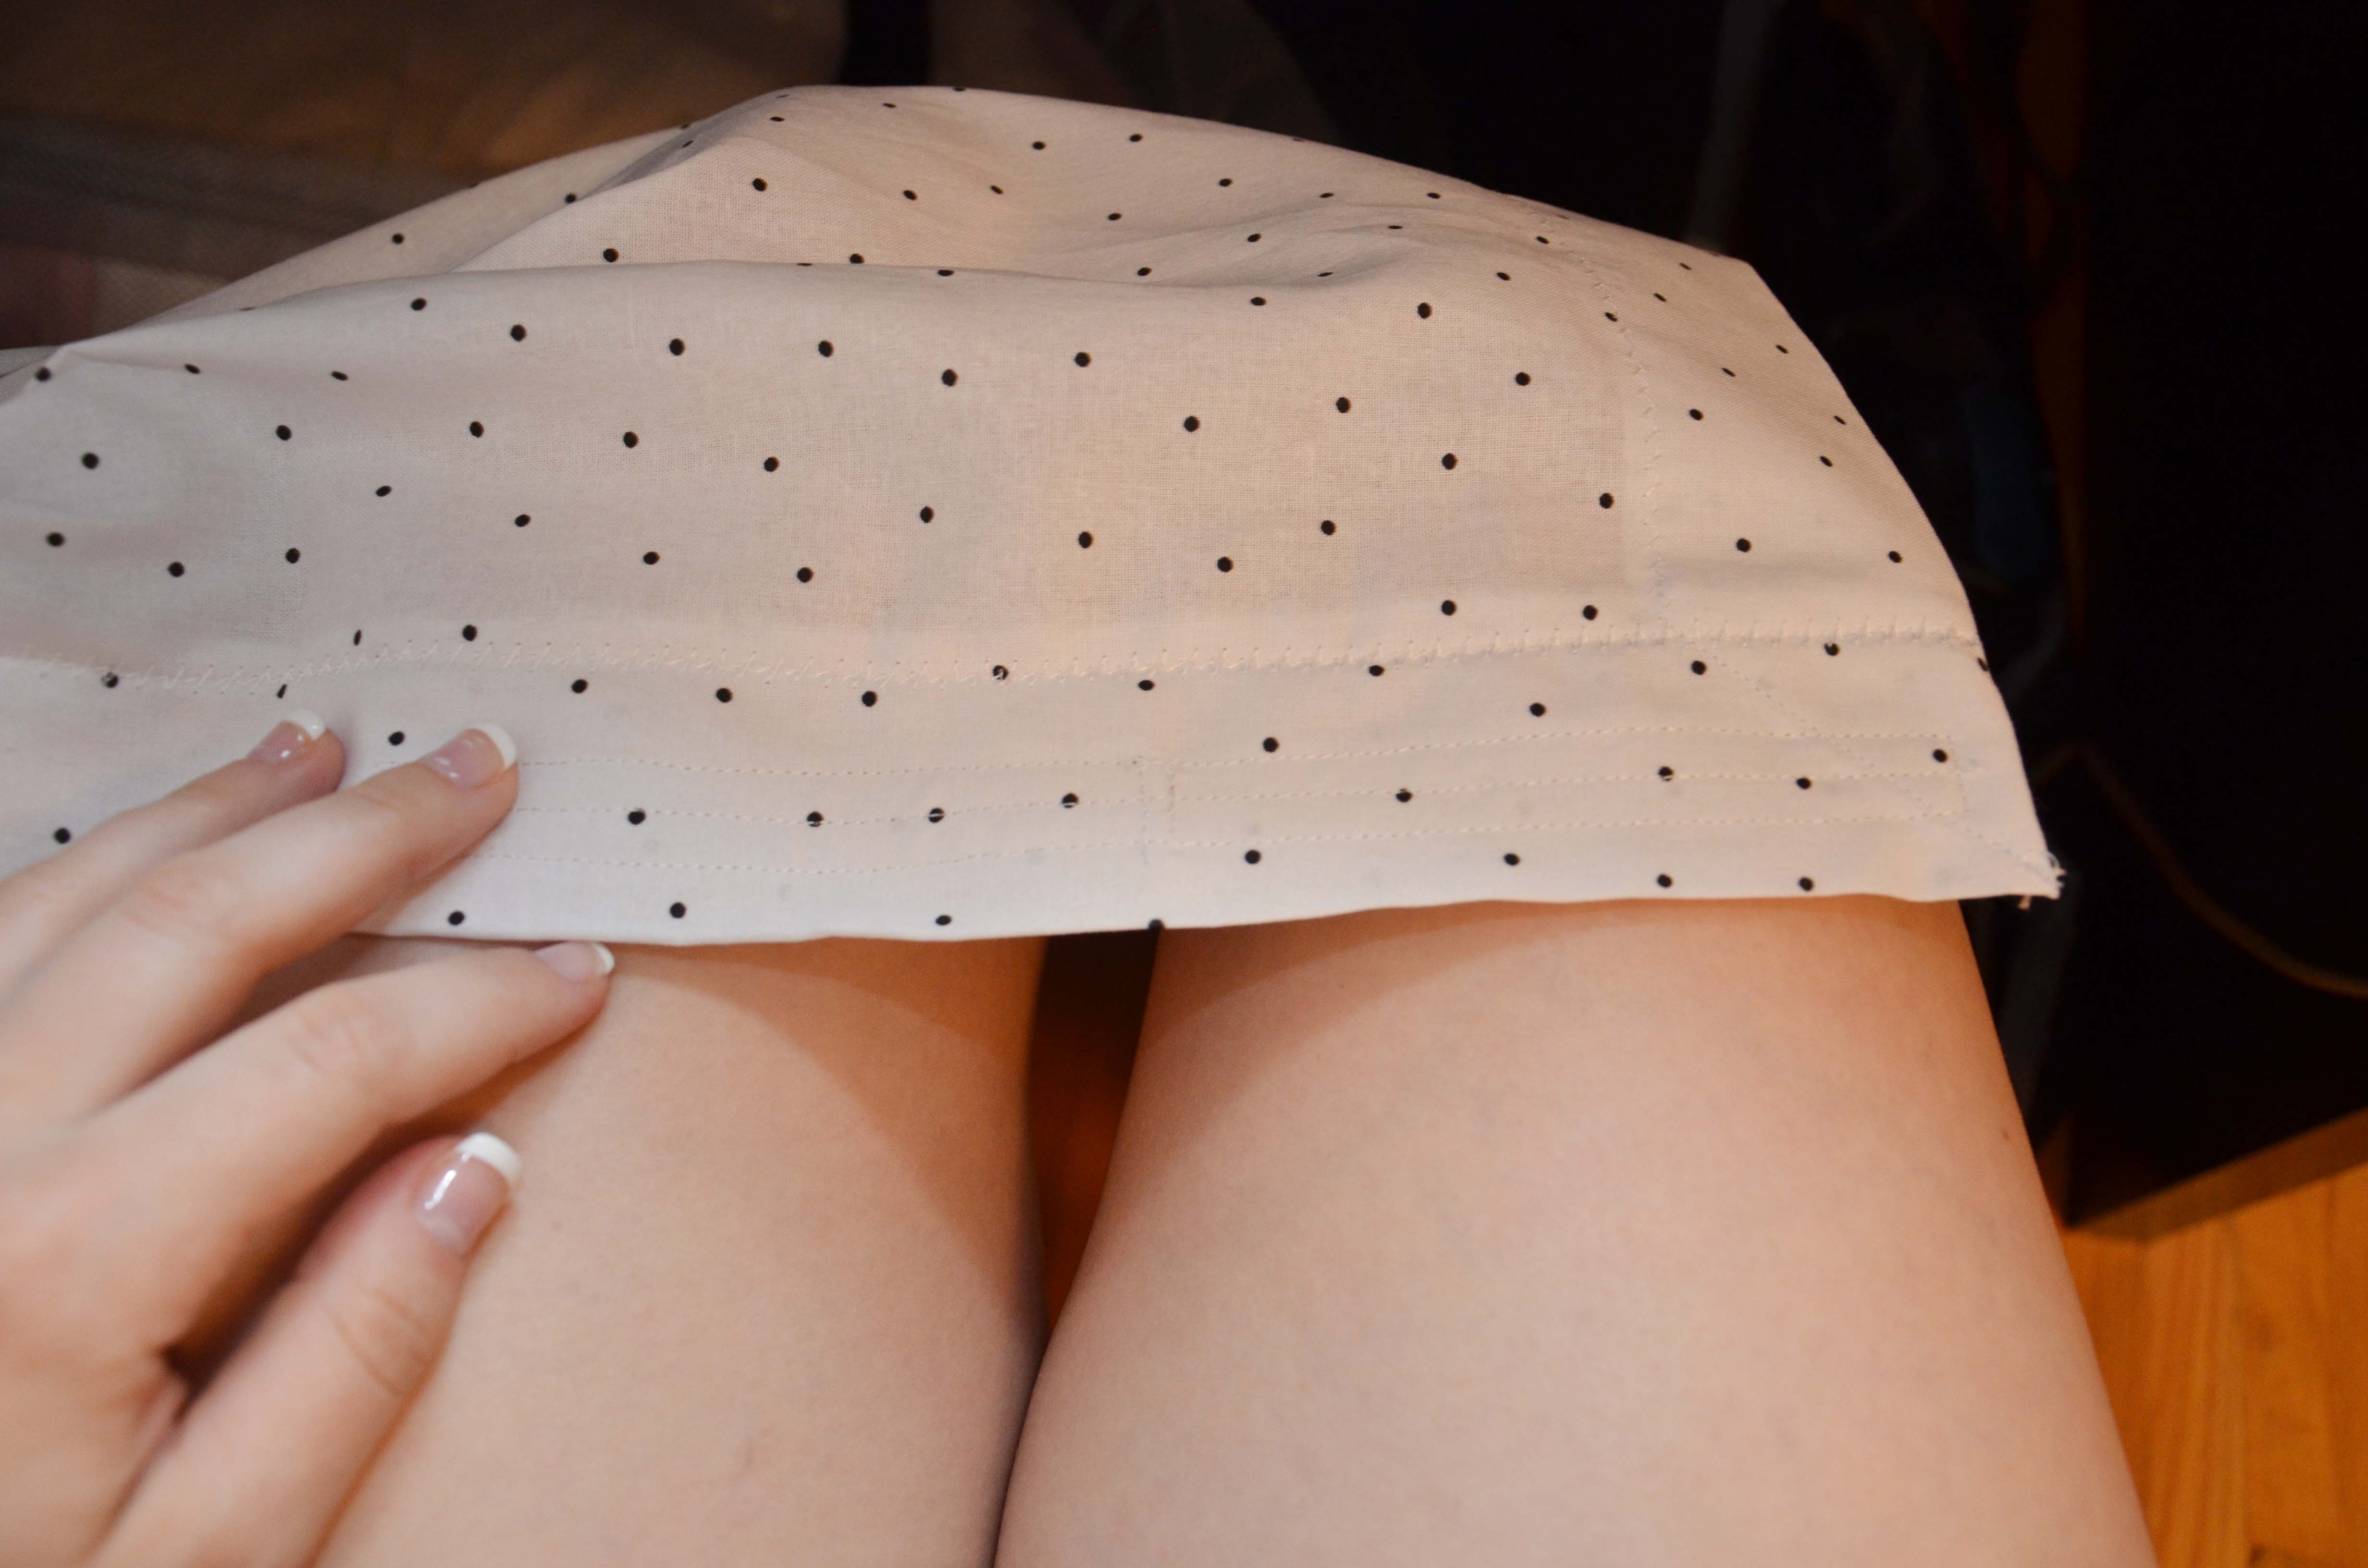
Then it was time to test it out for fit and trim all of the extra loose threads.

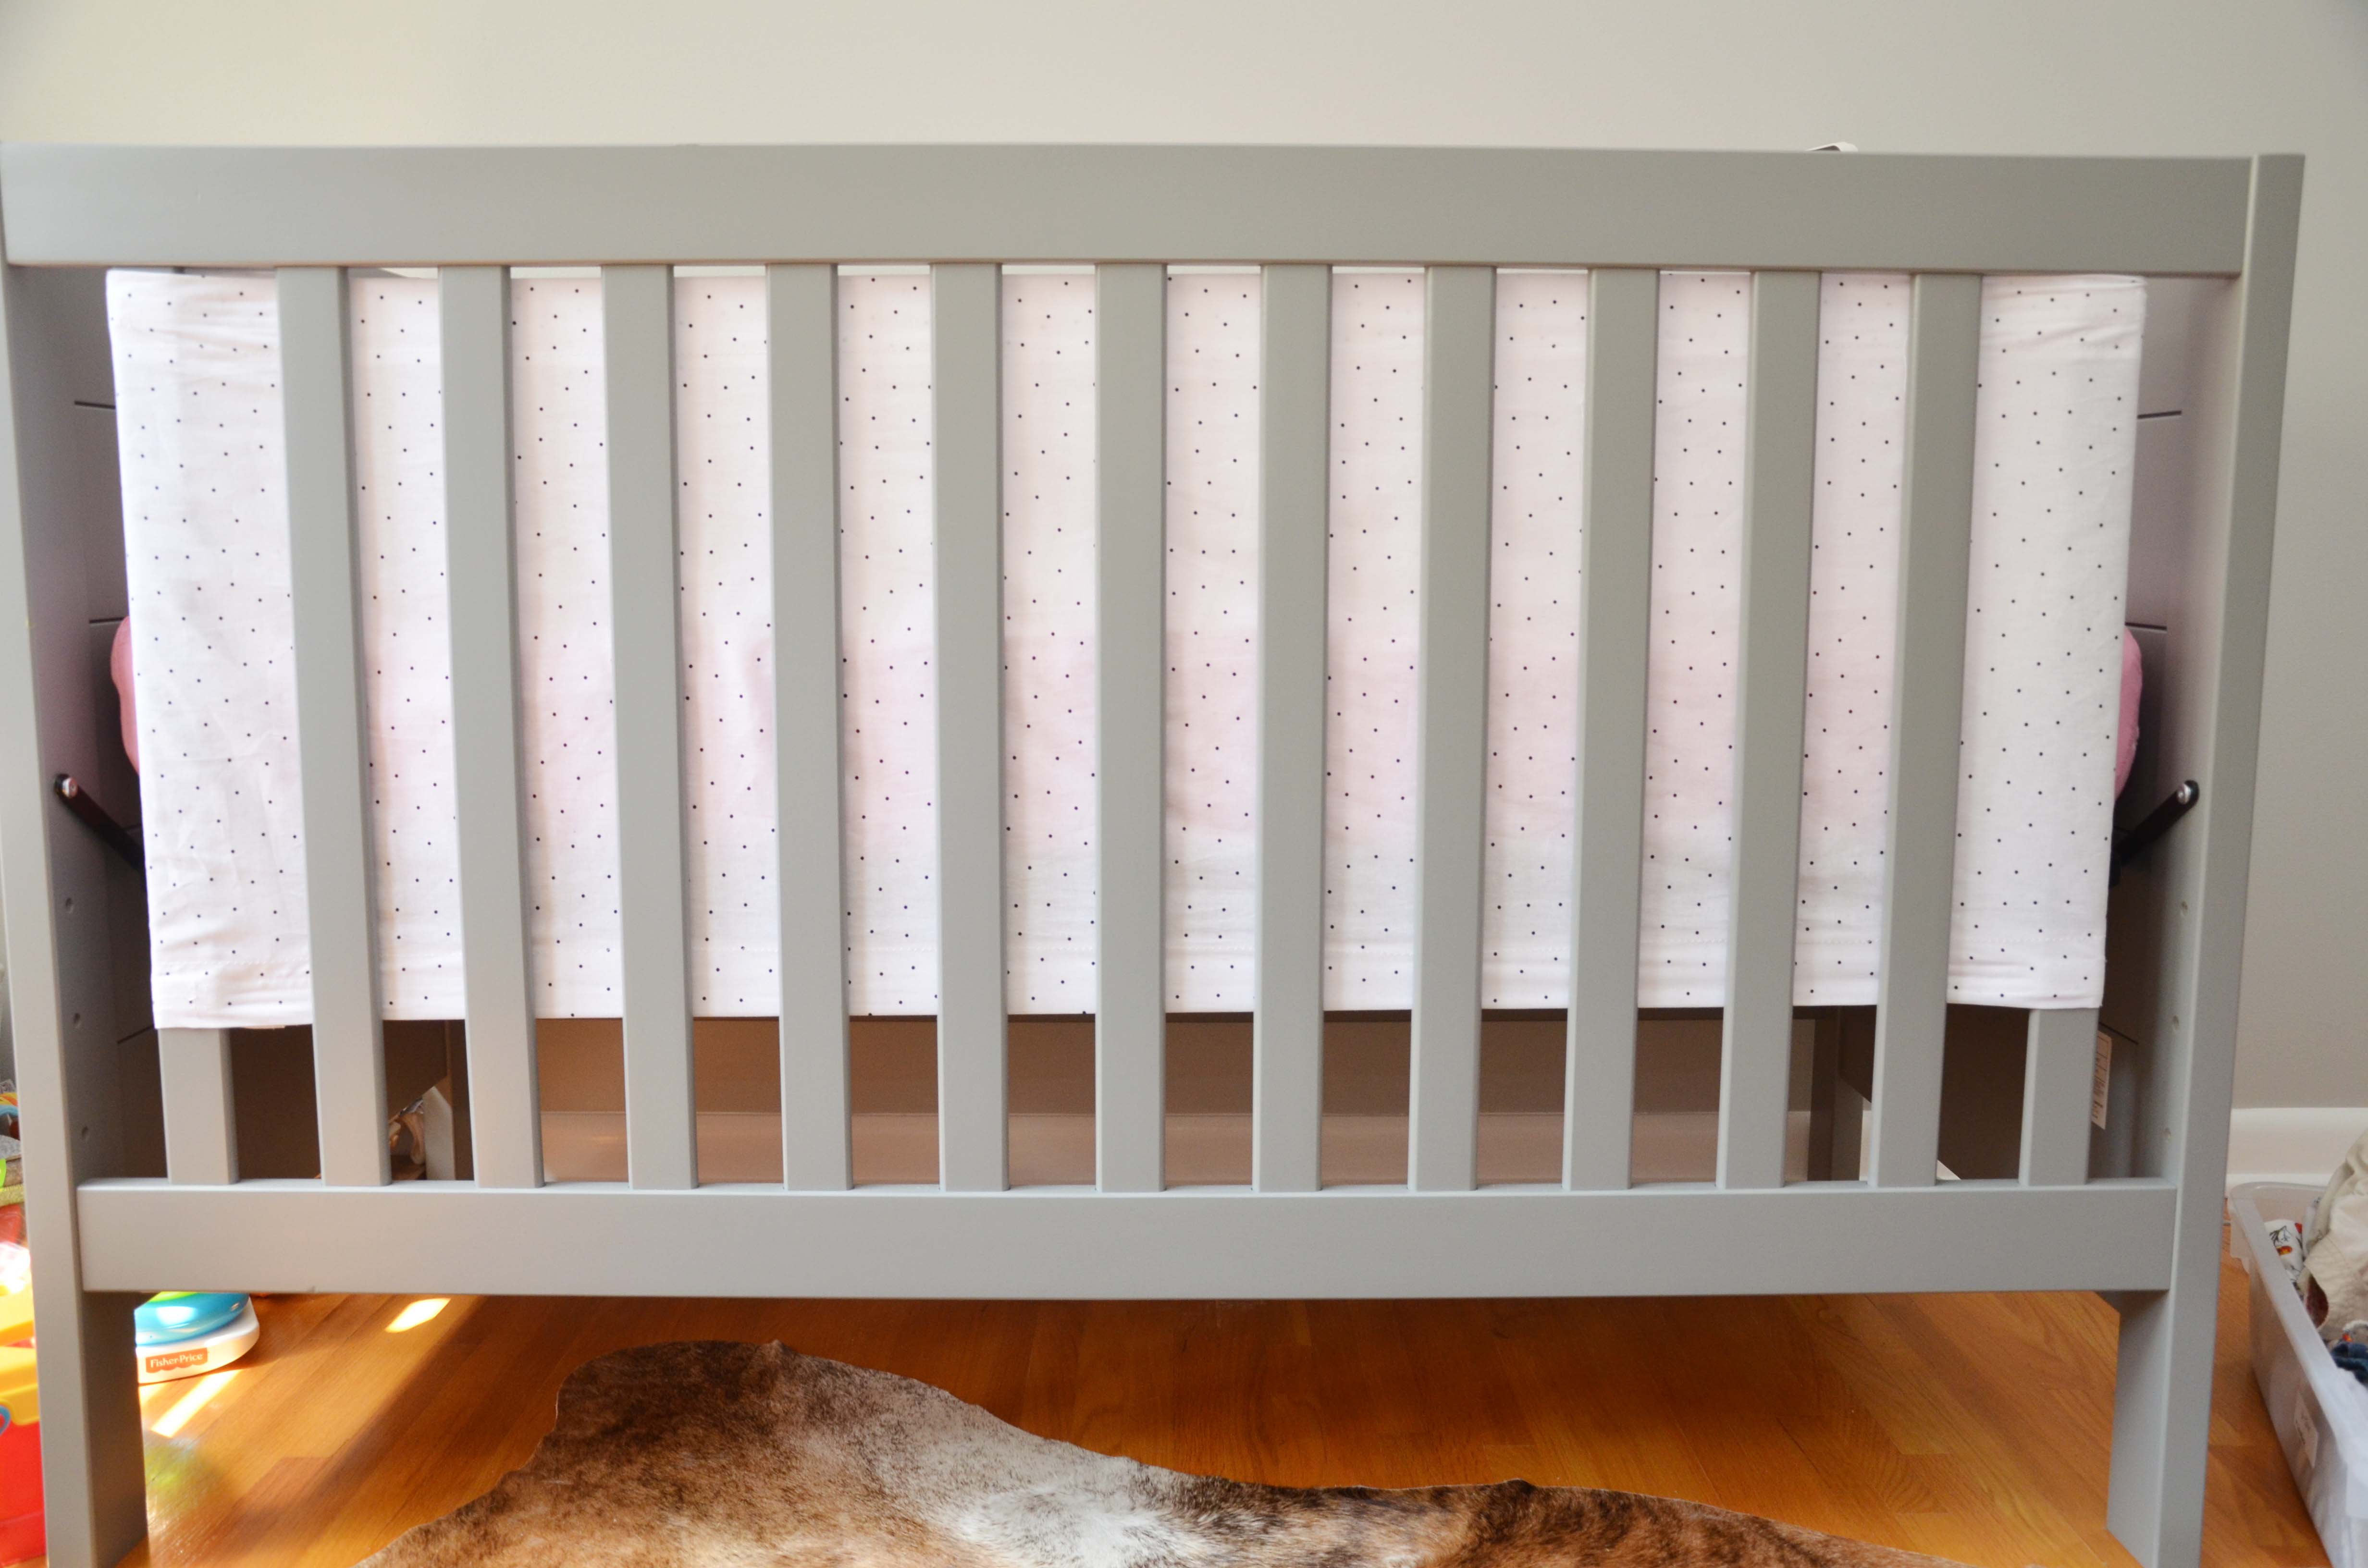
Here you can see how it overlaps on the inside, and how thin the fabric is.
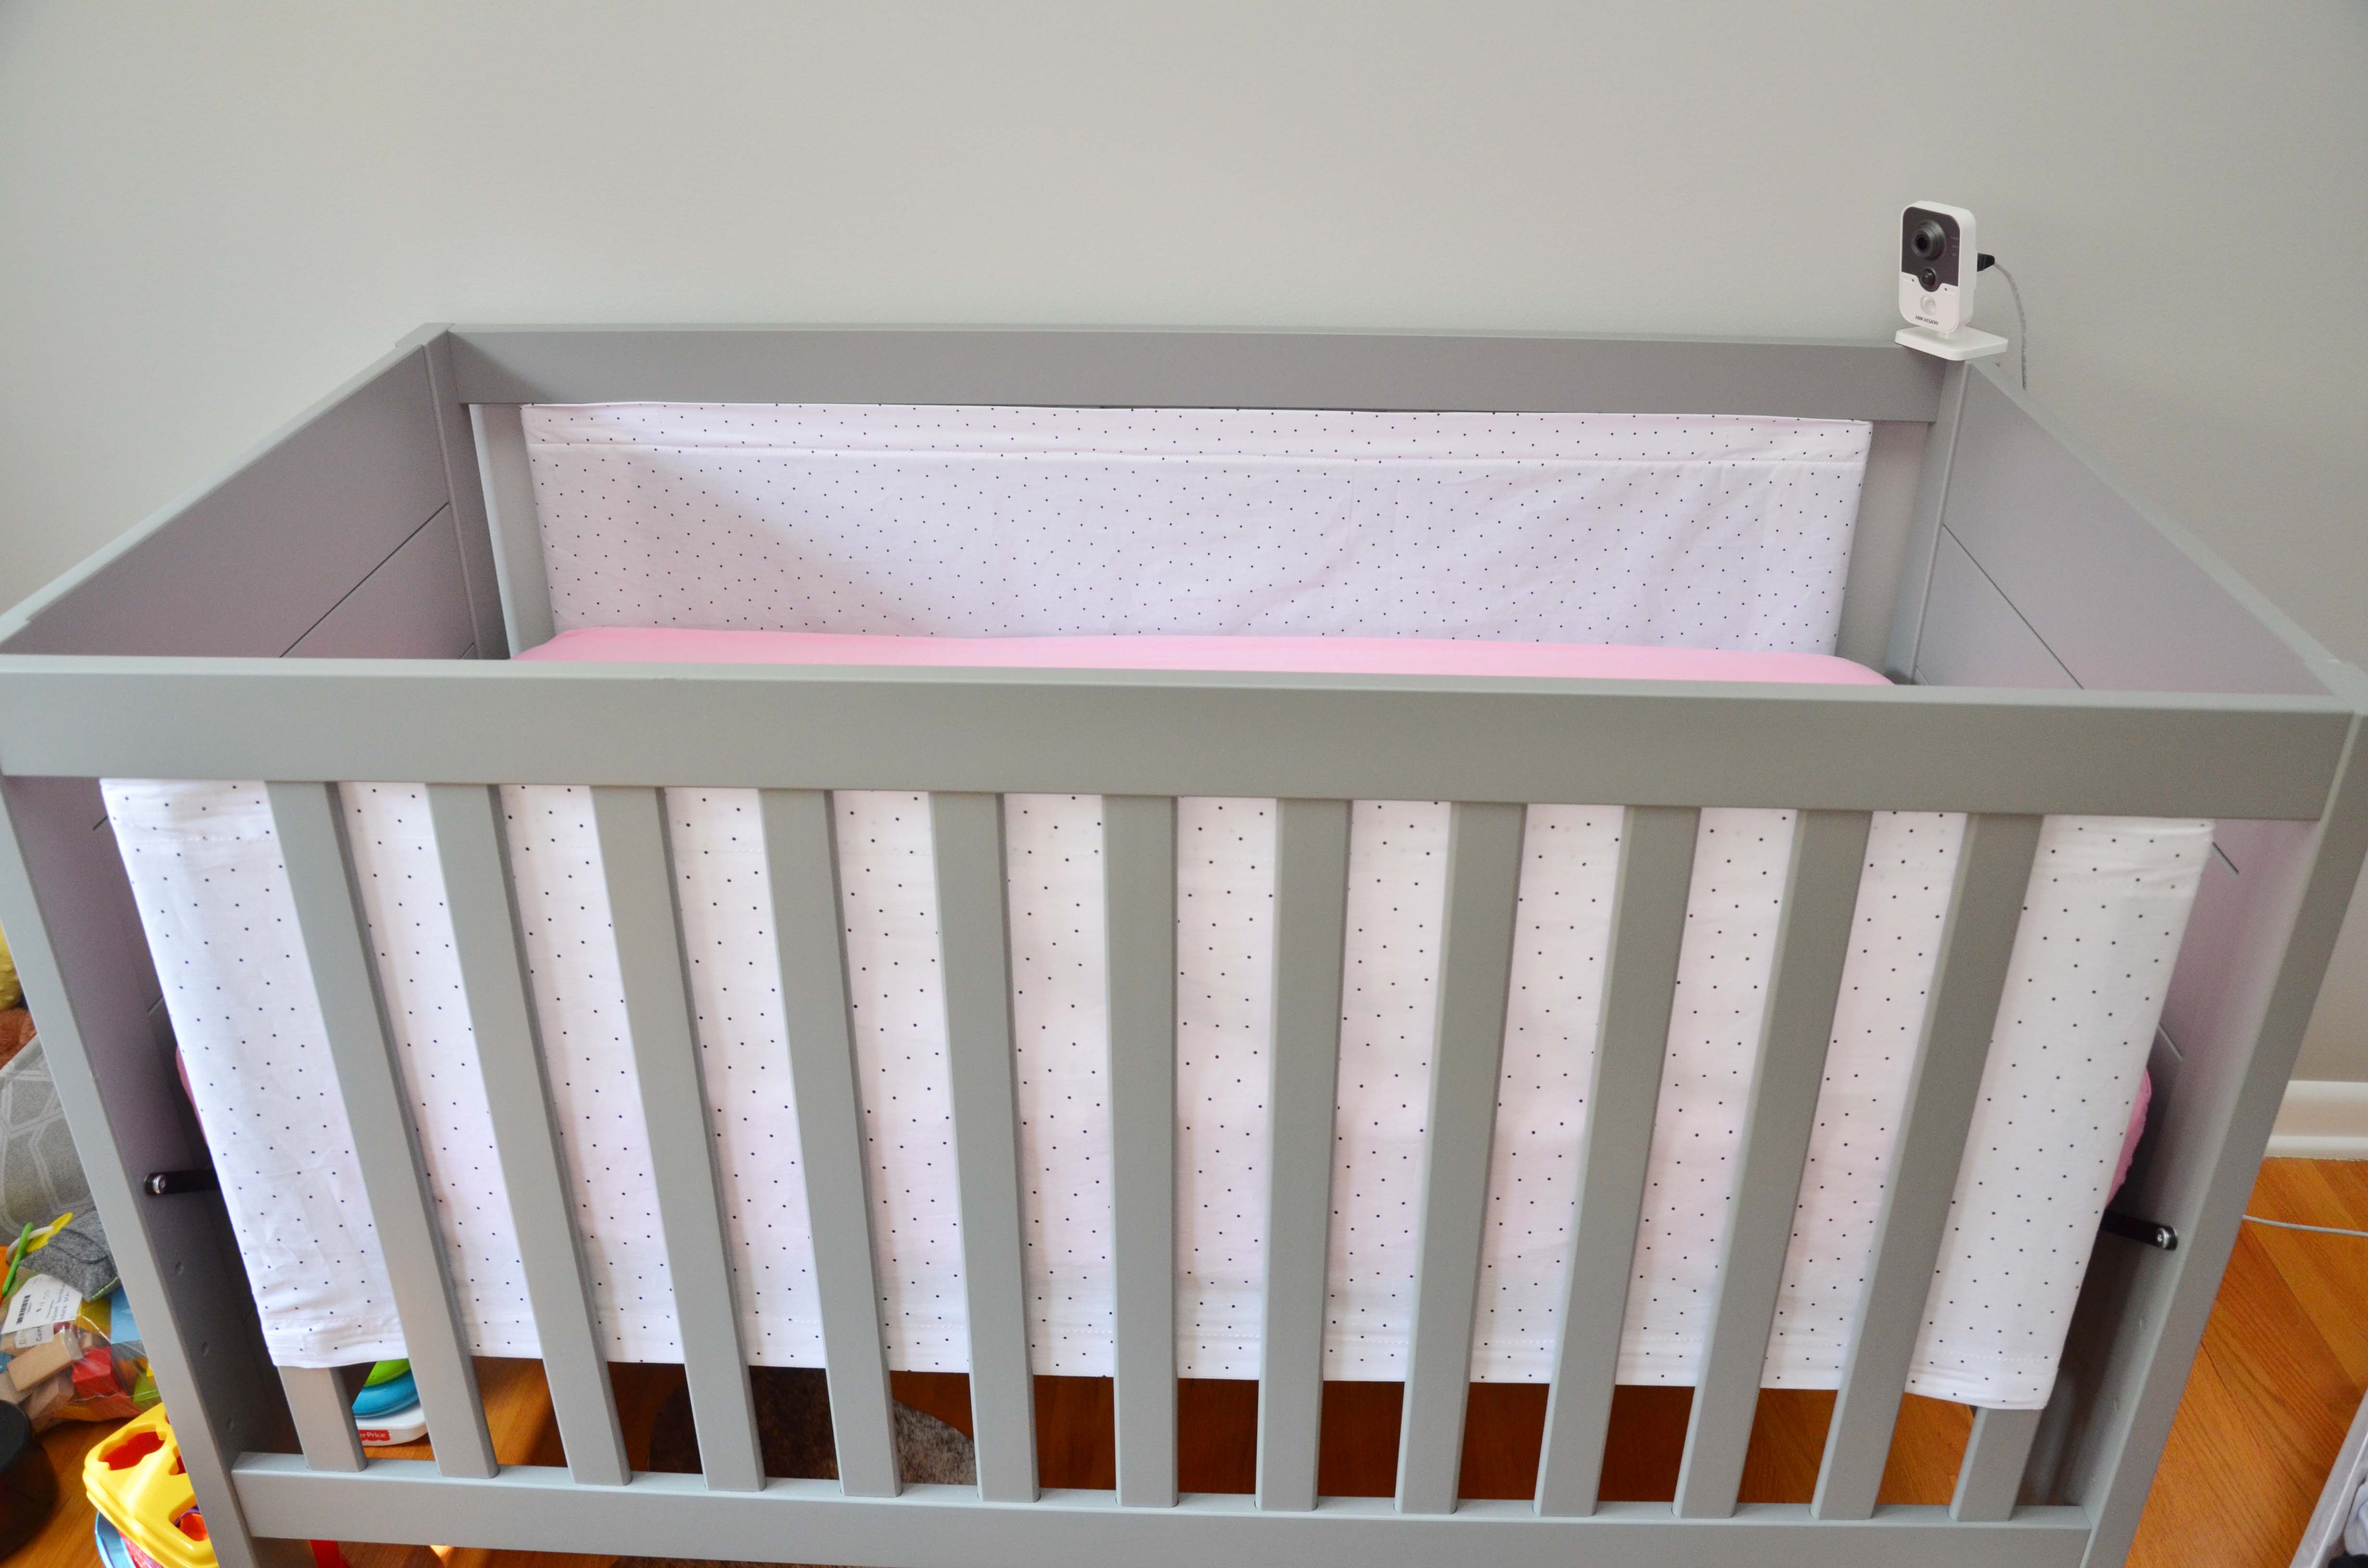
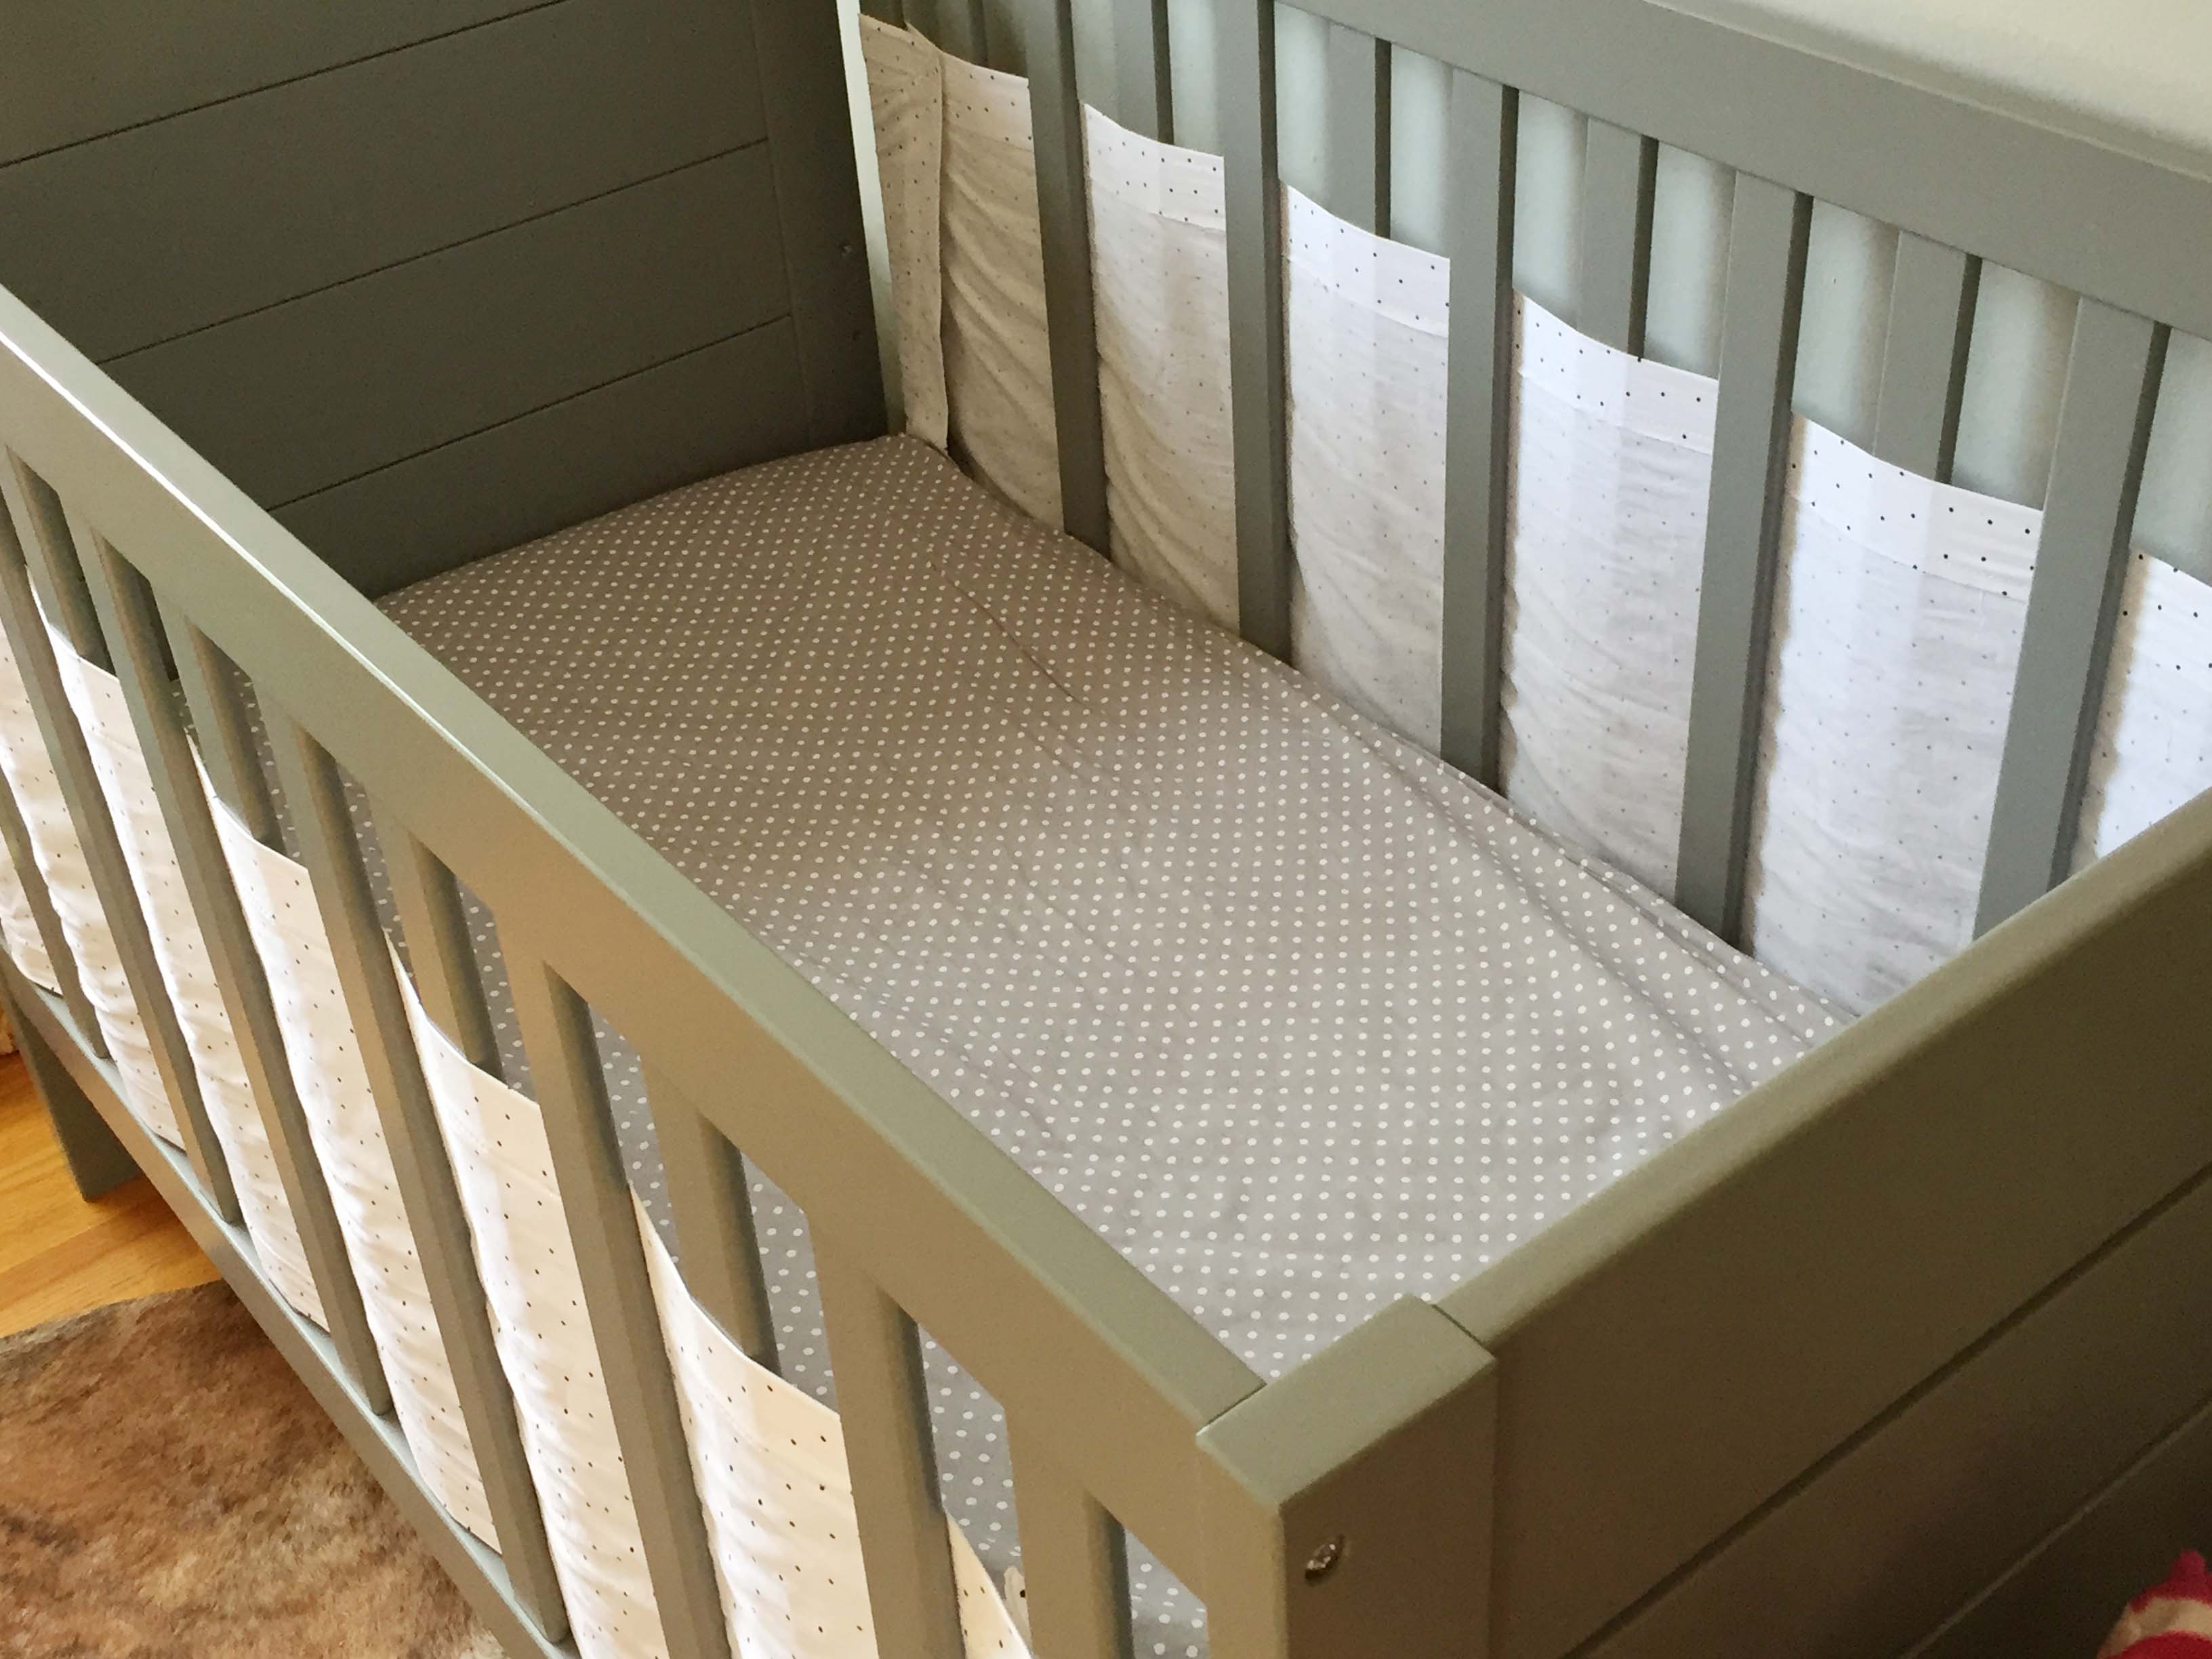
Here is her crib with both panels on.
We put these on Reese’s crib when she was 3 months old. When Reese turned 6 months old, she started playing with the panels more. So, I ended up threading them through the slats more so they are harder to pull down. I could have added ties or loops with velcro in the center, but I preferred the more streamlined look.
When Reese turned 8 months old, we retired the panels, as you can see it just turned into a daily game of ripping them down. This didn’t bother me, but it did get to the point where she didn’t need them anymore so off they went.
Please let me know if you have any questions about this, and if any of my instructions are unclear. Or do you know of a better solution of my first issue?