

A while back, I made a ton of burp cloths for the various baby showers that I attended. The tutorial can be found here. I finally have run out, so, it was time to replenish my stock. I learned a few things to make the whole process go faster. It is sad that it took me so long, but sometimes I like repetitious work over the problems solving work. Below you can see what differences that I figured out to speed out the process.
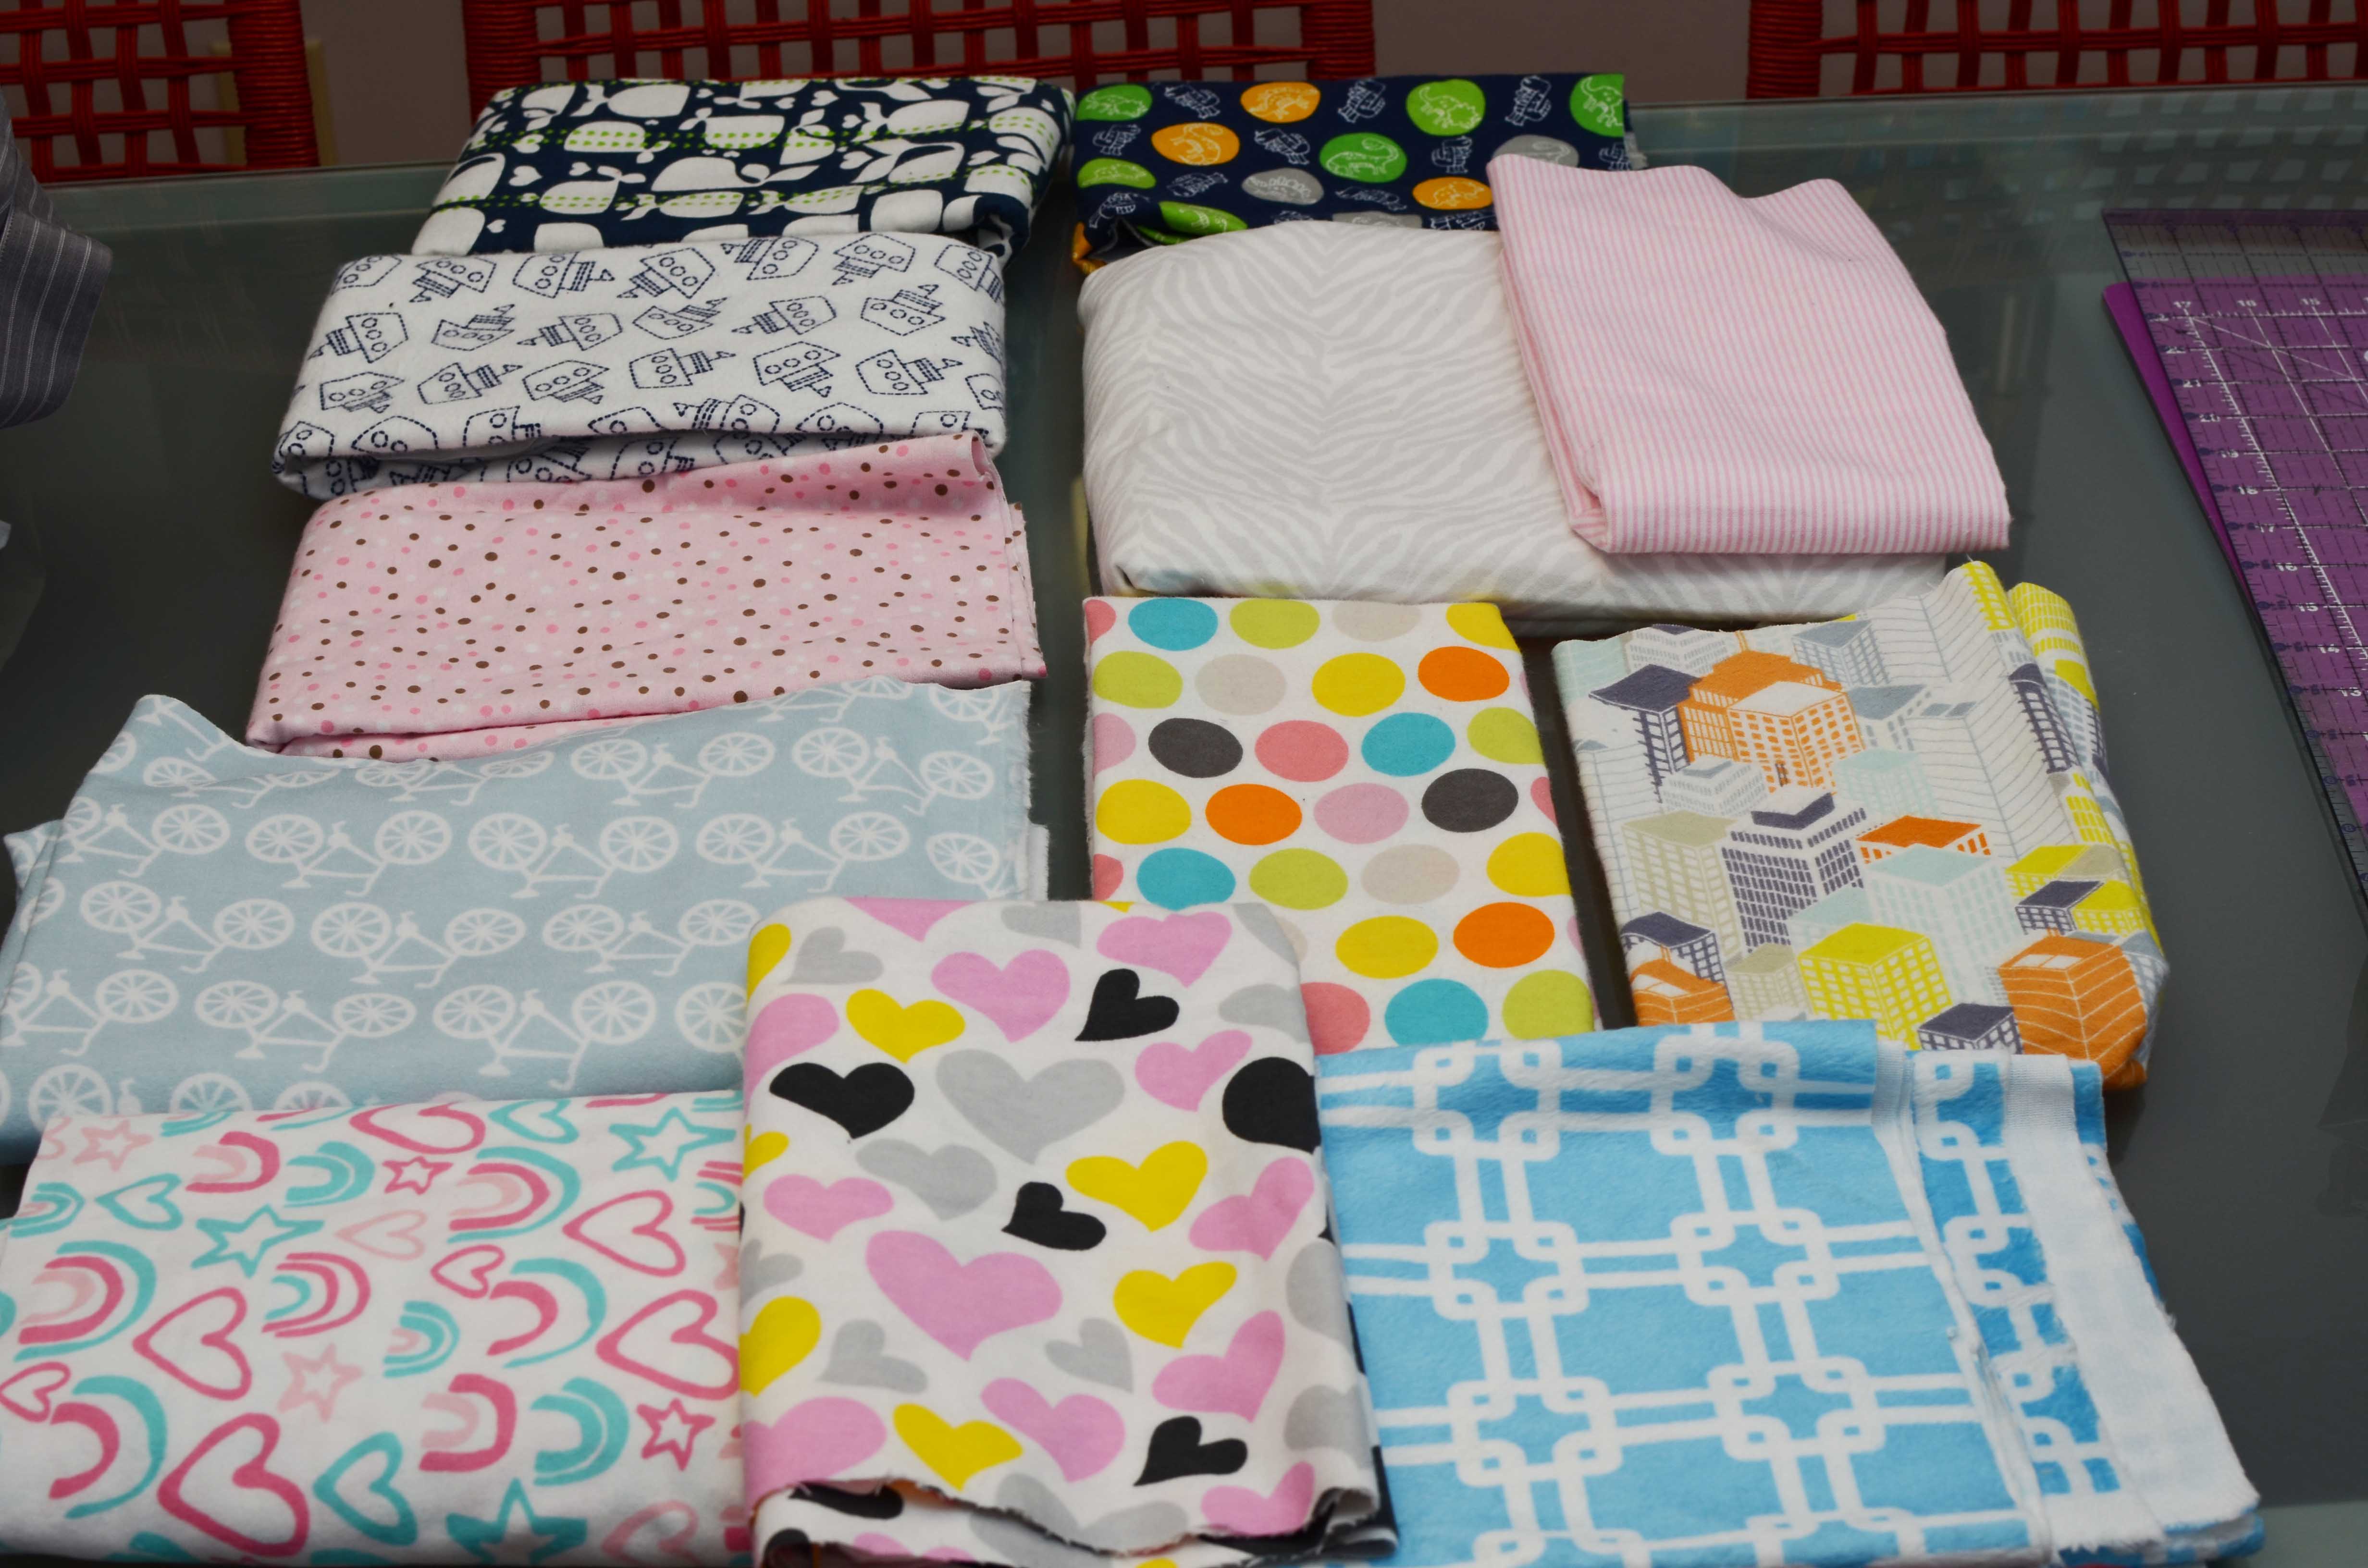 I went to JoAnn’s during their sale and bought a bunch of clearance fabric with a 20% off my whole order coupon which made all of this fabric a lot more affordable.
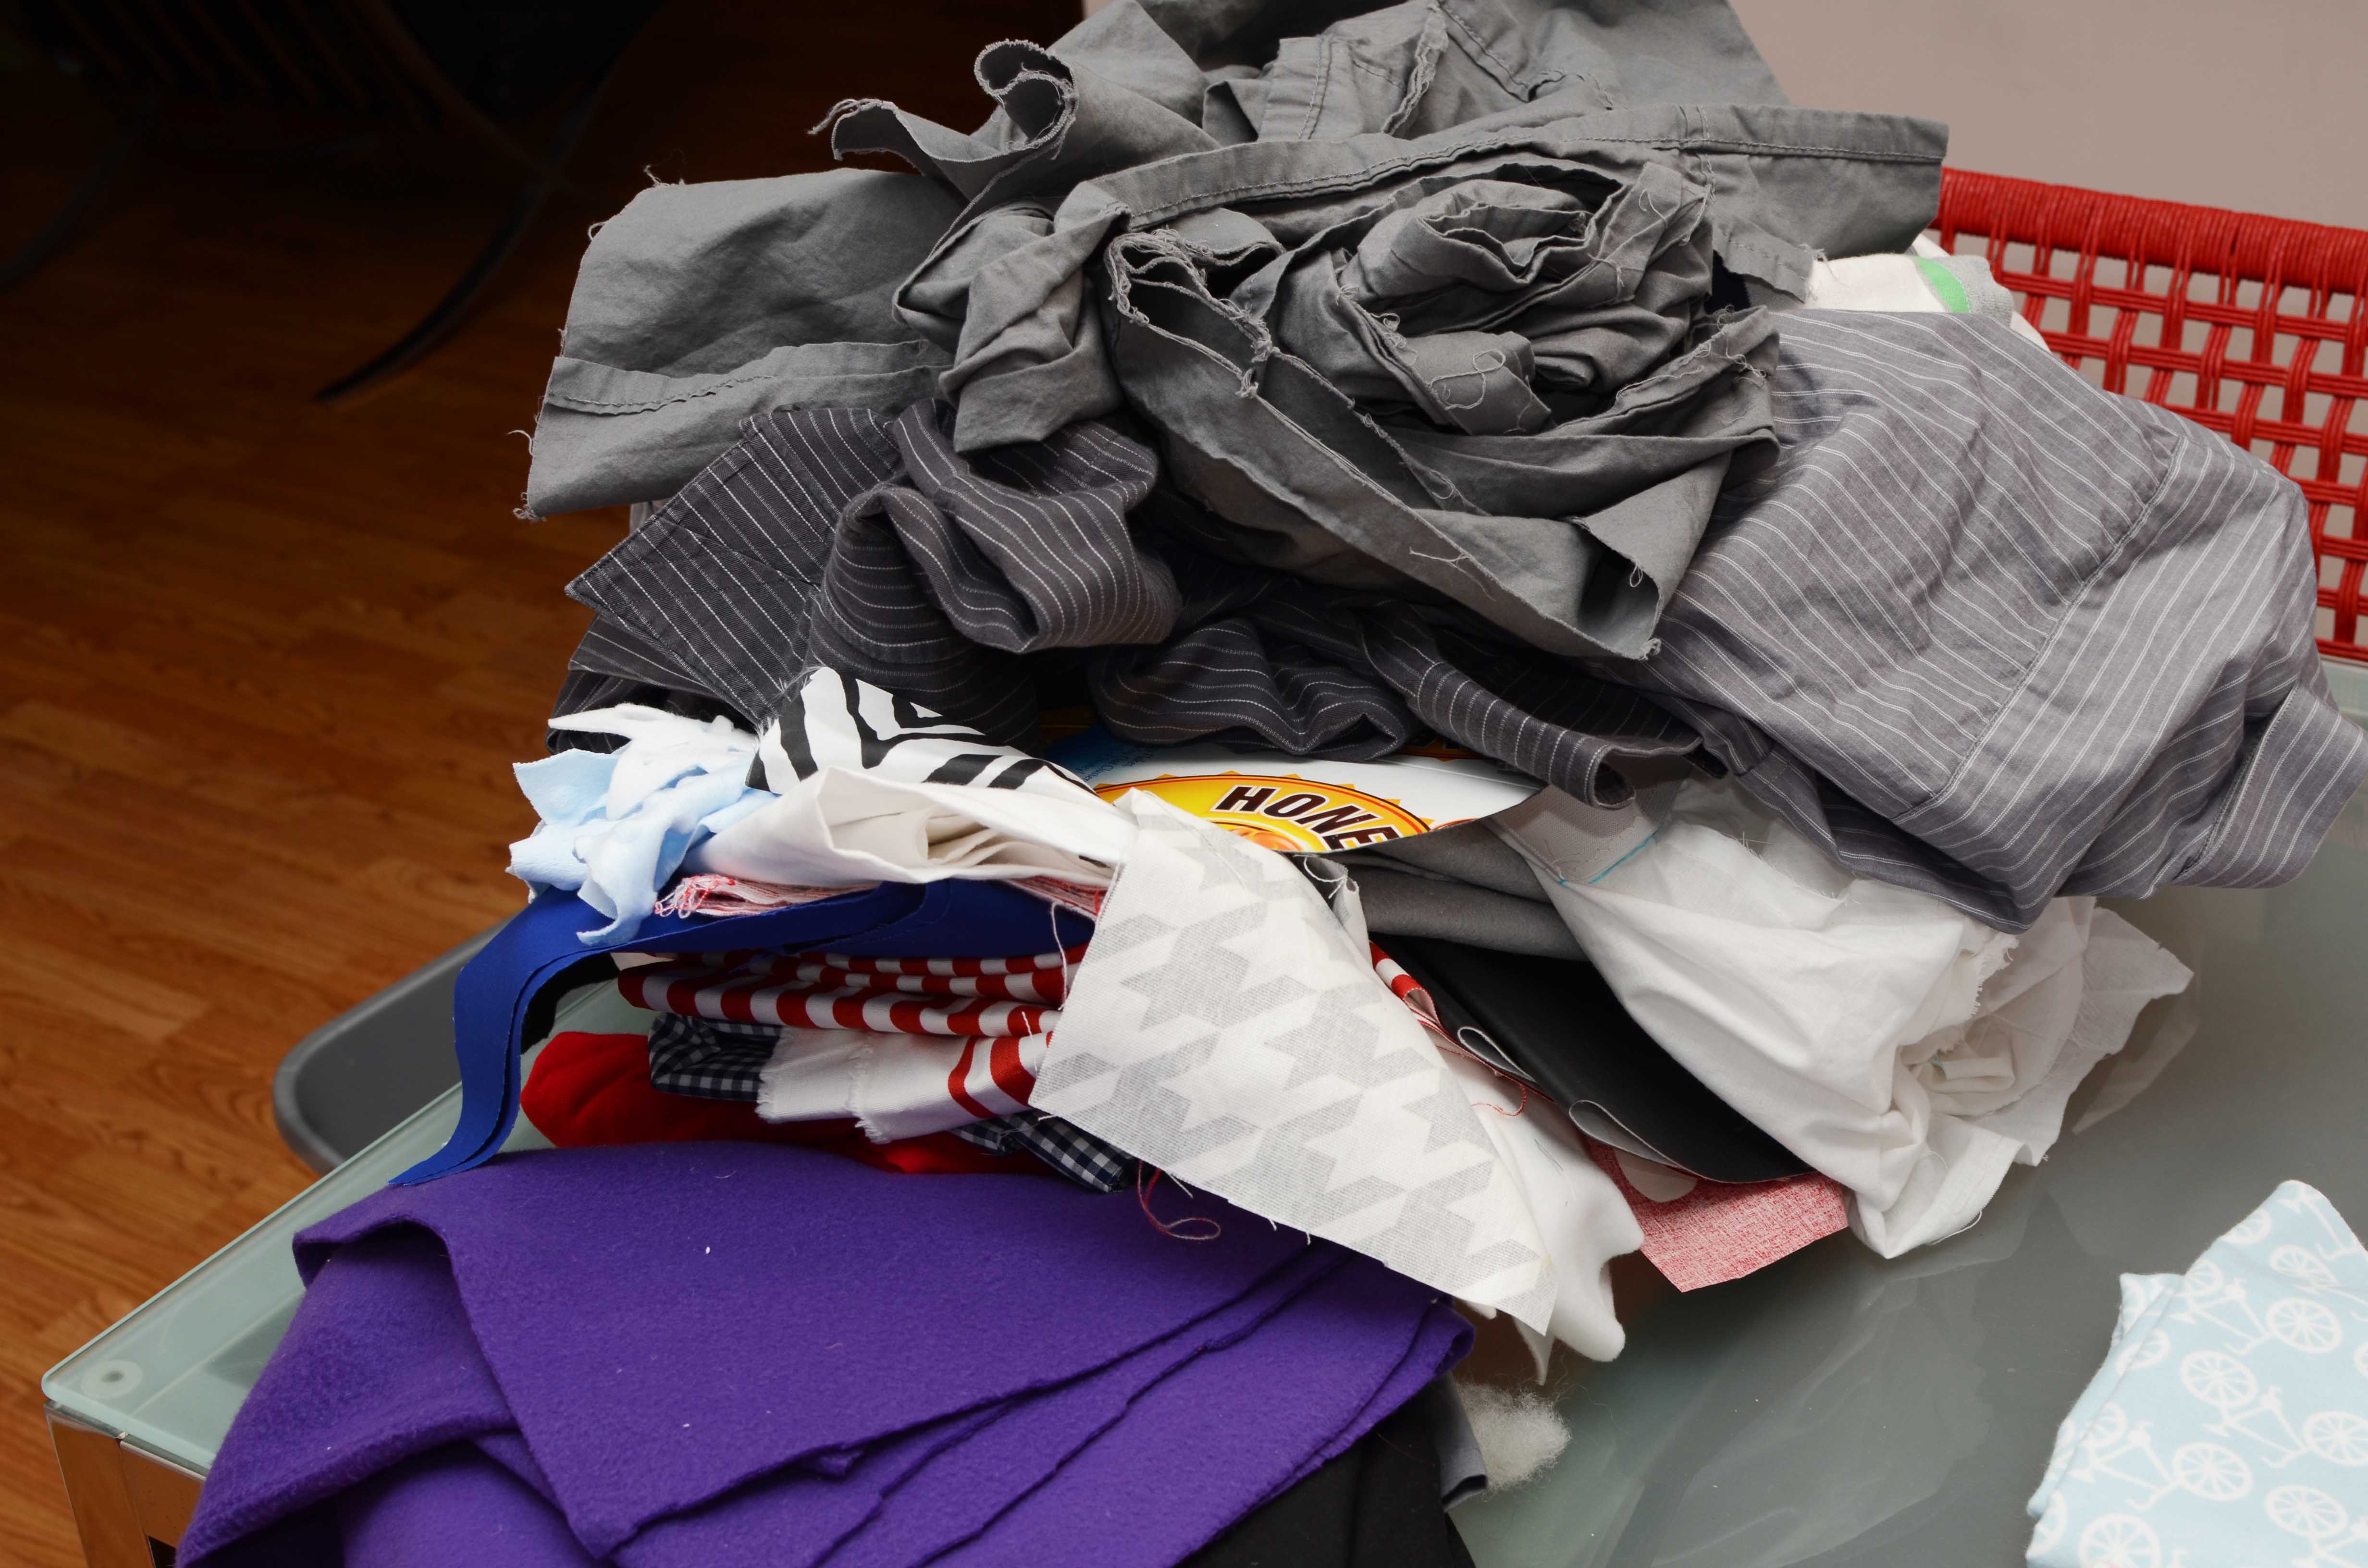 I have been collecting certain clothing items to reuse for this very purpose so I sorted through everything that I had as well.
 Before, I would trace my pattern piece and cut them out one by one; I didn’t like how both circular portions wouldn’t always be symmetrical So I realized how to change it and speed up the process.
 I folded my backing fabric in half making sure where the fold is. Then folded my piece to use as a guide in half making sure the folds matched up. This way I can cut multiple pieces at once which tremendously cut back on time spent on this portion of the process.
 Then cut the layers with good fabric scissors, mine are very sharp so I was able to do 2 layers of the thicker terry cloth and about 4-8 of other fabrics depending on the thickness.
 So here you can see that I have 2 folded burp cloth backs as well as my guide on top. They aren’t perfectly round but those edges will either be smoothed with my serger or the sewing machine stitching. Once this step is completed, place the backing and front pieces right sides together and sew all the way around leaving one small opening to turn the whole thing right side out. Then fold the opening’s edges inside, pin if necessary, and iron everything flat. Then top stitch all the way around and you are done. Other Pictures of the process can be found here.
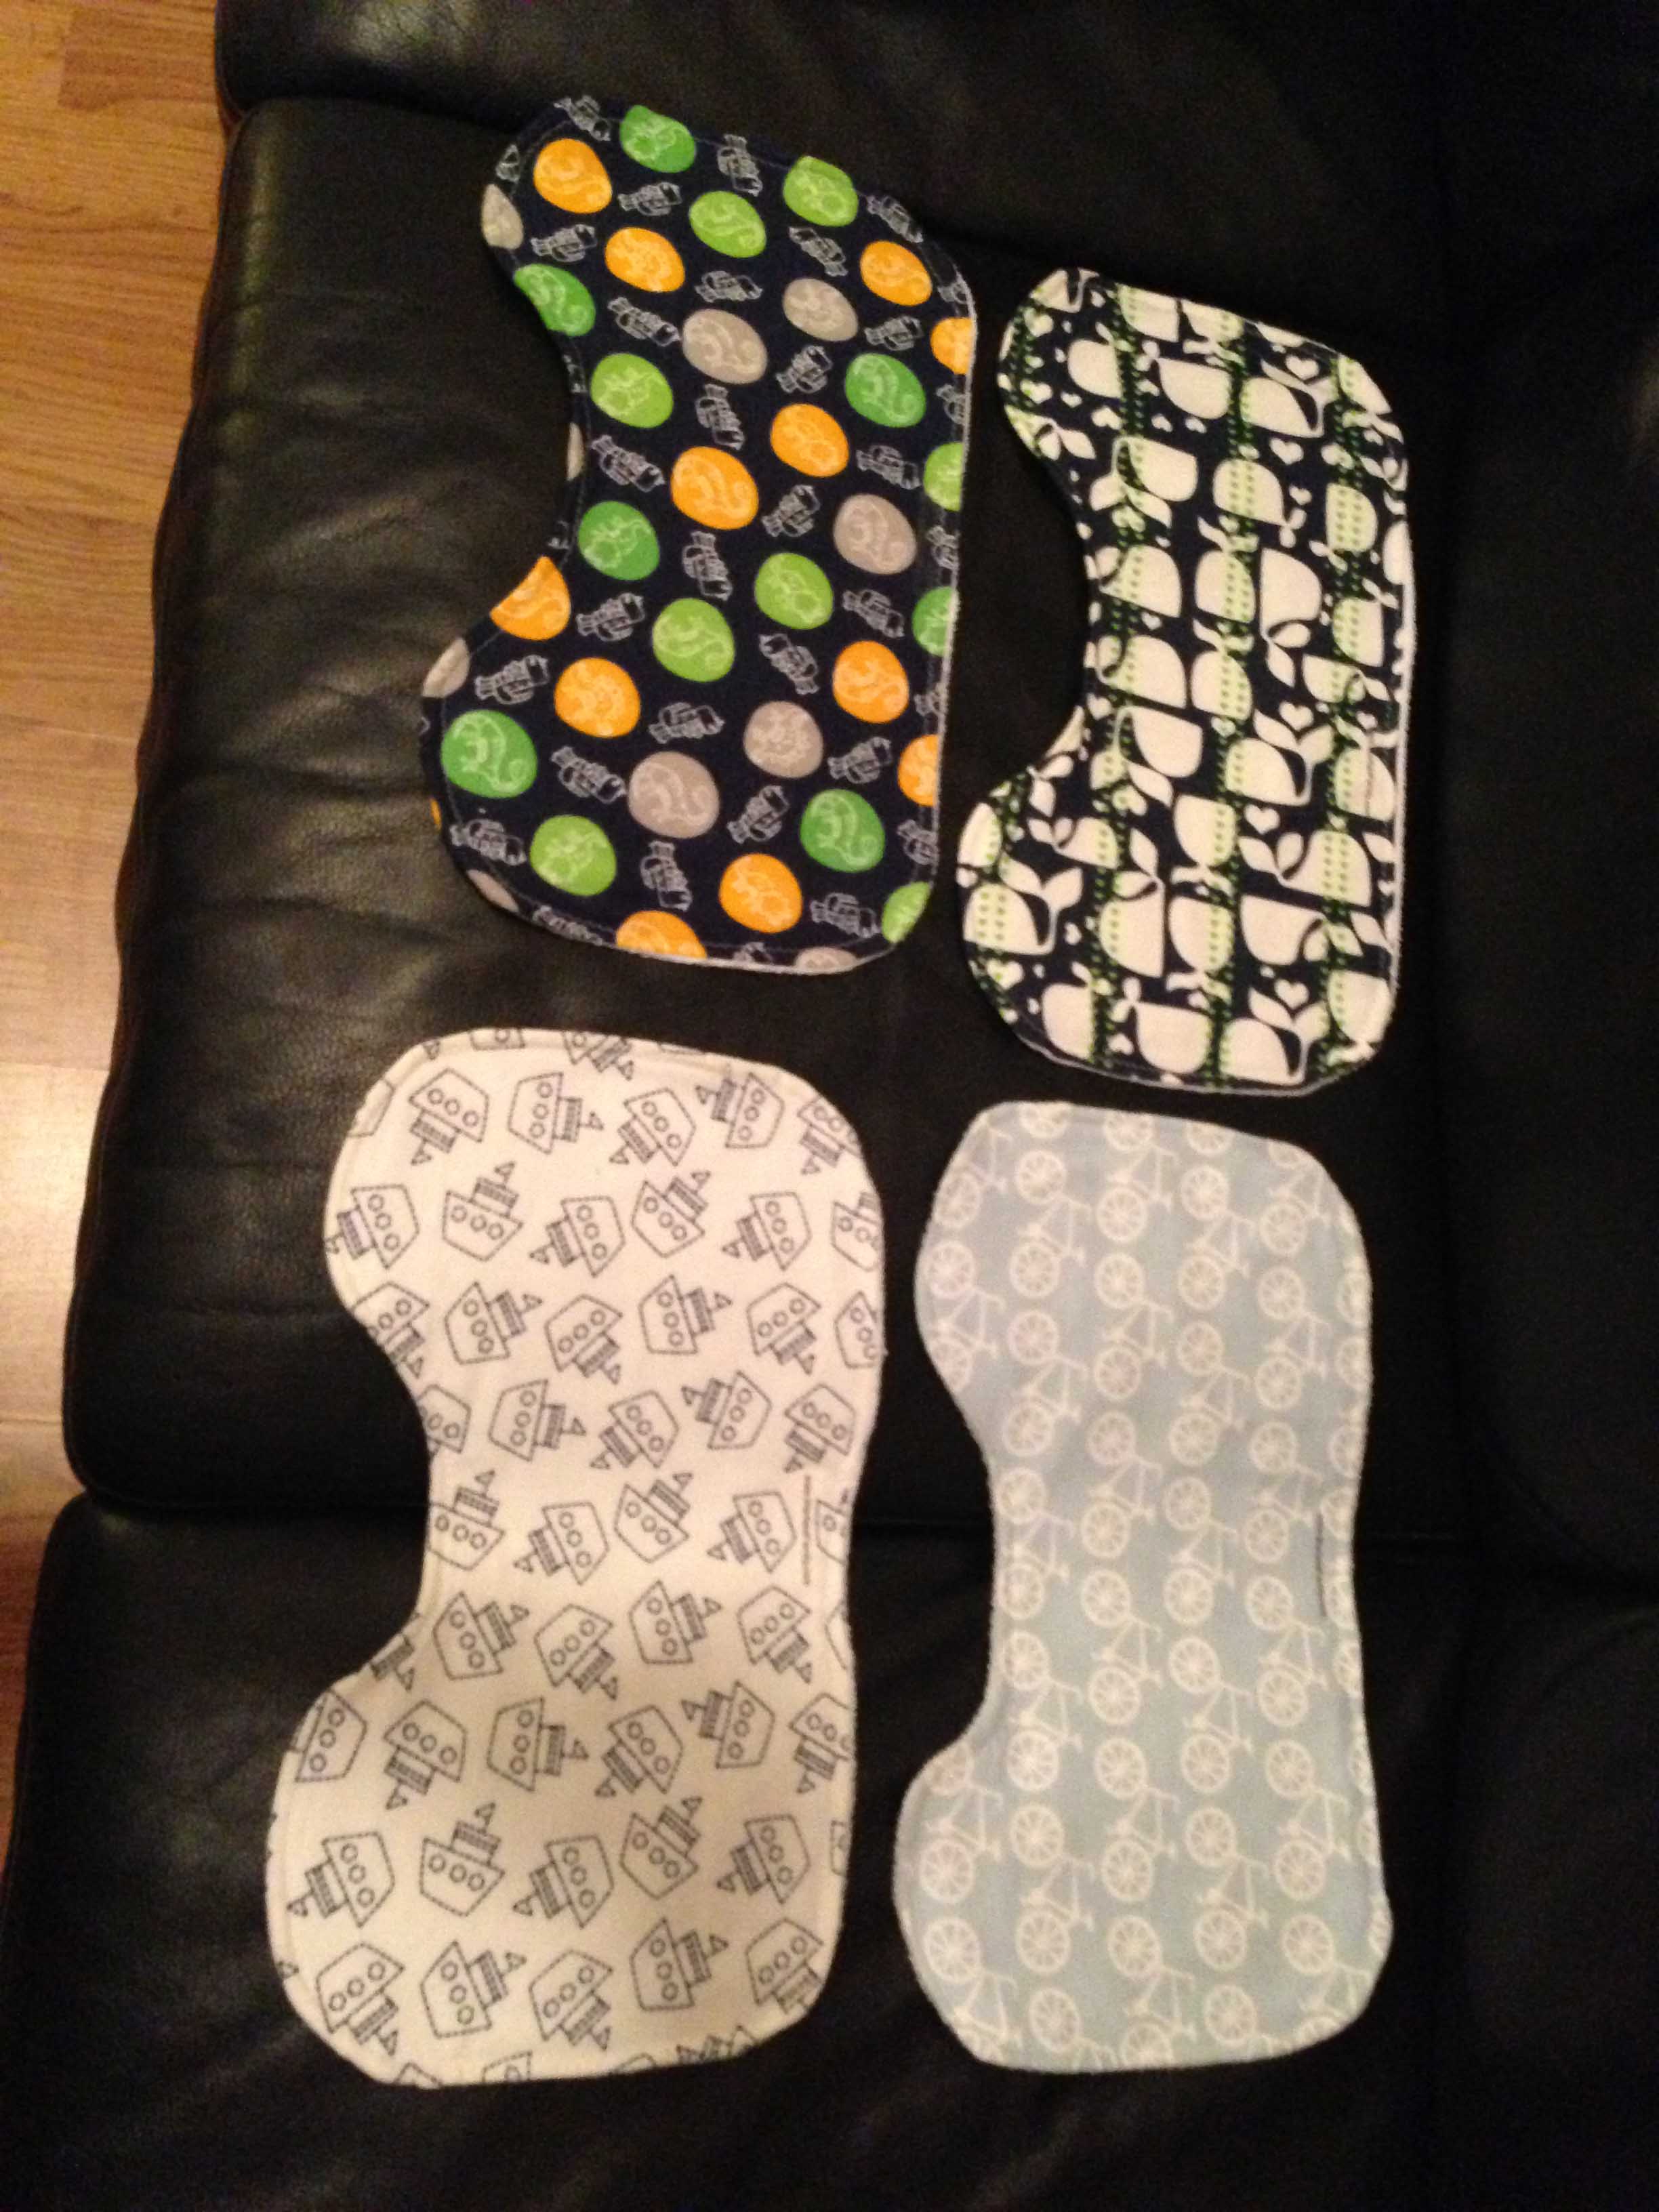 Here are a few of them that I finished.
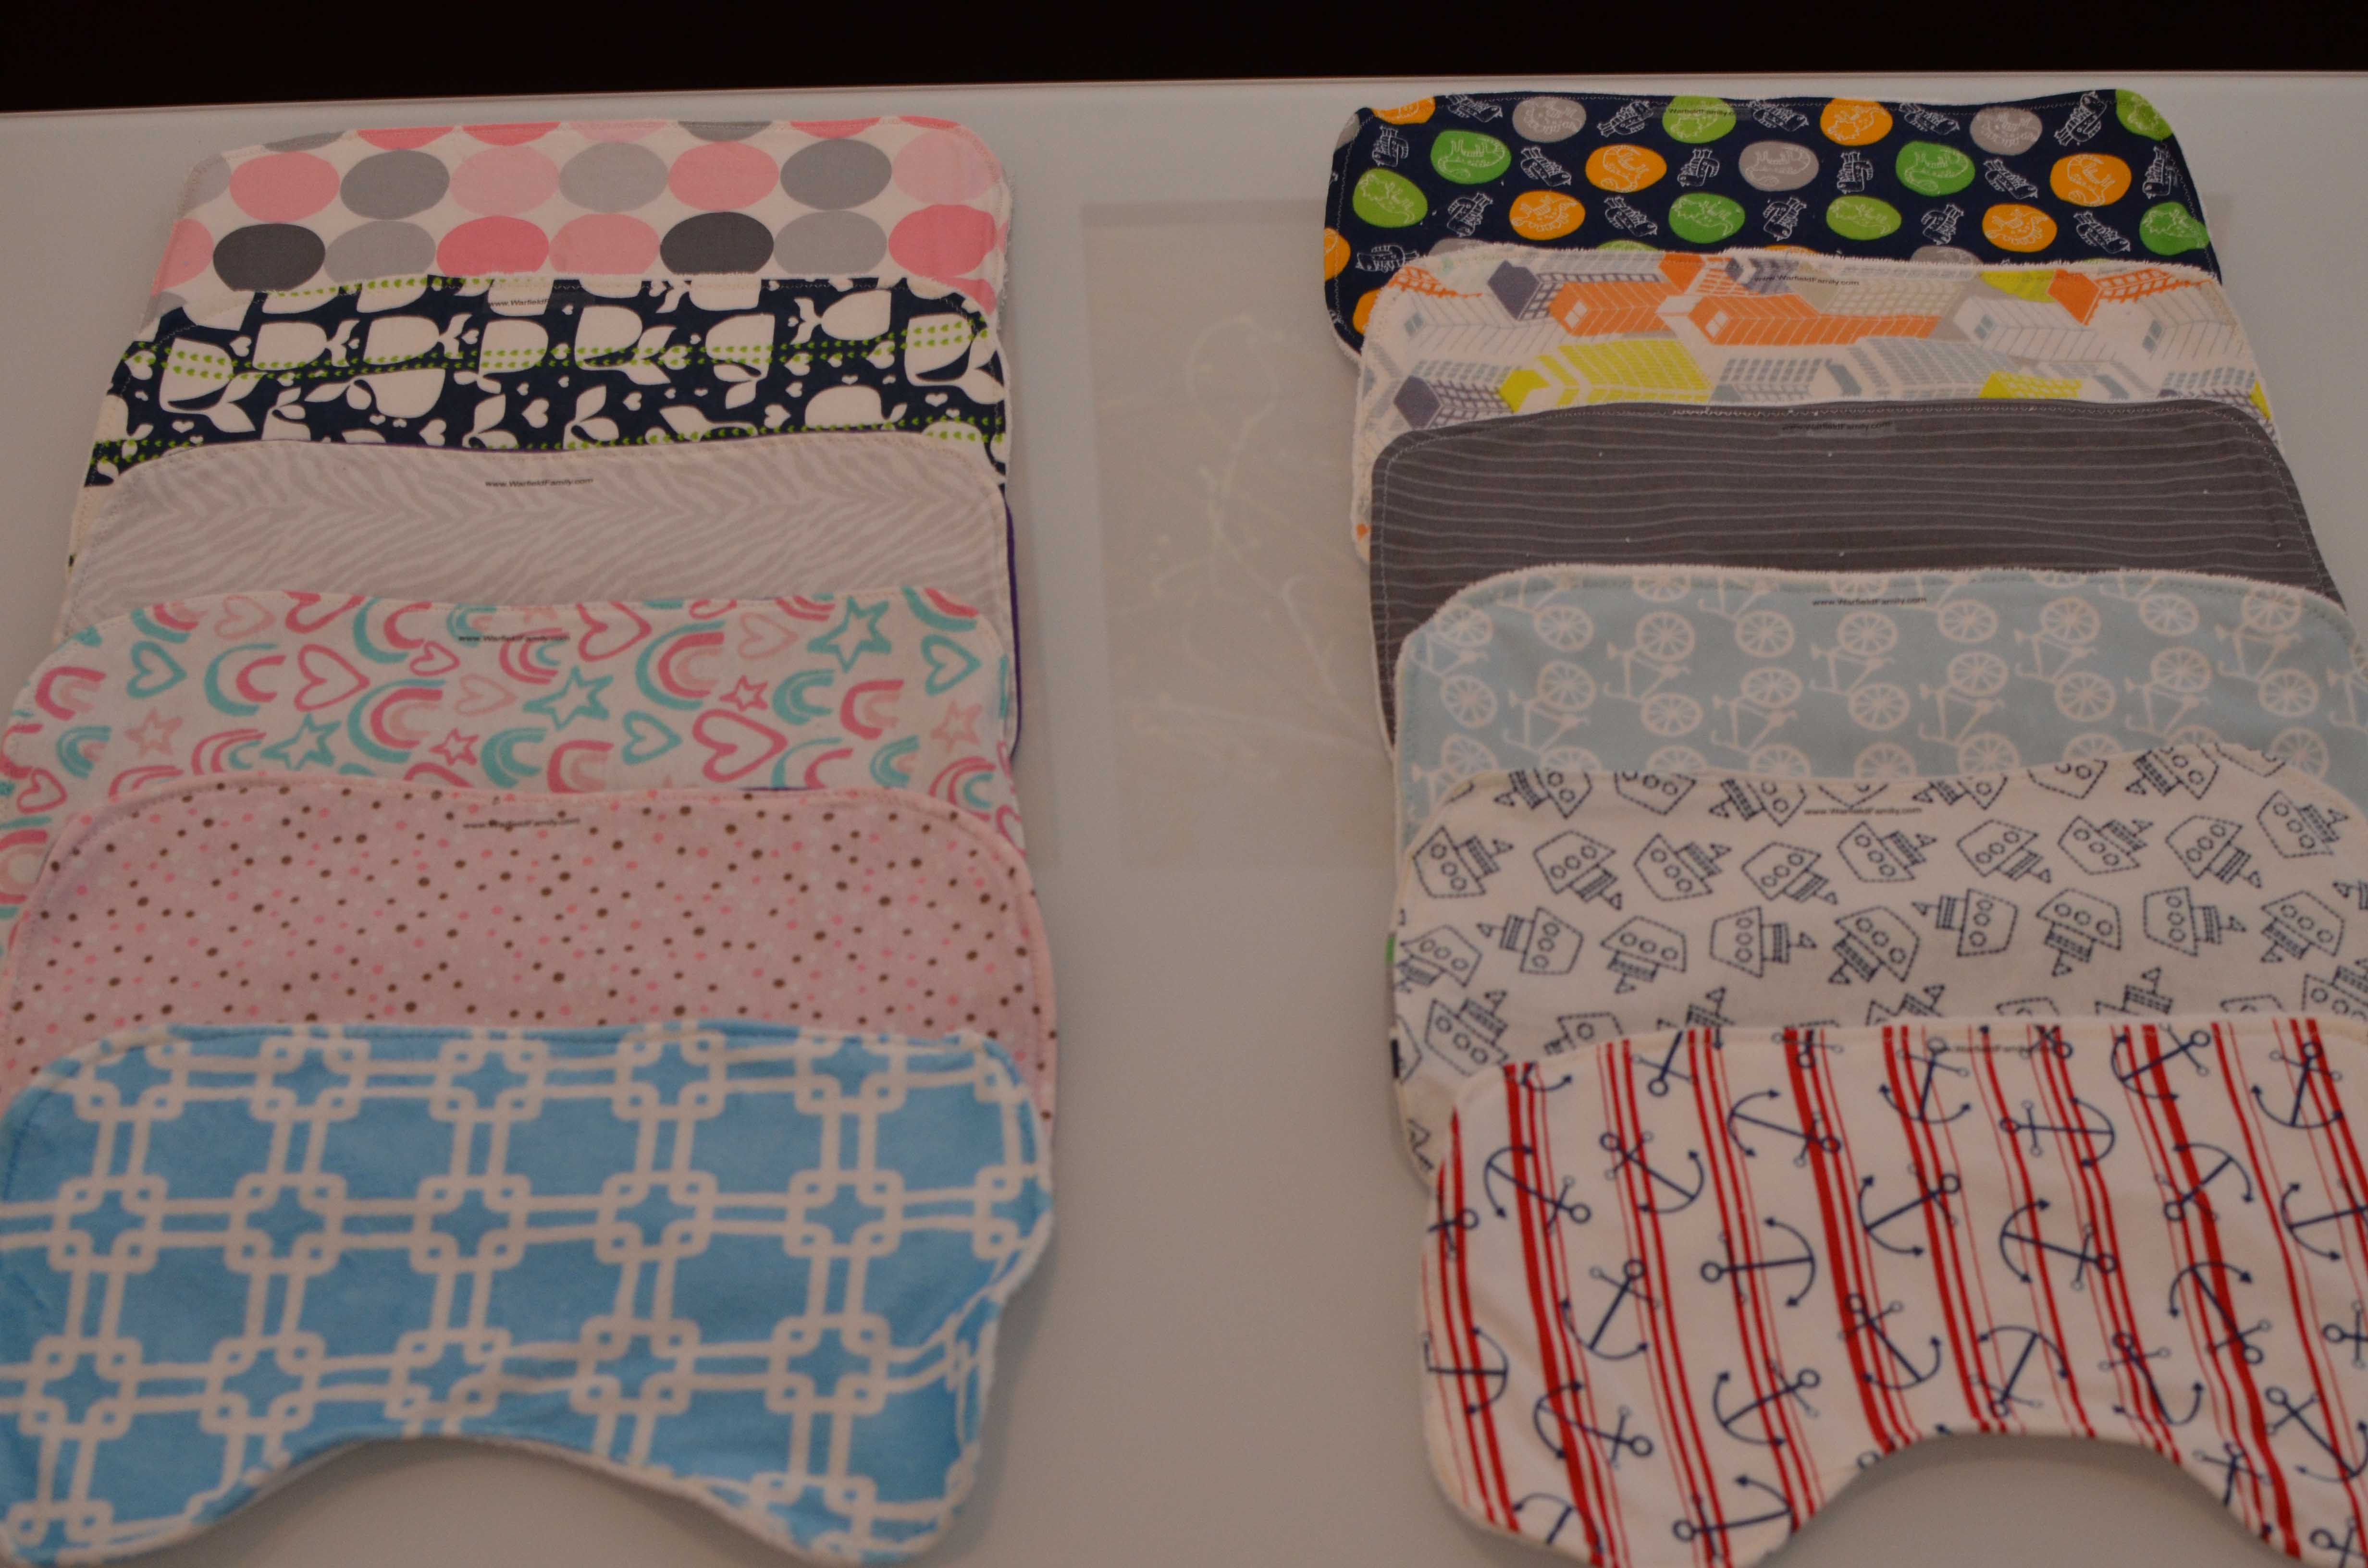 Here you can see some of the girl and boy burp cloths that I finished, I still have a few more to complete before I am done for a while until I run out again.
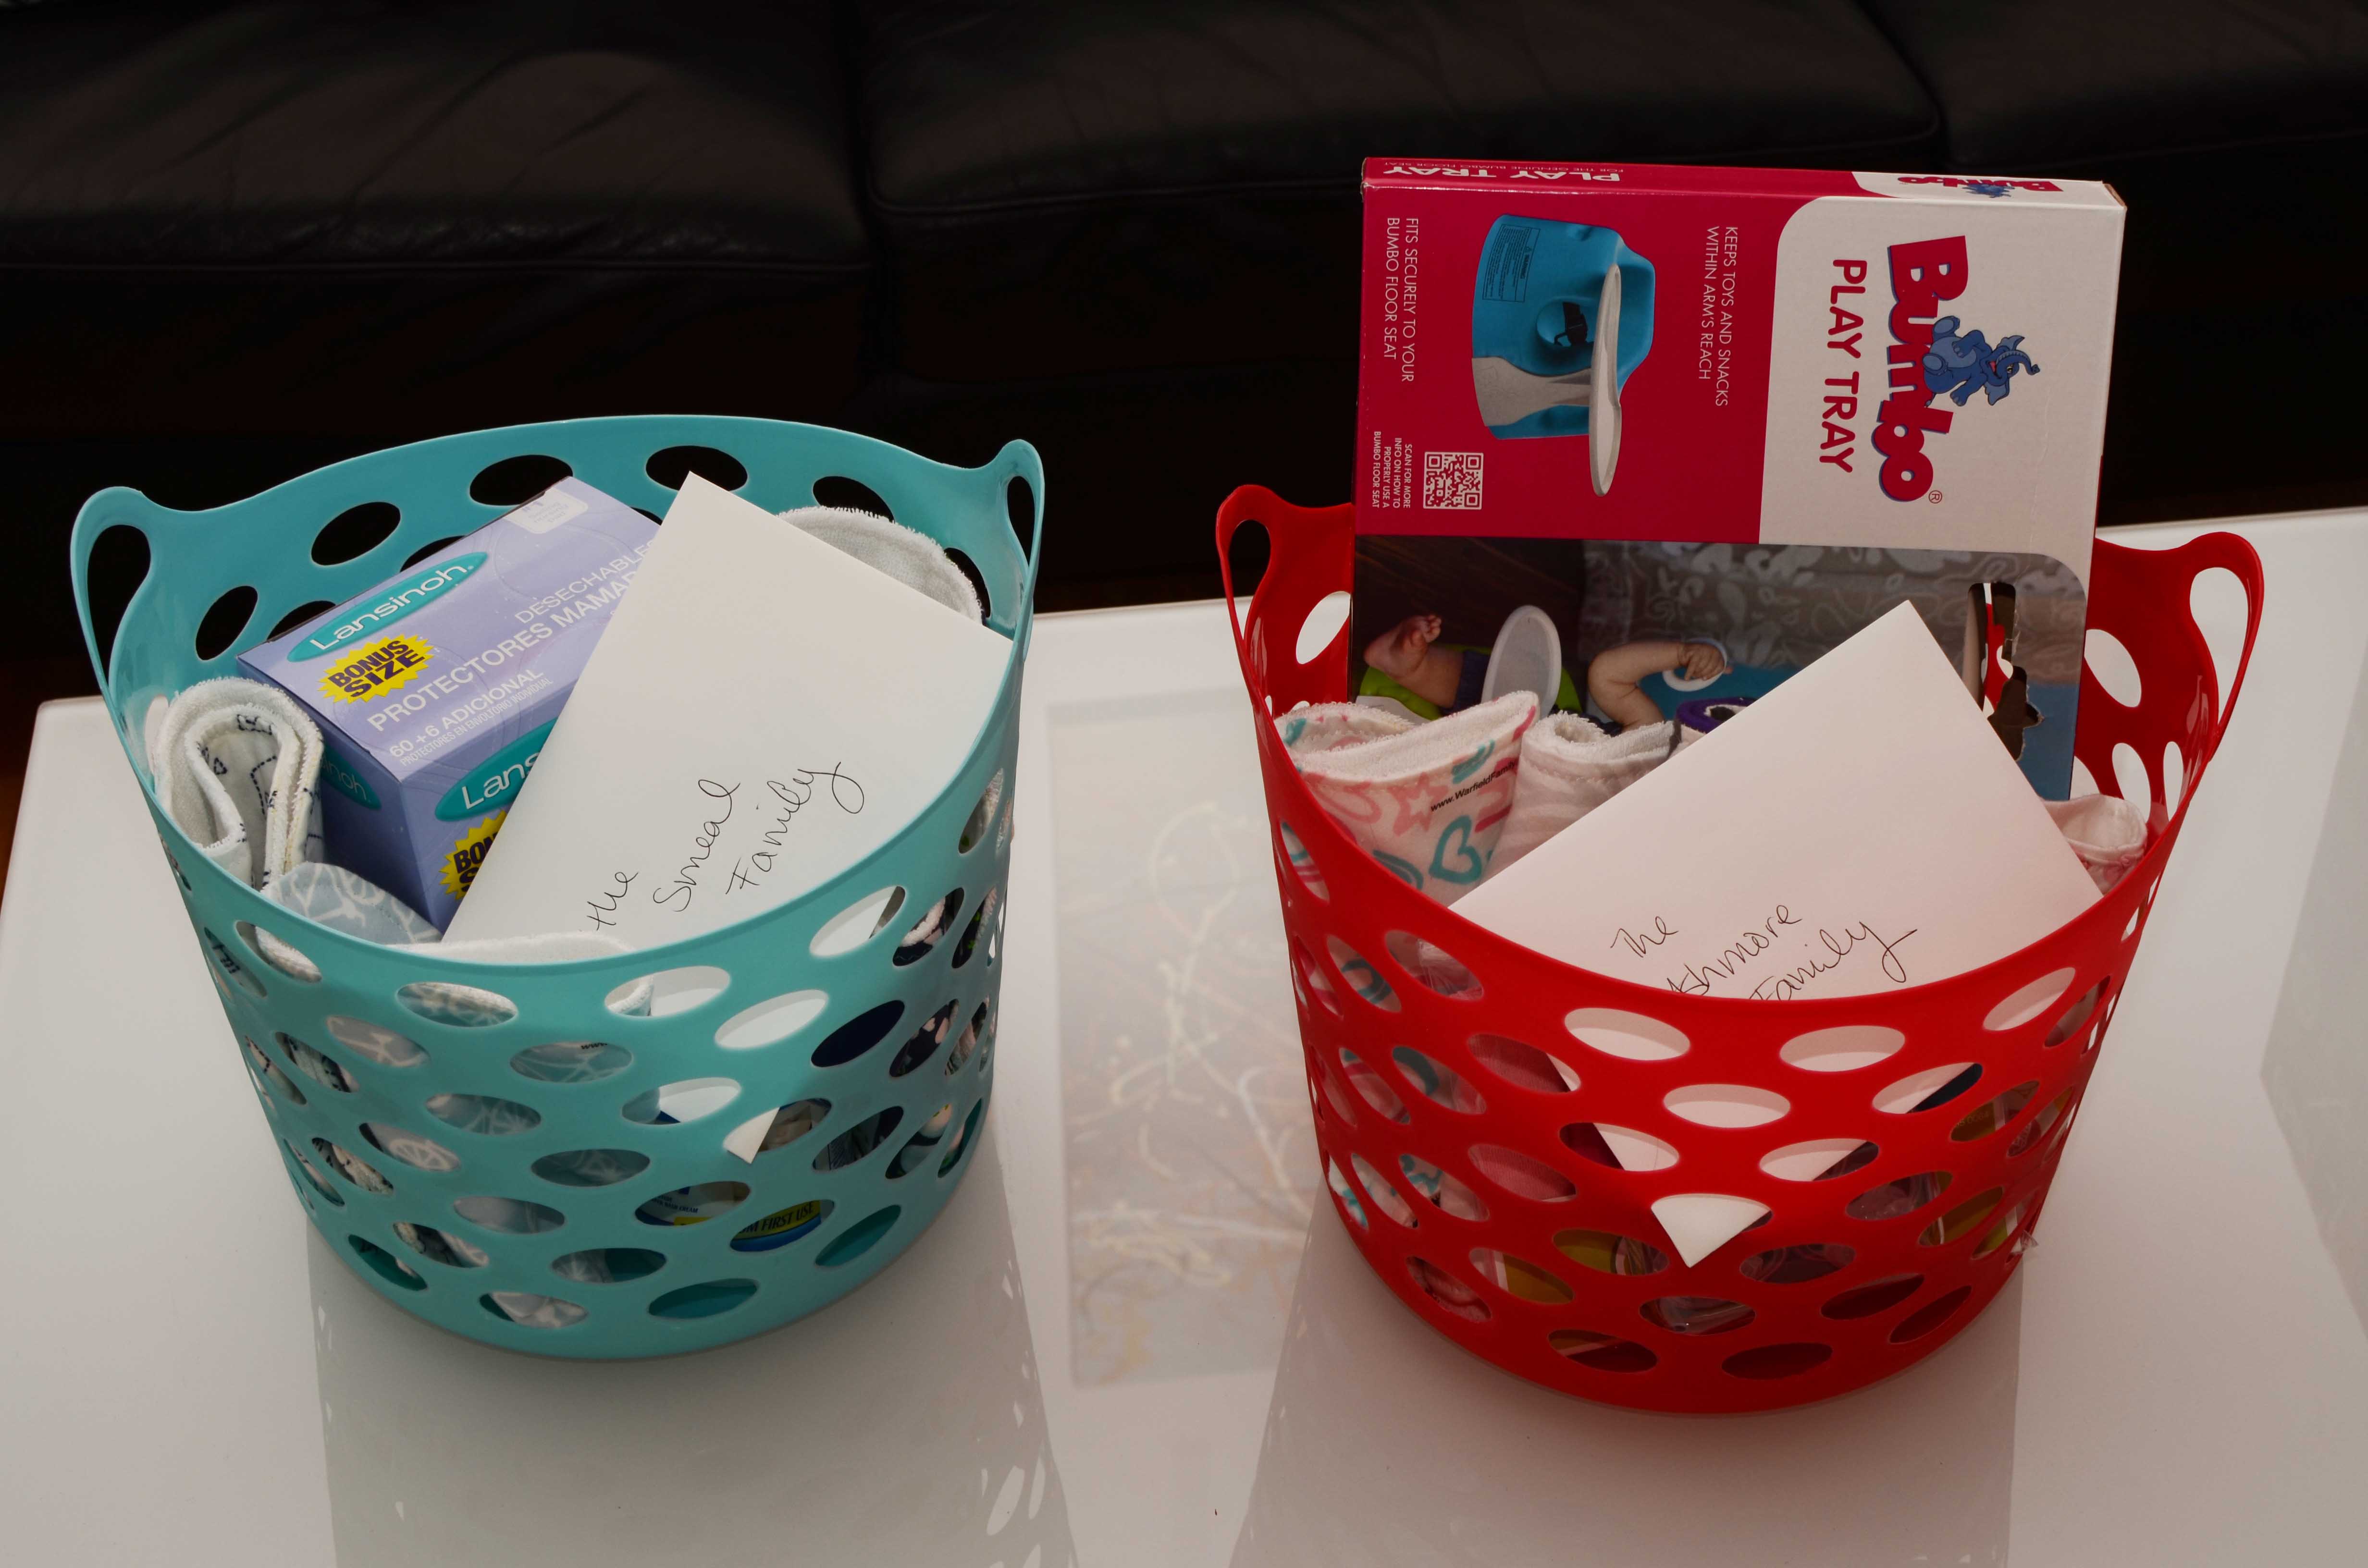 I missed one of the baby showers here, and another I was able to attend this last Sunday so I brought both gifts in these cute buckets from the dollar tree with my burp cloths, and a few things from each of their respective registries since both ladies were at this baby shower.
I hope you enjoyed this, and please let me know if you have any questions so I can make this as easy as possible for anyone to replicate.
4 comments
[…] and HERE! […]
[…] Tutorial #3 […]
[…] gifts that I am trying to put together in advanced, I have made Burp cloths (tutorial#1 & tutorial#2), Baby Girl Headbands with Bows (Tutorial), Bow pins (Tutorial), and now for the boy baskets, I […]
[…] I was also running out of burp cloths, so I made another 60 to replenish my dwindling supply for baby shower gifts. Tutorial seen HERE & HERE. […]