

So I was looking for fabric for my sister Raya’s birthday gift, and so ended up ordering a ton of fabric from Girl Charlee Fabrics. I am happy so far with all of the ones I got, and wanted to show you what I made with a portion of two of the fabrics.
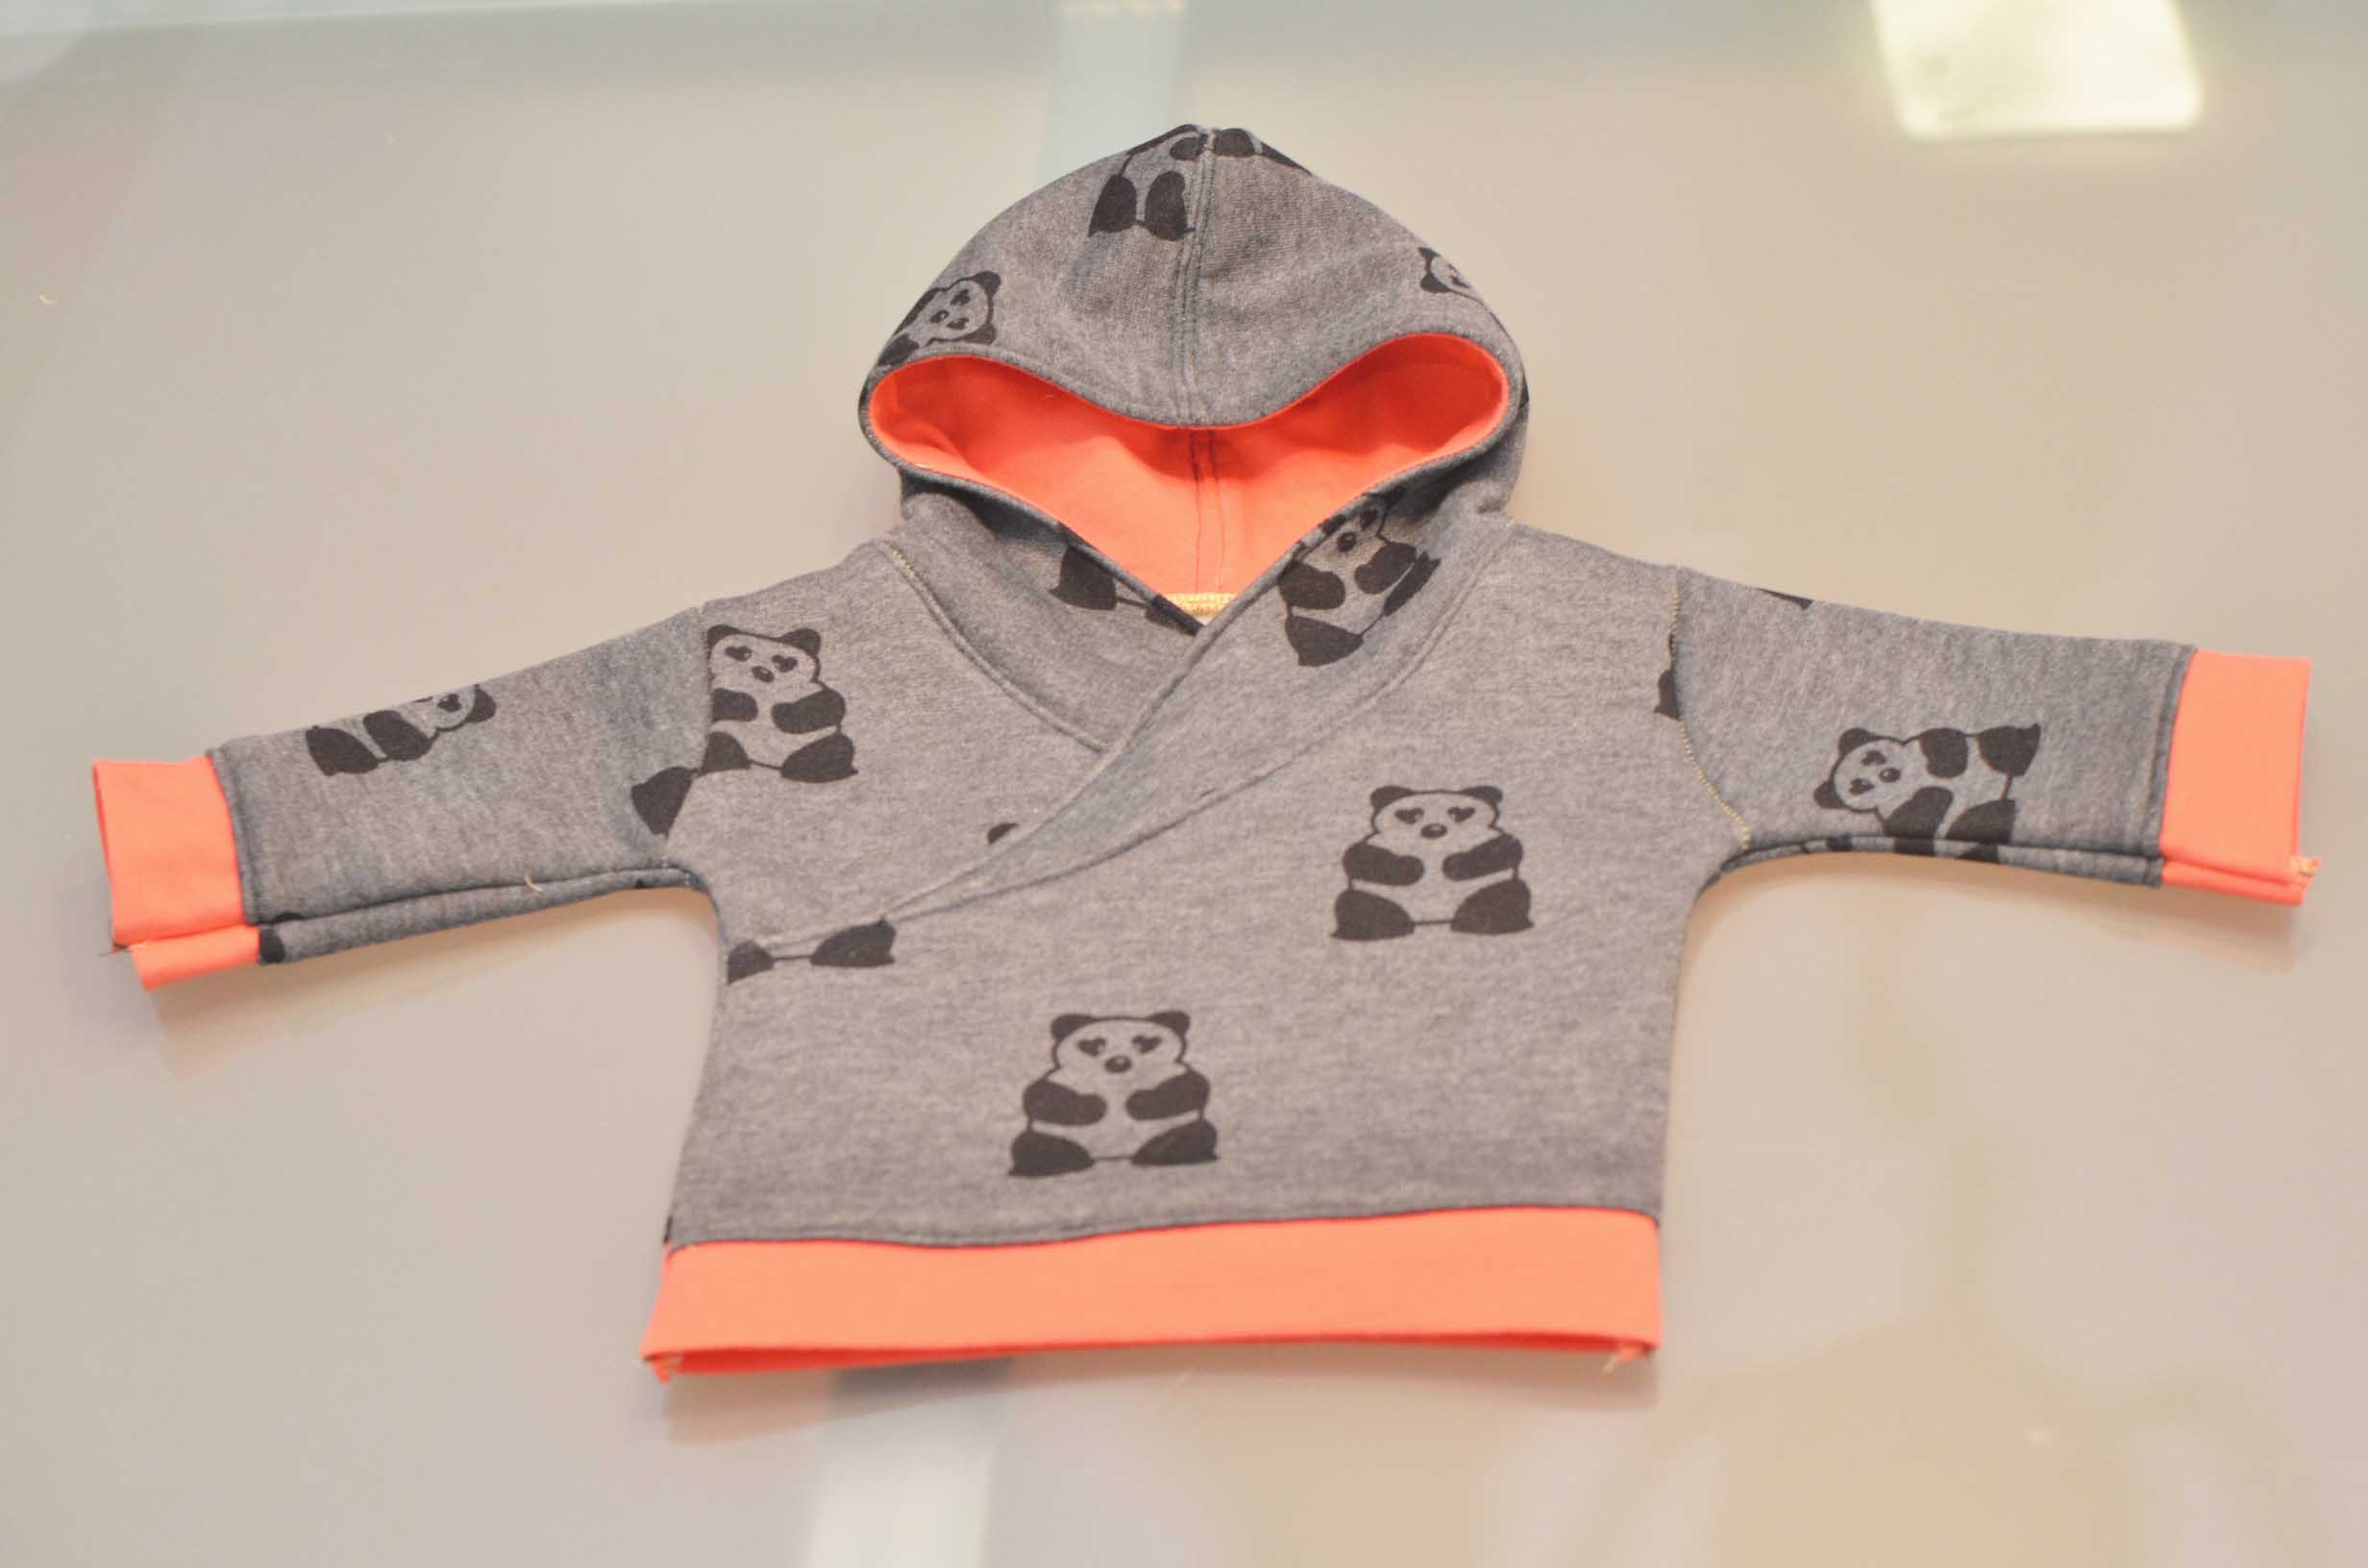

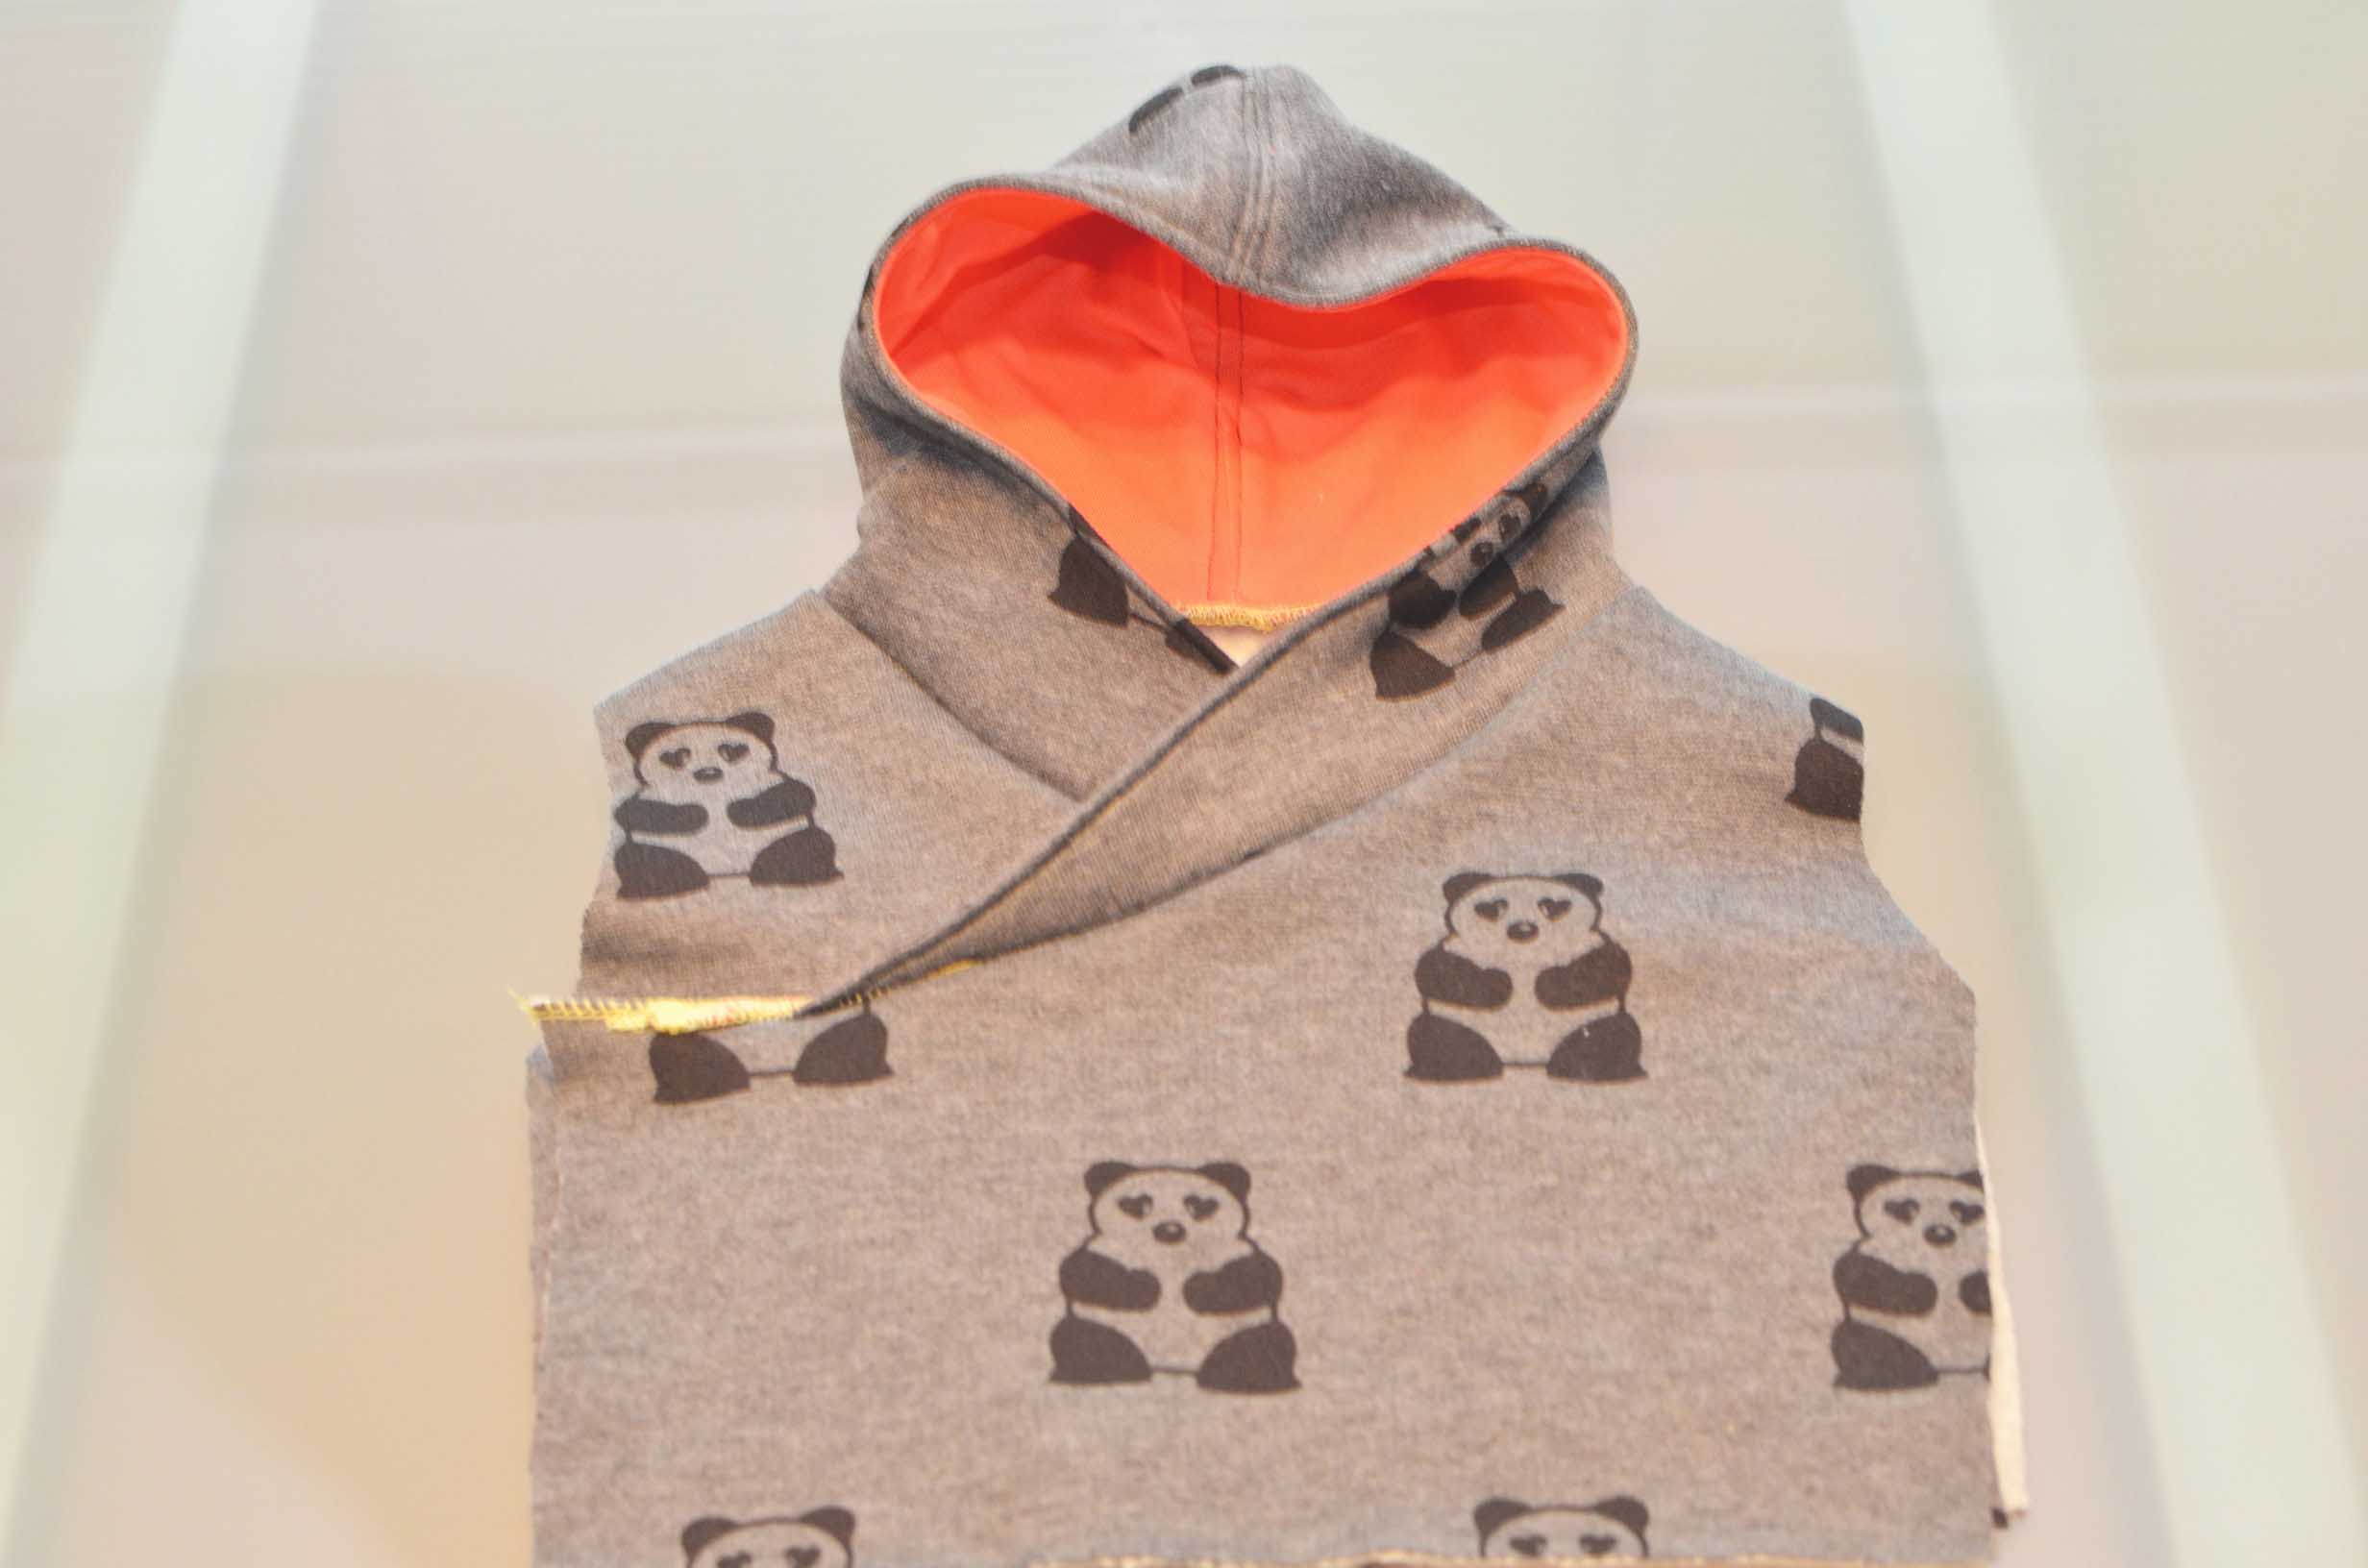
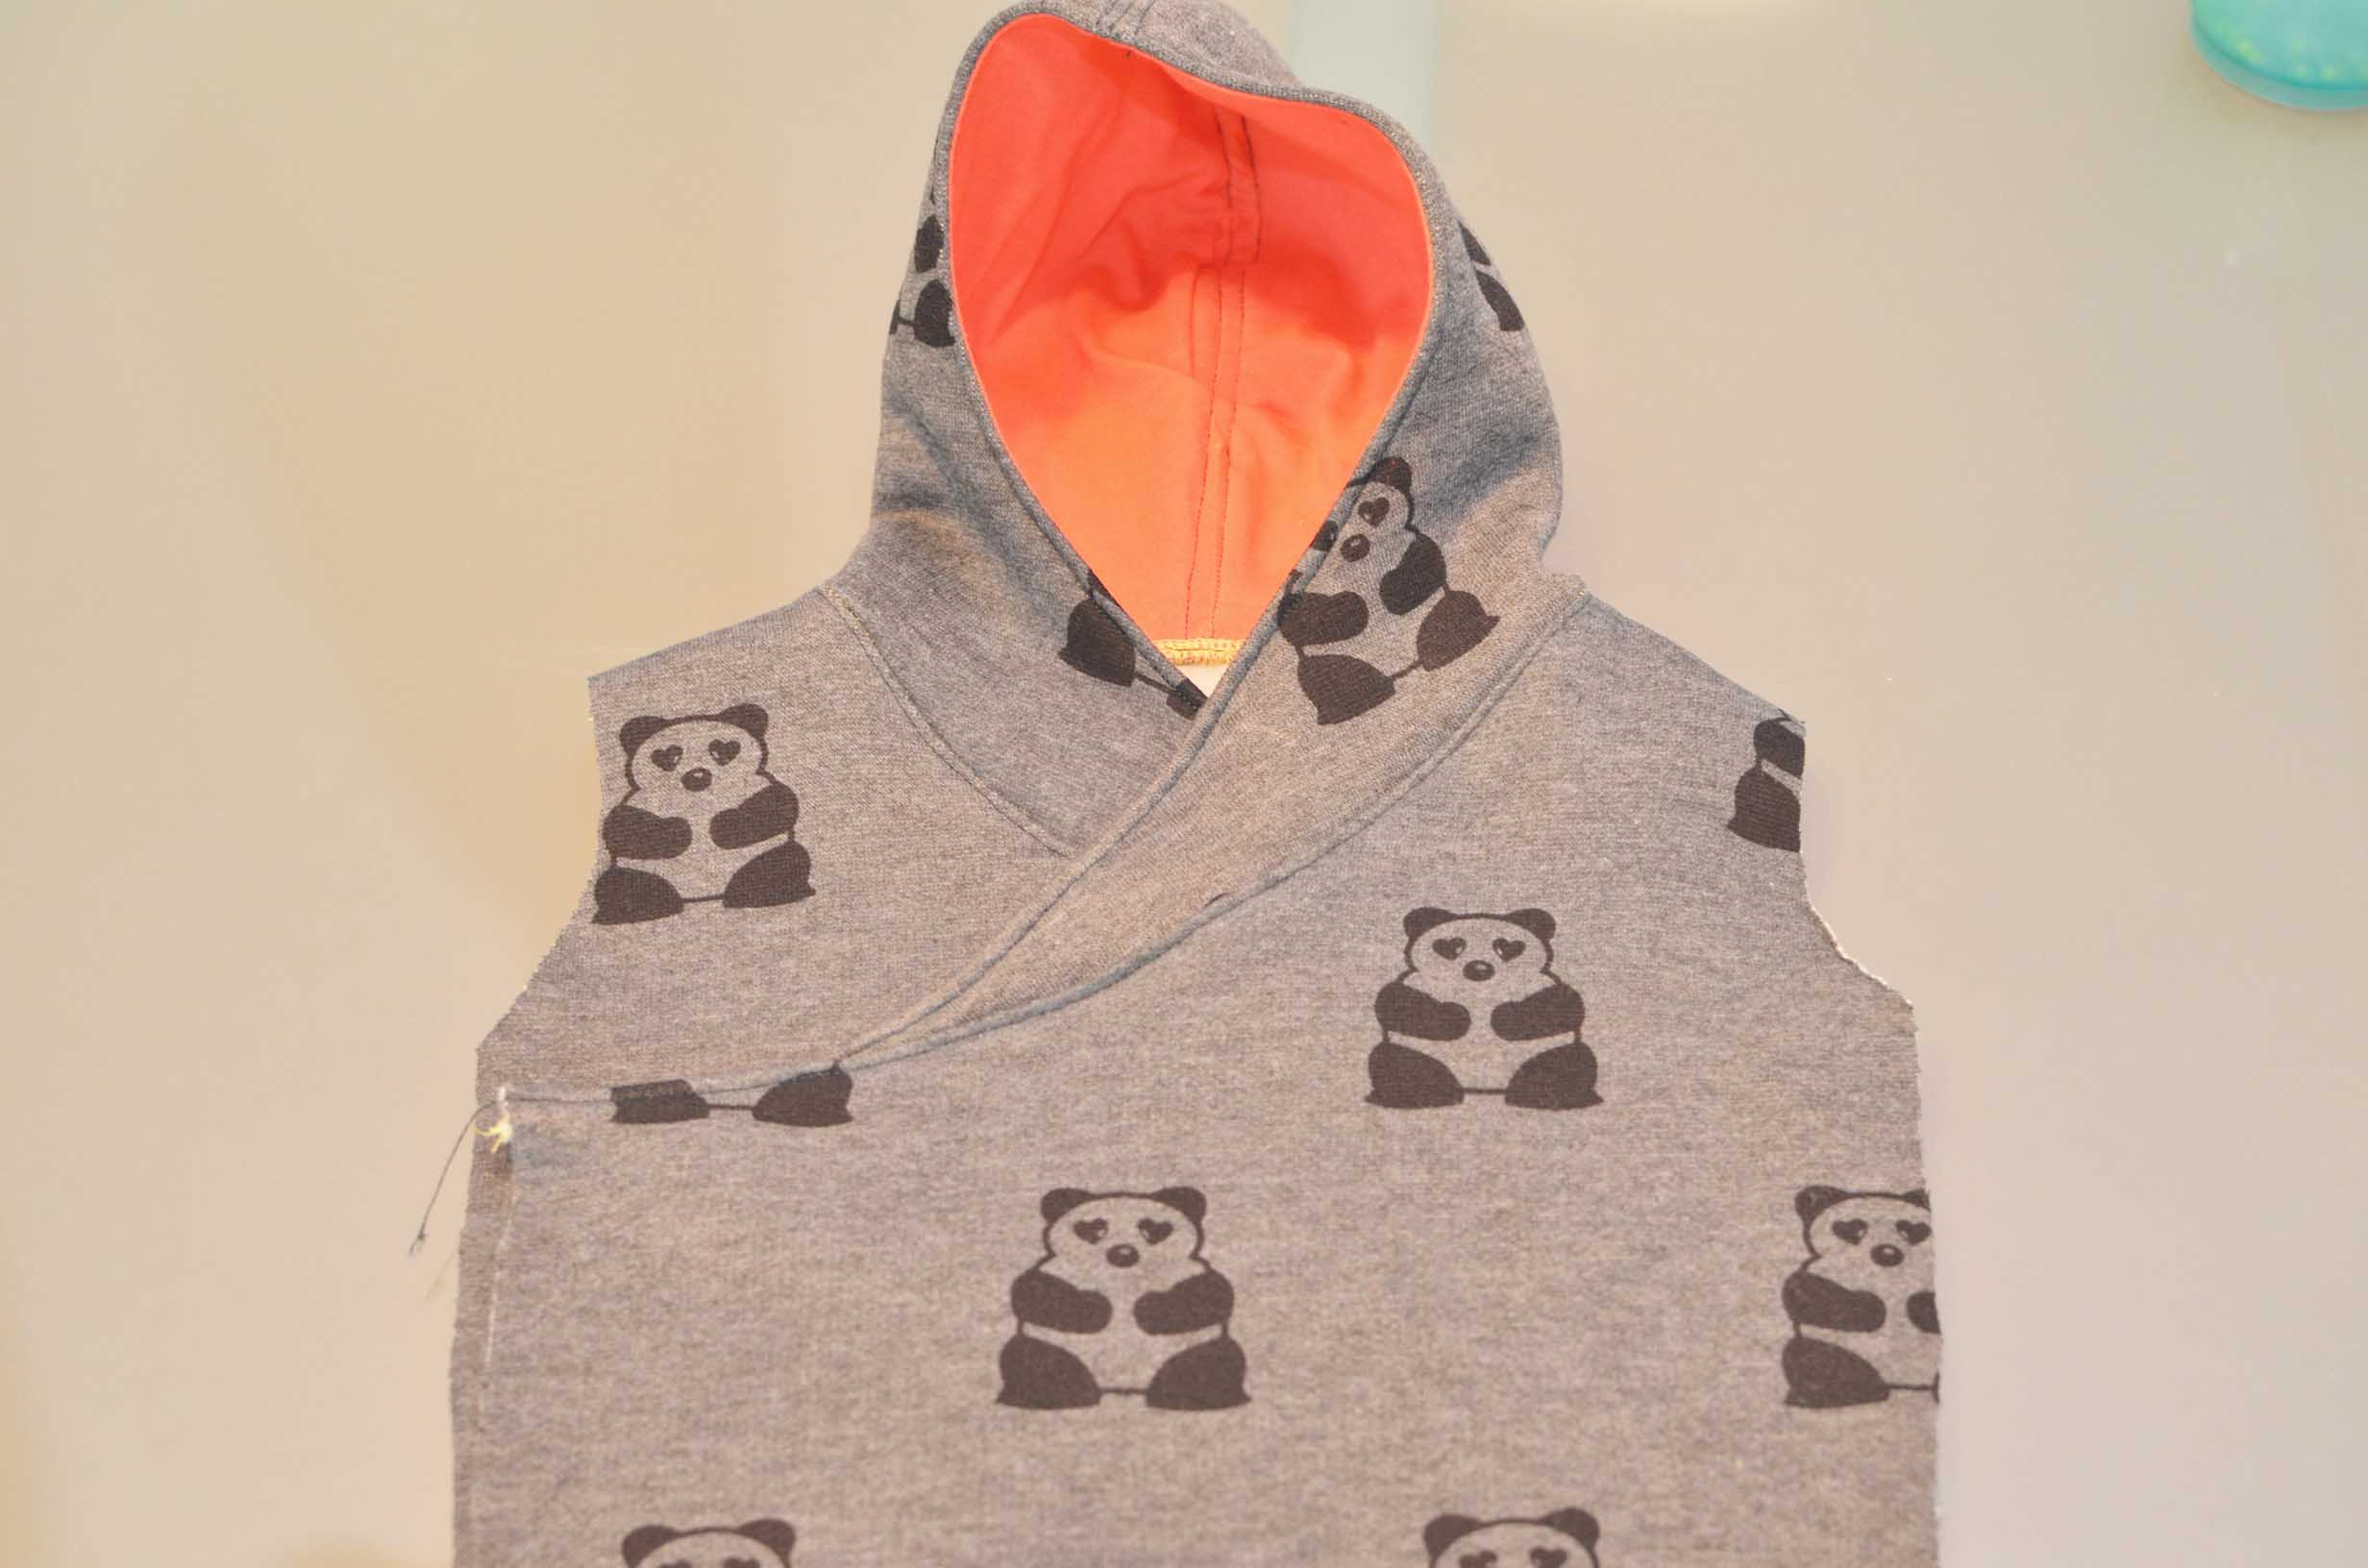
Here is the adorable hoodie I made Alana! There was no reason I had to make it,but I had the fabric which I had gotten at a really good price, and I love the look of this pattern. I wish I could have made something like this in my size. The best part (or so it explained in the blog post) was that there aren’t any zippers or buttons and makes it easier to get off of the child with less fuss.
I found the free pattern and tutorial at THIS BLOG. She made her hoodie for her son, but I wanted to make a more girly one.
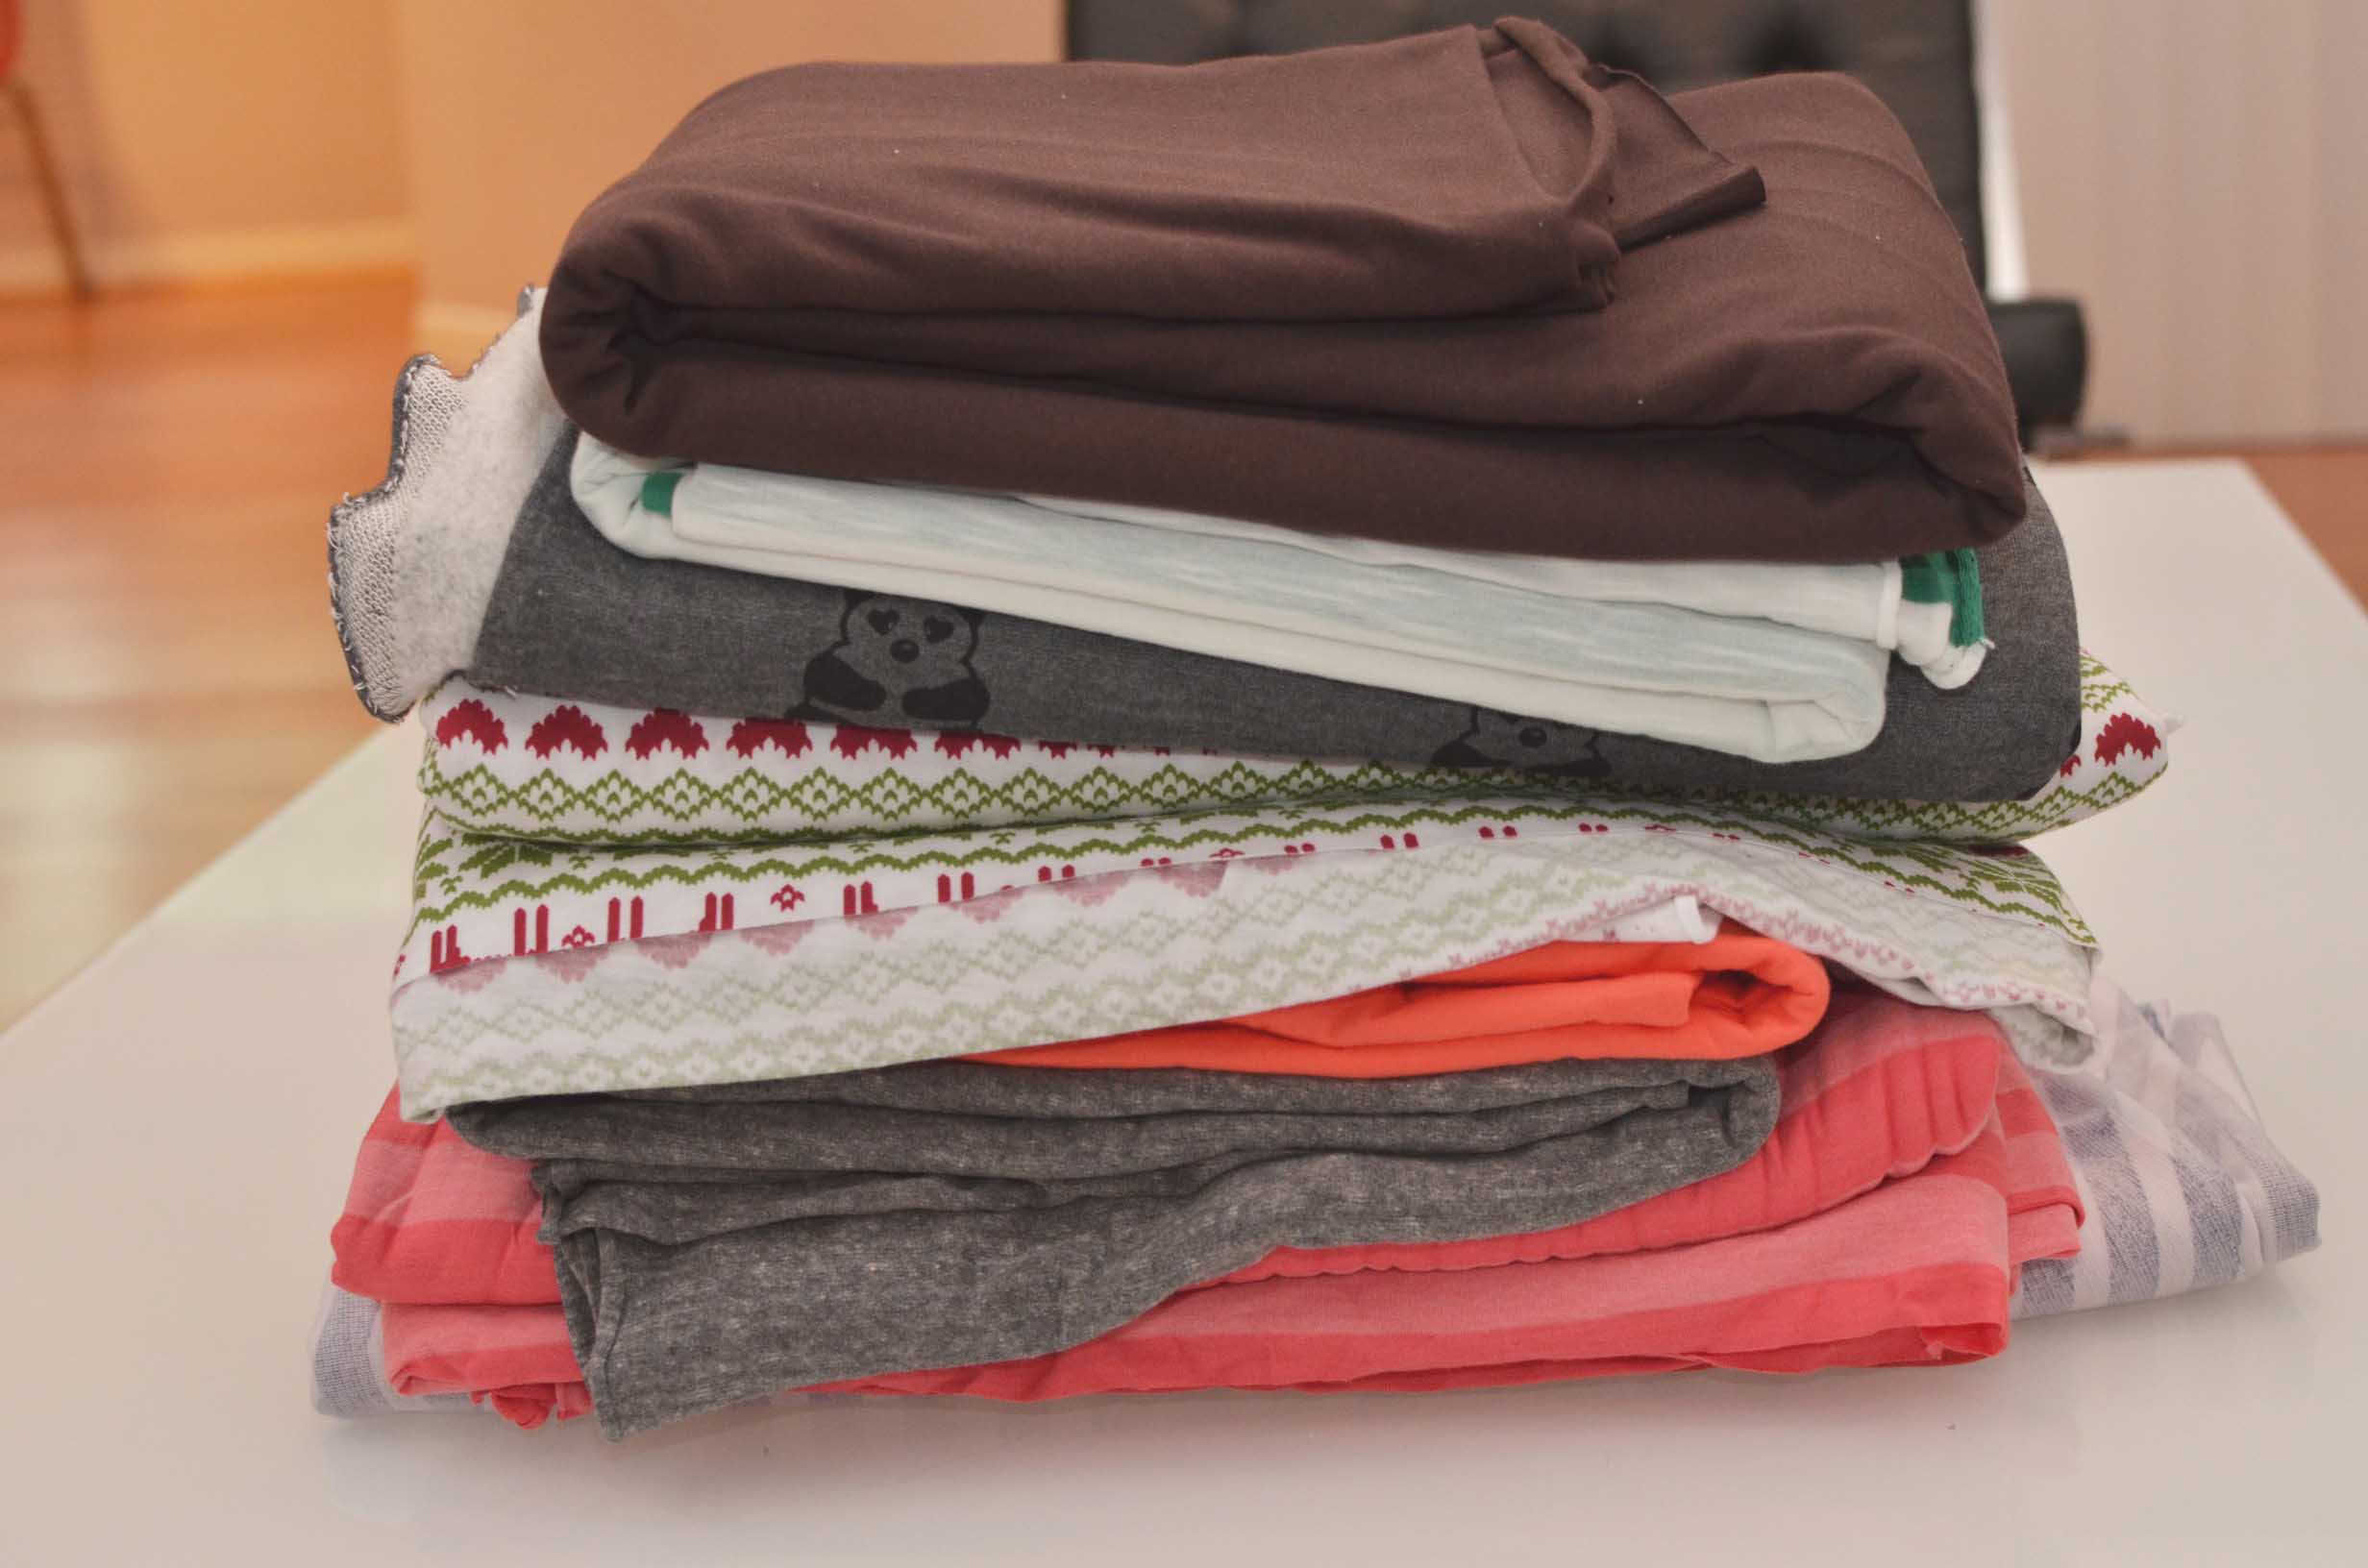
My stack of fabric that I bought.

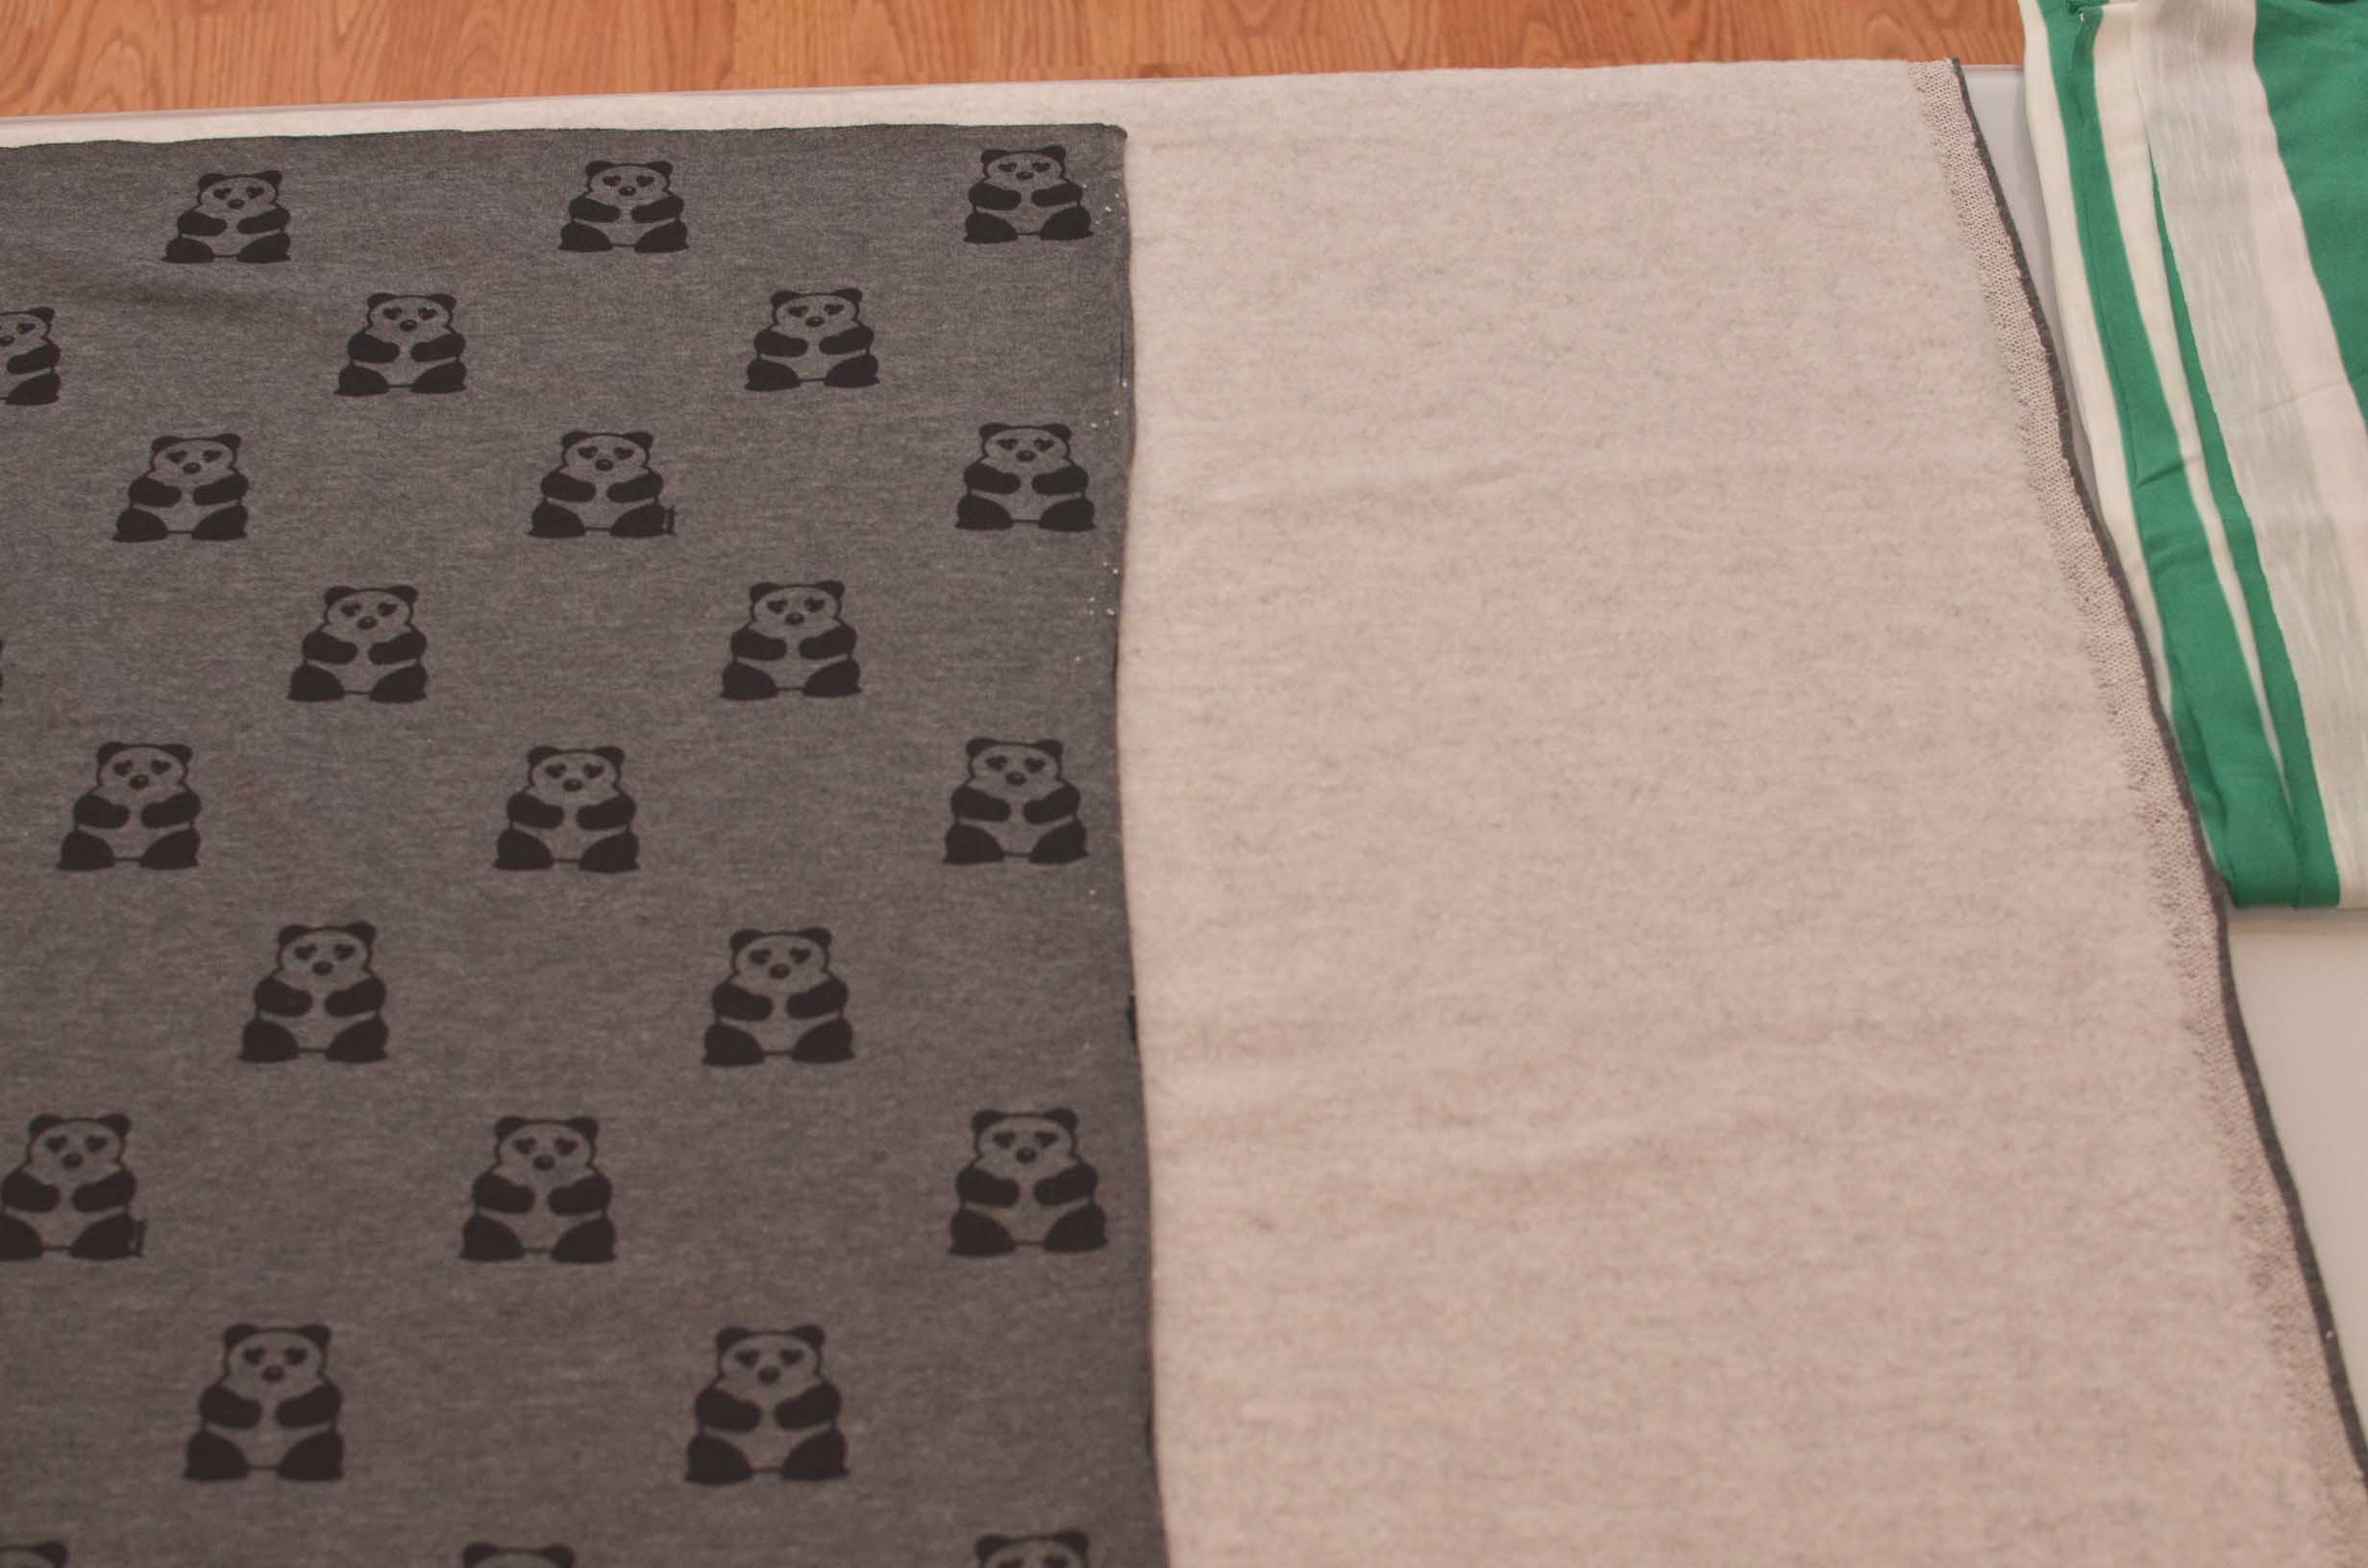
Laid out so you can see the patterns more.

The blogger has her own picture tutorial which might make a lot more sense than mine. I just snapped pictures while I was going. First cut and tape the pieces of the pattern.

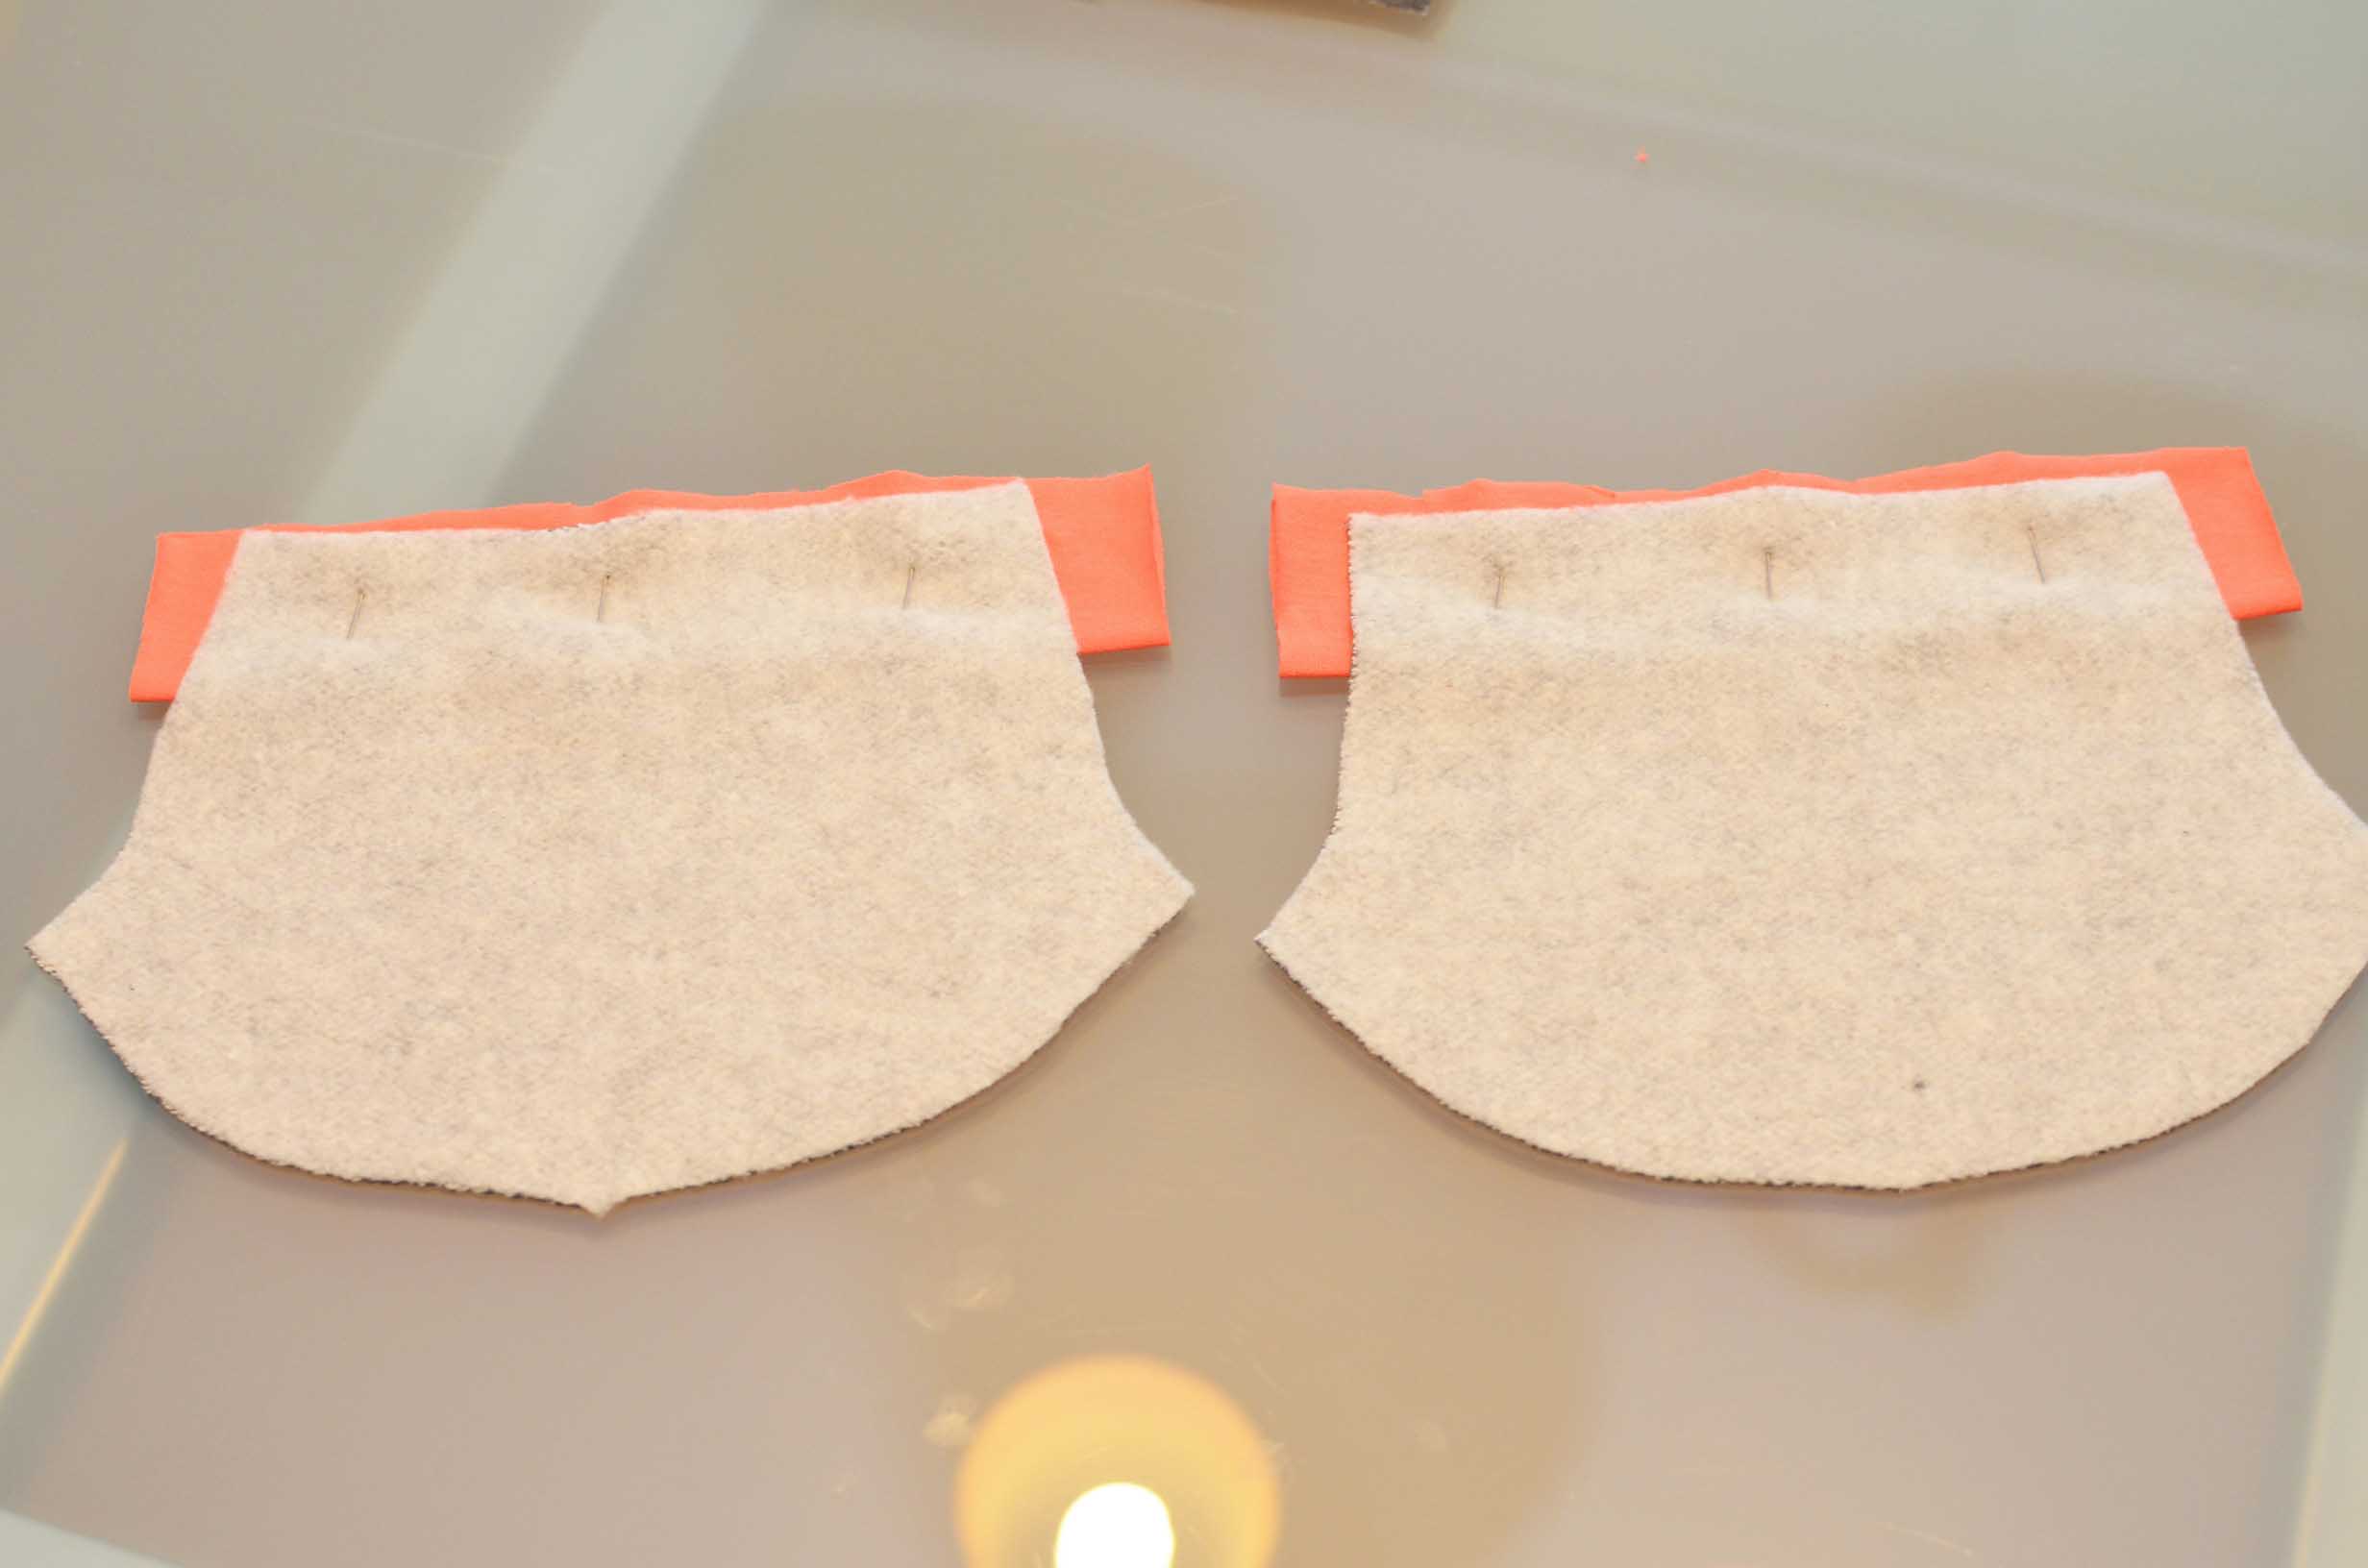
Here is the main stretch sweat shirt material that I used, and the pattern size is 0-3 months.
 Make sure the pattern isn’t upside down.
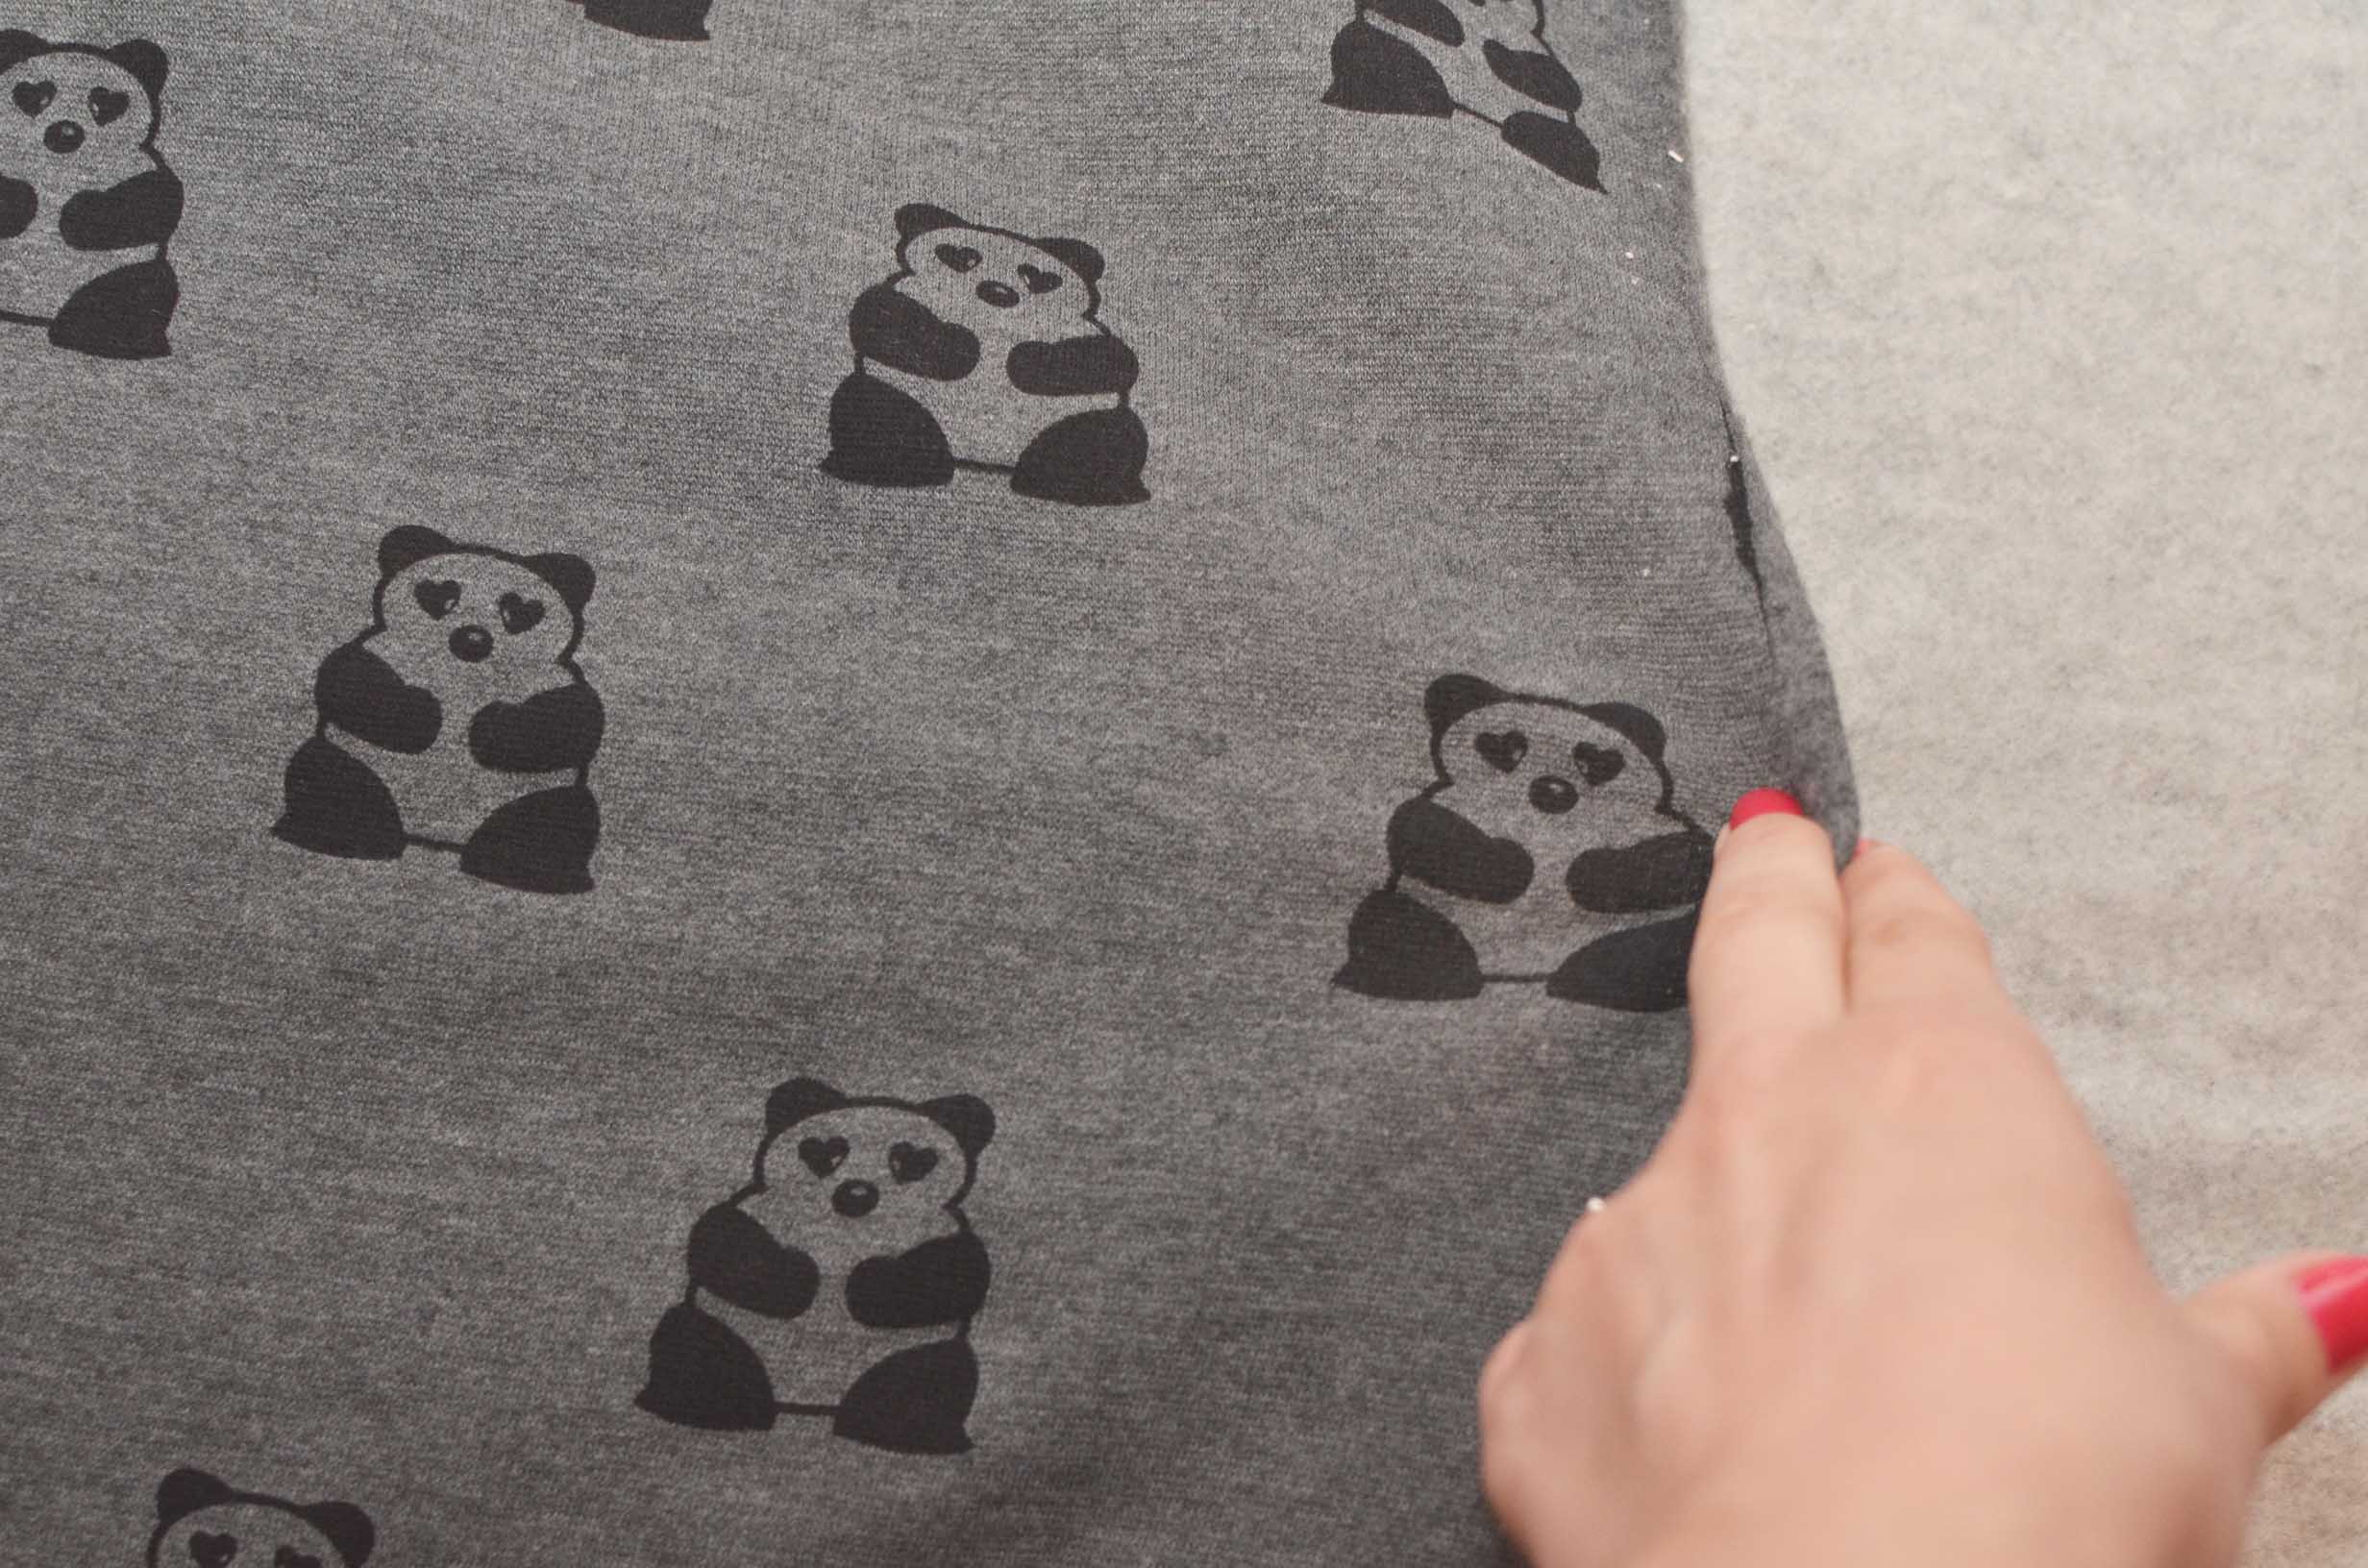
Make sure you know which direction the stretch goes.

Place the pattern pieces in the correct stop, some had to be cut on the fold other did not.
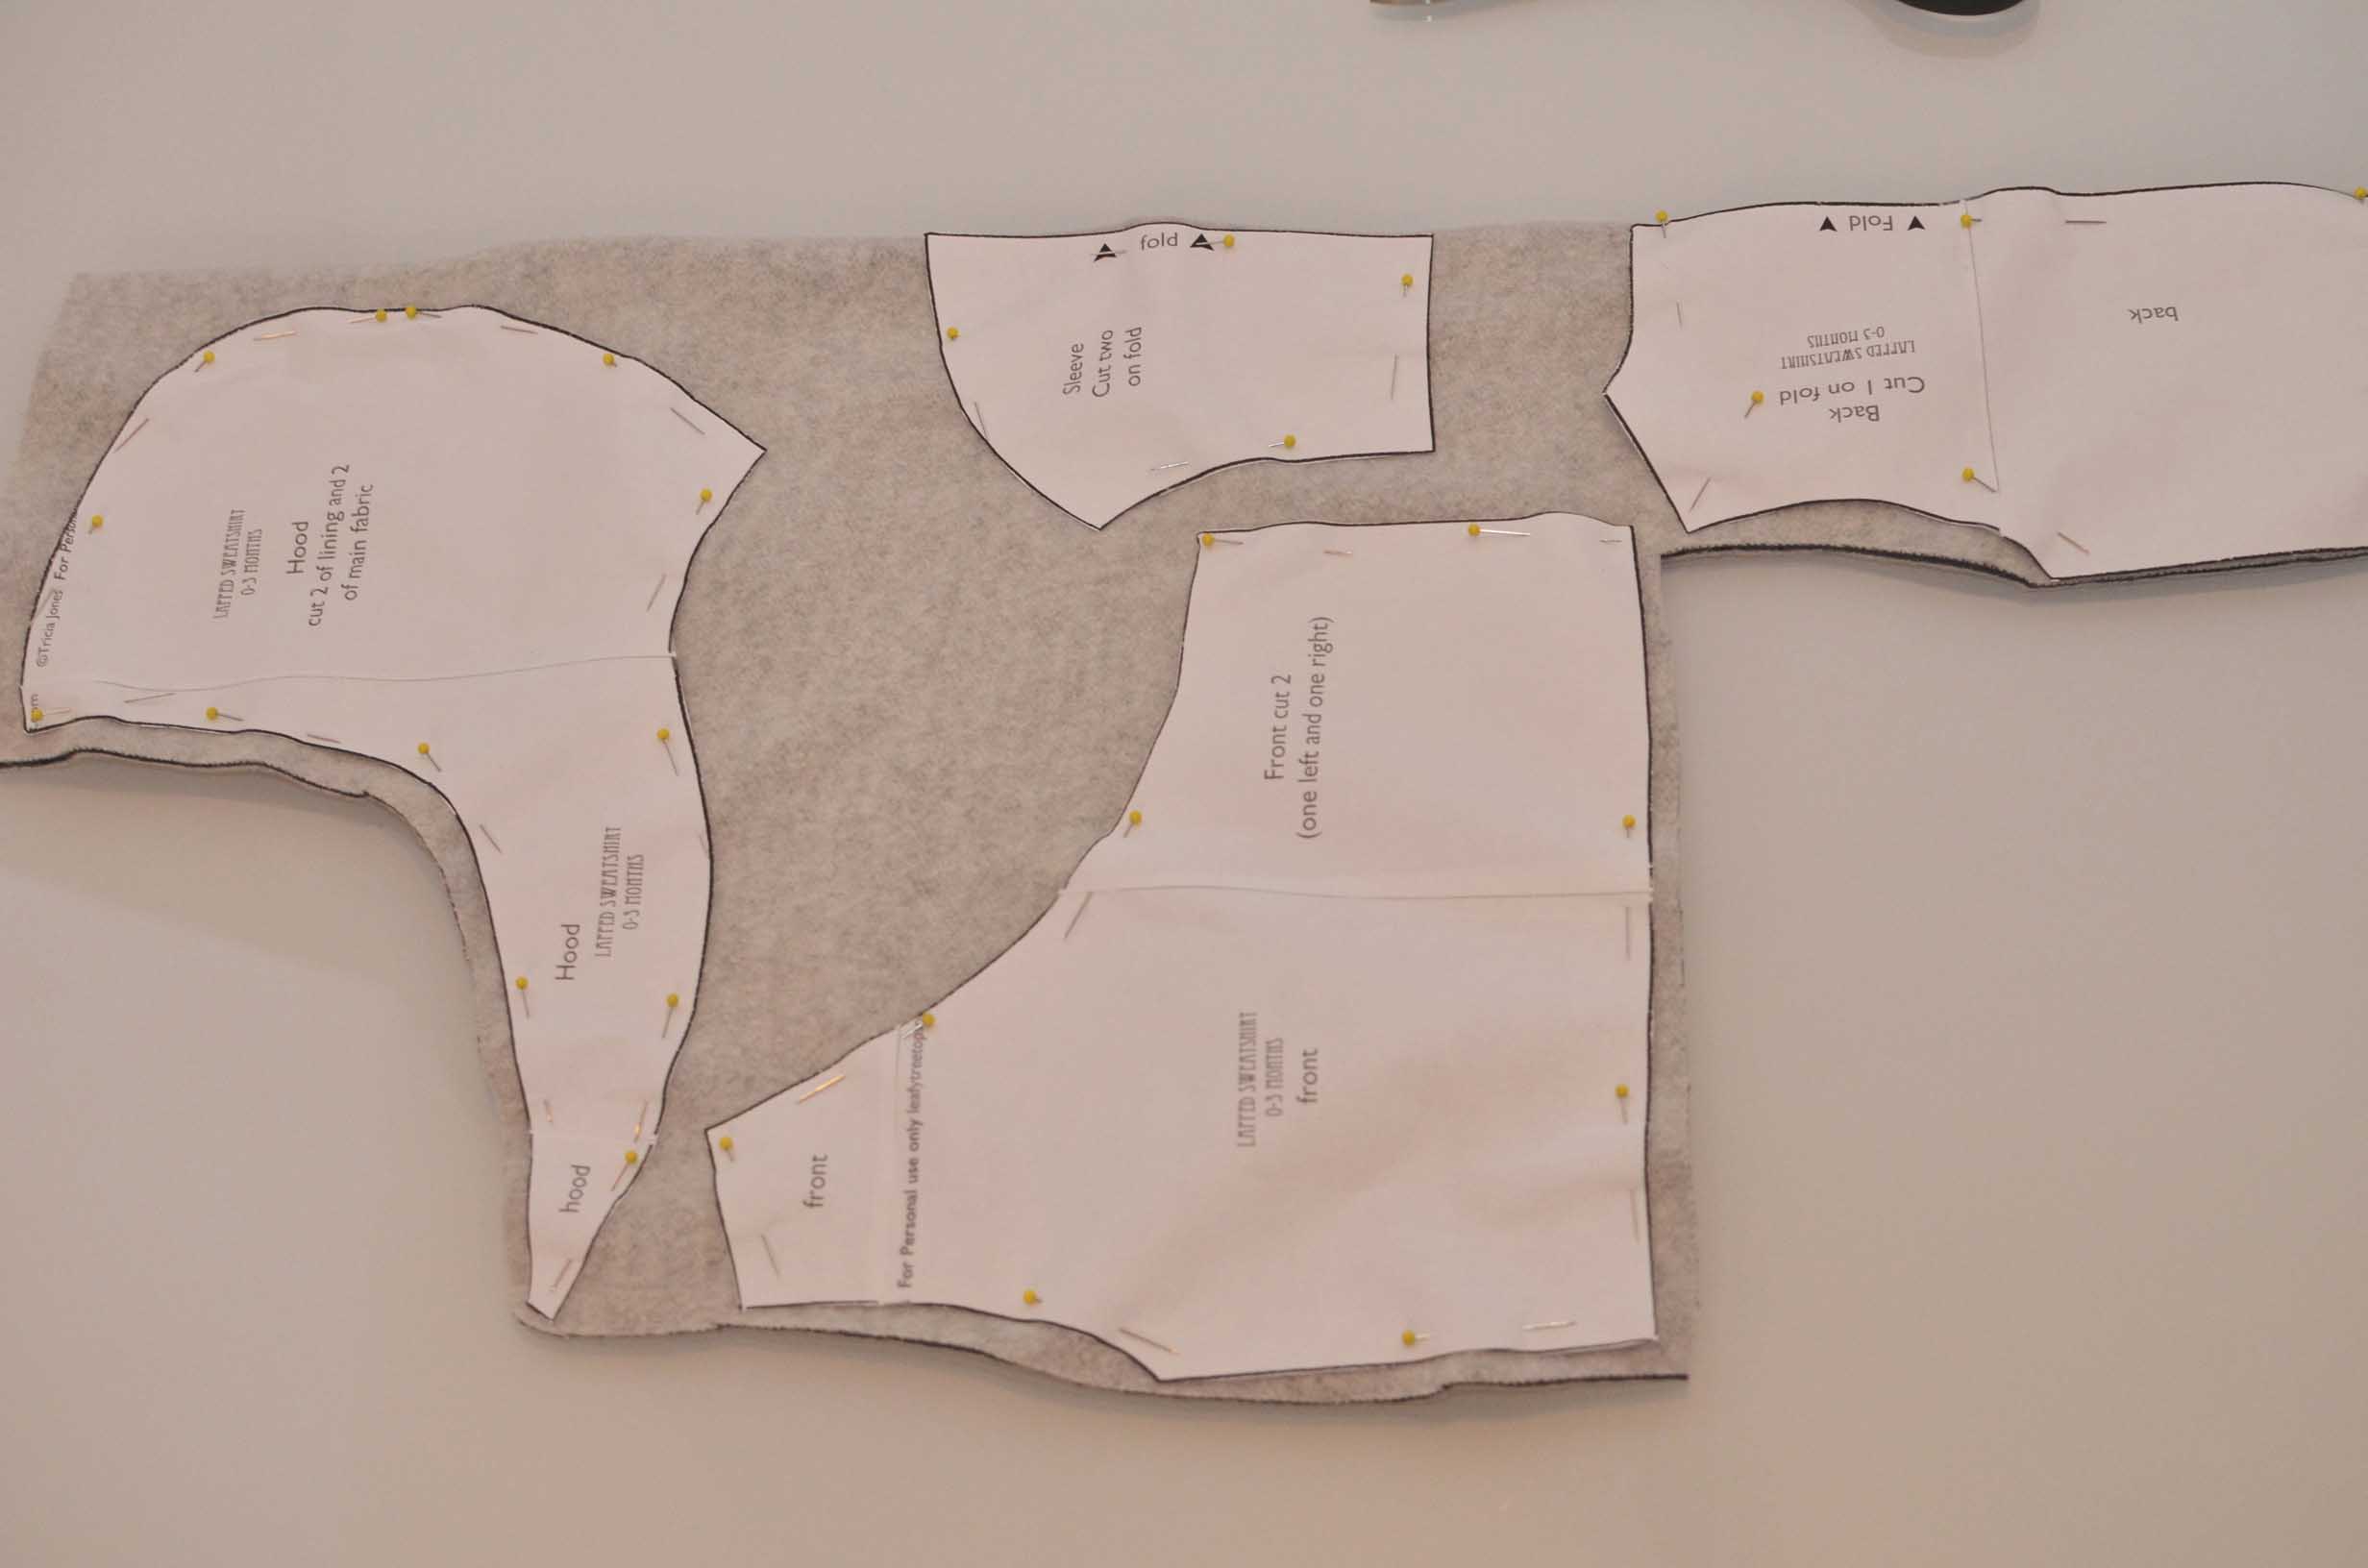
Pin, and cut out.

Trim down.
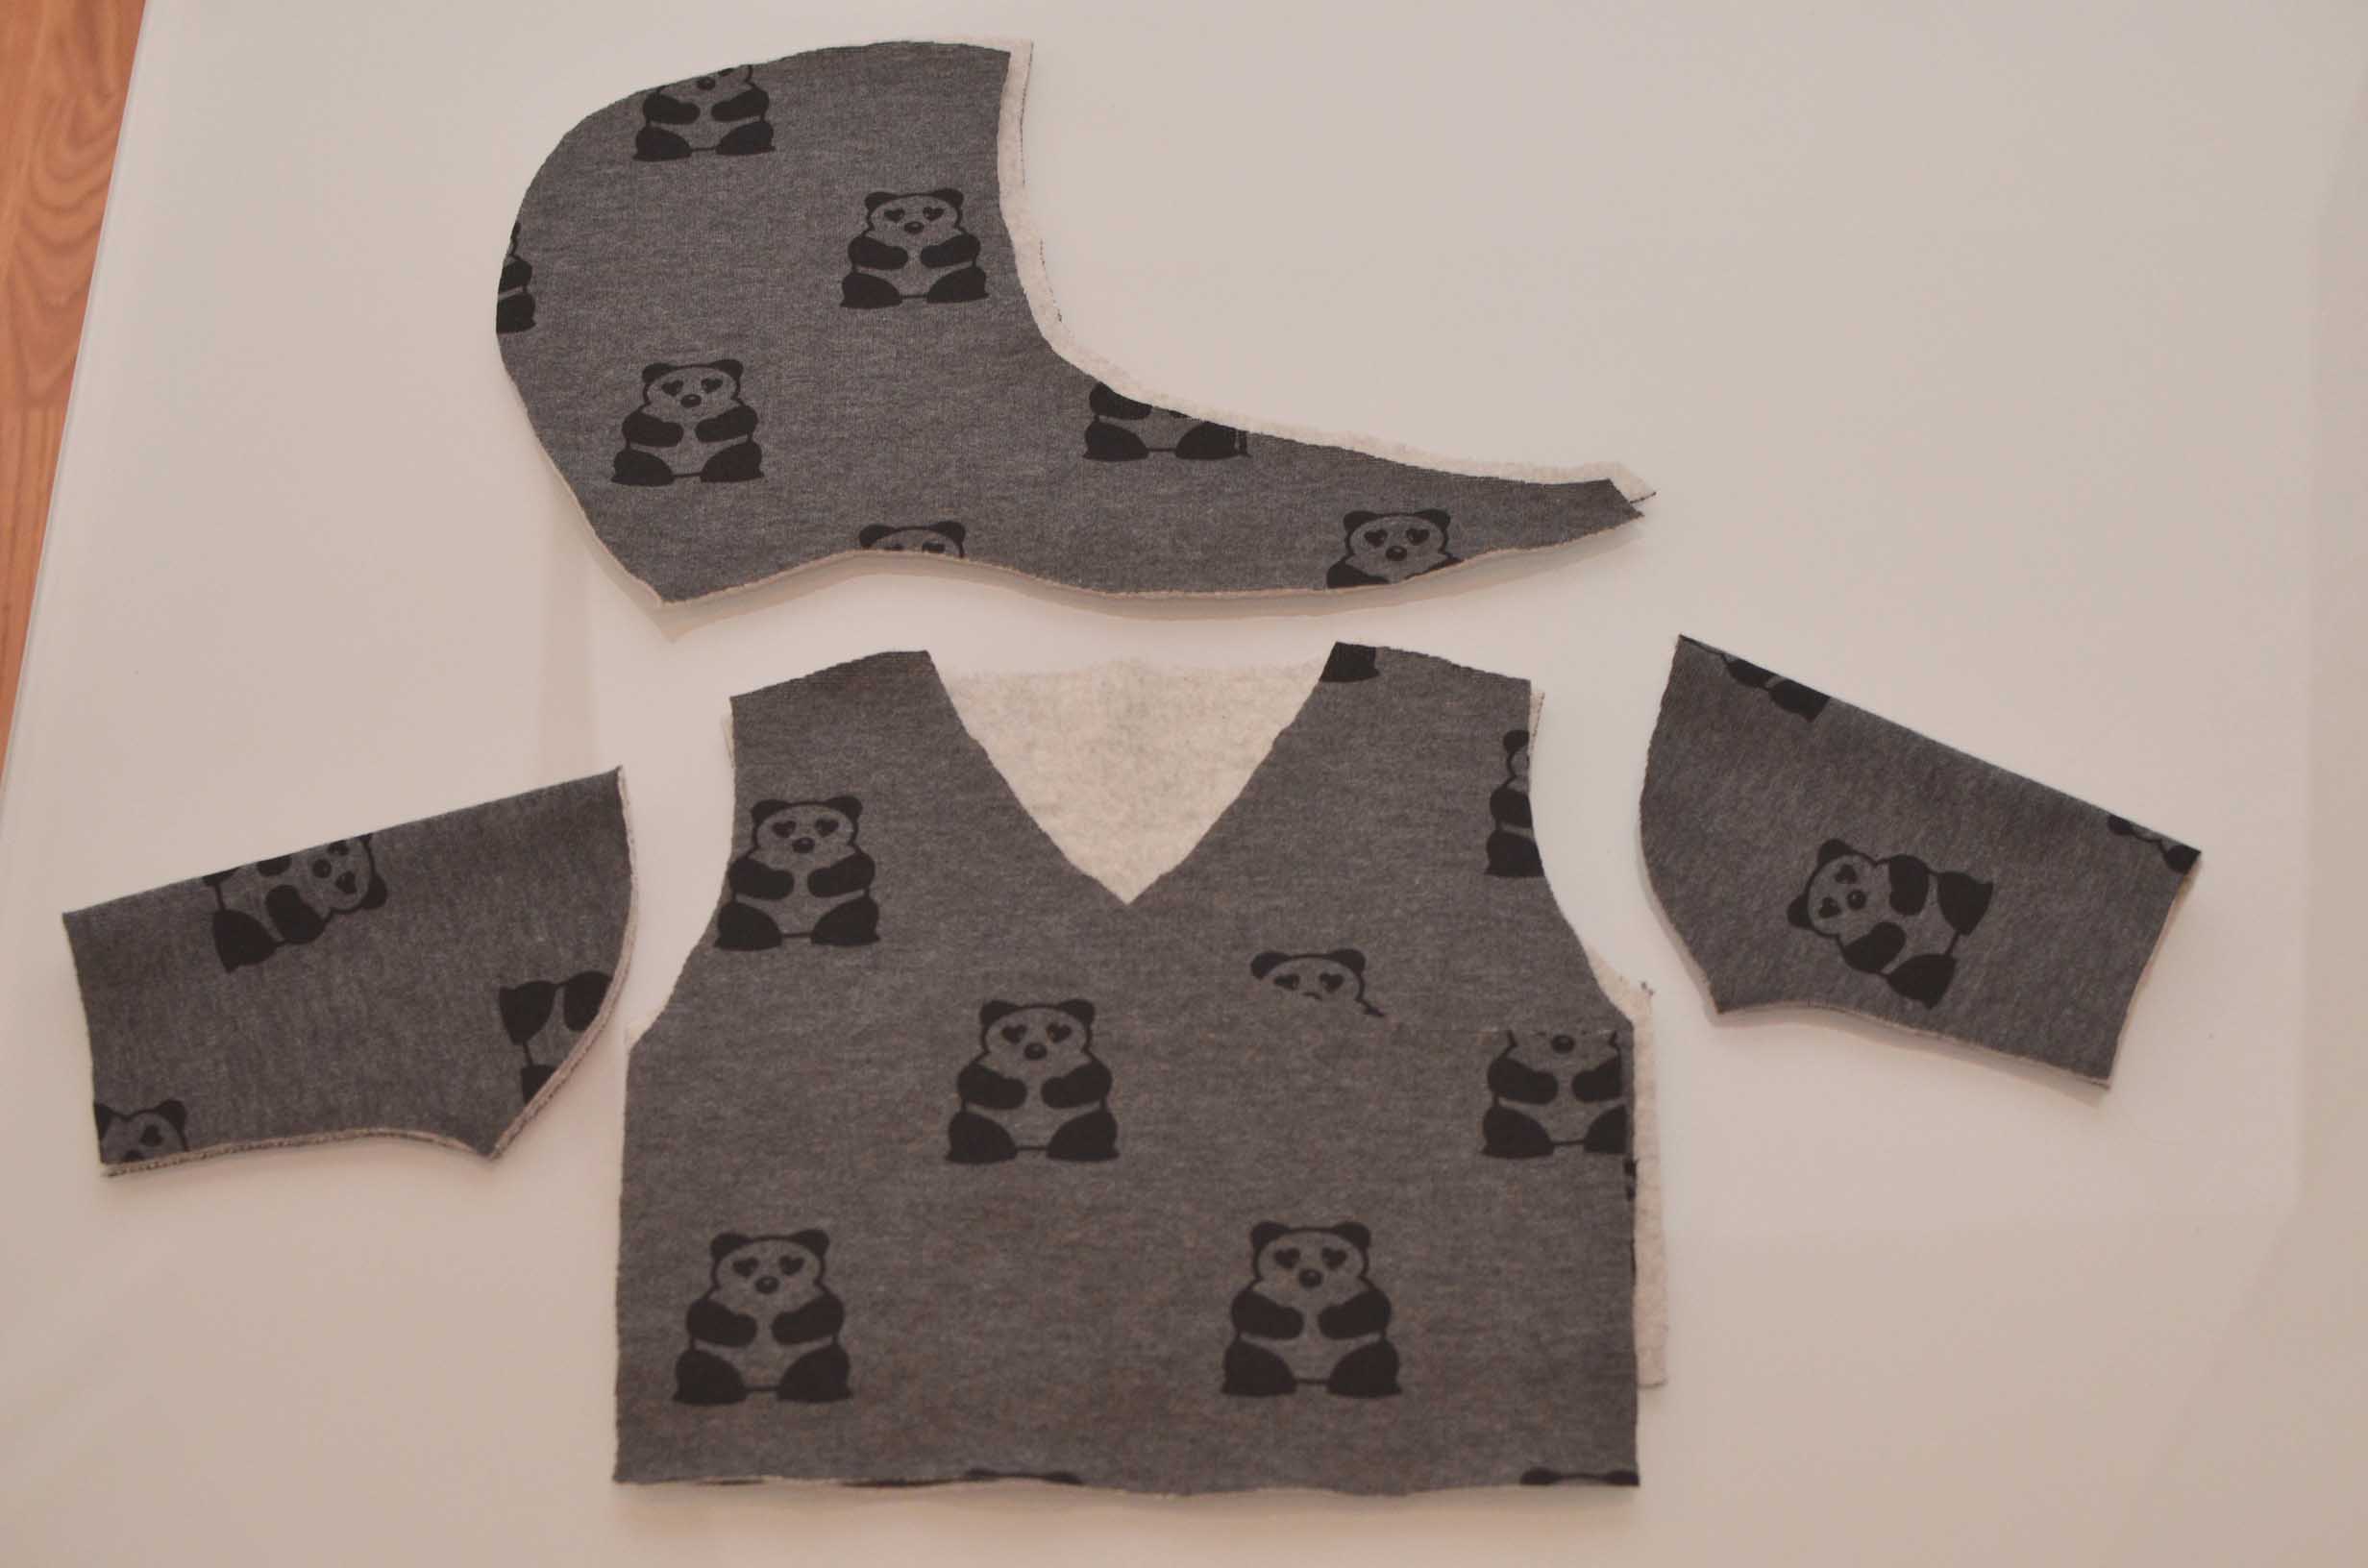
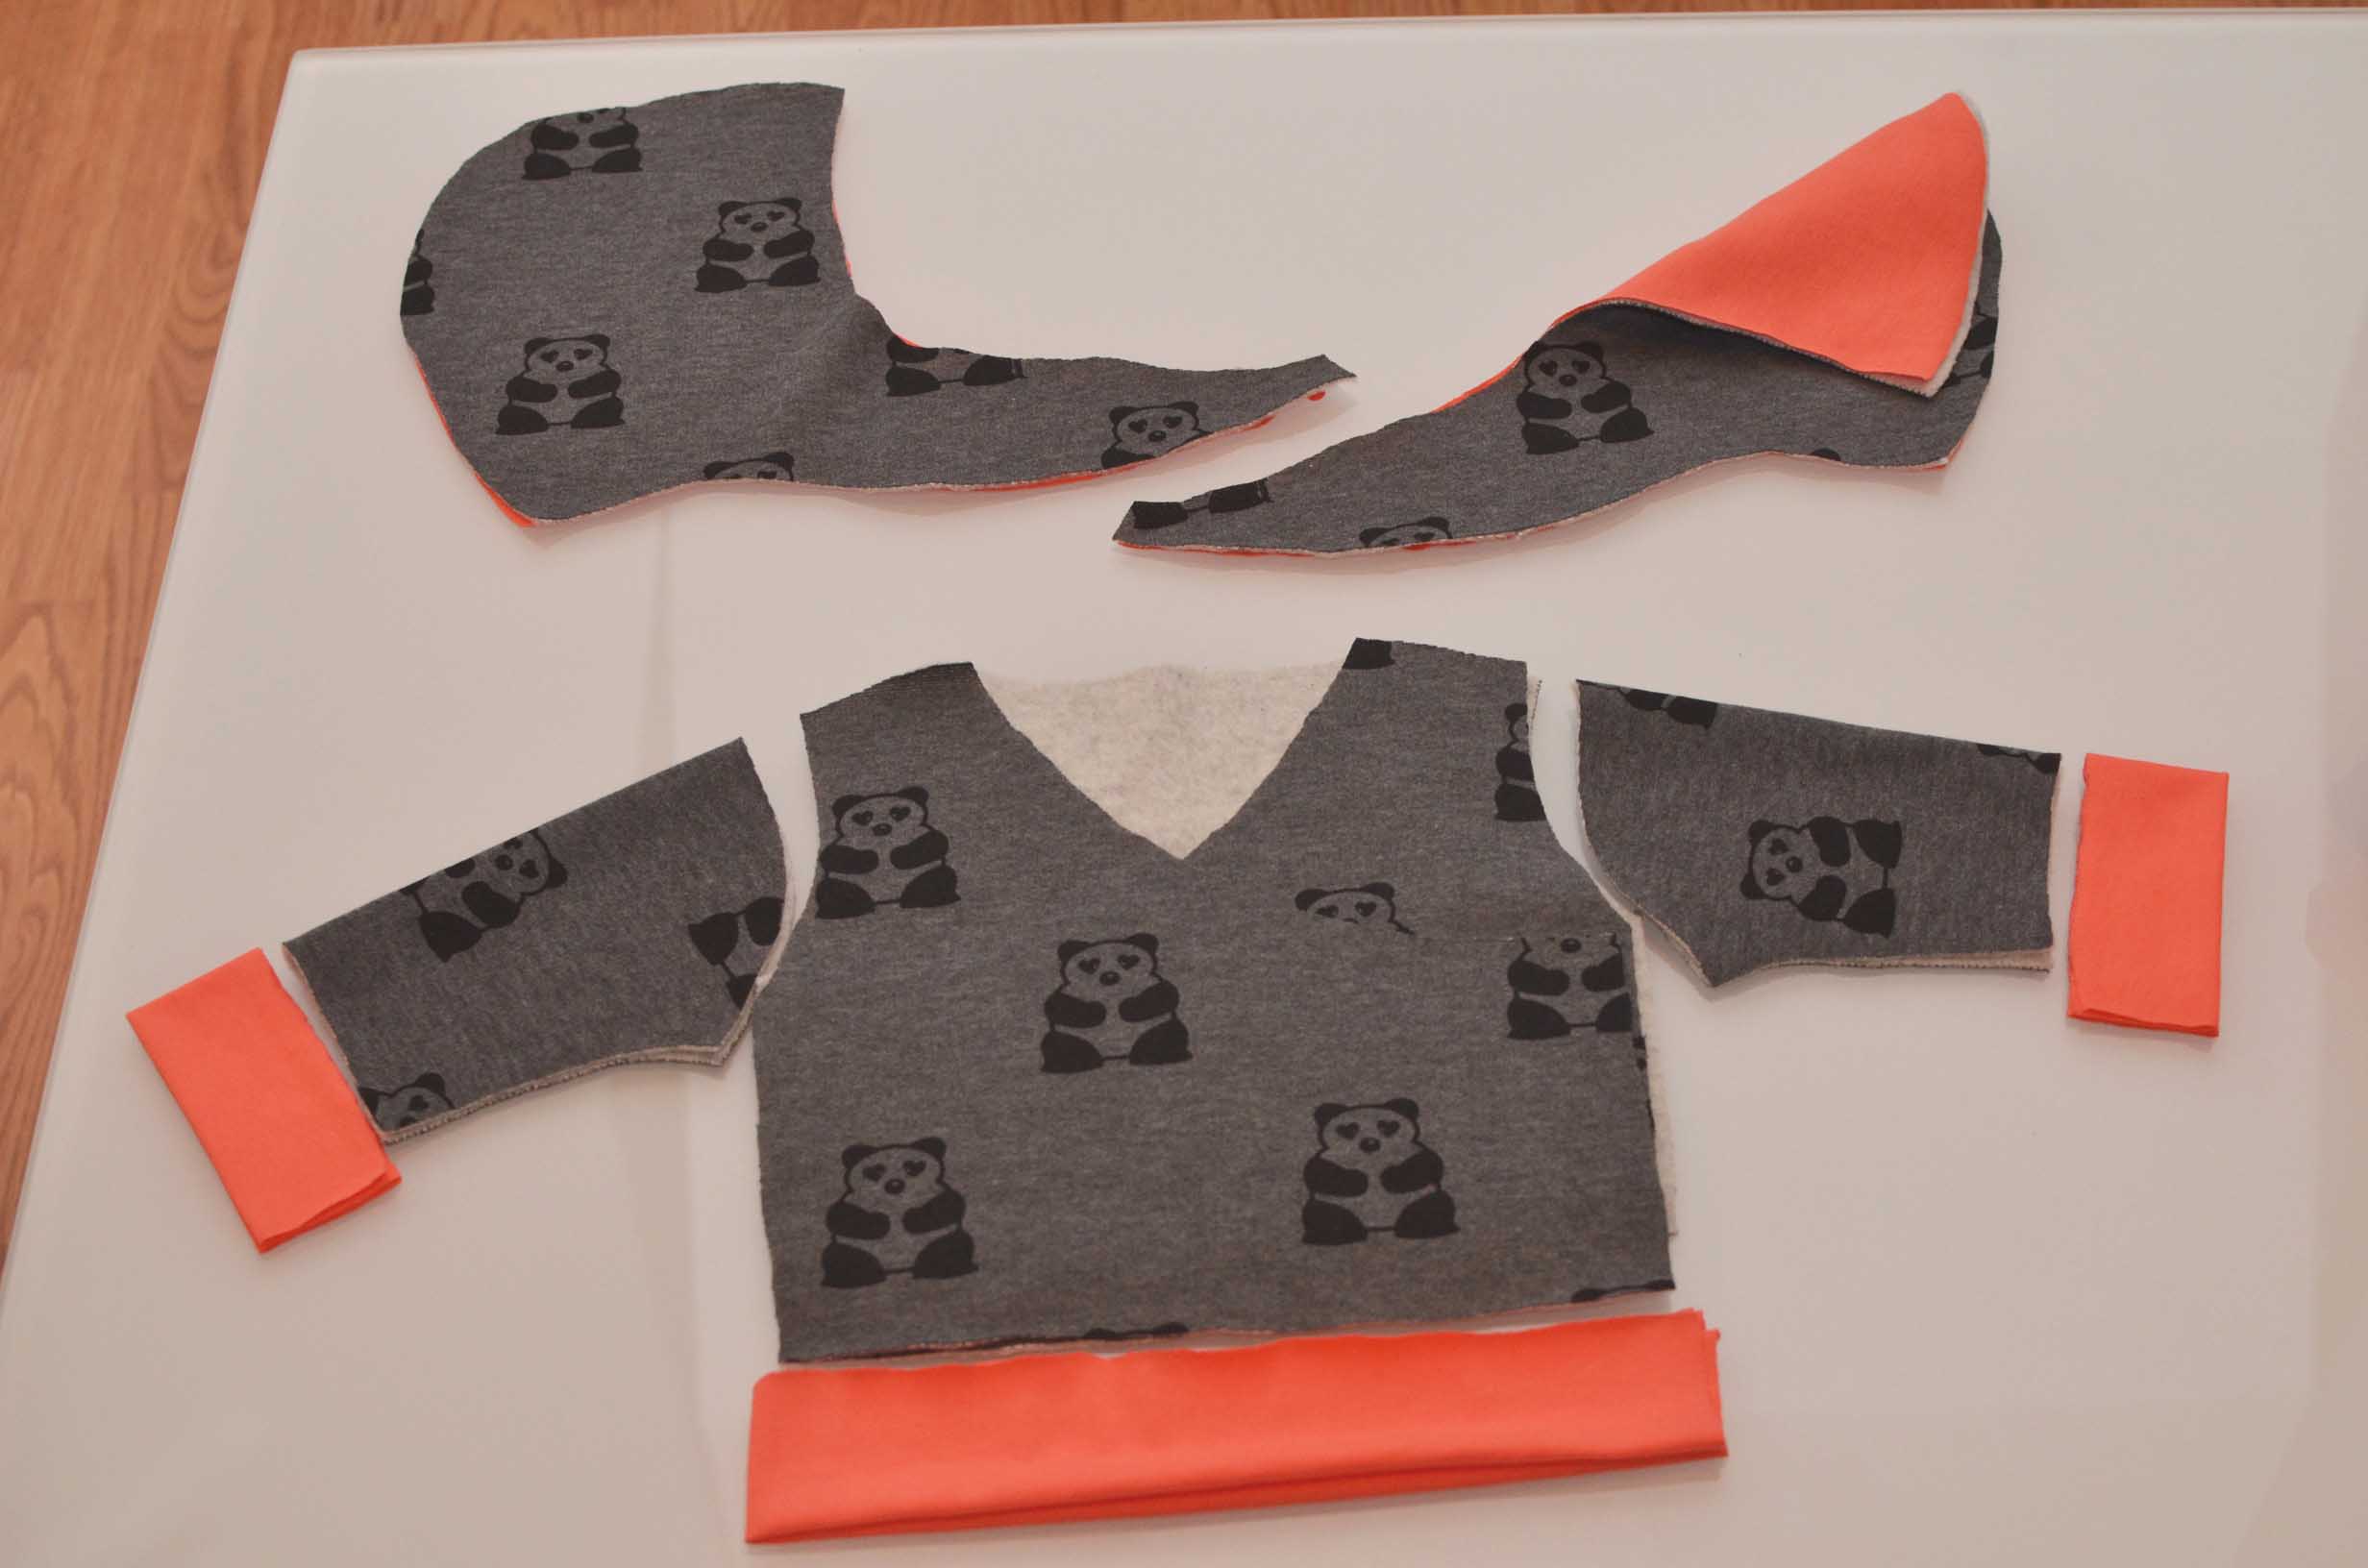
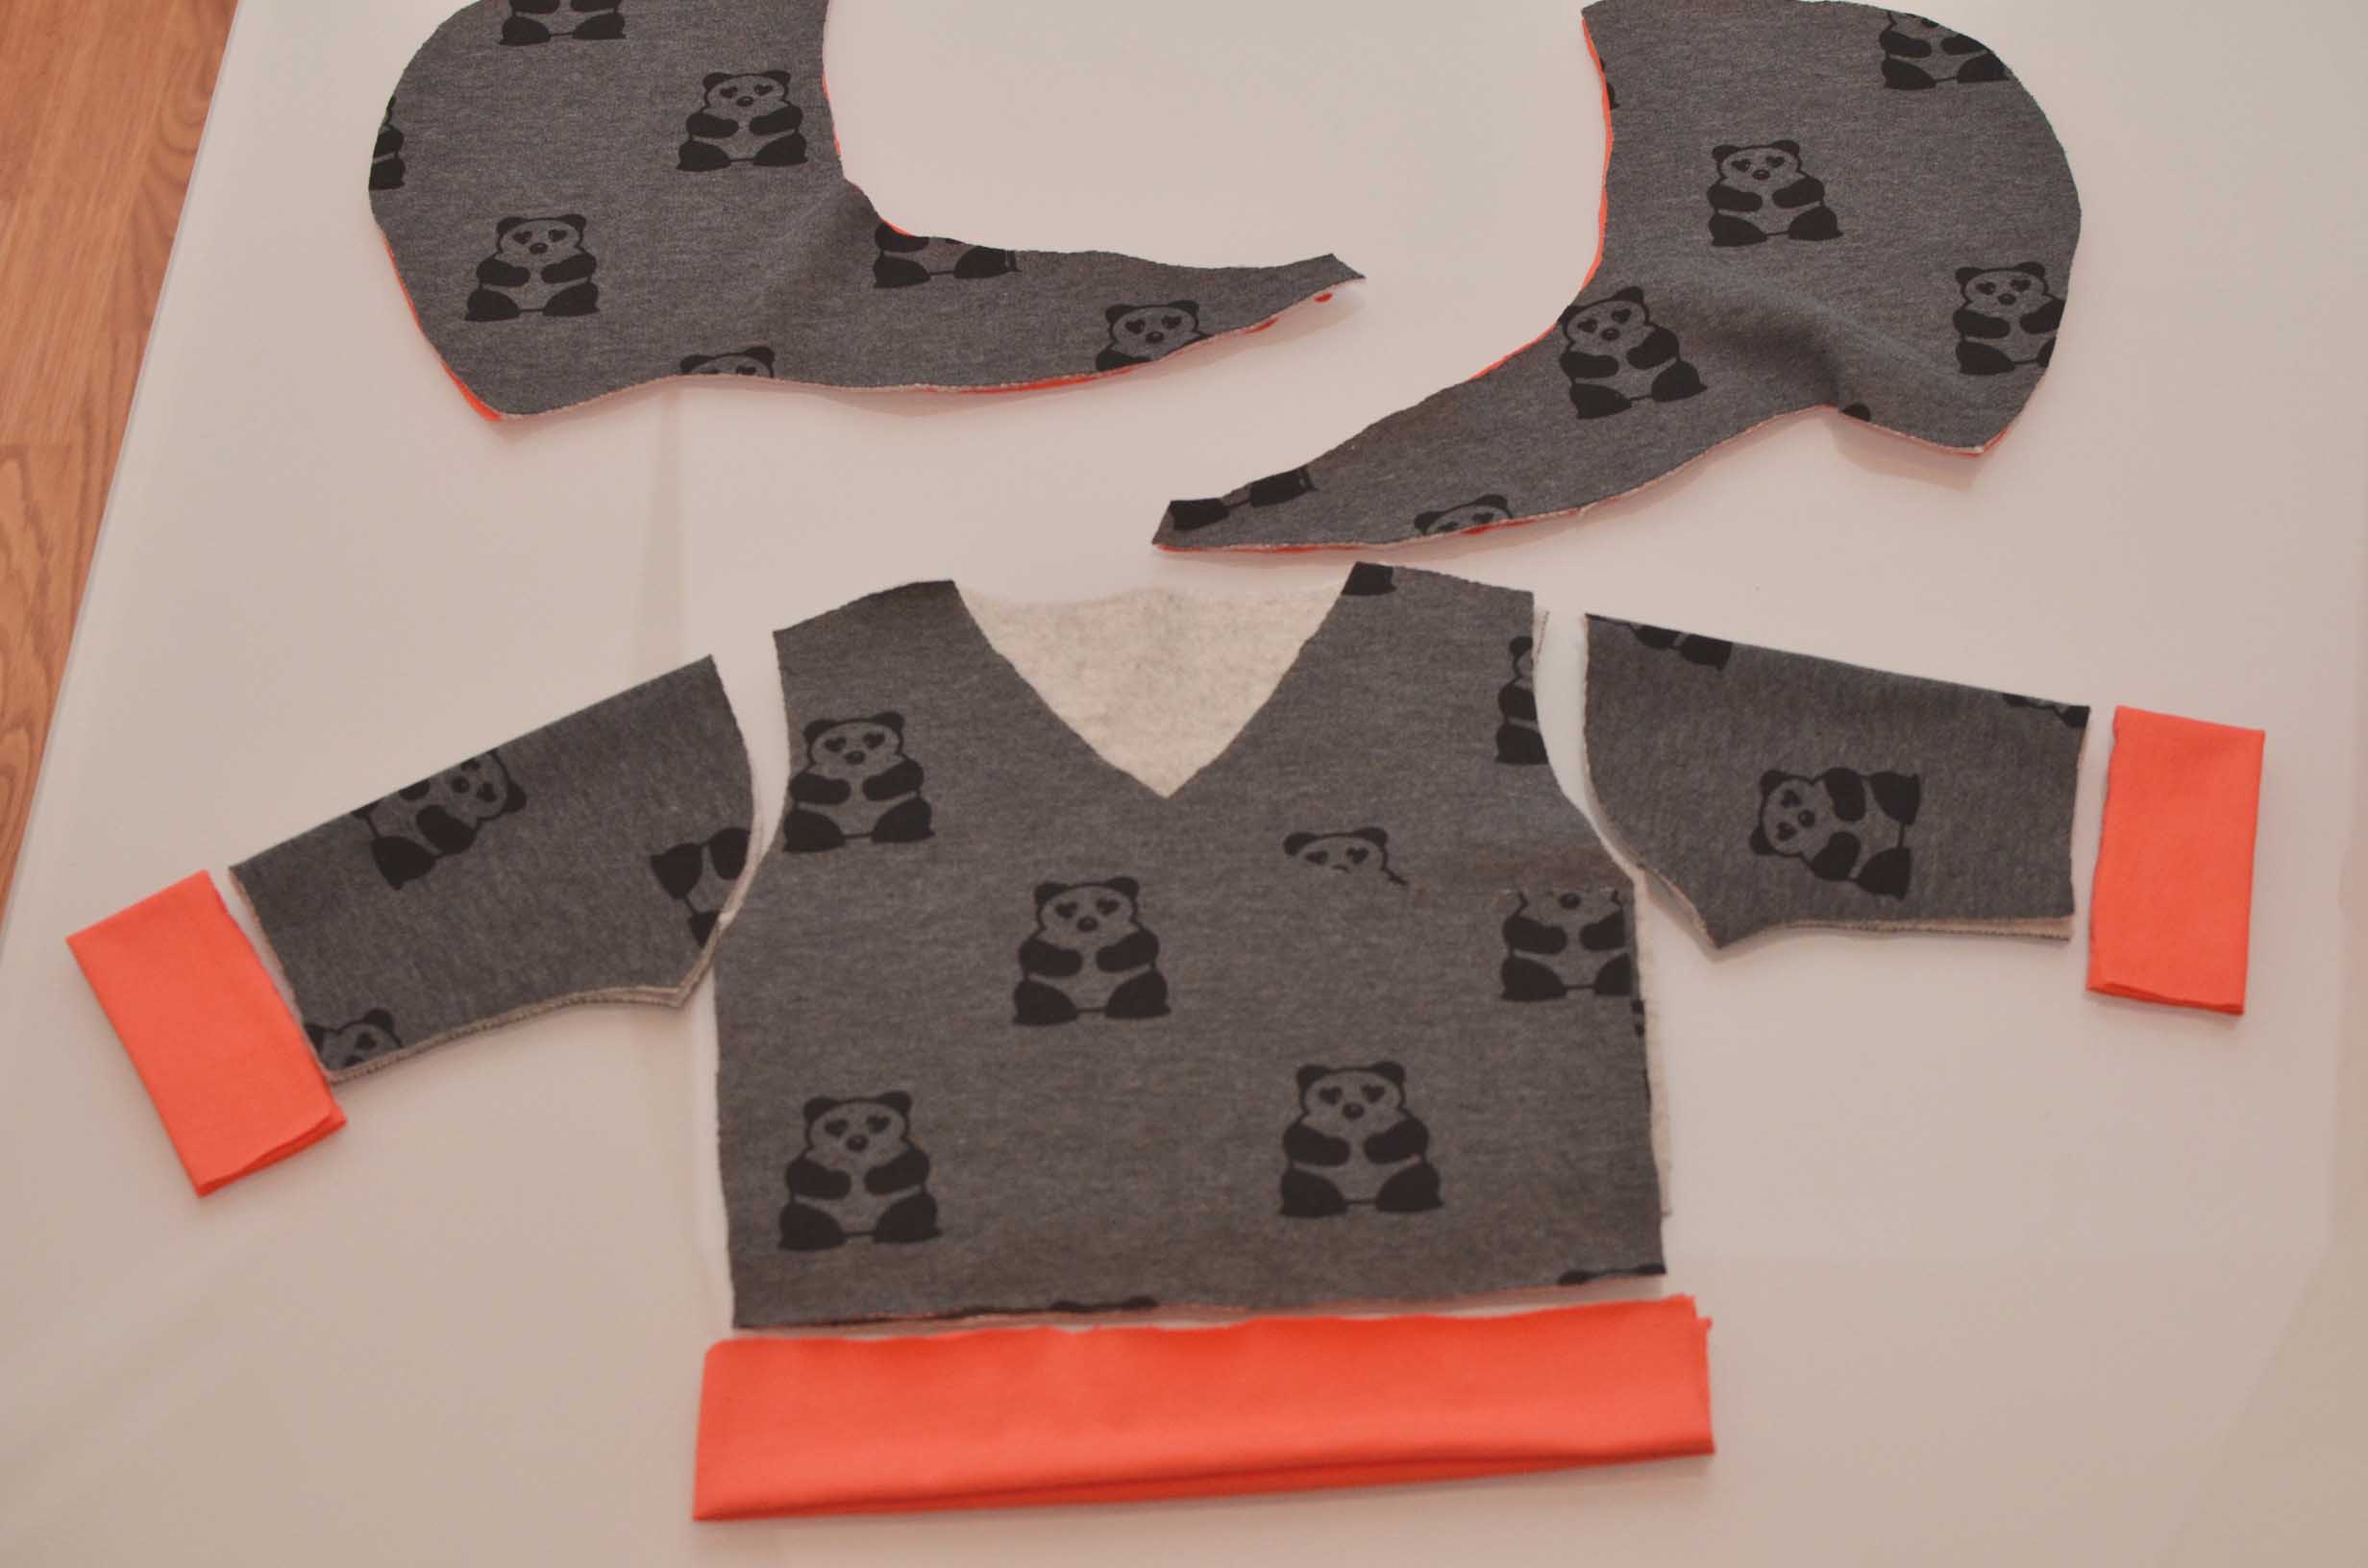
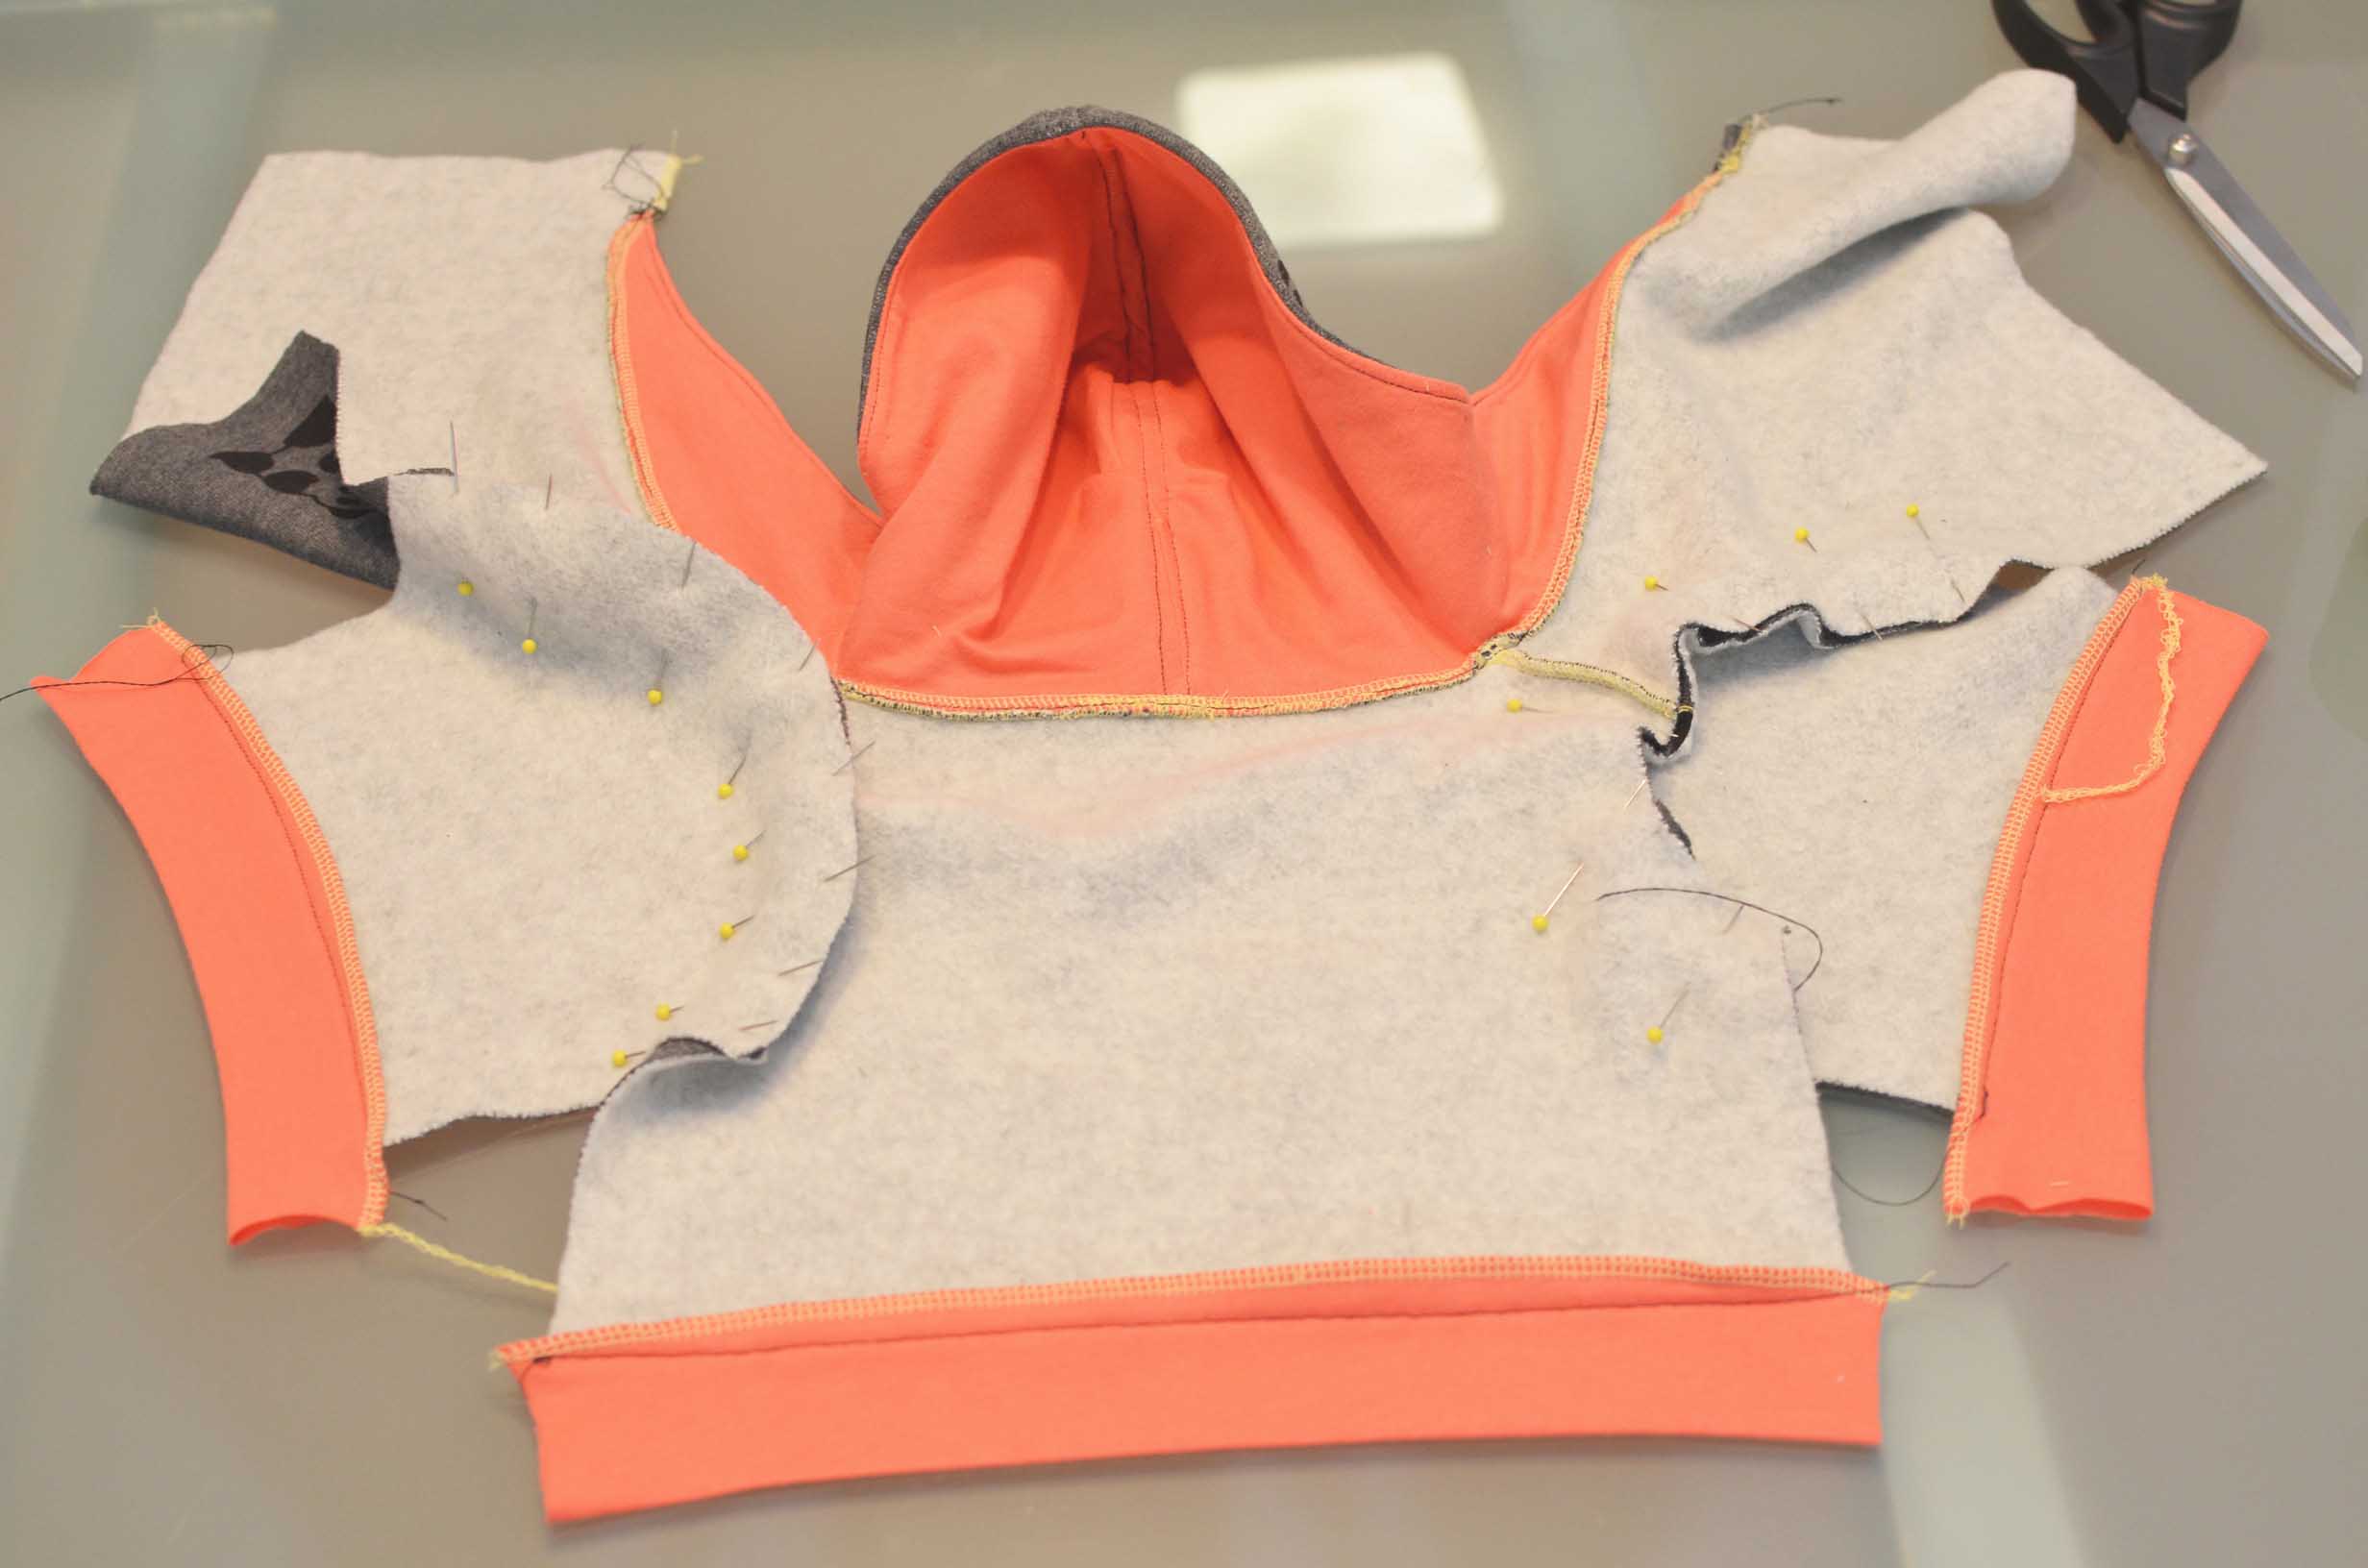
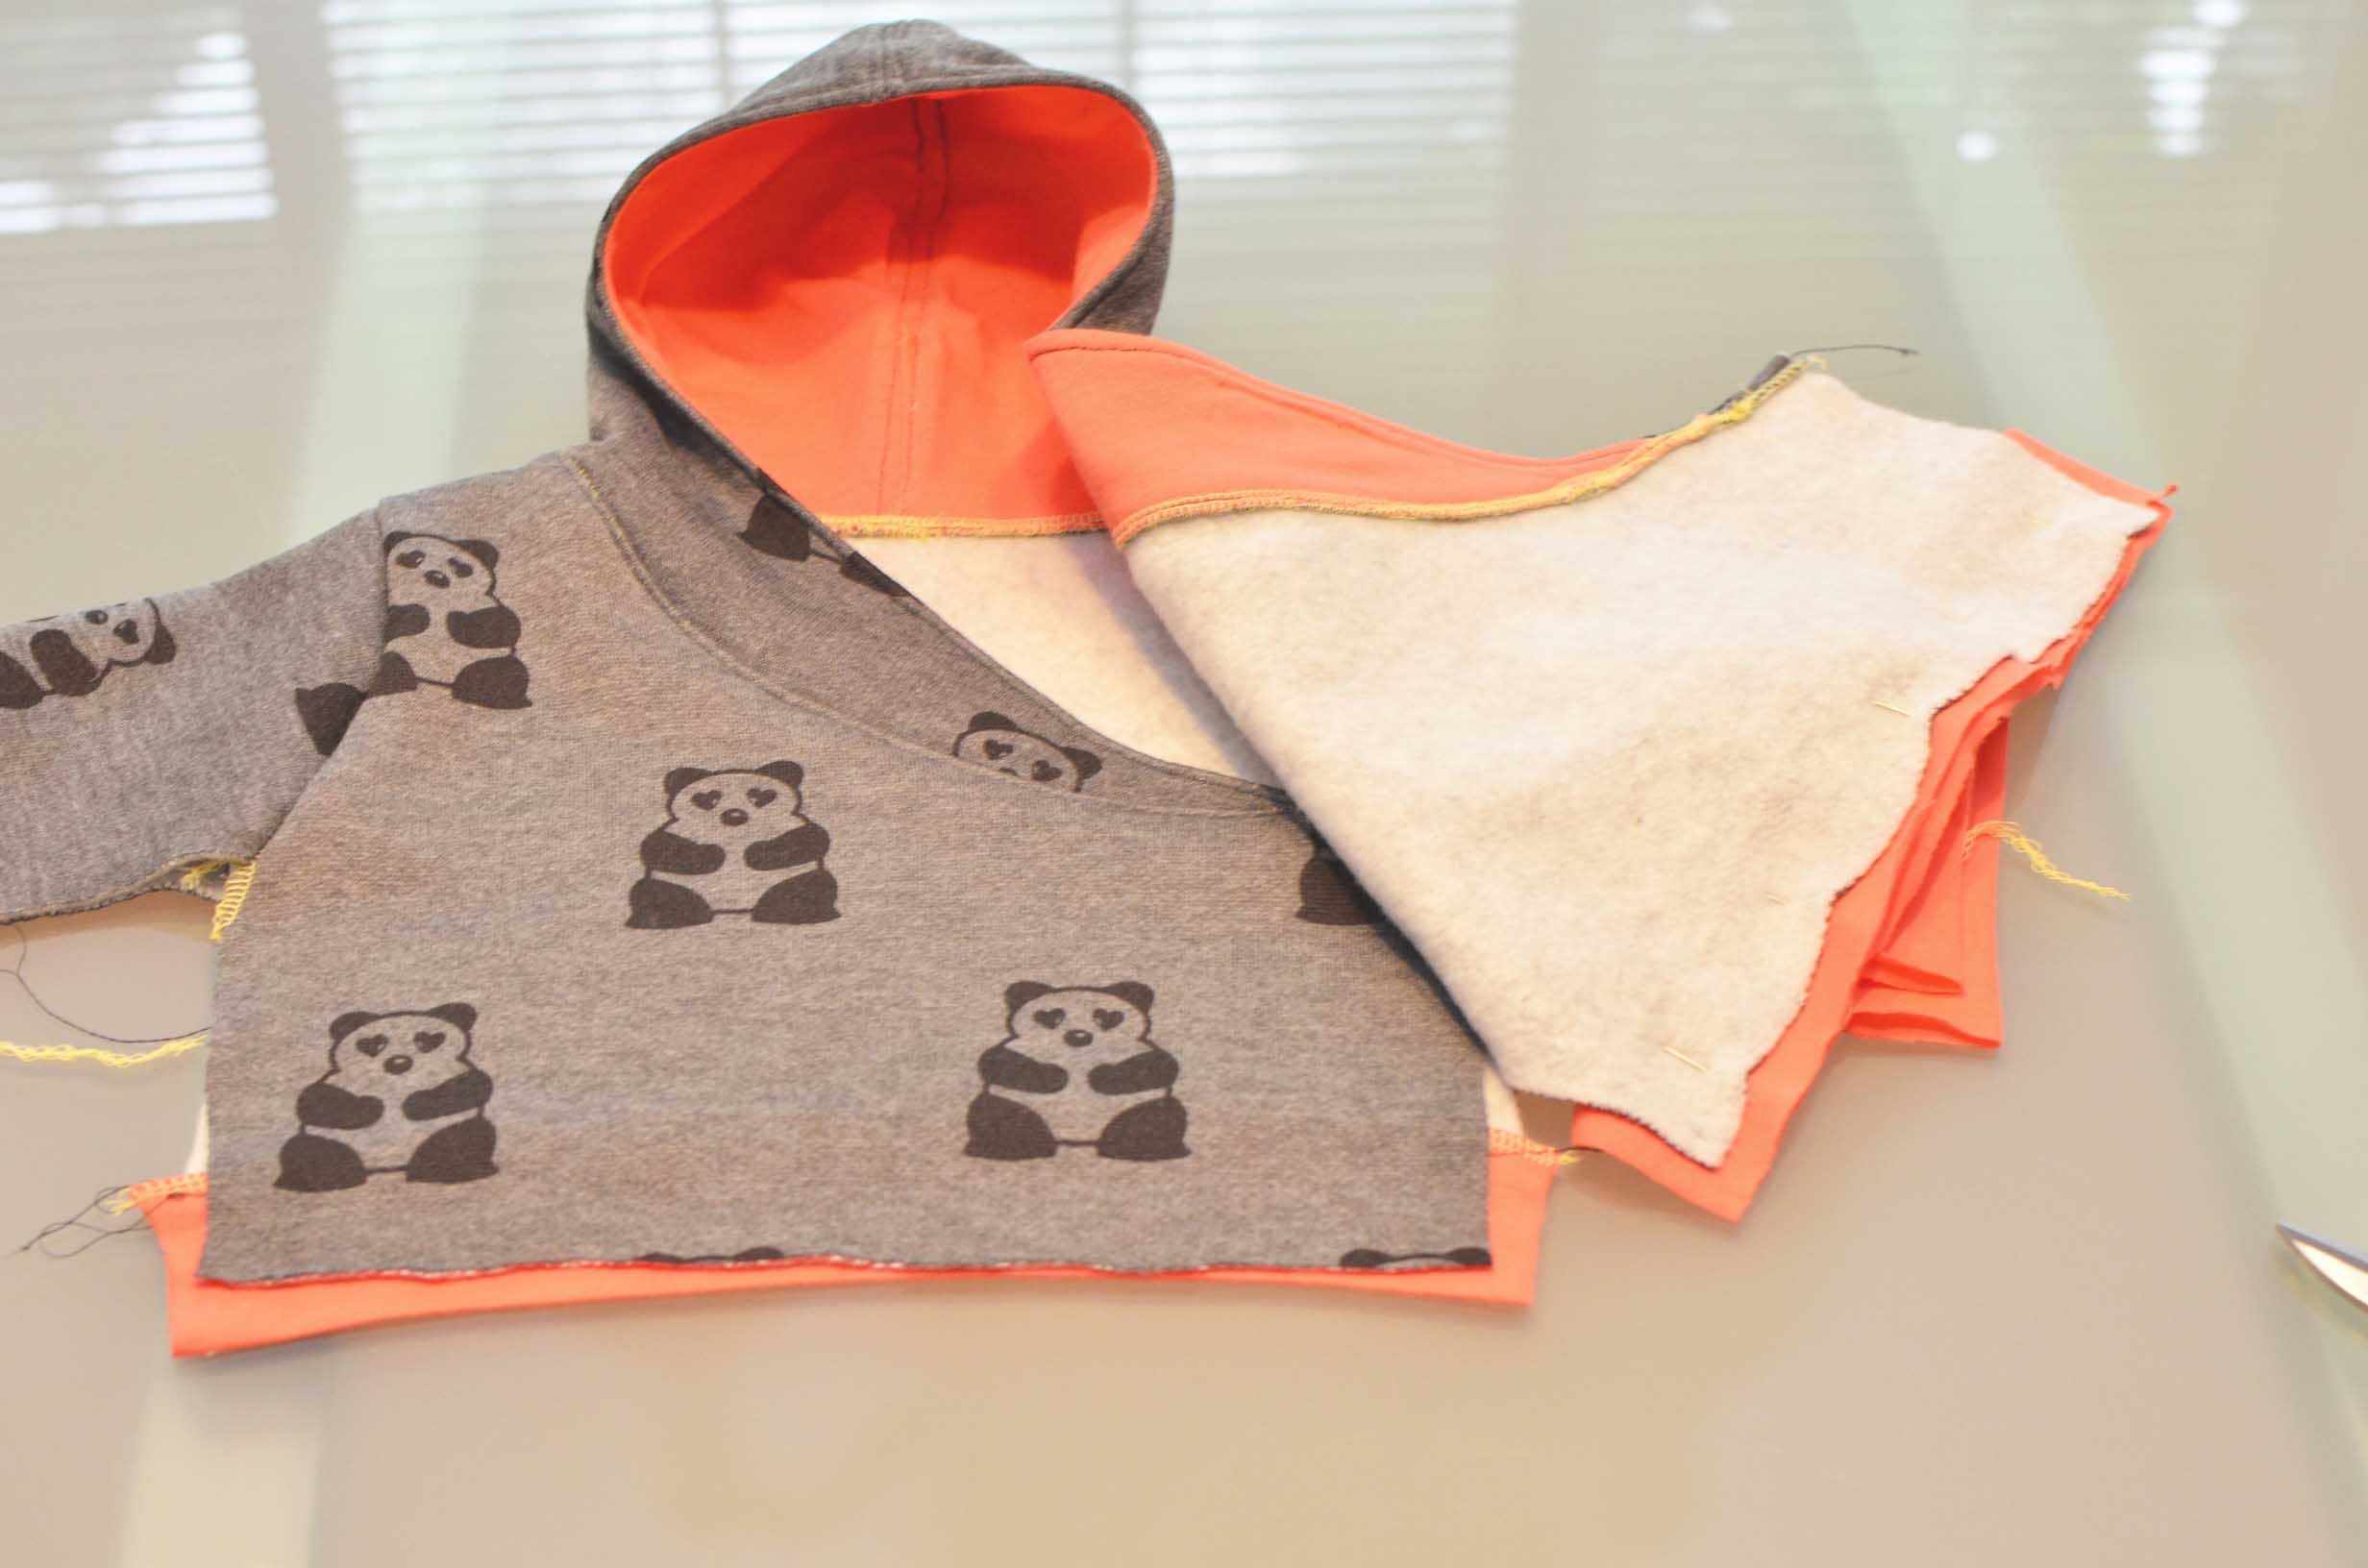
Here you can see the pieces laid out,and already you can make out the shape of the item.
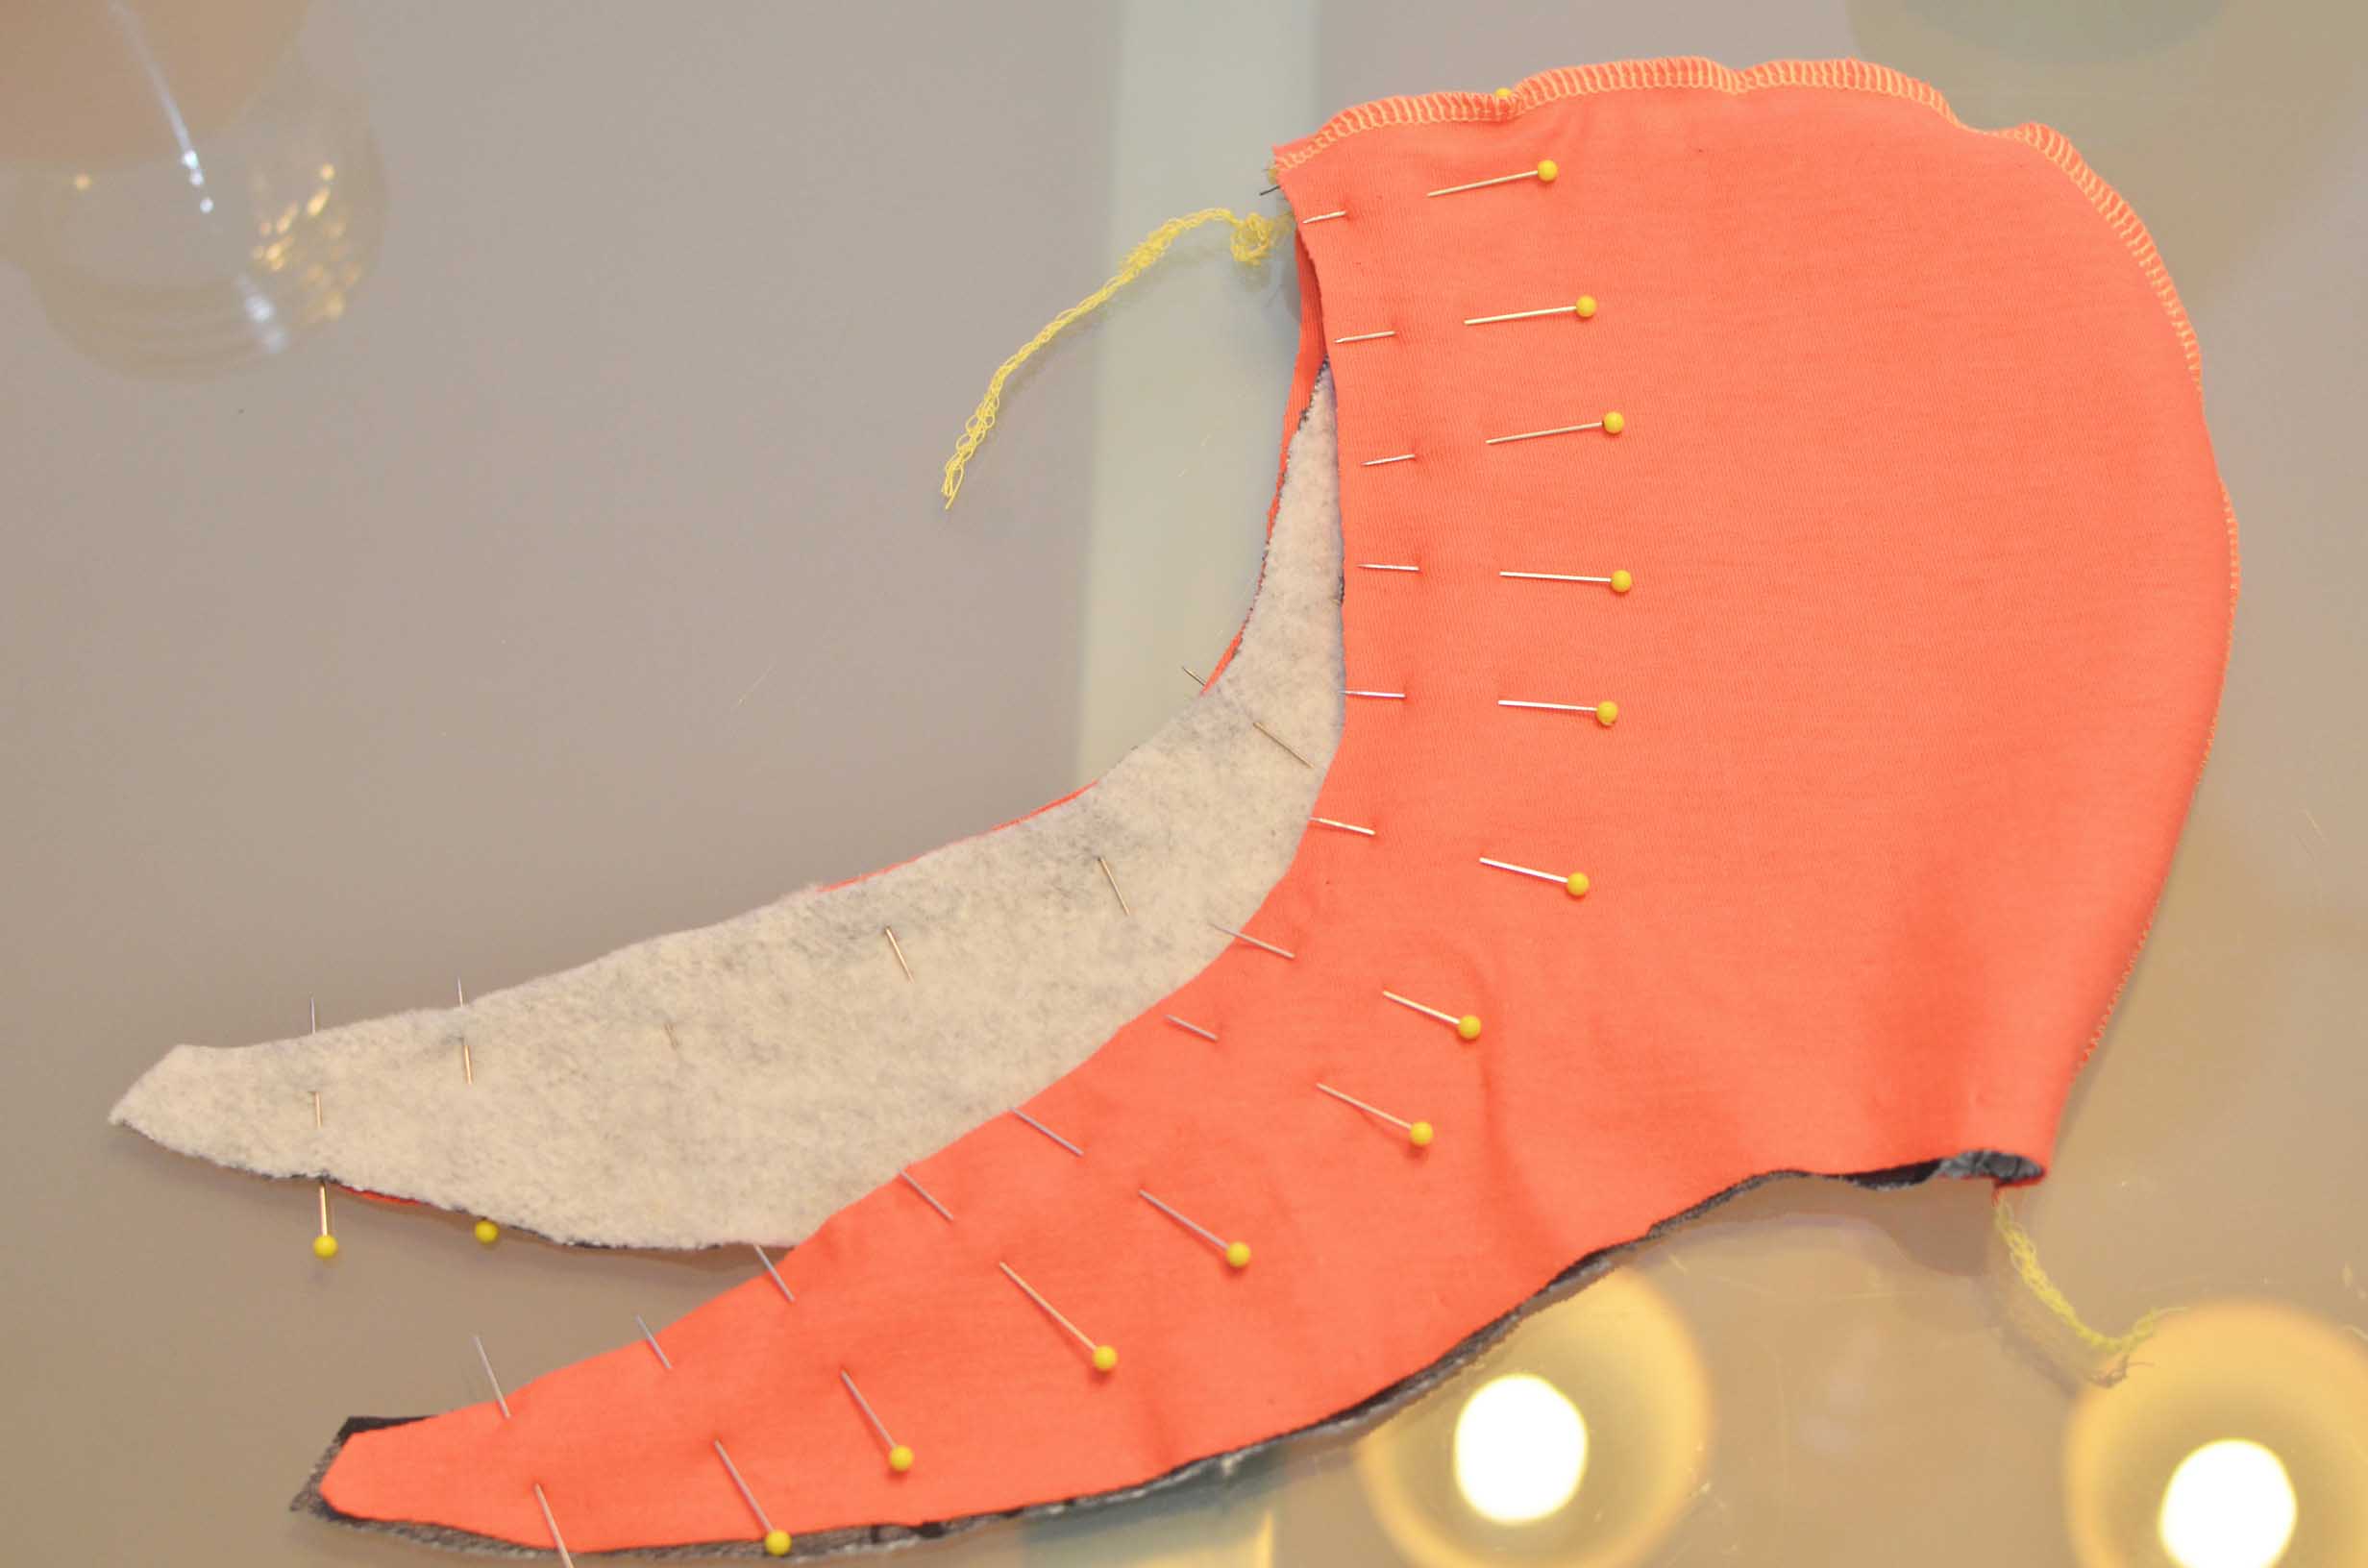
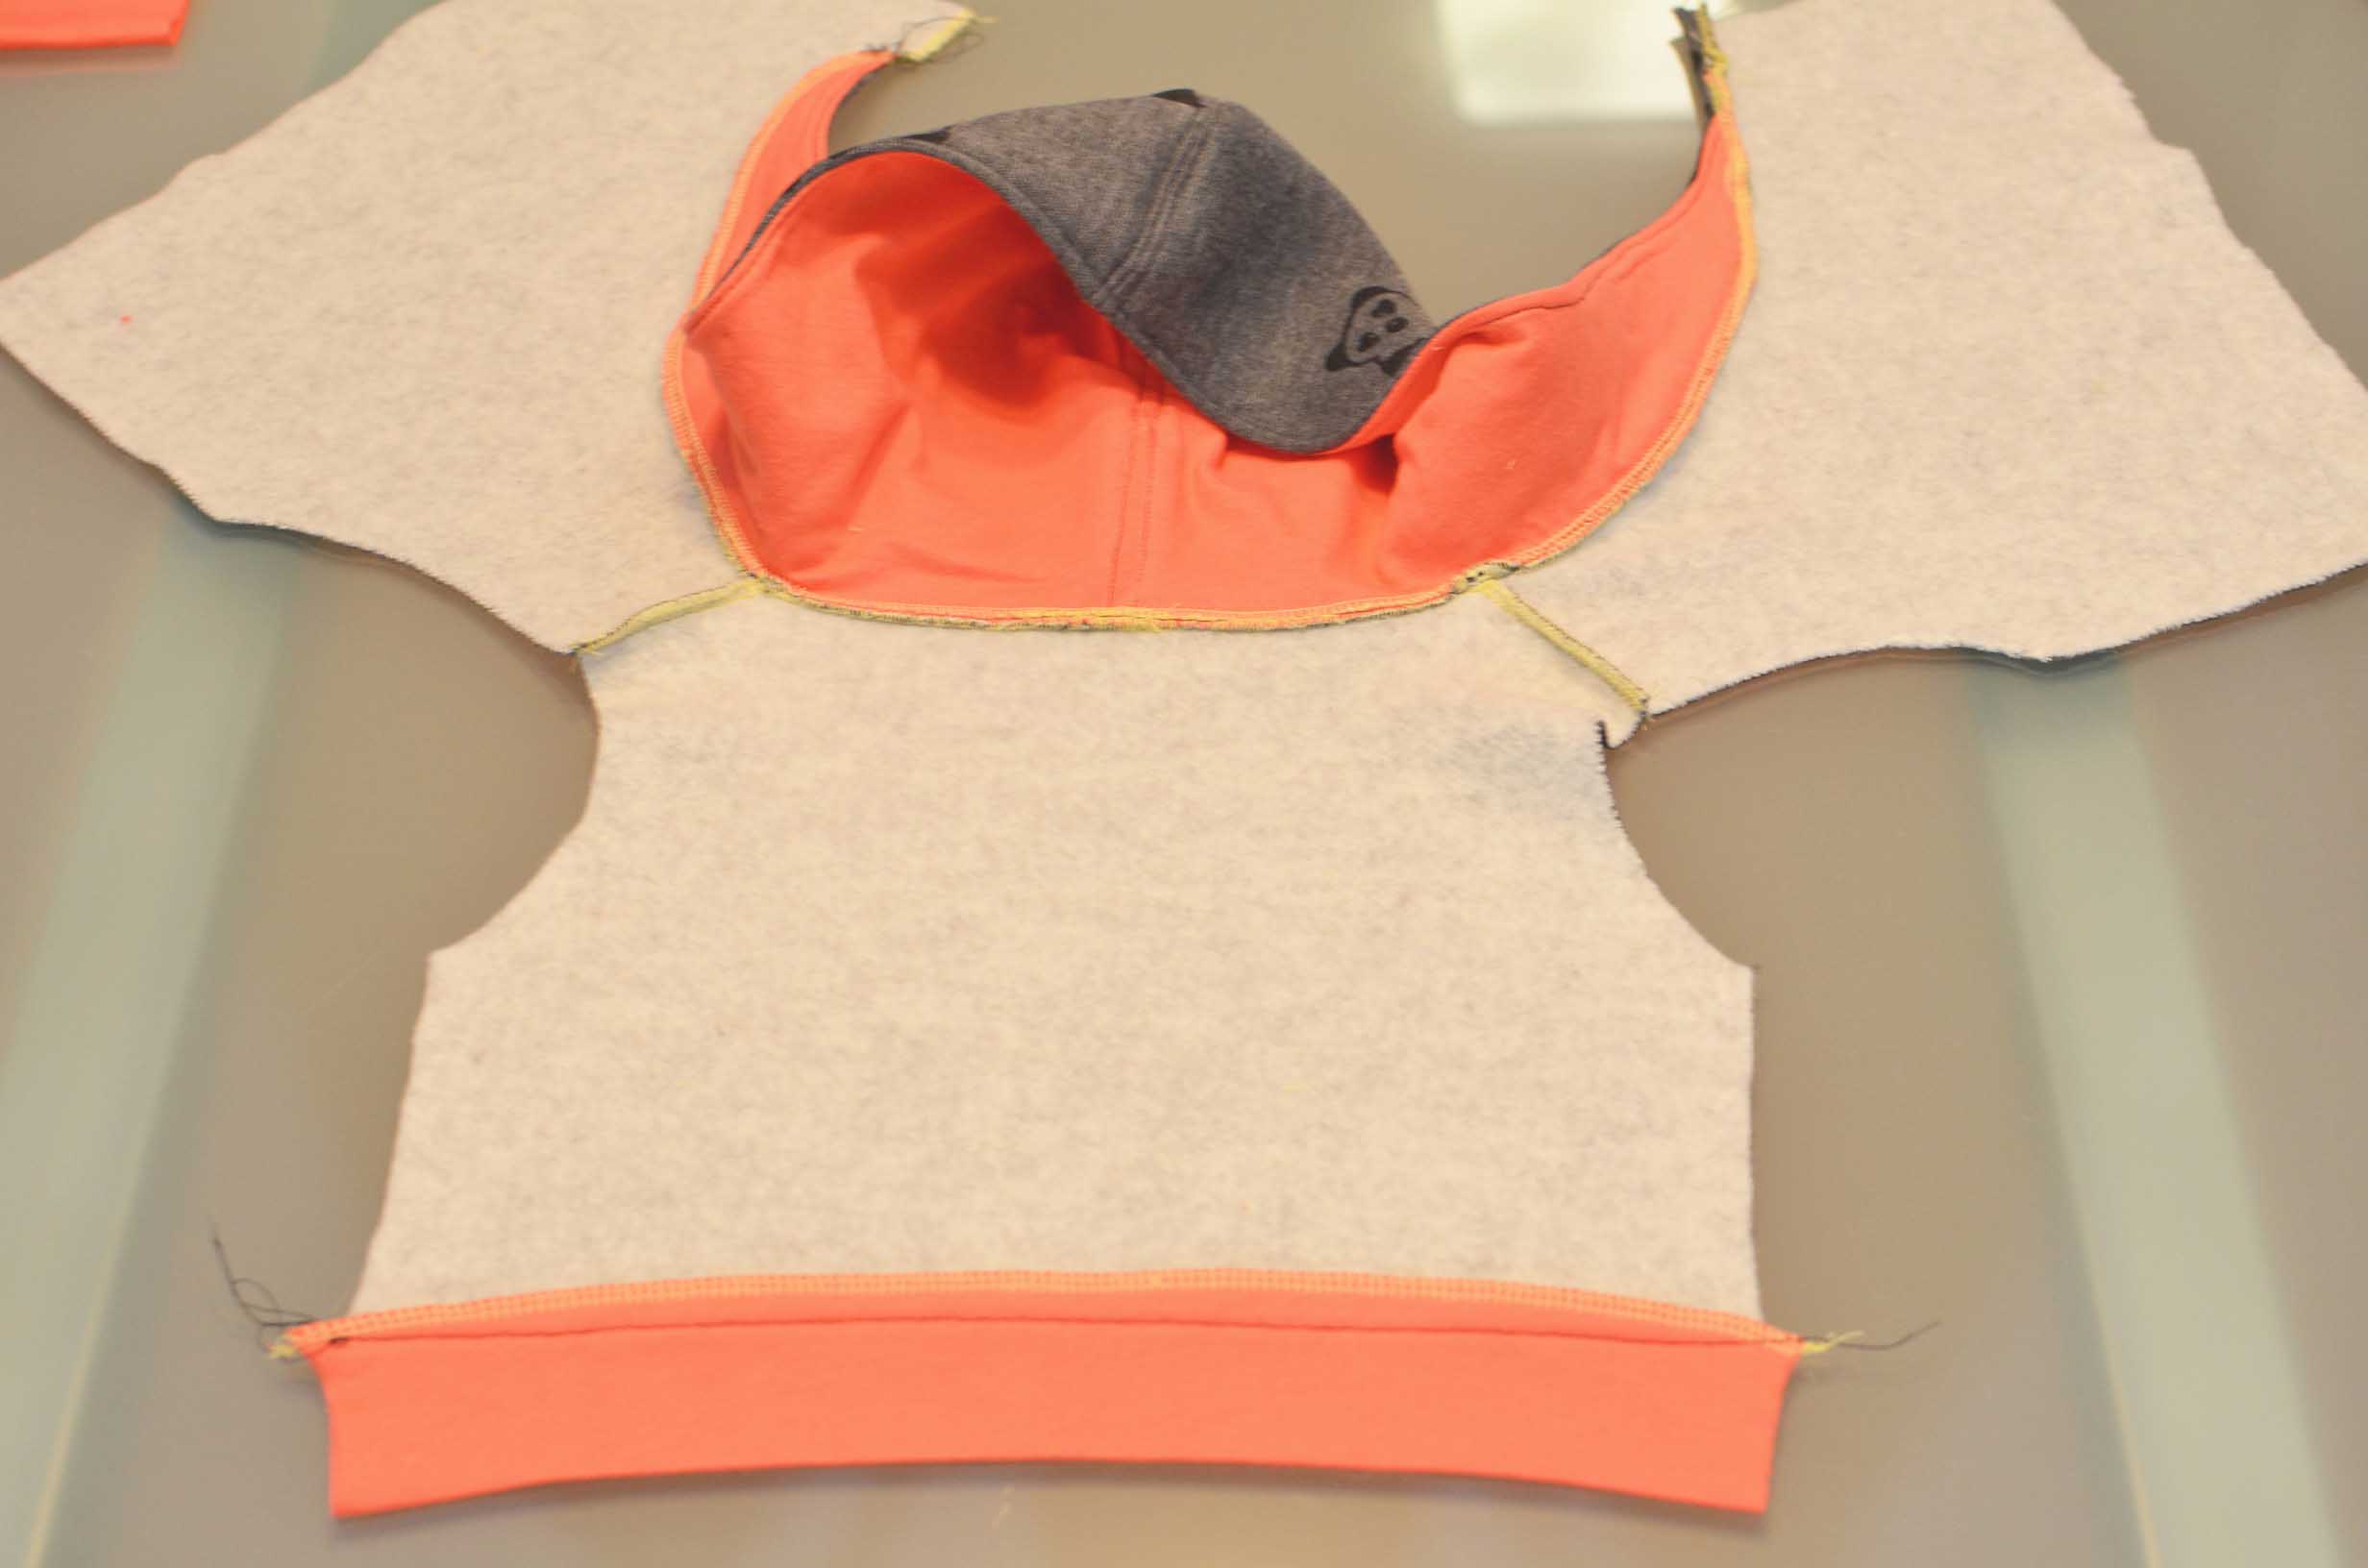
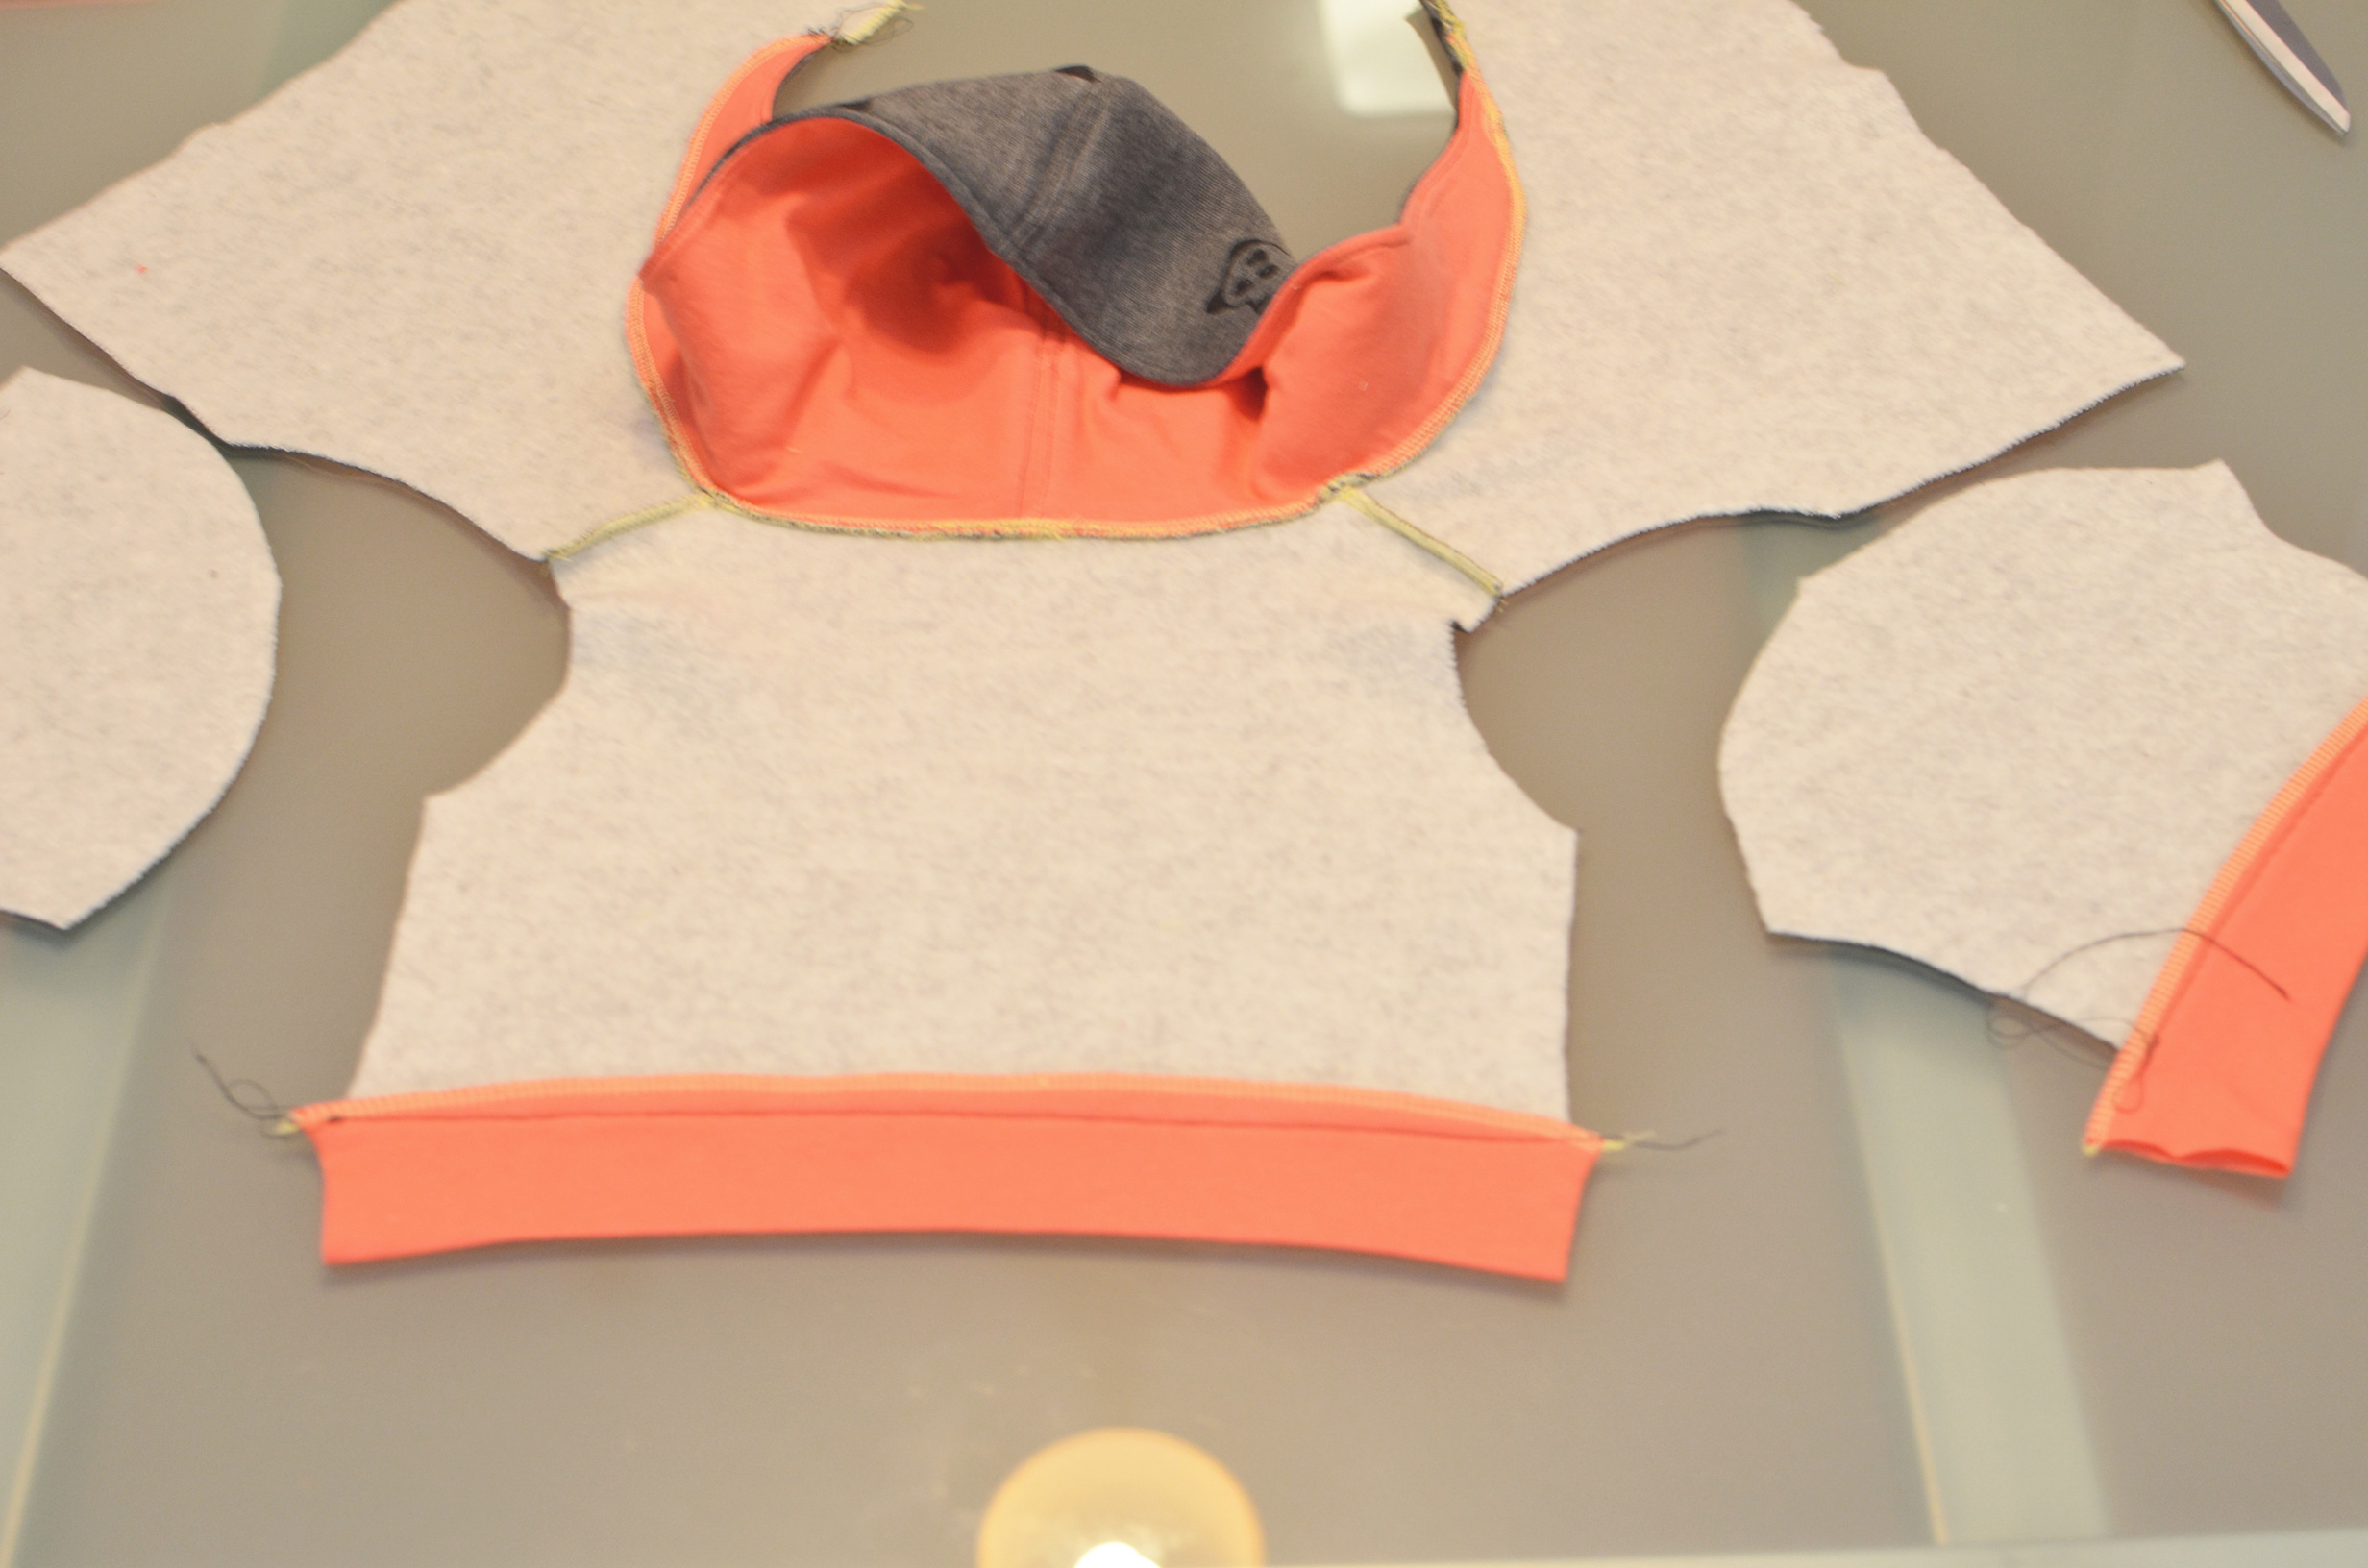
The hood is the only item lined in this hoodie since you can see the inside even when being worn. I used this coral(looks orange in the pictures) knit as the lining.
 Pin and cut.
 Almost ready to start pinning and sewing.
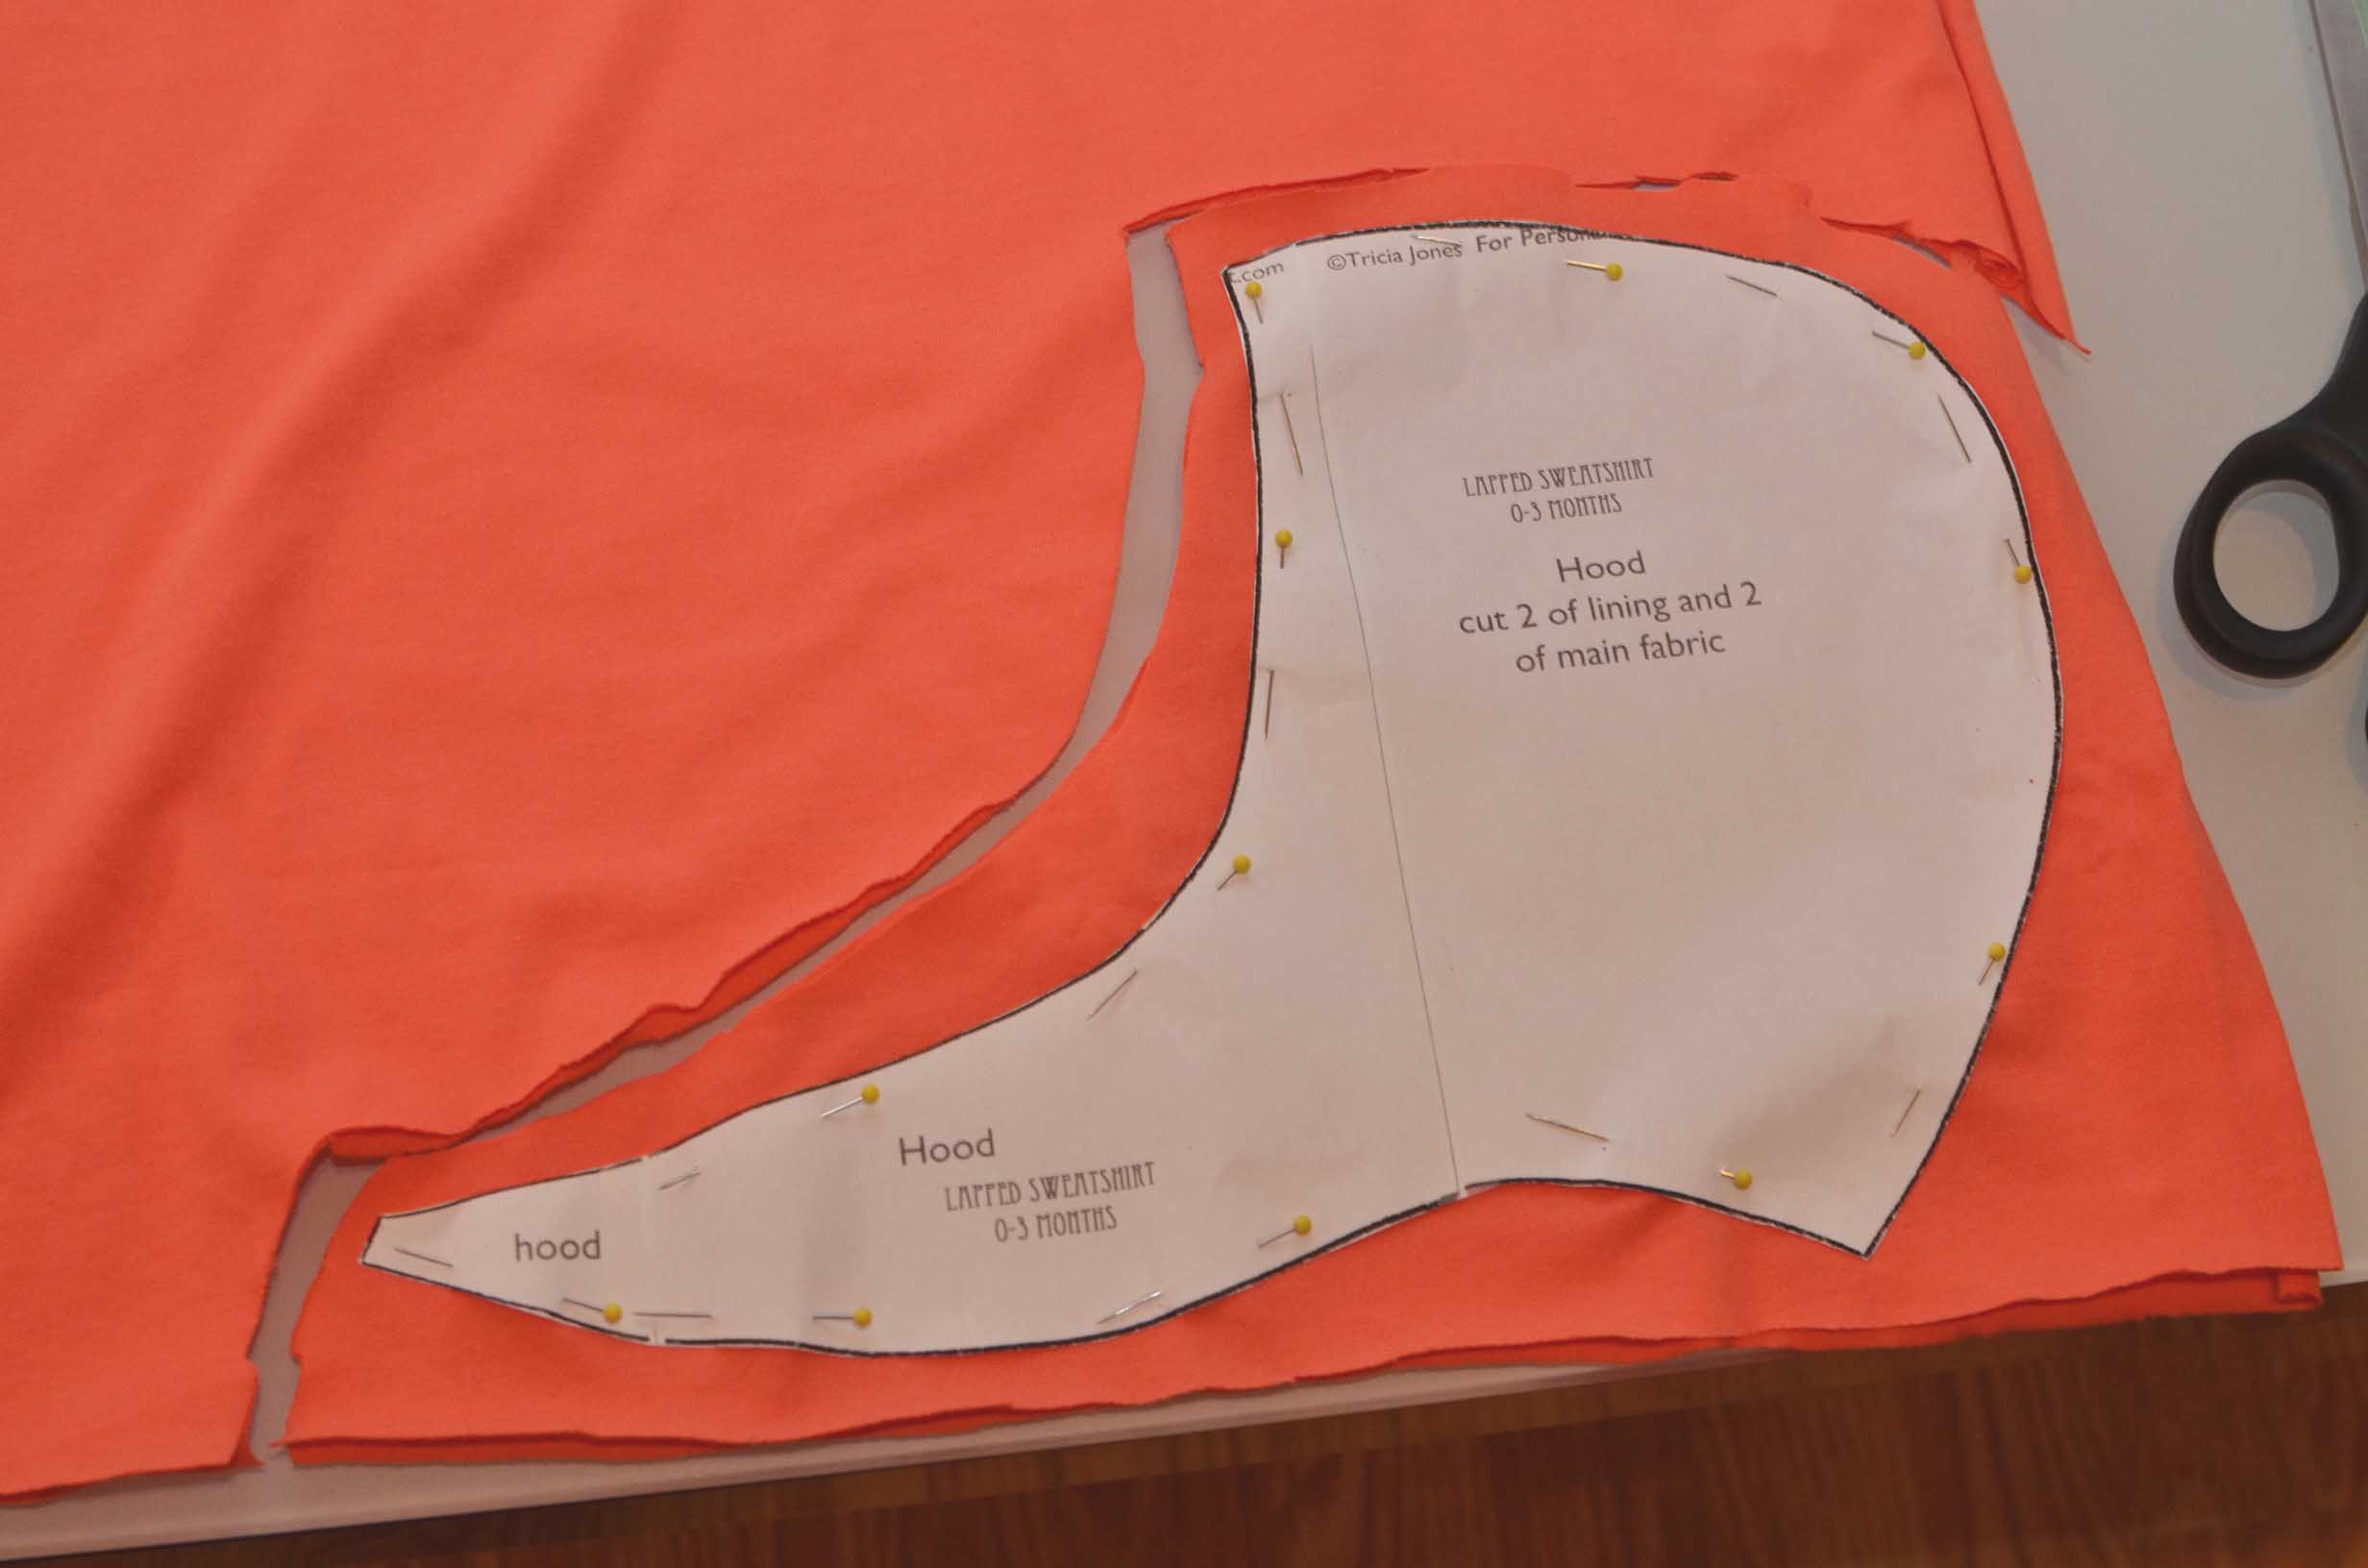
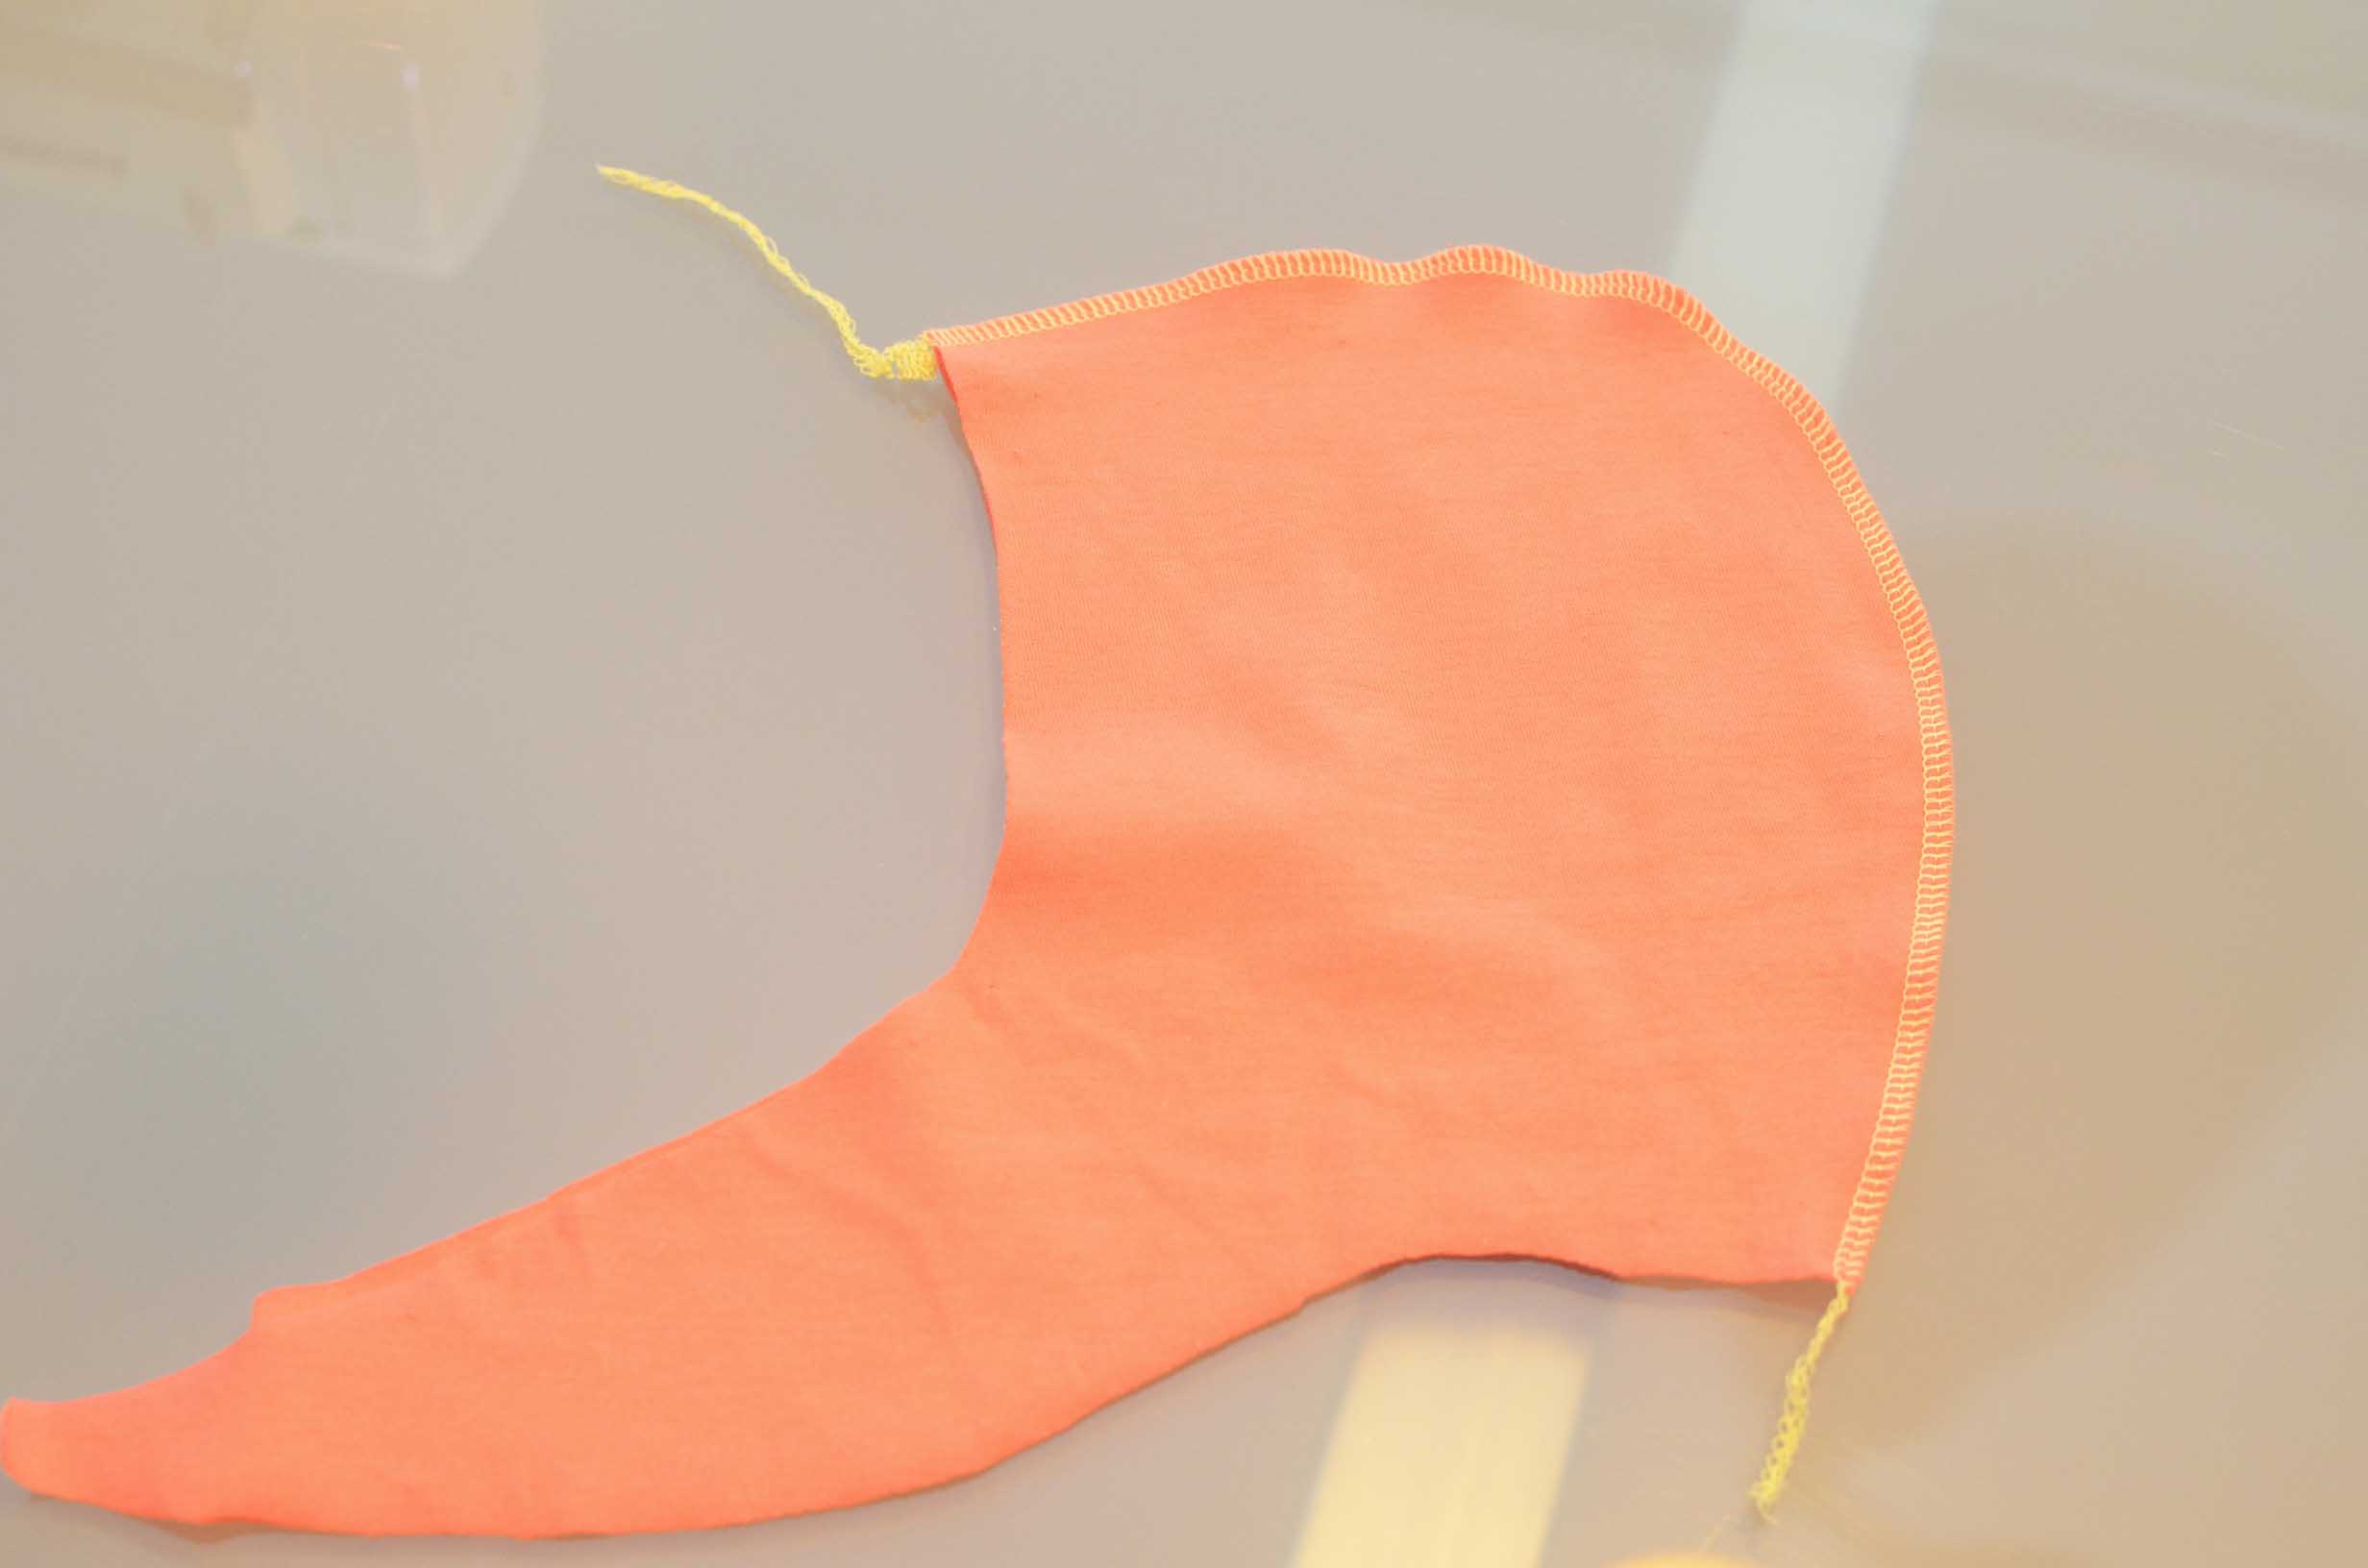
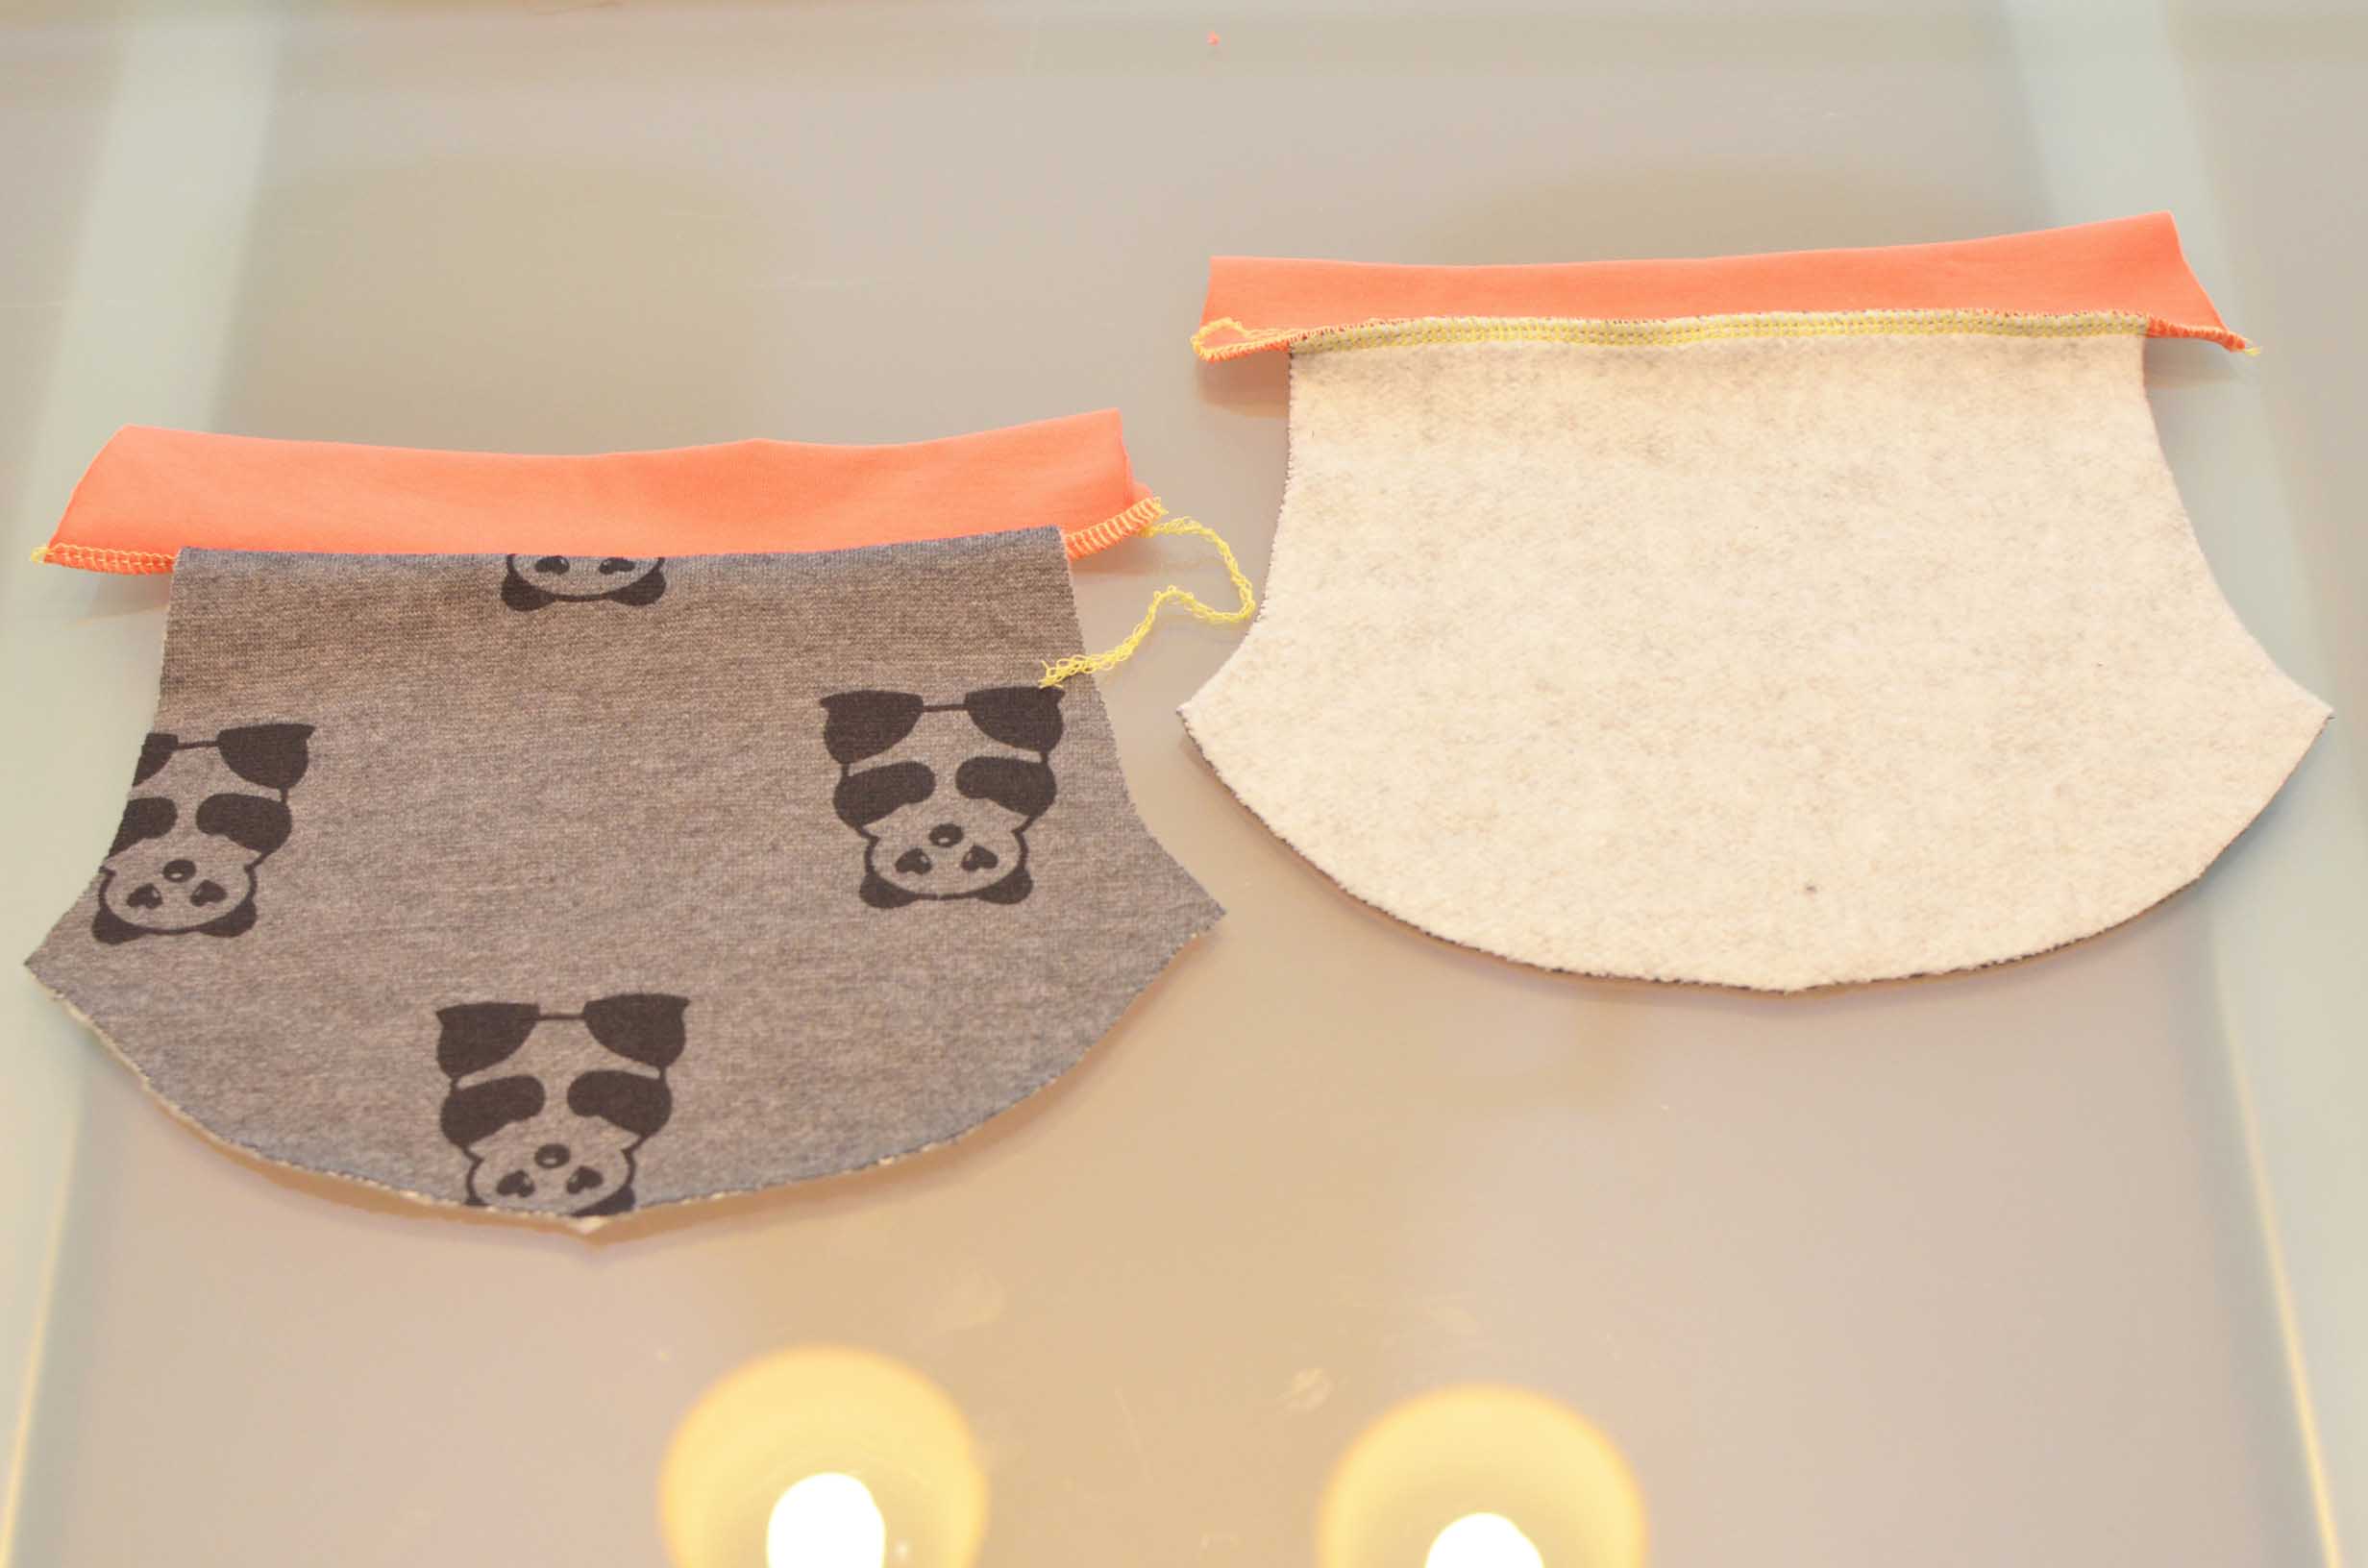
I also cut the arm bands and waste band according to the measurements that she gave in her tutorial out of the same coral knit.
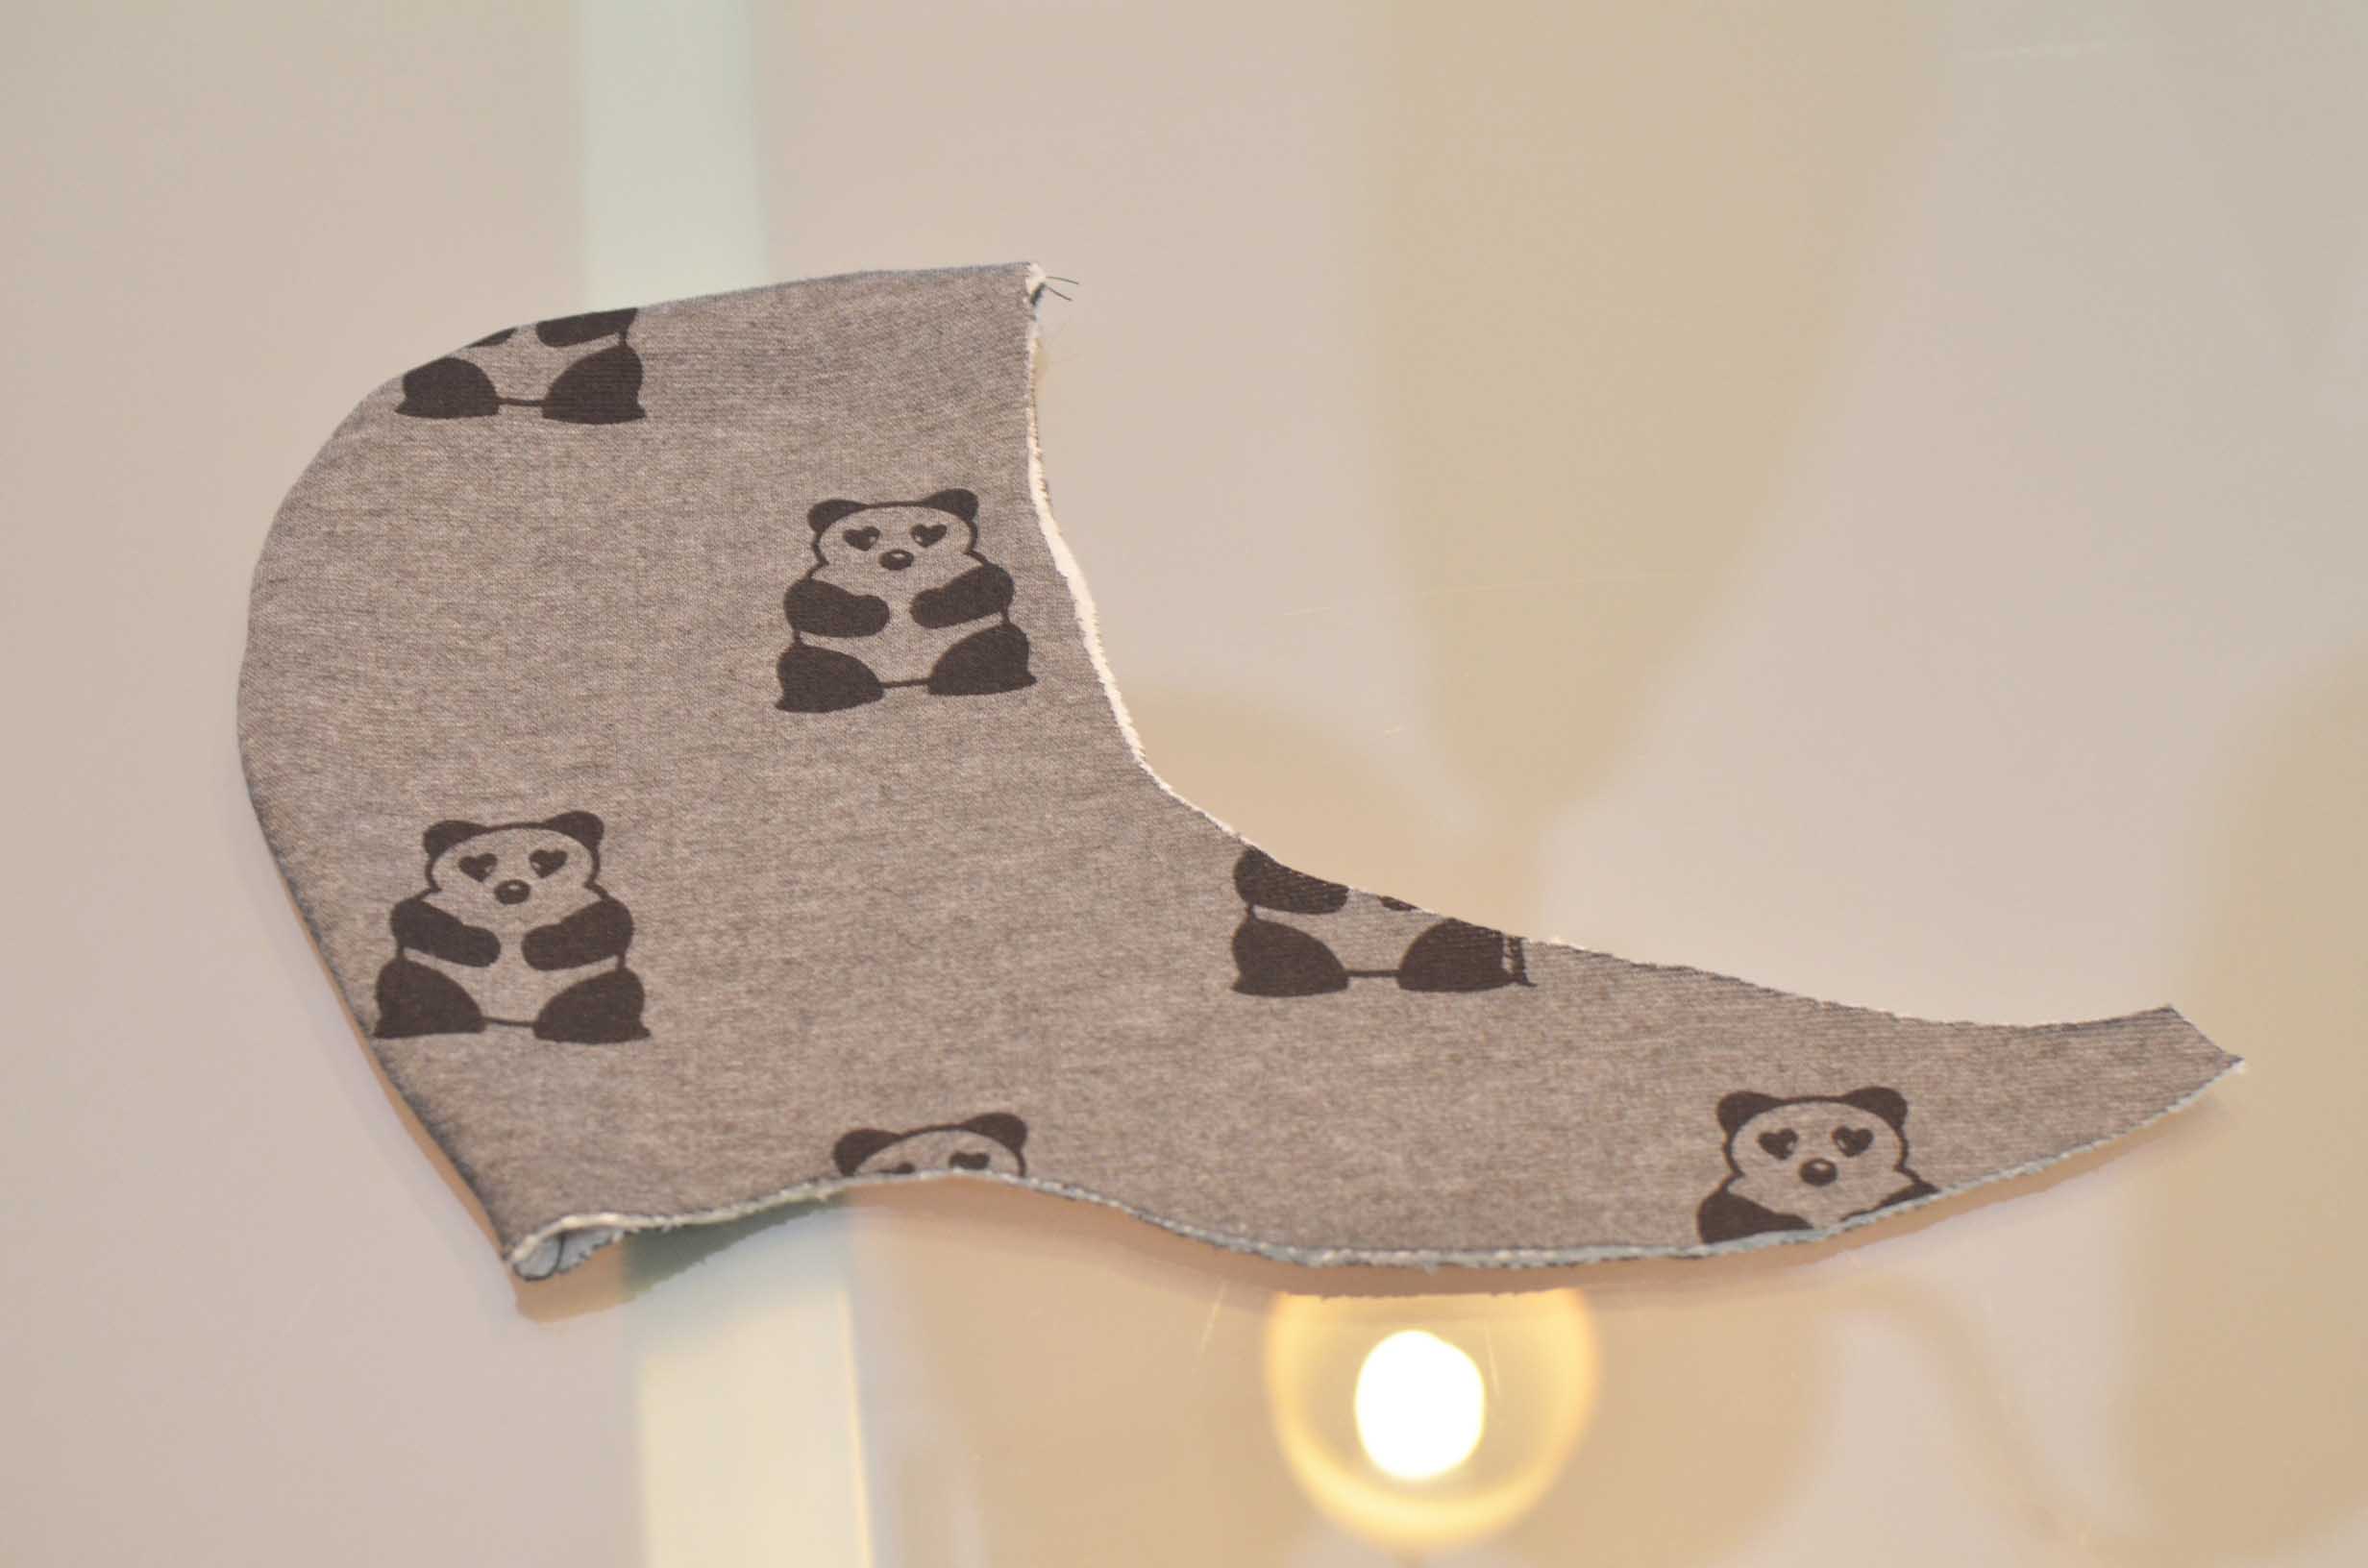
Here you can see the lining in the hood.
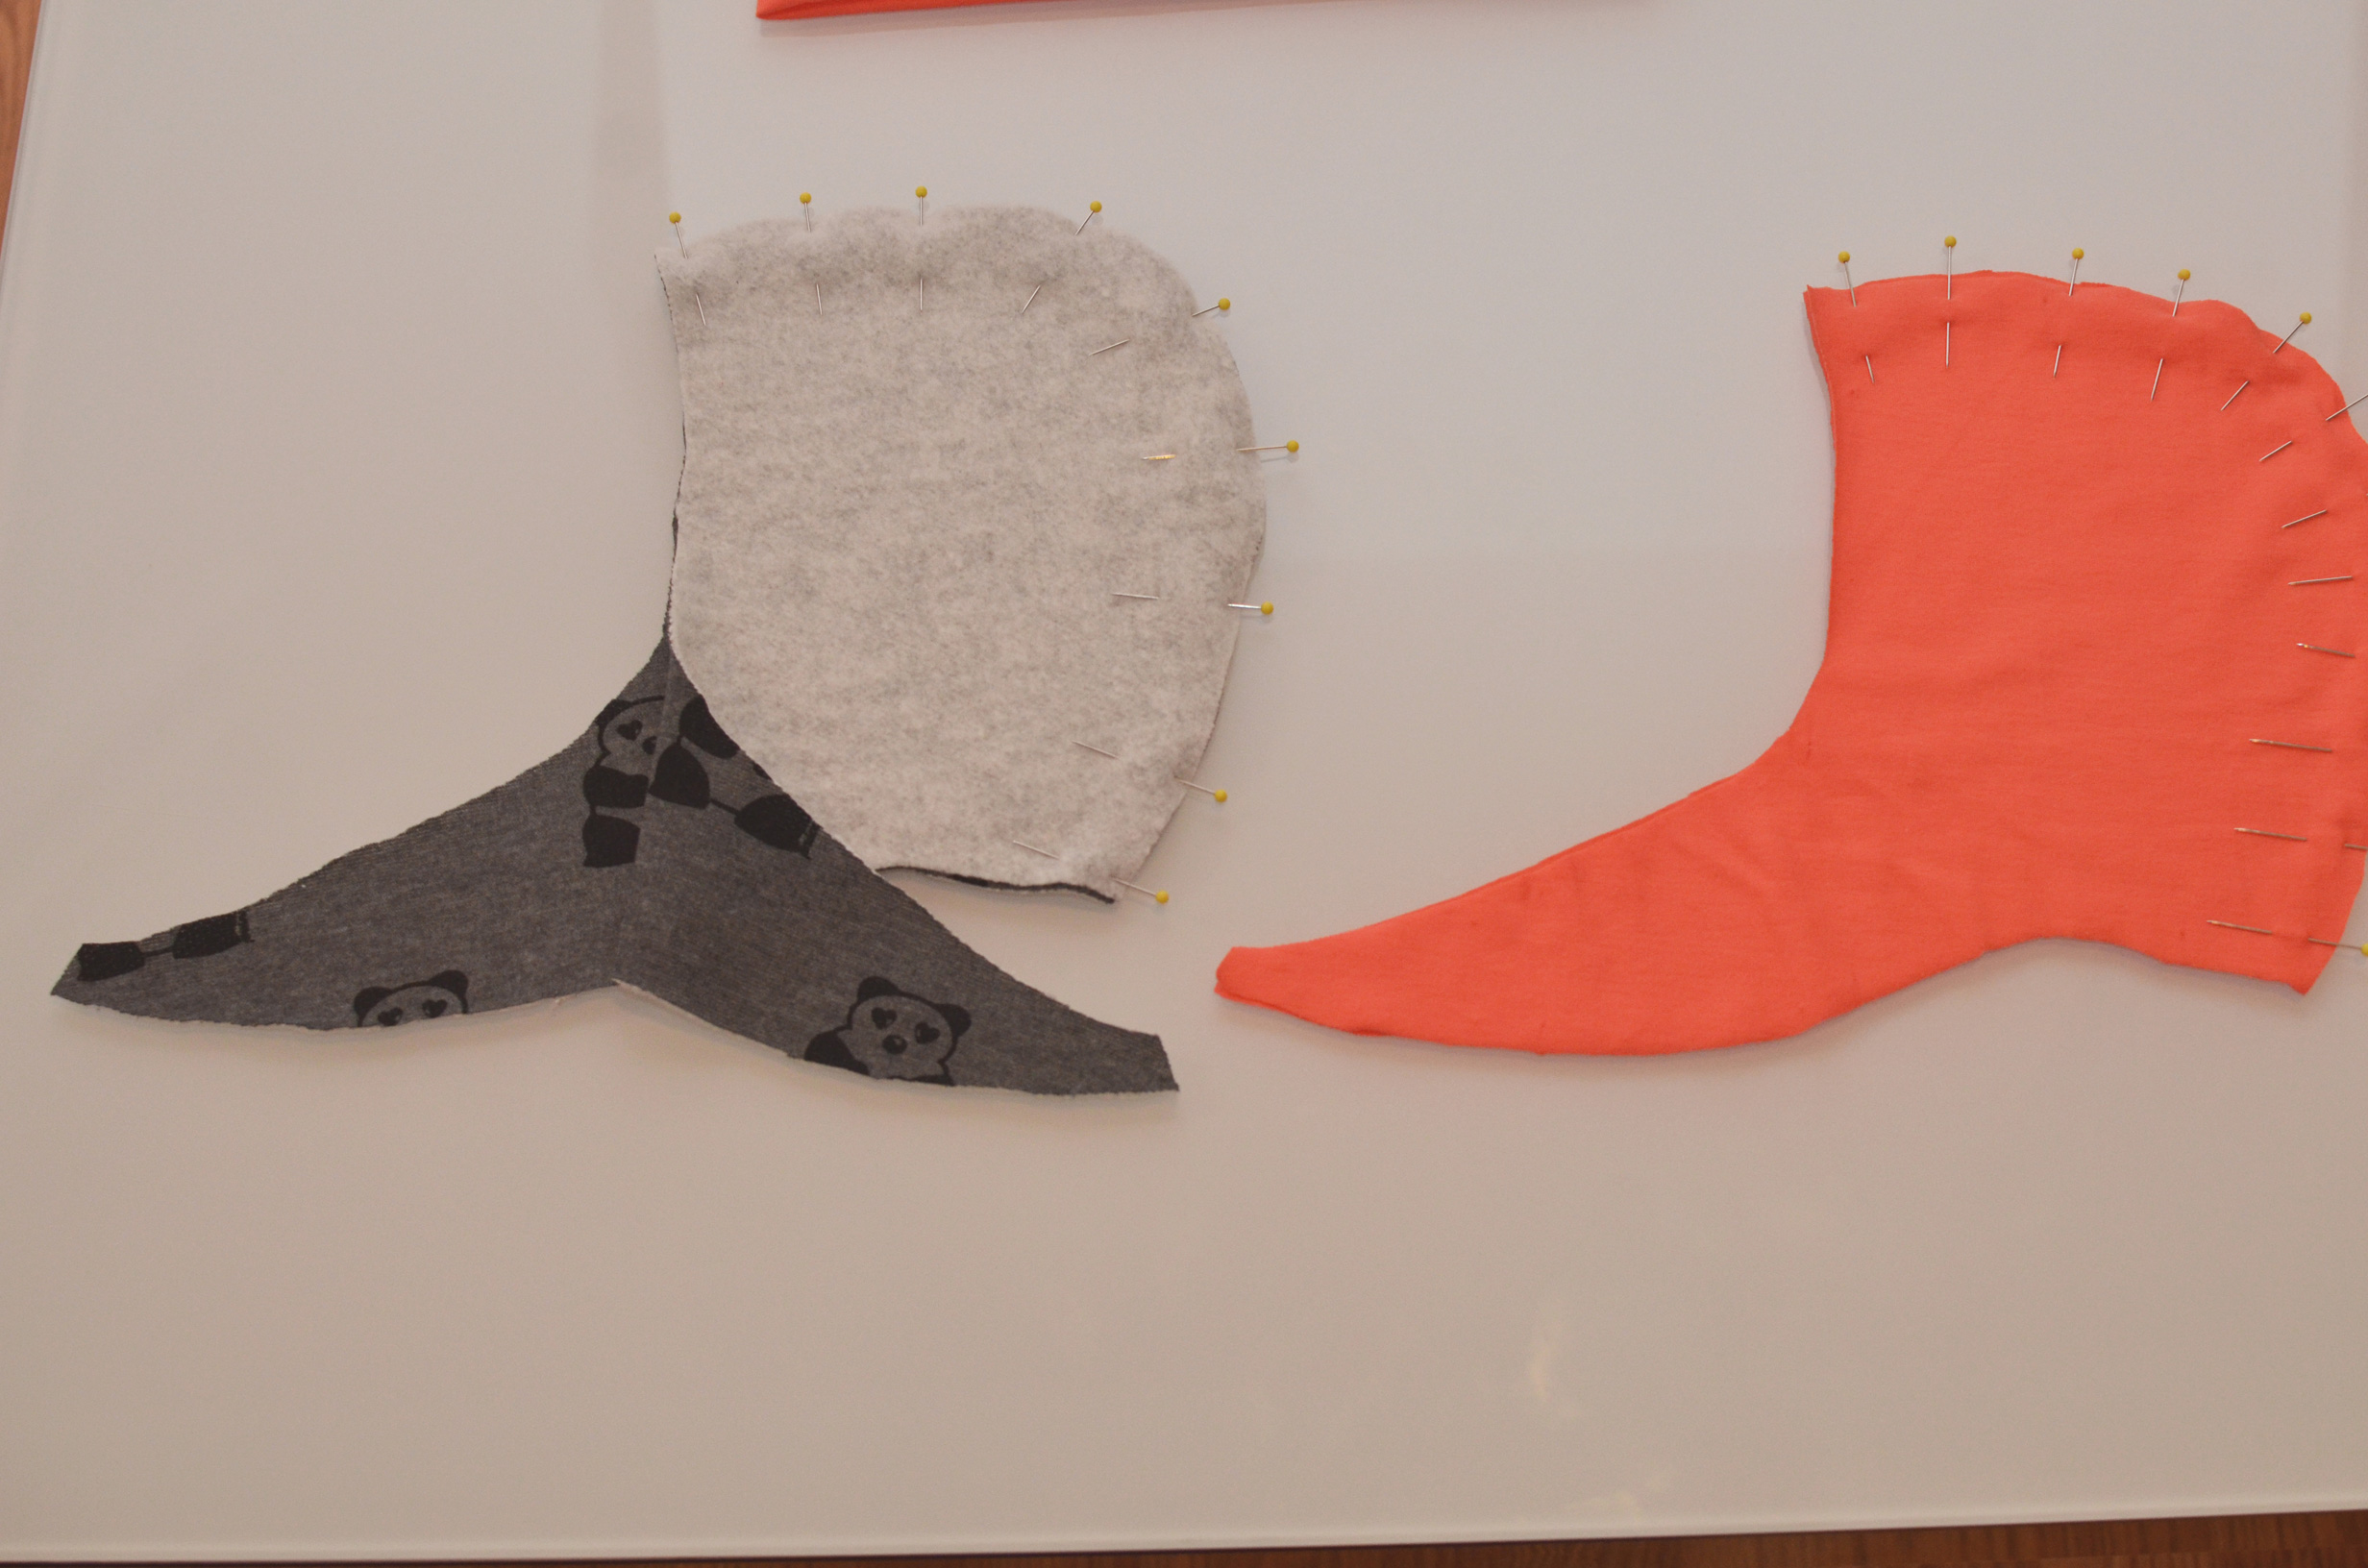
Pin the hood outside fabric and lining right sides together around the curved portion of the hood.
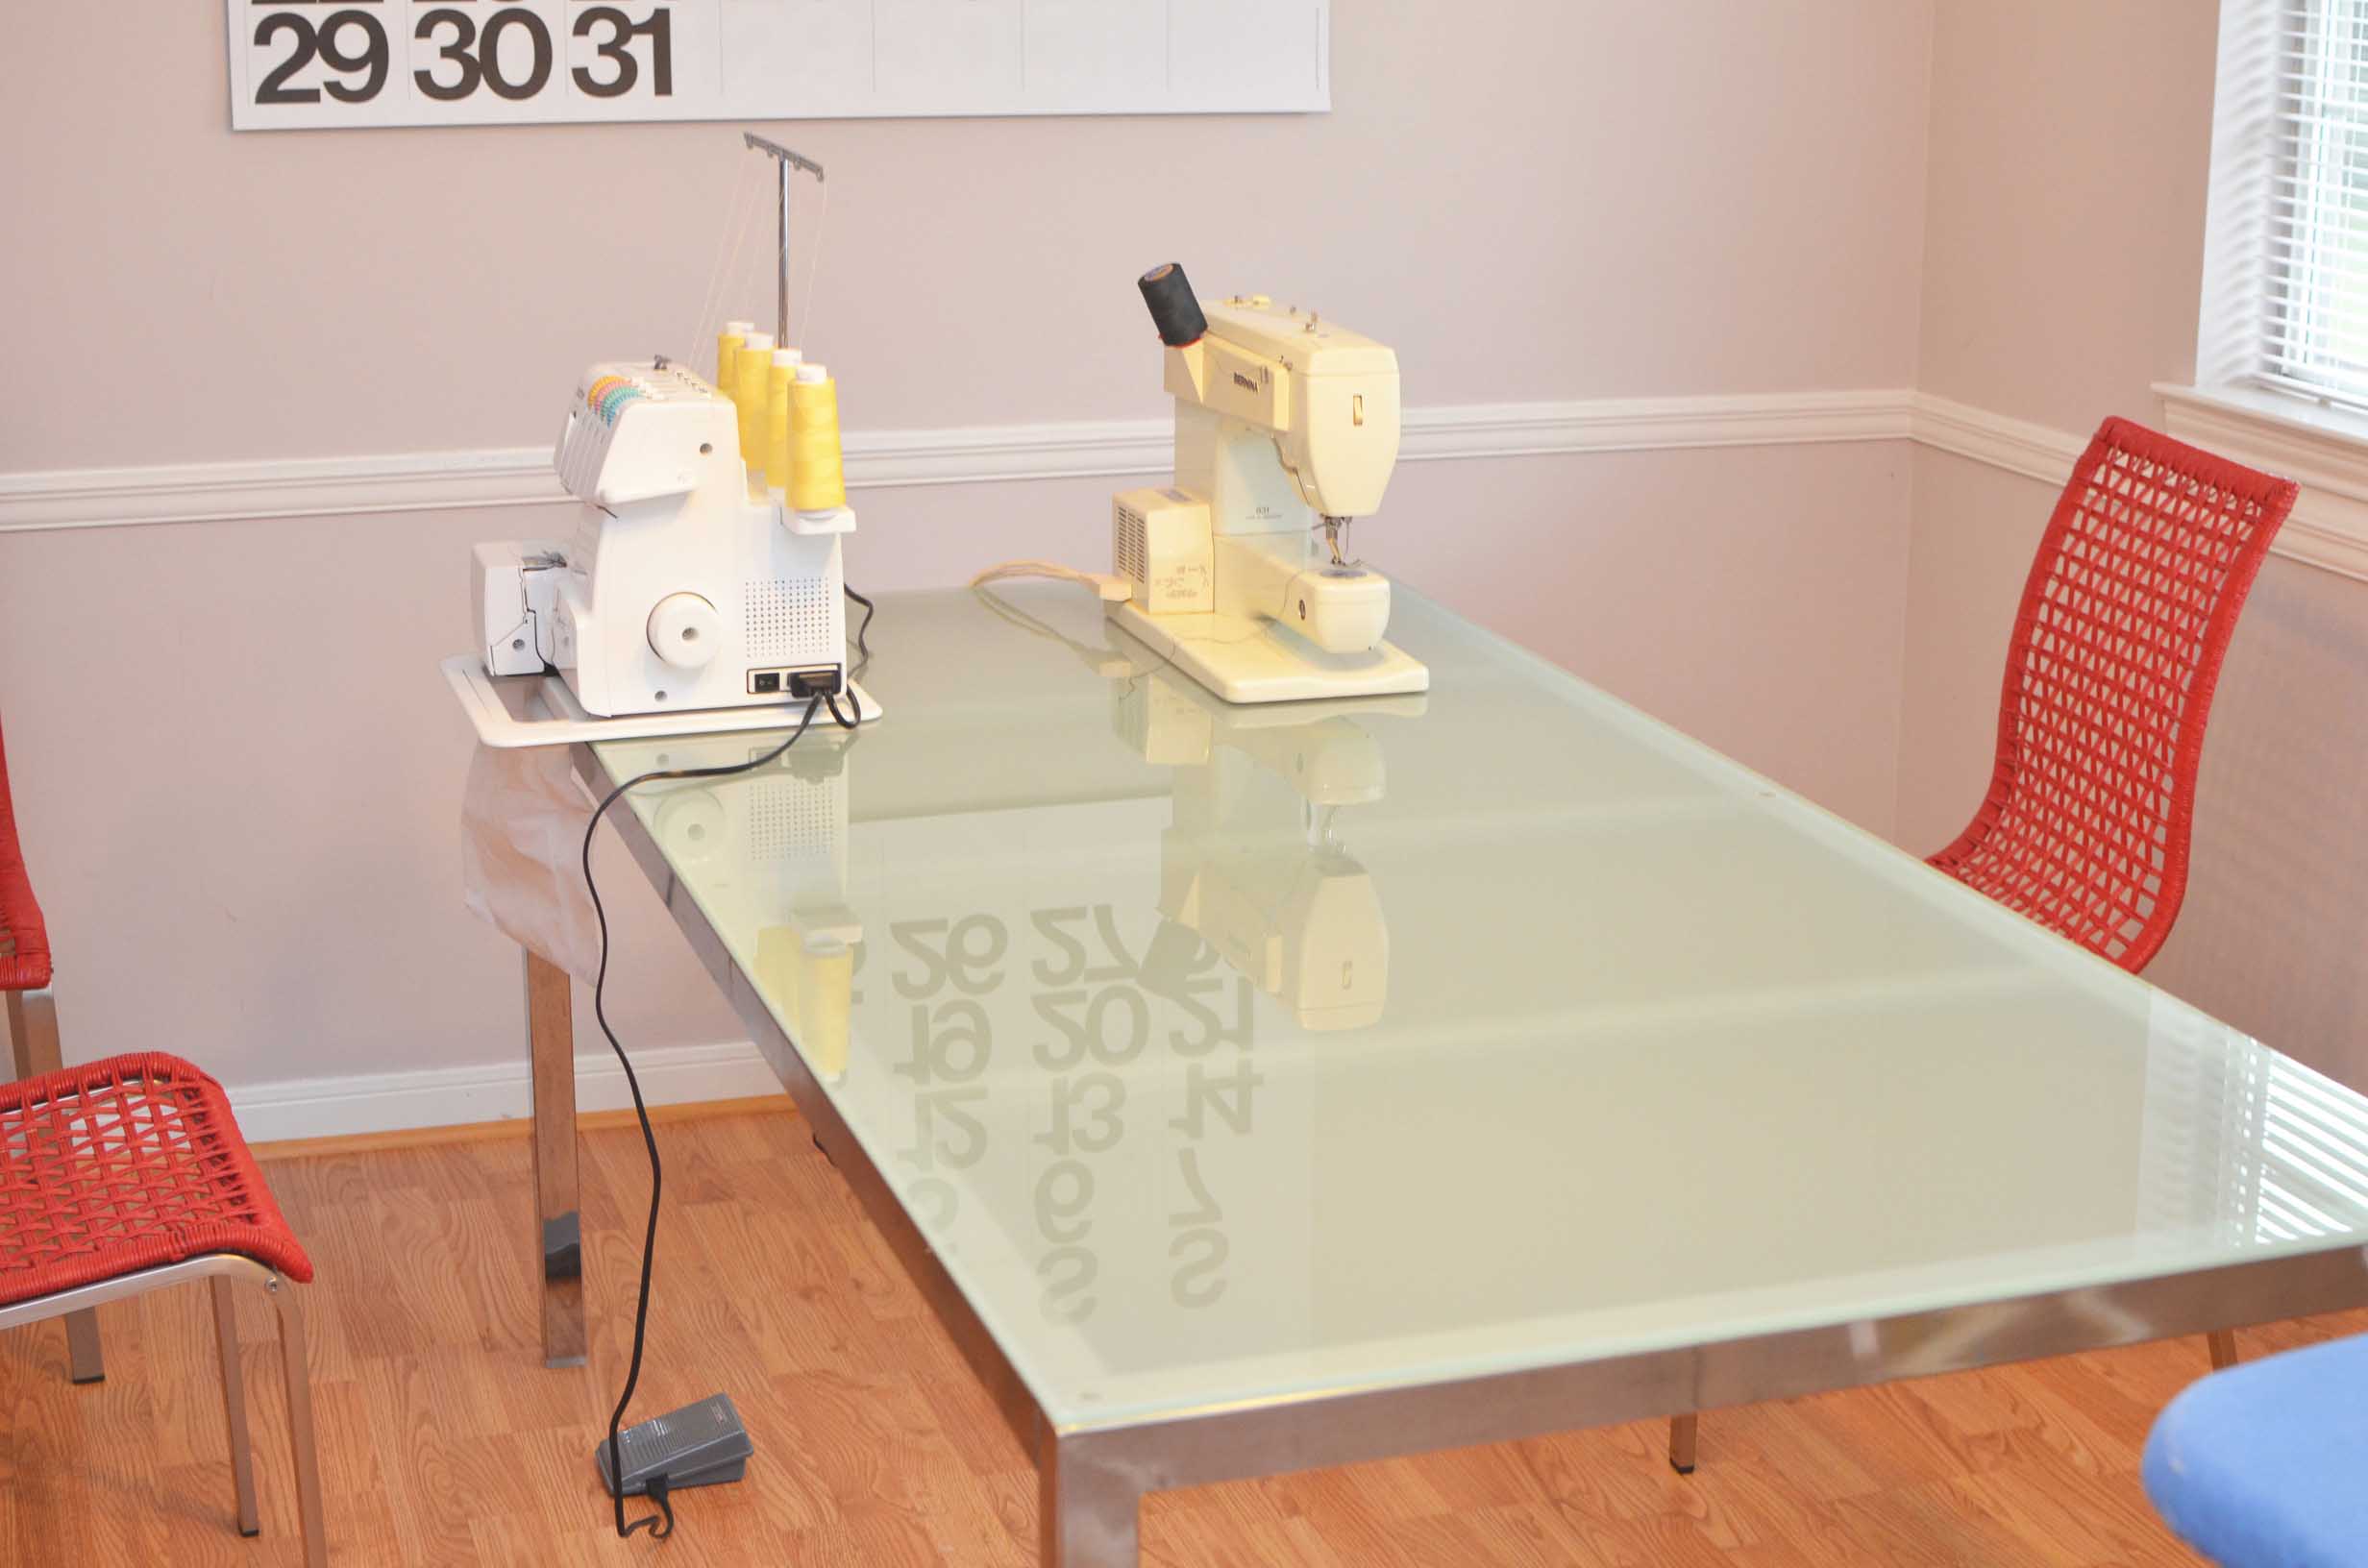
You can easily make this hoodie with only a sewing machine,but for portions of this project I preferred to use my Brother 1034D 3 or 4 Thread Serger with Easy Lay In Threading with Differential Feed
.
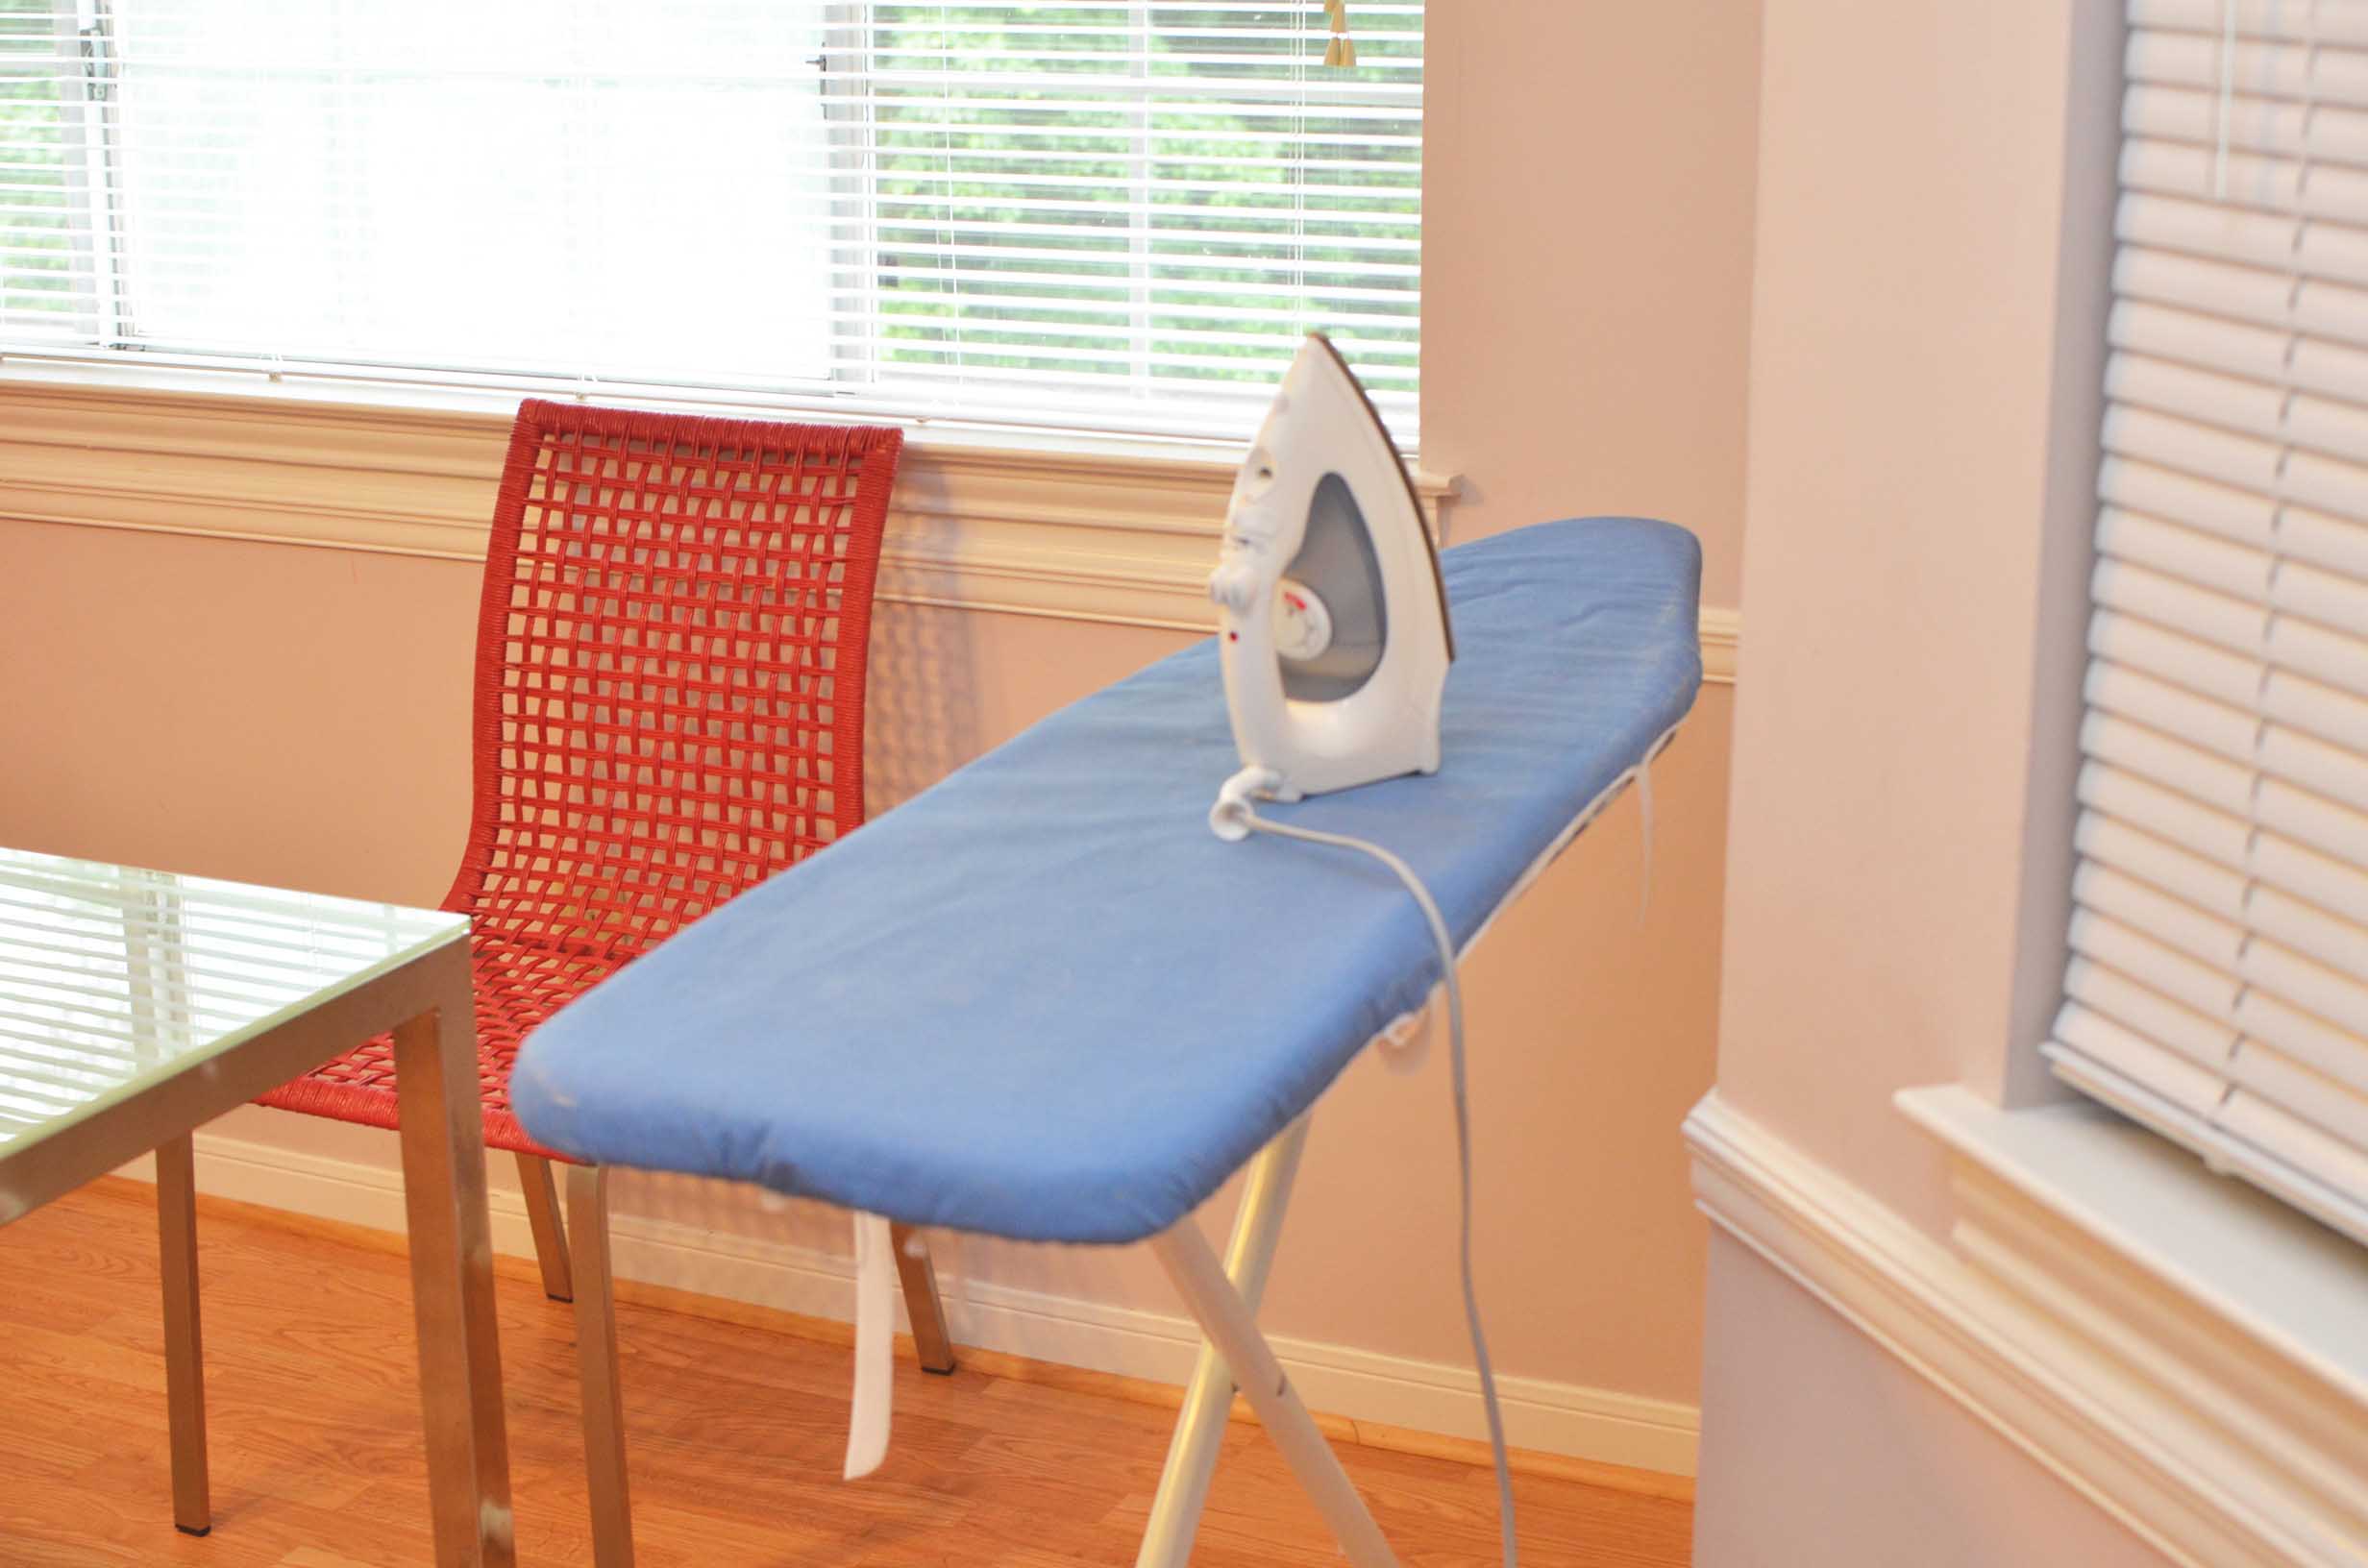
Always have your iron and ironing board ready. I am not a fan of ironing very much,but with sewing I have learned it makes a huge difference in the look of your pieces.
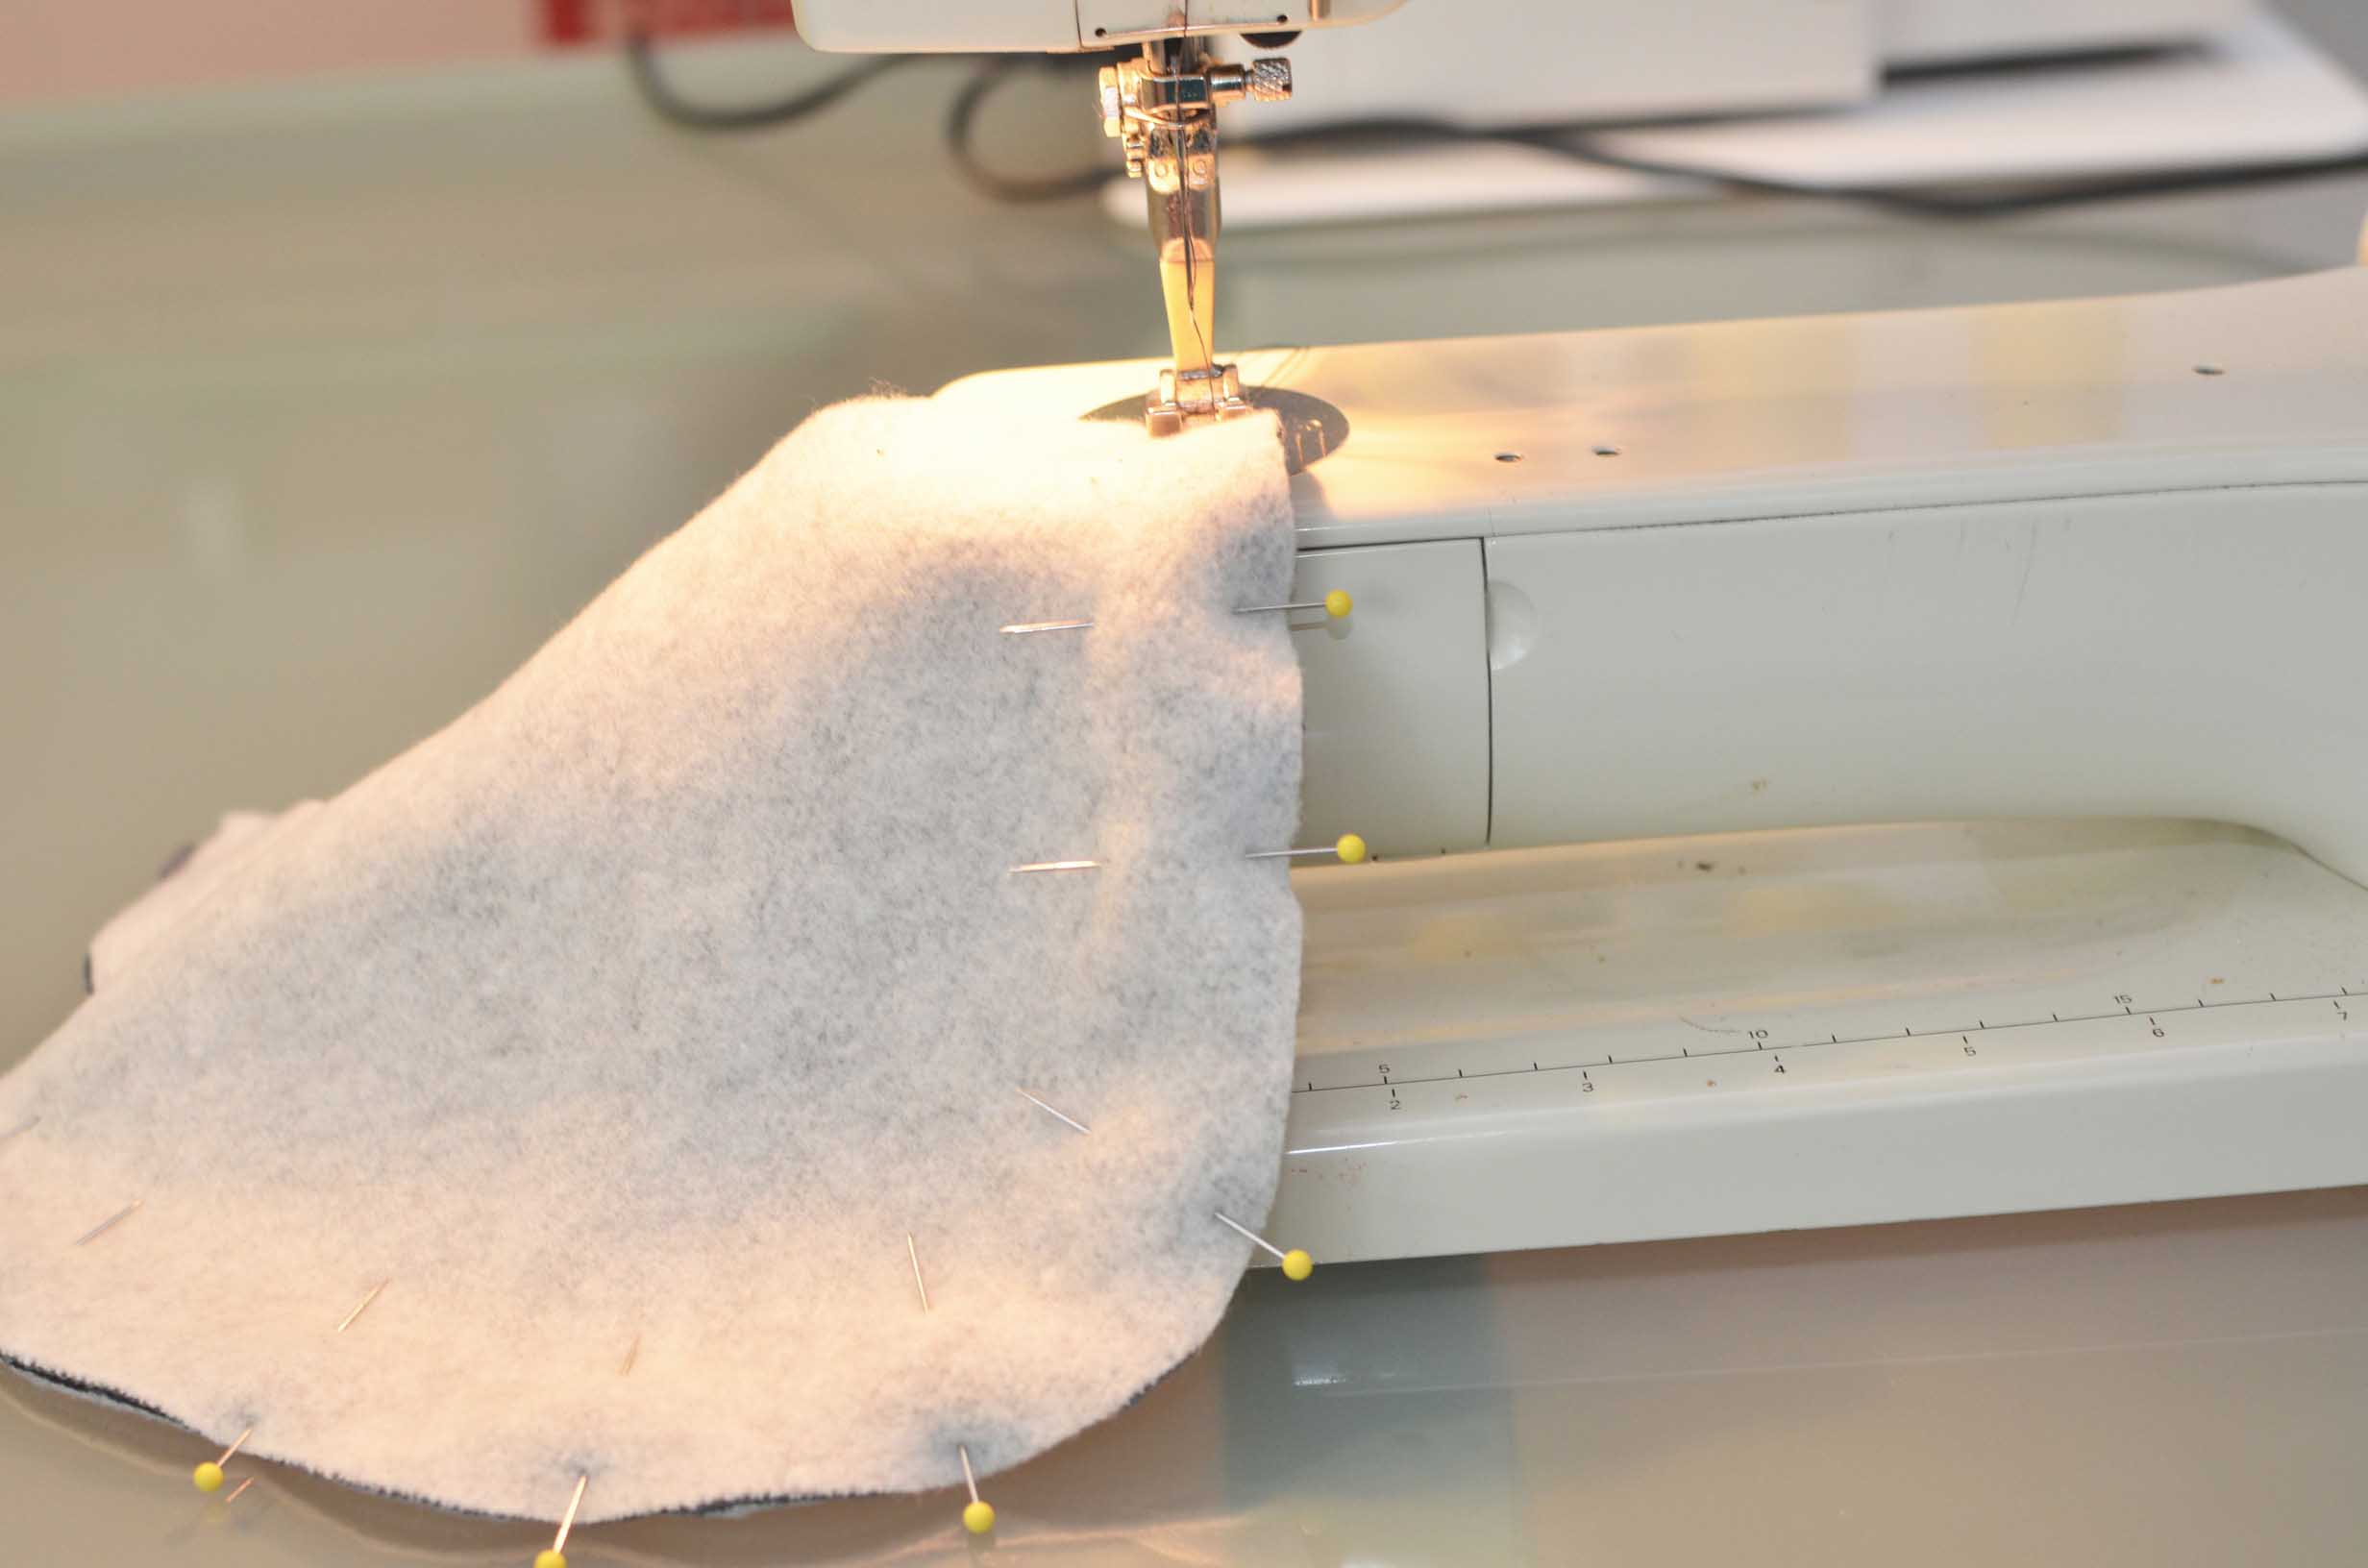
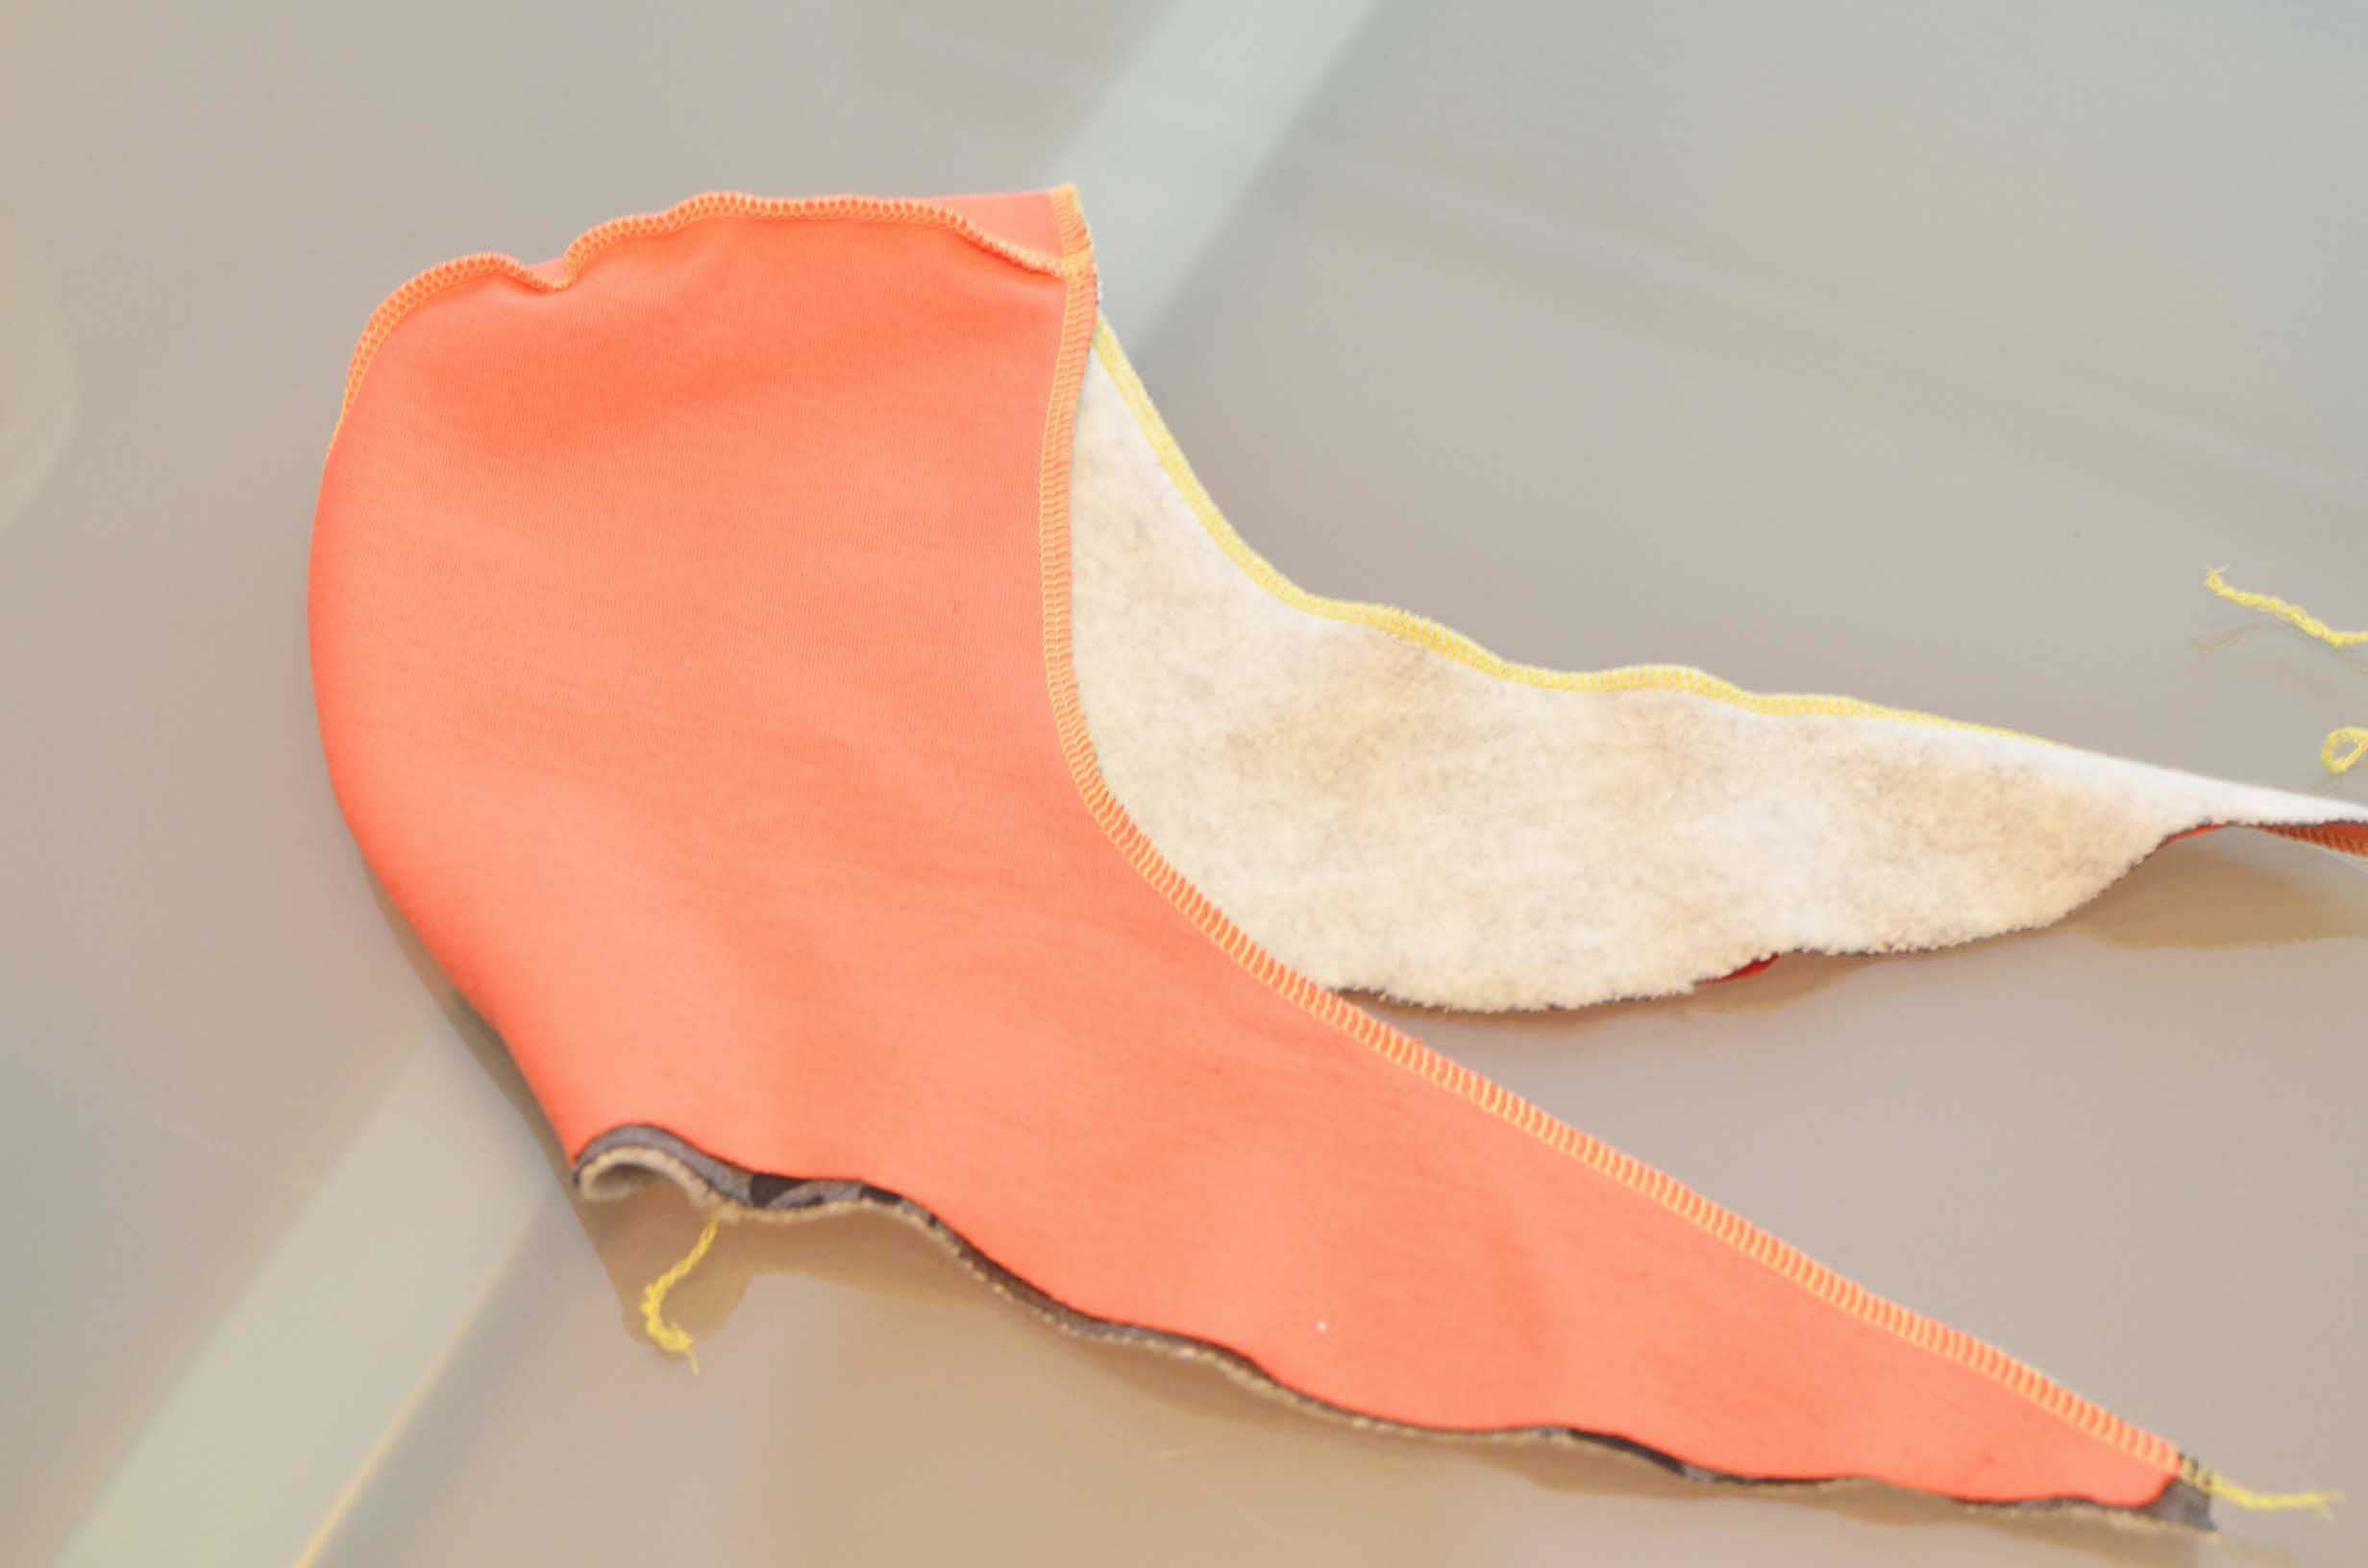
After pinning the hood, I sewed around the curve of the hood with a simple straight stitch.

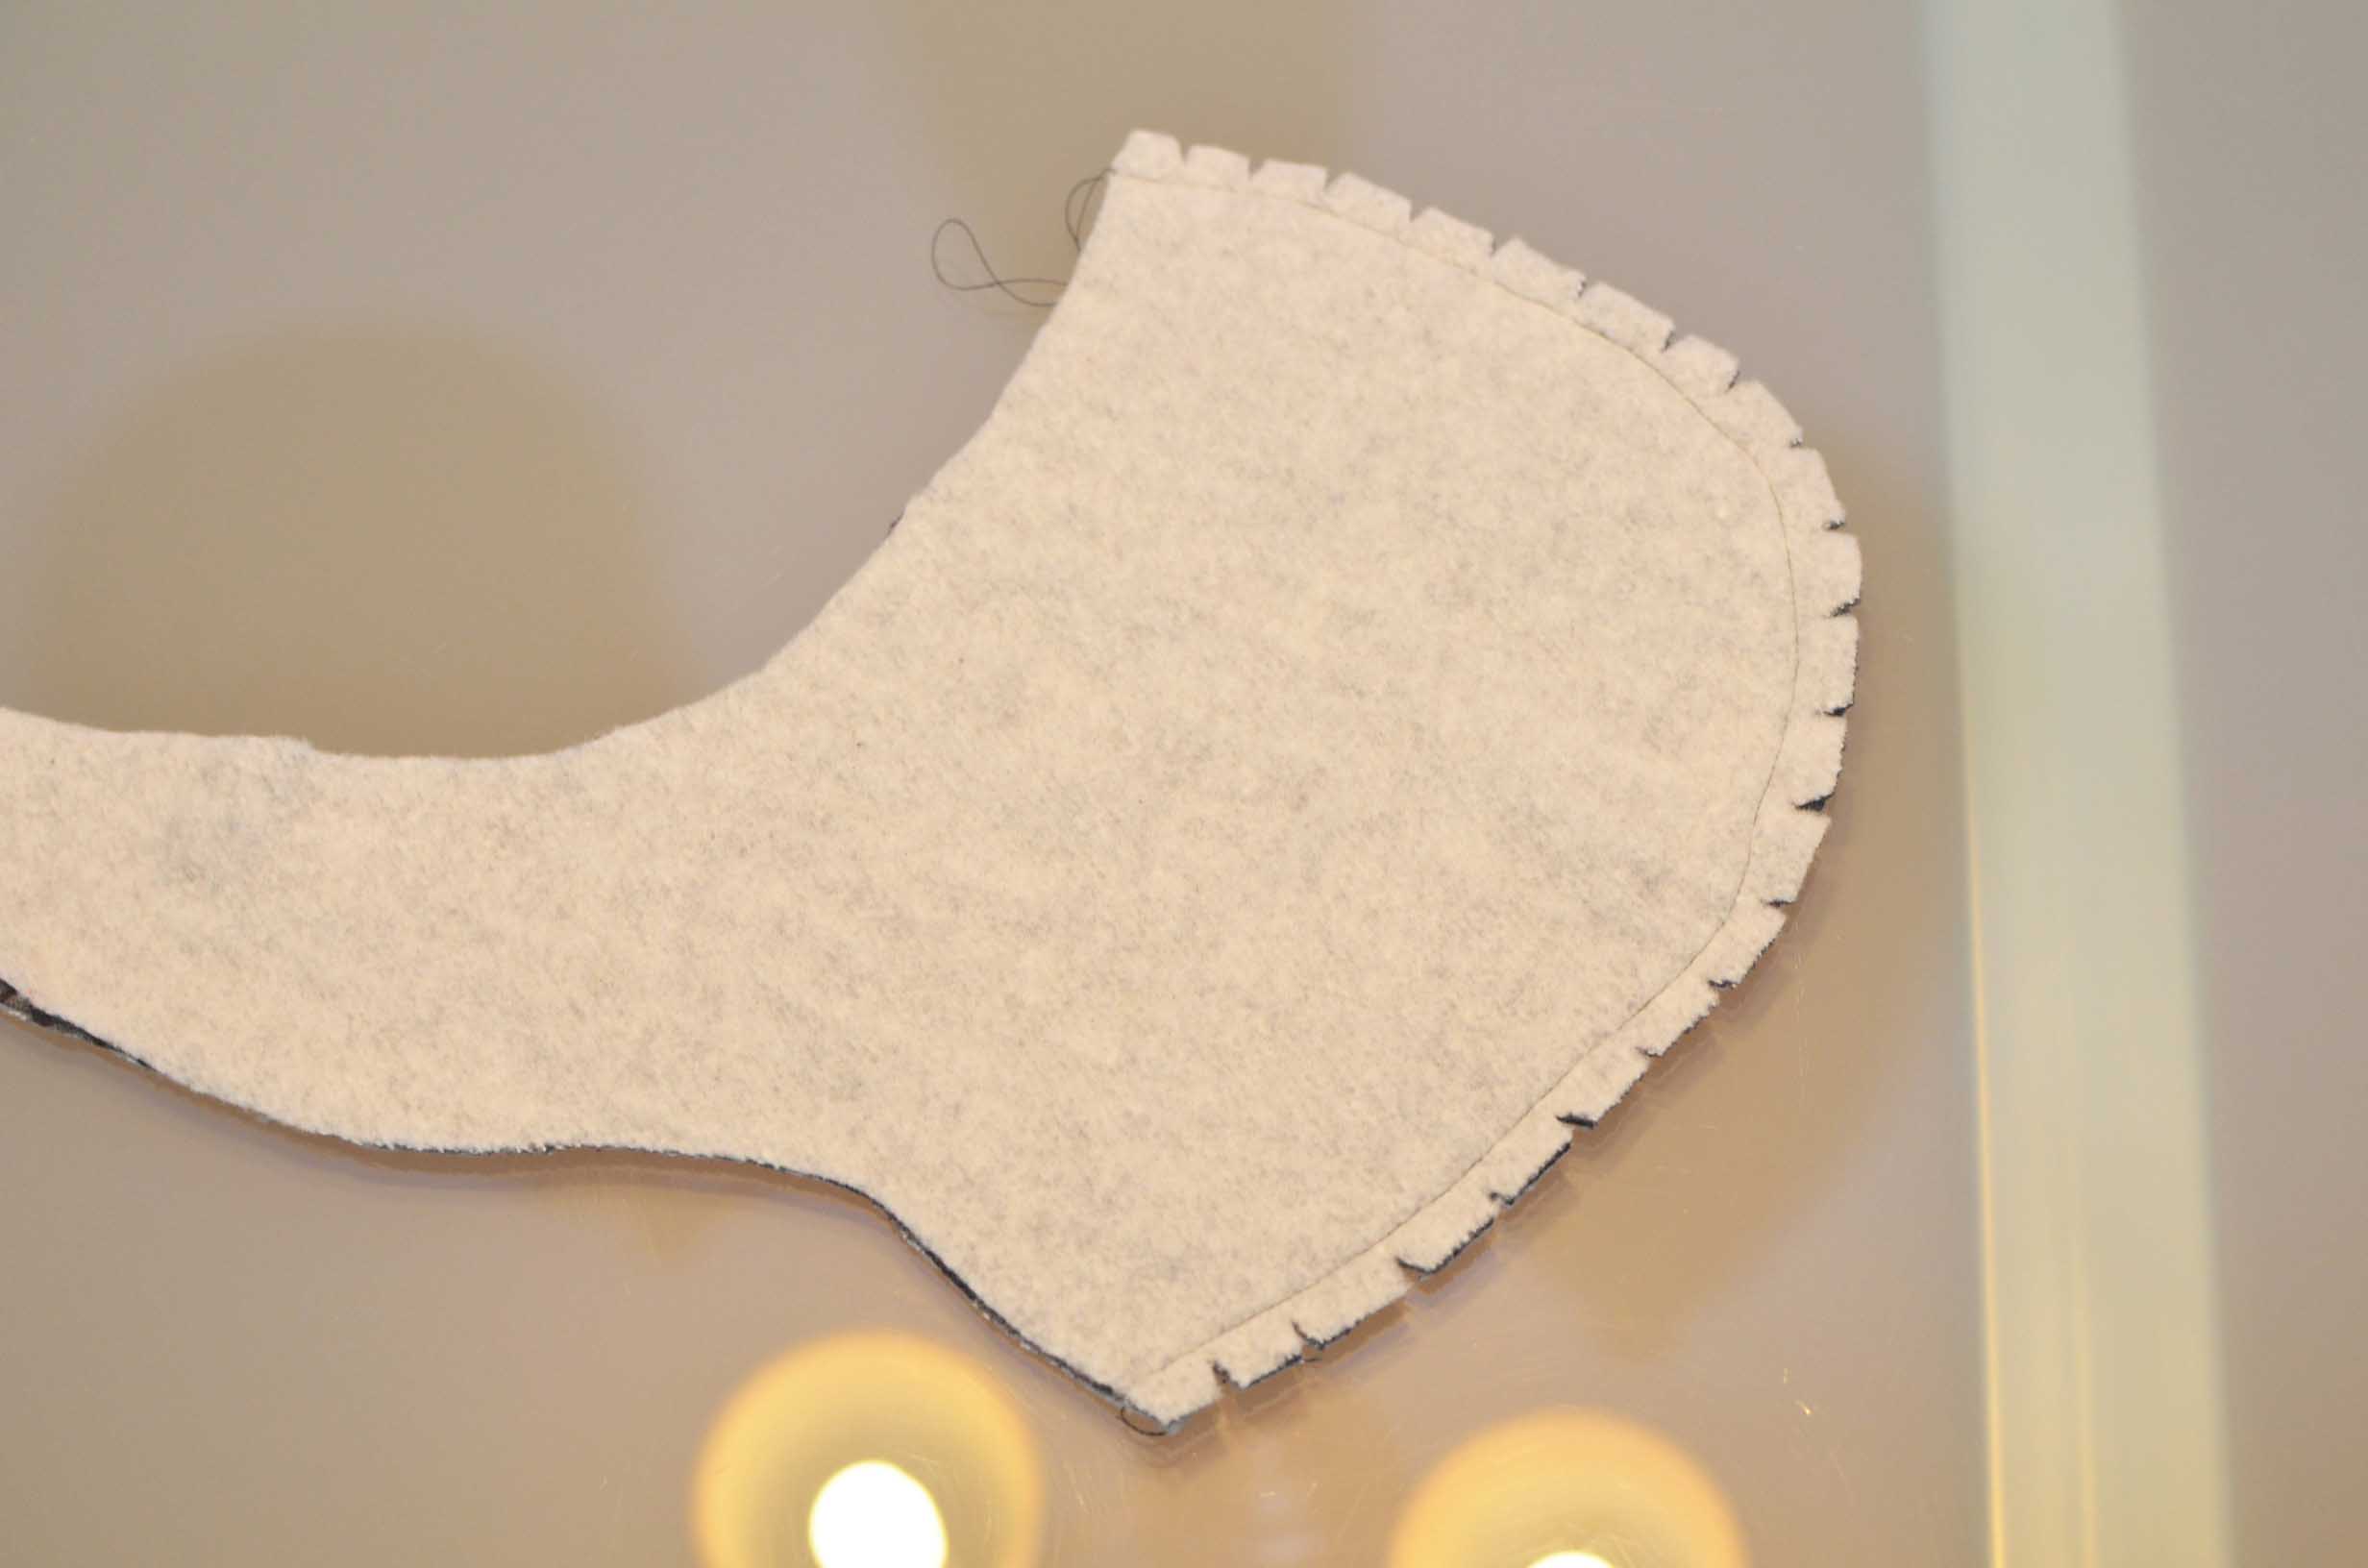
Here you can see it finished.
Notch the edges so it will curve nicely and not be too bulky.

Then Iron the notches flat.
Now turned right side out you can see the hood.
You can sew a regular straight stitch for the lining or a zig zag to make it easier on a regular machine if using a knit like me. I used my serger cause it was easier.
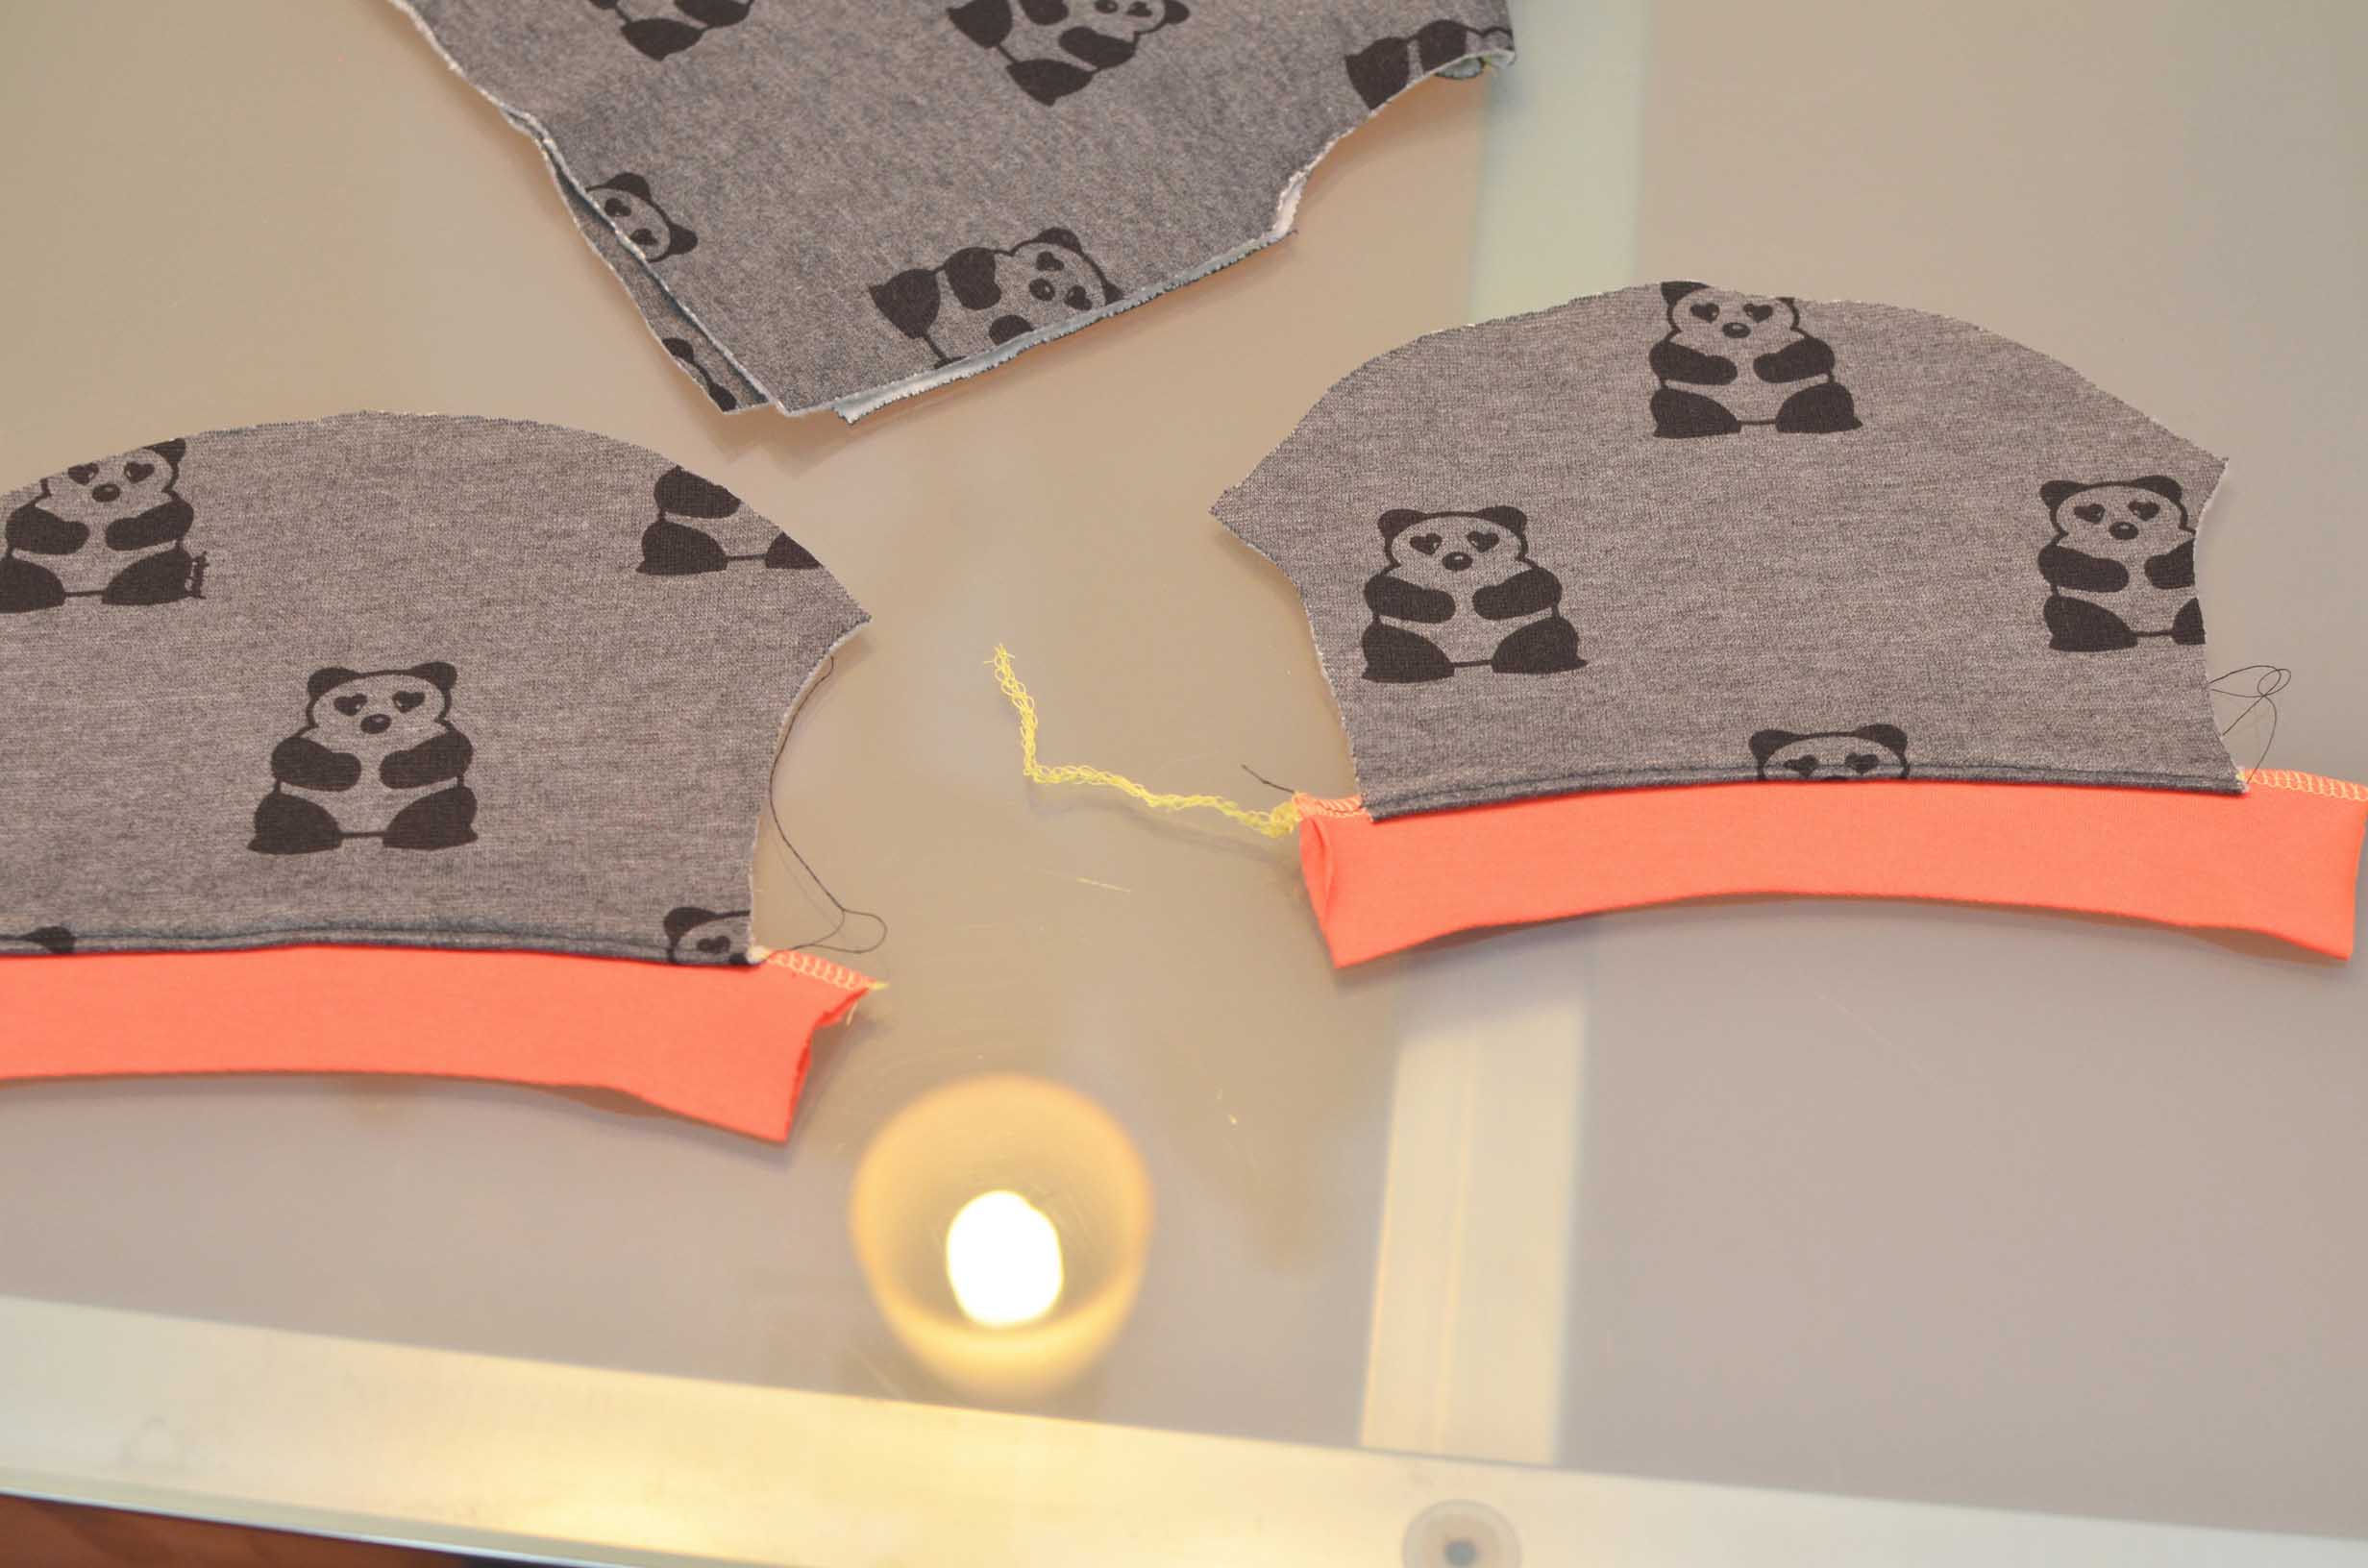
Here you can see it when finished.
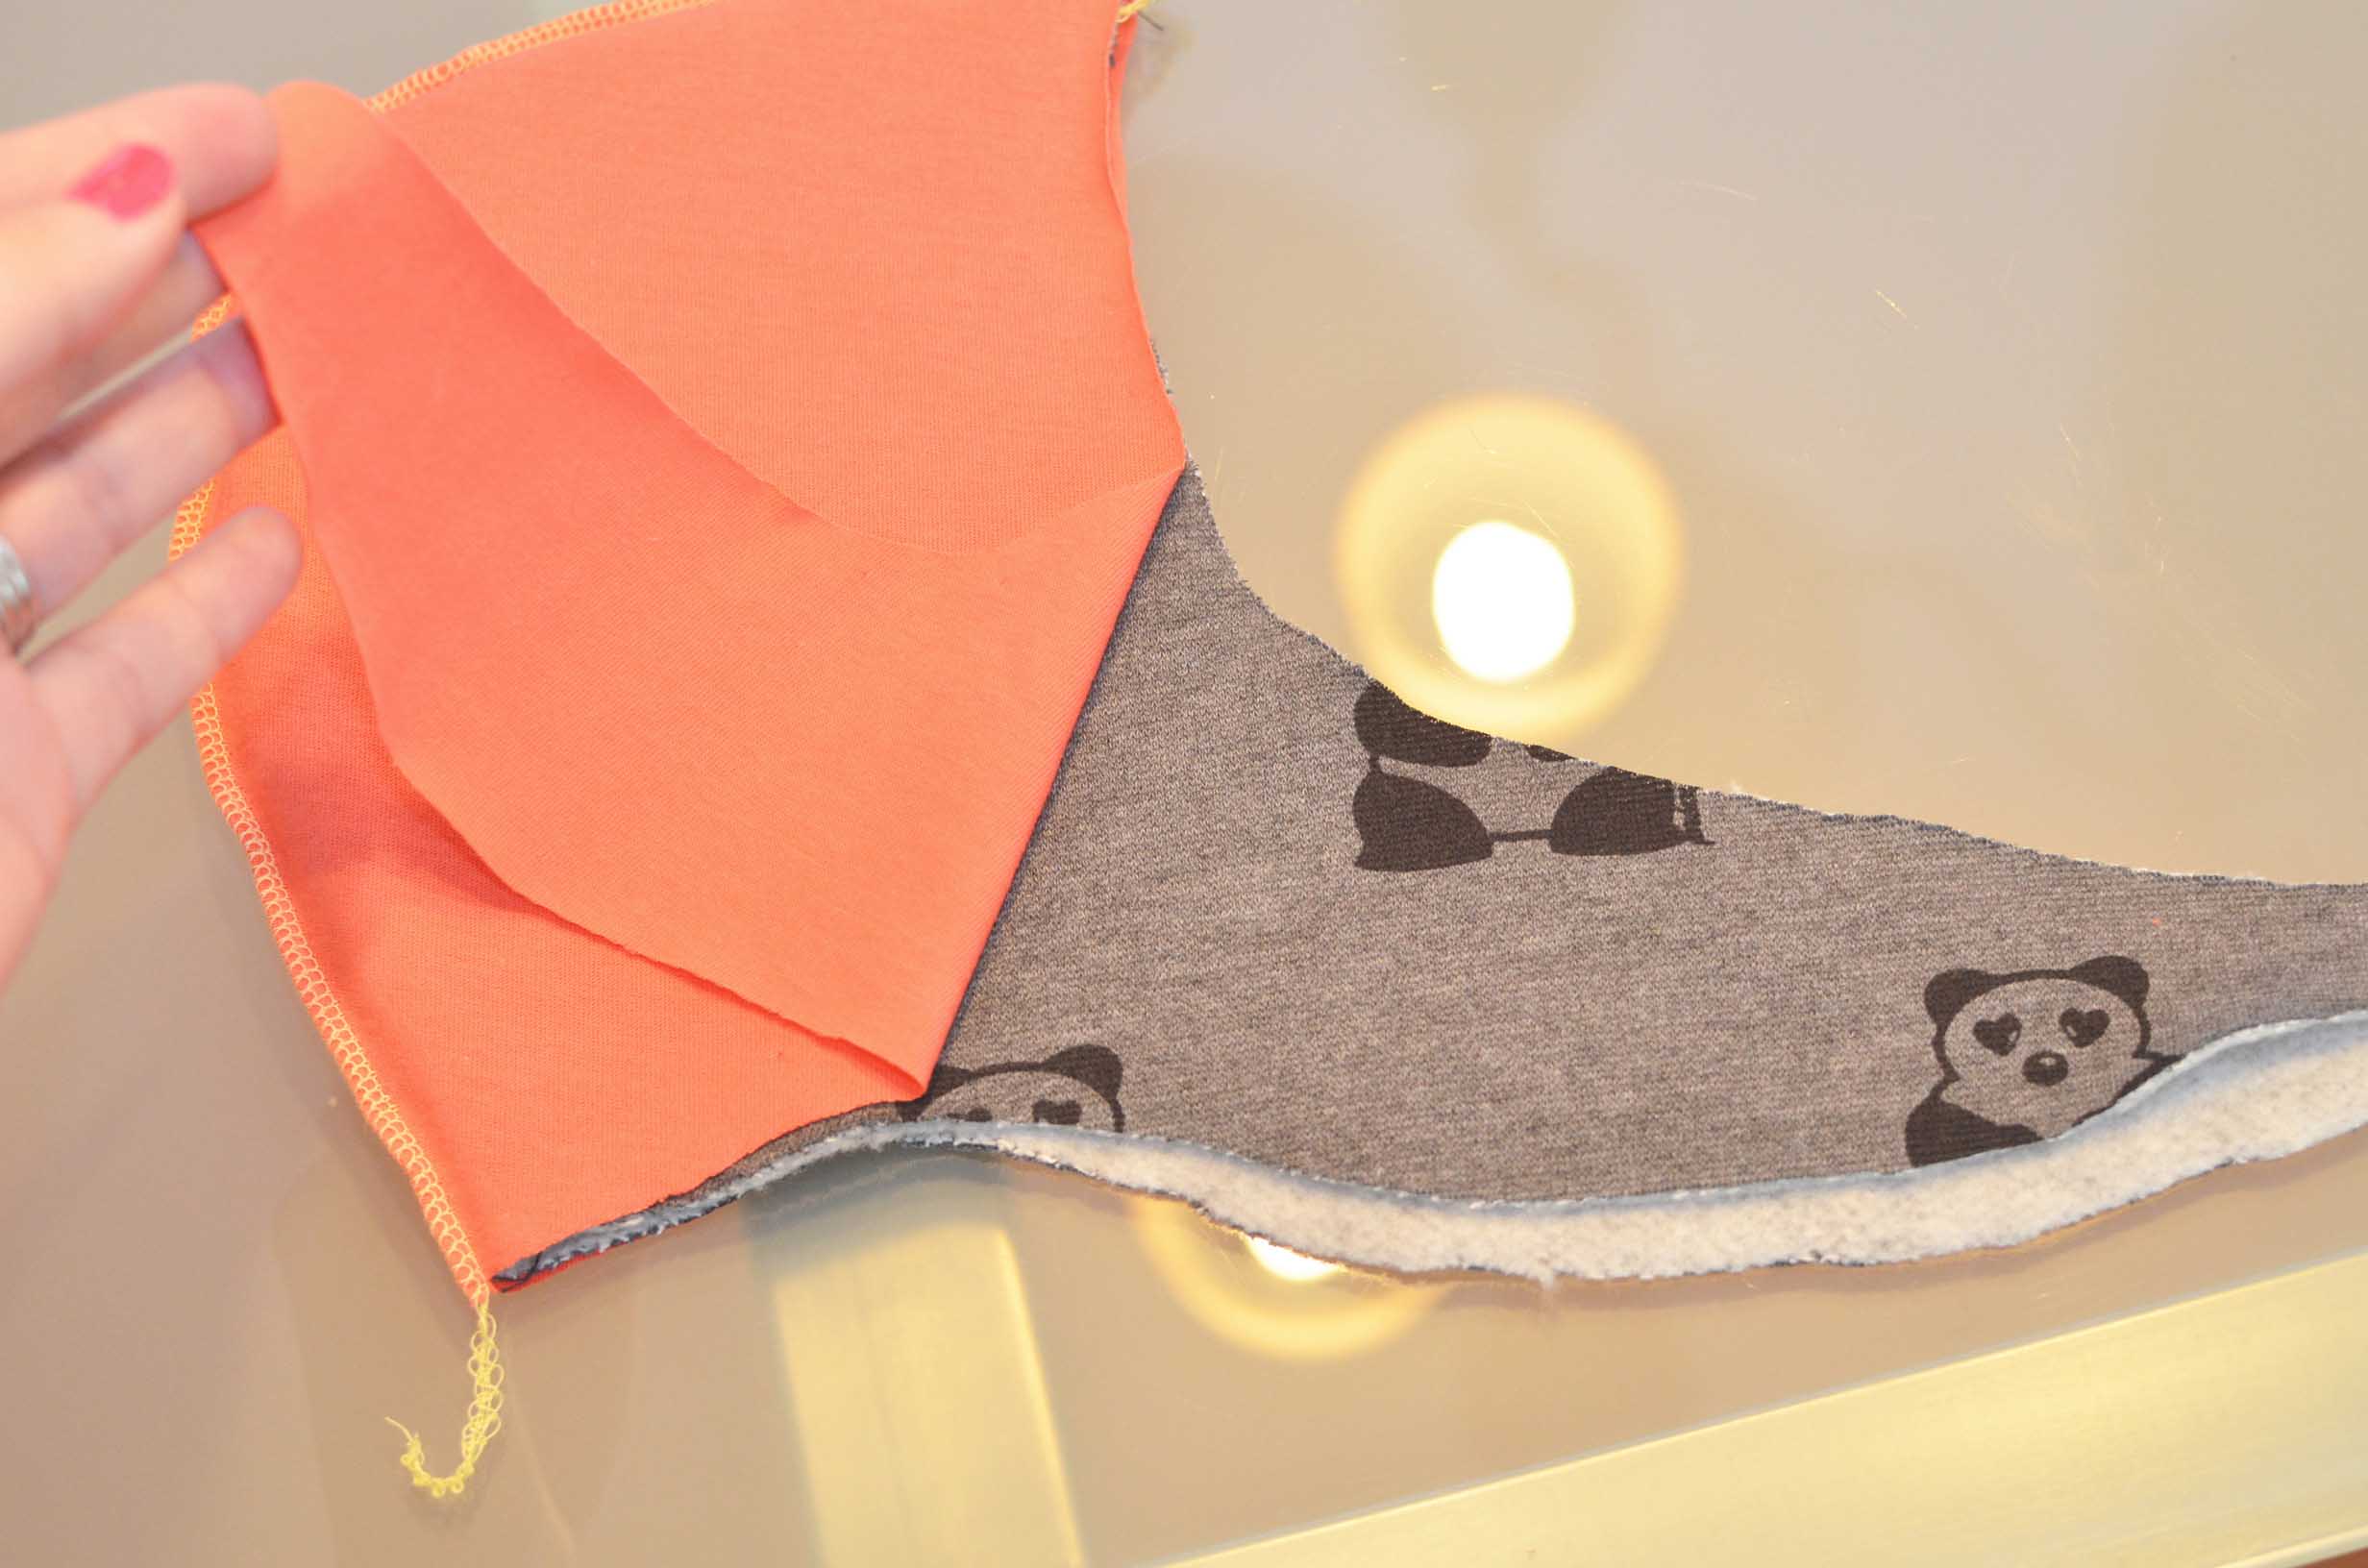
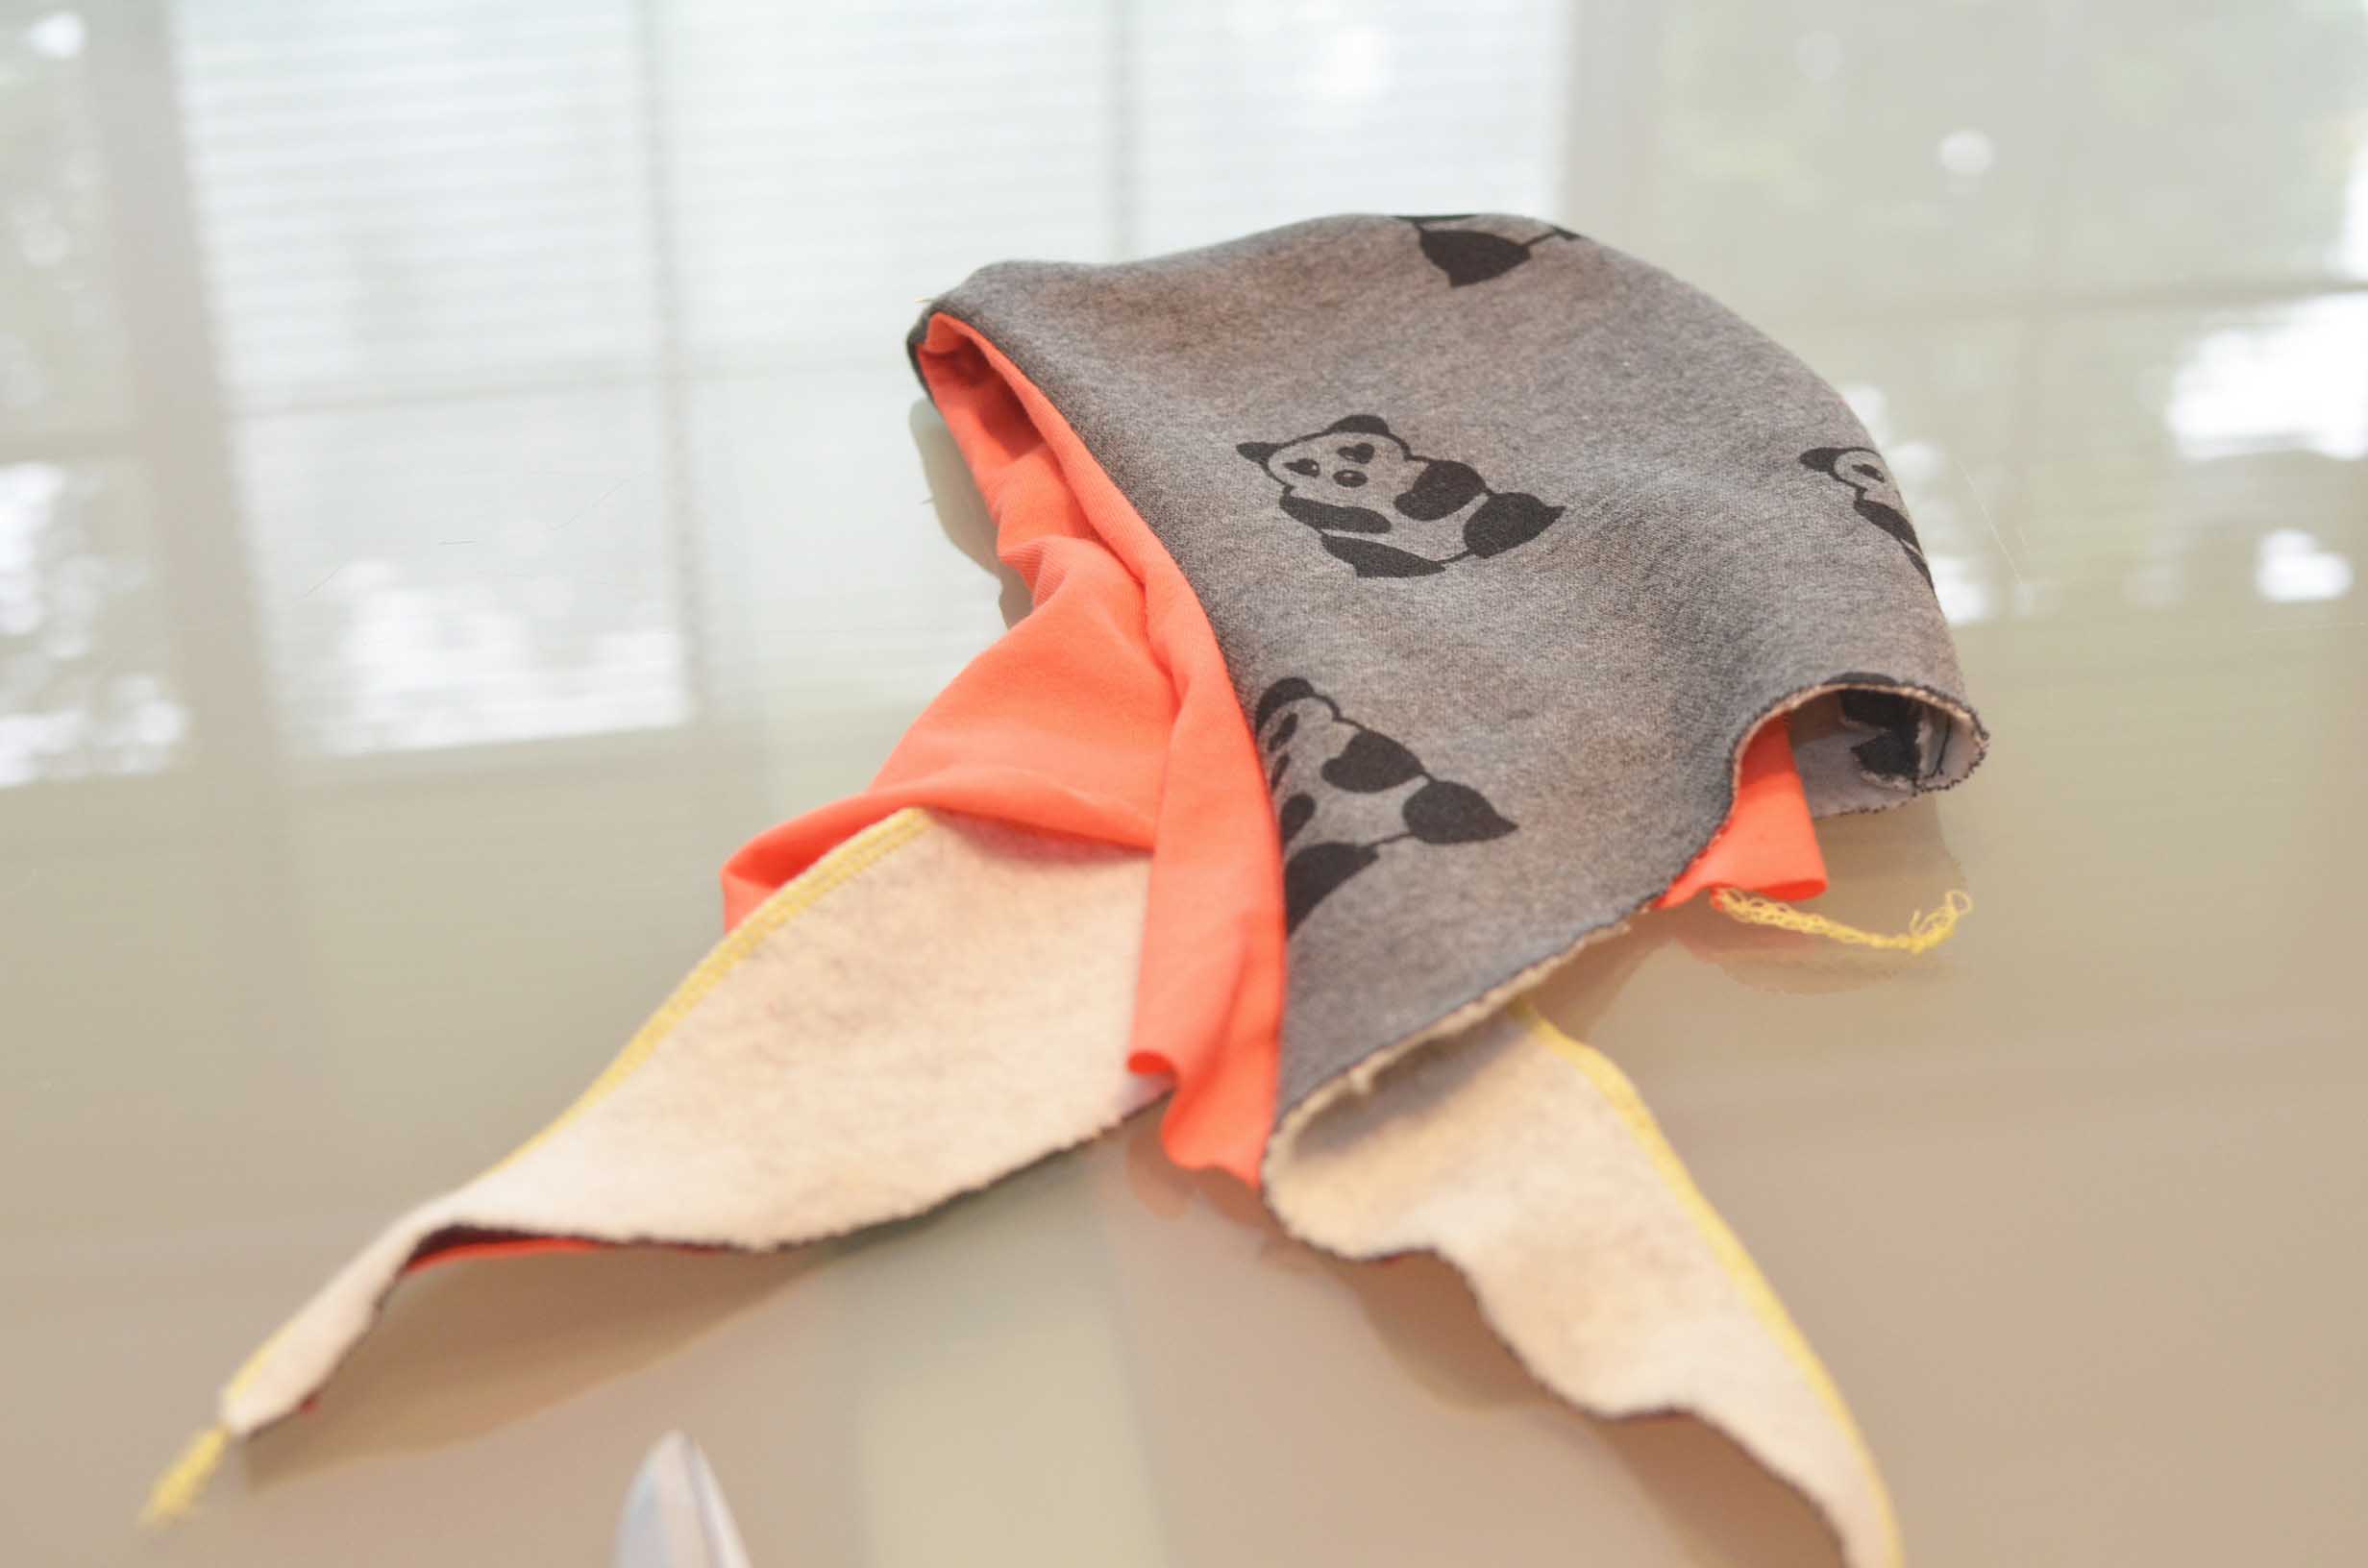
I then fitted it around the outside of the hood making sure that both portions that I wanted on the outside were touching and the seams on the outside.
Here you can see it together.
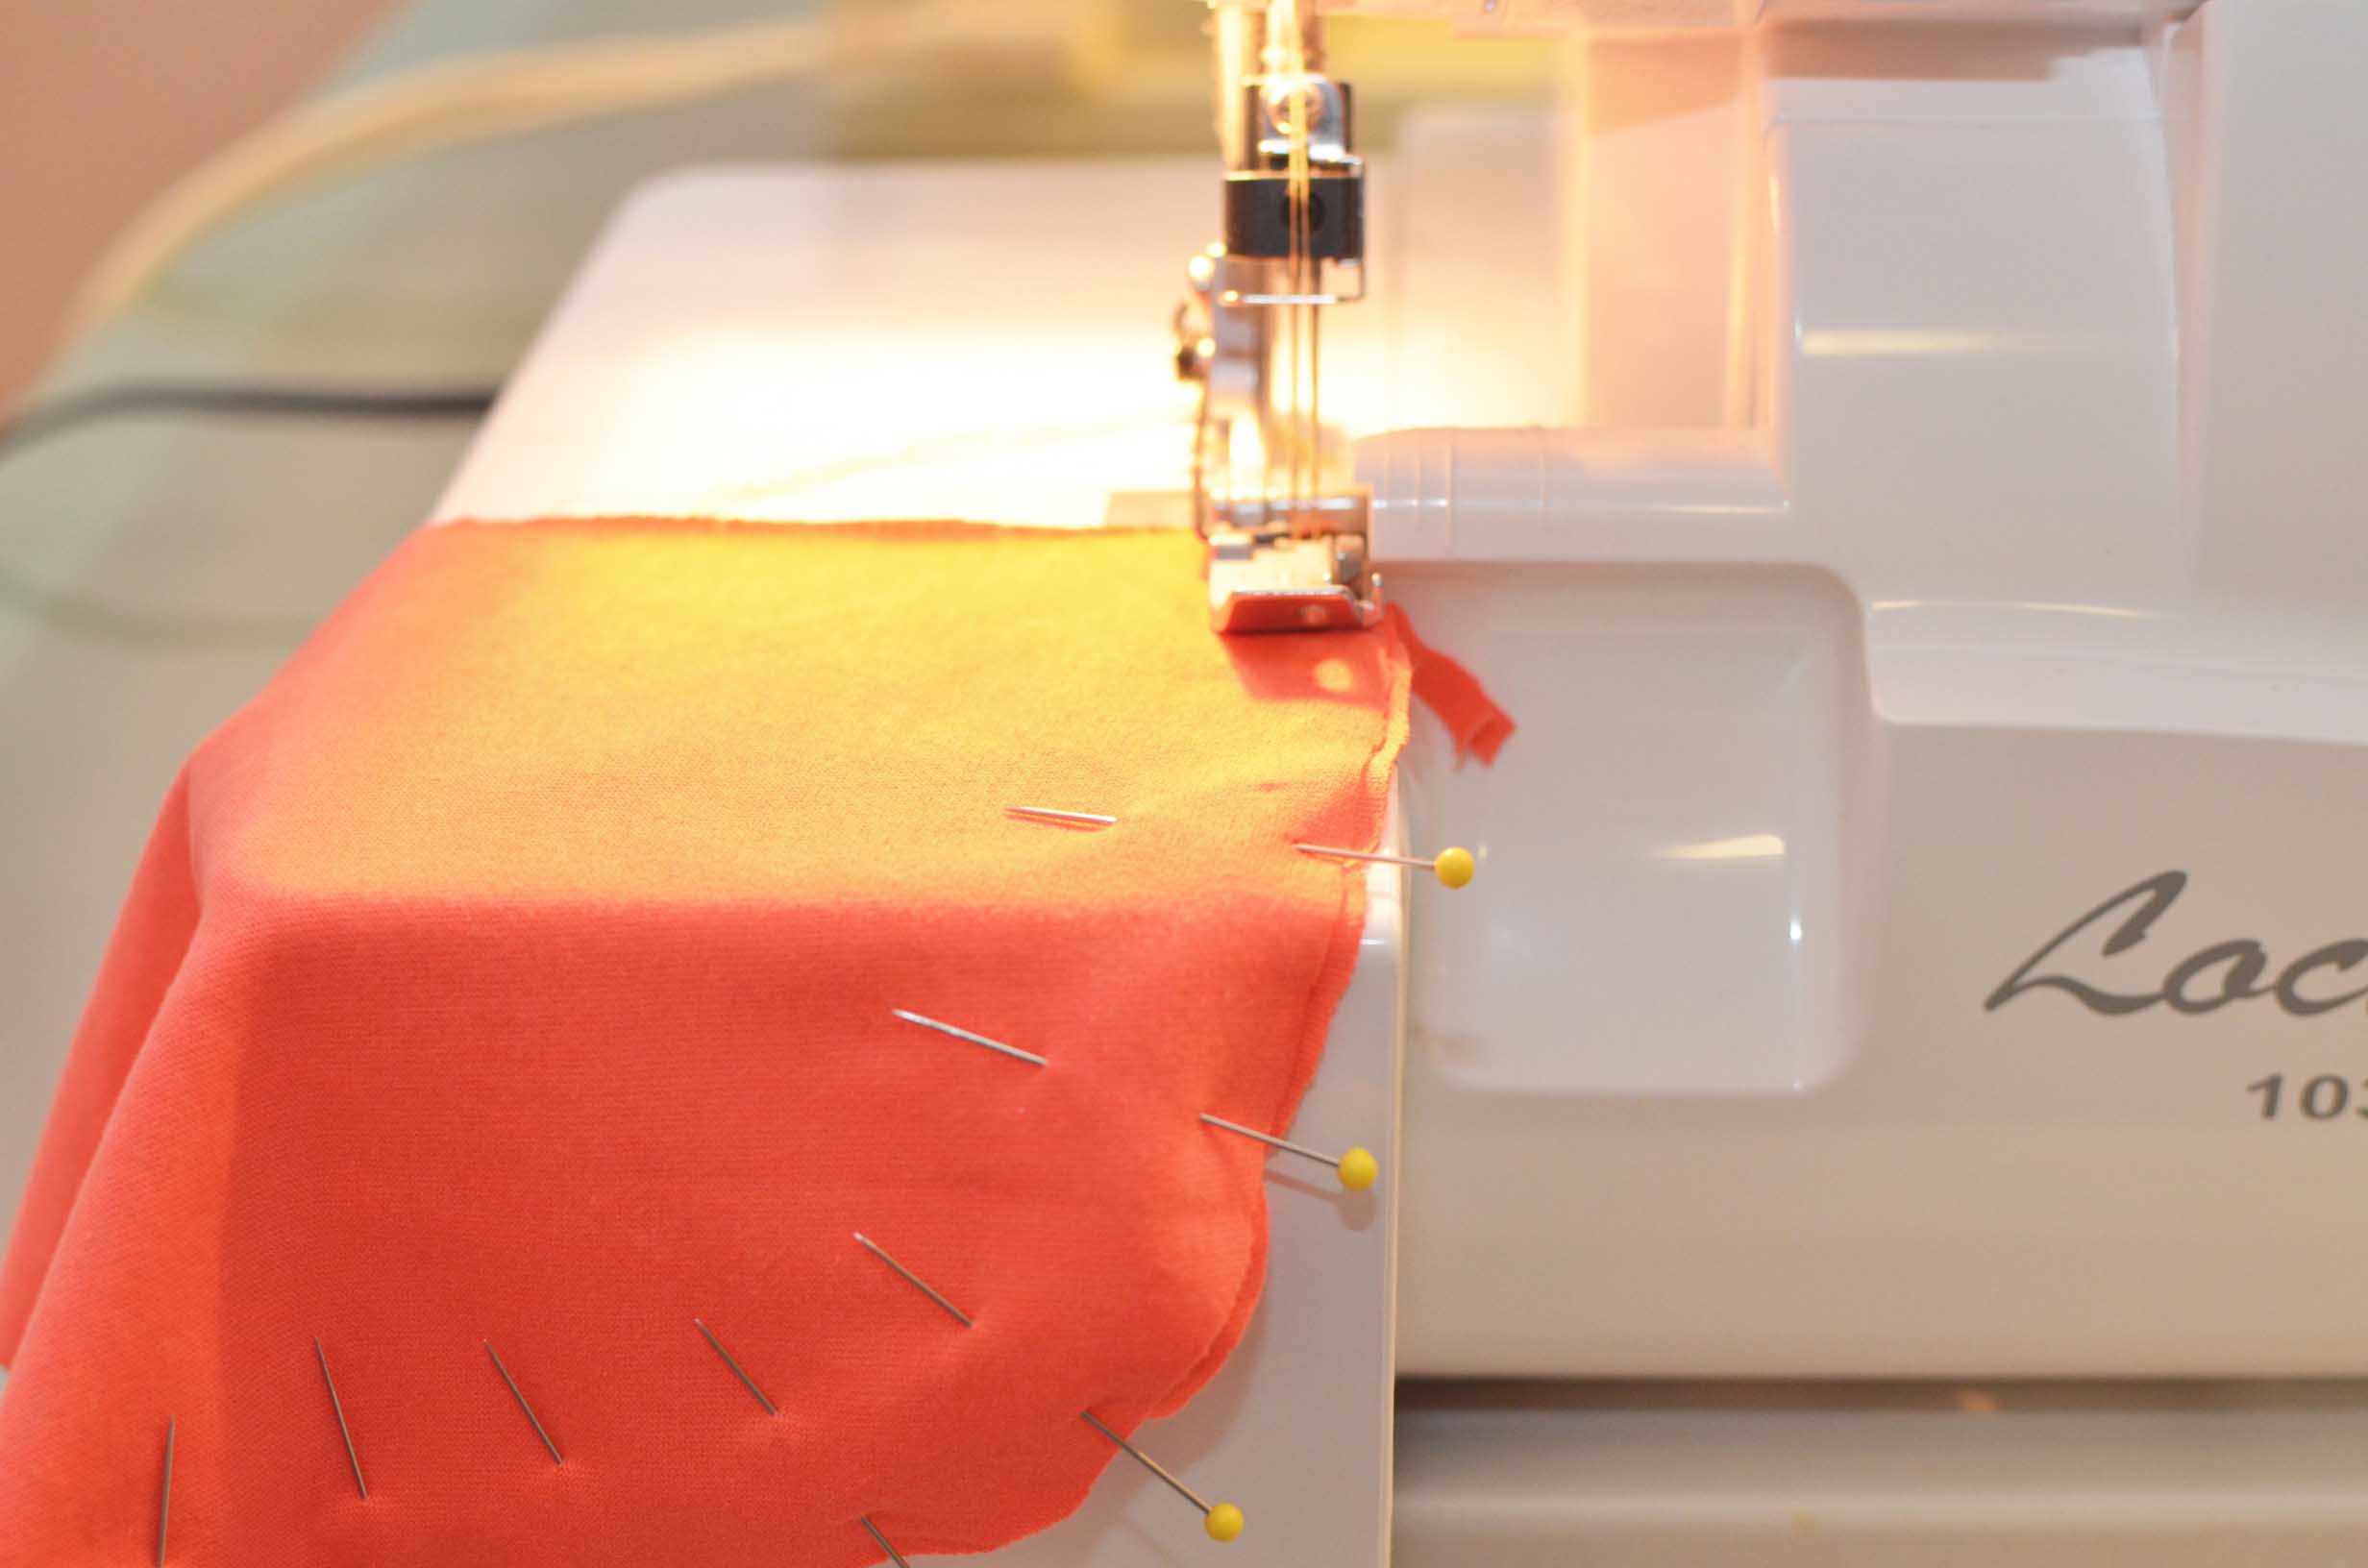
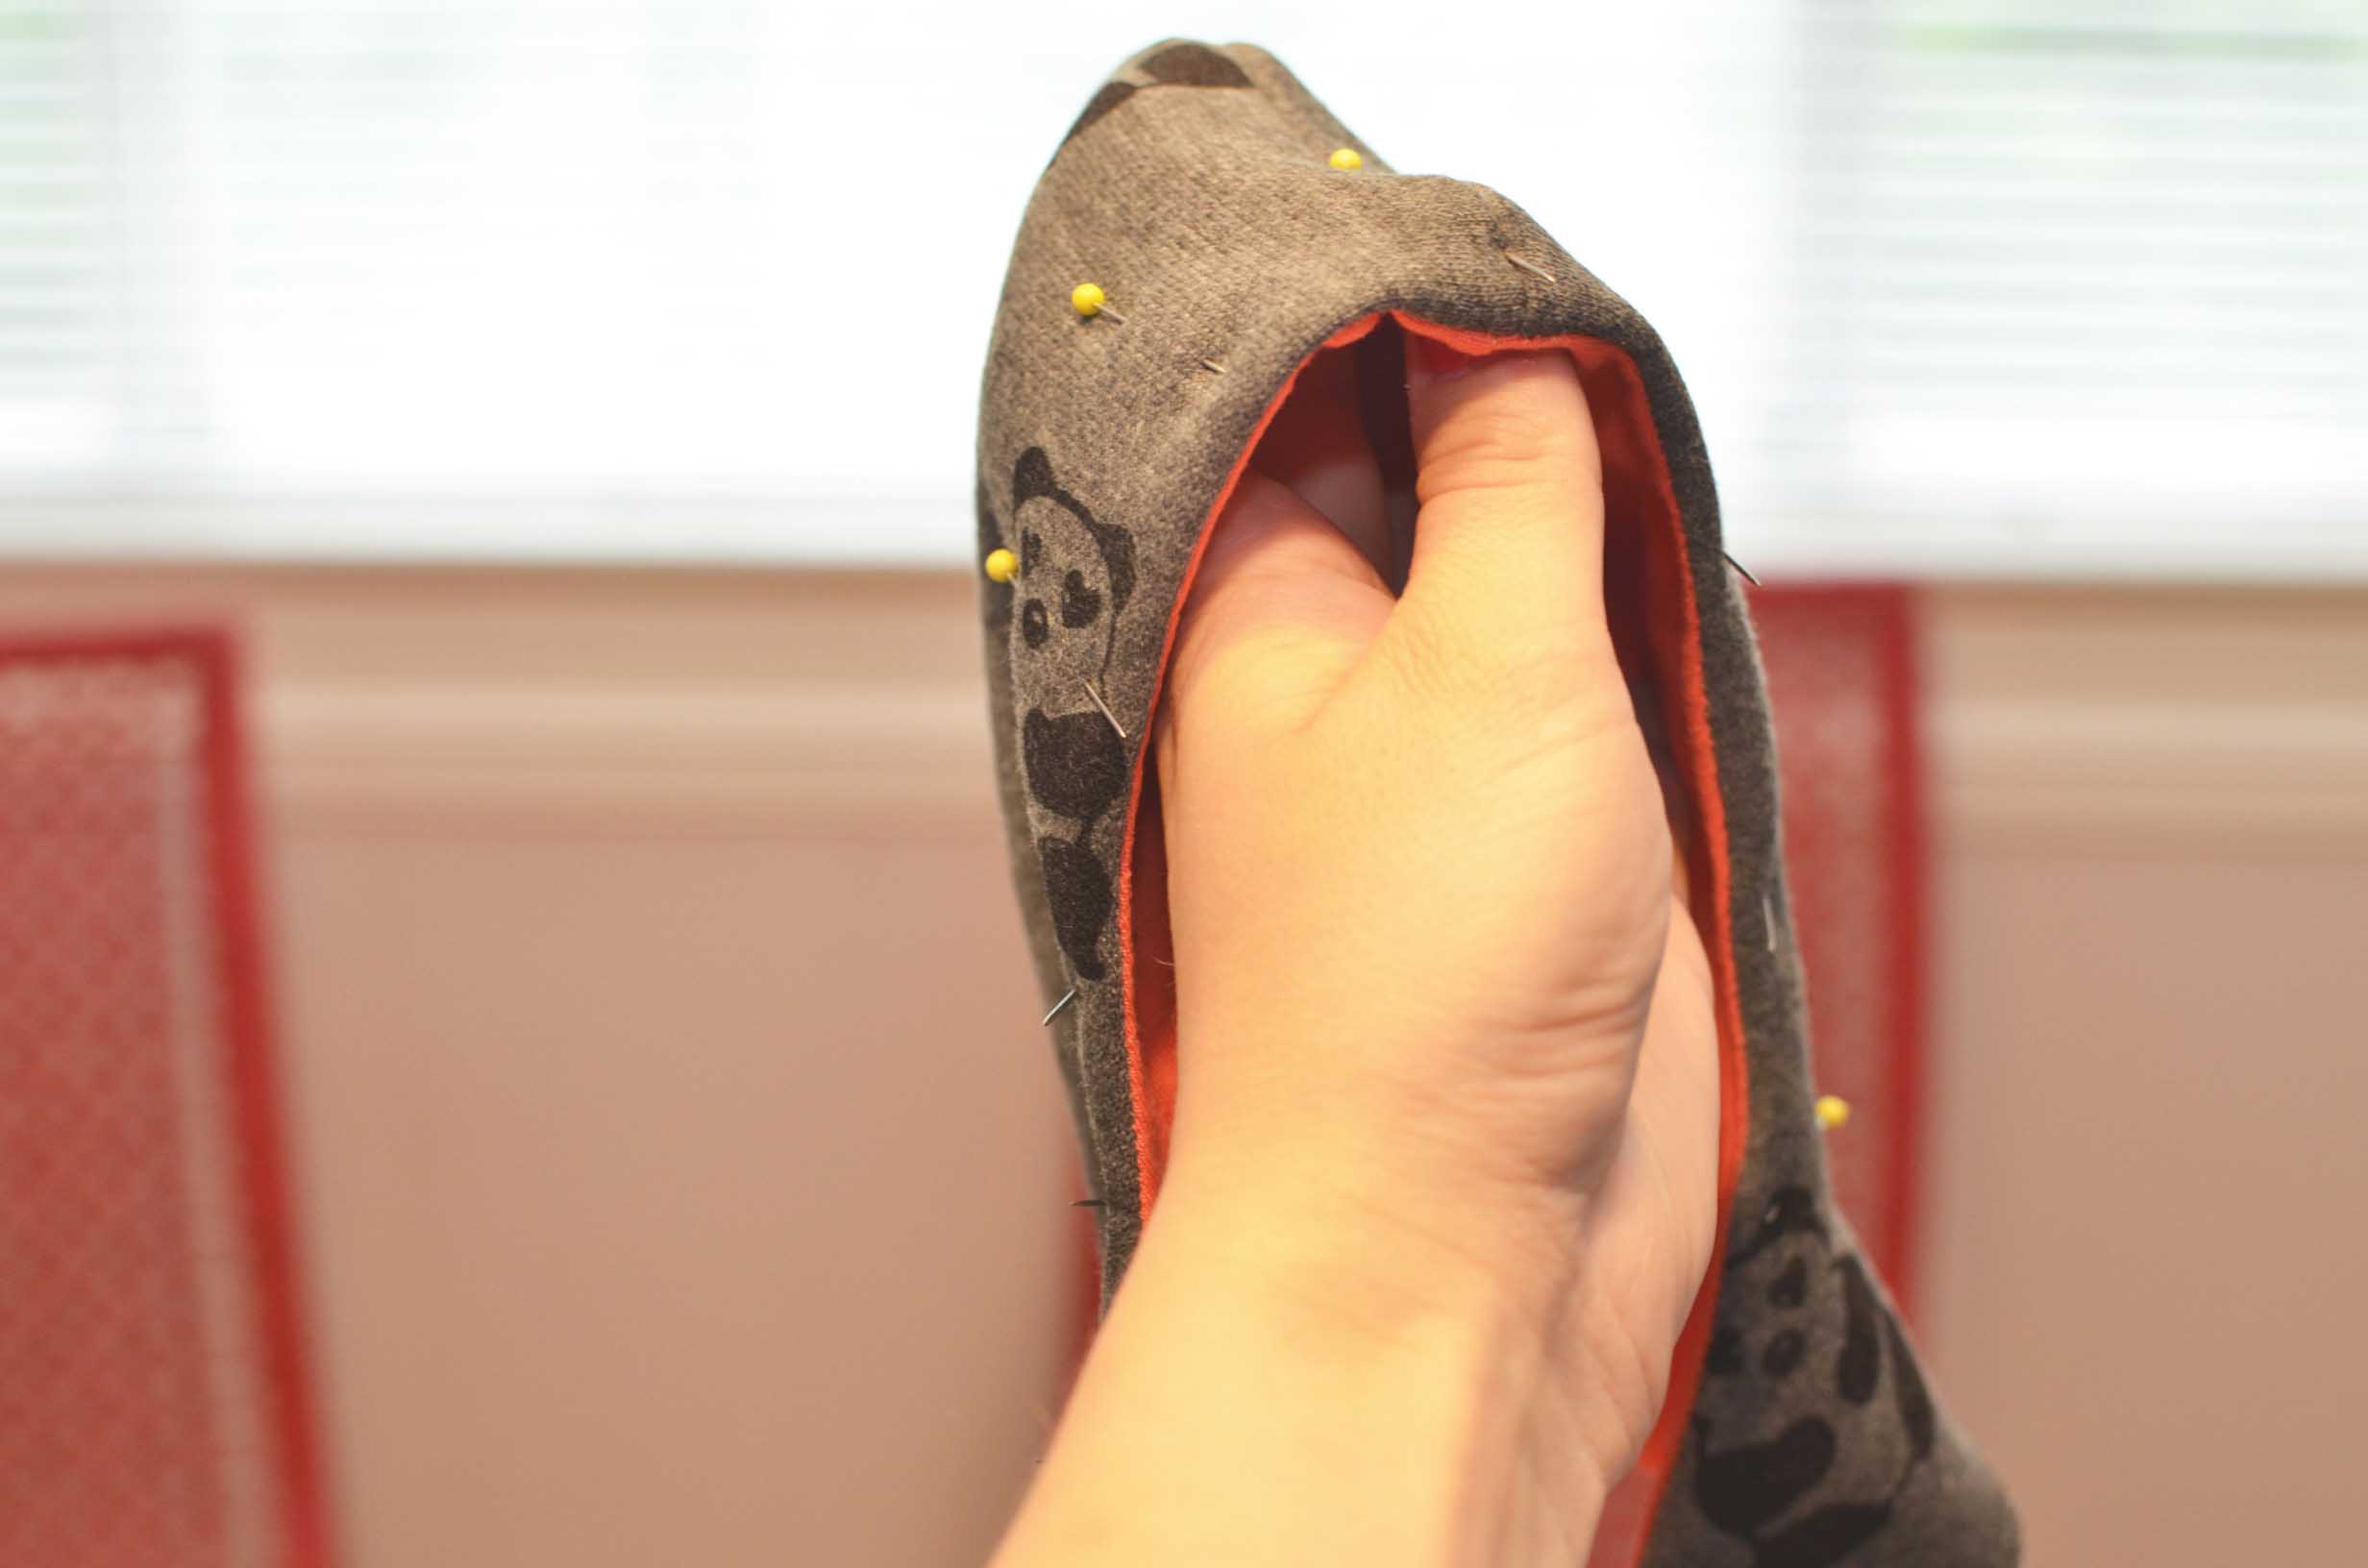
Pin around the front edge that will be framing the face.
Sew around that portion, again I used my serger,but you can always use a regular sewing machine.
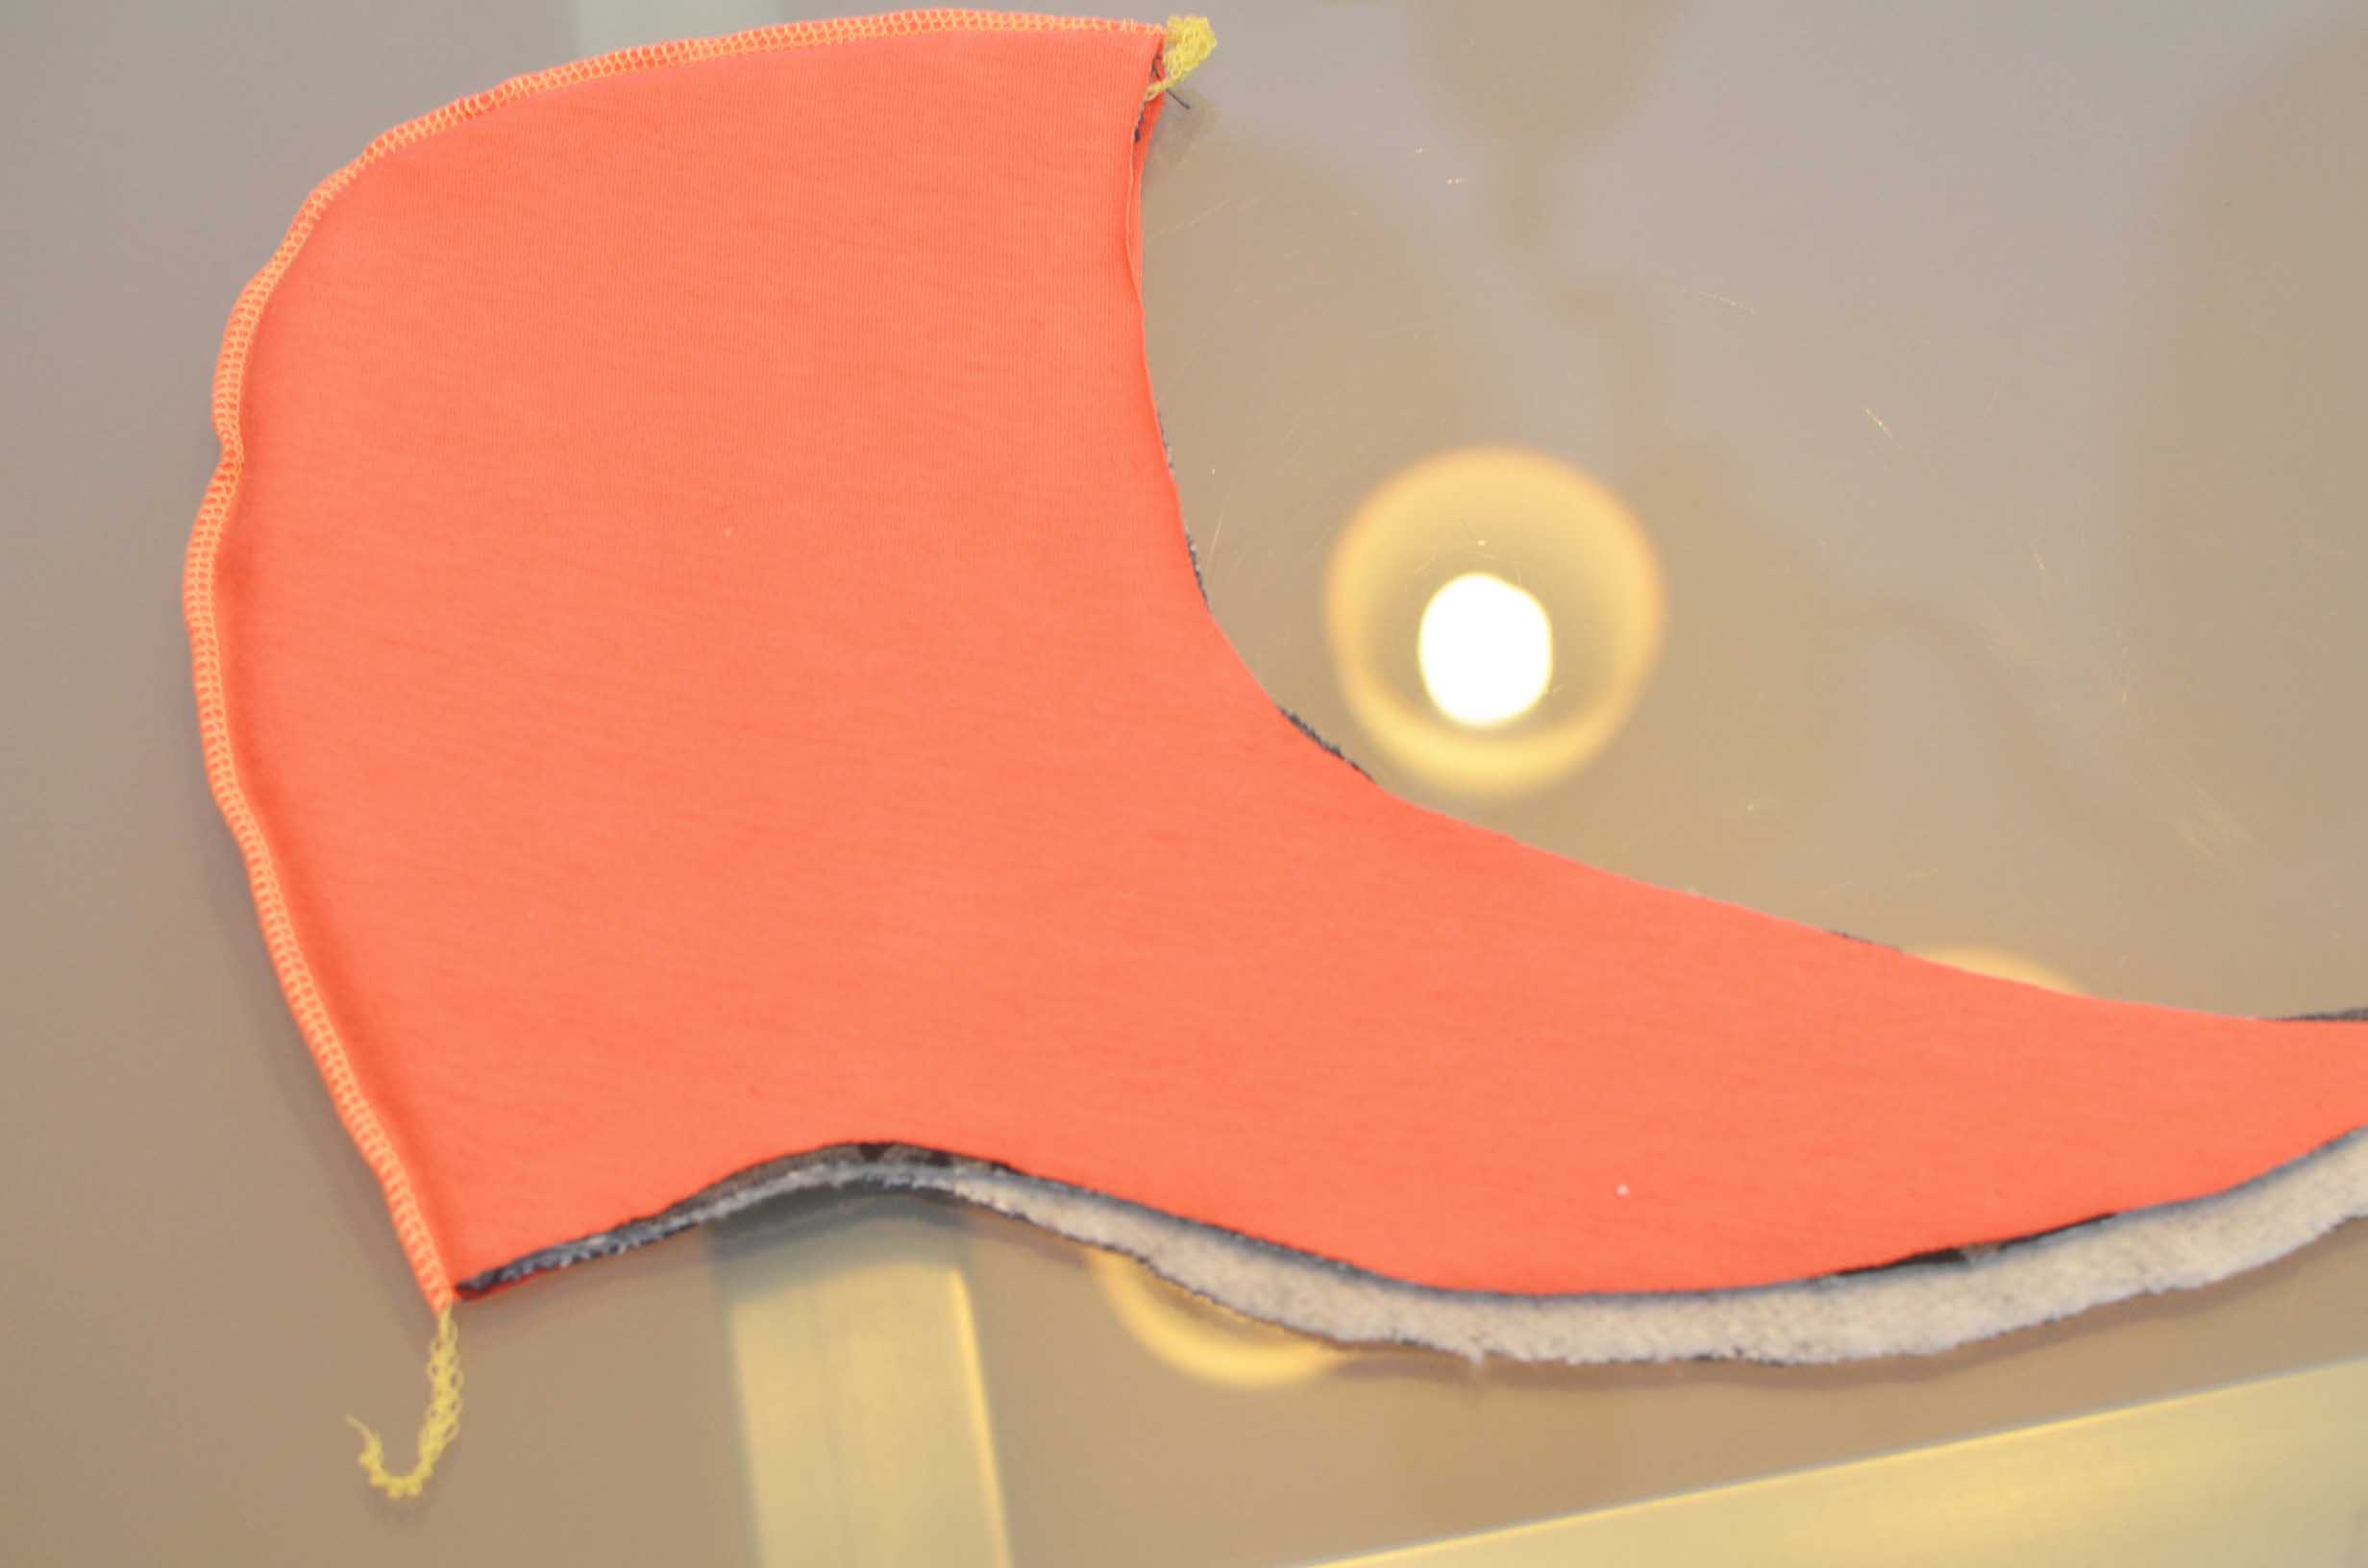
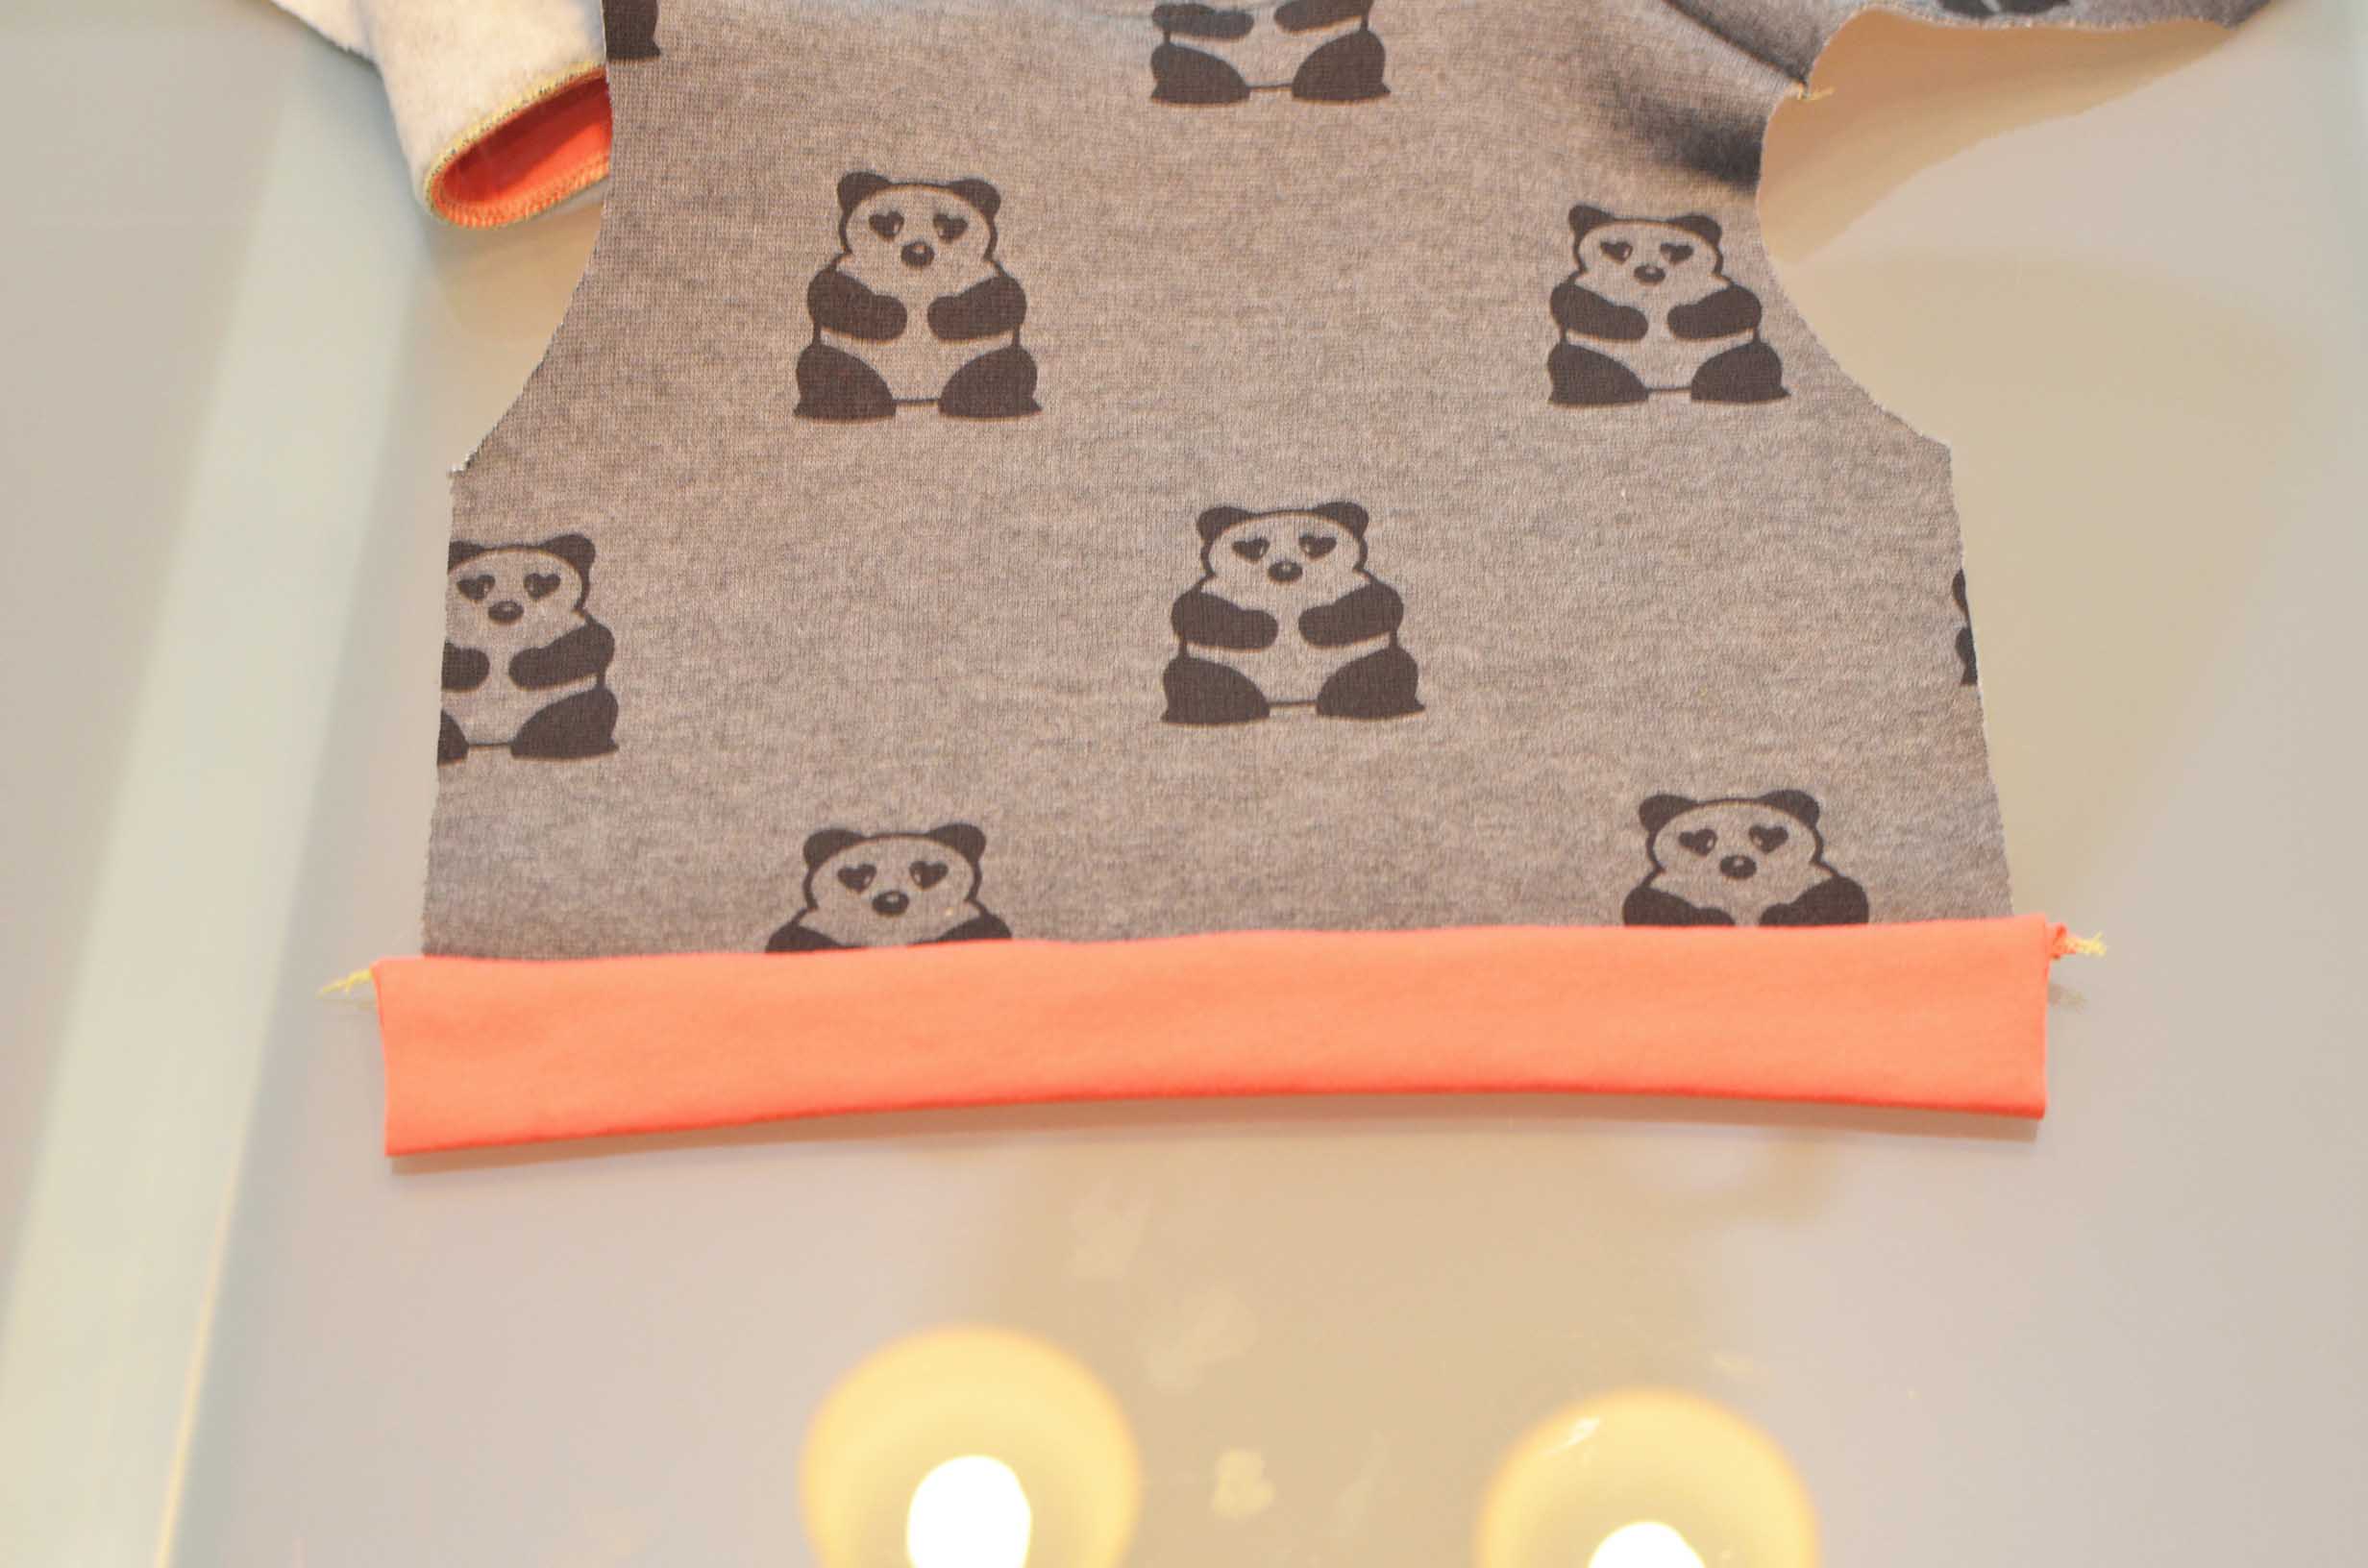
Here you can see that once turned right side out, it doesn’t naturally want to fit to itself. So slowly work the two into each other and then press the seam on the top front.

Then pin it.
At this point make sure that both of your seams are hidden, otherwise you will need to undo those portions and resew the hood and lining to itself.

Sew around that whole opening with a straight stitch also known as top stitching.

Here is a closer up view, this will keep everything in place and looking good, and the top stitching really makes things look finished. If you look at commercial clothing, you will notice there is a lot of top stitching. I could have used a double needle here, but I didn’t want to mess with threading it.

Lay the hood flat, and pin around the bottom.

Serger or sew across the bottom edge to secure it.

Then top stitch the center seam of the hood on both sides.
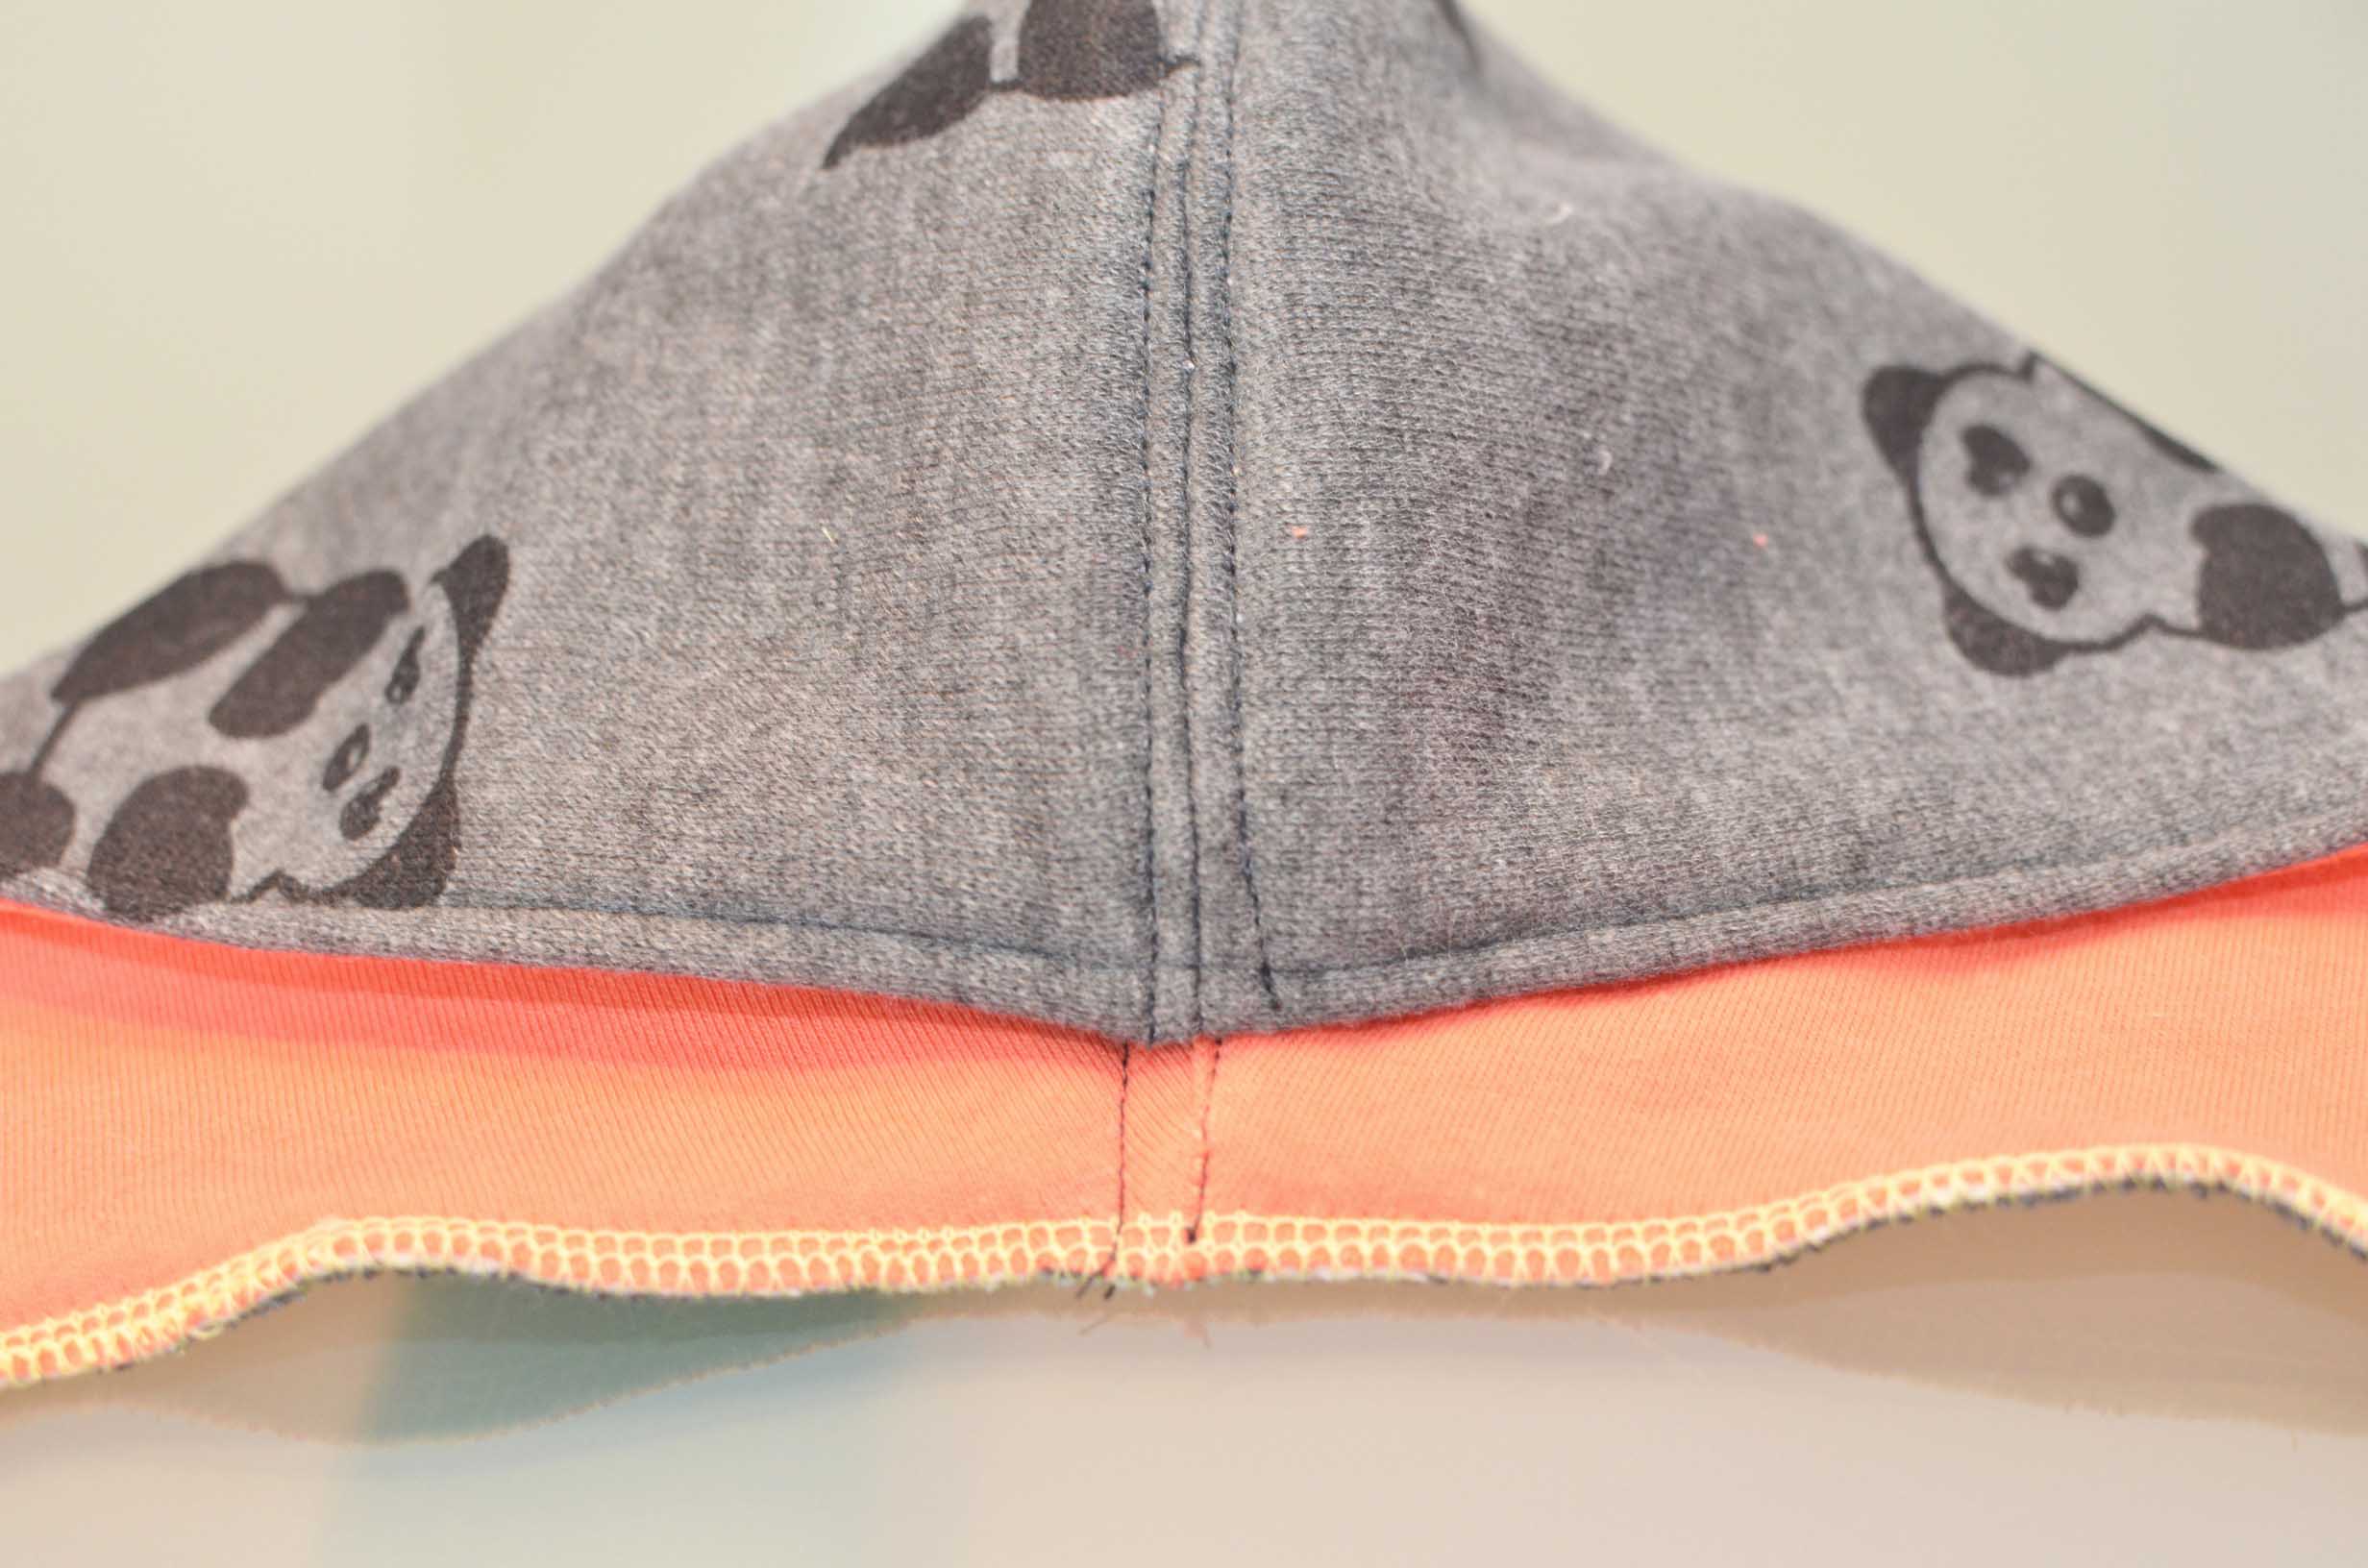
Like so, mine isn’t perfect,but oh well.

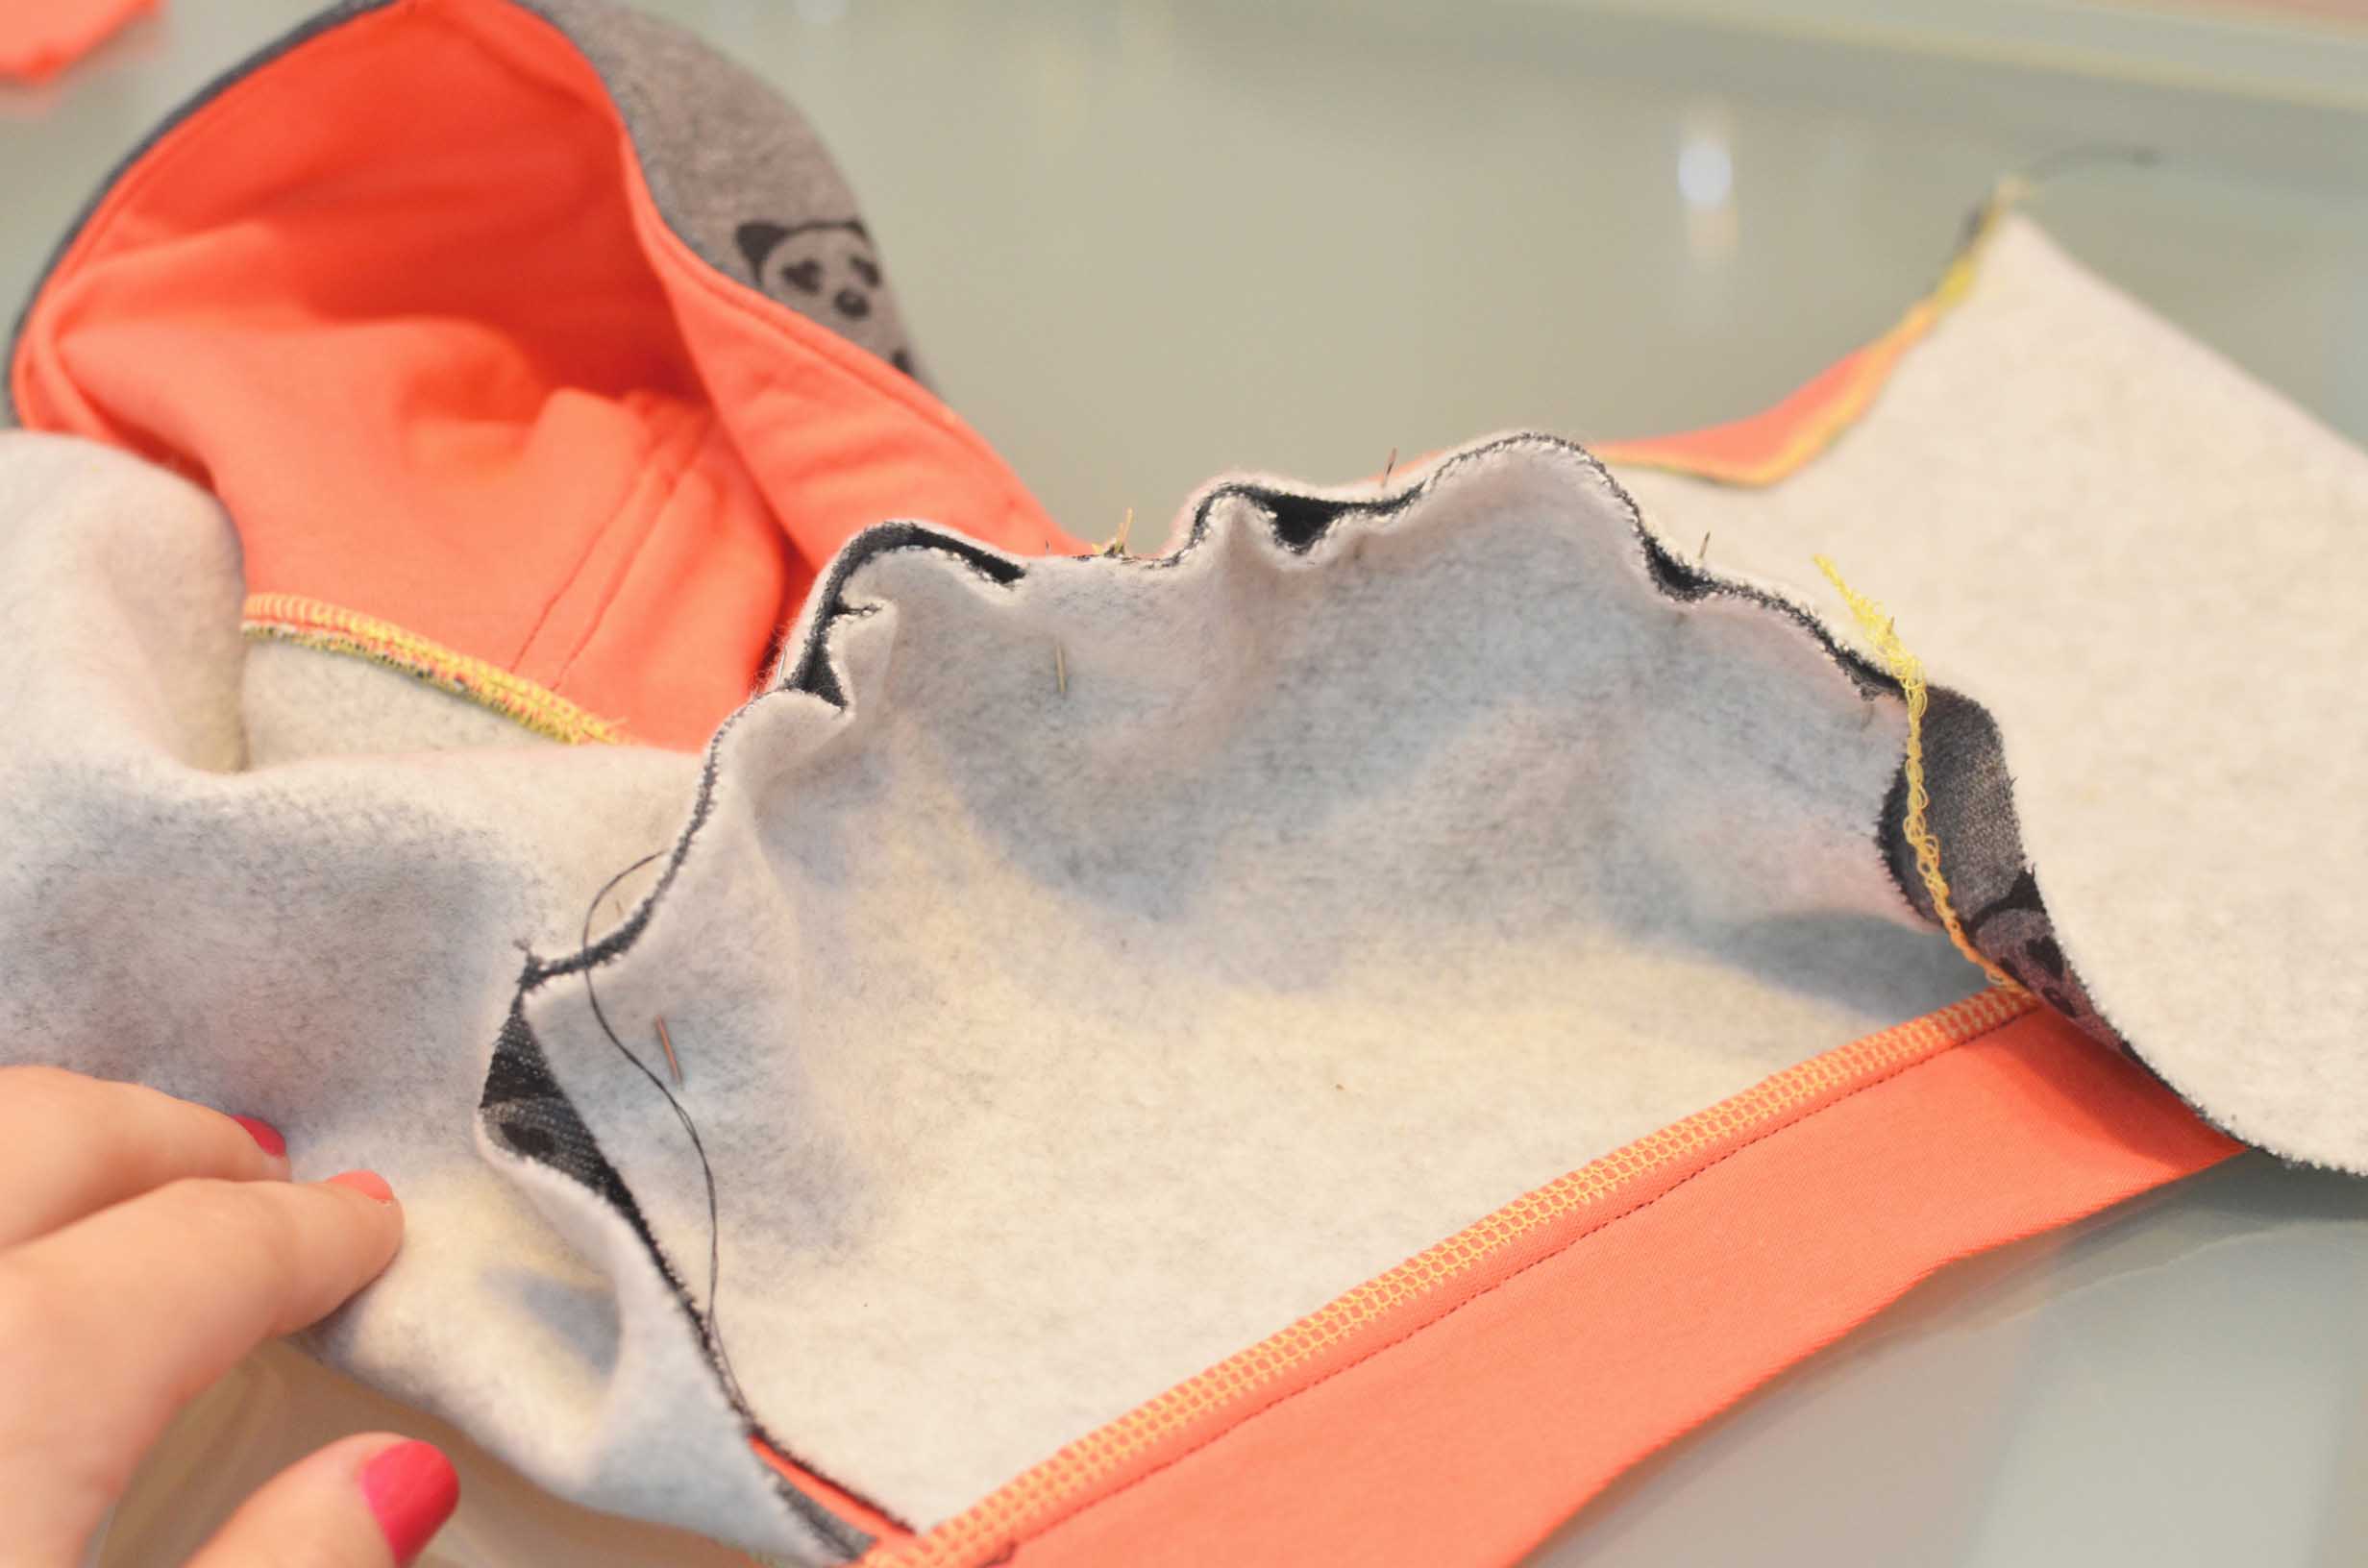
Next pin the top shoulder seam on the hoodie portion.
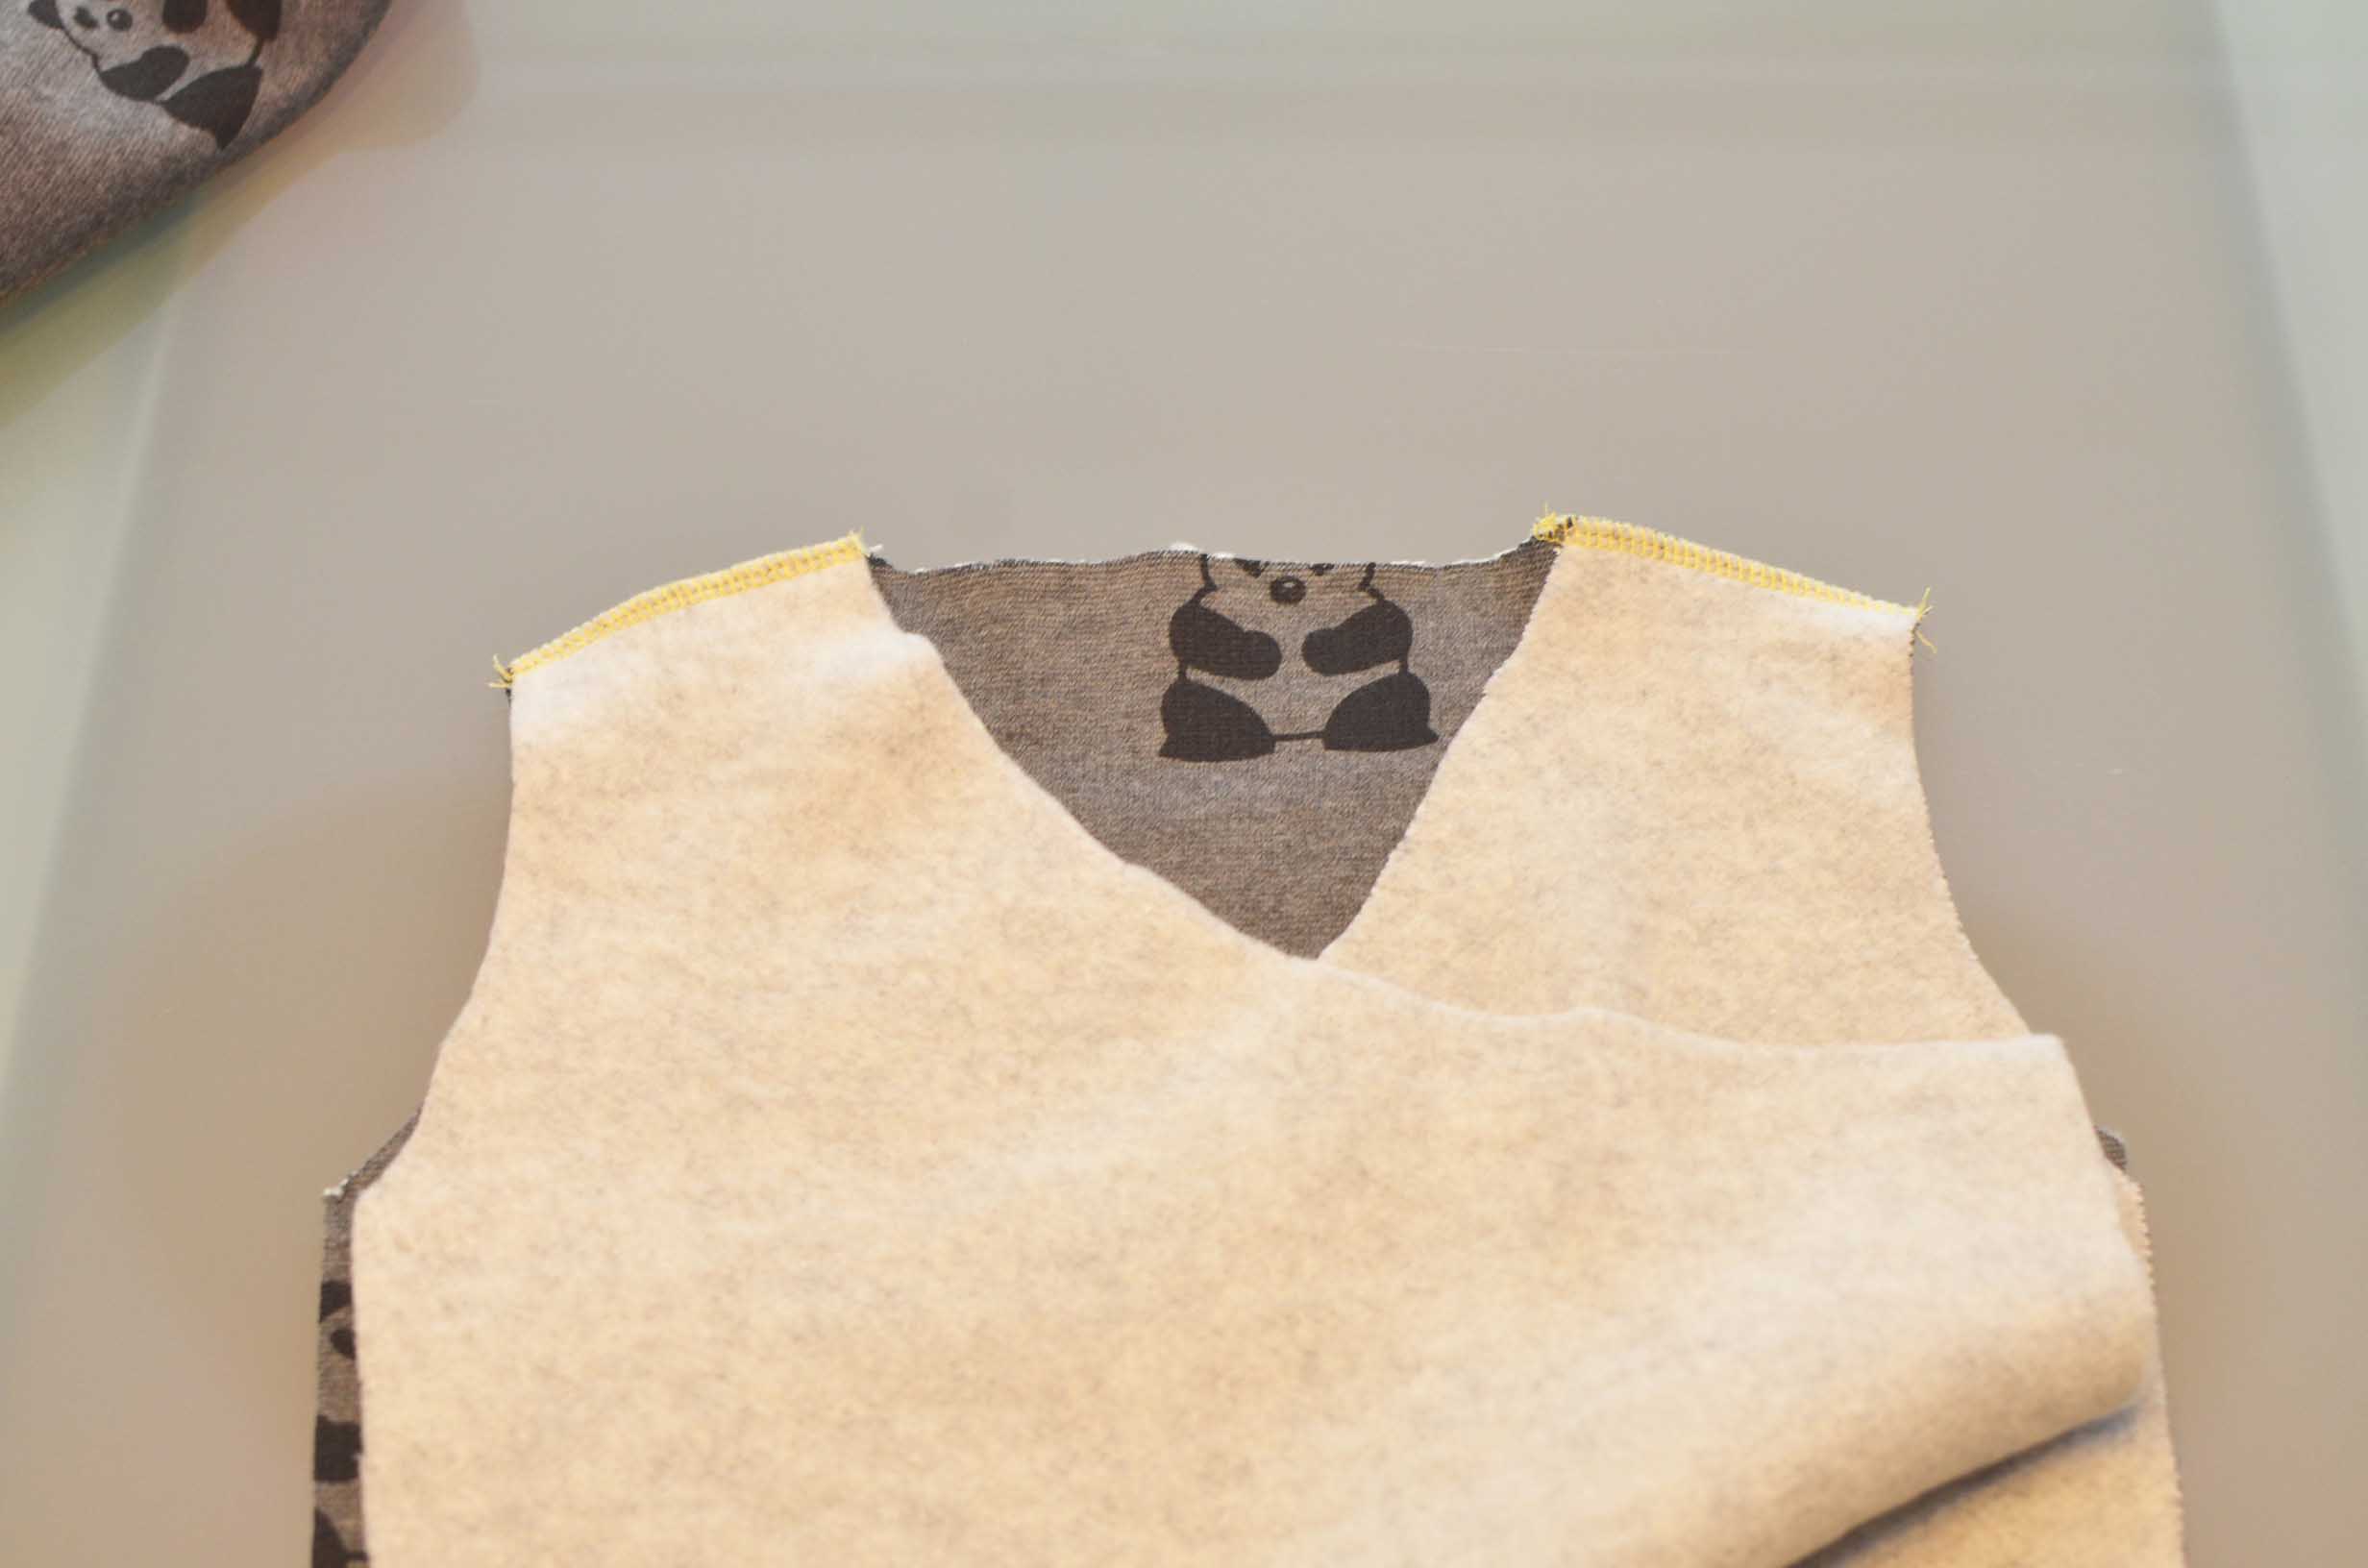
I serged it,but you can just do a straight stitch on the inside of the hoodie.
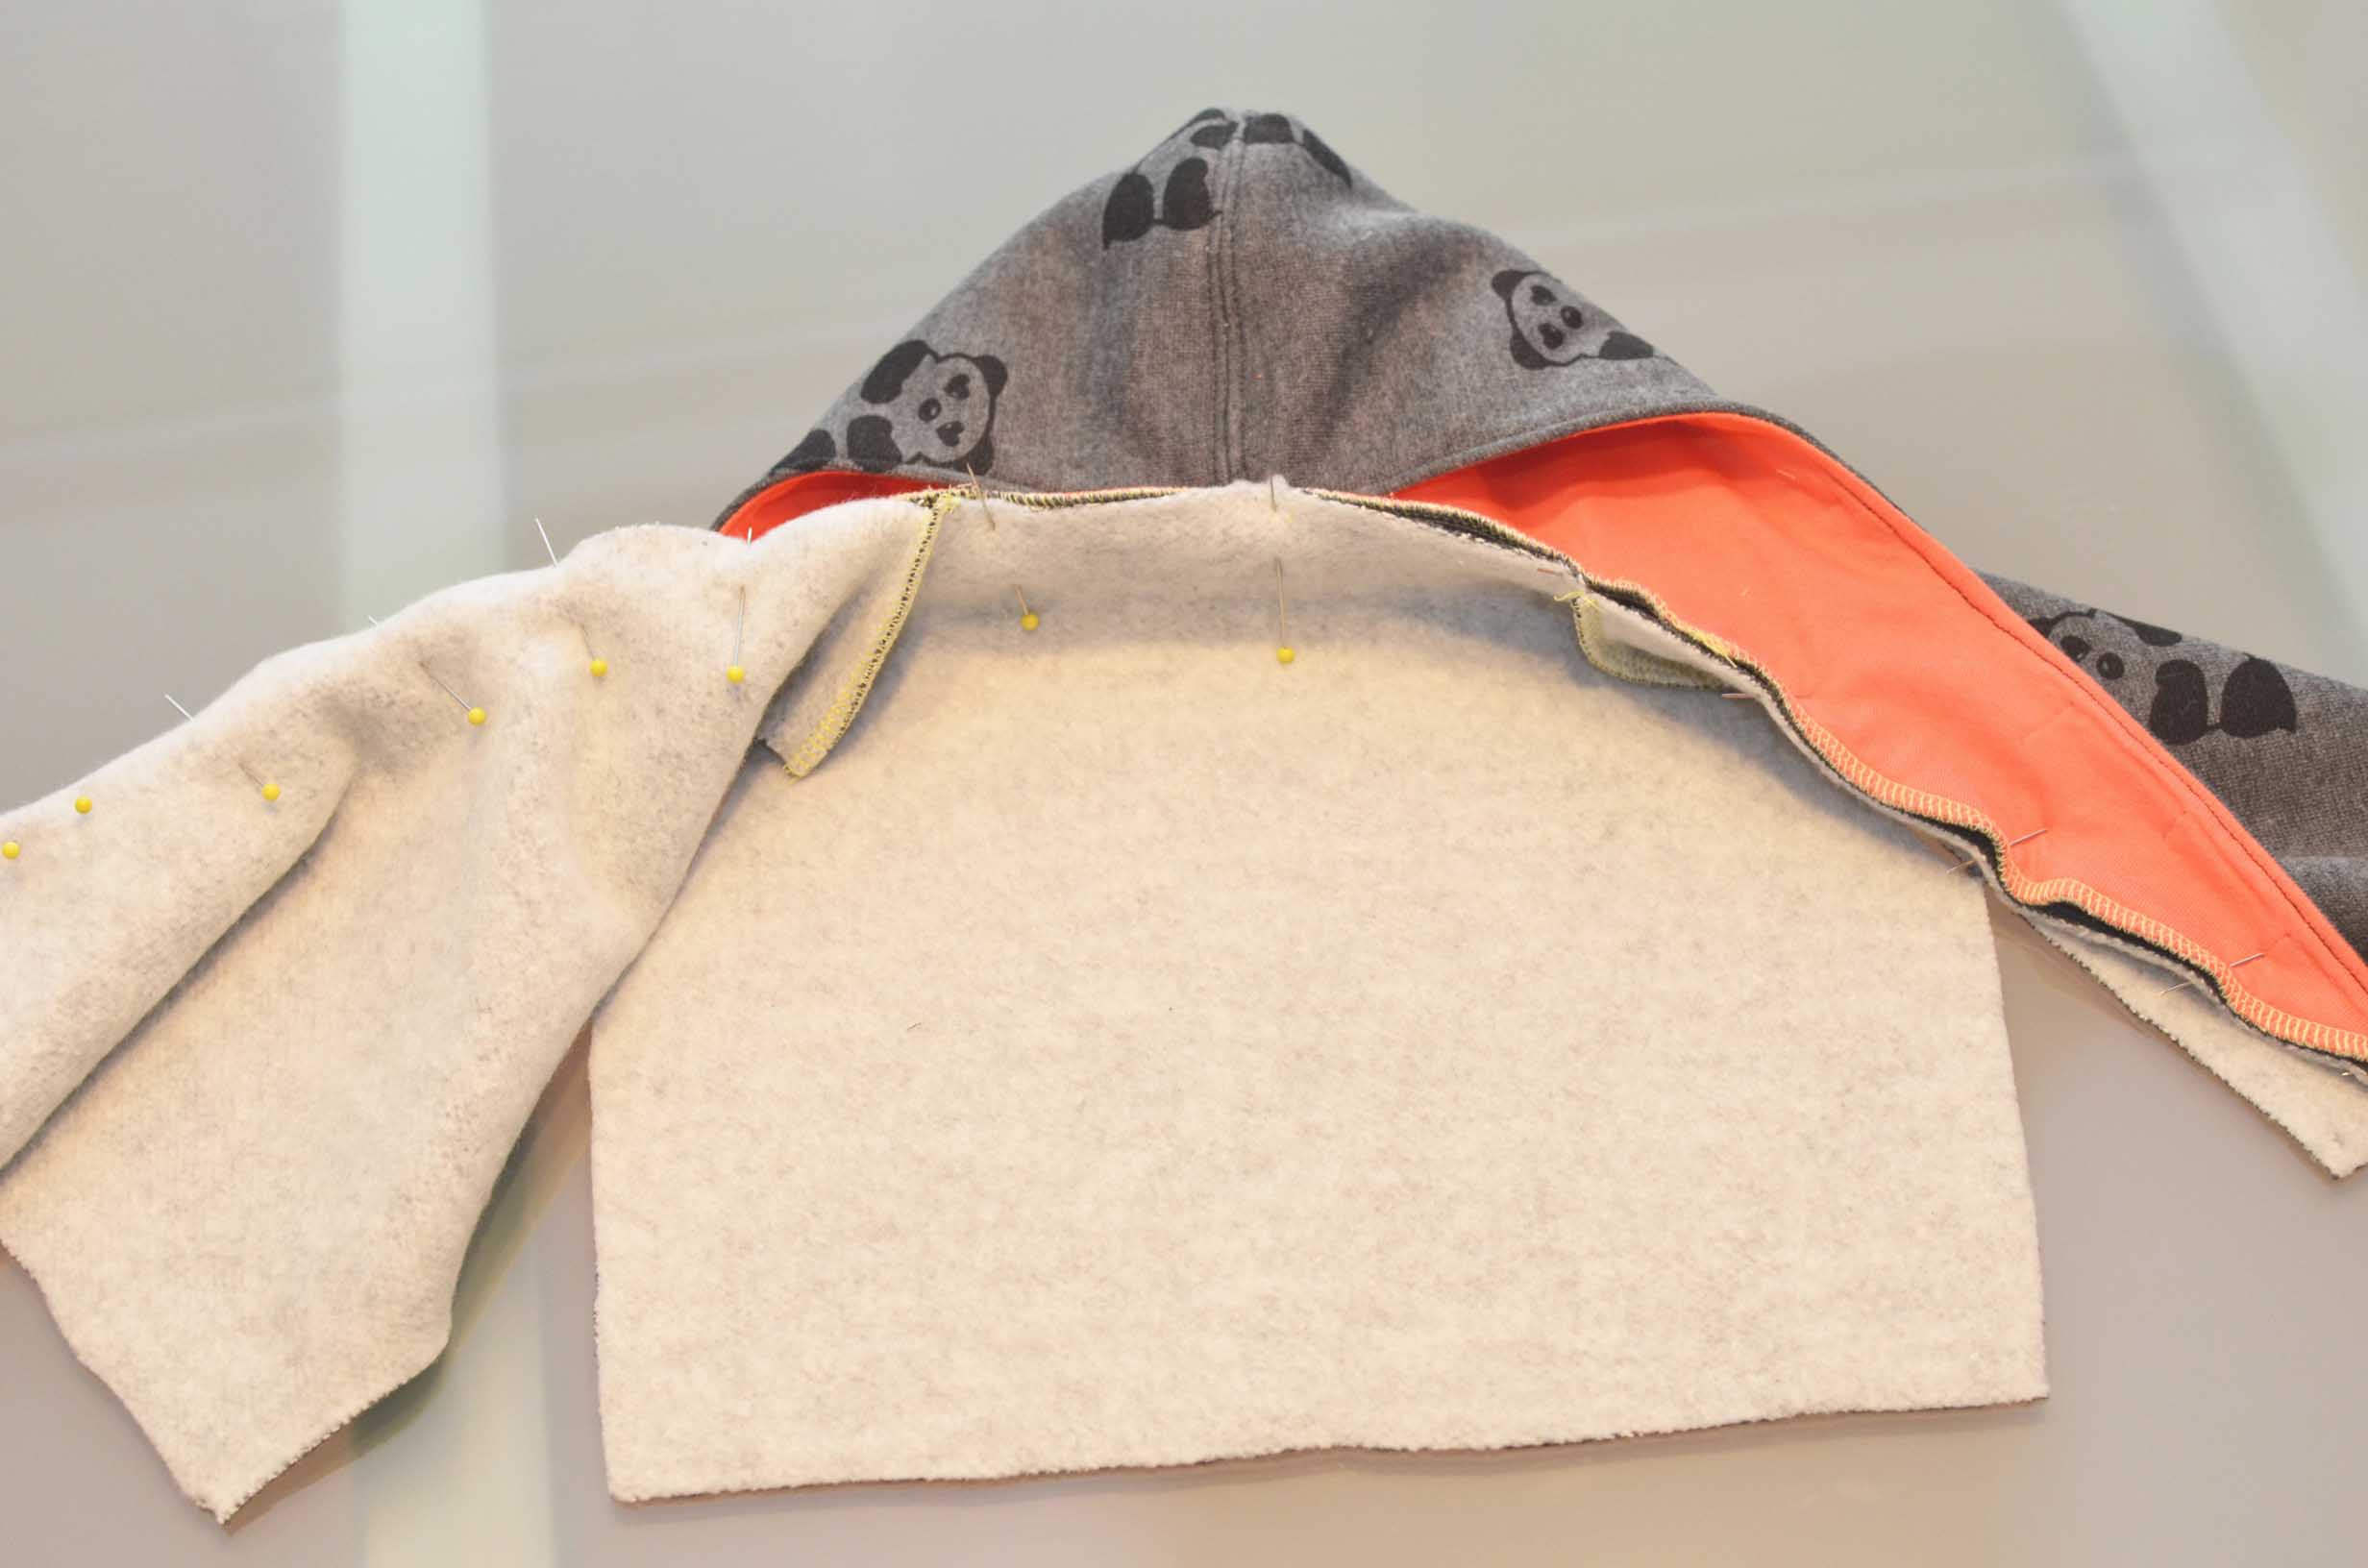
Now attach the hood portion to the main hoodie. Make sure that the seam will be on the inside!
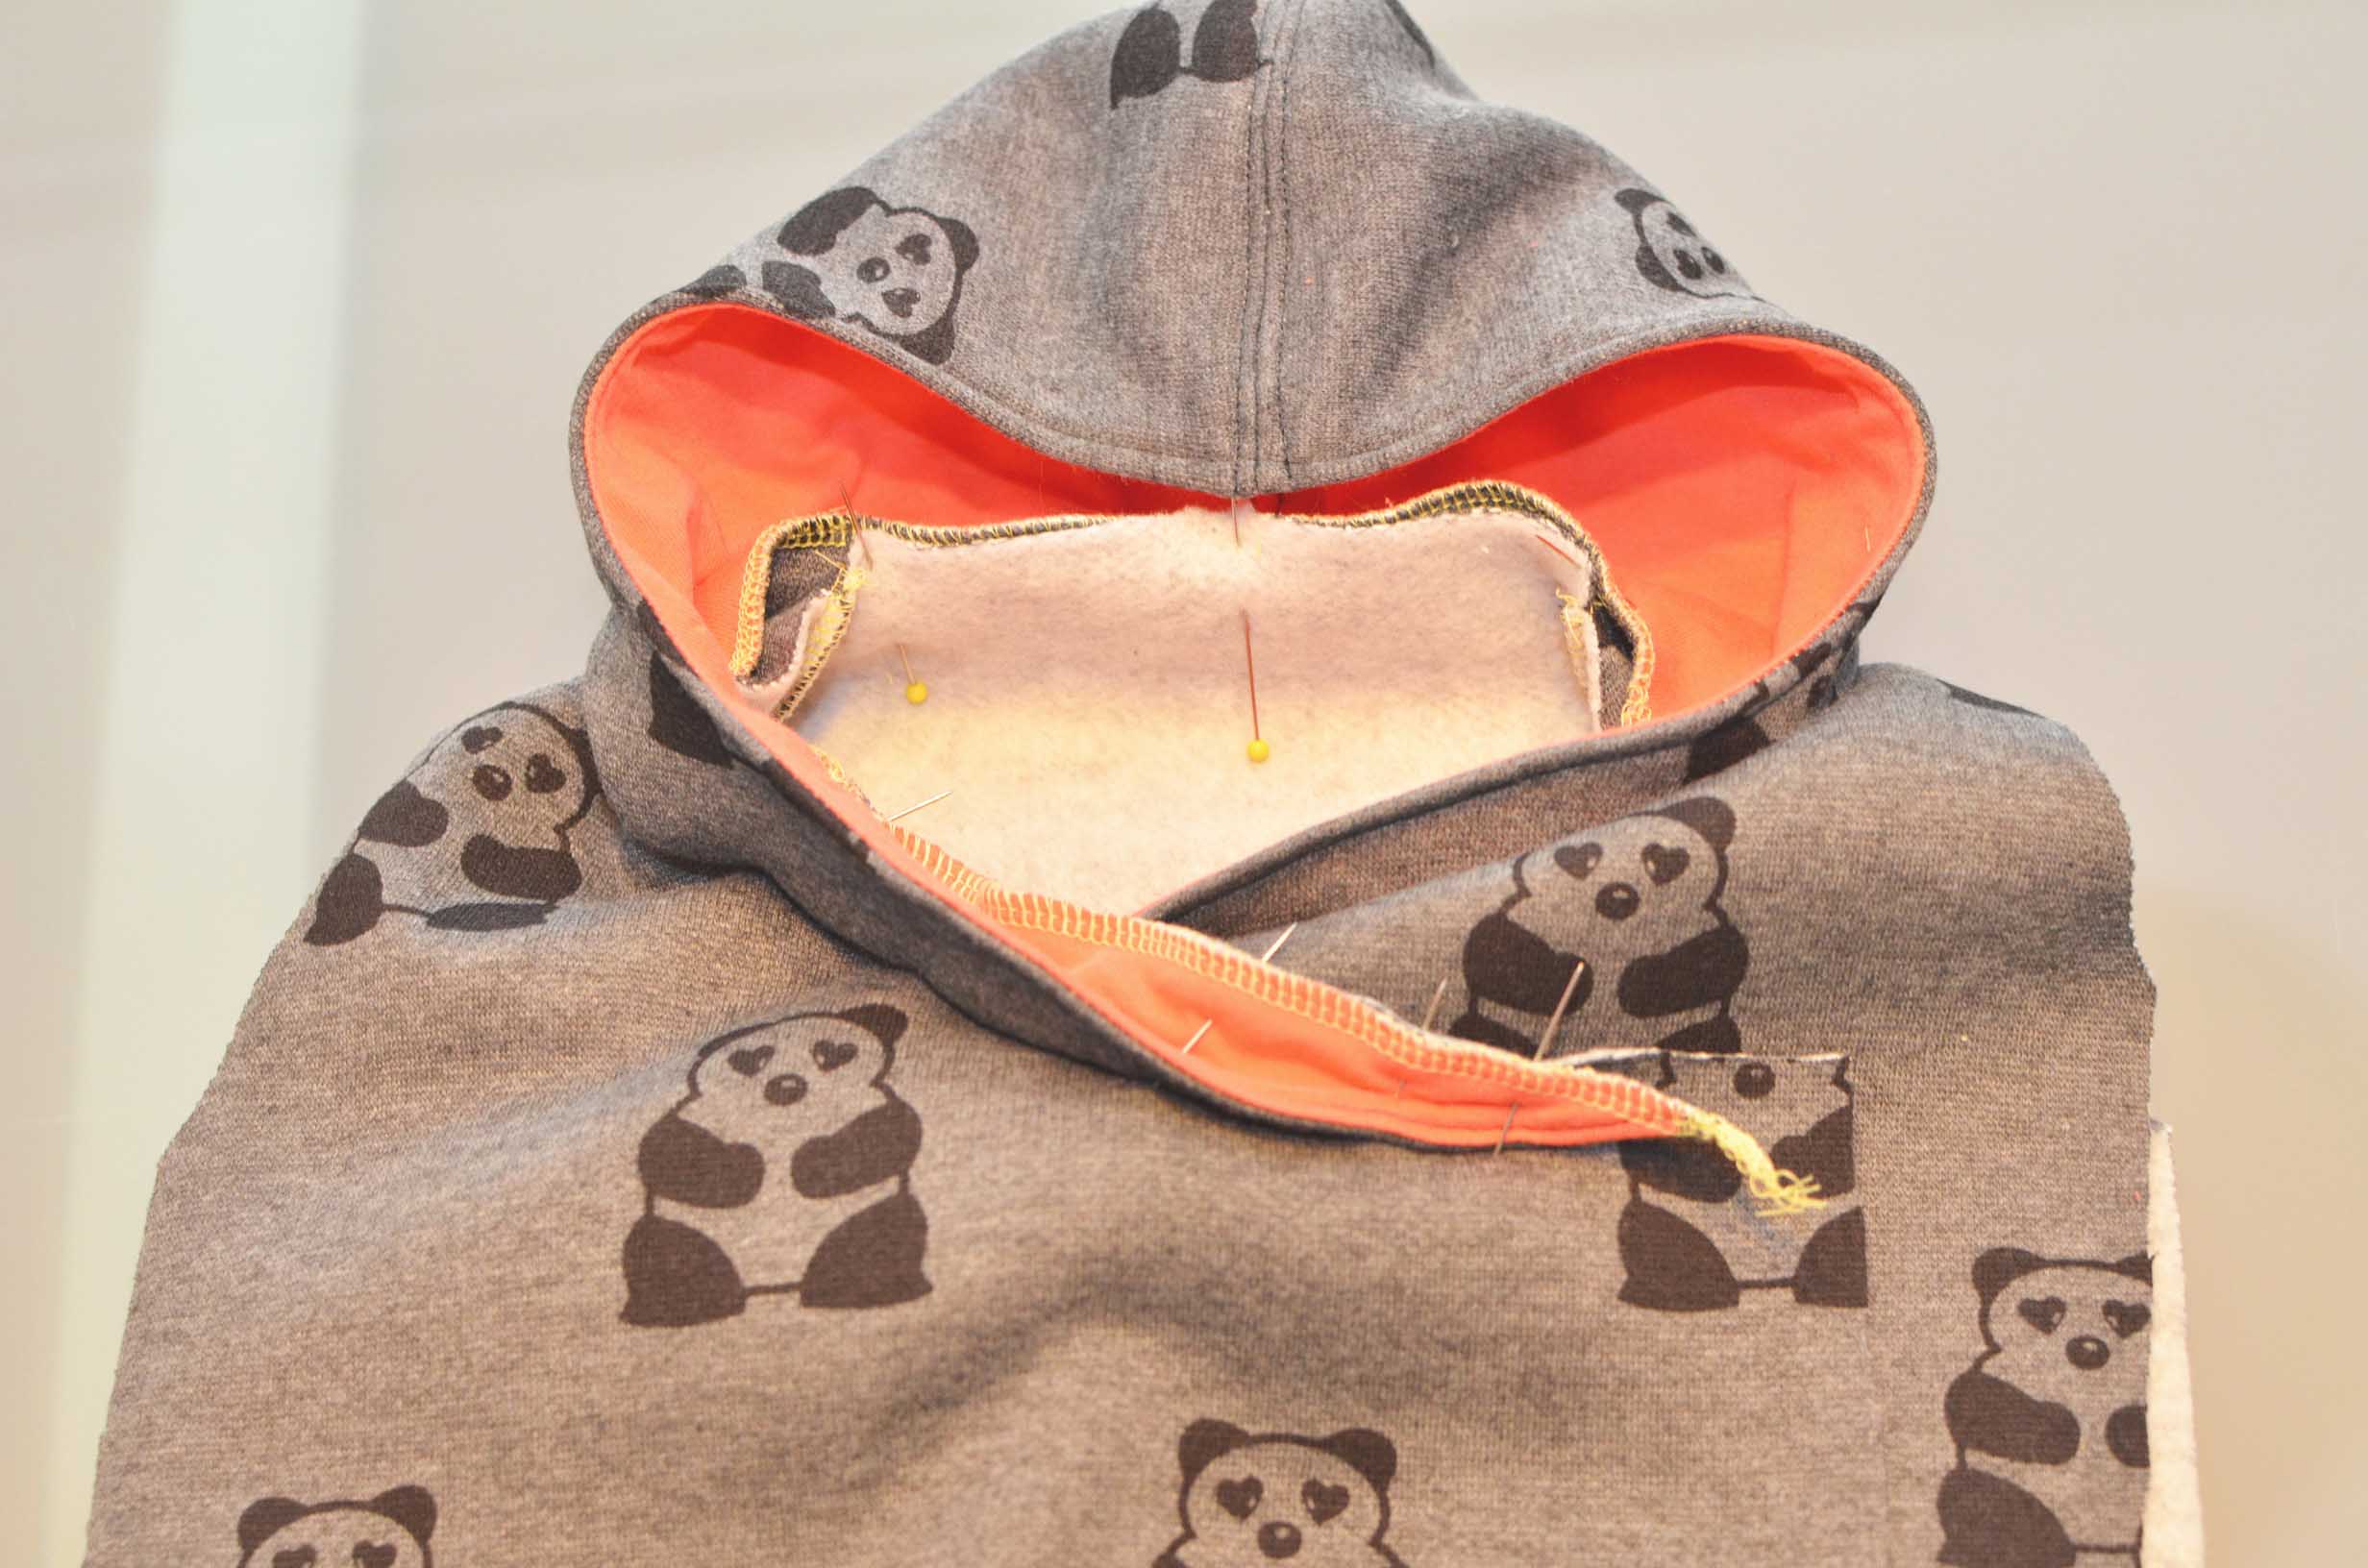
Here is a view that isn’t flat.
Serge that edge that you pinned.
Iron all of the seams flat, an then top stitch to keep it from bulging weirdly like it is doing above.
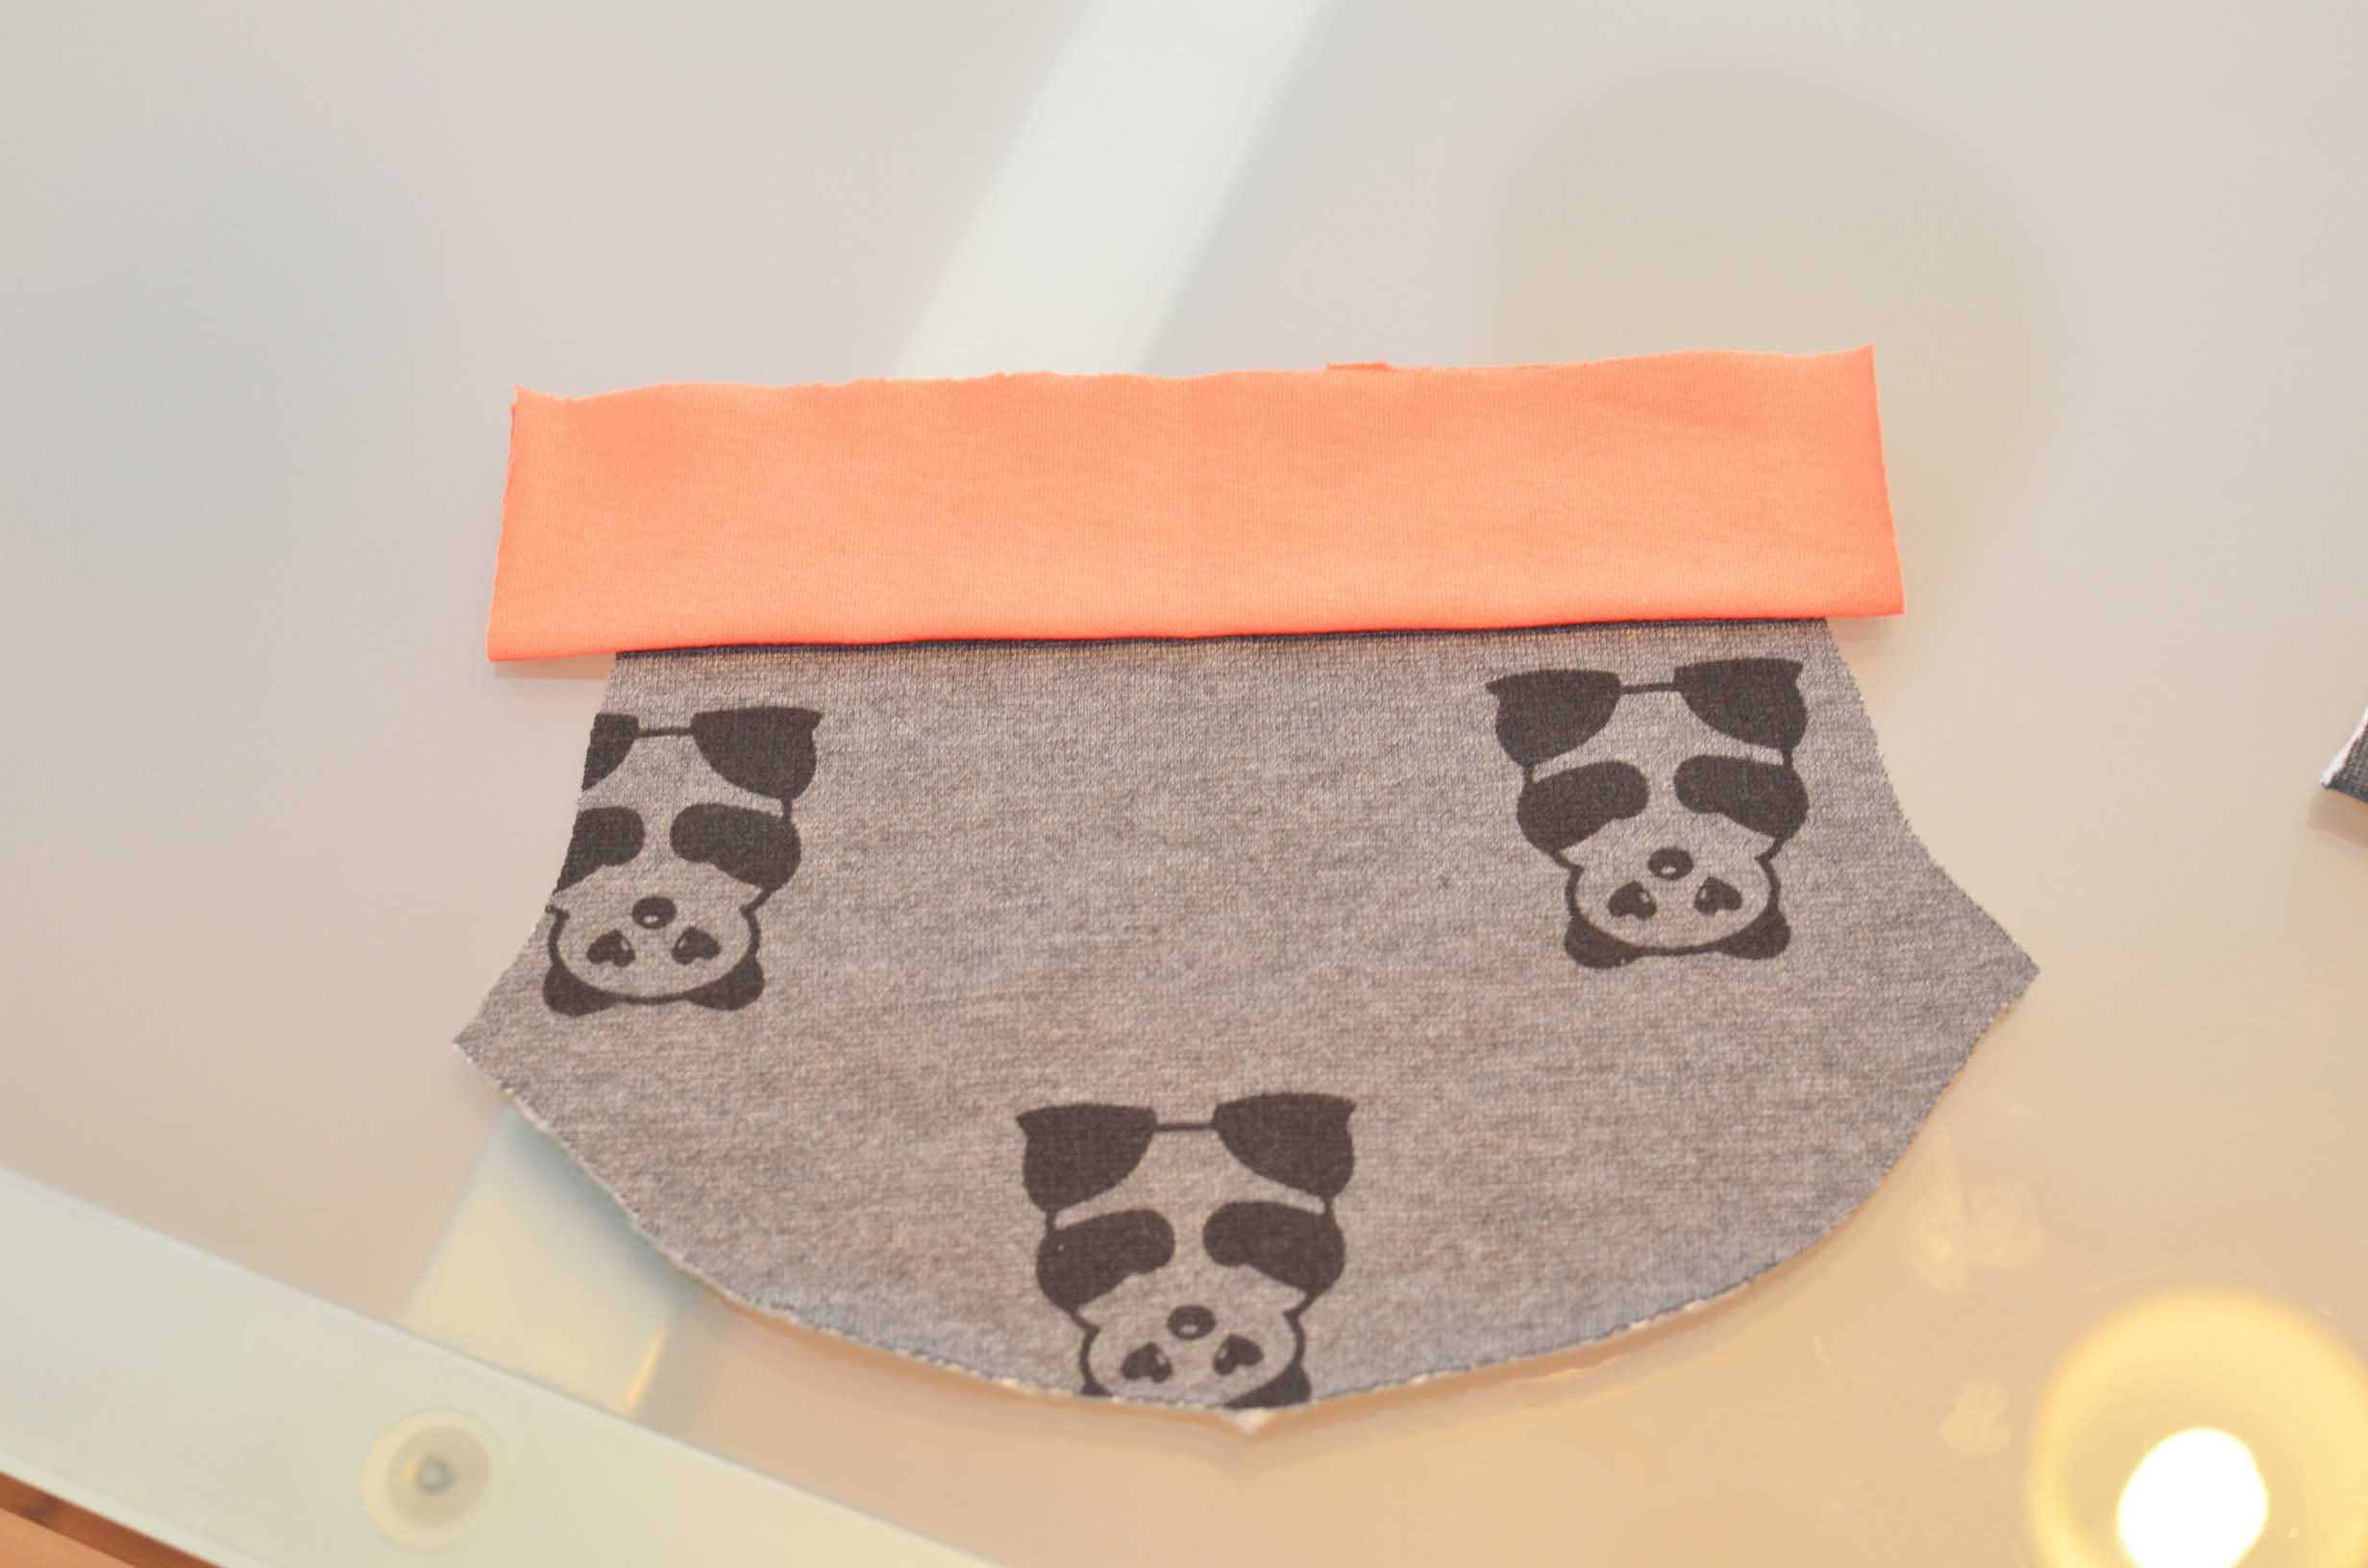
Next come the sleeves, lay the cuff on the sleeves with right sides facing each other.
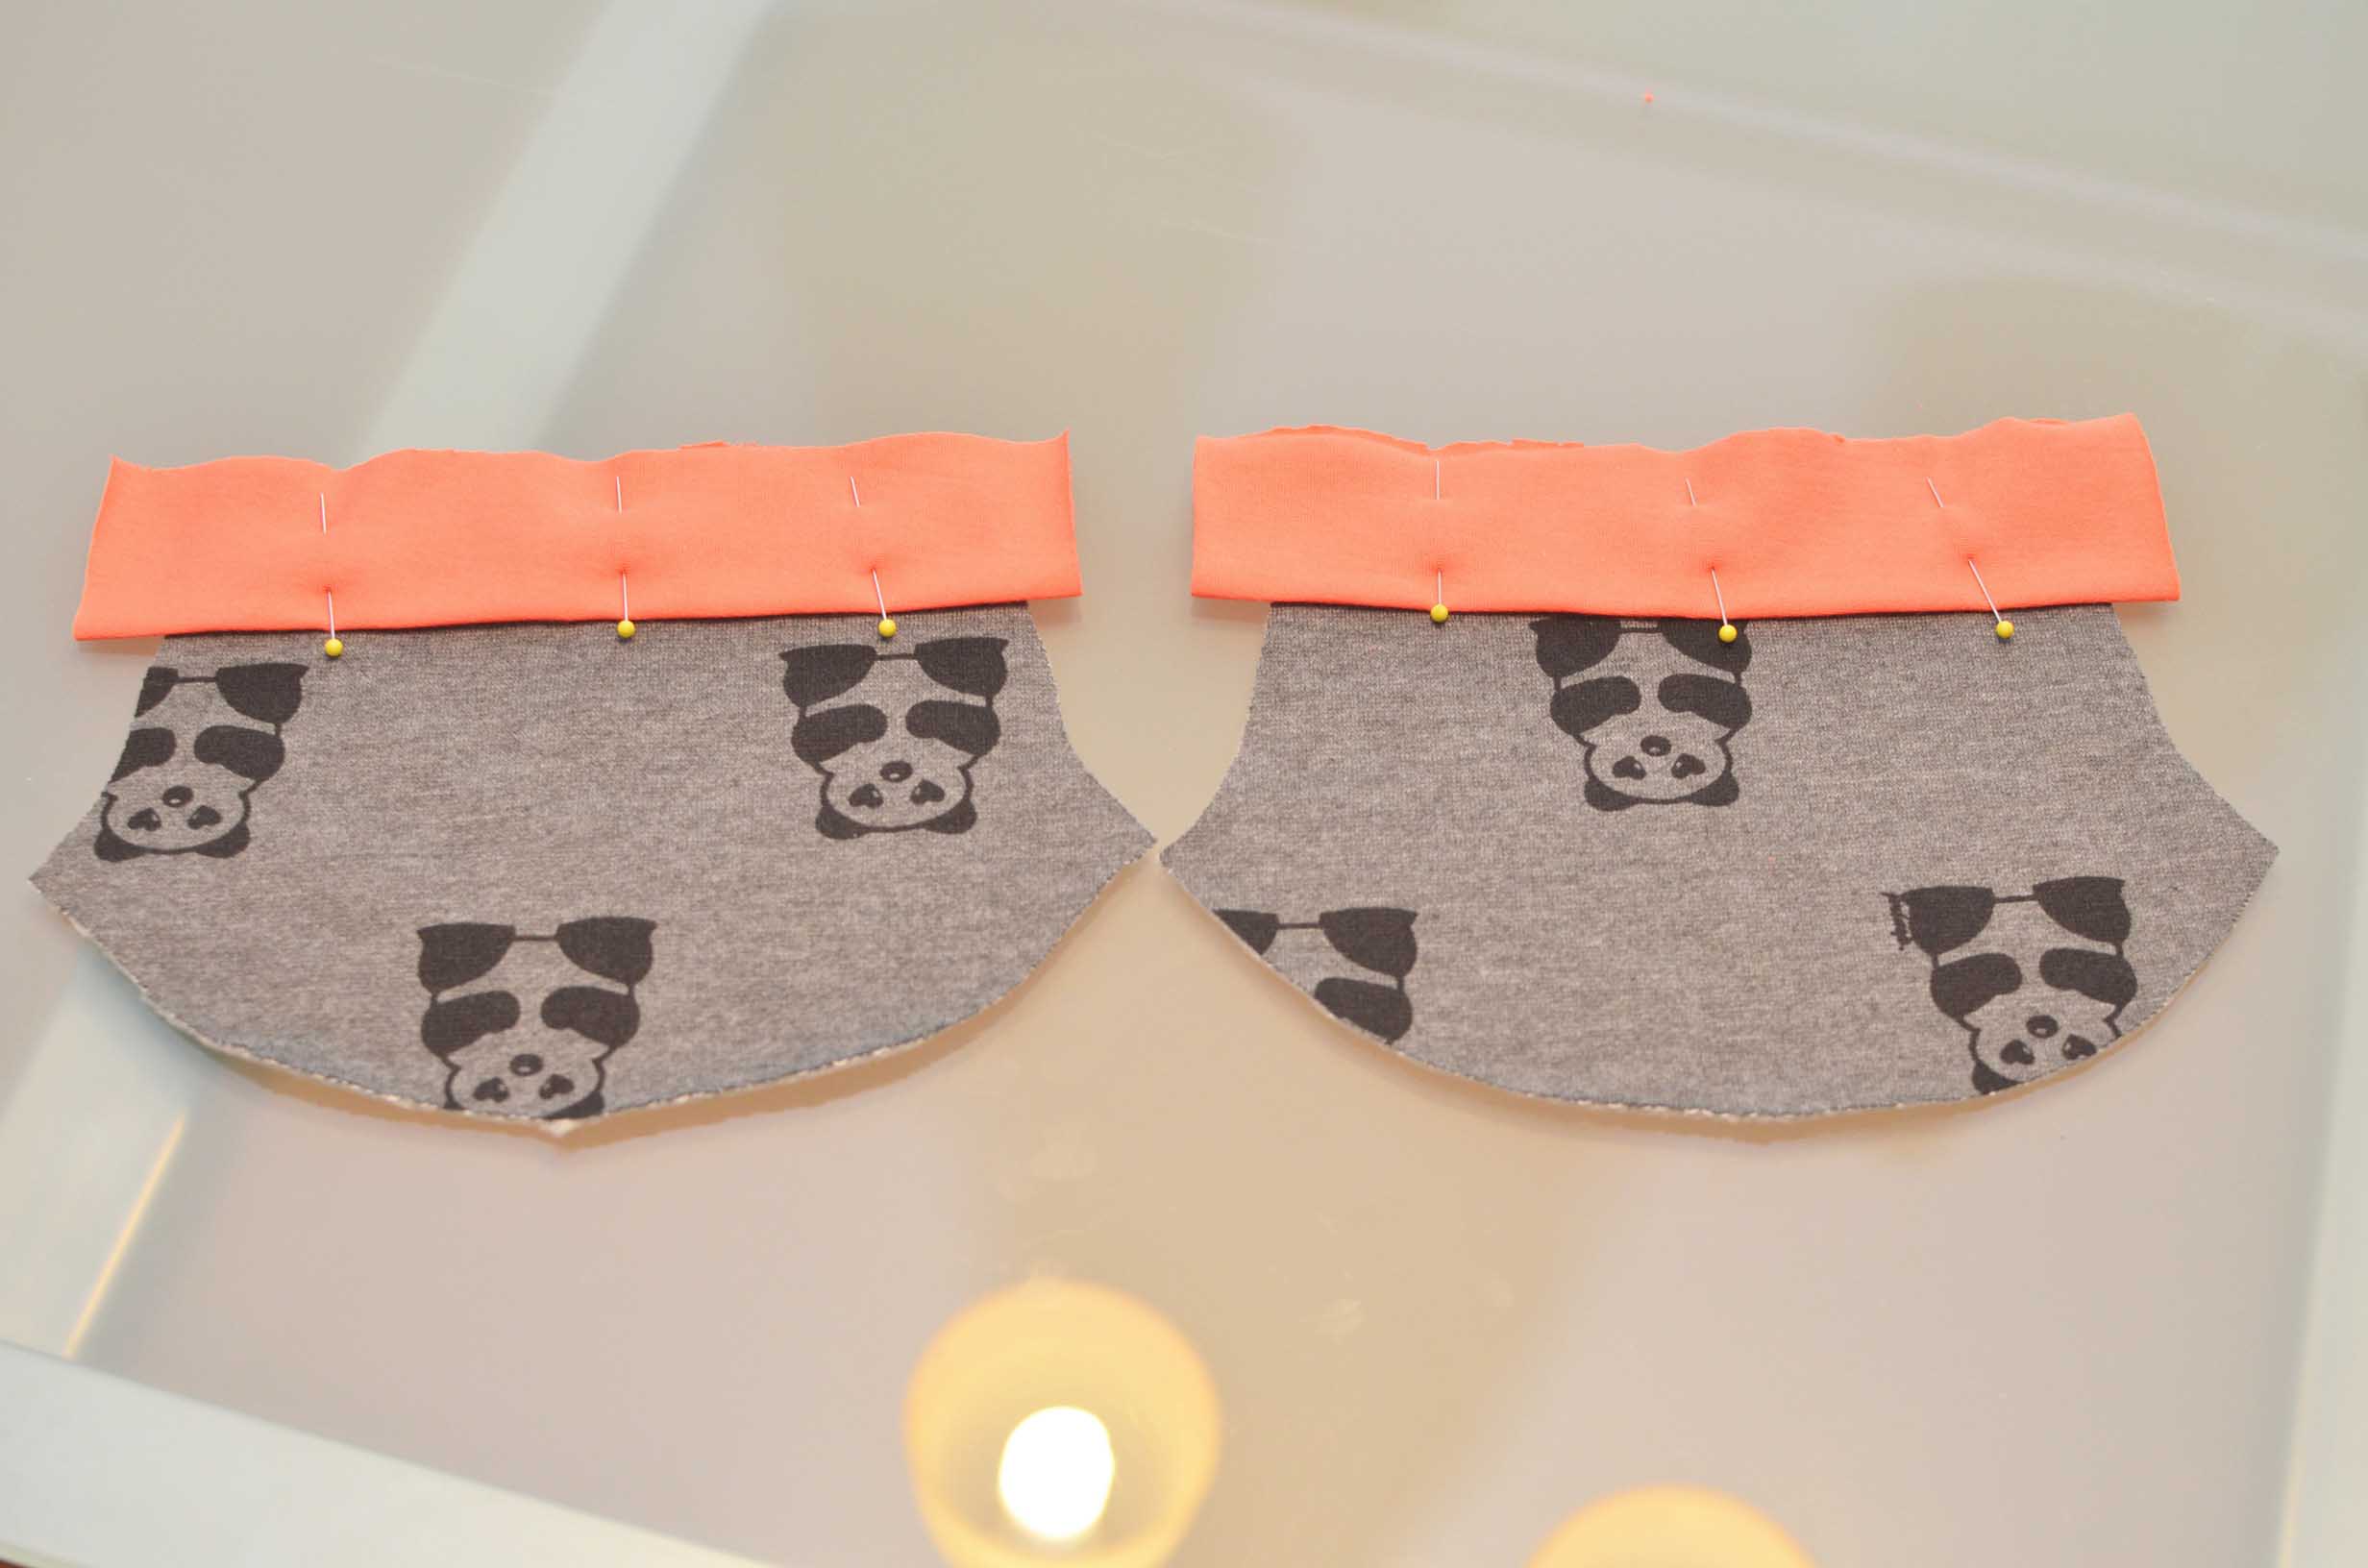
Pin them.
Here is the back so you can see. I am going to serger off the extra, but you can sew on a regular machine and trim ends once that is done.
Once serged, you can see it likes to bulge.
Here you can see once I pressed it, and then top stitched it.

Here is where I deviated from the blogger because to me this way was easier,but you can see her tutorial if you prefer her way. I pinned the waste band on the back of the sweatshirt.
Then serged it together.
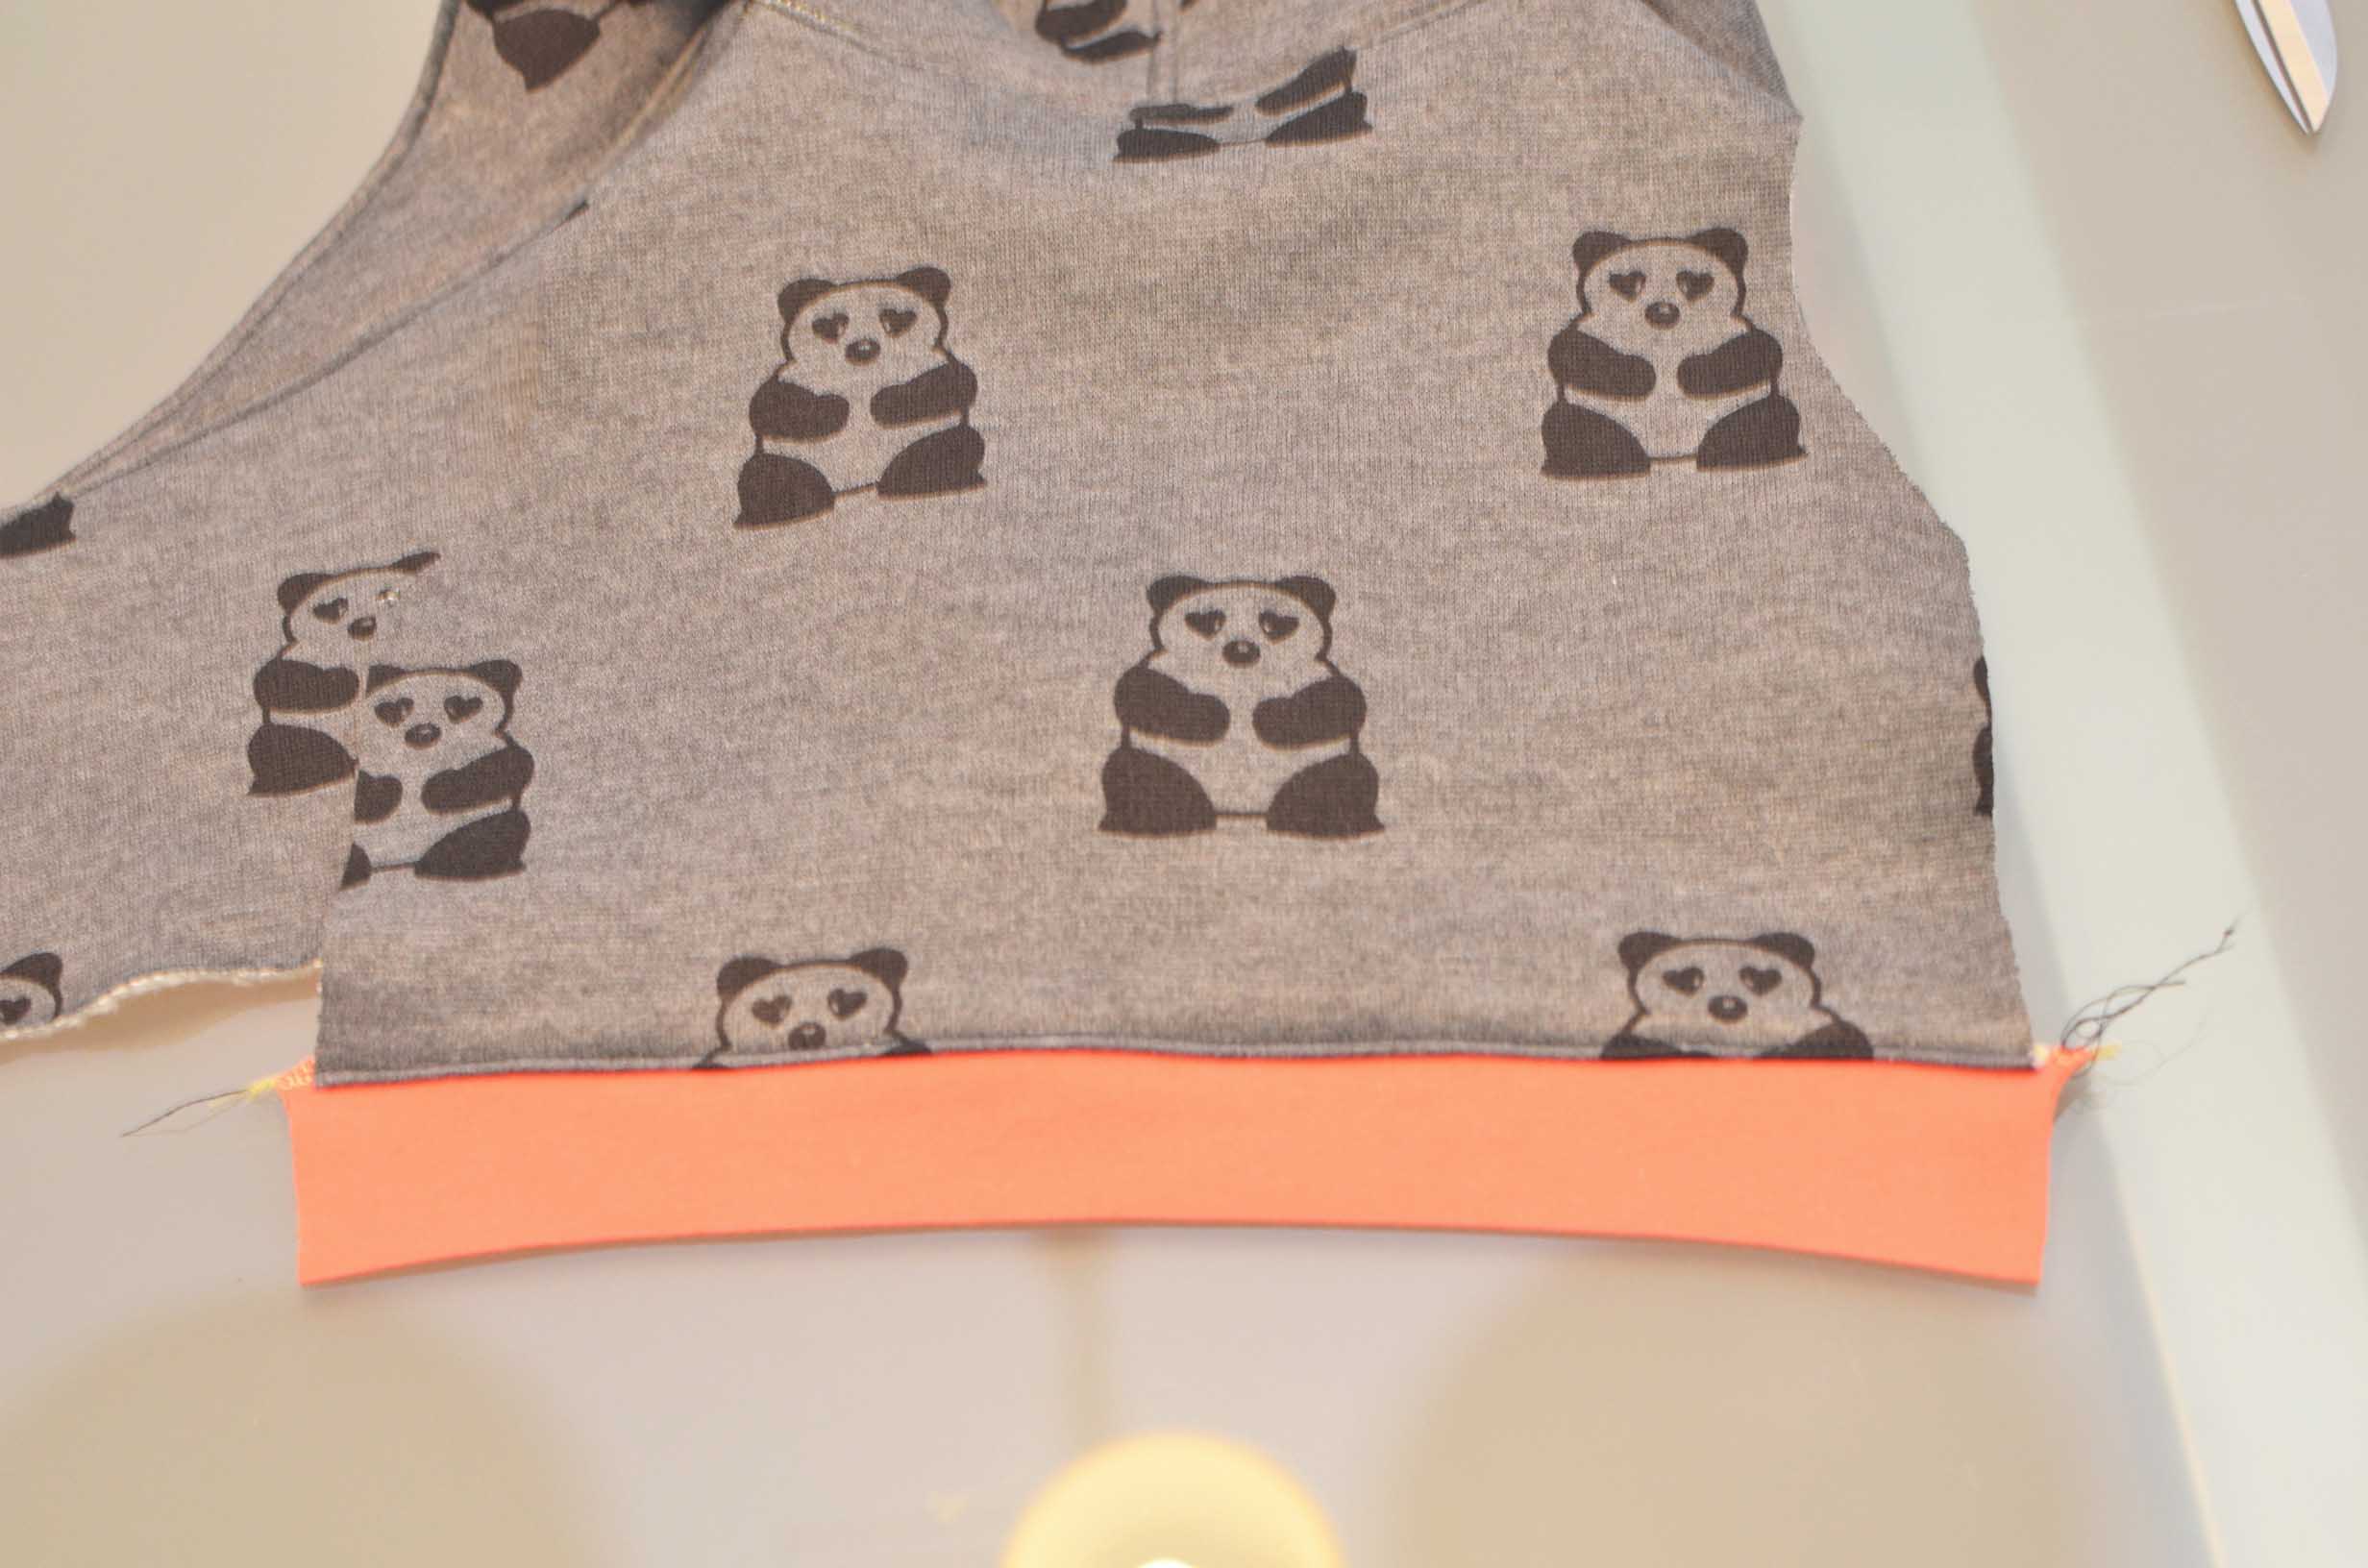
Then pressed and top stitched.
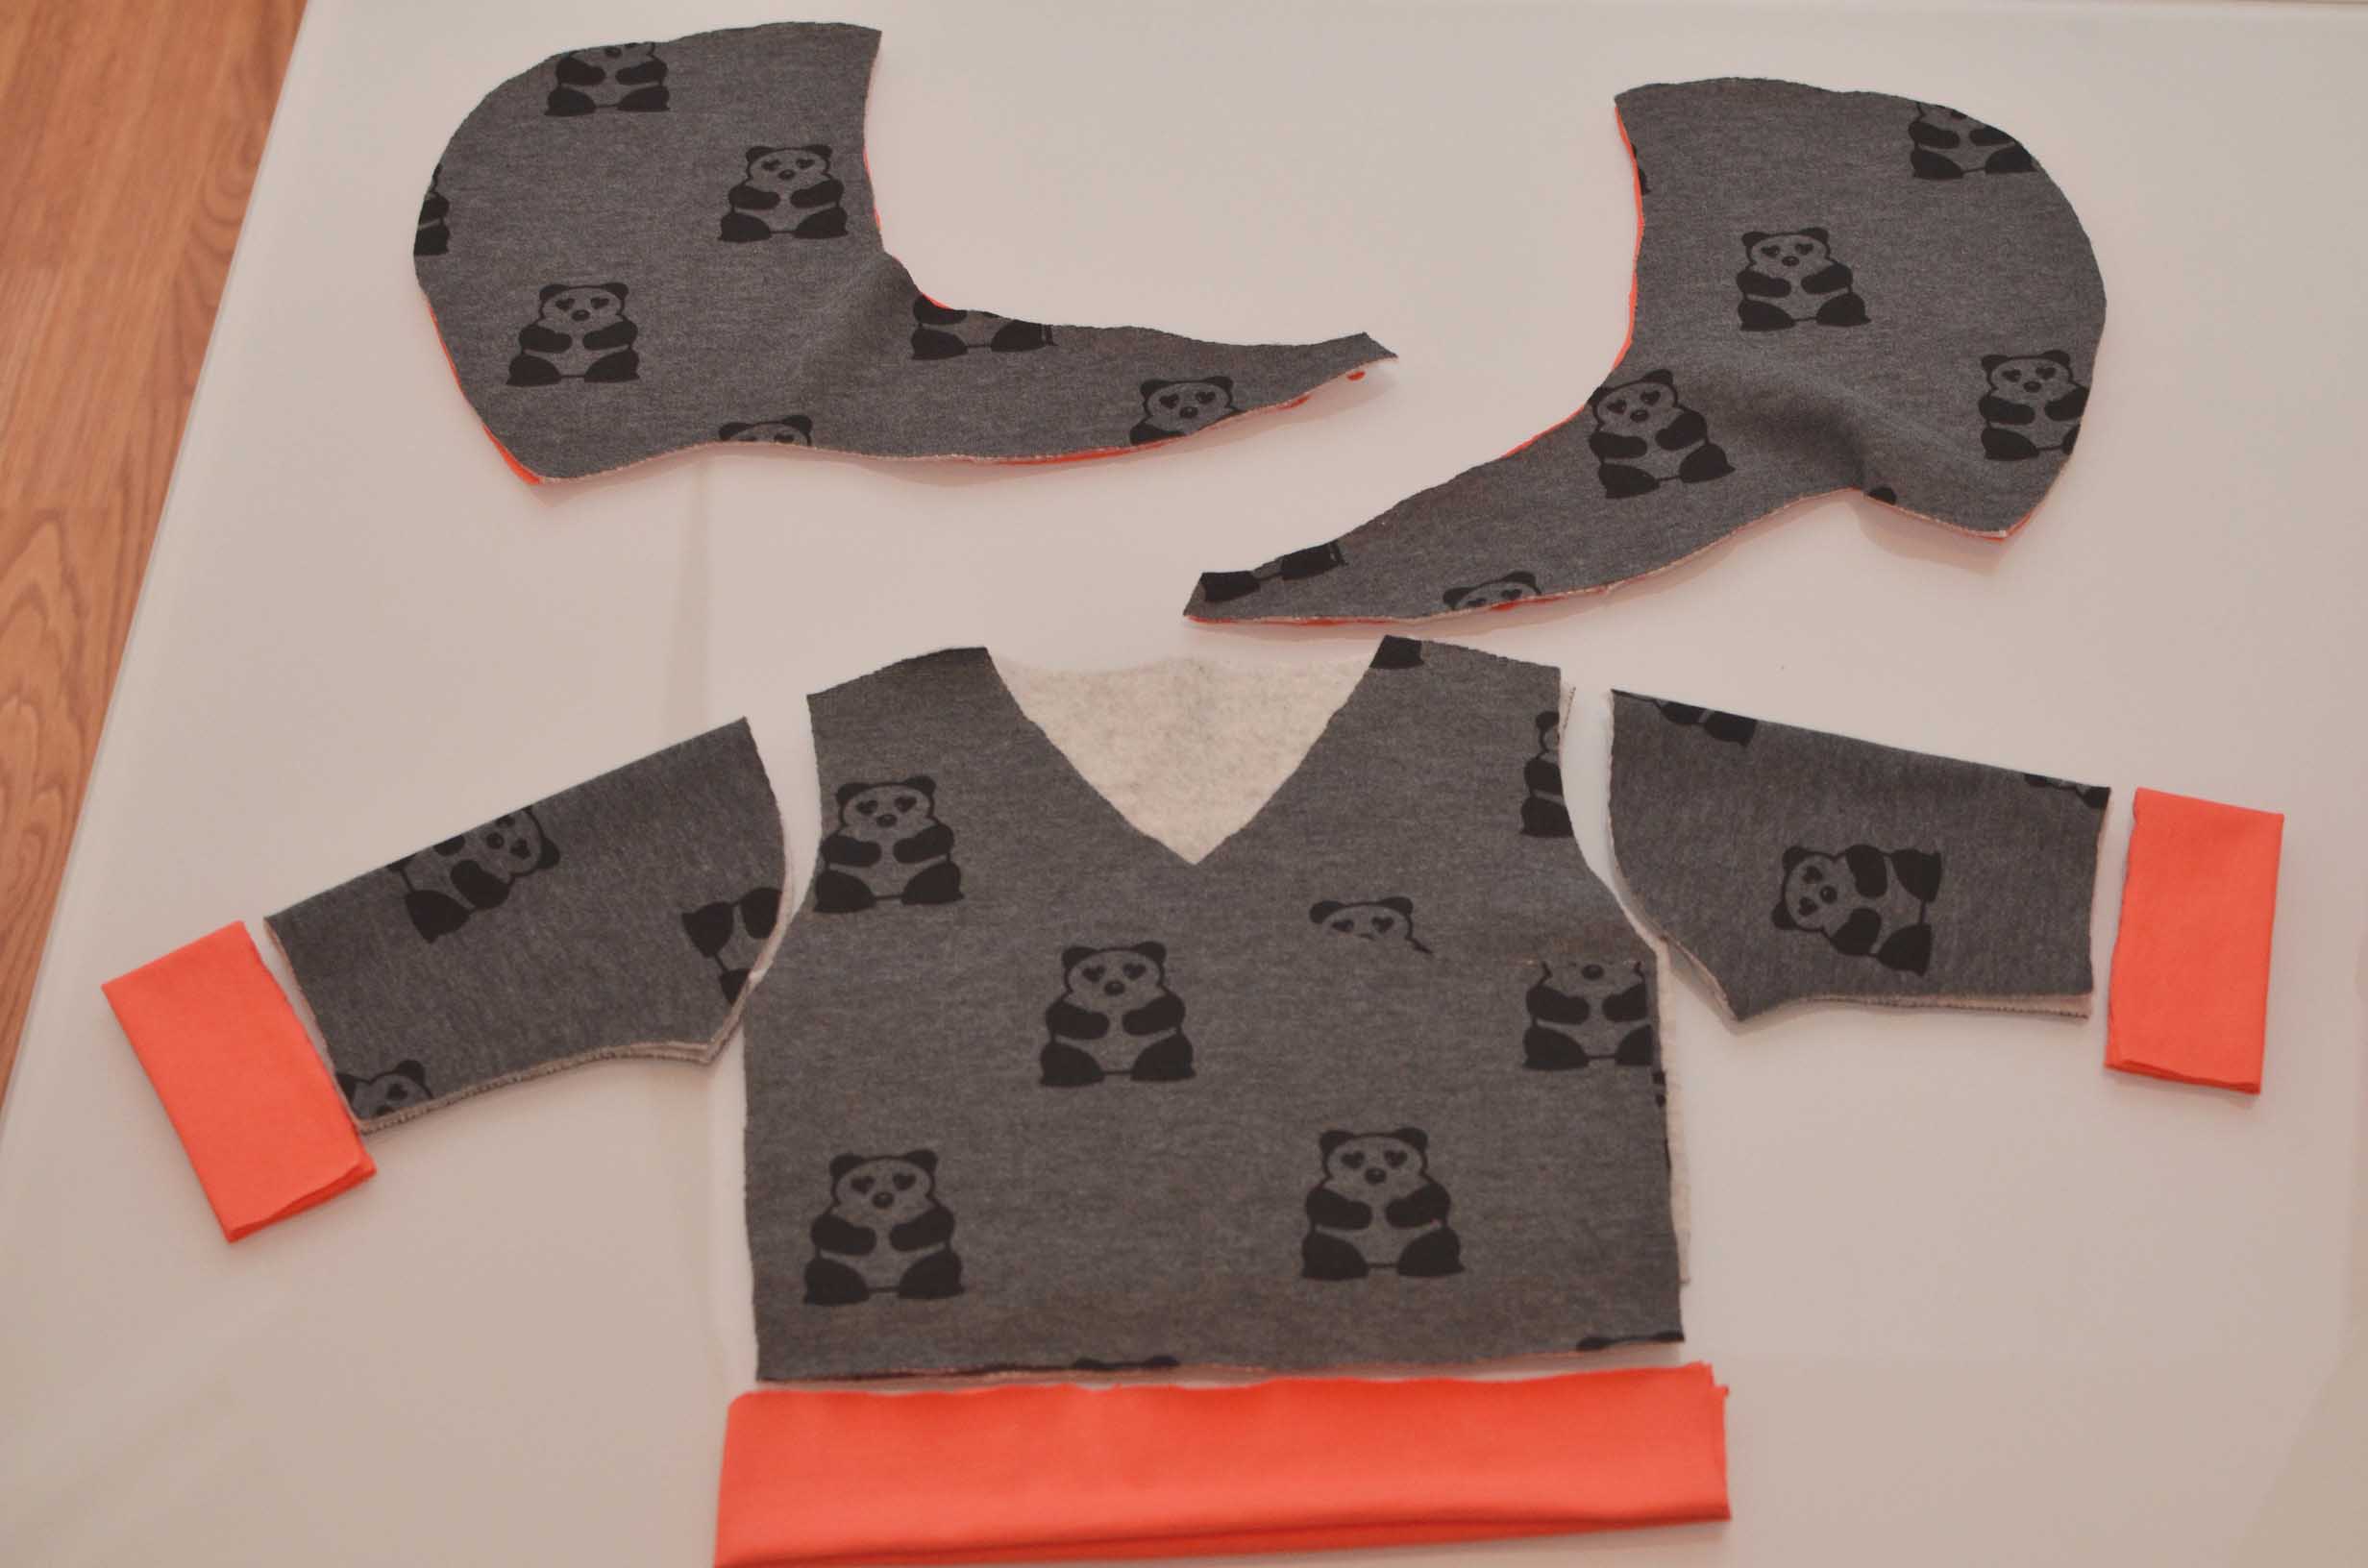
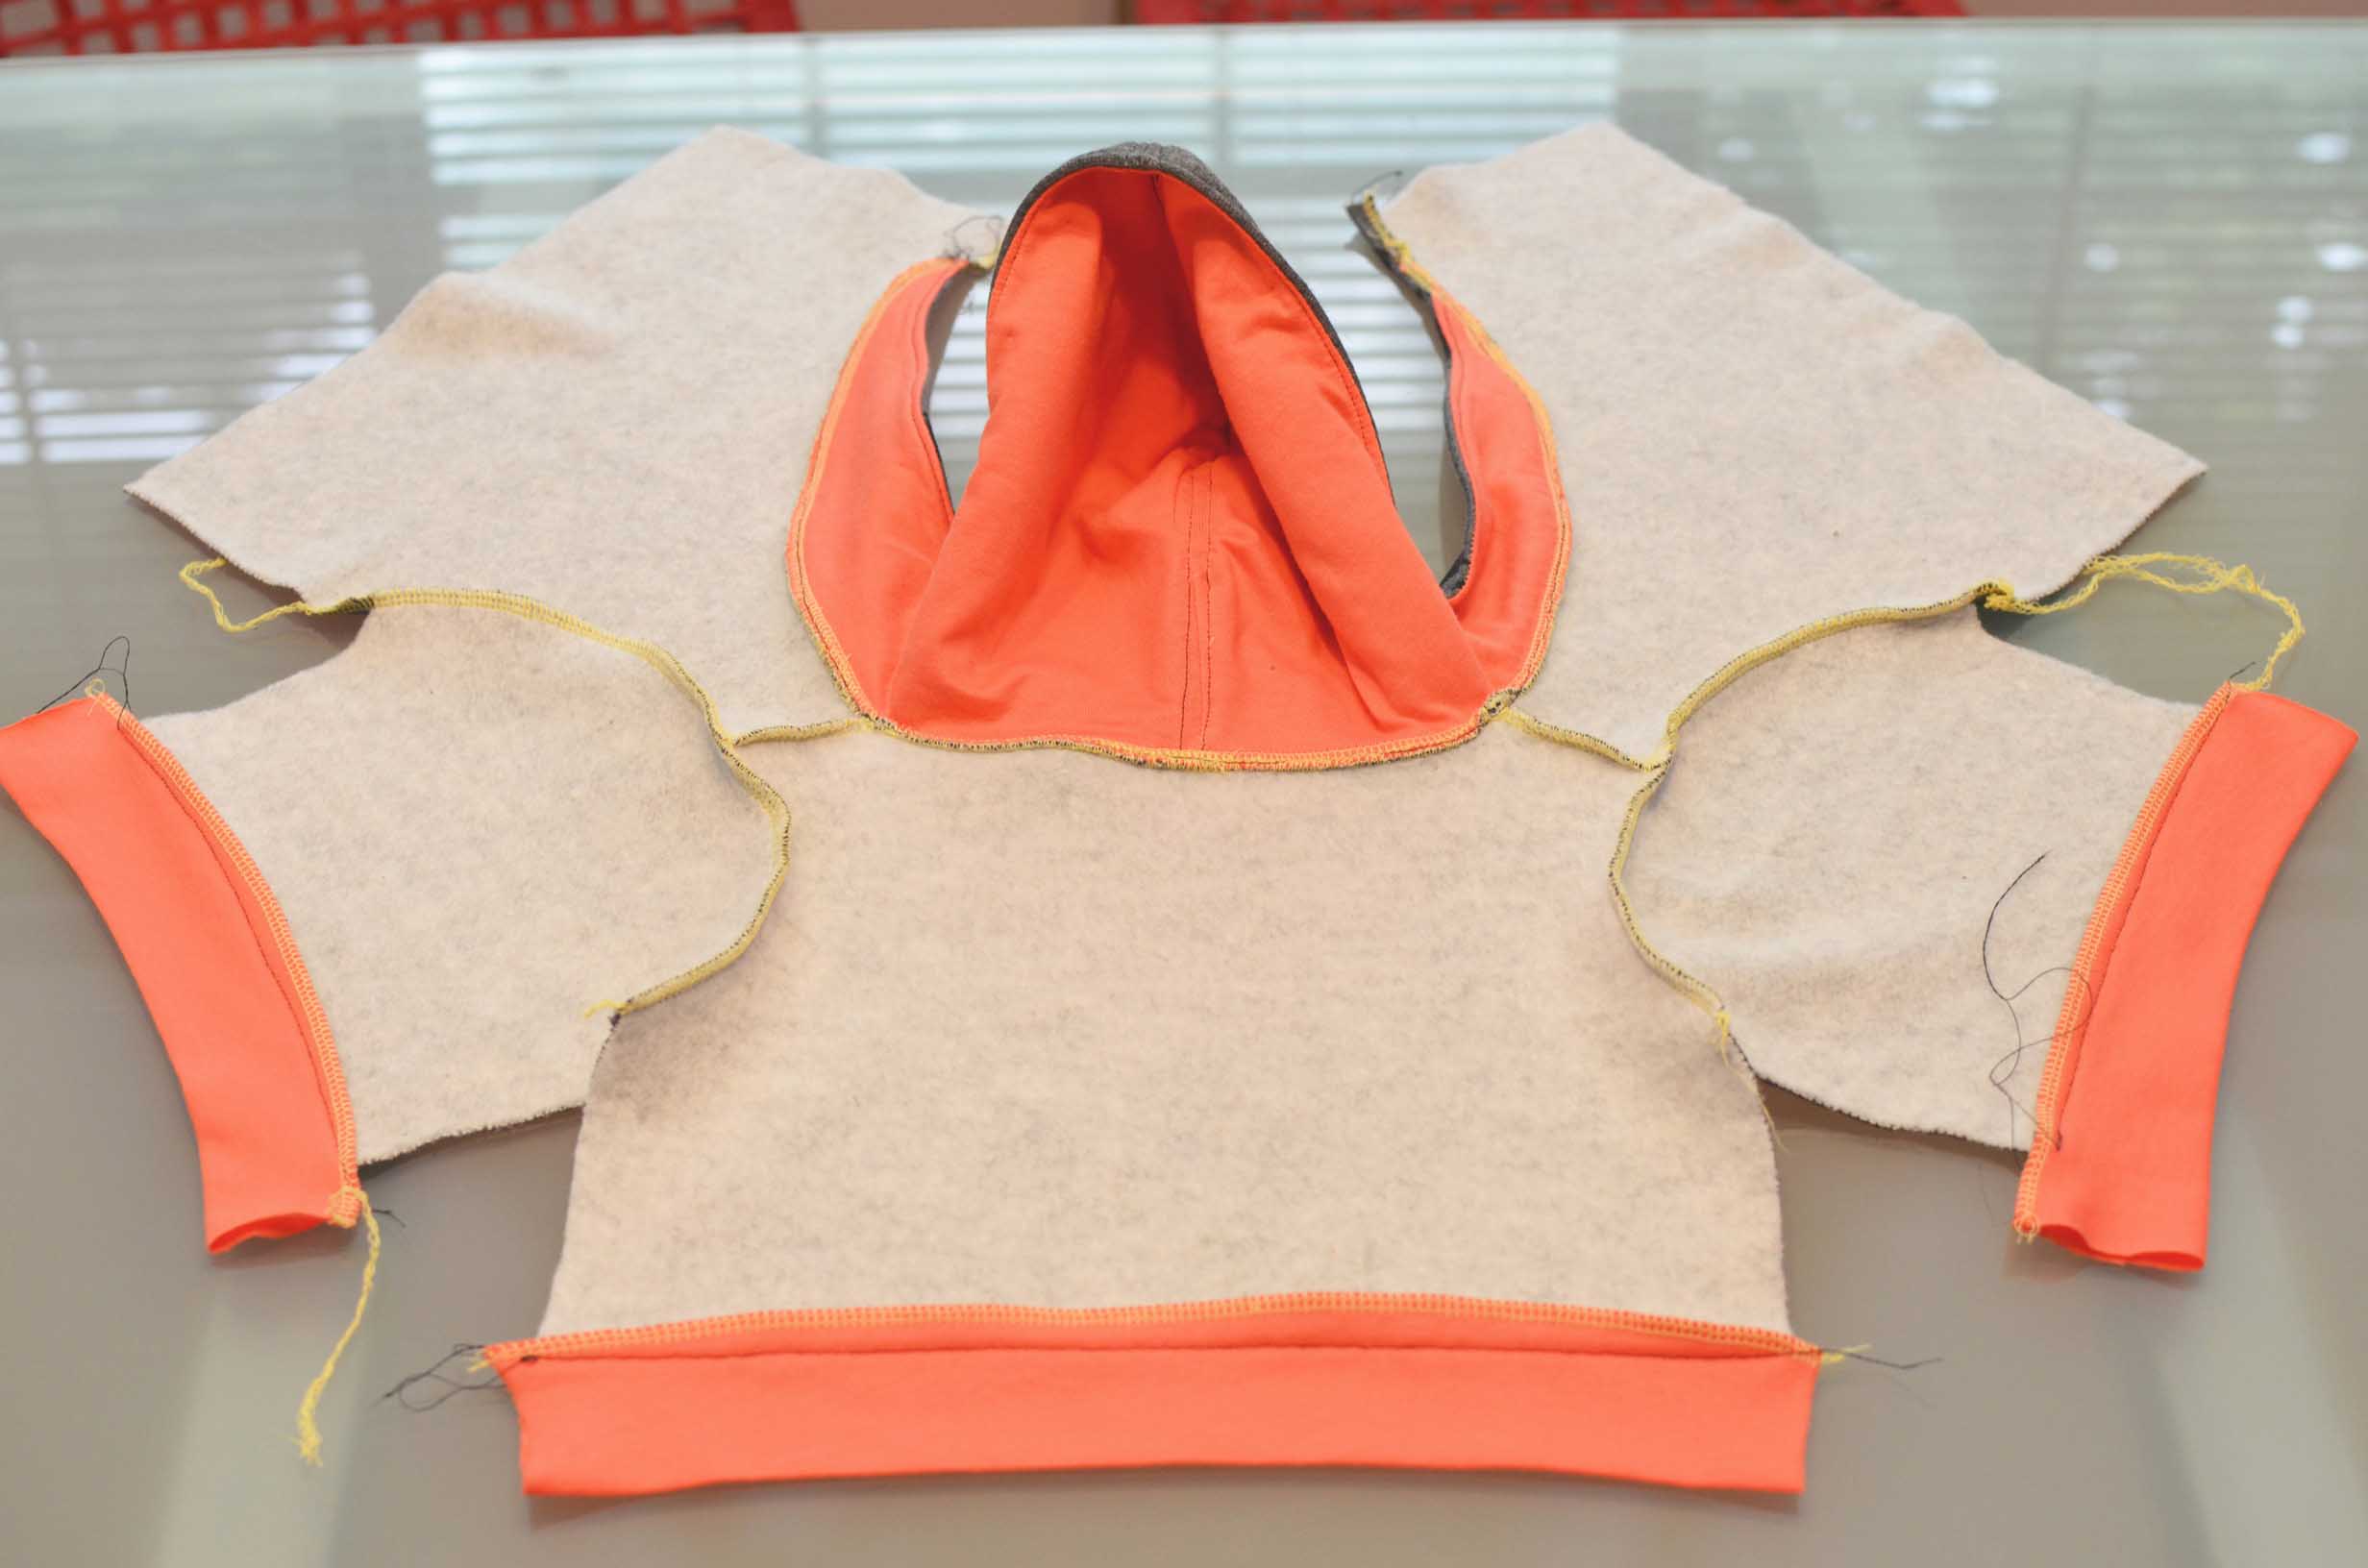
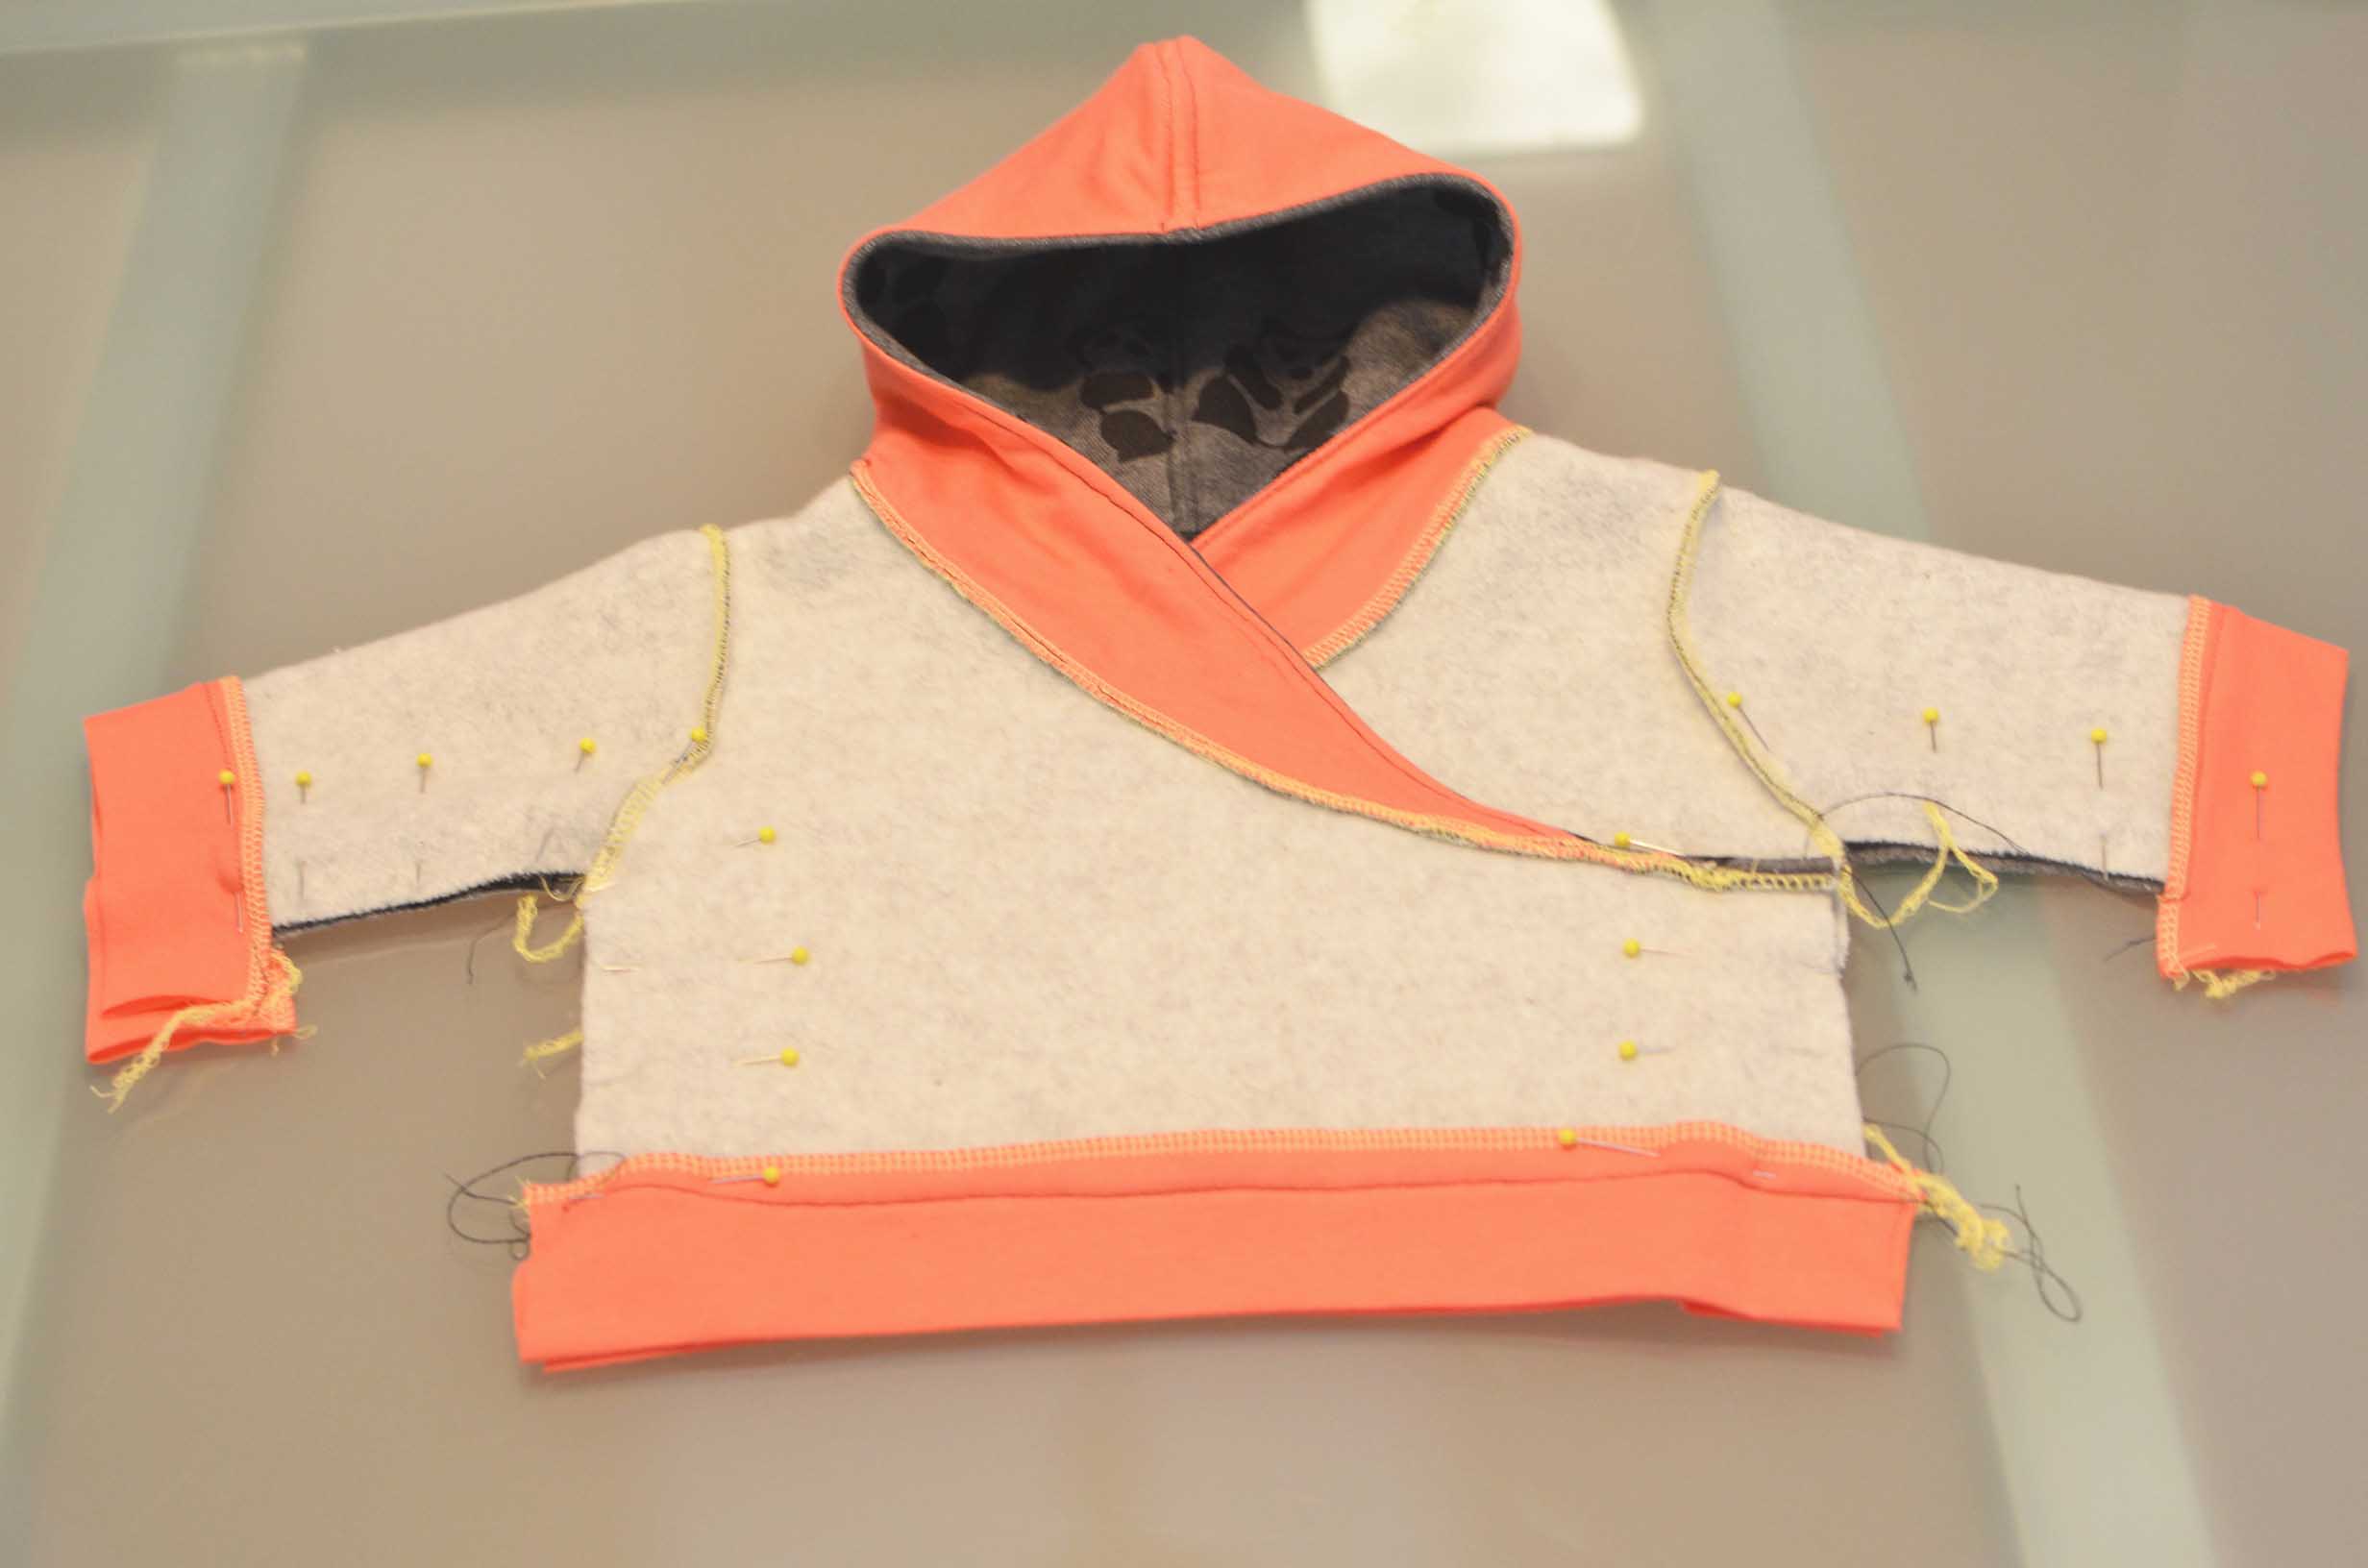
So here you can see that I have so far.
I then laid it out in preparation to start attaching the sleeves. Make sure that the sleeves are flipped the right way with the pandas face down.
I always center the top of the curve first,then the ends, and then evenly pin the rest of the areas.
Here are both sleeves pinned and ready to be sewn.
Sew both sleeves in with the seams on the inside like all of the rest.
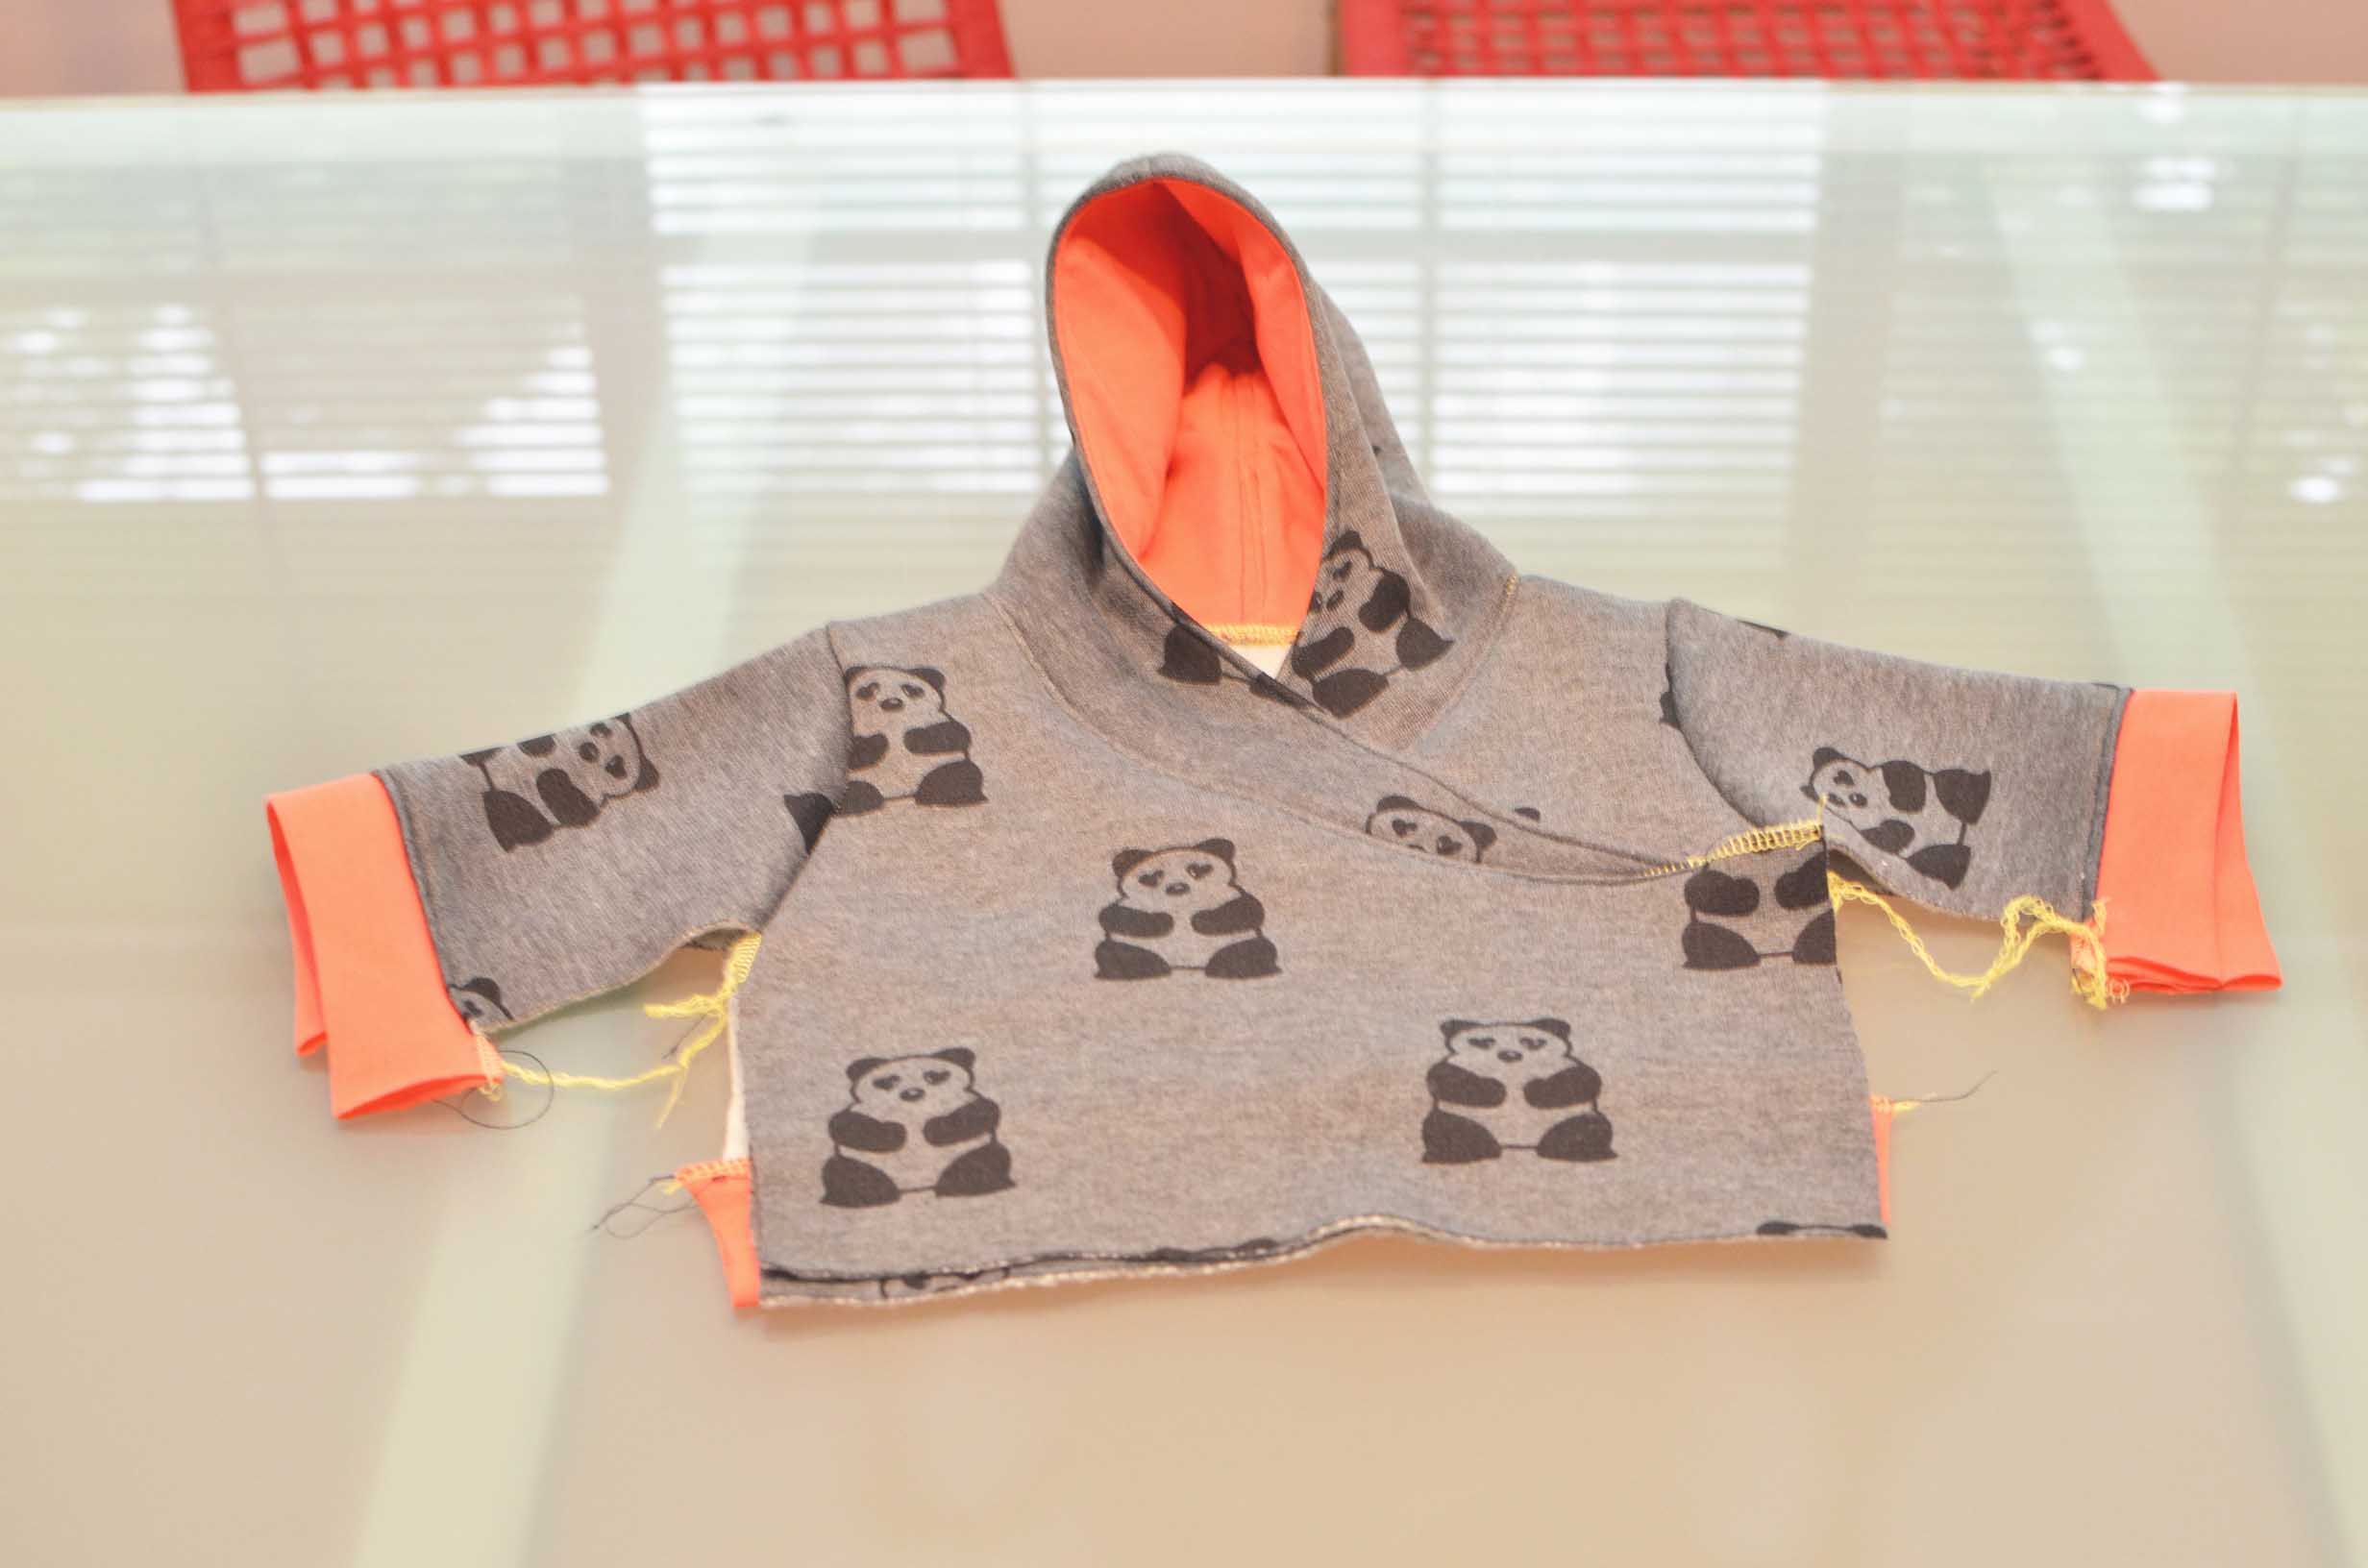
Then technically fold in half and you can see it all starting to take shape.
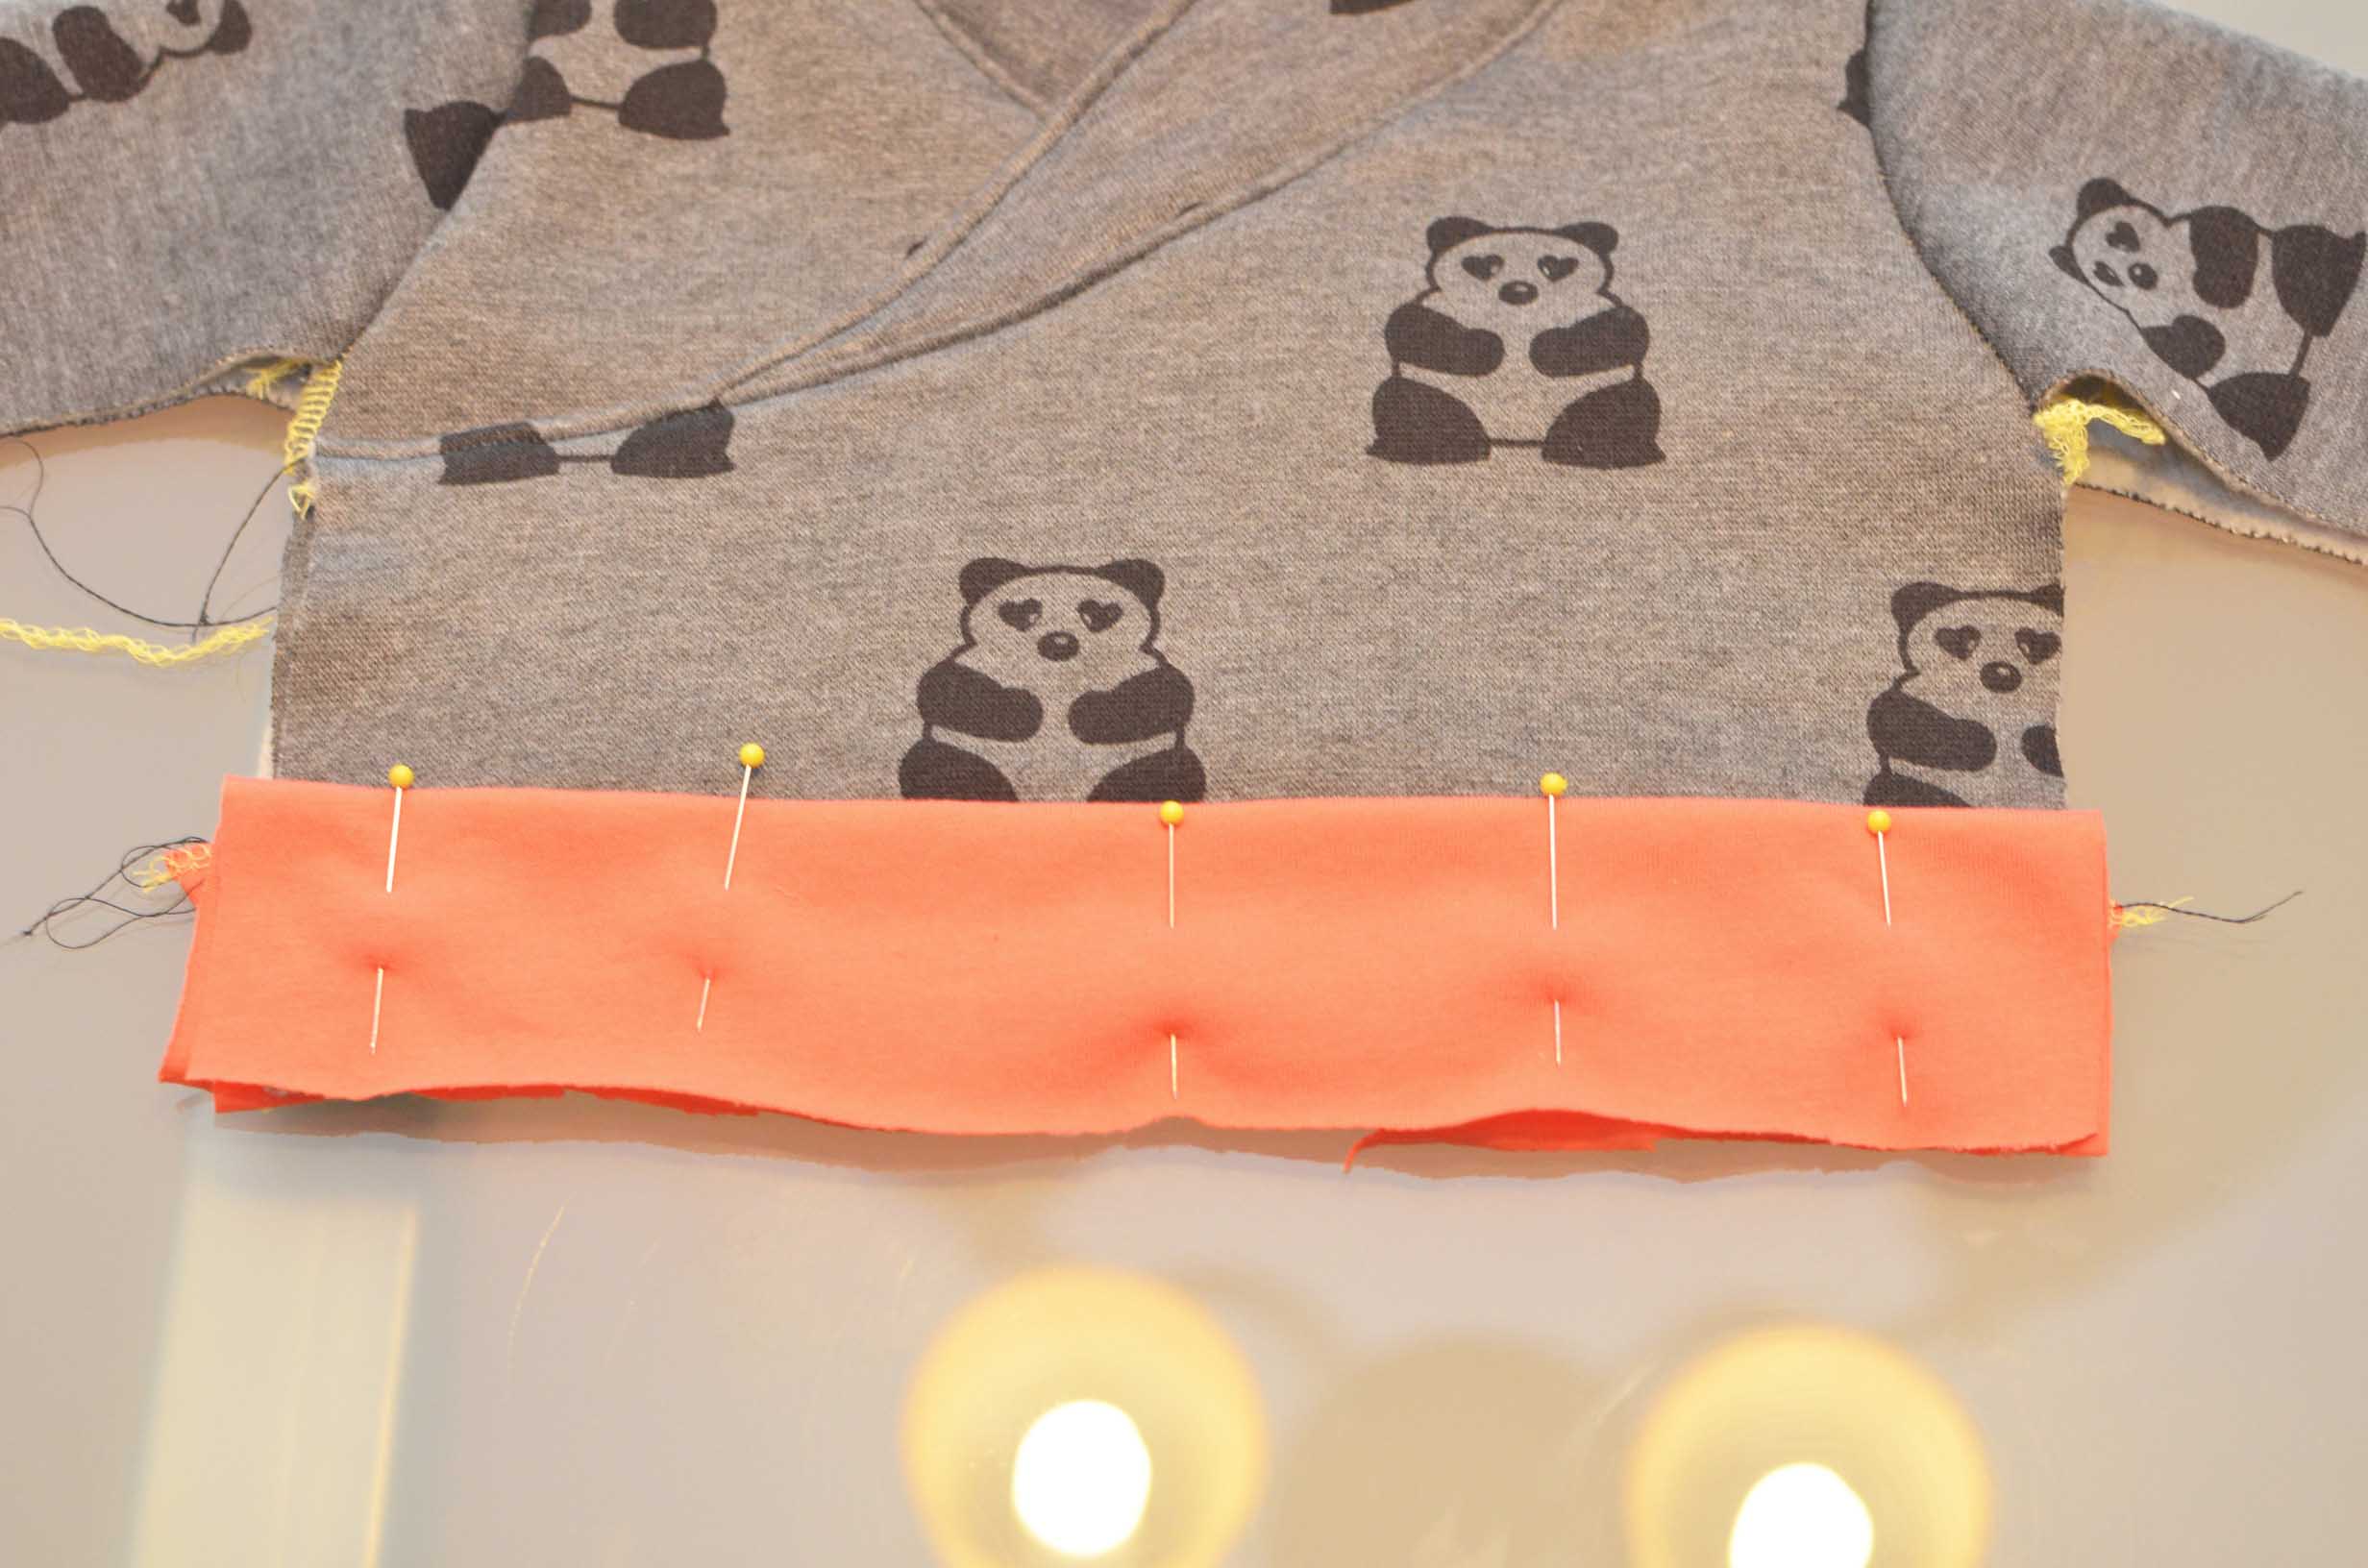
Make sure you decide which flap you want on front before starting with pinning the waistband on the front portion.
I made my waistbands and wrist bands a little longer so that if there was unevenness in cutting it could just all be trimmed off.

Sew, press, and topstitch.
Now you will want to line up the sleeves and waste bands, but don’t mak my mistake. As you can see the top waistband is on top here,but it should be beneath the other flap, so after sewing all the way around, I realized my mistake and to take it apart and resew it.

Here it is sewn wrong, the waistband should be UNDER the other flap.
Once it is layered correctly, turn right side out and admire the fact that you just made a super cute outfit!
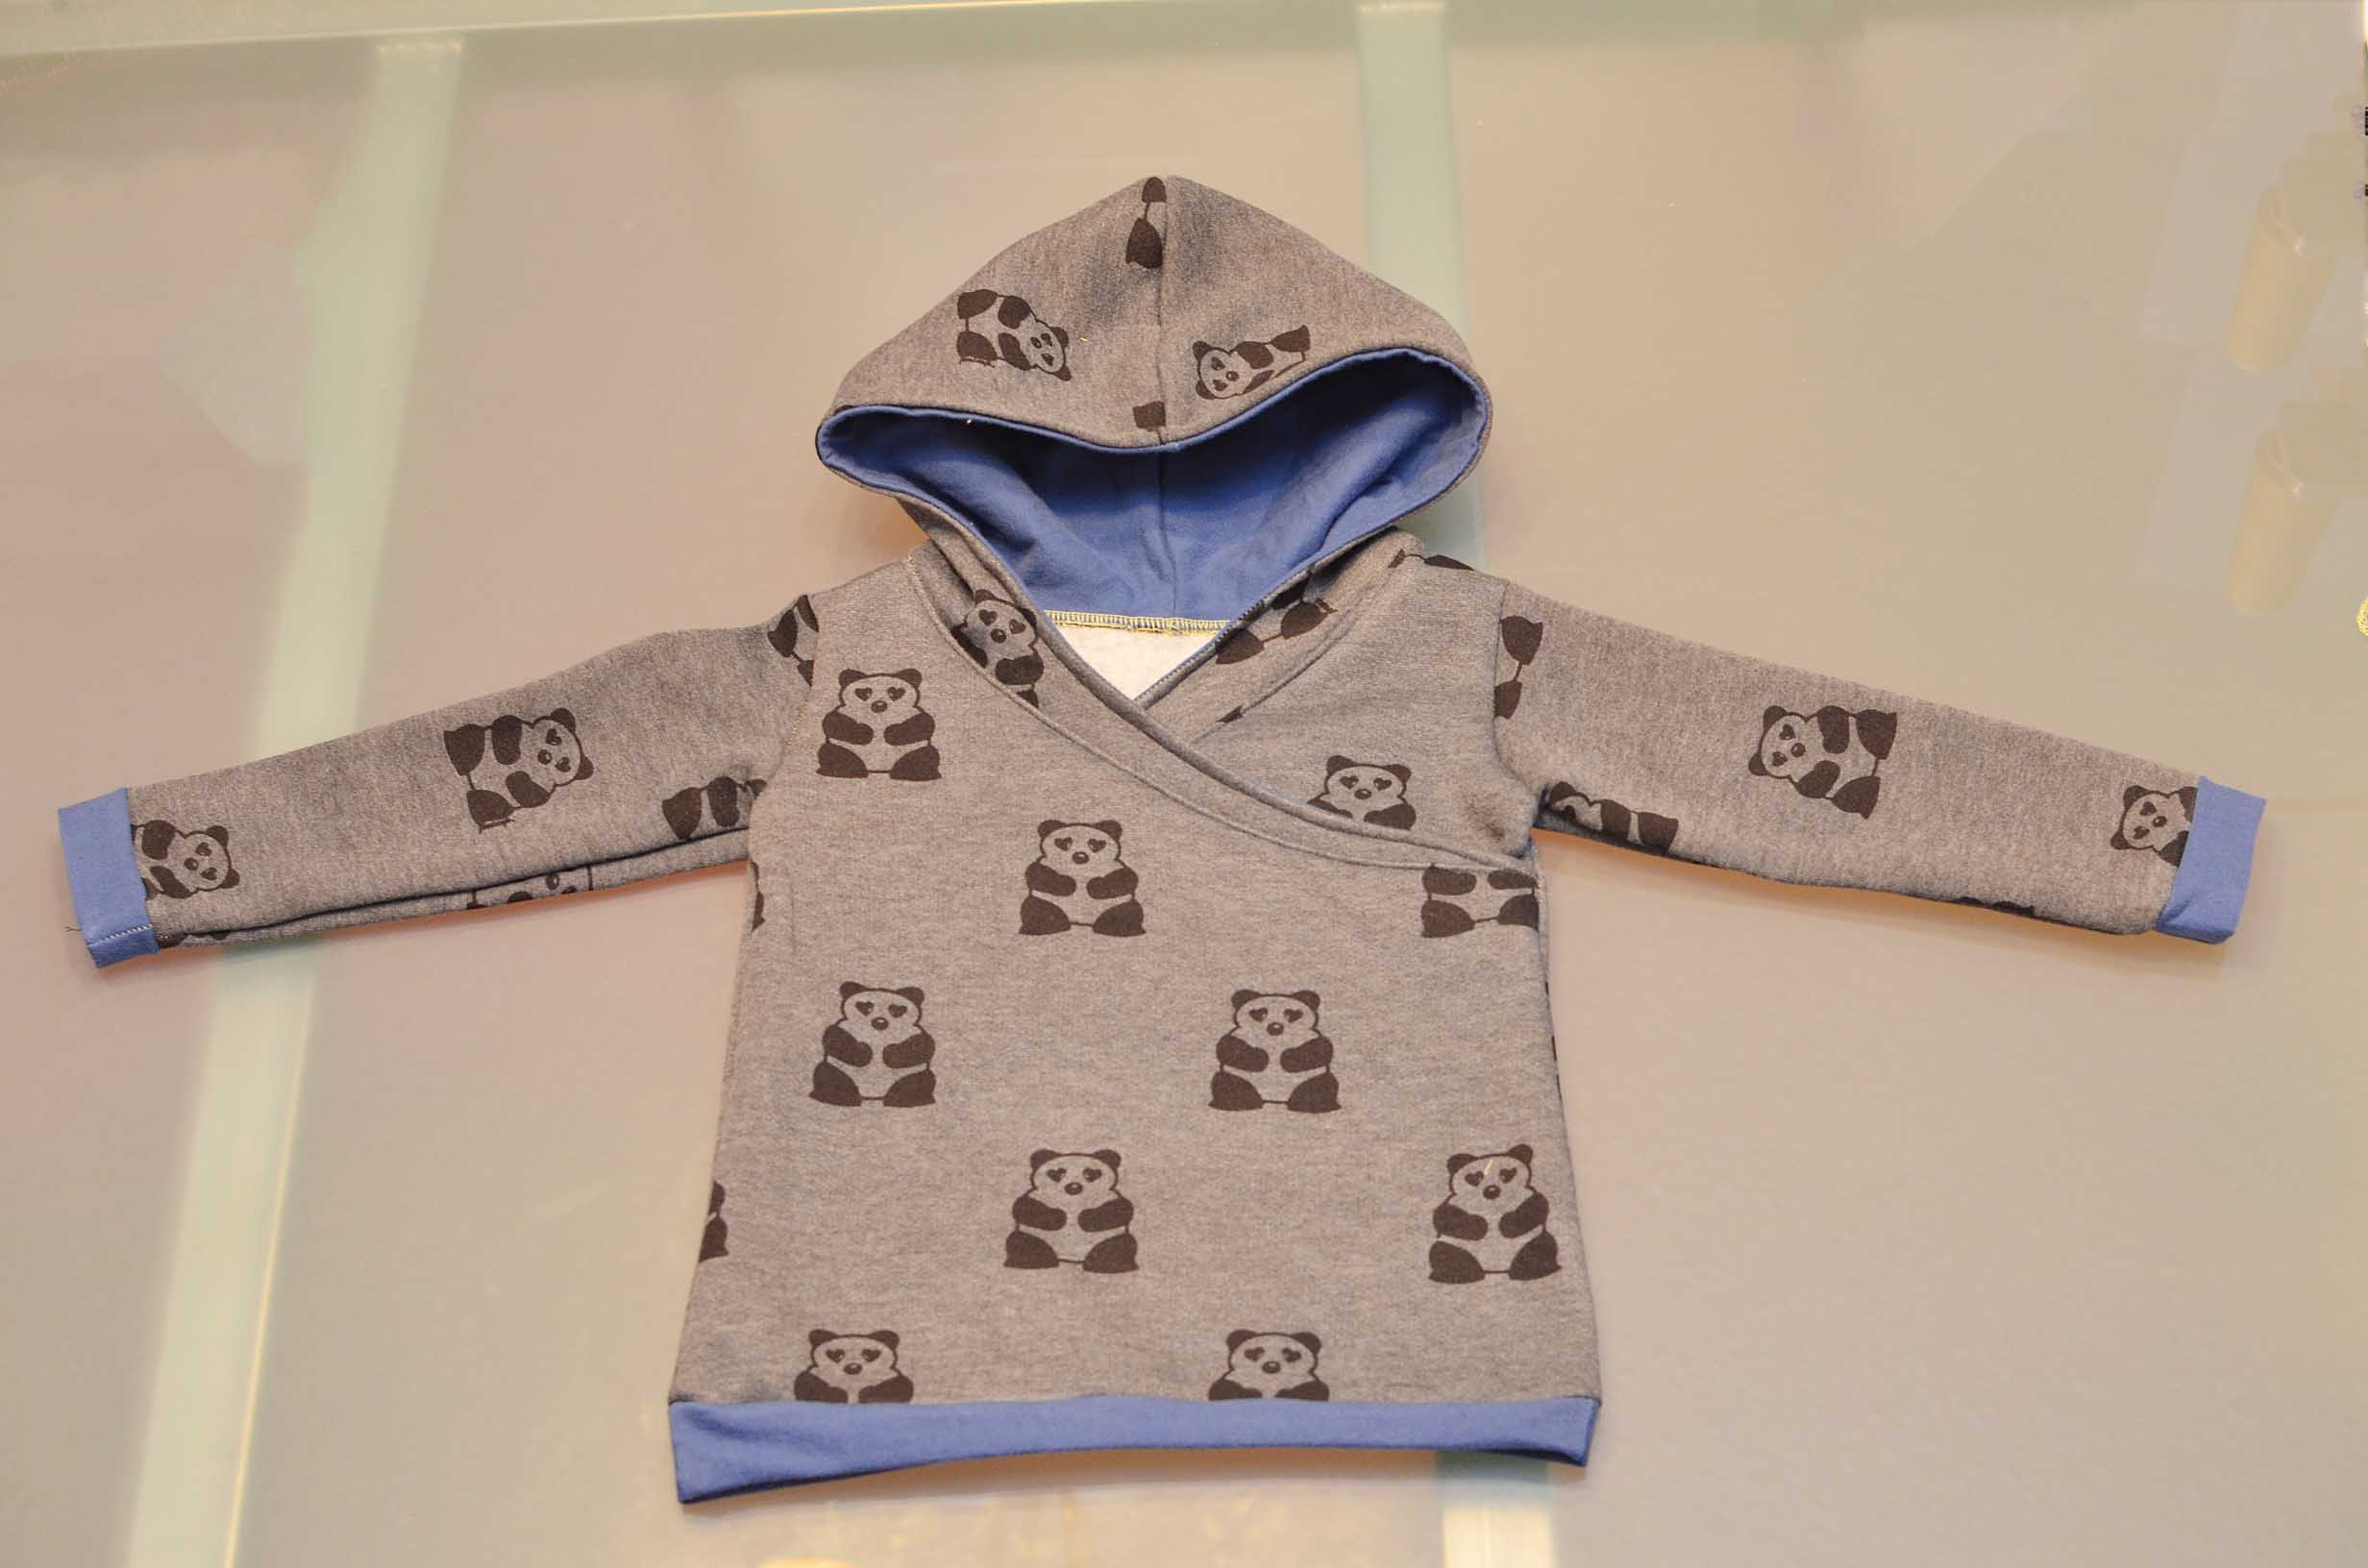
Here is how I made this hoodie in a larger size!

 Â Â Â Â


13 comments
HabÃa visto este trabajo en el blog de Tricia .Usted lo hizo adorable.Felicitaciones!
CELEBRATE! ♥ YOU’VE BEEN FEATURED! on the BeBetsy BRAG ABOUT IT No. 13. http://bebetsy.com.
Grab a featured button here http://bit.ly/11S2wN1. Our next party starts at midnight tonight so find something cool to BRAG ABOUT and link it up.
Sharon and Denise
BeBetsy ♥
Follow us:
Facebook ~ Twitter ~ Bloglovin ~ Pinterest
Such a cute hoodie!!!! I love the fabrics you used. I’m pinning this!
Navy Wifey Peters @ Submarine Sunday Link Party
Thank you so much for joining all things pretty I love that..hope to see ya back tomorrow at http://myfashionforwardblog.com
[…] 2. Baby Sweatshirt Tutorial by Warfield Family […]
[…] Sandi asked me if I could make a hoodie for Levi if I had extra fabric left over from Alana’s hoodie. I had no problem with making this,but the pattern is only sized 0-3 months so I wasn’t sure […]
[…] und – meiner Meinung nach verständlicher bebildert – da gibt’s die […]
[…] Hier das Freebook mit Schnitt und Nähanleitung […]
[…] love this Sweatshirt Tutorial from the Warfield […]
Hola q tal ..si esta bonito la sudadera, pero la Blogger que hizo la sudadera ya nose puede descargar patro ,tu lo podrías compartir..
If you go to the site with the pattern, and click on it you can request access to the pattern on google docs from that blogger. I tried it, and she gave me access to download it.
Omgosh this is what I’m looking for! I need the 0-3 Mon size AND the bigger size too. The original site is now readable but the download is gone. 😳😭 Any chance you could share it???? 🙏🏻
Heather,
I do have a copy of the pattern, but cannot legally share it because I’m not the creator. However, if you go the blog that I linked and click on the pattern, it will say that you don’t have access. If you request access, she does give it to you. I tried this again in June of this year, just to double check. She gave me access within a week if I remember correctly. So I hope that she gives it to you!